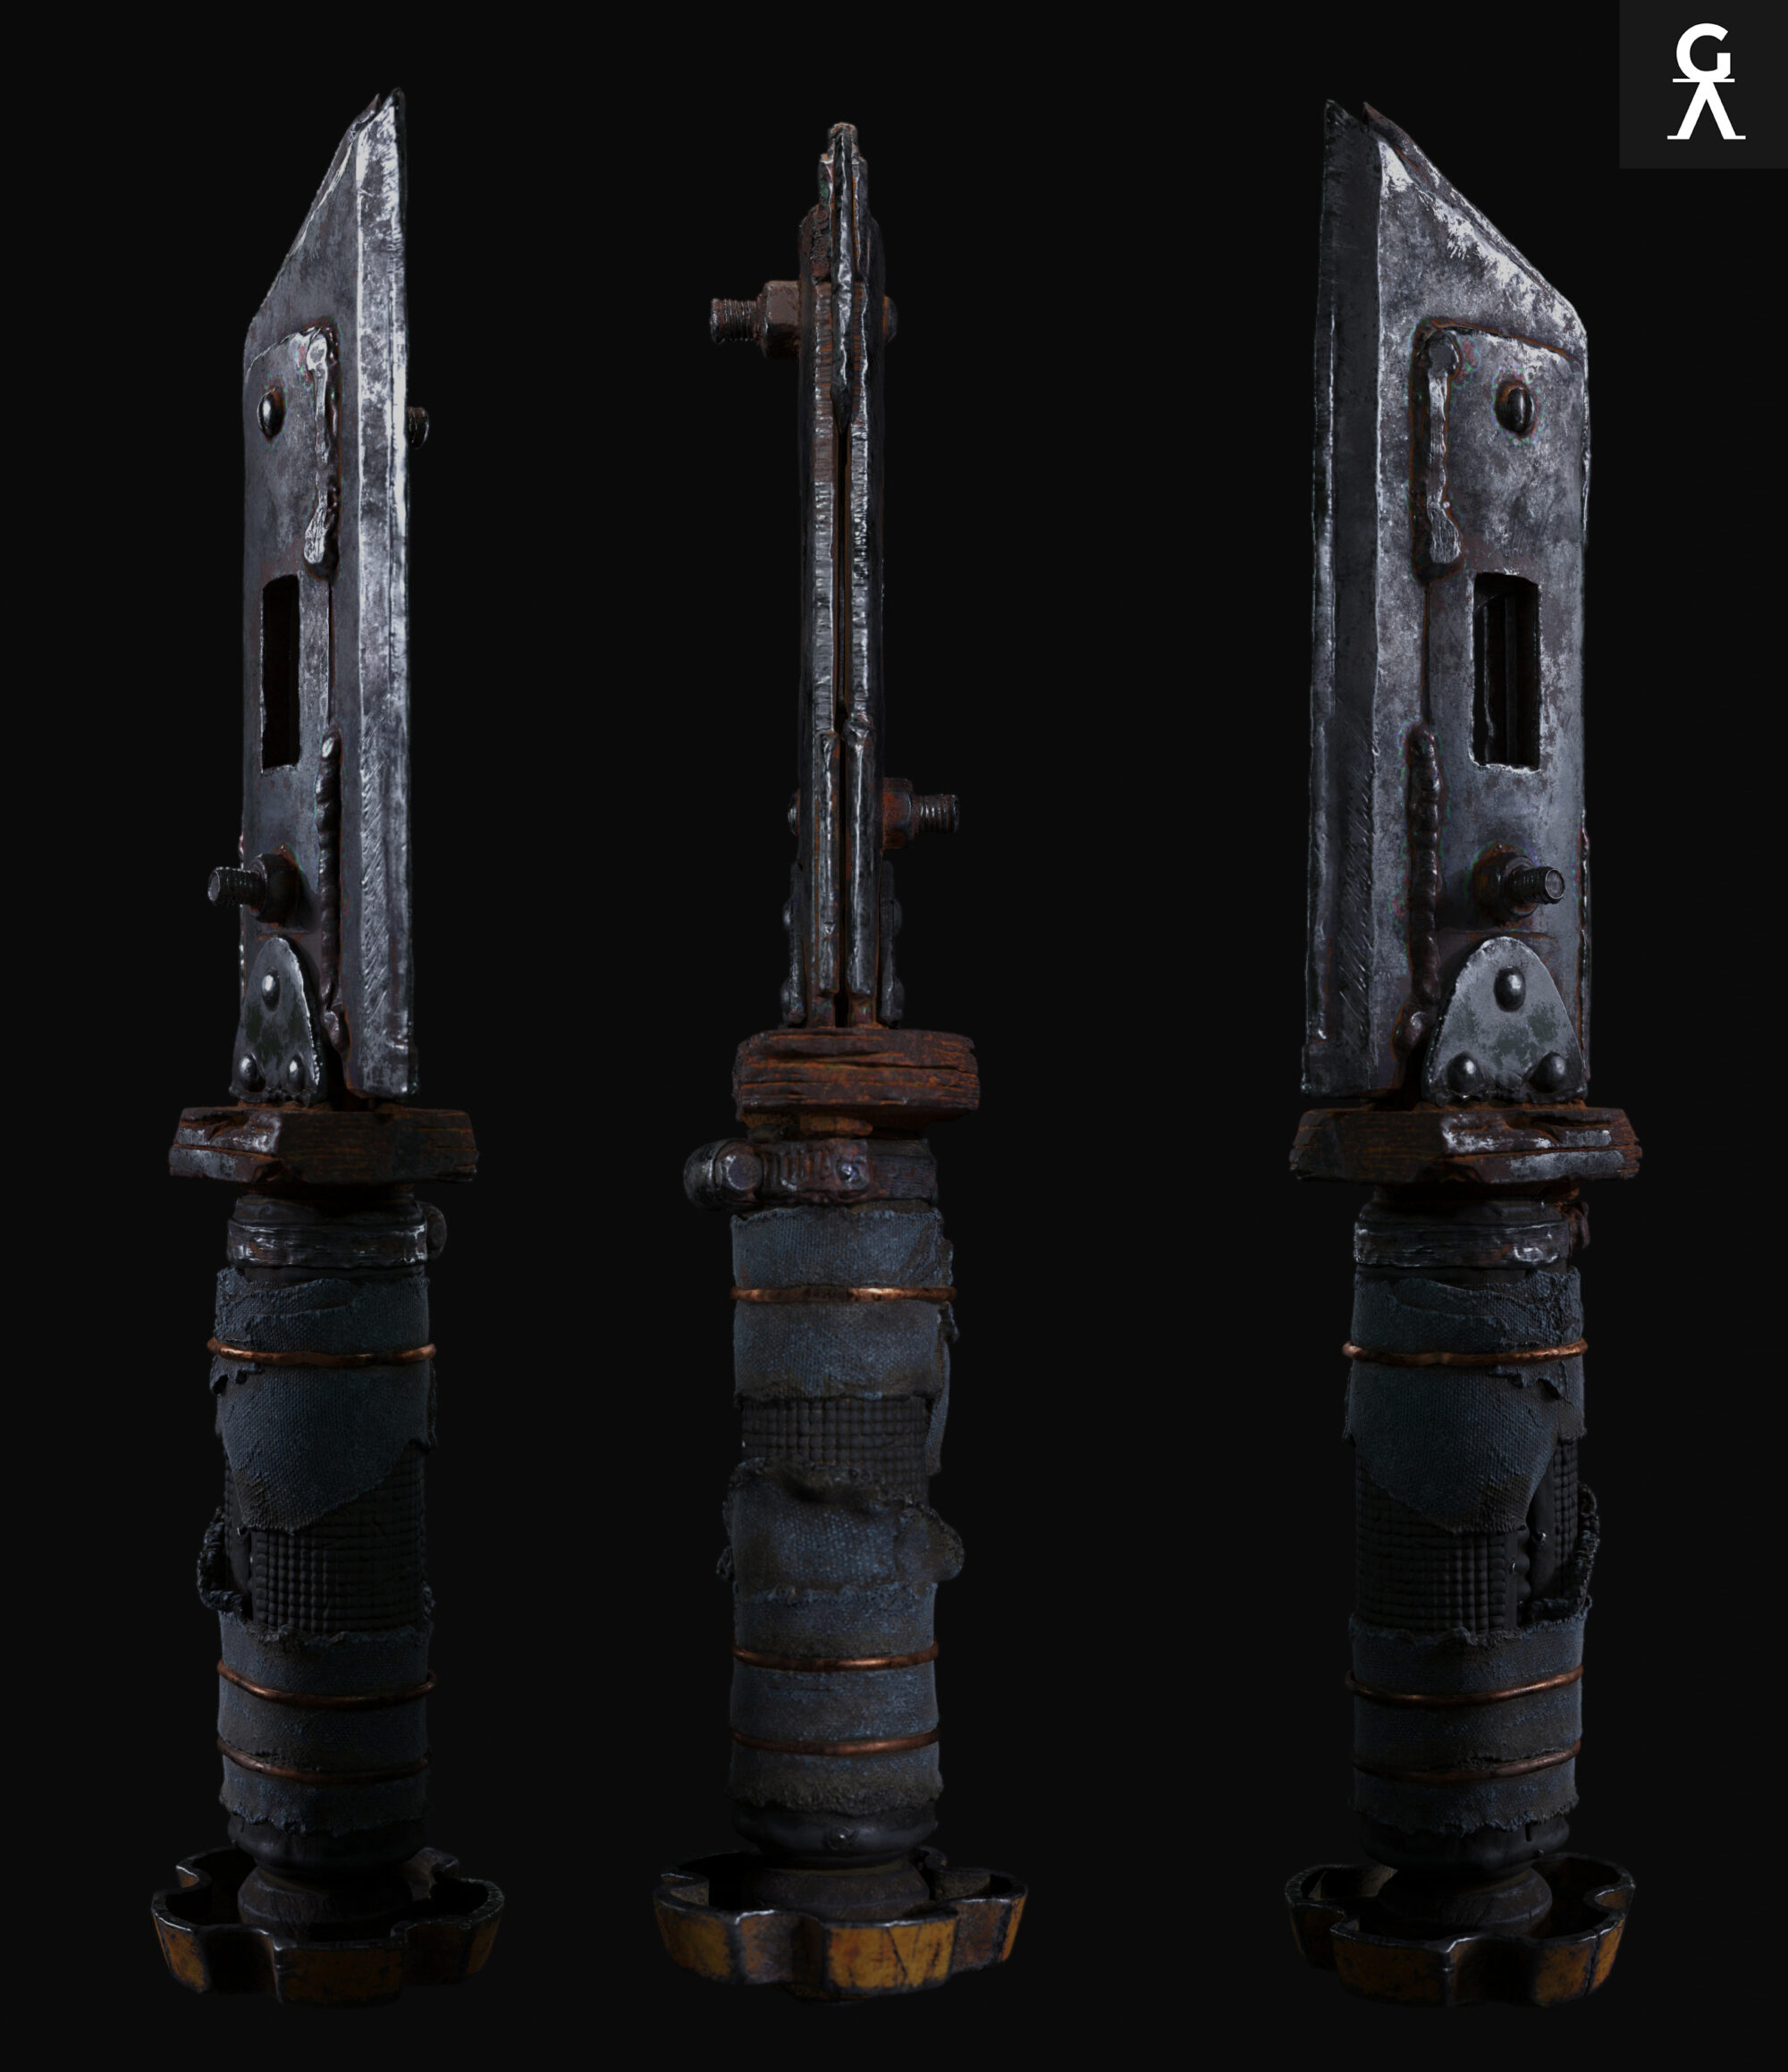
Fisherman’s Sword



Introduction
Hello everyone!
My name is Anca Batica and I'm a 29-year-old 3D Environment Artist and Prop Artist. After graduating from Bucharest National University of Arts, I started my 3D journey alongside the amazing team at AMC Ro Studio and I've been a part of it for almost 4 years.
I had the opportunity to work on various projects that allowed me to hone and showcase my creative skills.
Project
Today I’d like to share the process behind my project, Fisherman’s Sword, which was inspired by this amazing concept from Elodie Mondoloni.
Project
Today I’d like to share the process behind my project, Fisherman’s Sword, which was inspired by this amazing concept from Elodie Mondoloni.

Goal
My goal with this project was to work with a fully stylised workflow, given that so far I’ve been part of only realistic prop modelling projects.
I wanted to go through all the stages, starting from the specific sculpting techniques all the way to the hand-painted textures, and trying to incorporate all these details into my final render.
What started as a mere curiosity turned into quite an enjoyable project and overall process.


Tools
- PureRef – References
- Maya – Blockout, Low Poly Modelling and UV Unwrapping
- ZBrush – High Poly
- Adobe Substance 3D Painter – Texturing
- Marmoset Toolbag 5 – Render
- Adobe Photoshop – Post-processing
References
In the first stage of the project I compiled a moodboard in PureRef with references for the elements’ shape and generic textures, so I could have a starting point.

Modelling
After that, I considered that the next most important aspect was to work on my blockout.
This step will guide me through the next ones, so I think it’s really important to establish the correct scale and proportions.
I used Maya for modelling and I like to overlap my model on the chosen concept to make my process a whole lot easier. I try to keep my blockout as clean and simple as possible, as in the next steps I will build from it further.


Once I have my blockout in place, I move on to a mid-poly model or a pre-high model.
This represents a more detailed blockout that has added bevels and geometry, and will be used as the starting mesh for the high-poly sculpted model.

Sculpting
After importing my mid-poly into ZBrush I start by adjusting the shapes to better match the concept. I work with a low subdivision at first and adjust the bigger shapes, using mostly the Move, Inflate and Smooth brushes.

For the details on the tentacles I append the extra volumes that I need, which I didn’t have in my mid-poly (in this case toruses and cubes), I adjust their shape and then I use DynaMesh to blend them with the main tentacle volumes.


The next step for me would be adjusting all the details and shapes, going back and forth between my model and the concept.
I mainly use the Orb brushes to match the stylised characteristics of the shapes and simple brushes like Dam Standard, Move and Inflate to fine-tune my forms.


In the next 2 videos I will show you how I did the ropes, and at the end how I decimated the model and used Retopologise to export a low-poly version of my model.


Retopology
Once I applied the Decimate and Retopologise functions a few times in ZBrush, I brought my model back into Maya, and optimised the mesh further by collapsing edges and deleting unnecessary loops.

Then I continued with UV unwrapping my model. A good practice is to always check your model for errors by applying a simple clean-up, and also to try and optimise your UV space and make sure you don’t have any considerable unused space.

Baking & Texturing
For baking I prefer to use Marmoset Toolbag, and for any errors that I spot in my baked mesh maps I use Photoshop or Maya. In this case I preferred to bring my maps back into Maya so I would have better control over the areas I am trying to fix.
For the bake process I don’t consider there is a specific workflow to go about it; instead, whatever works best for each artist.

I prefer to usually group my different model parts separately using _low and _high suffixes to have better control of my baking.


As I mentioned earlier, for this project, I preferred to bring my baked maps back into Maya to correct the errors from baking, but Photoshop works just as well – it’s up to the artist’s choice.
For the texturing process, I tried to focus on my colour scheme and colour balance, following the concept and adjusting to my own artistic preference.
think that there are many amazing stylised texturing tutorials online and one of my favourites is this one by Abe Lead 3D on YouTube.


I mainly used the tips and tricks shown there, focusing on creating colour gradients. I played with the Blur Slope filter to achieve the stylised overall look and blended the colours using the Smudge Brush.
Rendering
For the render, I like to use Marmoset Toolbag. I first set up my material with the maps that I exported from Substance Painter.
Next, I implemented a 3-light setup to get my main lights into the scene and create depth for my model.

After that, I played with some rim lights to bring more focus to certain areas and make the render stand out.
Another thing that I did in Marmoset was to render a short video, for which I followed this concise tutorial by ZugZug Art on YouTube.
Post Processing
As a final step I like to bring my renders into Photoshop to add a little more pop. One thing that I did was to enhance the model’s contour by applying a Glowing Edges filter with a black mask, focusing it only on certain areas to make the render stand out.
Another thing that I consider useful would be to render out your Ambient Occlusion from Marmoset and import it into Photoshop using the Multiply Blending mode. I believe that it adds additional depth to the render.
Conclusion
All in all I learned a lot while working on this project. It was a rewarding and fun experience that further deepened my curiosity and enthusiasm for the stylised workflow.
I would like to thank everyone who took the time to read my prop breakdown, and also Games Artist for reaching out and offering me the opportunity to share my work!
Read more articles
You might also like these articles.