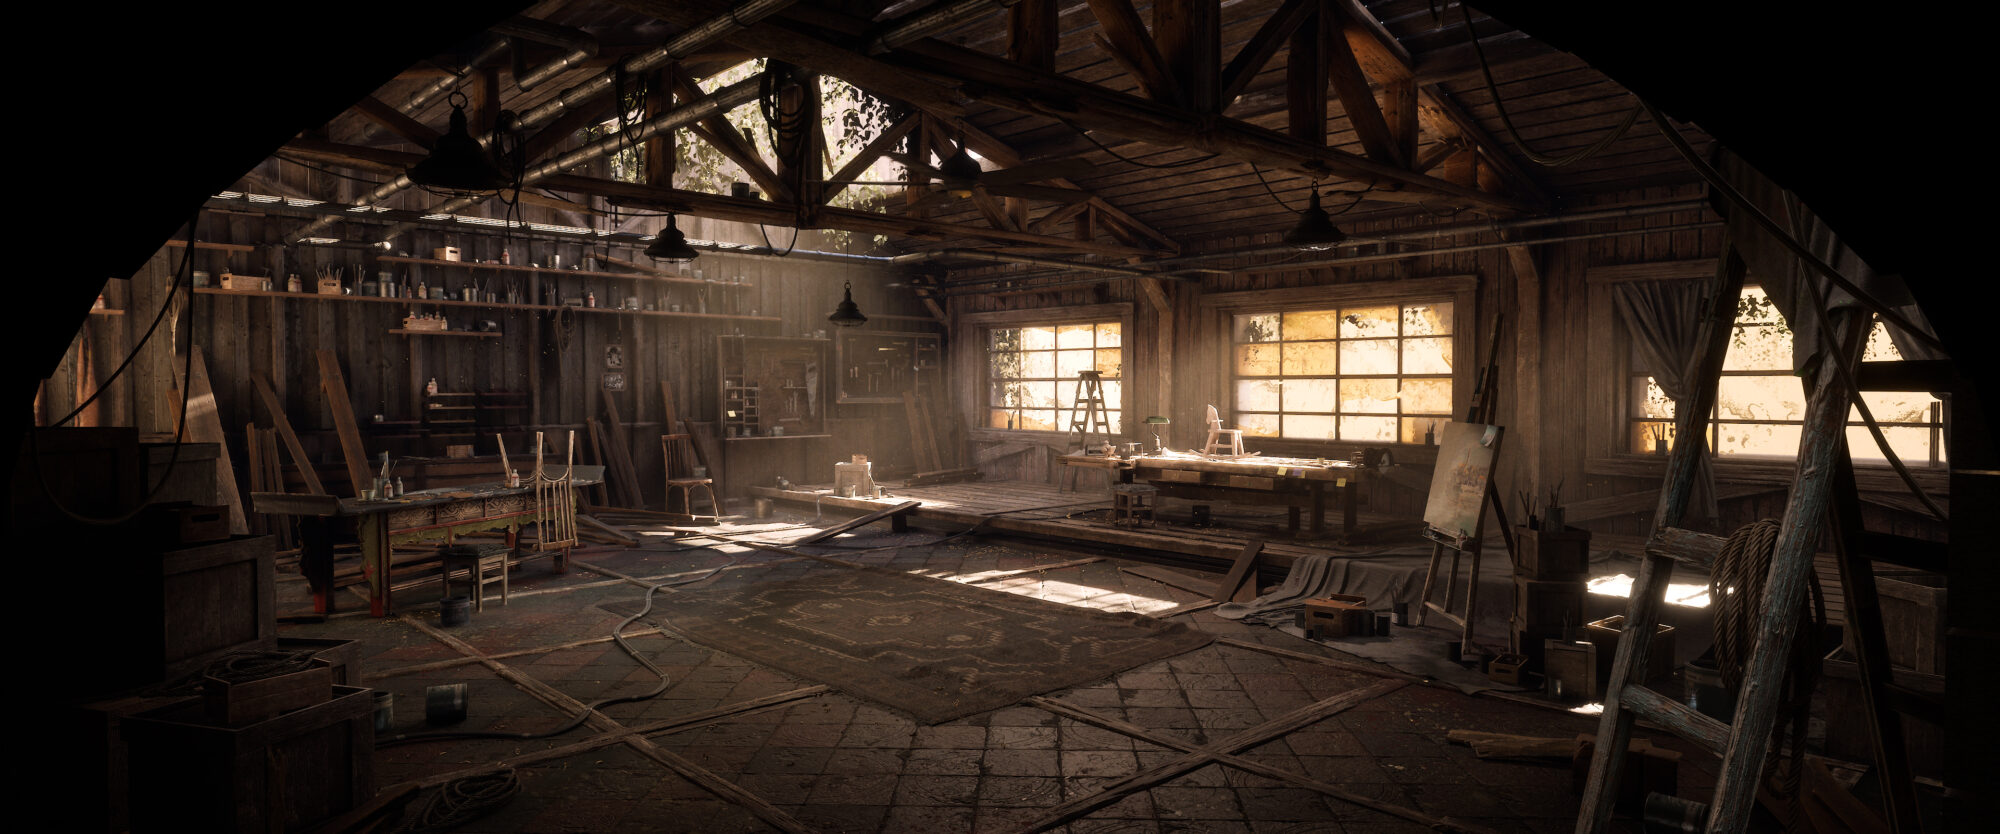
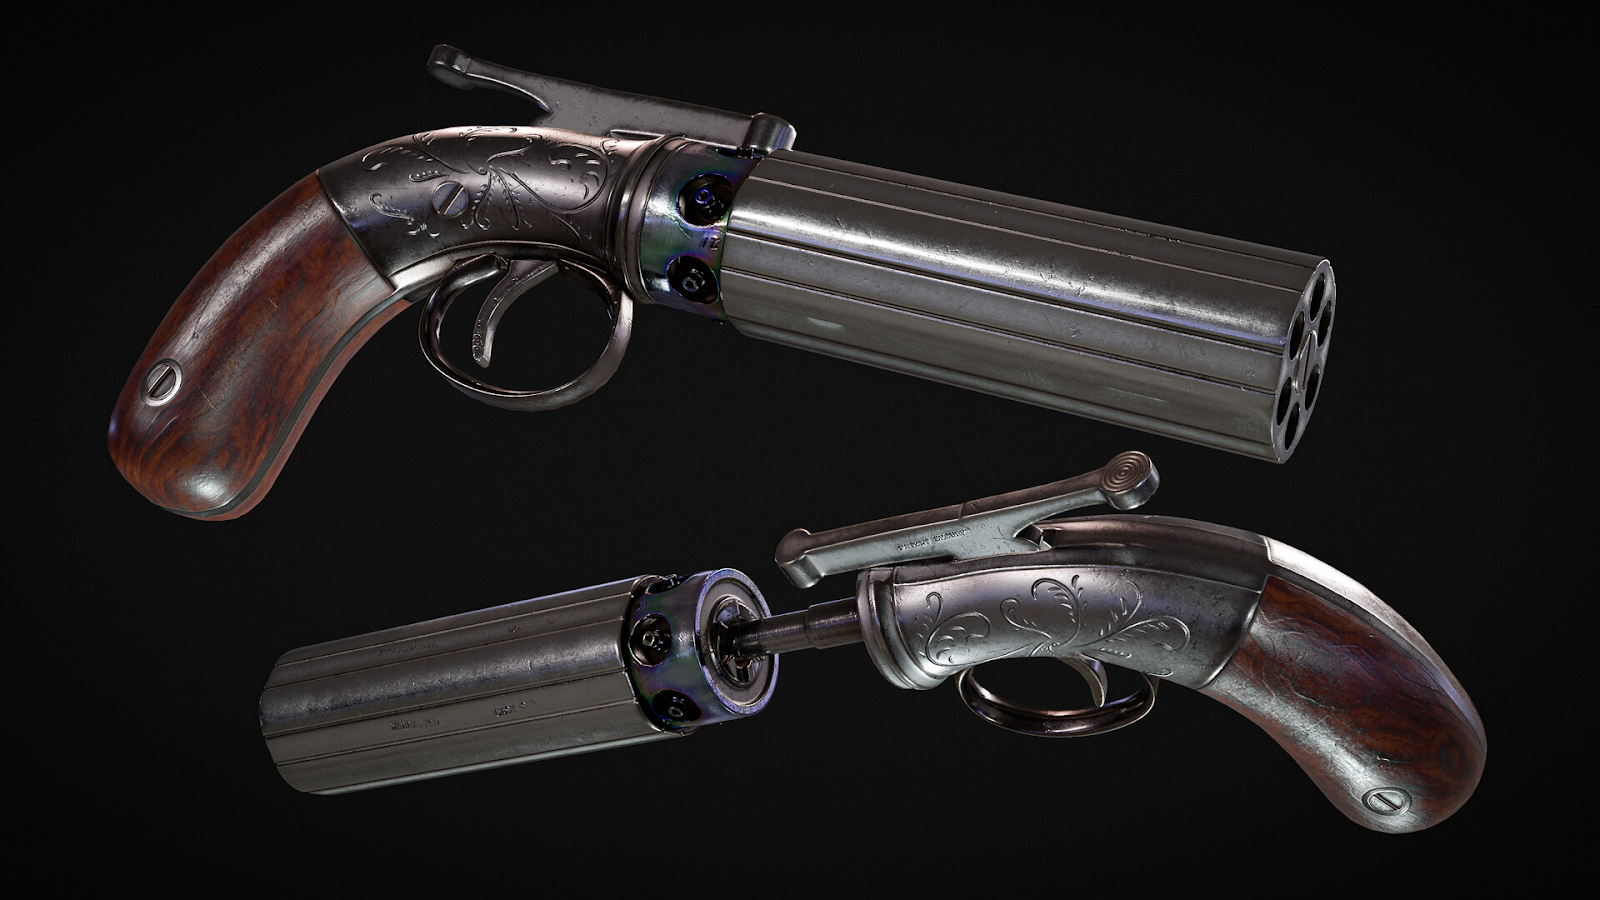
Adventure Inn


Introduction
Hello! My name is Brandon Ray and I am a Stylized 3D environment artist. I’m currently at LCAD and I love the hand-painted style.
I’m really happy to share my process with this piece and I would like to thank the people at Game Artist for letting me do so.
Software
1. Maya
2. 3D Coat
3. Adobe Photoshop
4. Marmoset
Reference & Inspiration
For this project, I wanted to tackle a bigger scene than my previous one and delve into a more fantastical feeling. I found the work of Vsevolod Slavutych, and absolutely loved their Adventure Inn piece.
From there I started breaking down the concept into smaller pieces to make painting the house and scene a bit easier. Stylistically I was very inspired by the Riots TFT, Ruined King and Blizzard’s WOW. I wanted to make this feel like It could fit in a side scroller or an RPG game.


Blockout & Modelling
I start blocking in the major proportions and trying to get the overall shape to match the concept. After getting a majority of the scene modeled out I start cutting and adding edge loops to rough in some secondary shapes; however, I wait to add the secondary shapes until I have a color block out of the texture in the scene.

UVing
For this project I wanted to make sure that everything had the same texel density, so I divided the scene into separate sections and into four different textures. Some areas have less texture density than others, but I tried to give more texture space for the focal points of the piece.
This method feels very natural since it’s all unique textures, but that comes at a sacrifice as it isn’t built from a modular kit found in most “game-ready” scenes.

Painting Process
I do a majority of my early production painting in 3D Coat. I’ve tried using Substance Painter for hand-painted textures, but, in my opinion, the color-picking system feels a bit clunky at the moment.
I start off blocking the base colors on everything within the scene. These would act as my flat colors before adding light or shadow. Before blocking in the shadows, I try to decide on a lighting angle for the scene.
Without a consistent lighting angle, it can become tough and confusing to paint the rest of your scene. Once I had my lighting angle decided, I created a new multiply layer and started to block in my shadow values.
I usually use a dark saturated blue on top of my colors. Later in the process, I had to darken my shadows because I felt that the scene as a whole, felt a bit flat. I also add in a soft light or overlay layer to paint in a light value.
I try to keep the light layer subtle to not make the scene feel blown out. I also add a multiply layer for AO to solidify the objects in the scene and add to the believability of the lighting.

For environments, I generally want to clamp my values between 80% white and 20% black. This gives the scene the right exposure and I’m given more room in the mid-range values to add more subtle details.
During the first pass, I paint the basic colors, lighting and textures on everything in my scene – then I take a couple of screenshots of my scene. I take these screenshots and paint over one of them for around 20 to 30 minutes to add any changes that I would like to make to the scene.
Doing a paint-over of your project is an easy way to create drastic changes with no real consequences to your scene.
While doing paint overs I also make sure that my values are where I want them to be. In this scene, I gave the house a larger range of value than the background, reserving highlights and higher ranges of value for focal points like the eye.
After painting for a while I would go back into my Maya Scene and start cutting in more shapes on my painted meshes to give them more of an interesting silhouette. While you are doing this make sure that you have Preserve UVs on.

Paint-over example below:


Color and Material
As I’m painting my scene, I’m thinking about the material I’m painting on each part- what kind of color and specularity does it have in the context of the scene. I follow a general guideline of if the shadows are generally cooler then I make my cooler colors will also be darker in value.
If it’s in the light, then I go towards a warmer color and a lighter value. This helps the object feel grounded and solid. A great resource for painting tips is James Gurney’s blog and Scott Robertson’s book, How To Render.


Plants
A good tip for making plants in a 3D scene is to keep the contrast very low – otherwise, they might feel too noisy when the meshes are all in a group. Gradients can get you pretty far. With the grass in this scene.
I tried keeping each shape pretty unique. I did a paint-over of a screenshot to decide where I wanted the grass, and I put those grass blade shapes onto an alpha sheet, but in this case, I thought making more unique grass shapes would help the scene feel more alive.
I also use the grass blade alpha cards to cover up any sharp edges that rocks were creating.
3D Coat Tips
Painting in a 3D coat is great for getting all of your base shapes into your texture but it can be a bit hard to paint in those details. We can paint in those details on the raw texture sheet using, Edit All Layers in Ext. Editor.
You can also use the Edit Projections in Ext. Editor to see more context in the scene while you’re painting. It feels a bit more natural to paint in this way. You can also bake some textures like Occlusion or Curvature to use as a good base for props and small environment pieces.
Conclusion
I’d like to thank the people at GamesArtist for letting me talk about my process and sharing my work with the community. If there are any questions about my process please feel free to contact me!
I’d also like to thank my mentor Phillip Zhang, my friends and the students of LCAD for giving their critique and their encouragement when I was creating this piece.
Thank you for reading, I hope you found something useful in this article!
You can find me on: Artstation, LinkedIn.


