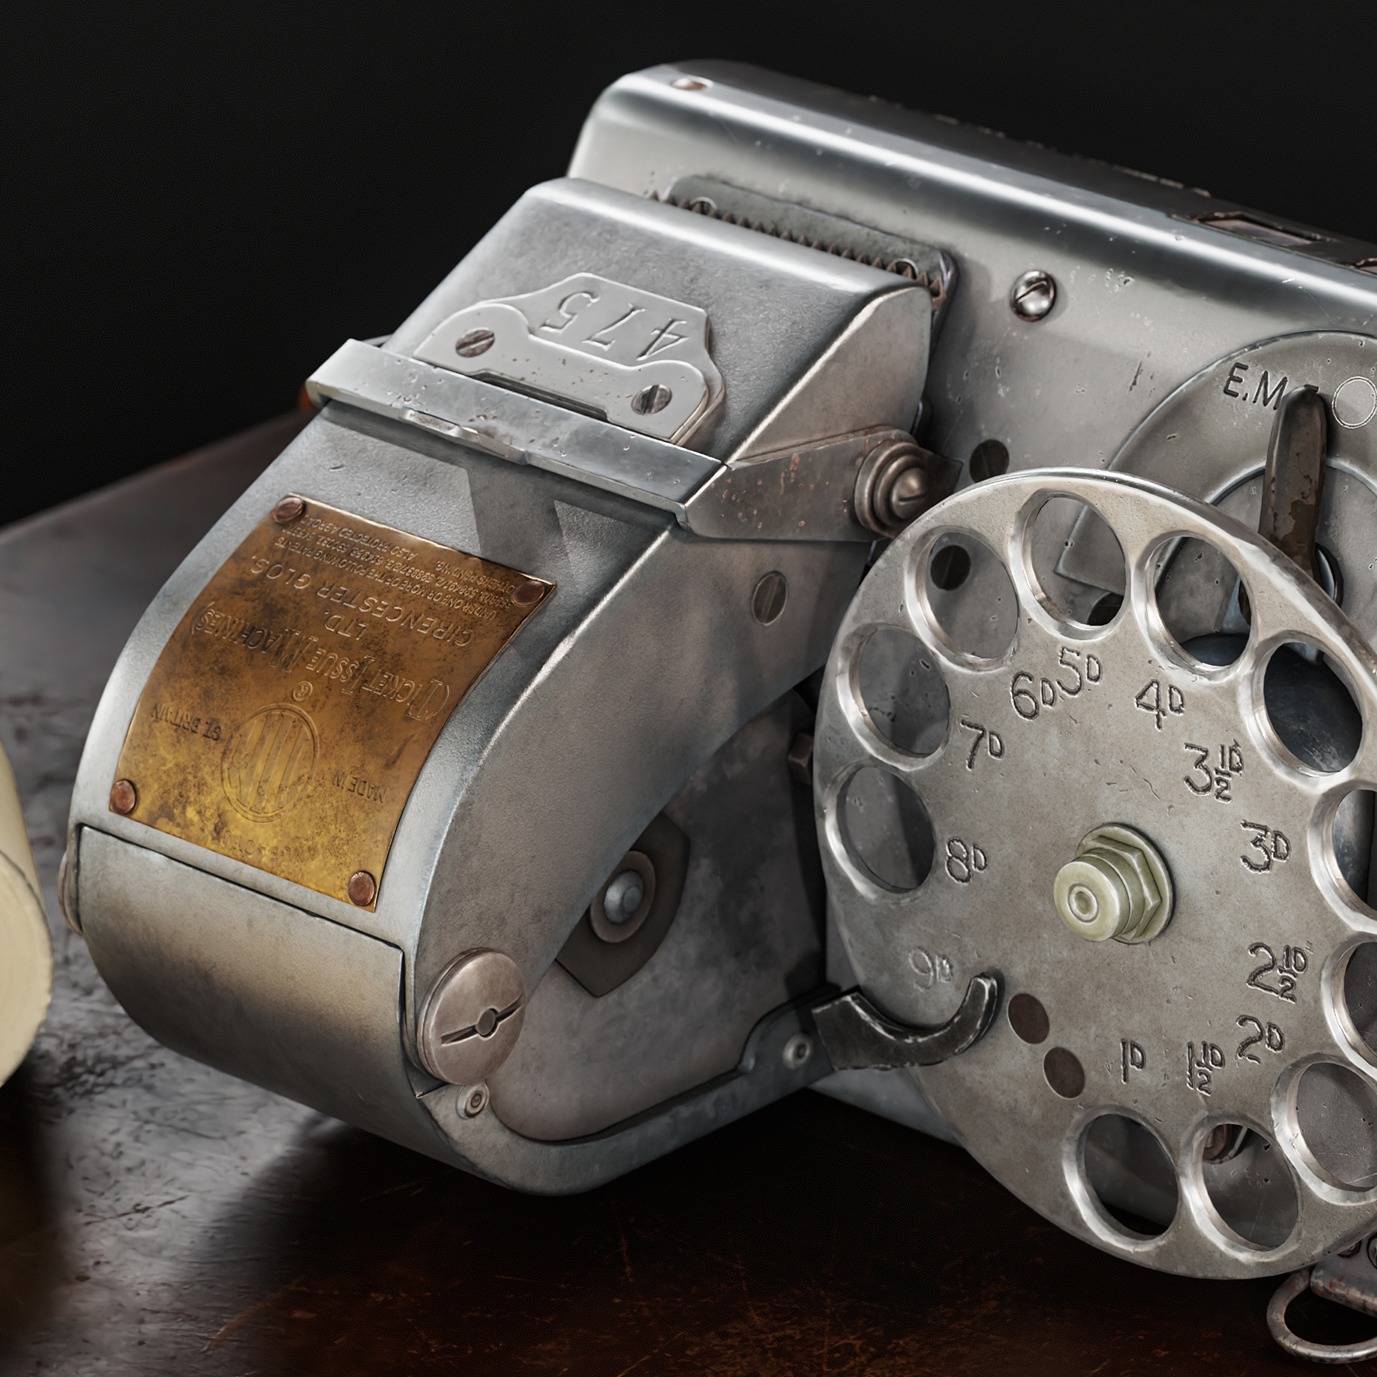
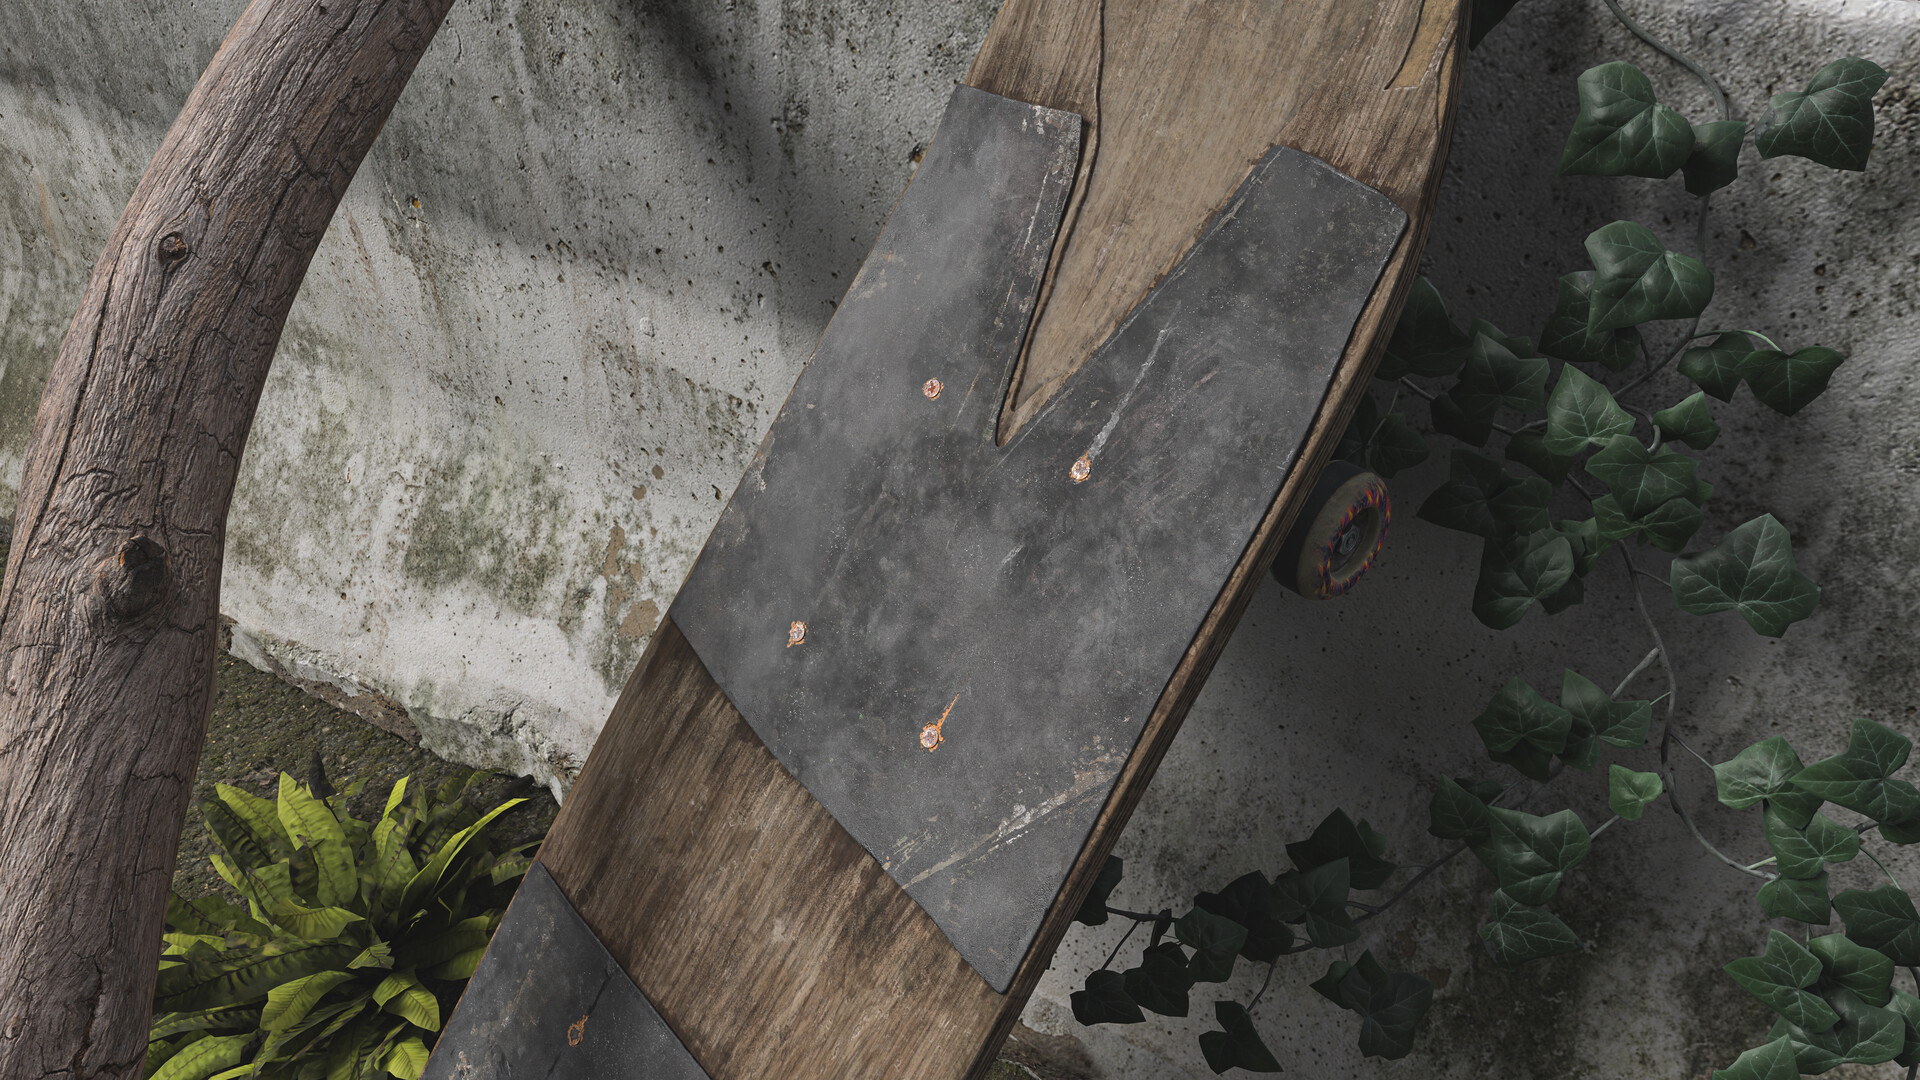
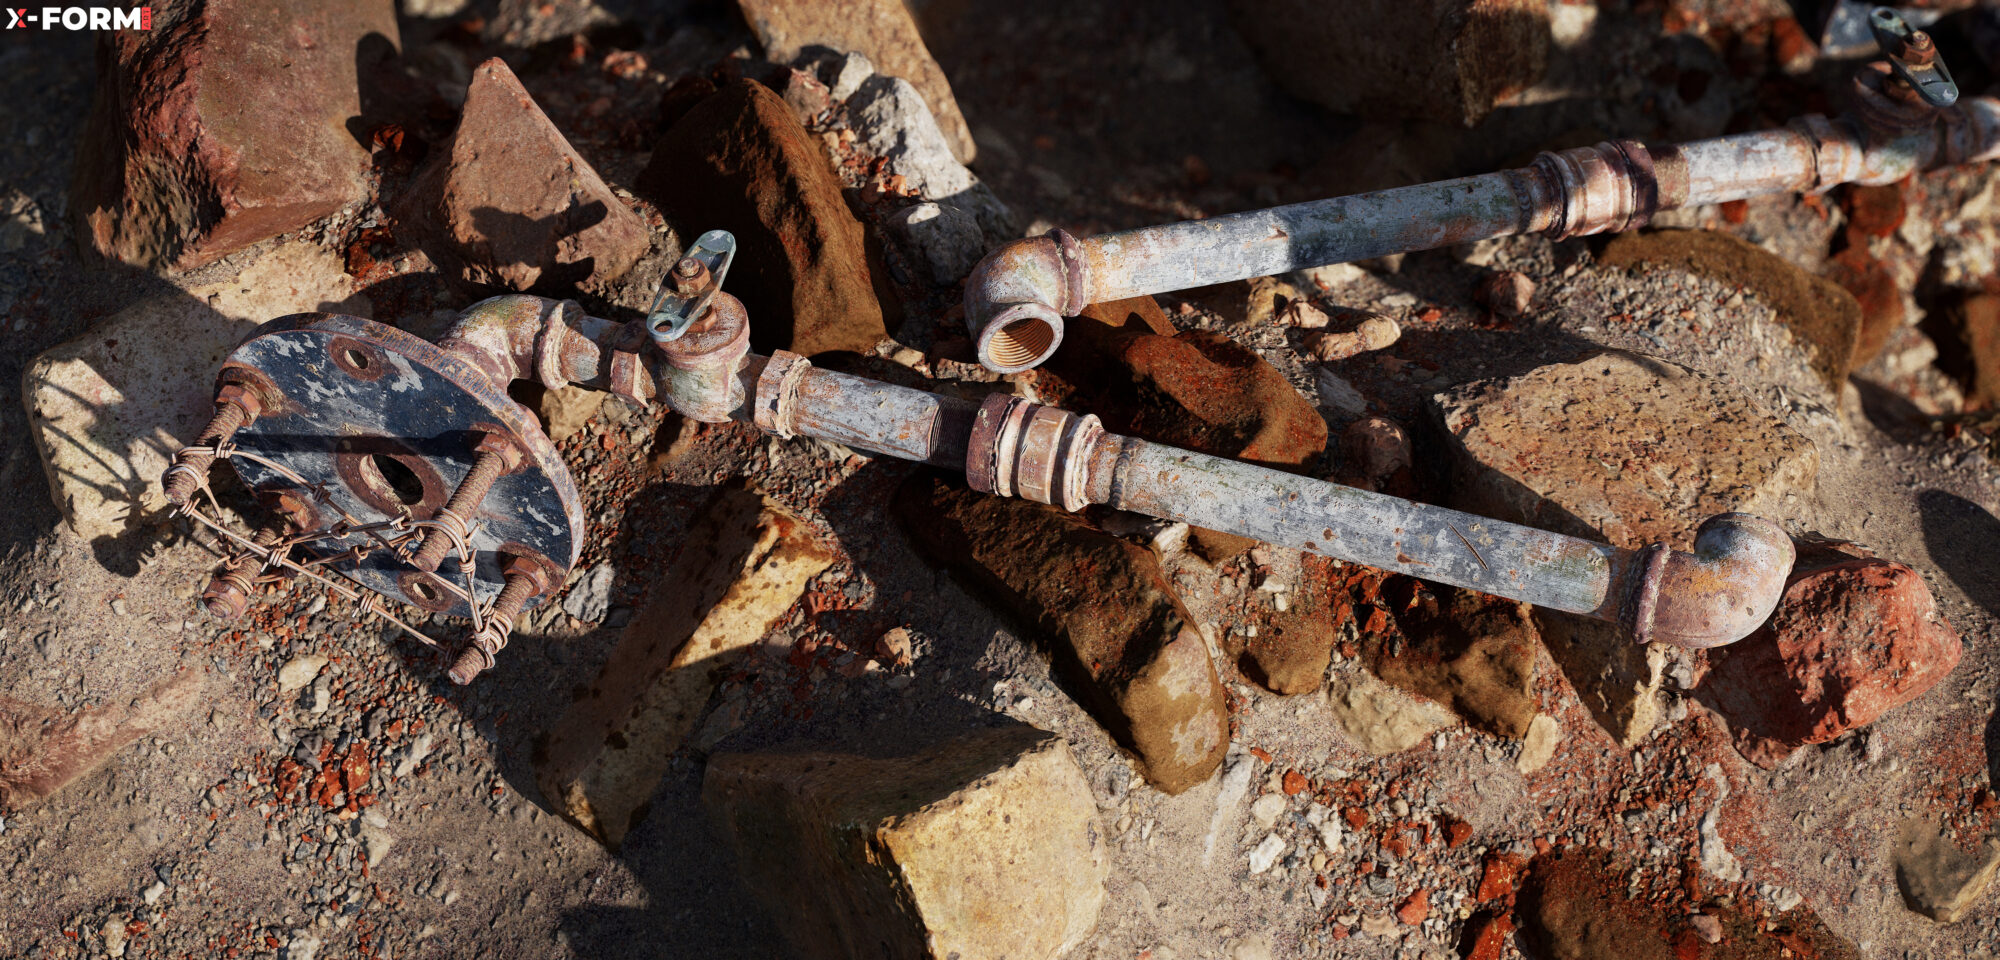
Abandoned Pipe

Introduction
Hello everyone, my name is Saumy Sachan, and I’m Working as Mid-3D Artist at Ares Studios Pvt. Ltd. I'm currently living in Kanpur, India. I’m also a freelancer for 3 years now. In my freelancing journey, I have worked on a lot of different projects like Hardsurface modeling, PBR Texturing, product visualization and some 3D simulations.

Inspiration
After a long time of looking for a post-apocalyptic type asset for my portfolio piece. I got inspired by some abandoned pipes that had barbs and bolts, I roughly had an idea in my mind of what I wanted to make.
Preparation
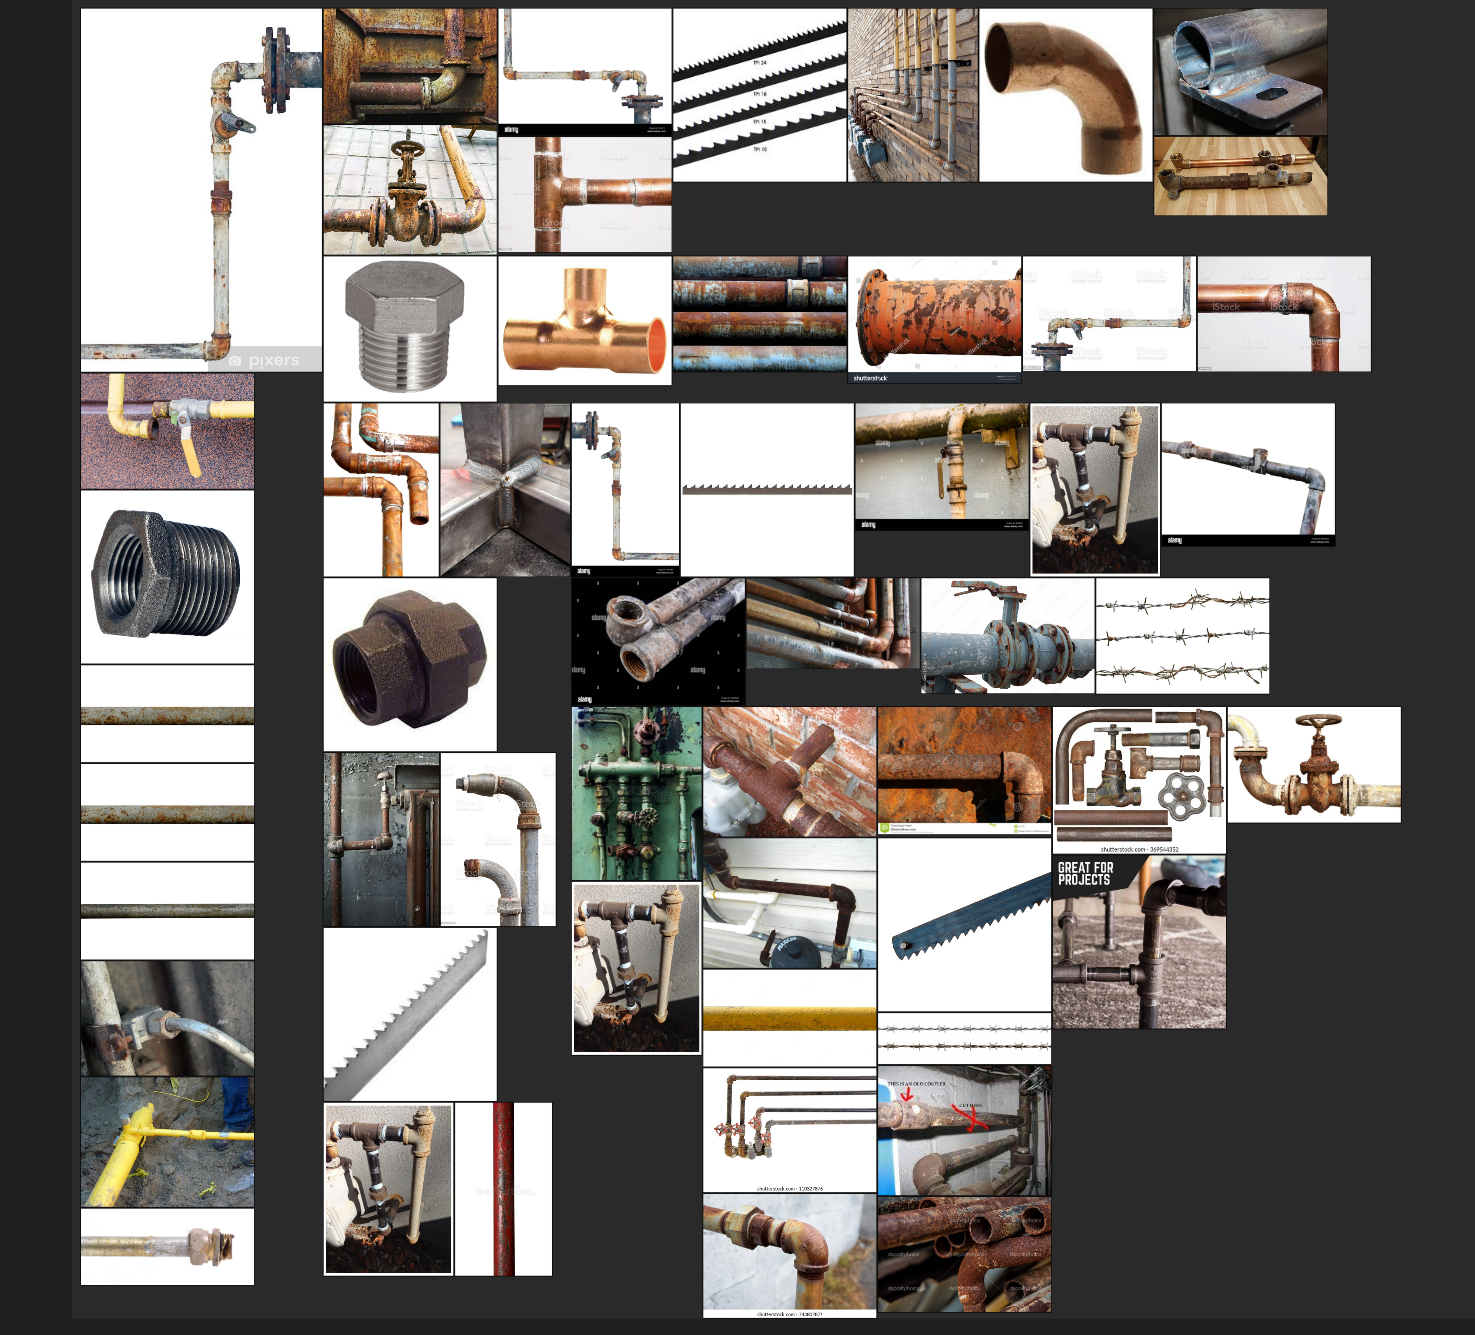
Now I’m really excited to start this asset. So I want it to look super dry, rusty, and realistic. I just started looking for some real-life references of pipes, barbed wire and bolts.
To visualize more, I created a PureRef With all the necessary images to put the idea into context. PureRef is a really good tool to look through your references right in front of you.
Design
First of all, I’ll do a simple block out of the idea that I have set for the project. For the block out I use Maya, While refining the design I’ll look at the silhouette, Edge Flow in shapes and details and adjust everything accordingly. The barbed wire is created in 3DS Max because my Maya is behaving weirdly, so quickly I moved to Max and deform the barbed using the Path Deformer modifier.
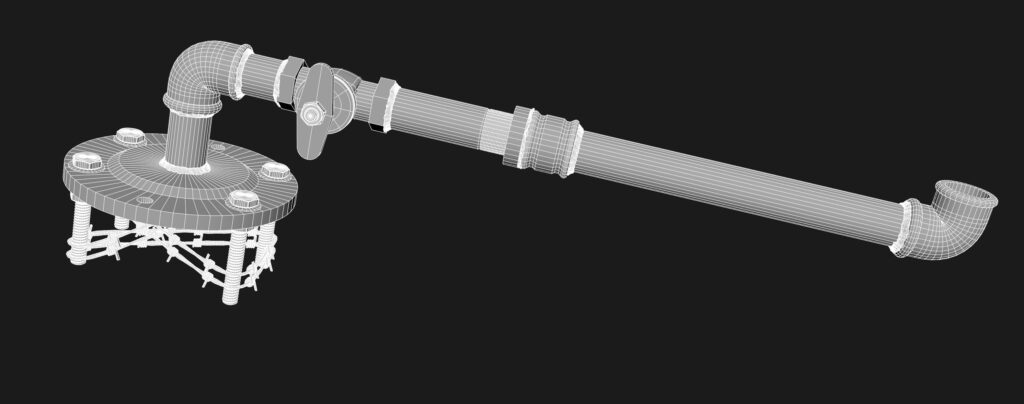
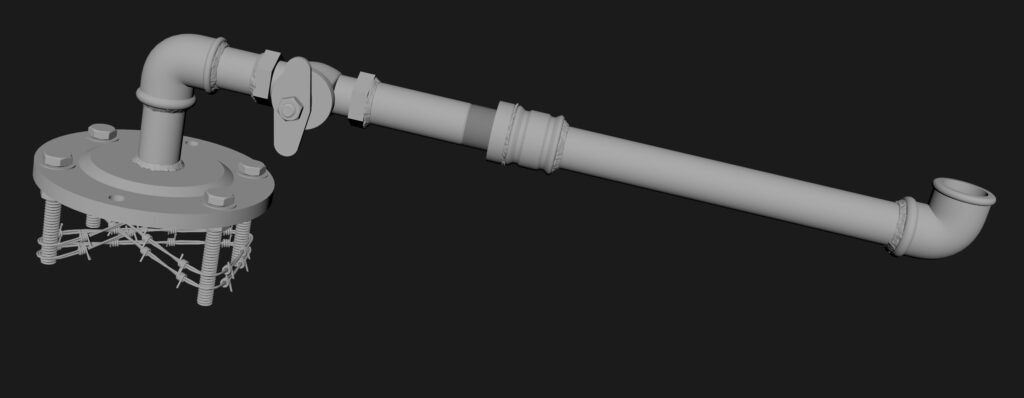
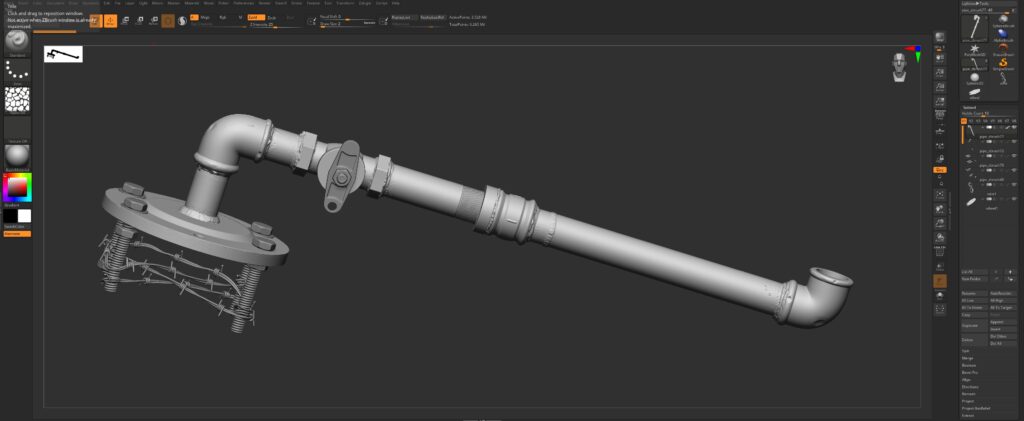
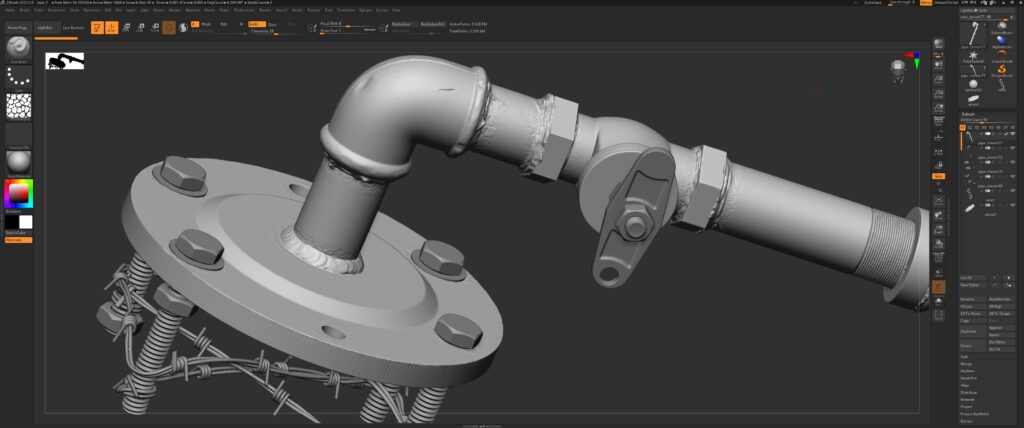
Highpoly
For High poly, I usually use support loops and ZBrush both workflows. But for this one, I decided to go with ZBrush to sculpt some details and polish my high poly. I want to replicate a lot of details in texturing to polish my texturing skills, so I don’t overdo sculpting in ZBrush. Also, I deform the barbed with a move topologic brush so it can look more natural.
Texturing
This is my favorite part of the pipeline, I really enjoyed the texturing part of this asset. Quickly I just decimated the model and unwrap the in Rizom UV.
Rizom UV is a great tool for unwrapping. And baked in Marmoset. Finally, this asset is ready for texturing.
Then I just started searching for a lot of random images and textures from Google Images and Textures.com they are great sources of a lot of high-resolution images and textures.
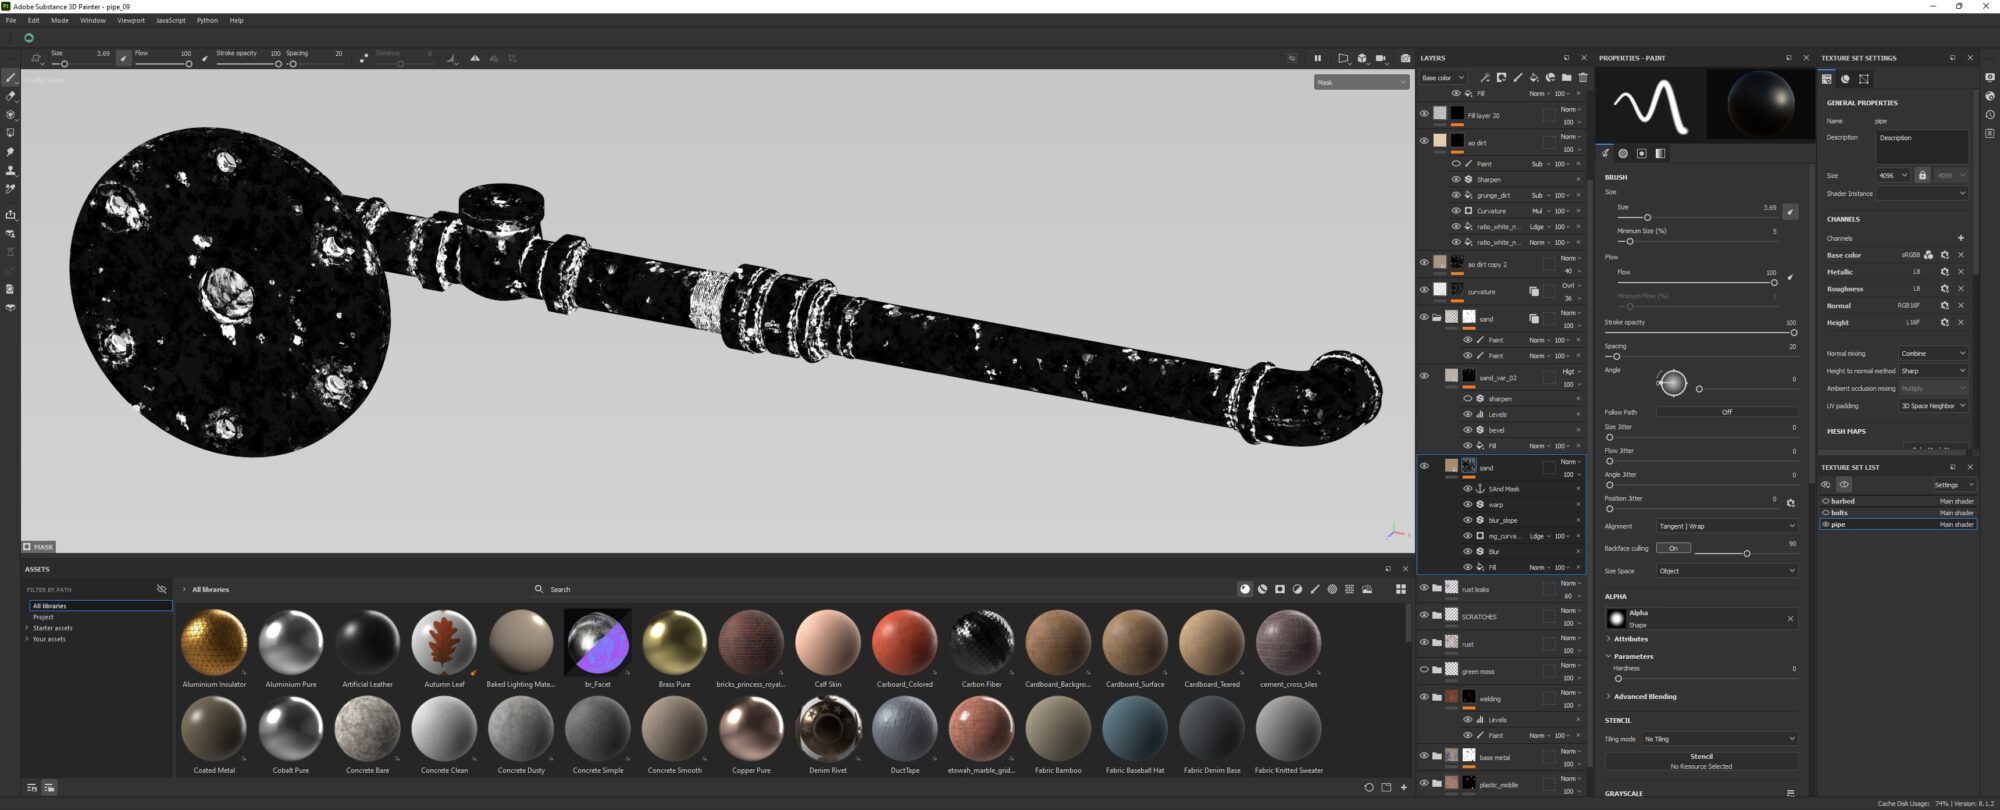
While texturing I use a lot of 3D painting tools, stencils, generators, grunge and anchor points, etc.
I make heavy use of generators and custom grunge. My substance painter workflow doesn’t involve scanned materials or substances.
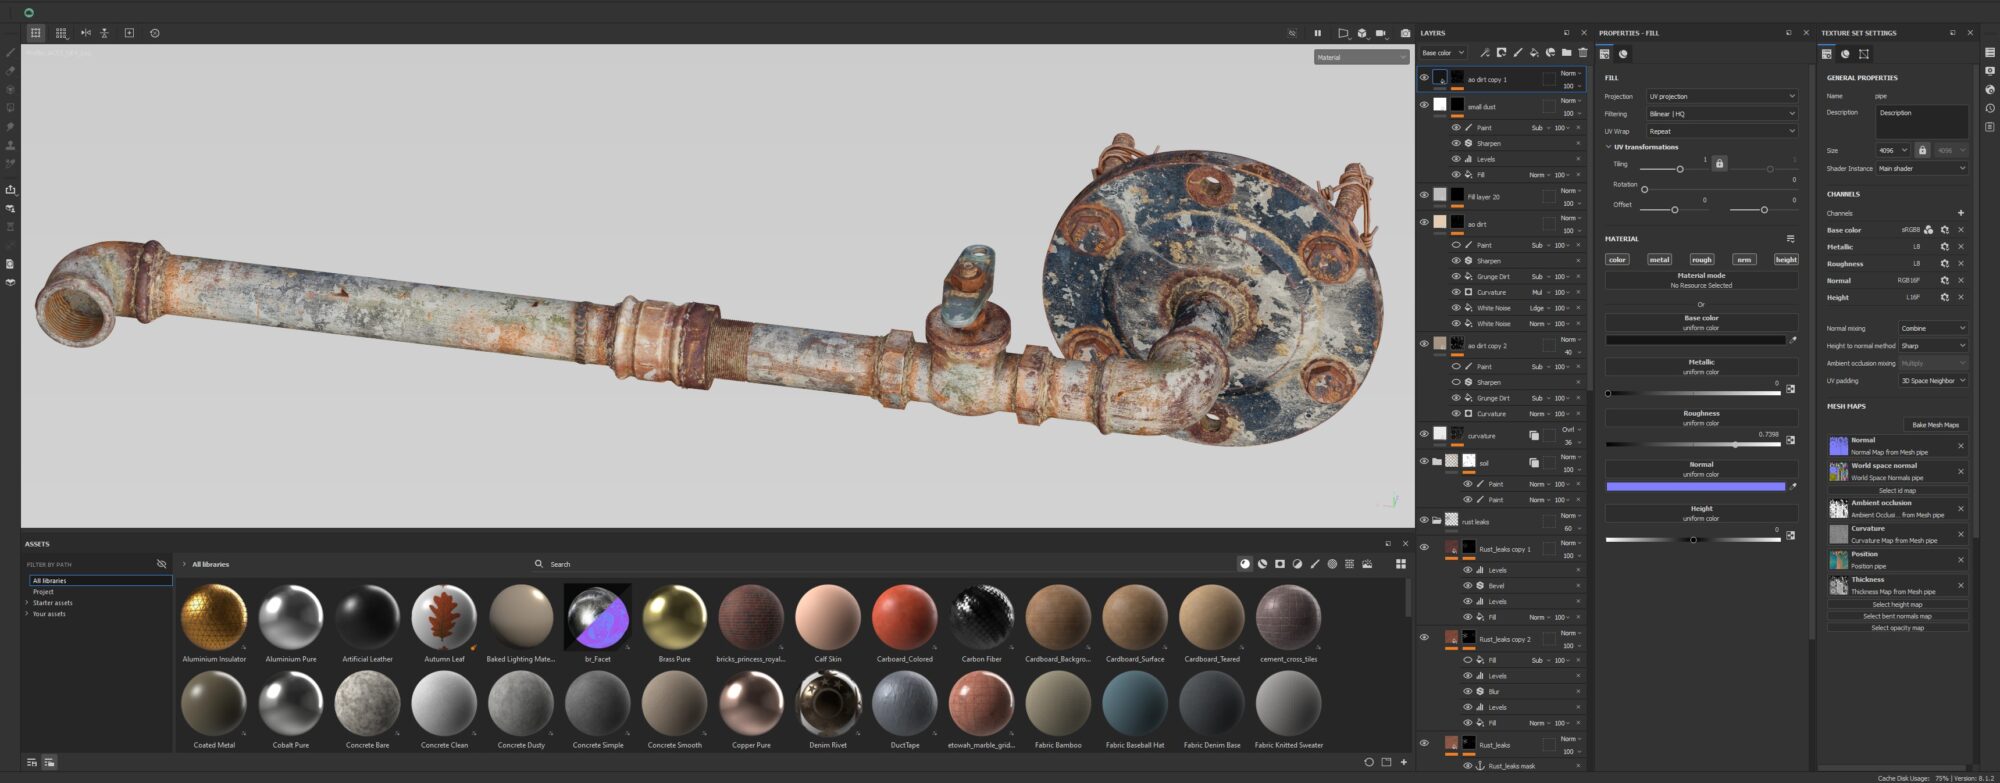
The approach for surface details that I took is usually how I go about creating a material inside of a substance painter. I just start throwing procedural in different channels, lower opacities and find something that gives me a good result.
For the sand, I just combined a grunge map with cavities and filters and paint it where I want it to be.
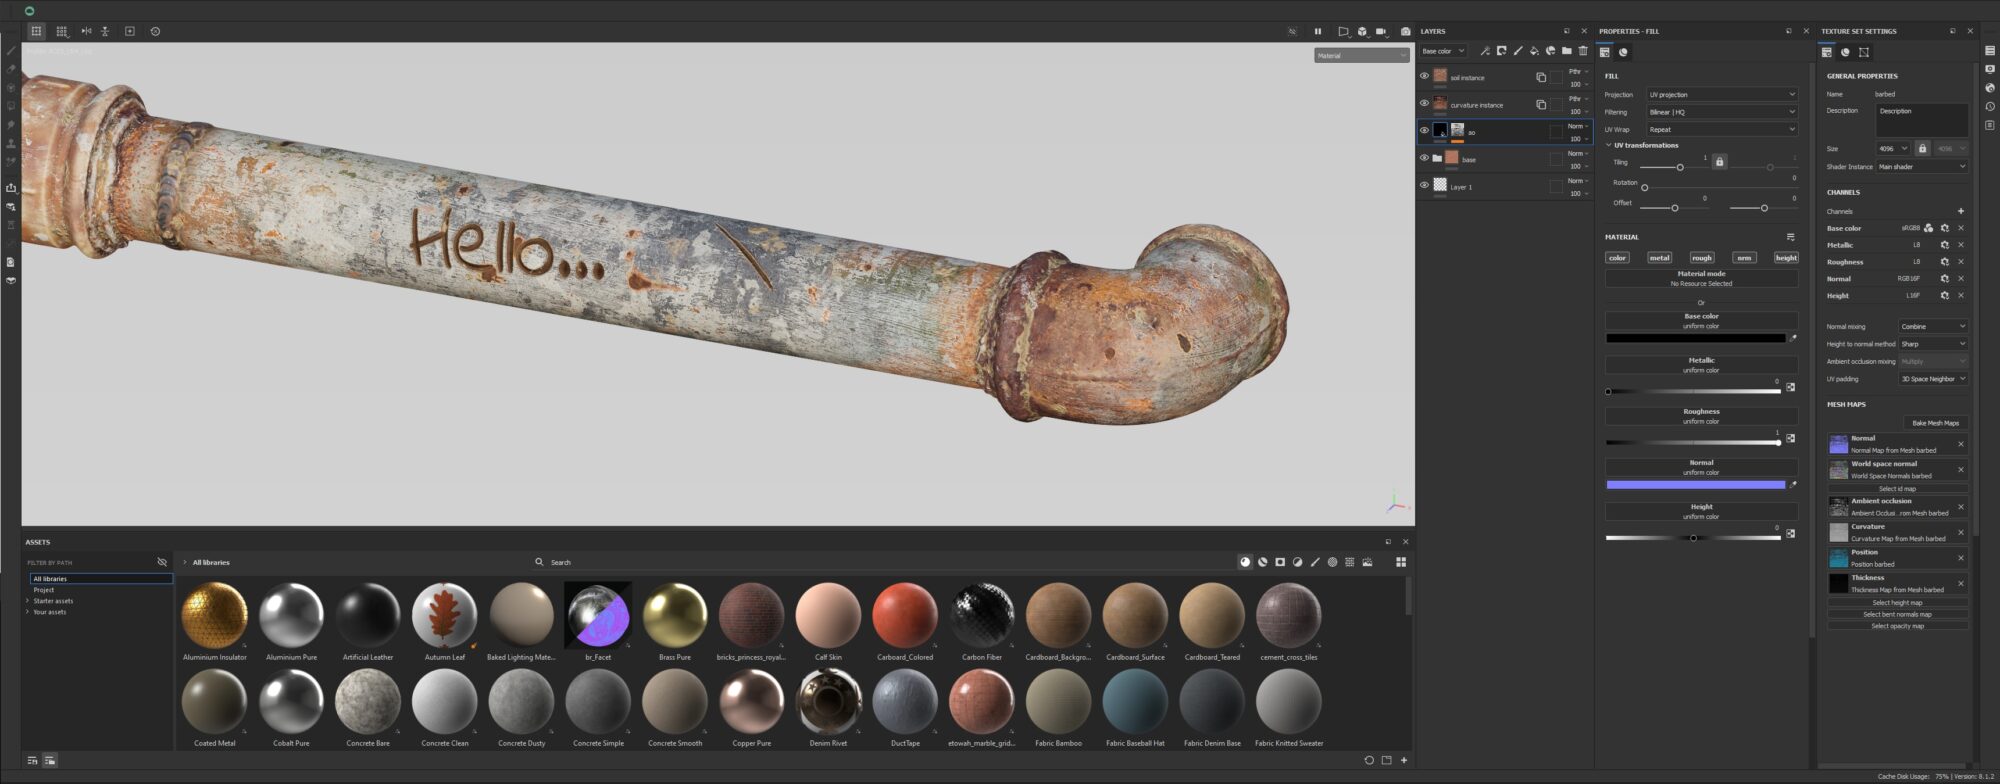
For rust, I used rust fine with different color variations, opacities, and blending modes, and place it on the surface with the help of generators, masks, stencils and a lot of hand painting.
I’ve made a set of different grunge and overlays that I carefully apply to the model, so you get more control by setting up your own. This ensures that I have a unique, personal look.

Thanks to Games Artist, and thank you so much for reading, and all of your love. I’ll always try my best to improve my Art and bring it to you.
Here is my discord server. We built this 3D Community so that passionate artists could have a place to hang out with other artists, seek help, share their knowledge, and expand their skills in a collaborative environment.
Read more articles
You might also like these articles.