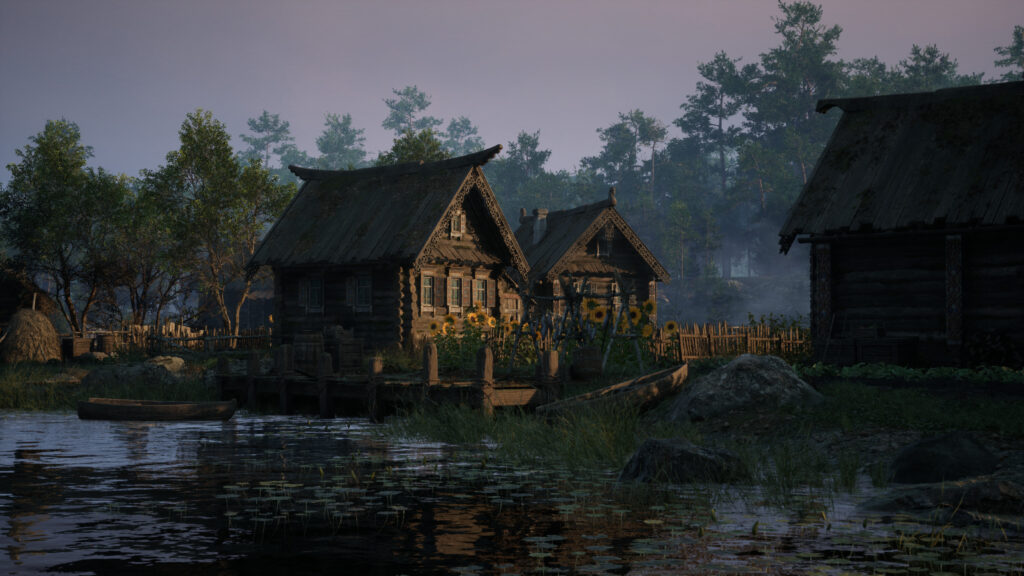
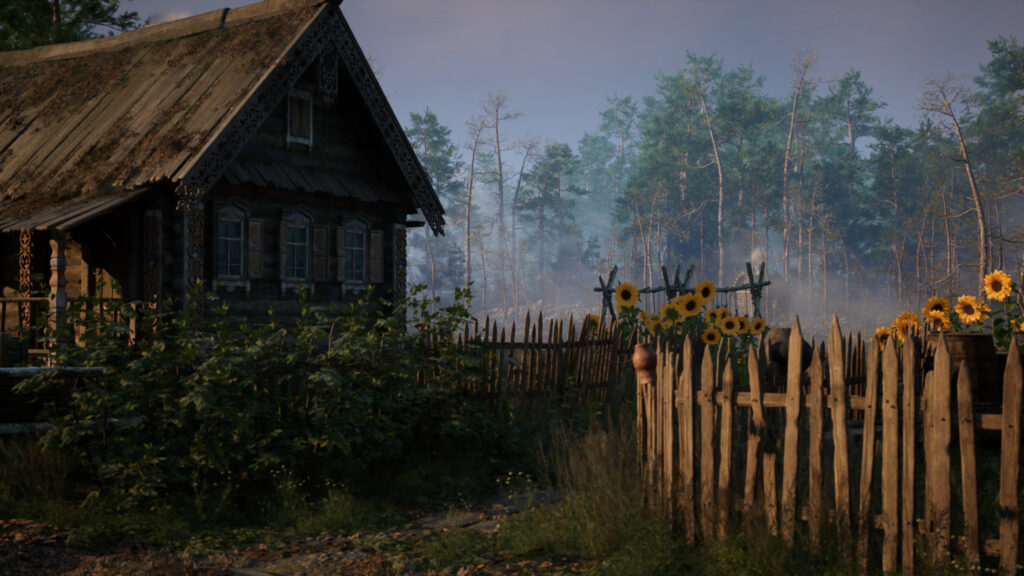
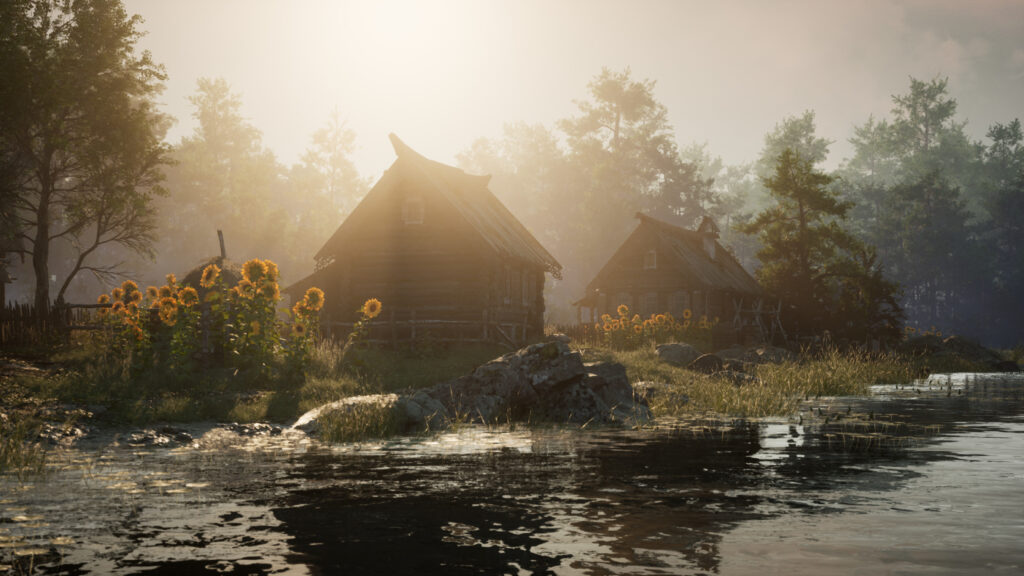
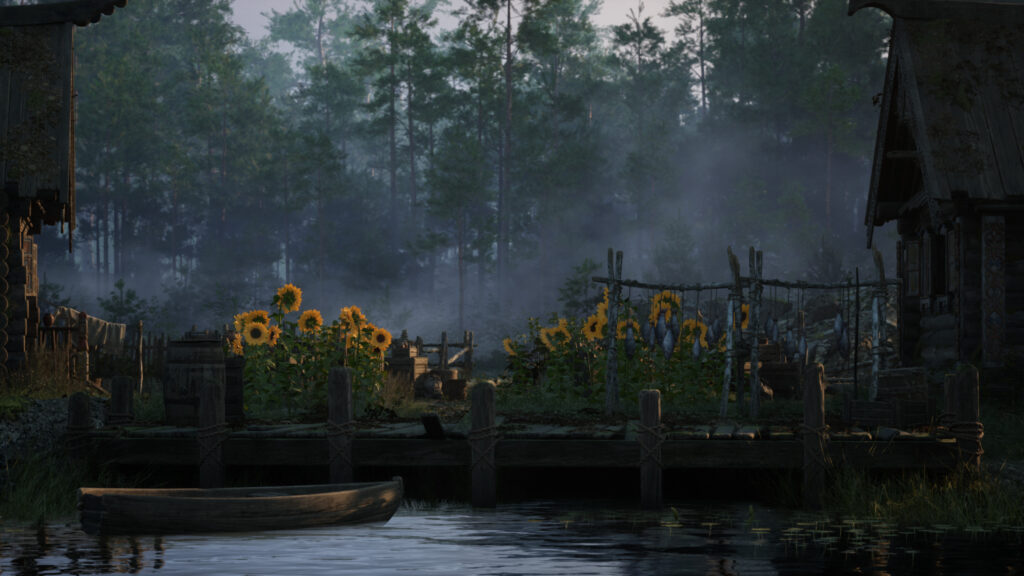
Old Slavic Village

Introduction
Hello there! I'm Anastasiia Pliusnina, an Environment Artist at People Can Fly.
Project
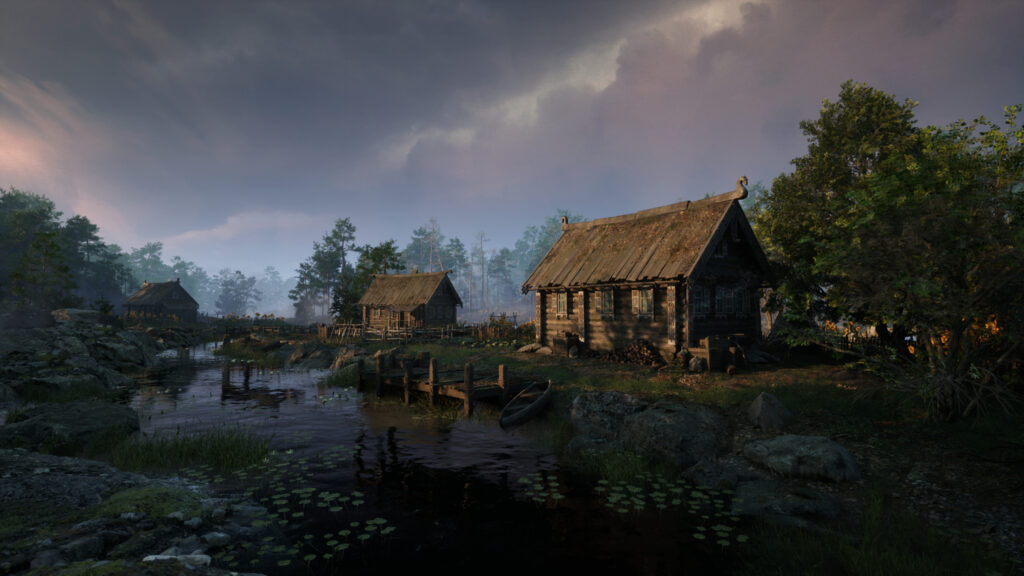
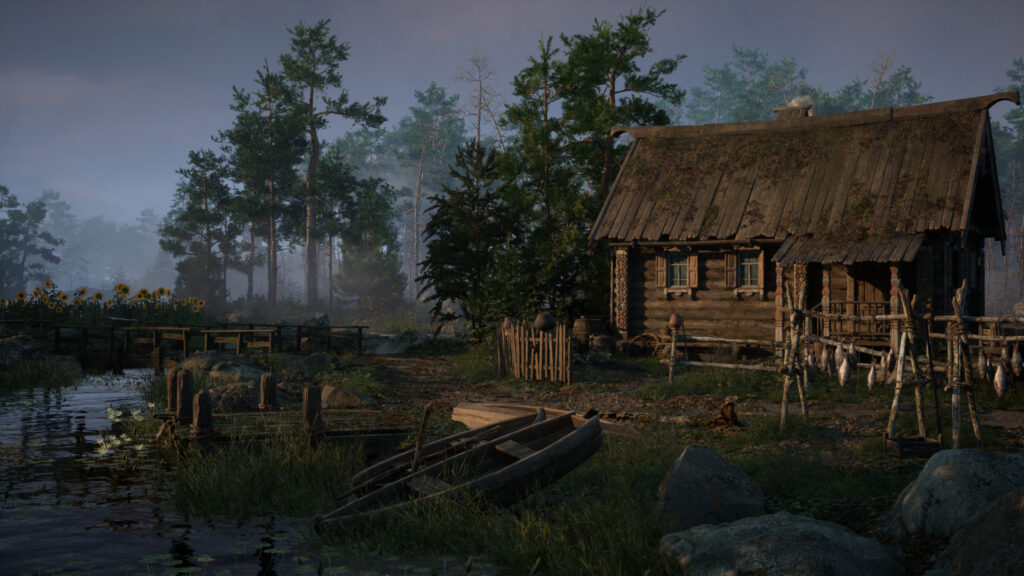
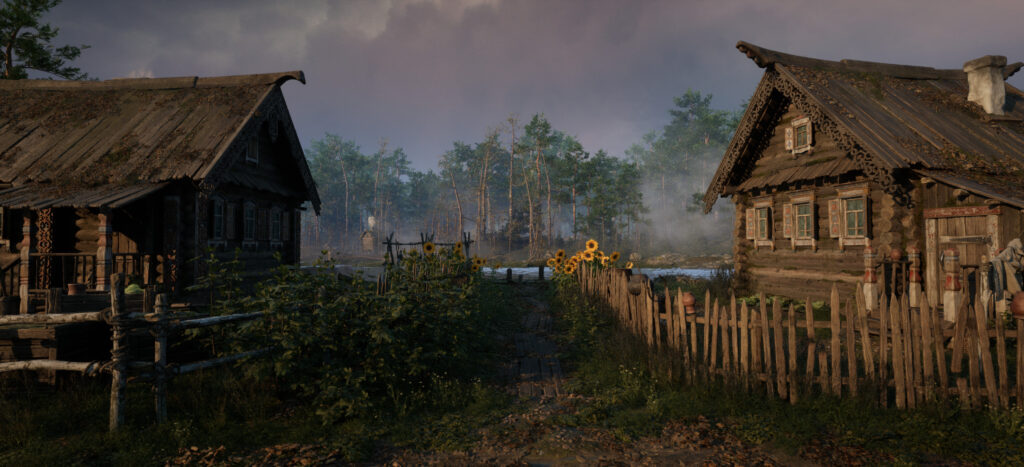
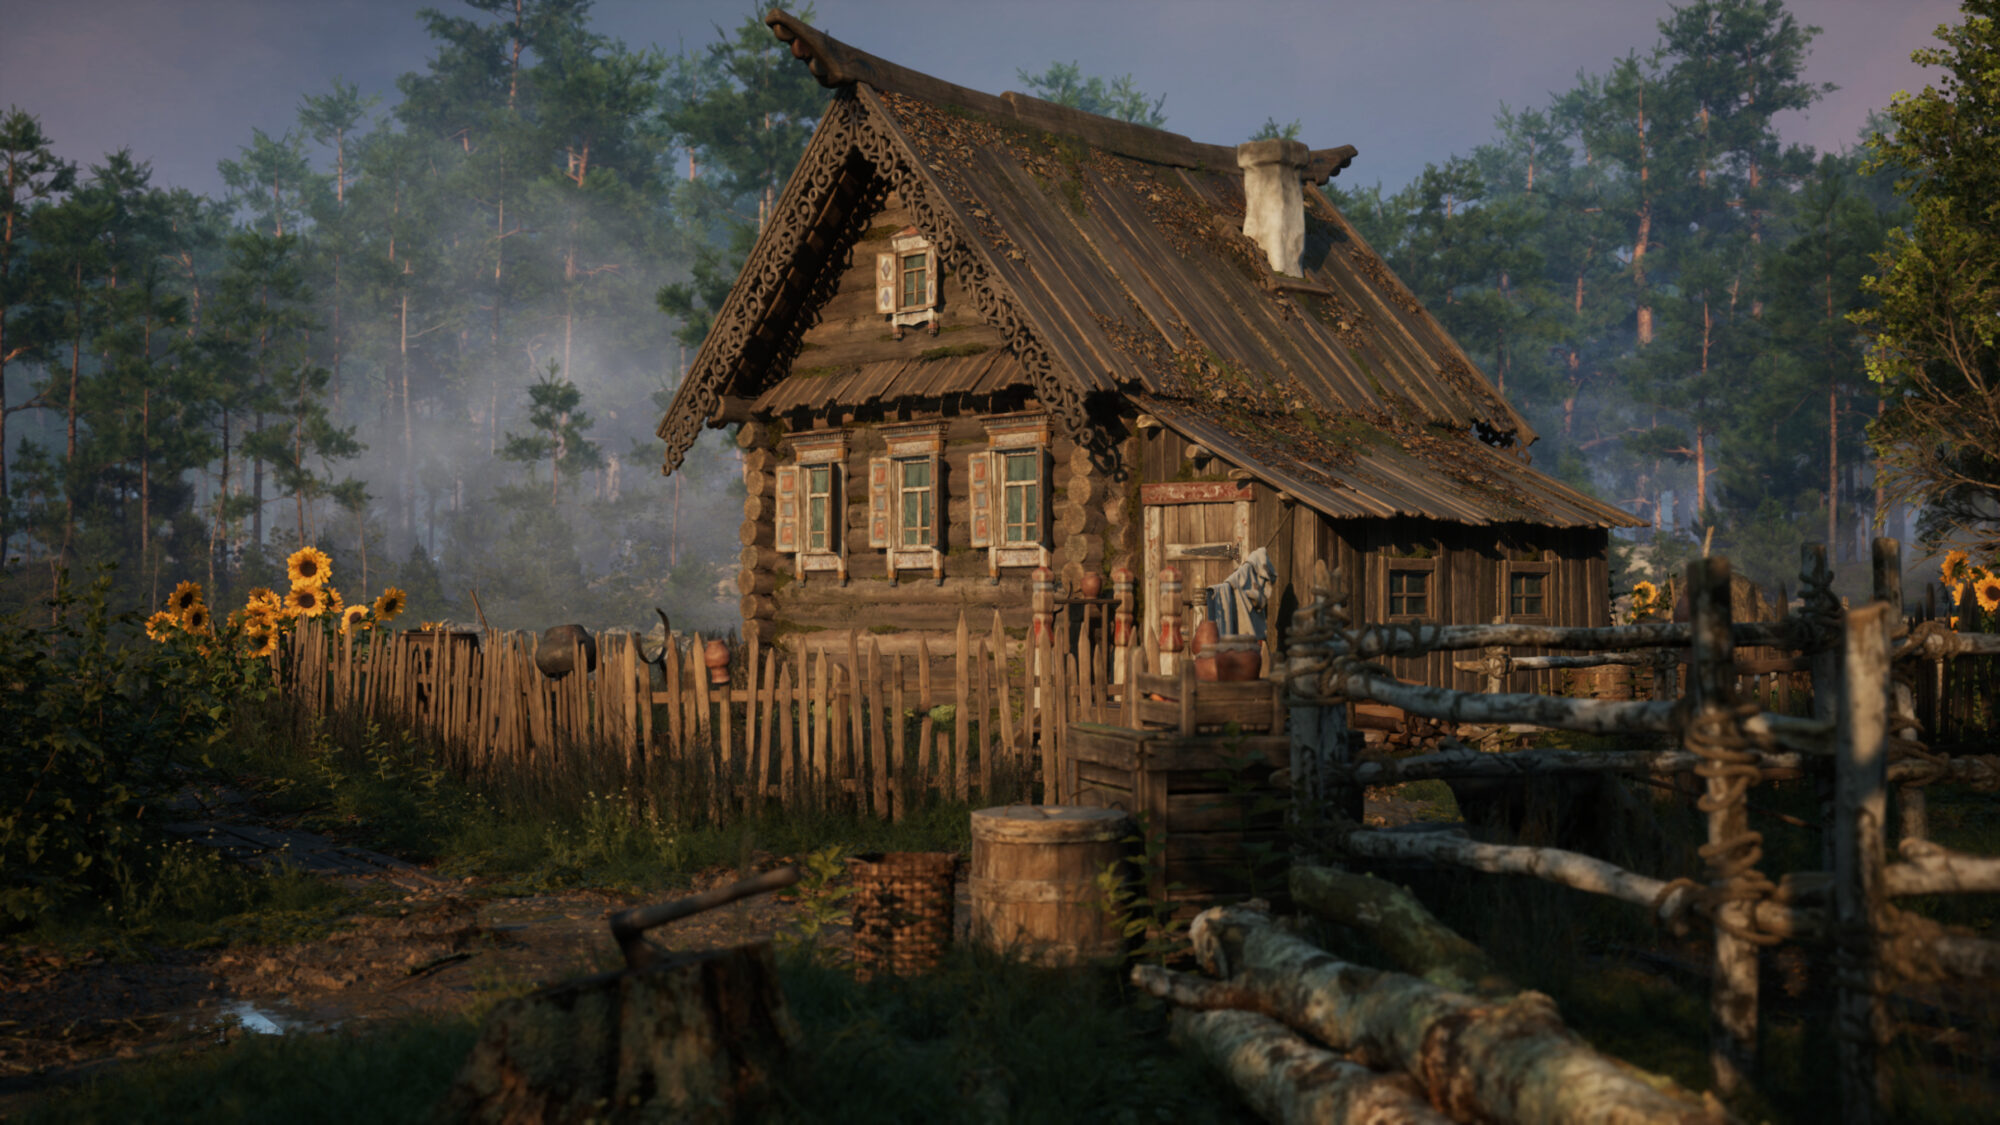
In this article, I’ll take you through the creation process of “The Village” environment, an endeavor that proved both challenging and rewarding. From the initial concept stage to the final renders, I’ll provide an inside look at the techniques I employed to create this environment.
Join me as we explore the steps taken to craft a compelling and immersive environment that transports viewers to another time and place. I’ll also delve into the obstacles I encountered along the way and the strategies I employed to overcome them.
Research & Pre-Production Stage
The research and pre-production were vital in creating captivating environment art. They set the foundation, allowing me to capture the essence of the environment I wanted to bring to life. During this stage, I immersed myself in references, gaining inspiration from the culture and architecture I aimed to recreate.
This understanding guided me in crafting an authentic and believable environment. Going beyond aesthetics, I explored unique materials and shapes defining the culture, adding an organic and genuine feel.
Additionally, delving into mythology and folklore inspired the design of the environment and props. Investing time in research and planning paid off, saving time and ensuring a higher quality result. It also added depth and meaning to the final artwork by uncovering the environment’s story and history.
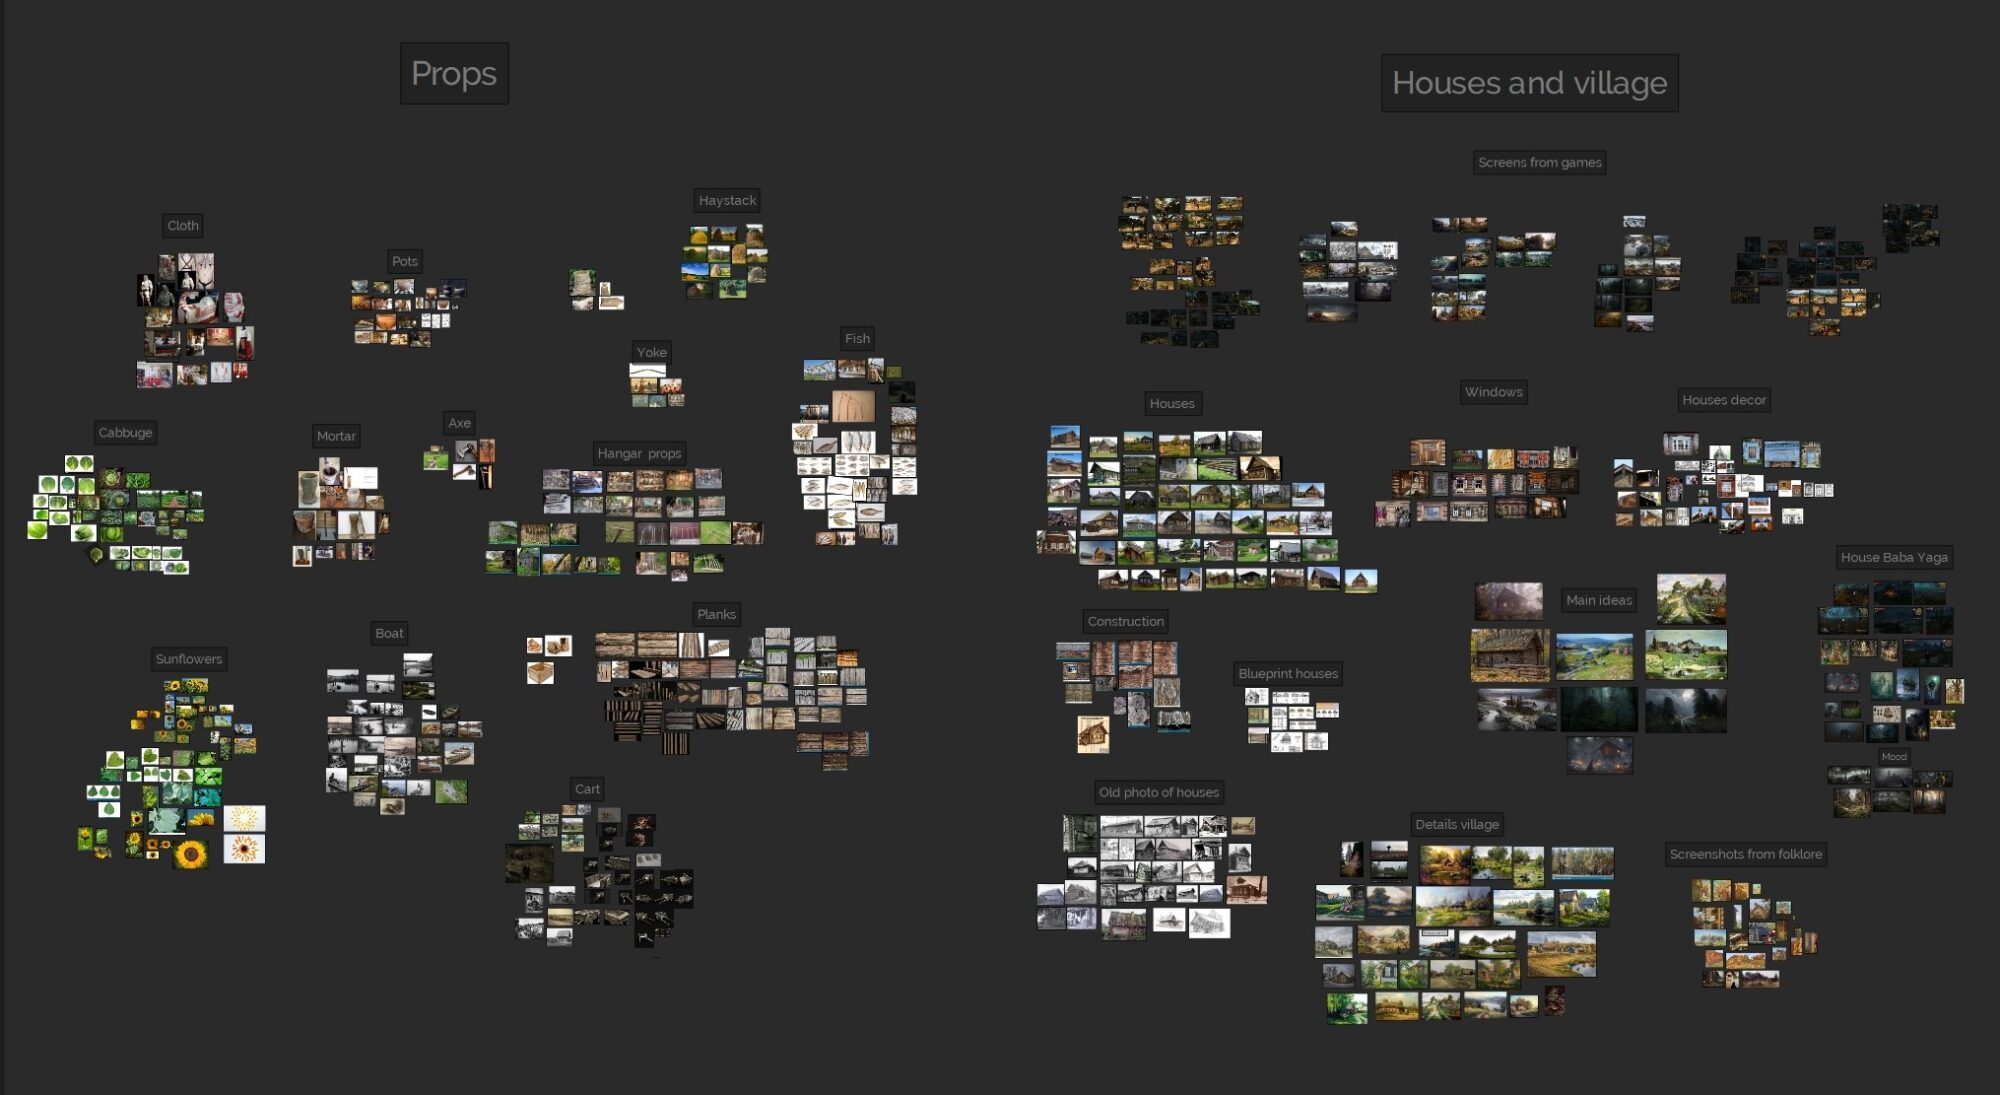
Personally, I was drawn to the enchanting atmosphere and rich mythology of old cultures.
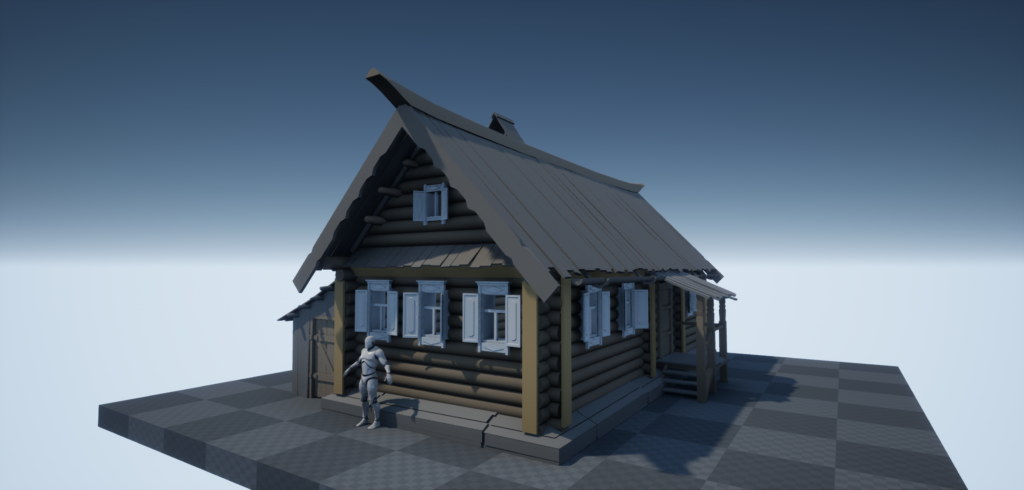
Working with wood and creating modular building assets challenged me creatively.
Tools and Software
I utilized a range of powerful tools and software to bring my complex environment art project to life.
Here’s a glimpse into the key tools I employed:
- Blender: It served as my go-to tool for modeling, UVs, blockouts, rigging, and animation of the Baba Yaga building. Its versatility allowed me to handle multiple aspects of the project efficiently.
- ZBrush: I relied on ZBrush for sculpting and adding additional details to my high-poly models.
- Rizom UV: This tool proved invaluable for UV unwrapping the Nanite meshes, simplifying the process and ensuring optimal texture placement.
- Marvelous Designer: To achieve realistic cloth simulations for the clothes and bags, I turned to Marvelous Designer, to enhance the authenticity of my creations.
- Substance Painter: This software played a pivotal role in texturing assets and achieving stunning material finishes. Its comprehensive toolset and efficient baking capabilities brought my environment to life.
- Substance Designer: I used Substance Designer to create custom tools for Substance Painter and develop unique materials.
- Unreal Engine 5: I leveraged the power of Unreal Engine 5 for custom shaders, set dressing, level creation, and final renders. Its real-time lighting capabilities allowed me to fine-tune the environment and witness instant results.
- Quixel Megascans: The extensive library of high-quality props, foliage, and textures provided by Quixel Megascans enriched my project and saved me valuable time and effort.
- DaVinci Resolve: For video montage and editing, I turned to DaVinci Resolve, enabling the seamless blending of footage and adding a professional touch to the final presentation.
These powerful tools and software played a crucial role in realizing my creative vision, facilitating an efficient and expressive process.
Blockout and Scene Setup
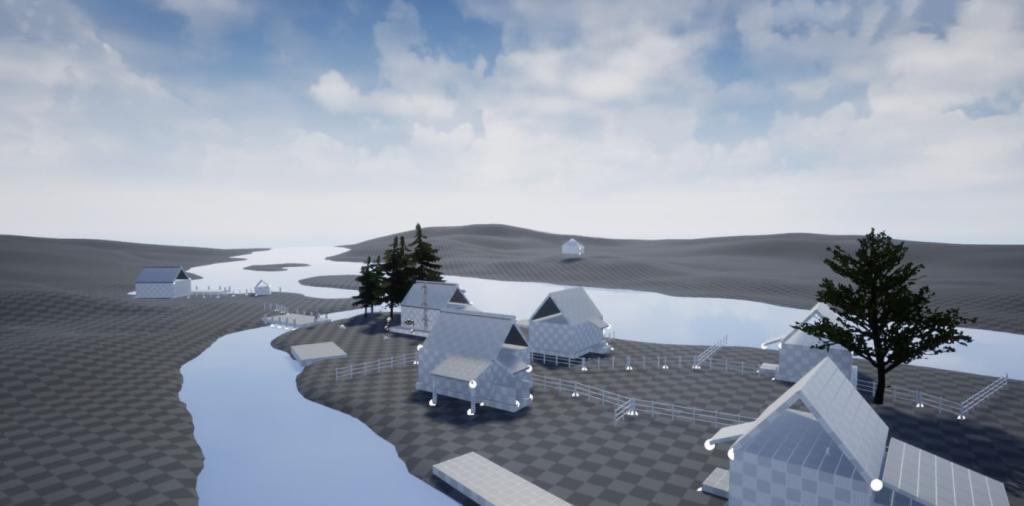
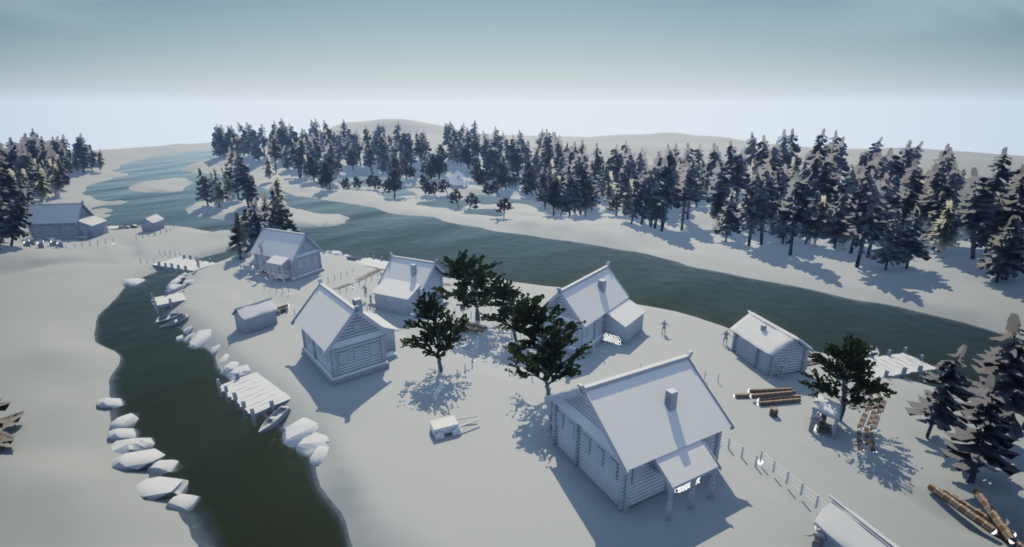
Setting the scale and proportions of the environment is crucial for an environment artist. To accomplish this, I began by creating simple blockouts of buildings in Blender. These blockouts were then imported into Unreal Engine 5. I also included a UE Mannequin as a reference to ensure proper sizing.
Once the initial blockouts were in place, I carefully planned the layout and structure of the village, allowing me to experiment with different compositions and make necessary adjustments before moving forward.
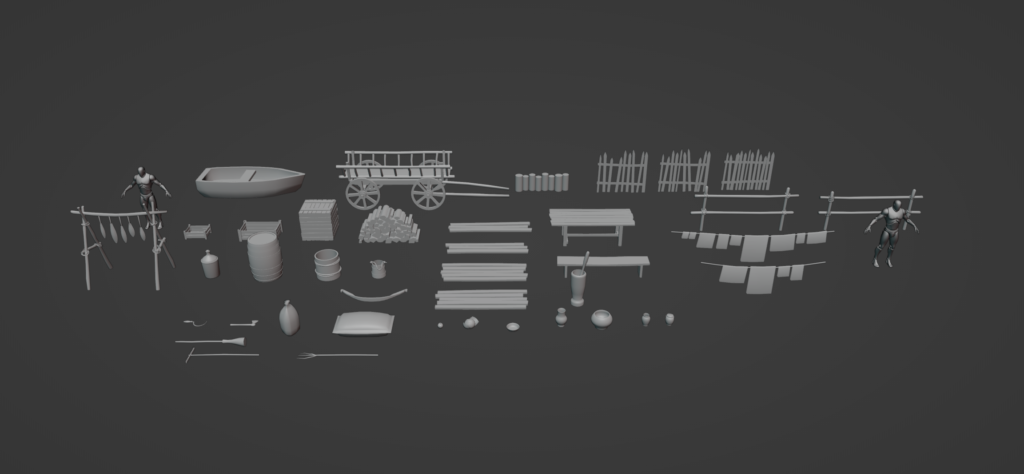
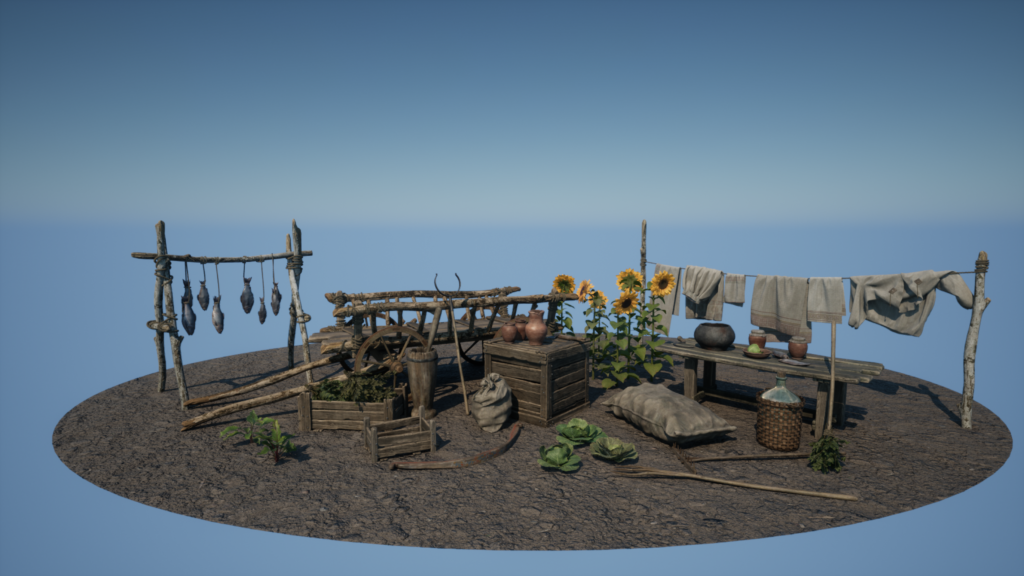
Additionally, I created blockouts for various props to populate the scene and get a better sense of the types and sizes of props needed to make the environment appealing.
Next, I added the initial materials and lighting to the scene, giving me an idea of how the environment was taking shape.
I focused on creating key materials that would contribute to the overall look and feel of the old Slavic village.
By taking the time to plan and set up the scene, I established a solid foundation for my environmental art.
This allowed me to have a clear understanding of the prop’s scope and focus on the creative aspects of the project.
Modularity
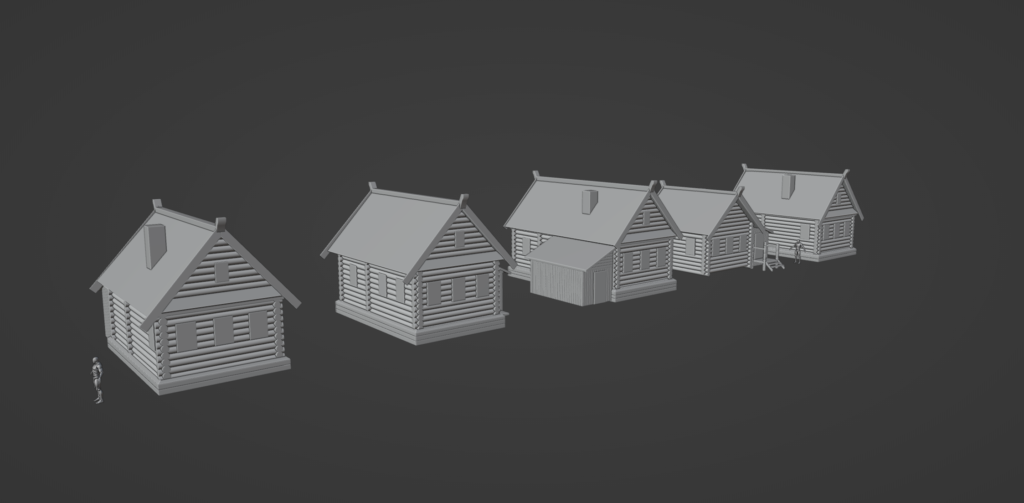
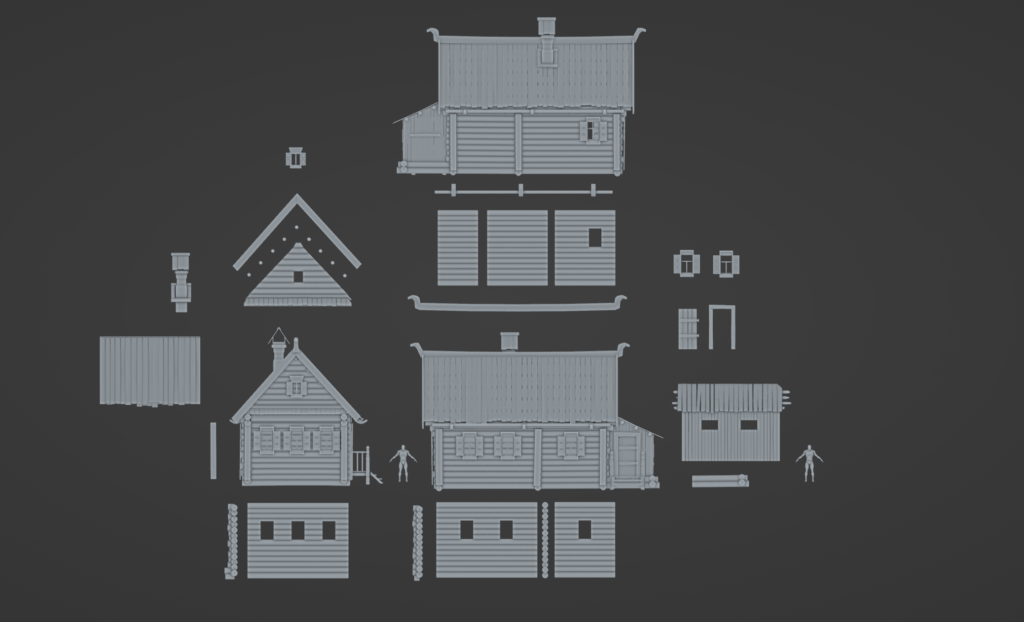
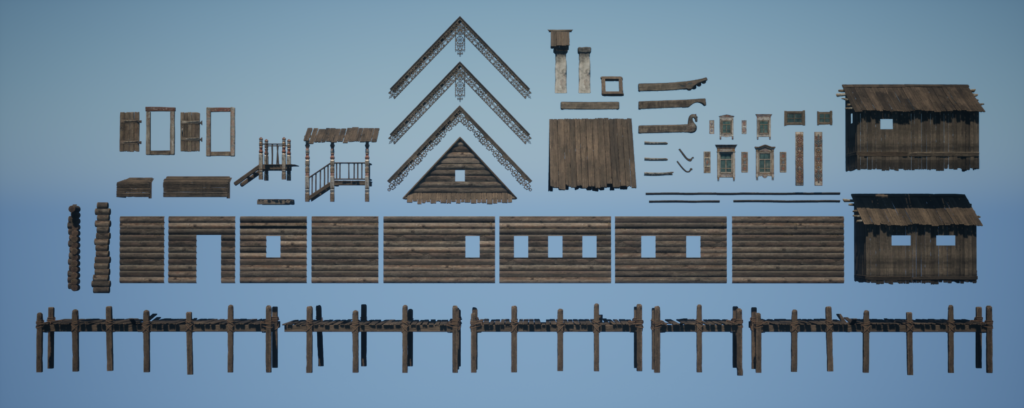
After setting up the basic scene, I turned my attention to creating a modular kit of assets, which is an essential part of my workflow in environment art. Modularity offers numerous advantages, including increased efficiency and ease of scene building, while also being mindful of technical constraints.
To achieve modularity, I designed my models and assets in a way that allows them to be easily snapped together in the engine. Each module was crafted with attention to detail to ensure a seamless and cohesive assembly. In this case, I refined a building into smaller modules.
The key benefit of modularity is the ability to create a wide variety of building configurations using a limited set of core assets. This not only speeds up my workflow but also maintains a consistent visual style throughout the environment.
Additionally, using modular assets allows for quick adjustments to the overall look and feel of the scene without the need to individually modify every asset.

In summary, modularity plays a vital role in my environment art workflow.
It enables me to work efficiently, maintain consistency, and deliver high-quality results in a streamlined manner.
Modelling
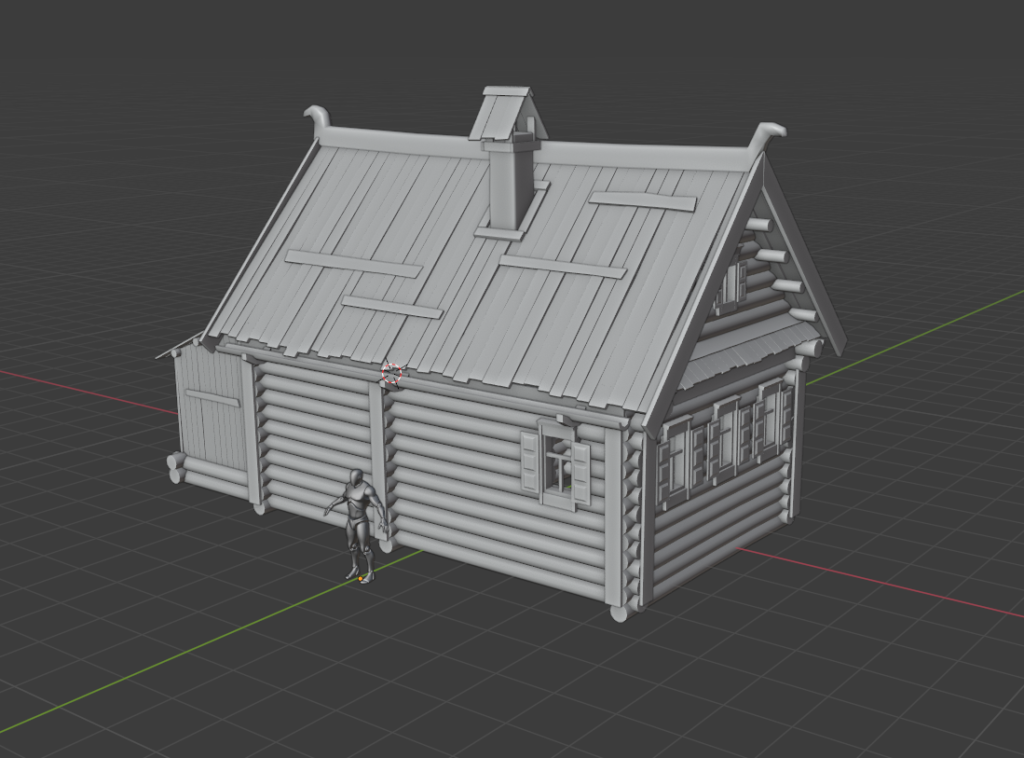
Throughout the modeling process, I heavily relied on Blender to create the diverse assets that brought the environment to life. Blender’s extensive toolset provided me with a wide range of modeling capabilities, allowing me to craft various elements such as buildings, props, and natural features.
Using Blender, I began by blocking out the basic shapes and forms of each asset, laying the foundation for further refinement. Blender’s intuitive interface and efficient workflow enabled me to iterate rapidly, experimenting with different proportions, angles, and details until achieving the desired look and feel for each asset.
For assets requiring intricate details, I turned to Zbrush. Zbrush became an invaluable tool for adding elaborate touches to the models. Its advanced sculpting brushes, dynamic tessellation, and displacement capabilities allowed me to project lifelike textures, ornate patterns, and subtle nuances onto the surfaces of the assets.

Throughout the iterations and refinements, I paid close attention to the geometry, ensuring optimized and efficient models that performed well within the constraints of the game engine.
This involved proper topology, efficient UV unwrapping, and consideration of performance and optimization factors.
Cloth Simulations
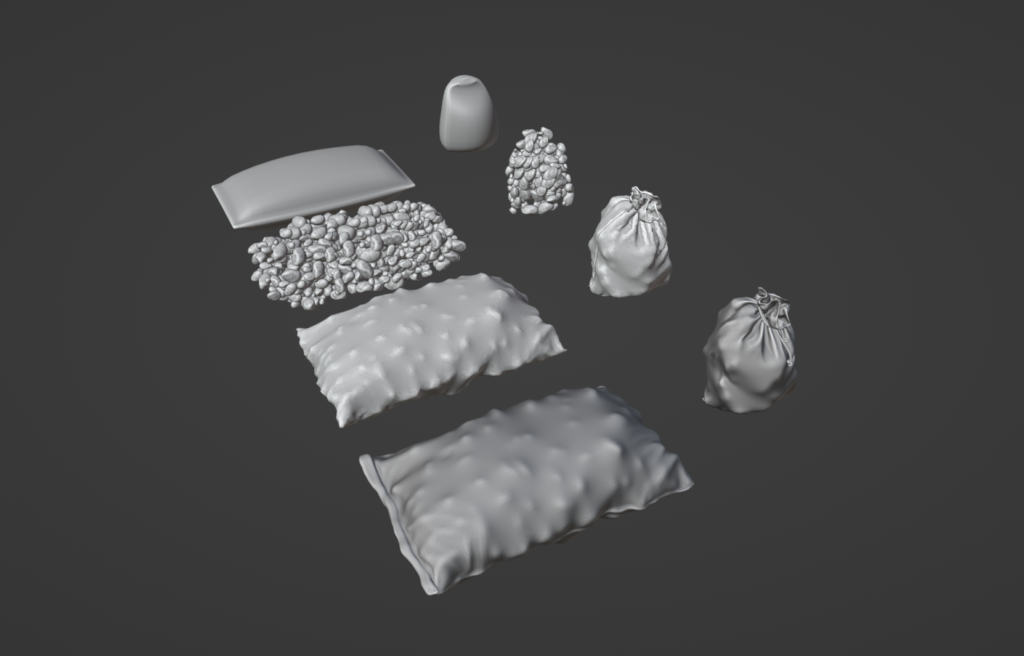
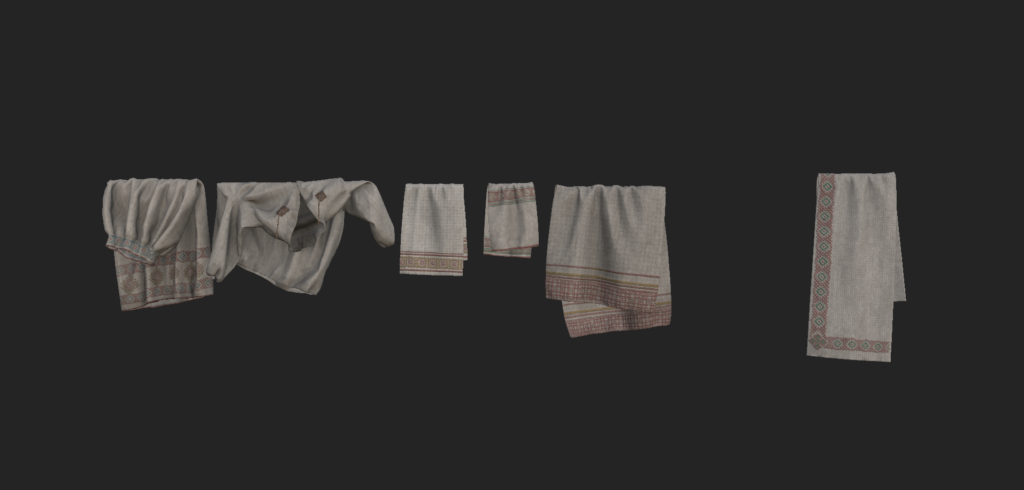
To achieve realistic clothing and bag simulations, I utilized Marvelous Designer. This software allowed me to create natural-looking drapery and accurately simulate the clothes and bags. With Marvelous Designer’s advanced simulation capabilities, I could generate lifelike folds, creases, and wrinkles in the fabric.
This added a sense of realism and authenticity to the clothes. I used Zbrush to refine the simulation results.
Texturing
After completing the modeling process, I moved on to the texturing phase to enhance the visual appeal of the assets.
To accomplish this, I utilized Substance Painter, which provided me with the necessary tools to create high-quality textures for my props.
During the texturing process, I also used Substance Designer to create custom filters and masks. These filters and masks allowed me to enhance the texture and details of the props, resulting in unique and captivating textures for each asset.
By utilizing custom masks in Substance Designer, I was able to optimize my texturing workflow in Substance Painter and gain better control over the final appearance of the textures. The seamless integration between Substance Designer and Substance Painter facilitated a smooth texturing workflow, enabling me to leverage the strengths of both software effectively.
Through the combination of Substance Painter’s capabilities and the customizability offered by Substance Designer, I was able to imbue the assets with depth, realism, and visual interest.
After texturing my assets, I frequently check them in the game engine to ensure they appear as intended. This step is crucial because textures can sometimes look different in the software used for texturing compared to their final appearance in Unreal Engine.
By reviewing the assets in the engine, I can verify that they maintain the desired look and feel within the intended environment.
Foliage
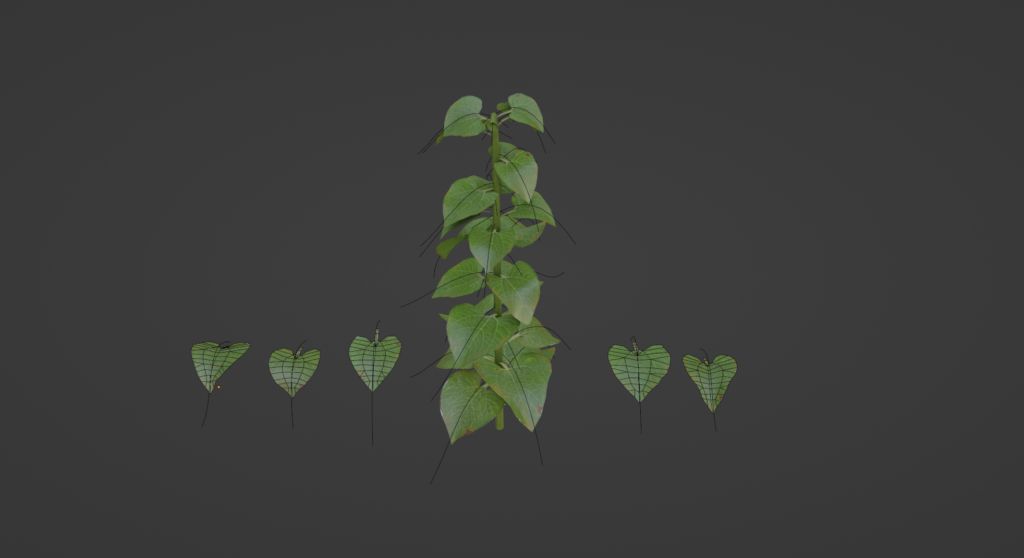
Creating the foliage in my environment required a combination of Quixel Megascans trees and custom-made plants, adding depth and visual interest to the scene. The process began by crafting texture atlases using photographs of leaves, which served as a foundation for sculpting the plant assets in Zbrush.
This allowed me to shape and refine each plant, capturing the organic details that contribute to their realistic appearance.

Once the sculpting phase was complete, I proceeded to bake the results and continued with texturing using Substance Painter.
This step added the necessary visual richness and realism to the plants, ensuring they harmonized seamlessly with the rest of the environment.

In Blender, I employed the technique of object instancing to assemble the individual components of the plant models. By using object instancing, I could create duplicates or instances of a single component and place them in various positions, orientations, and scales to build up the complete plant structure.
This allowed for efficient management of the plant assets while maintaining consistency in shape and form.
Additionally, I utilized the versatile curves feature to precisely position individual assets and achieve more organic arrangements.
By creating a curve path, I could easily manipulate its shape and control the placement of the assets along its length. With the help of the array modifier, I could duplicate and distribute the assets along the curve, resulting in a natural and flowing distribution of the plants.
This technique allowed for greater control over the placement and arrangement of the individual assets, adding an extra level of realism to the foliage in the environment.
Finally, I imported plant models into Unreal Engine, where I utilized the powerful foliage tools provided by the engine.
Leveraging these tools, I scattered the plants throughout the environment, carefully considering their placement to create an immersive and naturalistic scene.
This step allowed me to populate the environment with a diverse array of plants, adding depth, variation, and a sense of organic growth.

By combining Quixel Megascans trees with my custom-made plants, I was able to create captivating and visually rich foliage for the environment.
The careful attention to sculpting, texturing, and arrangement ensured that the plants seamlessly integrated into the scene, enhancing its overall beauty and realism.
Lighting
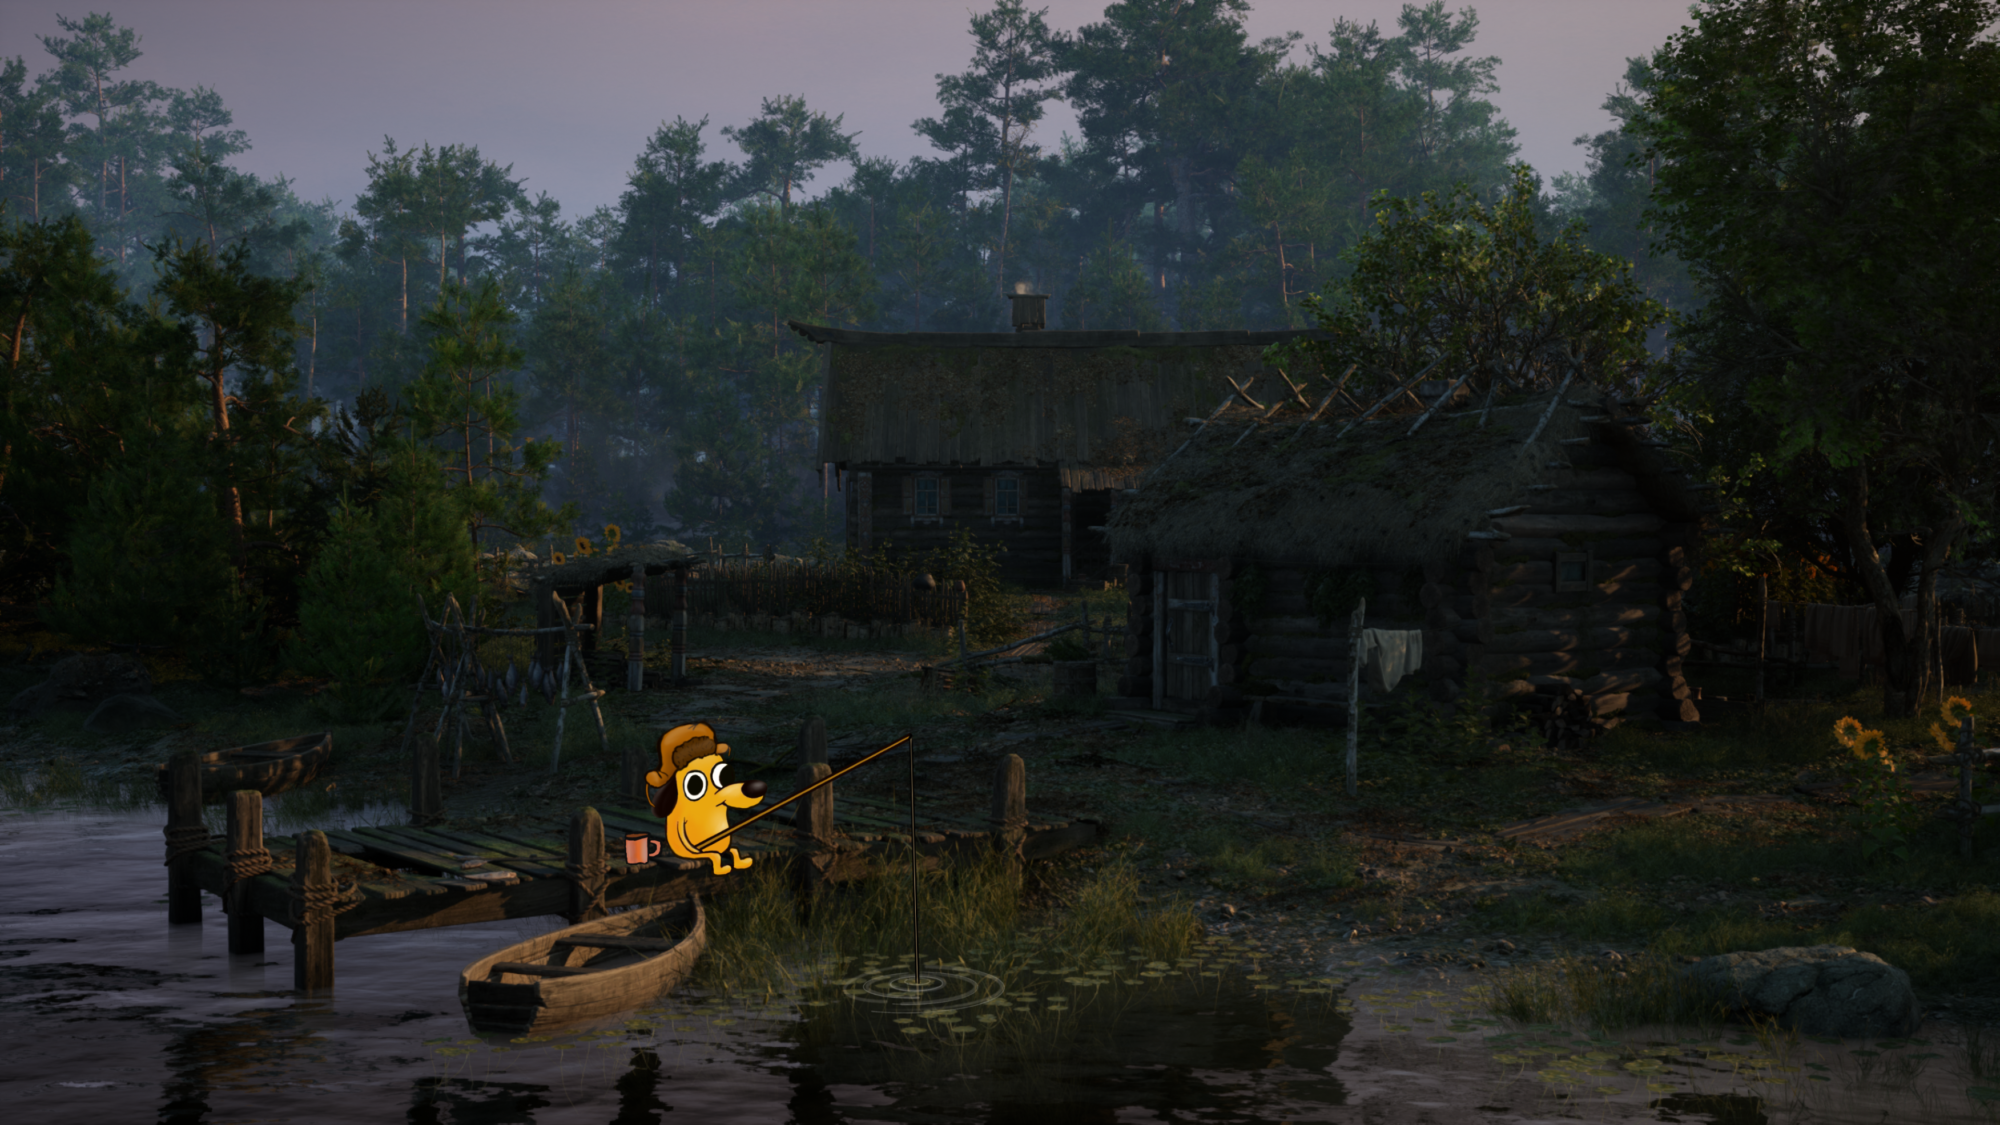
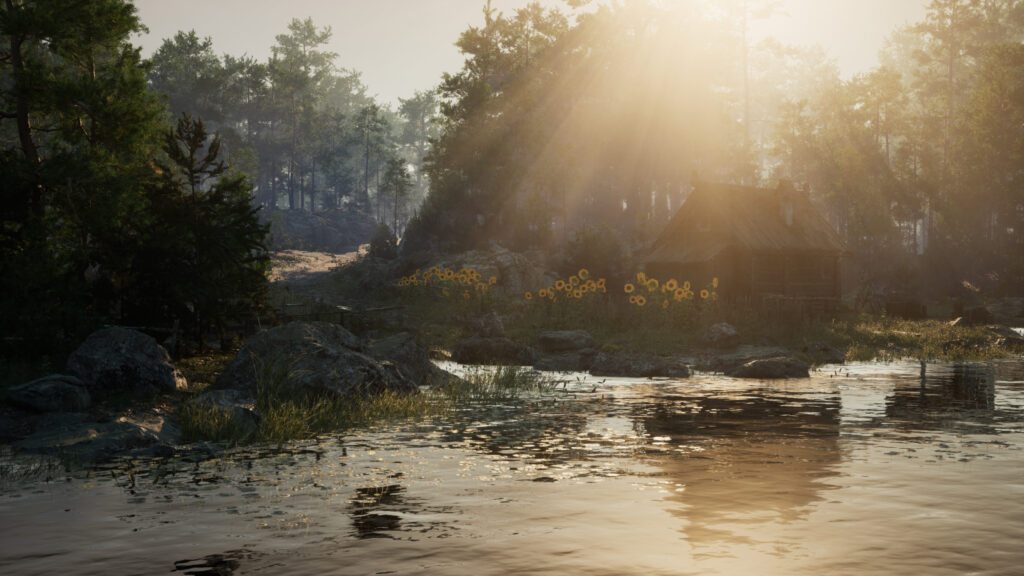
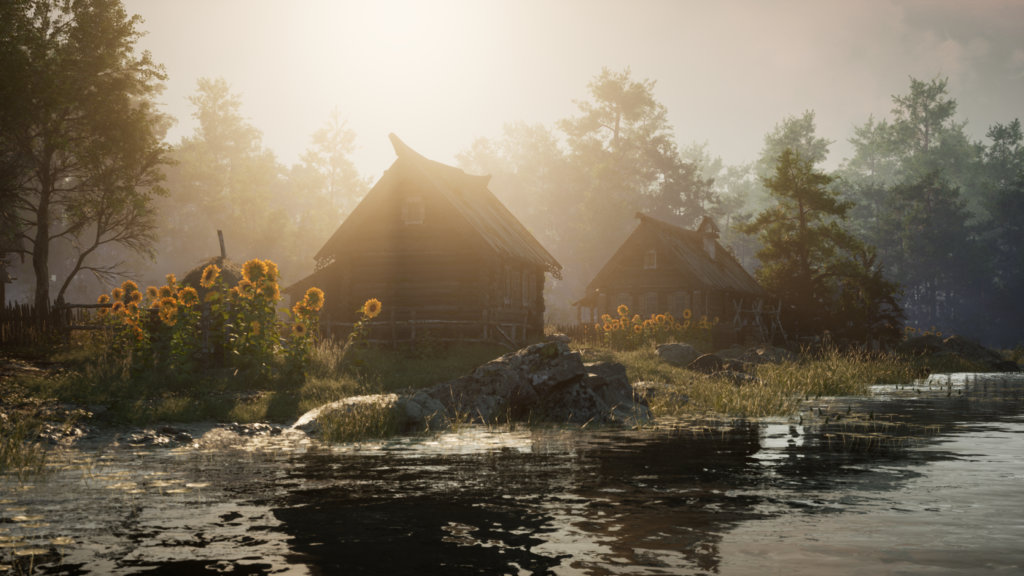
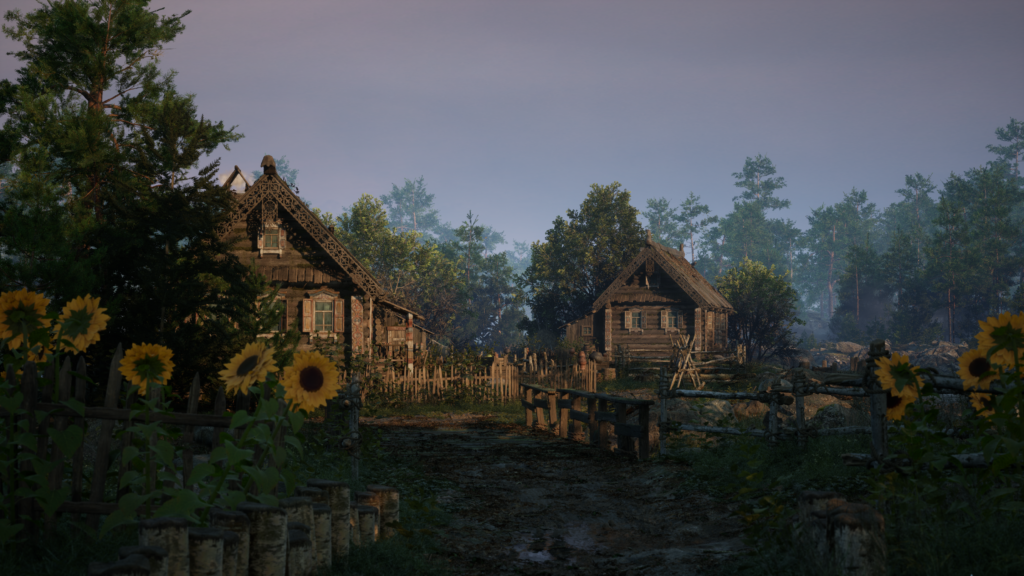
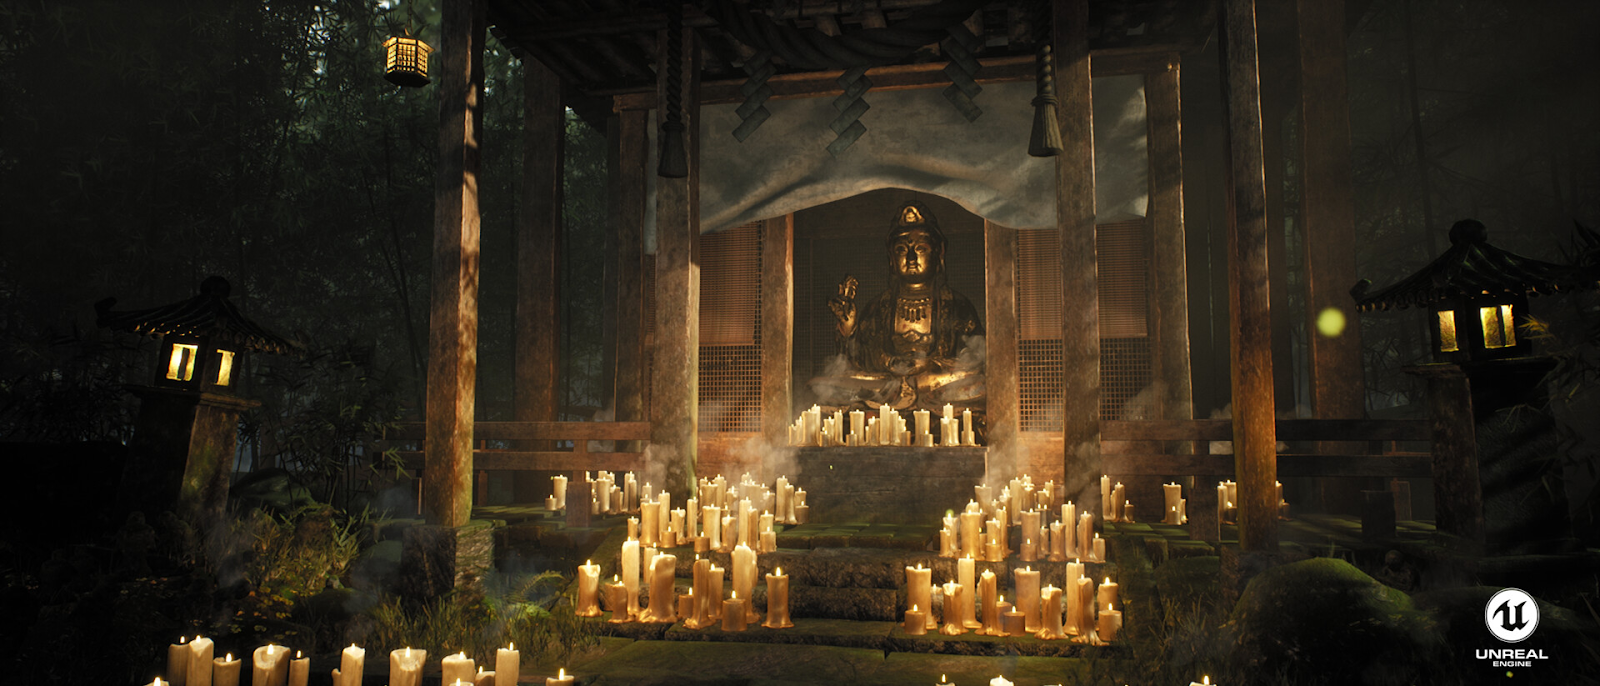
The lighting I created played a crucial role in bringing my environment to life. Using Lumen technology, I crafted a captivating and immersive experience for viewers. By selecting dawn as the time of day, I established a serene and mysterious atmosphere that enveloped the village.
I carefully fine-tuned the lighting to achieve the desired mood and ambiance. Soft, warm light gently illuminated the buildings, casting long shadows to add depth and interest. The interplay of light and shadow enticed viewers to explore every corner of the village.
With the power of Lumen, I achieved realistic and interactive lighting effects. The technology simulated the behavior of light in real-time, adding authenticity and immersing viewers in the enchanting world of the old Slavic village.
The deliberate manipulation of lighting not only enhanced the visual appeal but also contributed to the storytelling. The gentle illumination evoked feelings of tranquility and nostalgia, transporting viewers to a bygone era. The interplay of light and shadow hinted at the rich folklore and mythical tales woven into Slavic culture.
Conclusion
To wrap up, creating environment art is a fulfilling and intricate process that requires attention to detail and a passion for storytelling. Throughout this article, I’ve shared my journey of creating an old Slavic village and the techniques I employed to bring it to life.
Aspiring environment artists can benefit from the following tips:
- Research and Plan: Take the time to gather references and study the culture, architecture, and mythology relevant to your environment. This groundwork will enable you to create a believable and authentic setting.
- Embrace Modularity: Build your assets in a modular fashion to promote efficiency and flexibility. By utilizing a modular approach, you can create diverse scenes while maintaining consistency and reusability.
- Pay Attention to Texturing: Invest time in texturing to bring depth and realism to your environment. Tools like Substance Painter and Substance Designer offer powerful features for creating high-quality textures.
- Experiment with Lighting: Lighting sets the mood and atmosphere of your environment. Explore different lighting setups and techniques to evoke the desired emotions and enhance the storytelling aspect.
- Iterate and Seek Feedback: Continuously refine and iterate on your work. Seek feedback from peers, mentors, or online communities to gain valuable insights and improve your skills.
- Embrace the Learning Journey: Keep learning and expanding your skill set. Stay up-to-date with the latest trends, techniques, and software updates in the field of environment art.
By following these tips and remaining dedicated to your craft, you can create stunning environments that transport viewers to captivating worlds.
Remember, each project is an opportunity to learn, grow, and push the boundaries of your creativity.
So, embrace the challenges, enjoy the process, and let your imagination soar.
Happy creating!
