
Introduction
Hi all! I'm Anna Voskovskaya, and I'm 24 years old. I've been working in the Games Industry as a 3D Prop Artist for about 3 years now. My educational background is in Fine Arts.
I started learning 3D about 4 years ago. One day, I saw some acquaintances taking a 3D course and immediately wanted to try it myself, as I've always loved drawing and playing video games since childhood.
In the early stages of my learning, my mentor was Gleb Zyuzin. I would like to thank him for his assistance at every step.
Goals
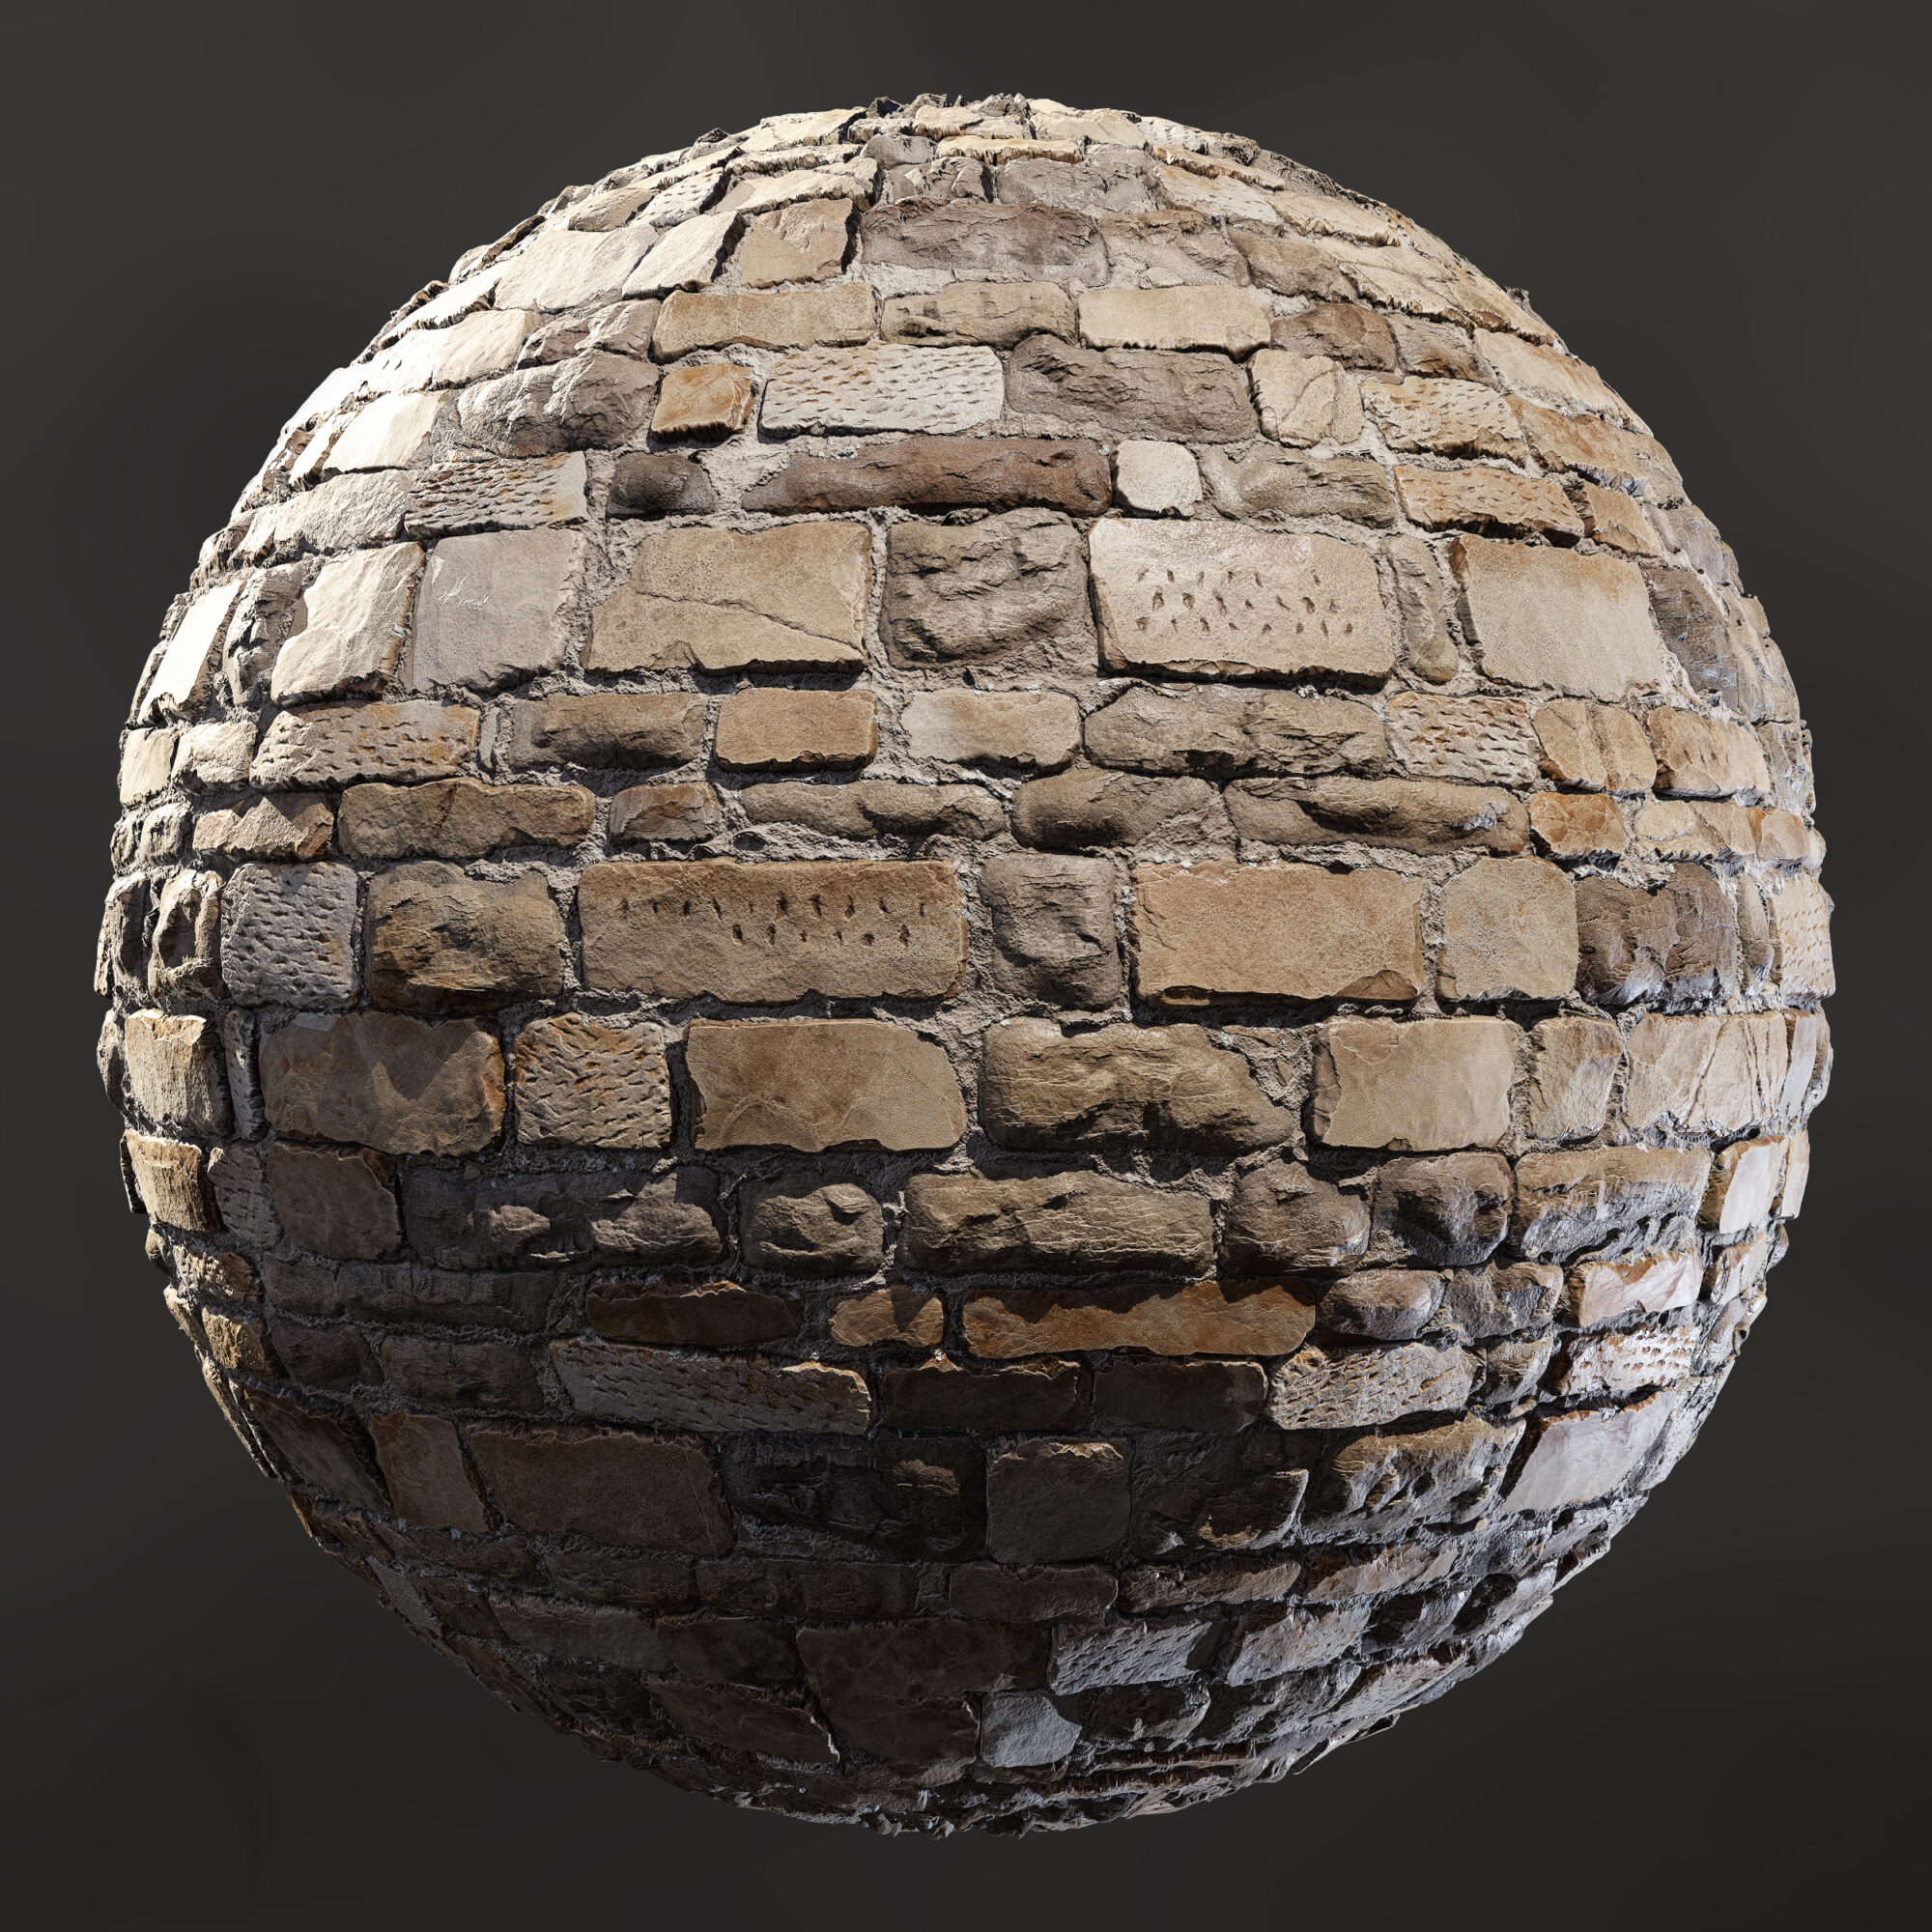
Working on this project set an important goal for me – to improve my skills in realistic texturing and sculpting. Based on my experience in the field of stylization, I decided to experiment with new techniques and approaches.
During this process, I realized that my interest in realism was much greater than I expected, opening up new possibilities in the creative process for me.
When working on details, my main task was to accurately convey proportions and details.
This required careful analysis and attention to detail in the reference, ensuring that each element looked authentic and believable.
However, when it came to working with textures, I decided to give the model some individuality and add a personal touch.
To achieve this, I used additional references, which helped me leave my mark on the project. This allowed me to experiment with various texture effects and add unique details.
This project not only provided an opportunity to expand my skill set but also revealed my passion for creating realistic textures.
Software
- PureRef
- ZBrush
- Blender
- RizomUV
- Marmoset Toolbag
- Substance Painter
Design and References
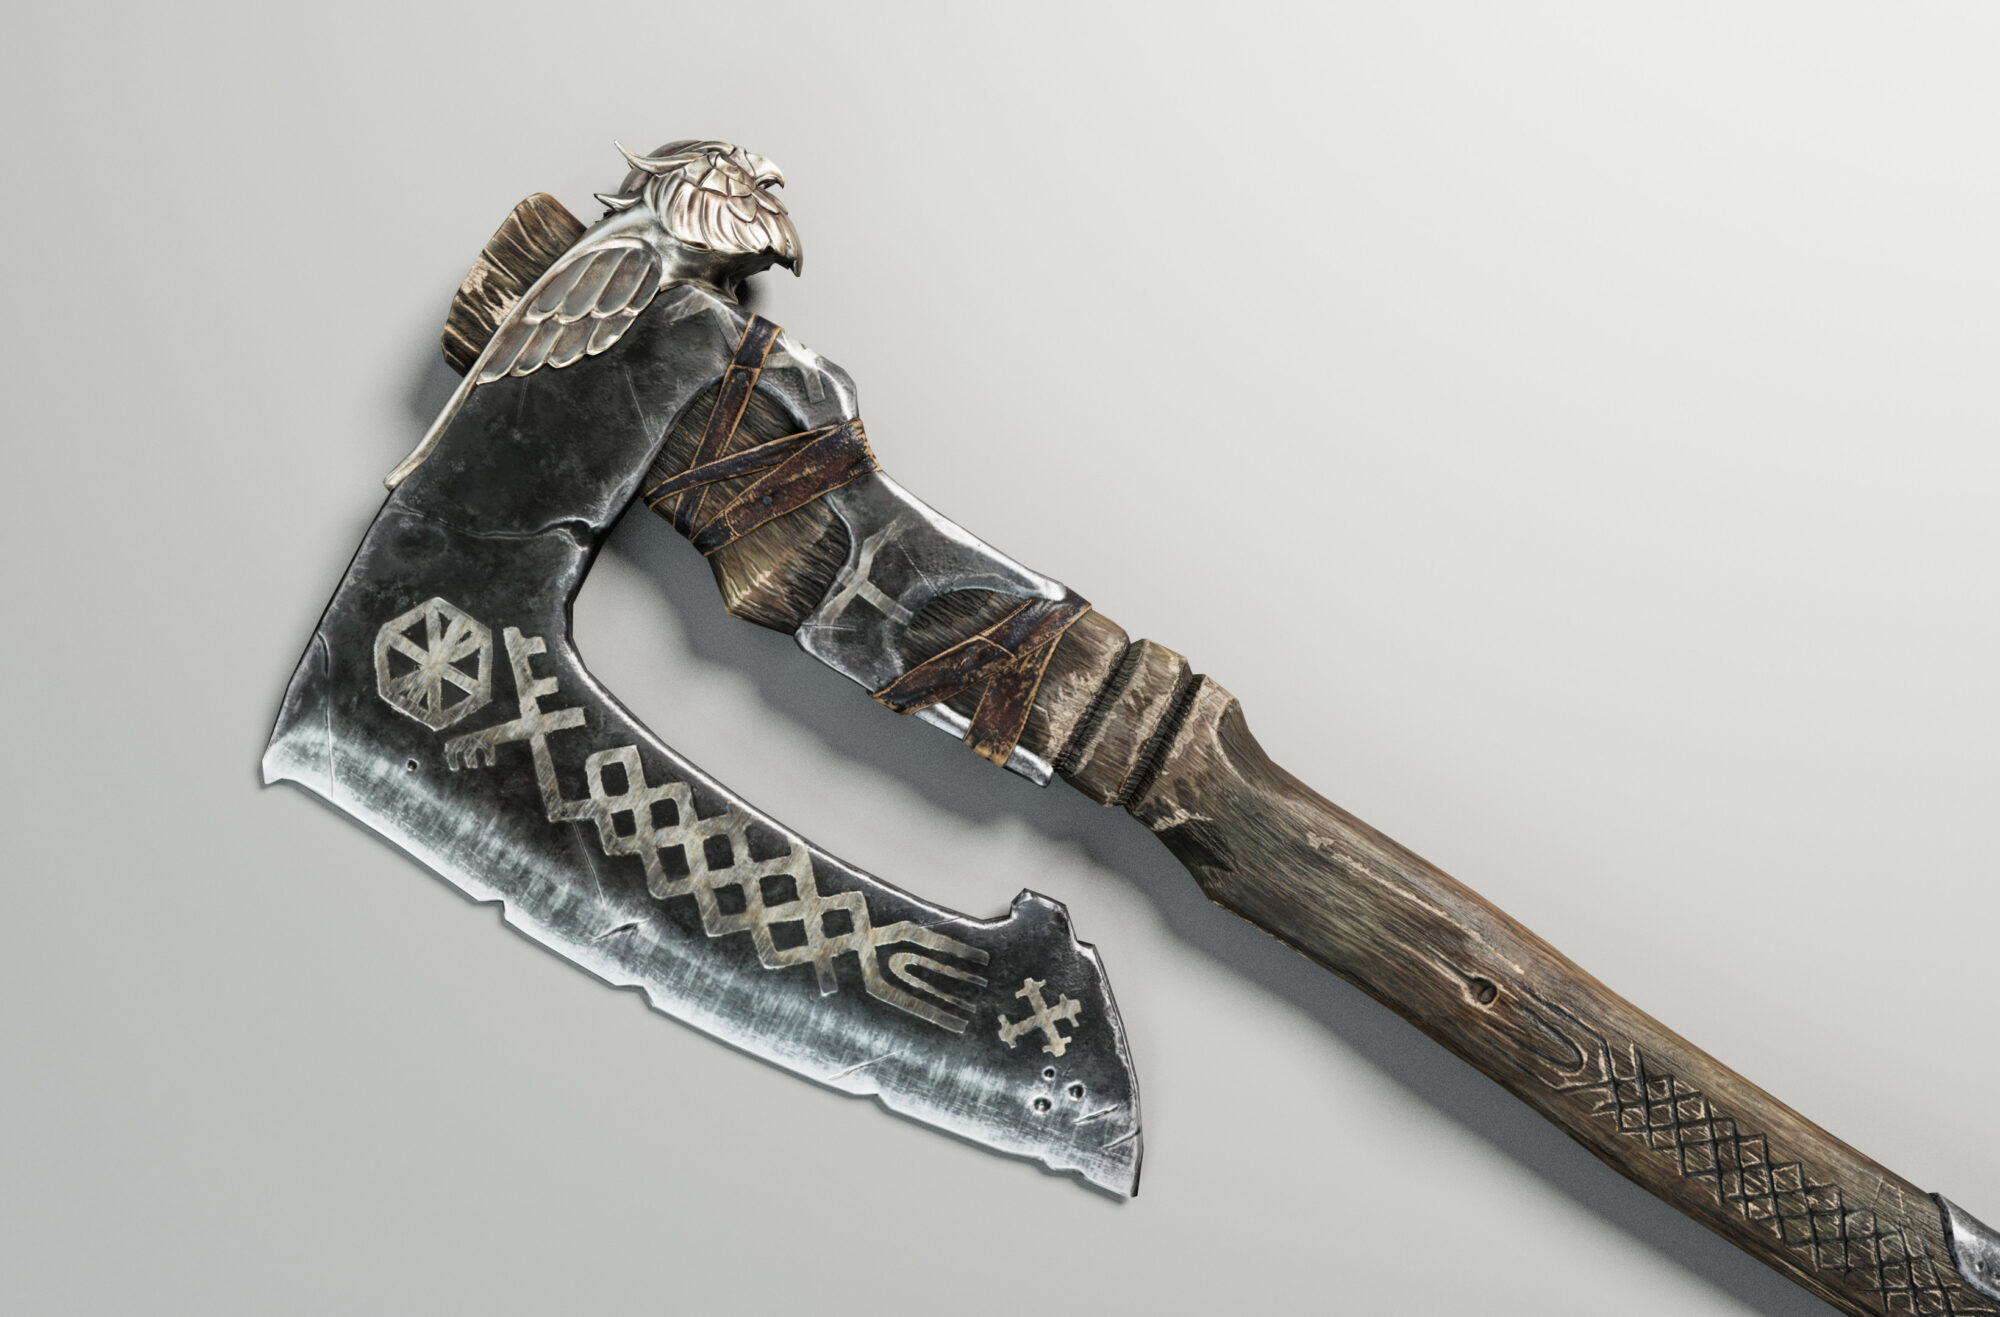
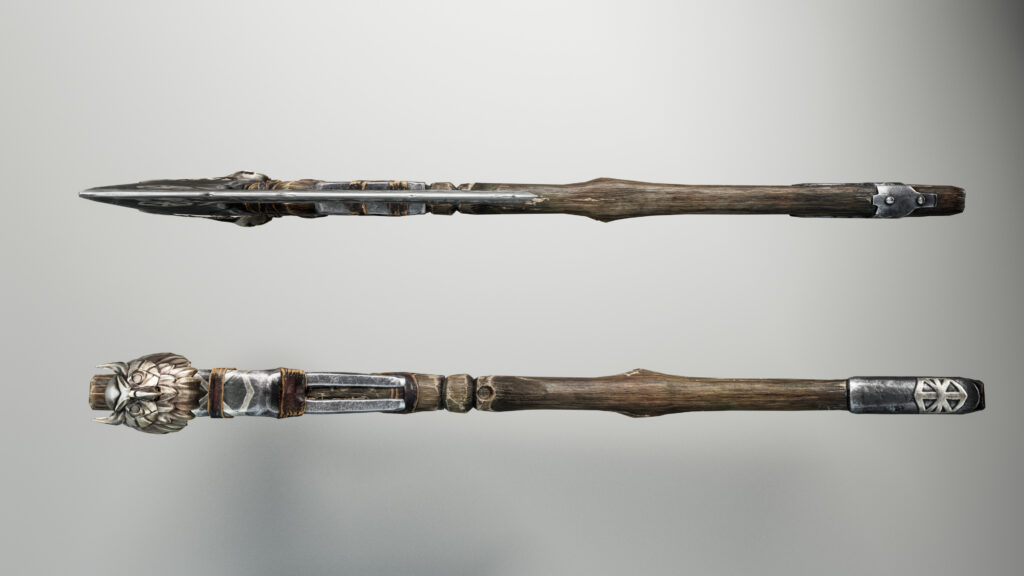
When I started working on this project, I chose a pre-existing axe created by artist Tanner Hartman for the game Diablo IV as the basis.
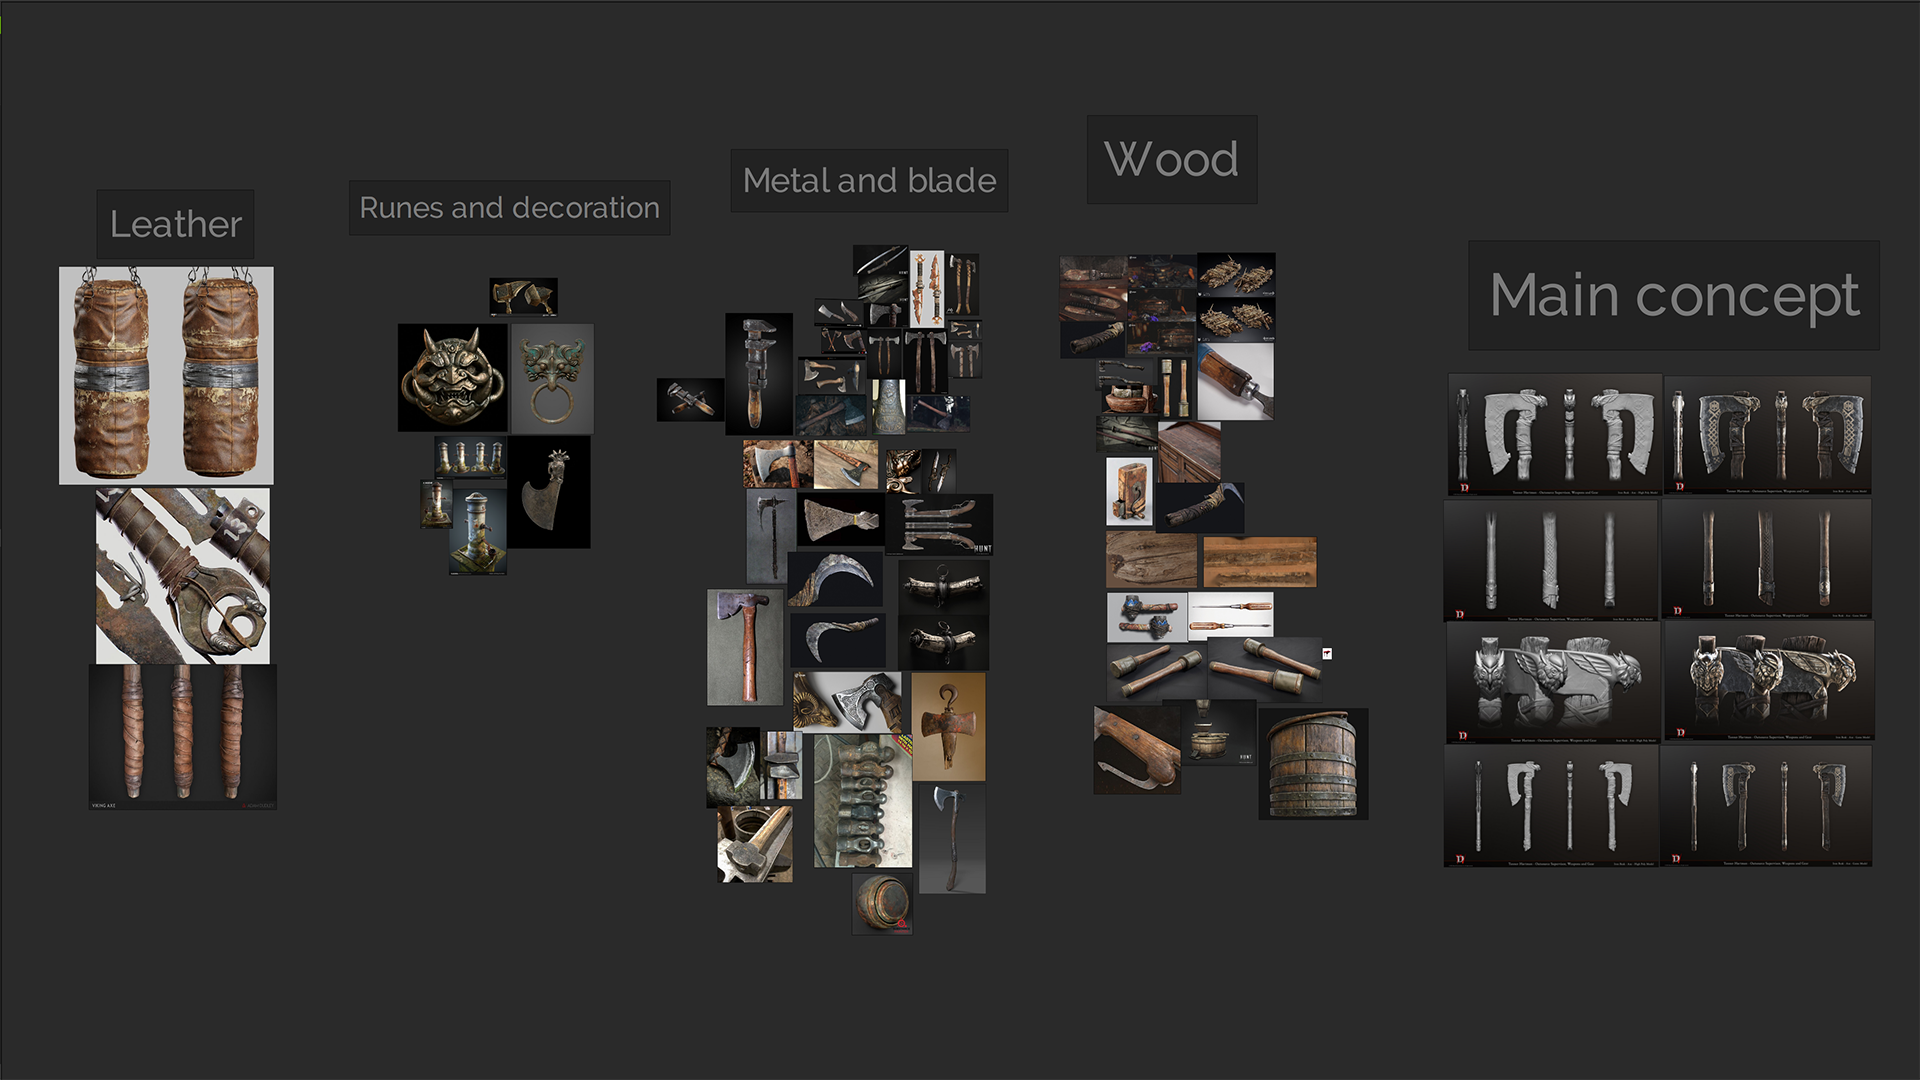
Additionally, I gathered numerous other references to assist in creating textures. Typically, I use ArtStation, Pinterest, and Google to find these references.
Sculpting
Sculpting is my favorite part of the creative process when working on a project, as it allows me to fully immerse myself in the creative process. When I start working on the high-poly stage, I follow the “from general to specific” principle.
I focus on the overall silhouette first, refining it with higher polygon counts, and adding bends, large cracks, and chips. Once I’m satisfied with the level of detail, I move on to more intricate sculpting.
During this process, I use various techniques to add liveliness and realism.
For example, when creating patterns on wood, layers, and cracks, I use the “Morph” tool and the “ClayBuildup” brush. This helps achieve realistic edges around recesses and create a natural texture.
Also, when working on metal, I use the “Noise” generator and the “Morph” brush to moderately soften the texture, making the object look more natural and less excessively noisy.
My advice for those engaged in sculpting is not to overload the model with fine details. Sometimes, excessive detailing can create a sense of unnecessary noise in the work, distracting attention from the main elements and spoiling the overall impression of the model.
Low Poly
Before sending the object for retopology, I take a series of steps to optimize the process and achieve the best results. One of these steps is “PolyPainting” different parts of the model to create a “VertexColor” map, allowing me better control over textural details and preserving color information during the baking process.
When starting the retopology process, I consider baking possibilities to ensure efficient work with the “Normal” map. This method allows me to eliminate small details on the high-poly model as they can be compensated for by the “Normal” texture.
When creating the Low-Poly version of the model, I try to avoid sharp edges on bends and irregularities in the mesh, and refrain from using “N-gons”.
This helps maintain proper topology and ensures optimal model behavior during rendering. Incorrect topology, such as the presence of “N-gons” or an excessive number of triangles, can lead to issues during baking and texturing. In addition to topology aspects, it is important to pay attention to model shading.
It is crucial to consider shading compatibility with the chosen model’s topology. For example, when working with game models, attention must be given to shading settings to ensure correct “Normal” map baking.
This can impact reducing the number and complexity of calculations in the engine. Therefore, when working on a model, it is essential to consider not only topology but also shading to create a visually appealing and functional end product.

UVing & Baking
When it comes to creating UV and the subsequent texture-baking process, it’s important to approach this step with careful attention to detail. I do this step in RizomUV, as it contains good tools for optimal packaging of the Islands.
The goal is to distribute texture space evenly and efficiently to minimize distortion and ensure good texture rendering on the model.
After completing the UV unwrapping, the texture-baking process follows. I use a pre-prepared map preset to make it easier to connect to “Painter”.
This is what my settings look like:
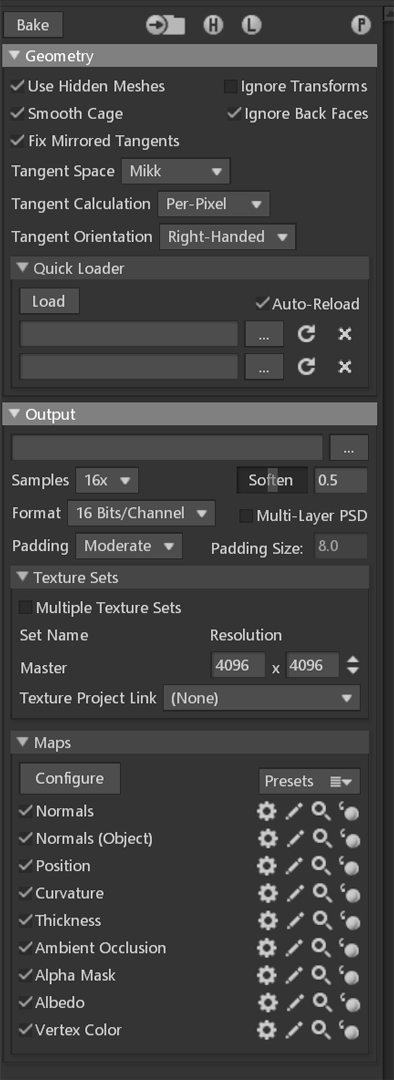
Proper execution of the UV unwrapping and texture baking process ensures not only high-quality display but also optimization of work with the model in the future.
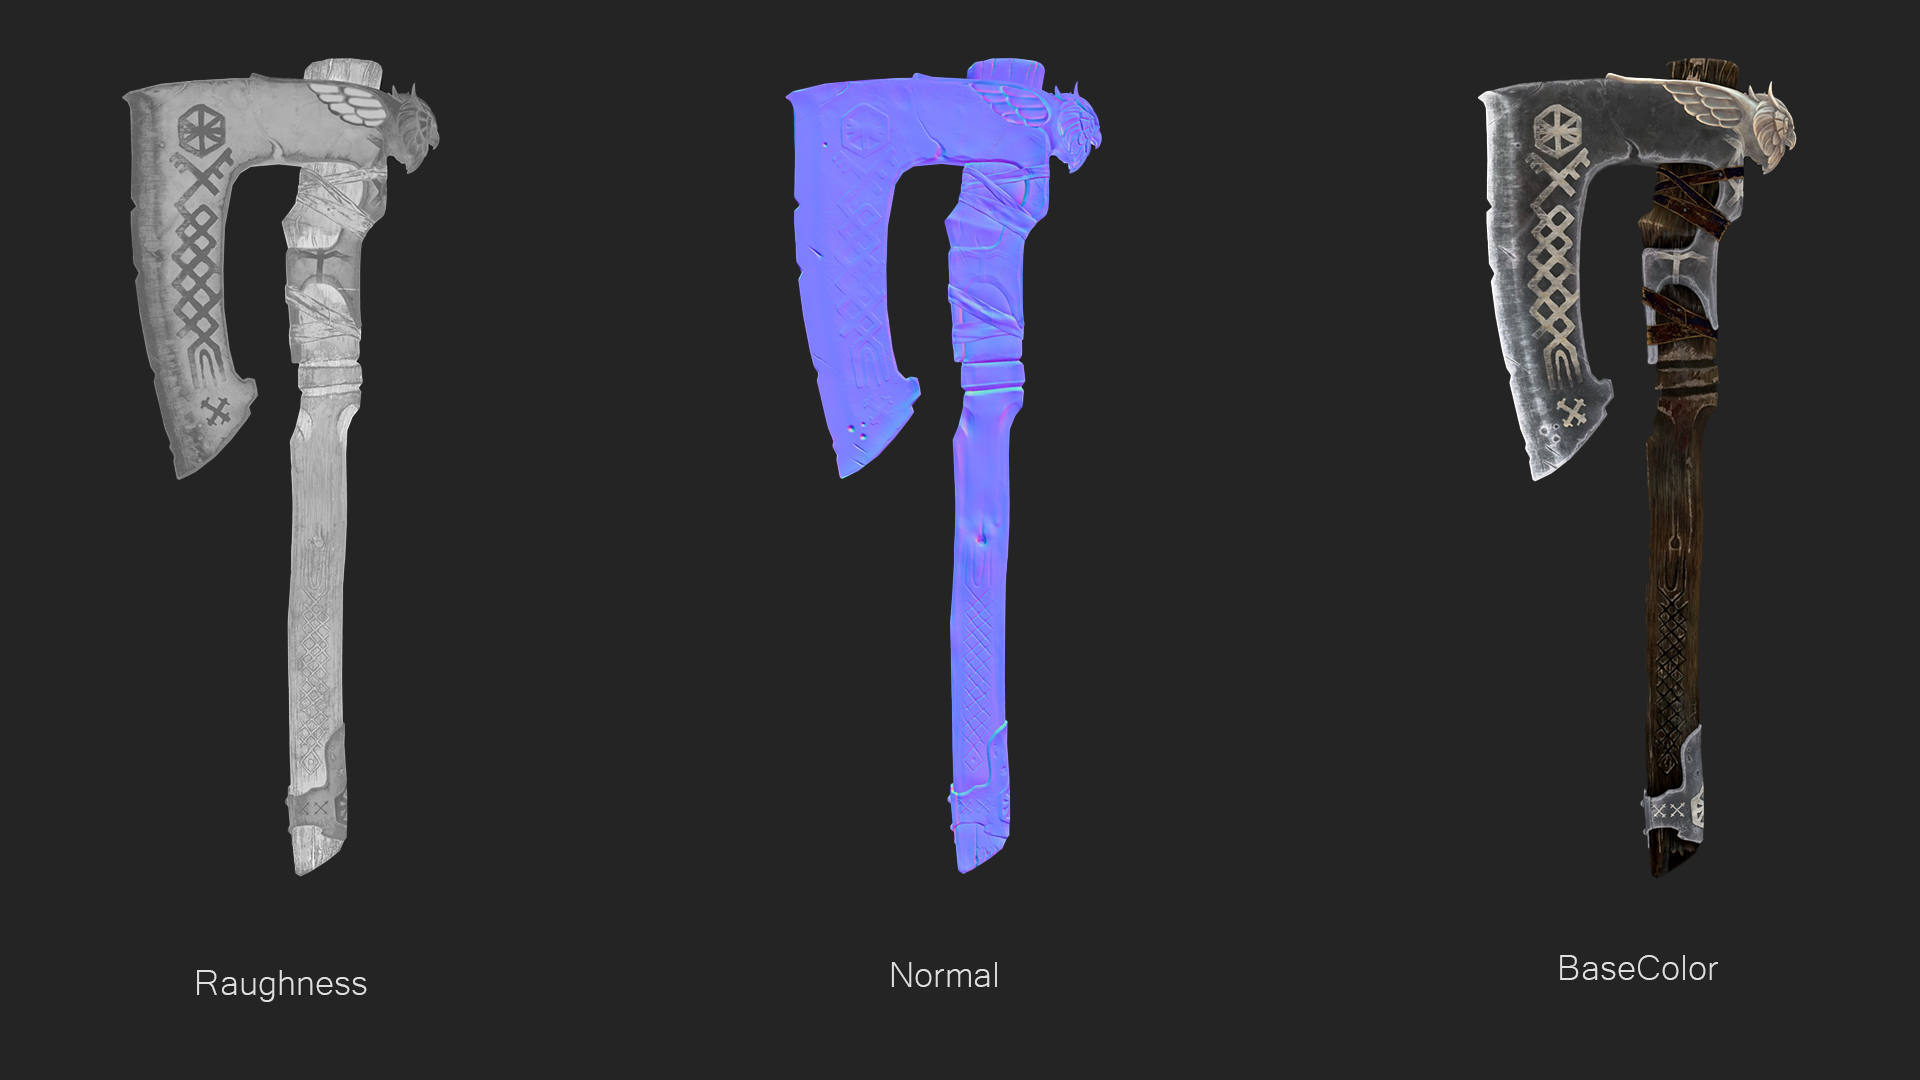
Texturing
Base Colour
When I approached this task, I realized that it was one of the most important and responsible parts of the process. My goal was difficult: to convey the feeling of dry wood while making it visually appealing to the viewer. I started by adding various accent spots, chips, and cracks to create a sense of realism.
Working on the handle, which is the largest element, I blended colors to set the overall tone of the object and then moved on to texture refinement.
During the texturing process, I preferred not to use generators since most of them did not give the desired result. Instead, I actively used the “Projection” function and selected the right alphas, which became a key aspect of my work.
Once I decided on the texture and color, general detailing and adding gradients began. I darkened the areas where the textures touched to ensure a consistent look. To give the wood a more interesting look, I added large green spots in different parts of the handle.
I now moved on to the fine detailing phase where I worked on chips and flaking and added various spots of paint and dirt. When it came to the metal, I encountered difficulties.
Since modern axes are sharpened on modern machines, the appearance of the blade did not suit my design, so I had to study many videos on hand-sharpening axes and recreate this effect on the texture of the blade.
When working on the skin texture, I used the work of the artist Muhammad Abduhalilov as the main source for reference. My initial step was to select the appropriate texture and determine the required tone.
I then detailed all the wear elements and added a variety of color variations to create a lively and realistic effect.
Detailing and adding gradients began. I darkened the areas where the textures touched to ensure a consistent look.
To give the wood a more interesting look, I added large green spots in different parts of the handle.
Roughness
The development of this map was made more effective thanks to a high-quality base color.
I first put the general values corresponding to the materials on a separate layer and then, based on the data available, I began to add various details, improving the textural depth.
Render
When designing the scene, I applied the same HDR map as in Substance, then added additional lights to highlight certain areas and create the desired lighting effect.
I made the background light, so it does not distract from the main model.
Conclusion
Overall, I achieved my set goals, and working on this project was an engaging and educational experience. Although I am satisfied with the result, I am aware that at every stage there is always room for improvement in the quality of work.
I am deeply grateful to everyone who supported me and provided numerous positive feedback!
I would also like to express my gratitude to GamesArtist.co.uk for the opportunity to share my experience and hope that it will be beneficial and inspire others to strive for new accomplishments.
Read more articles
You might also like these articles.