
Introduction
Hi, my name is Yun Seong-Hyeon. I’m a 3D Character Artist from South Korea, currently preparing to enter the game industry.
I focus on creating stylized fantasy characters, and I'm always striving to improve my skills and build better models.
Project Goals
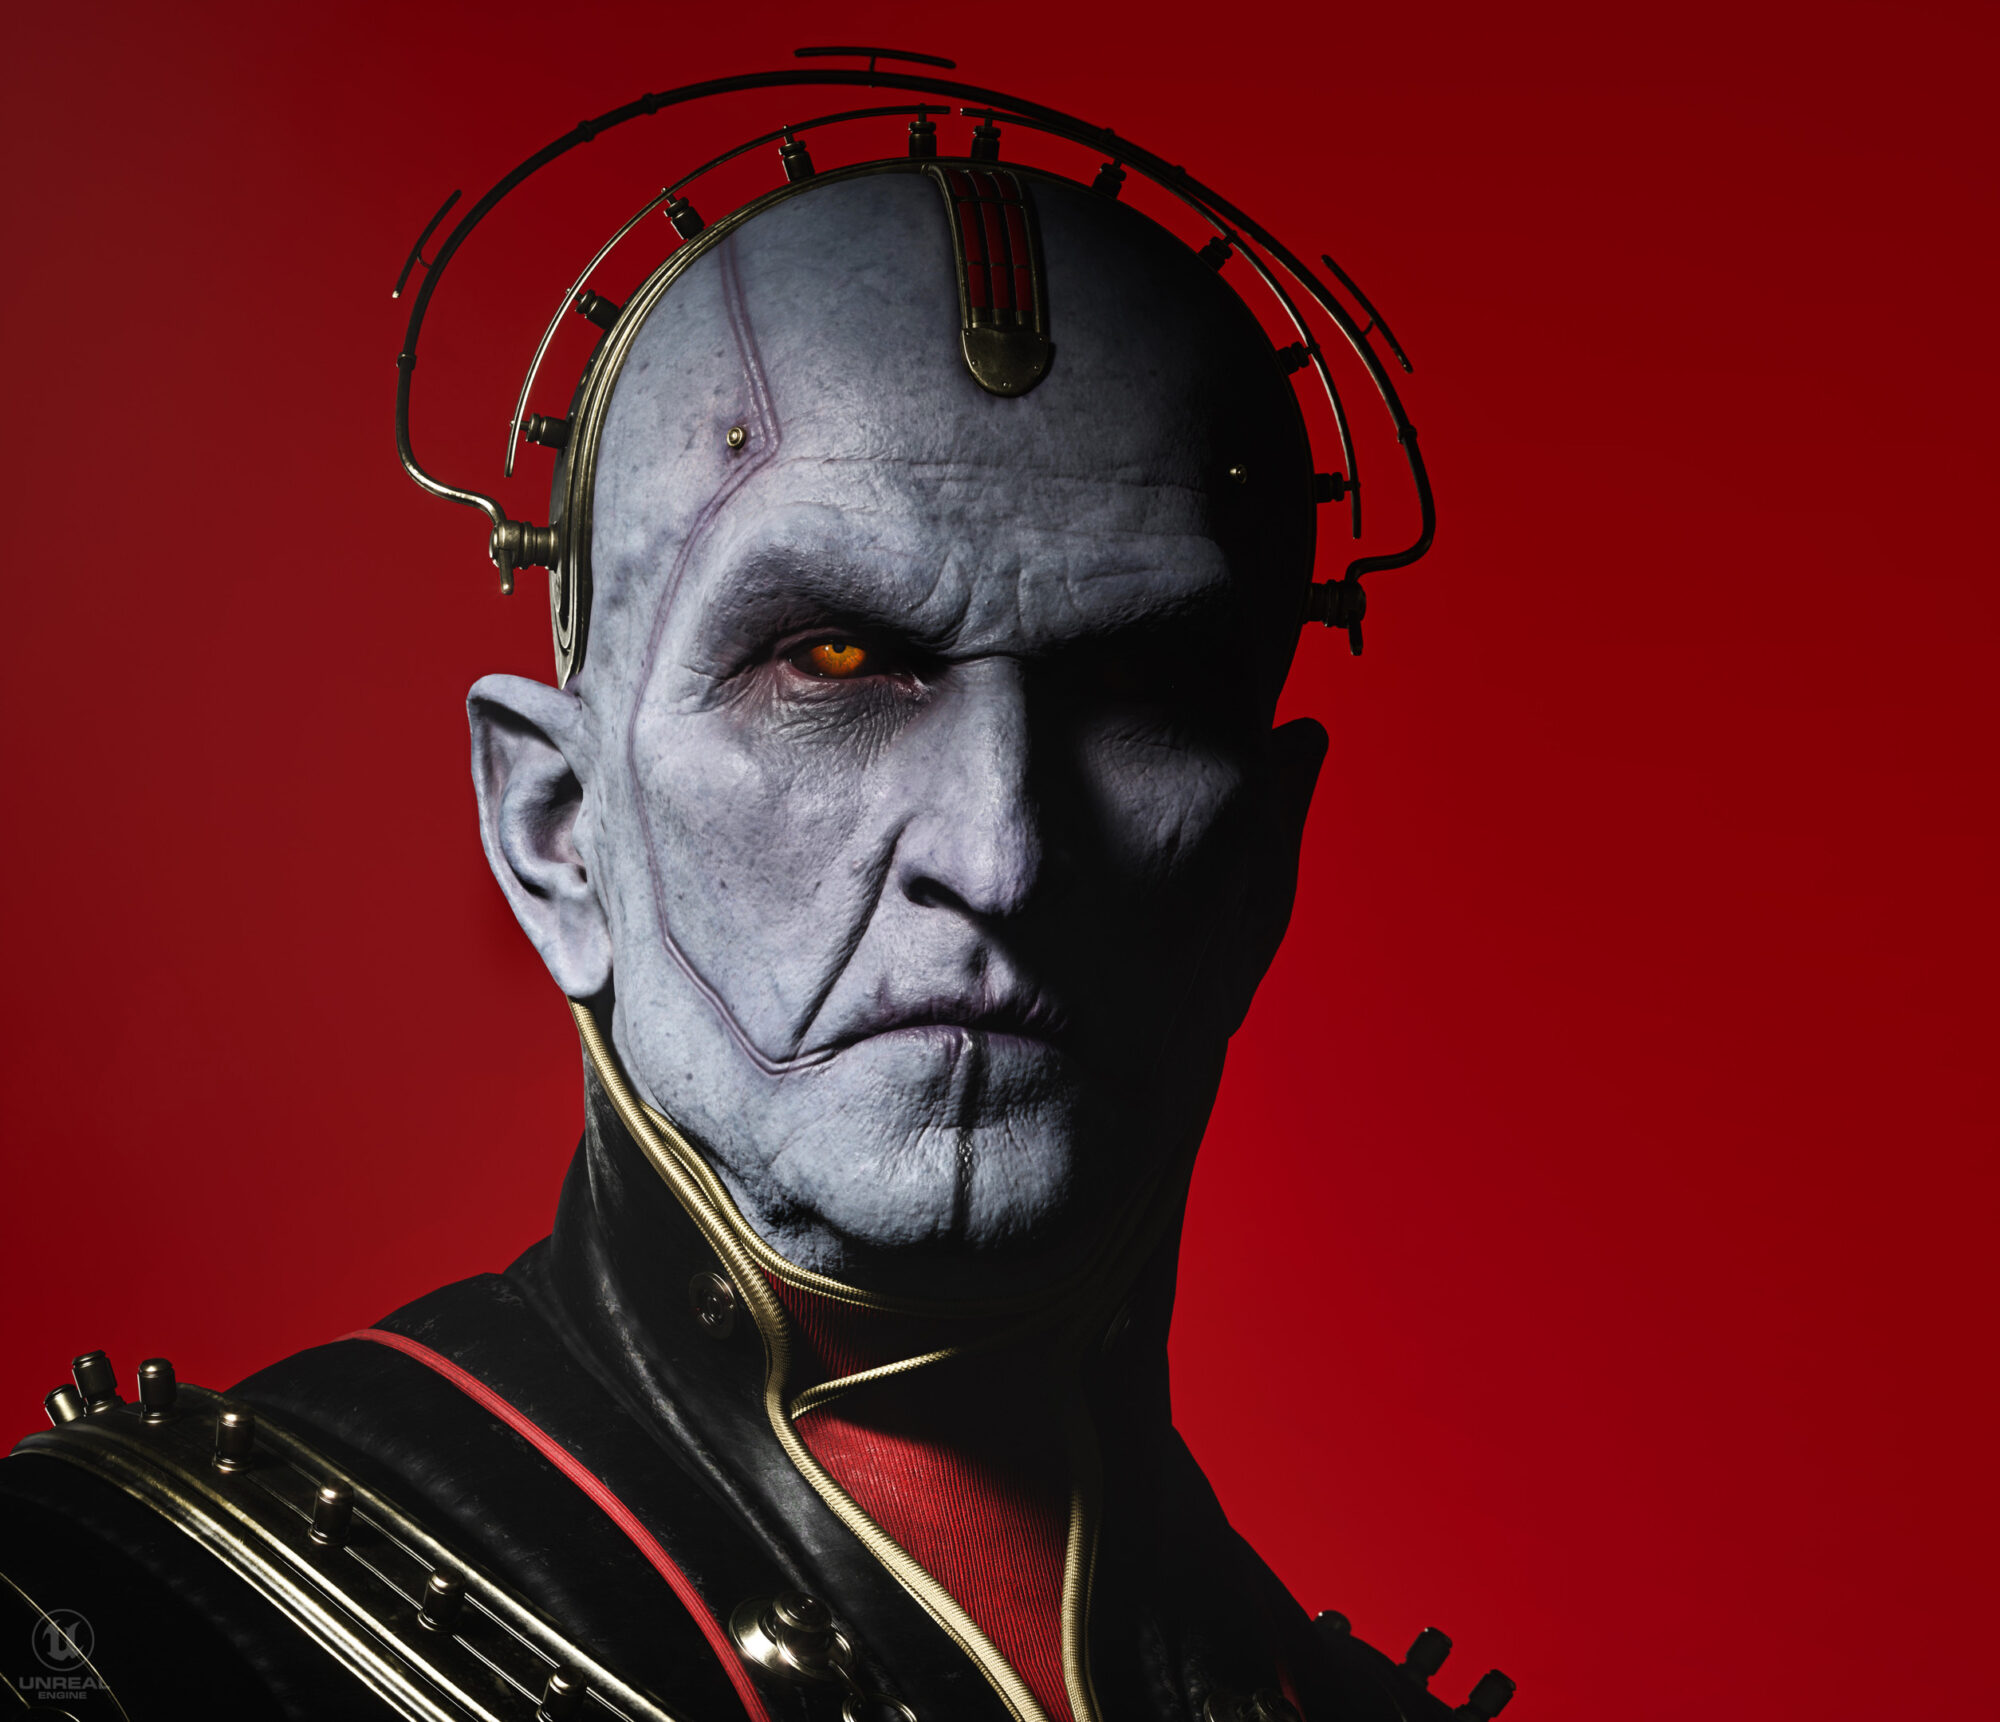
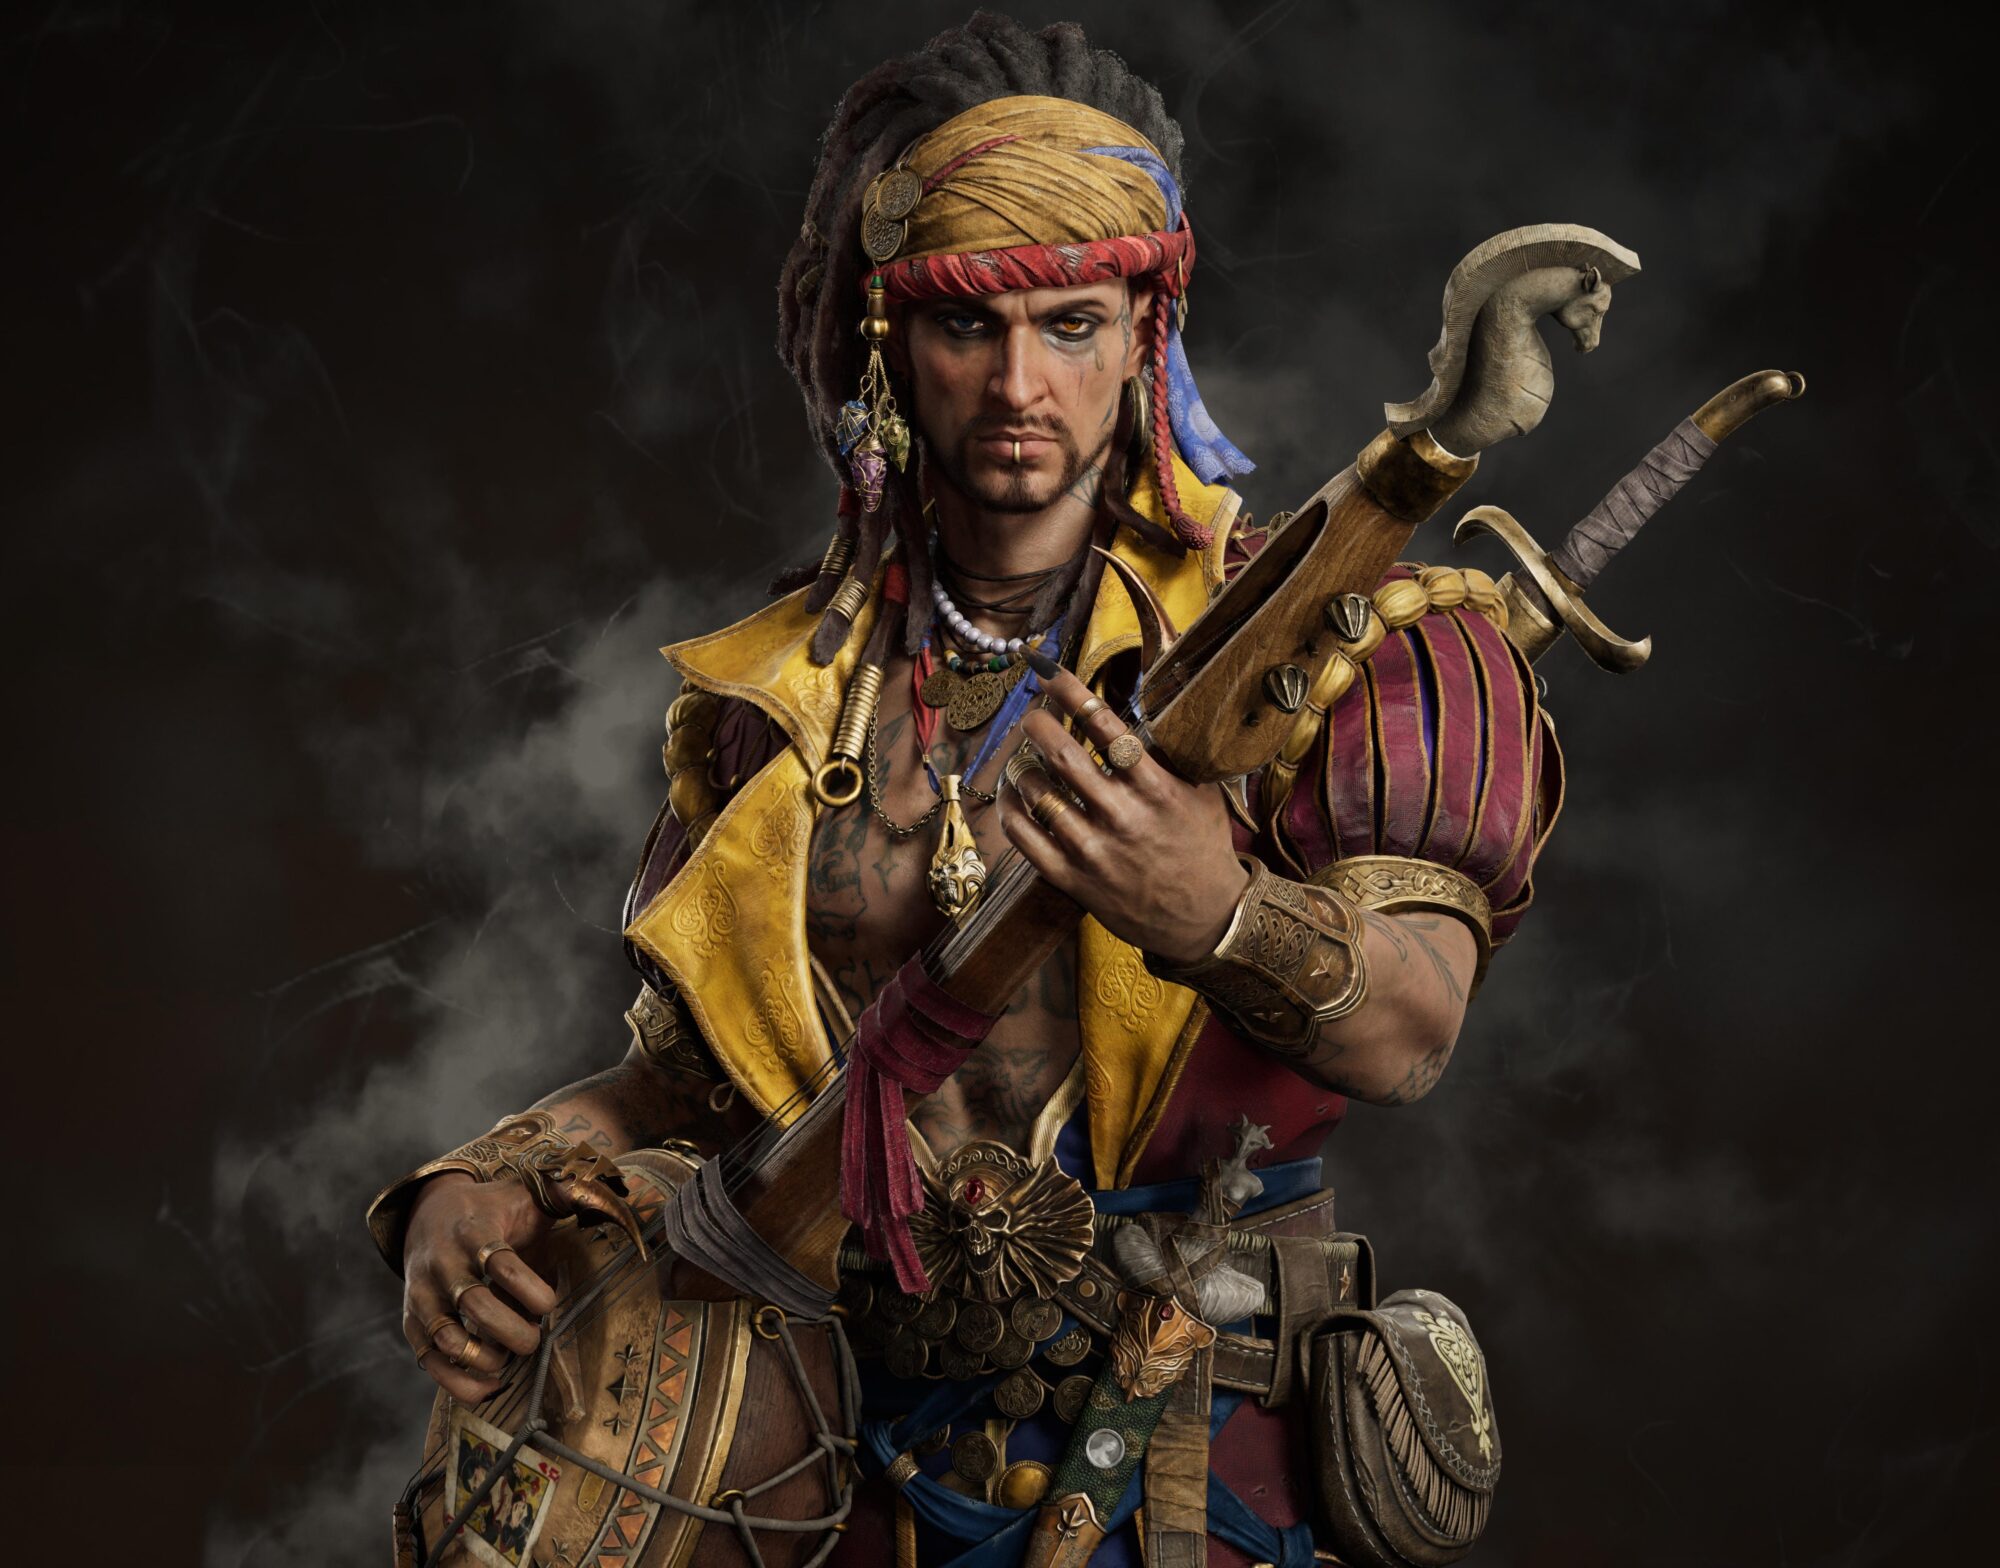
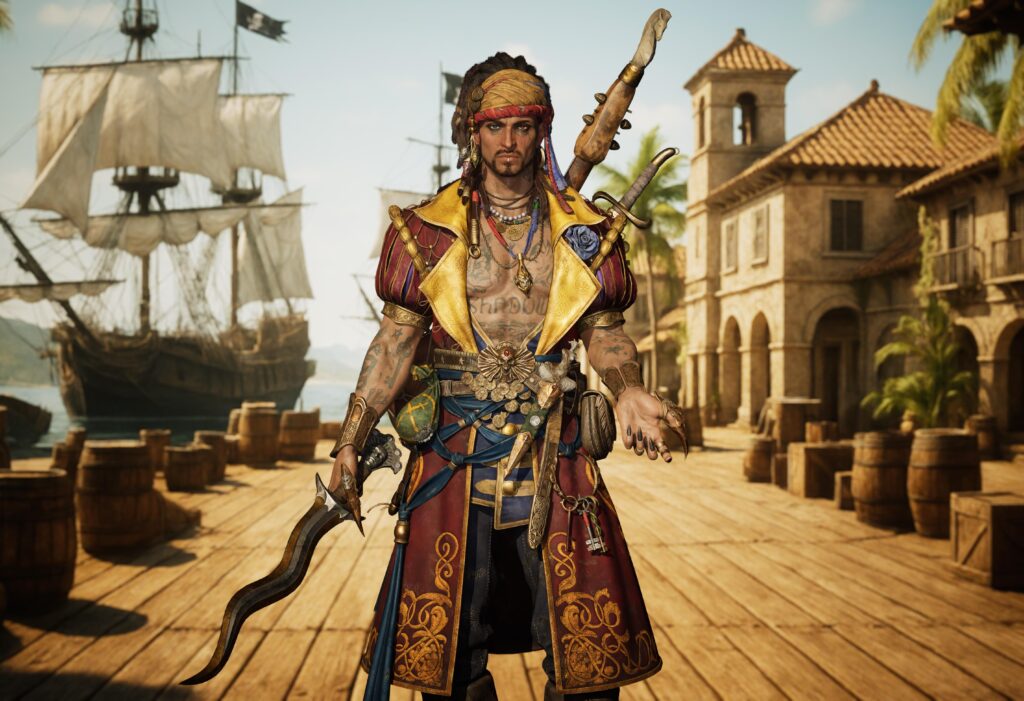
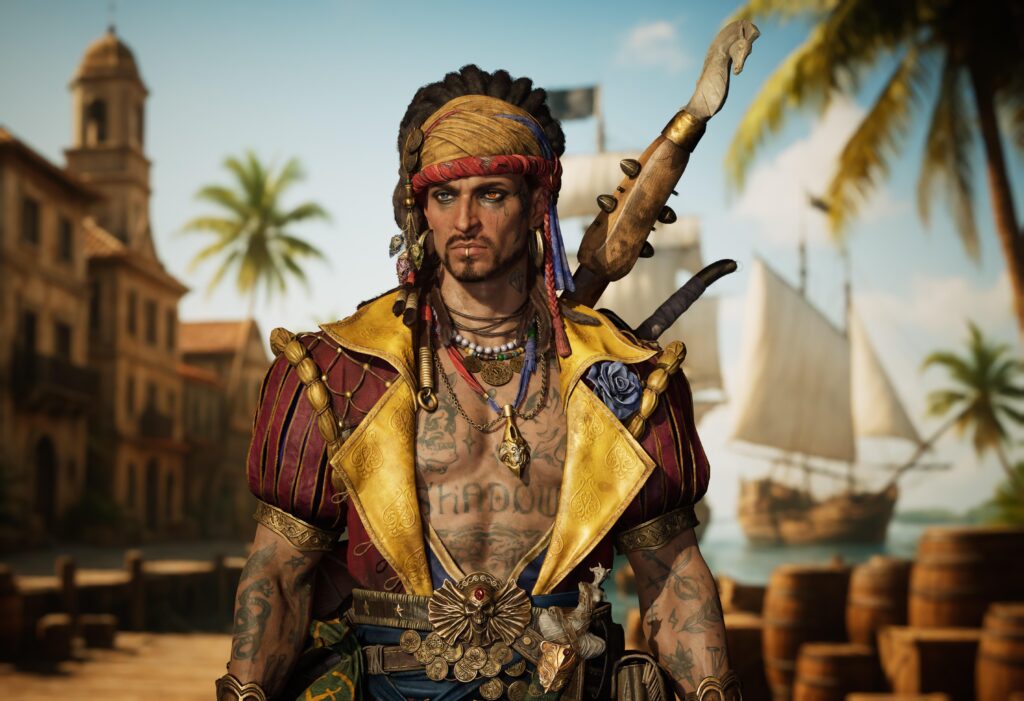
My main goal was to create a game-ready 3D character inspired by RAID: Shadow Legends. I wanted to bring Armanz to life in a realistic yet stylized manner, maintaining the bold silhouette and intricate charm of the original design.
It was also a personal challenge to improve in areas like hard-surface modeling, color balancing, and hair construction.
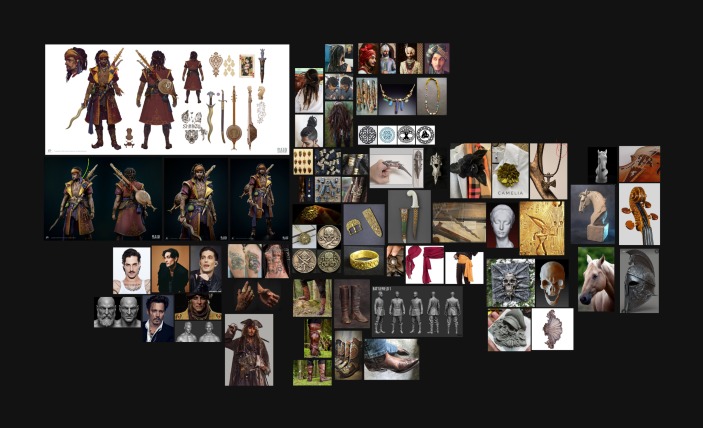
References & Inspiration
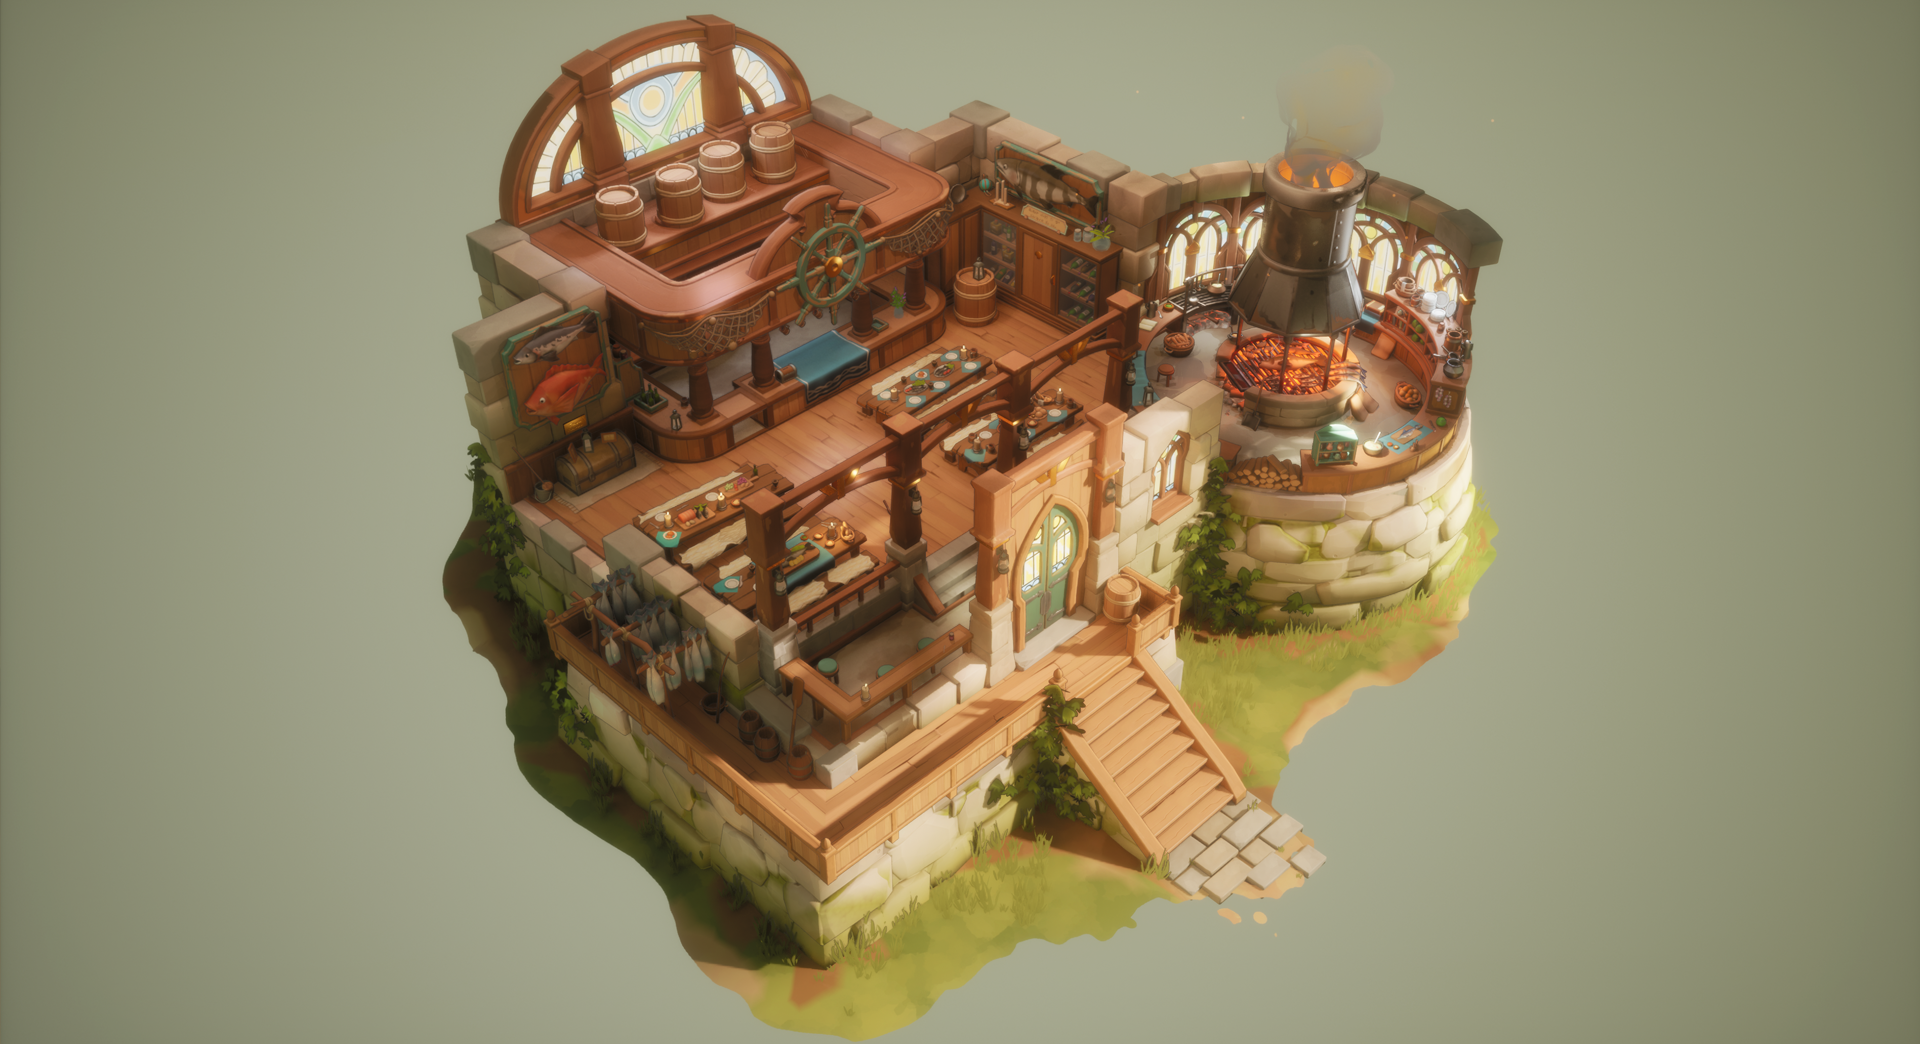
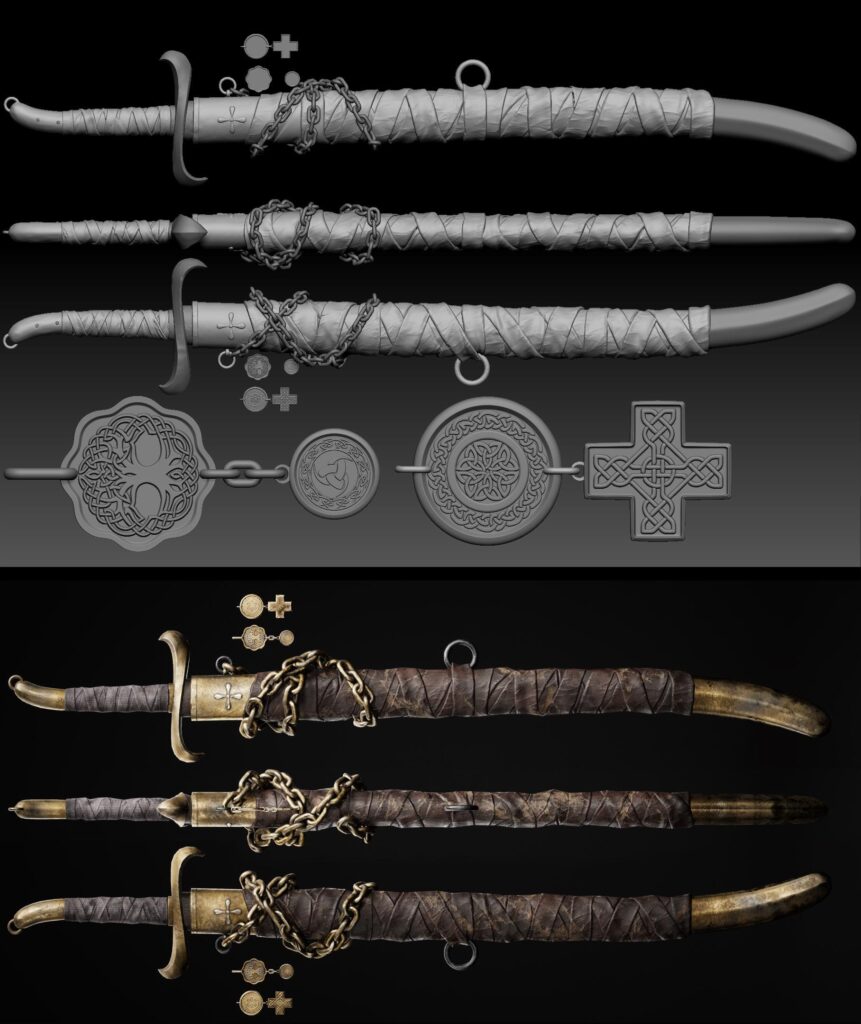
I started by referencing the official concept art and in-game models of Armanz. From there, I added elements inspired by real-world cultural artifacts and other high-quality 3D works.
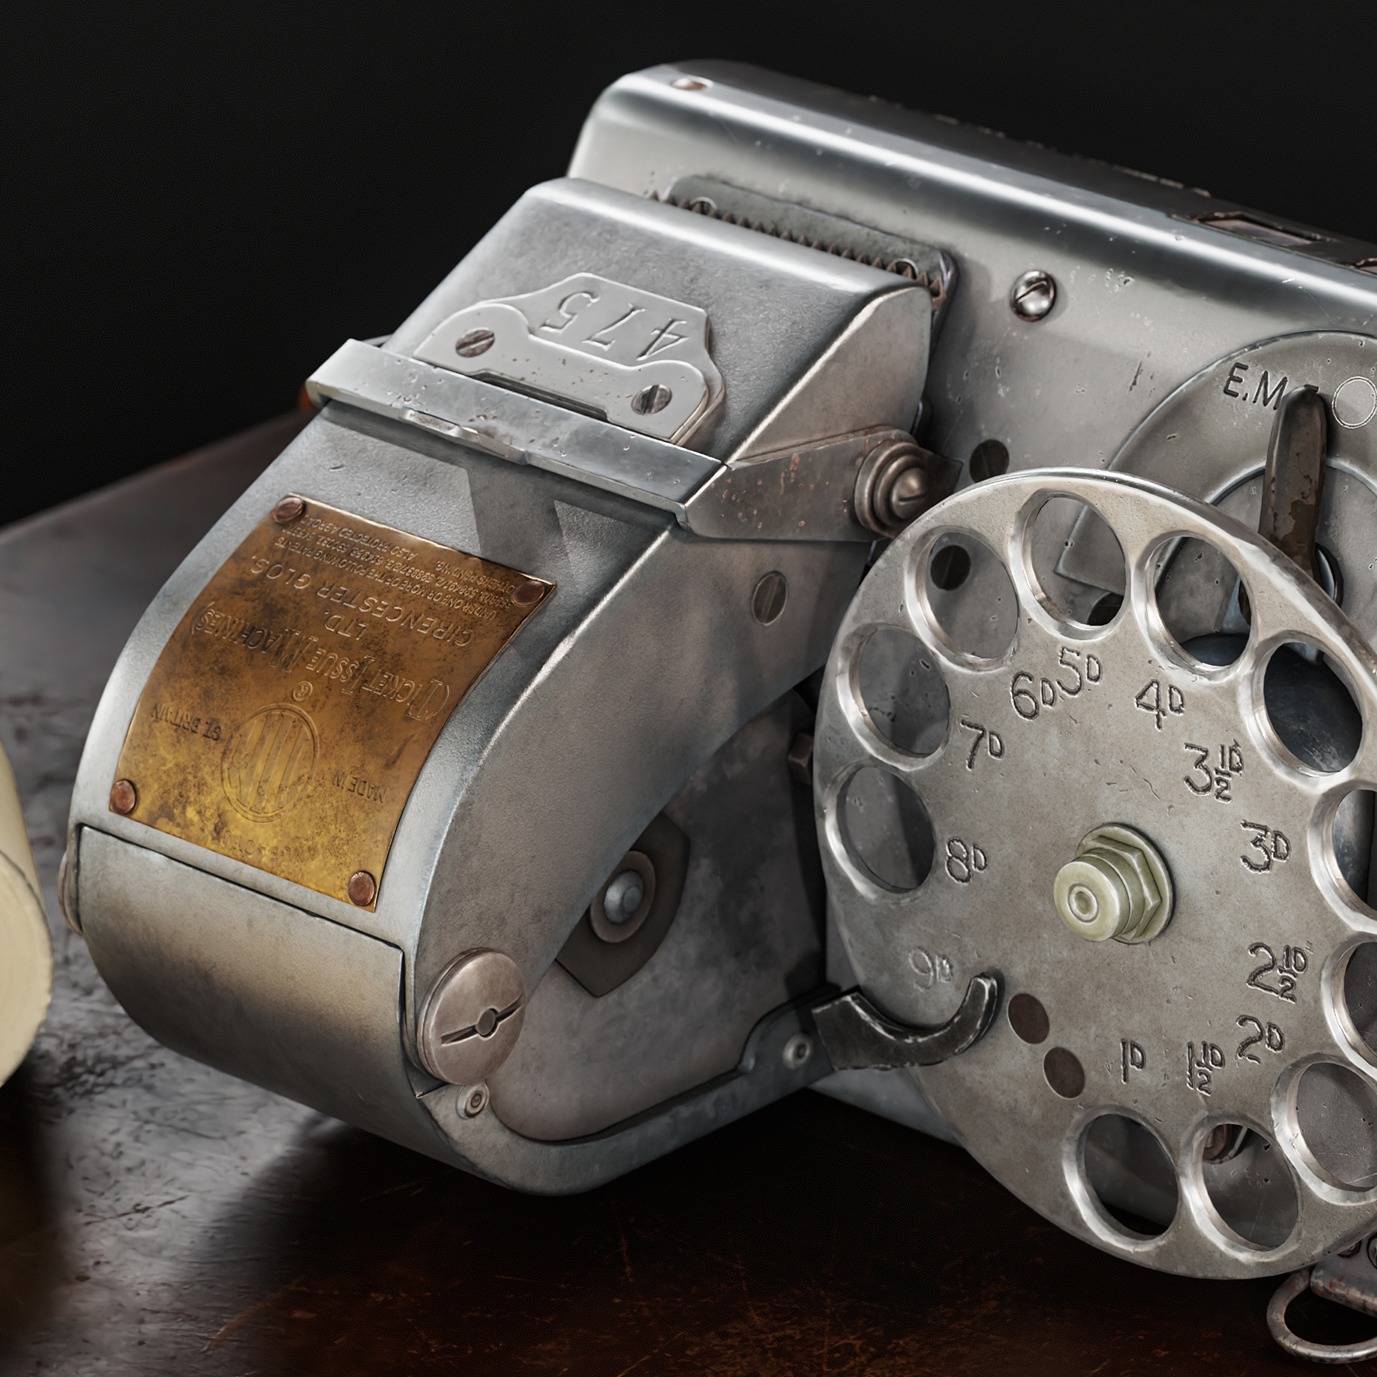
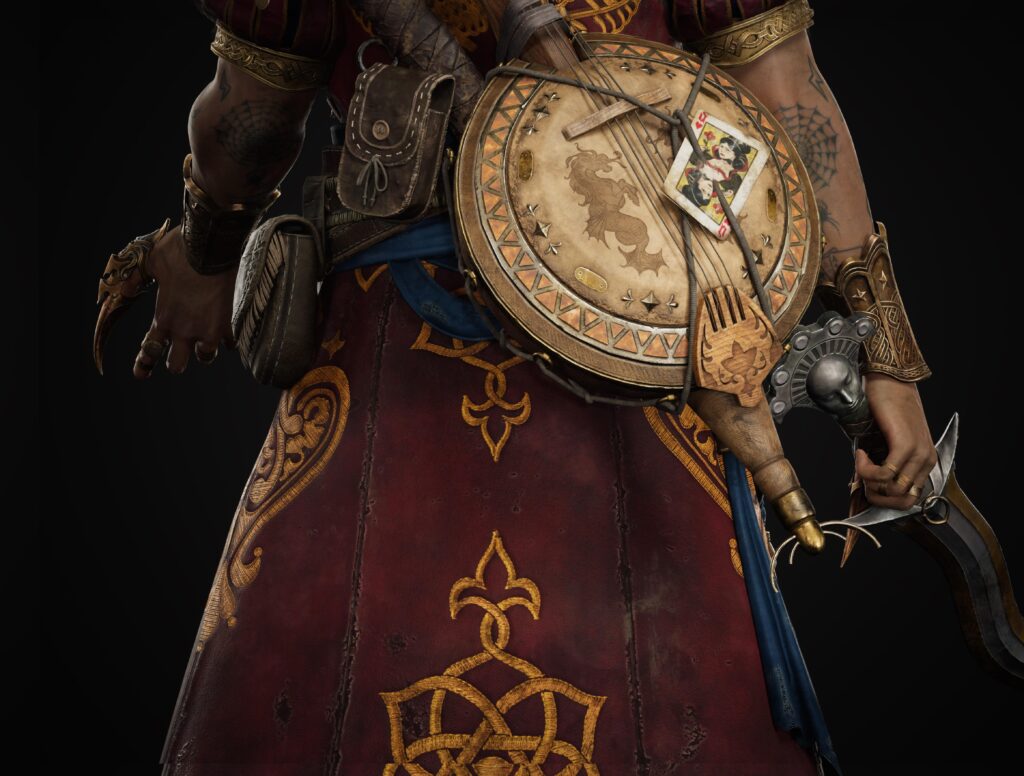
Because Armanz has a pirate/raider feel, I wanted to reflect a story in his accessories, as if they were trophies or loot from different cultures. This added a fun layer of depth to his character.
Software Used
-
ZBrush
-
3ds Max
-
Substance Painter
-
Substance Sampler
-
Marmoset Toolbag
-
Ornatrix
-
Photoshop
-
Unreal Engine (UE5)
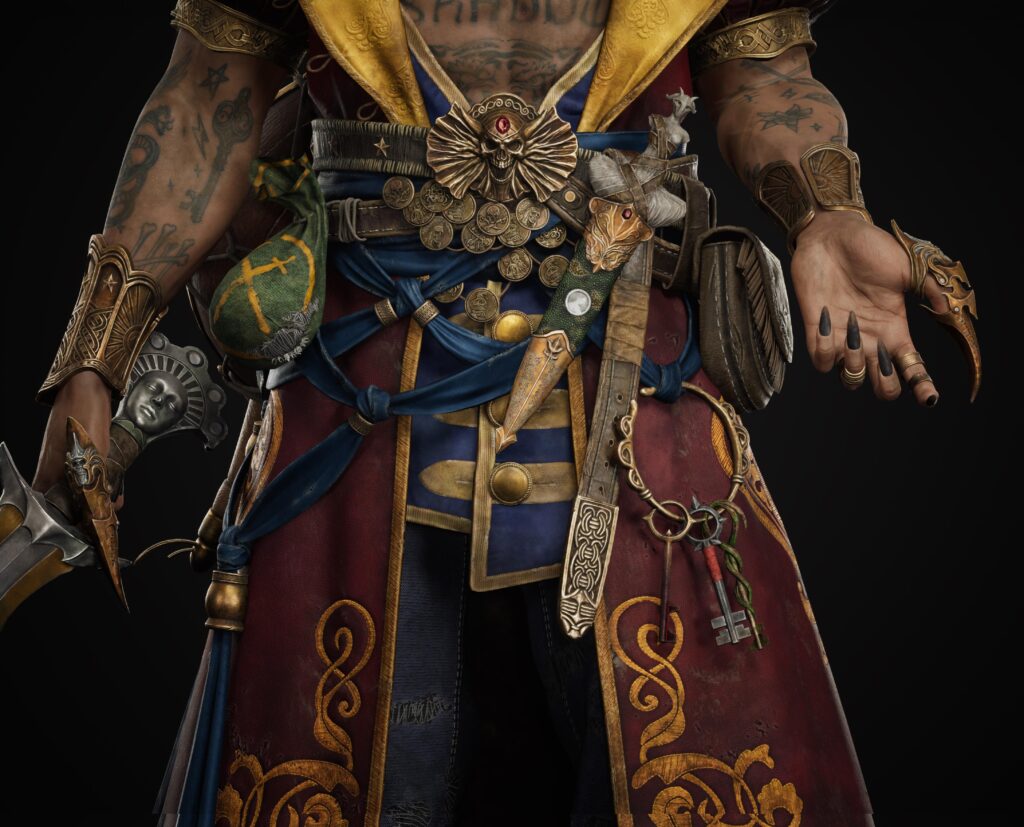
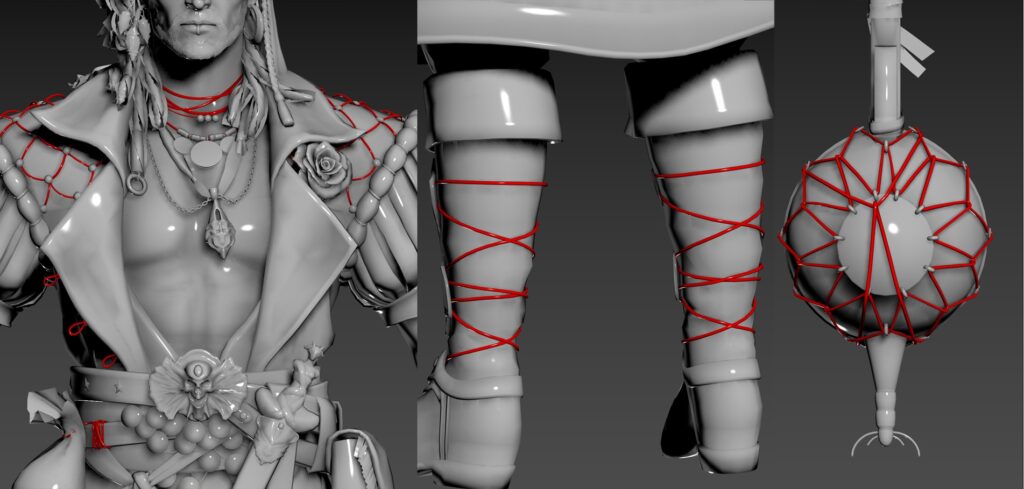
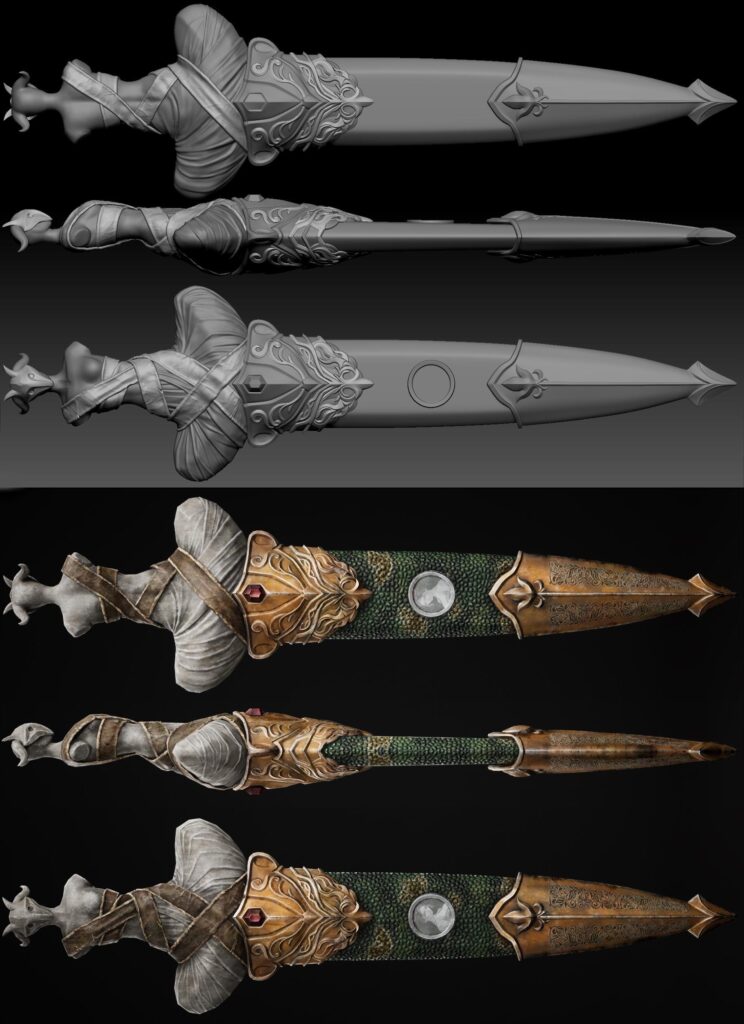
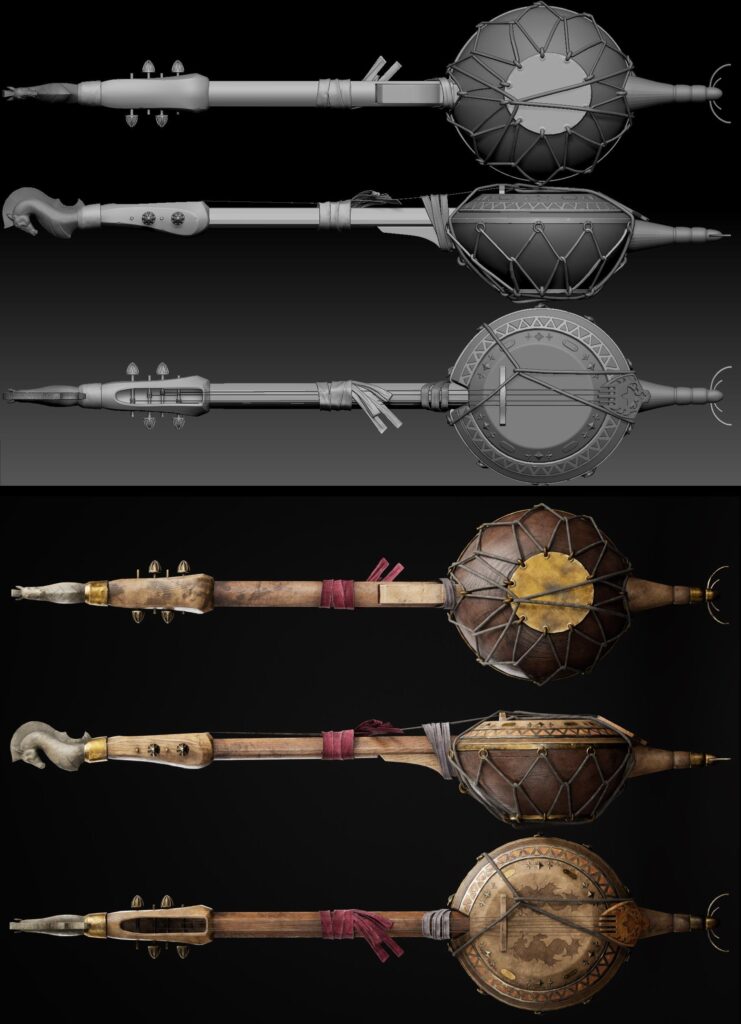
Clothing & Accessories
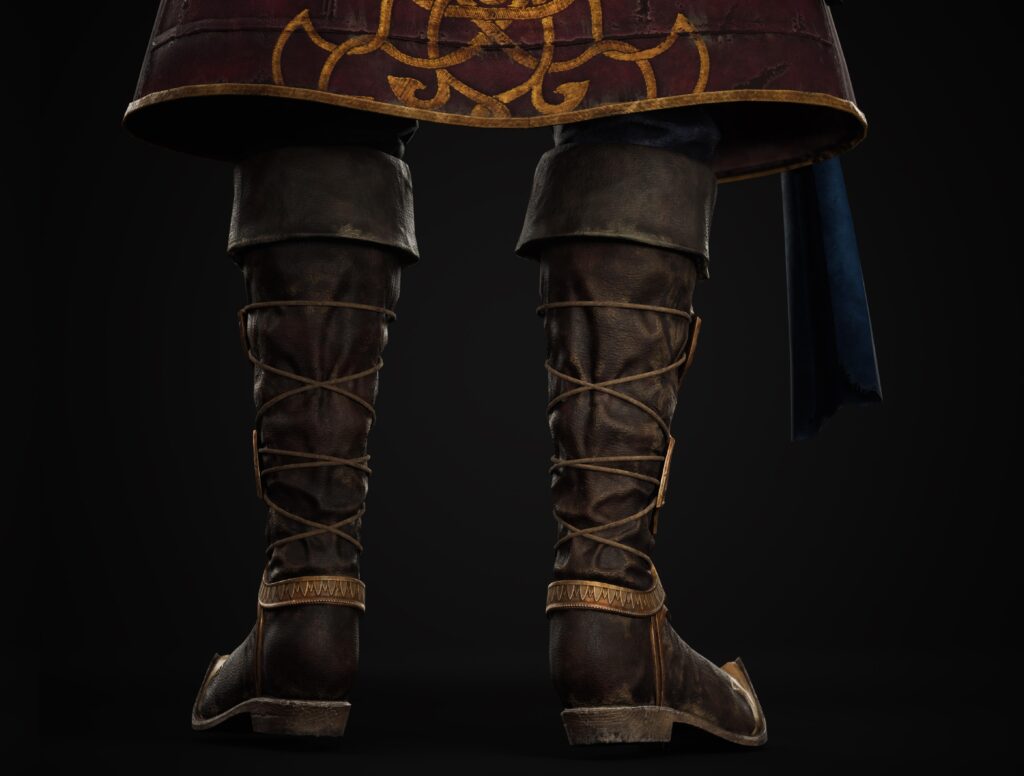
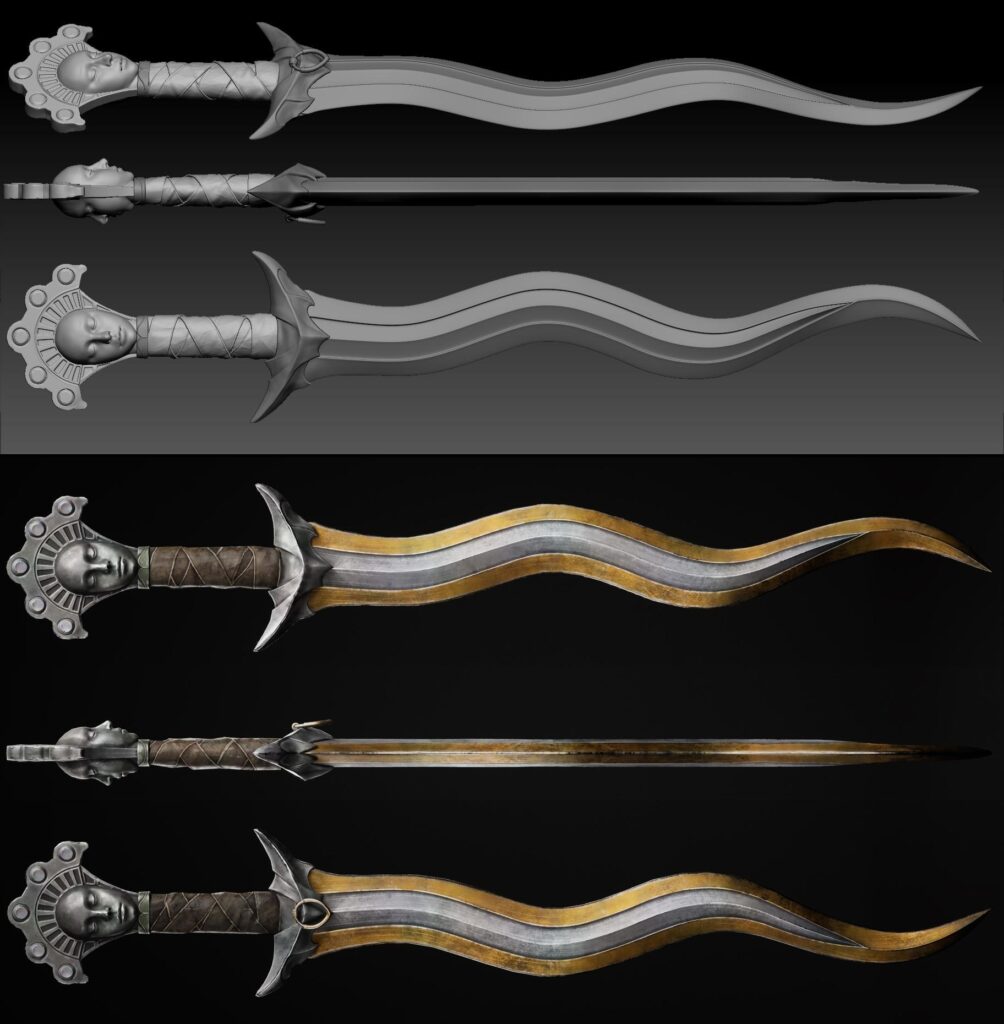
All clothing was sculpted in ZBrush starting from the blockout stage.
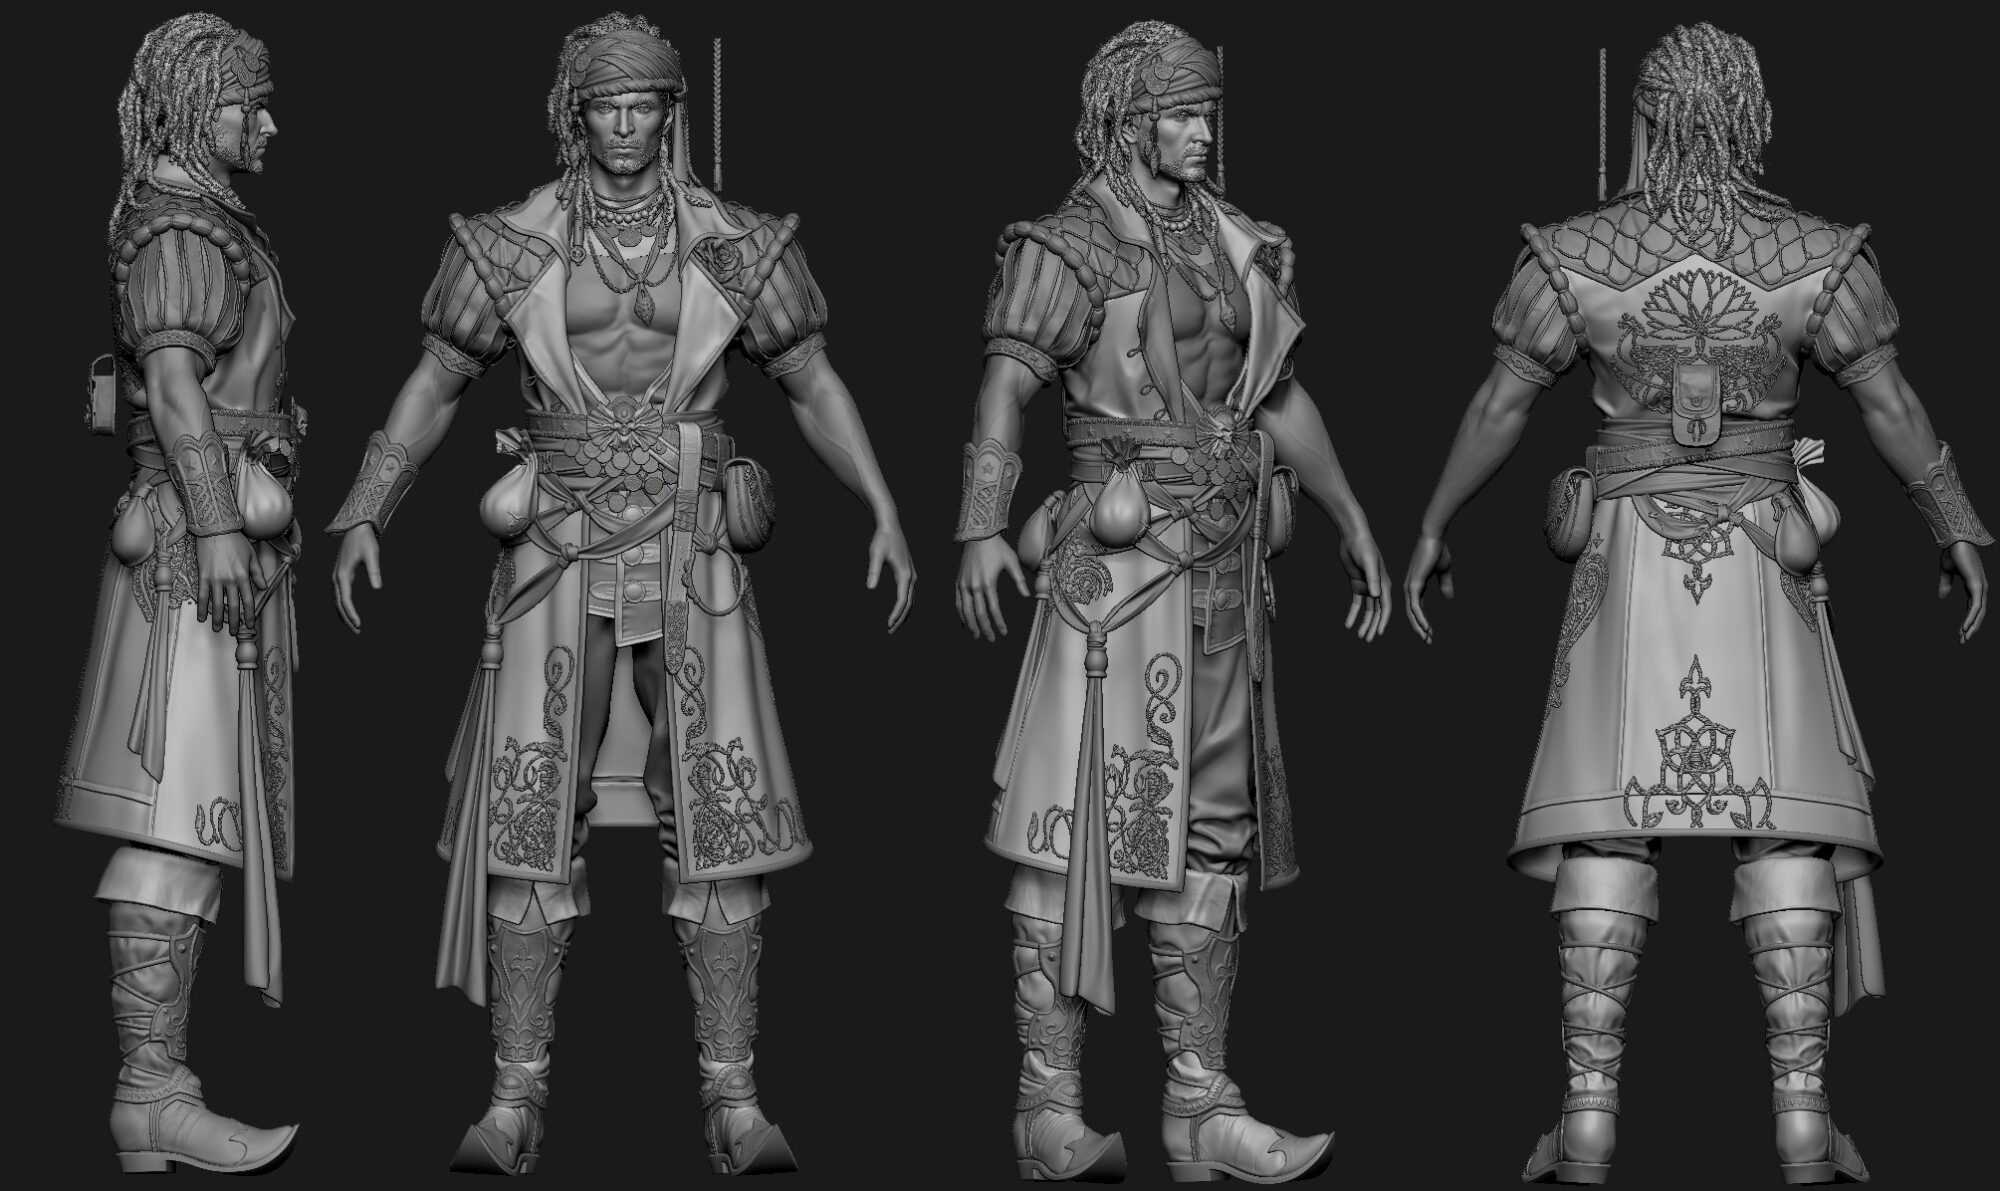
Accessories followed a similar process: sculpted in ZBrush, dynameshed or retopologized using ZRemesher, projected, and weathered as needed.

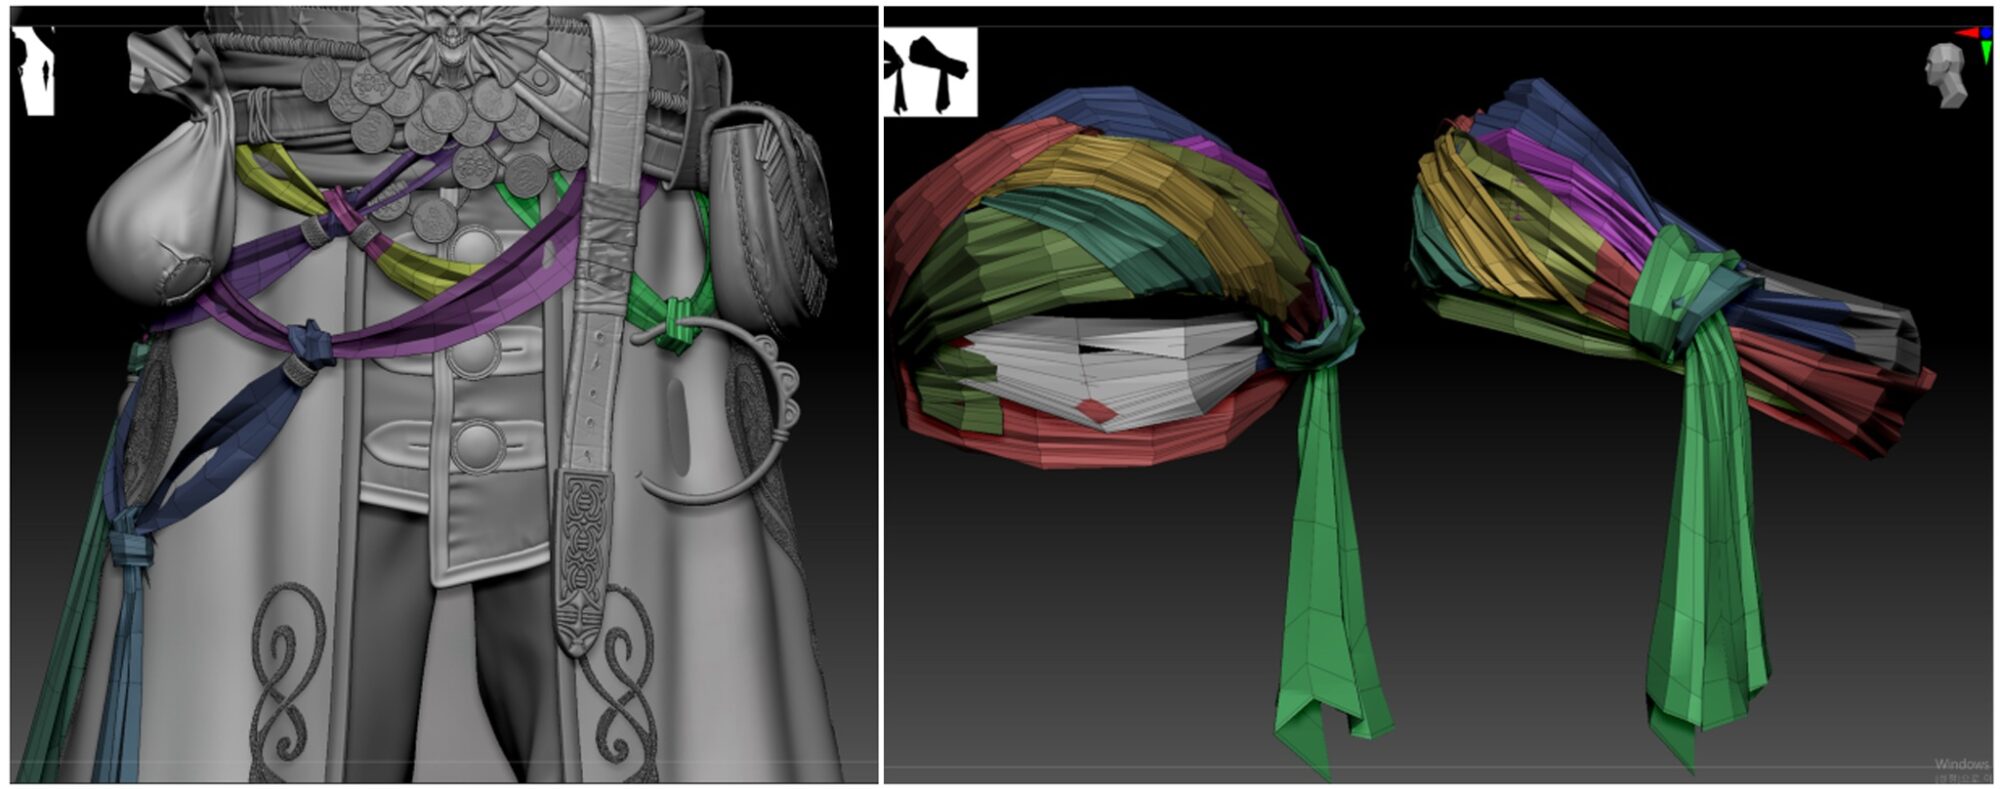
Here’s how to work with the material: Create a shape with a plane in ZBrush.
-
Start with a small poly and use ZModeler to insert edge loops and other tools to create a wrinkled feel to the fabric.
-
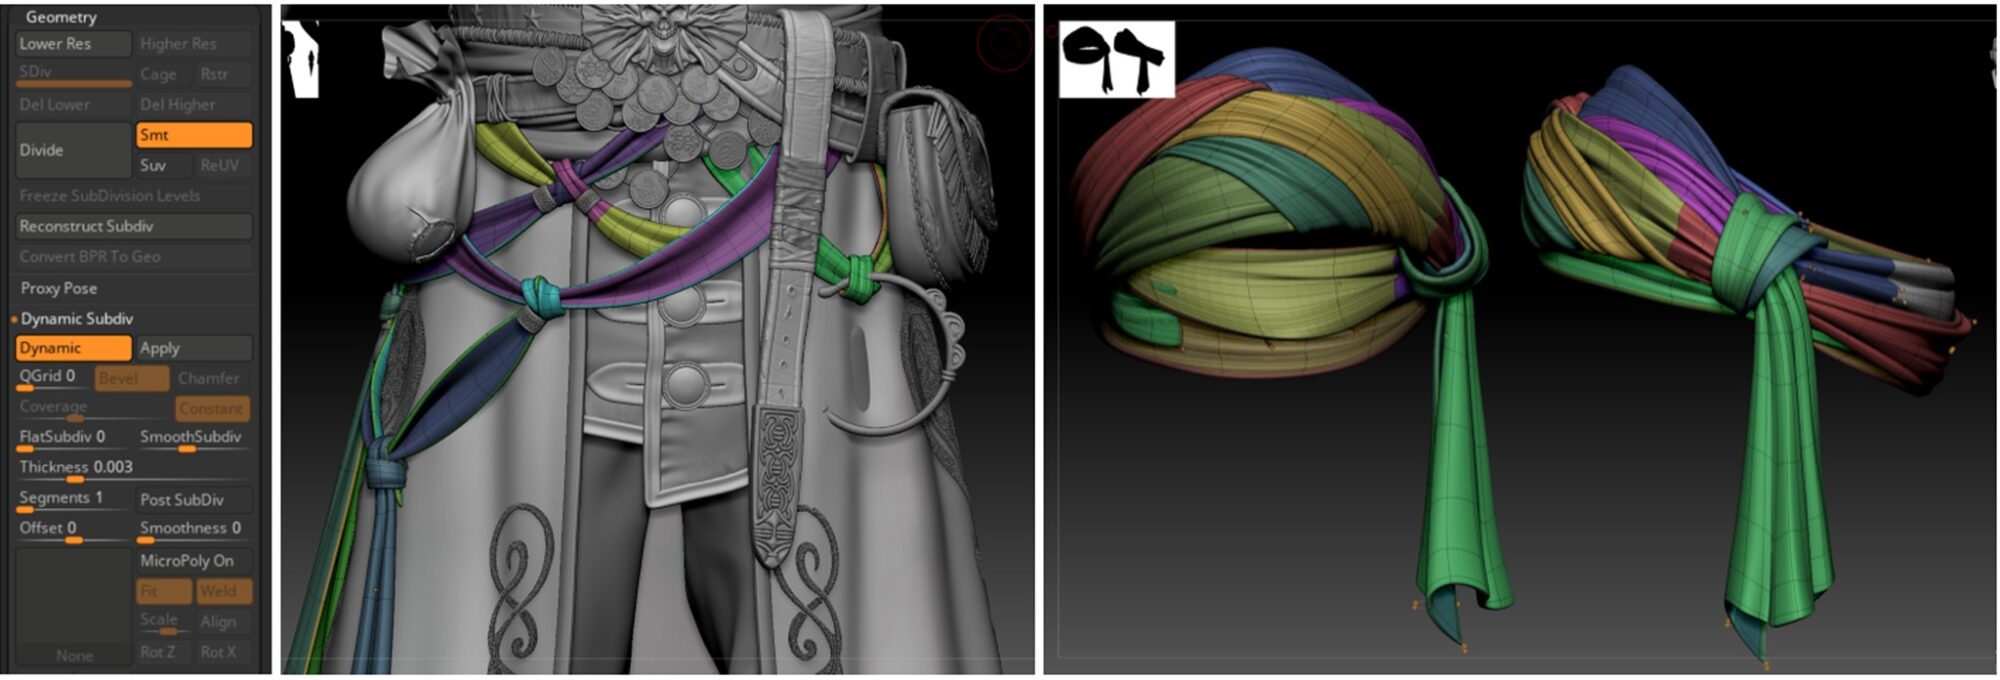
Use Dynamic. Set the appropriate thickness and divide step (you can see it in the preview).
-
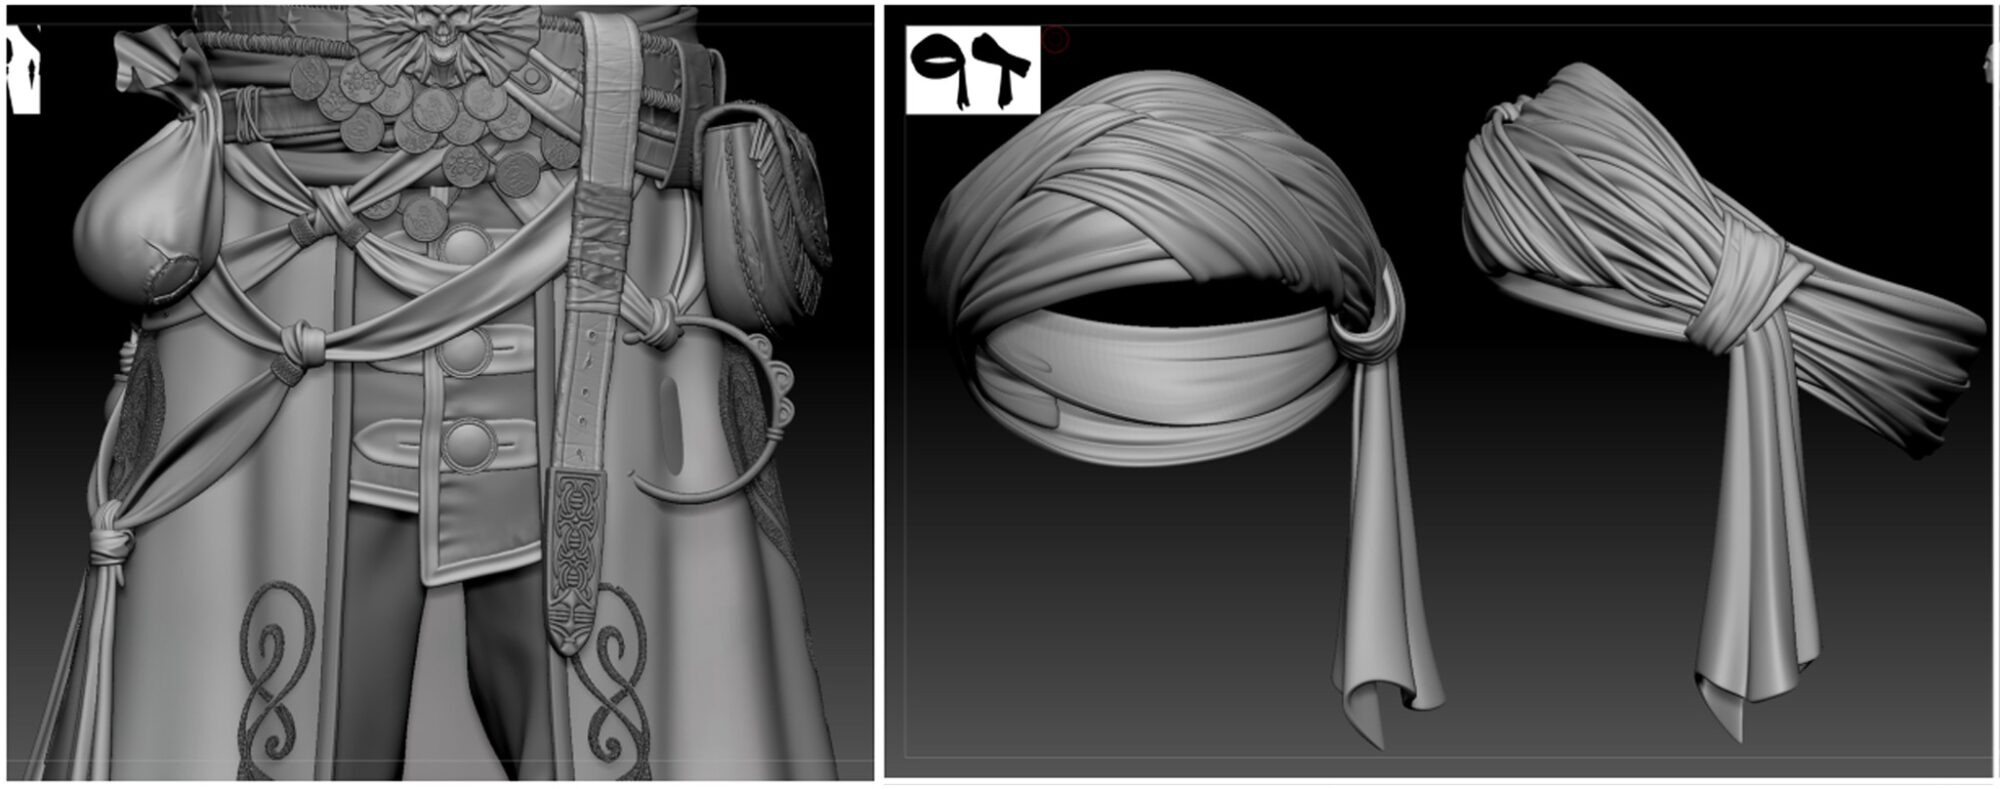
Create the shape with Dynamic enabled, and apply it when you get the desired shape.
-
Using a DamStandard brush, Standard brush, etc., you can add wrinkles and fine creases to the fabric.
Embroidery on the Coat
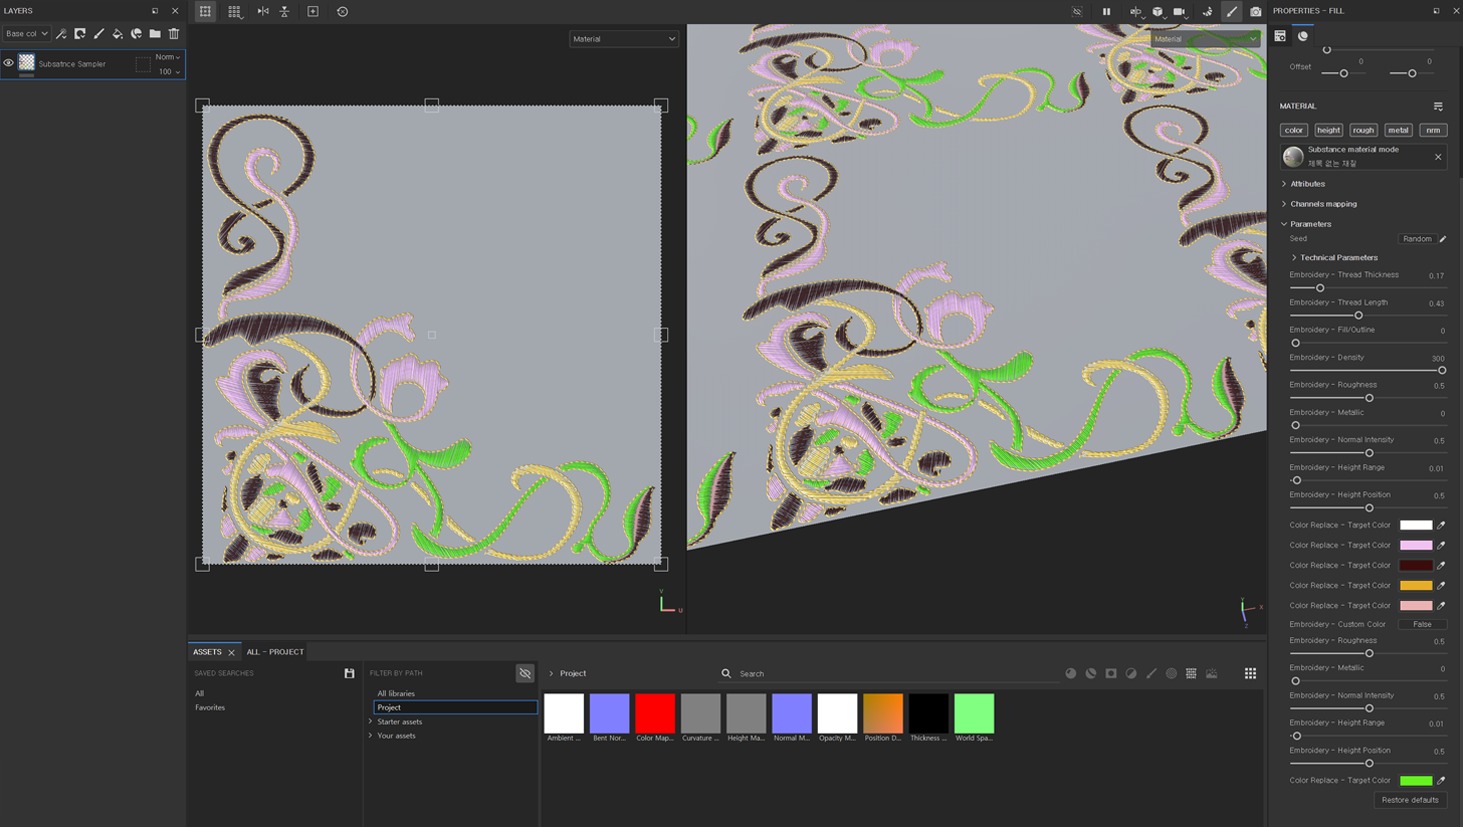
For the embroidery on Armanz’s coat, I decided to use Substance Sampler.
The process is simple as long as you have a color-separated pattern map. The most important part was making sure the colors were clearly divided.
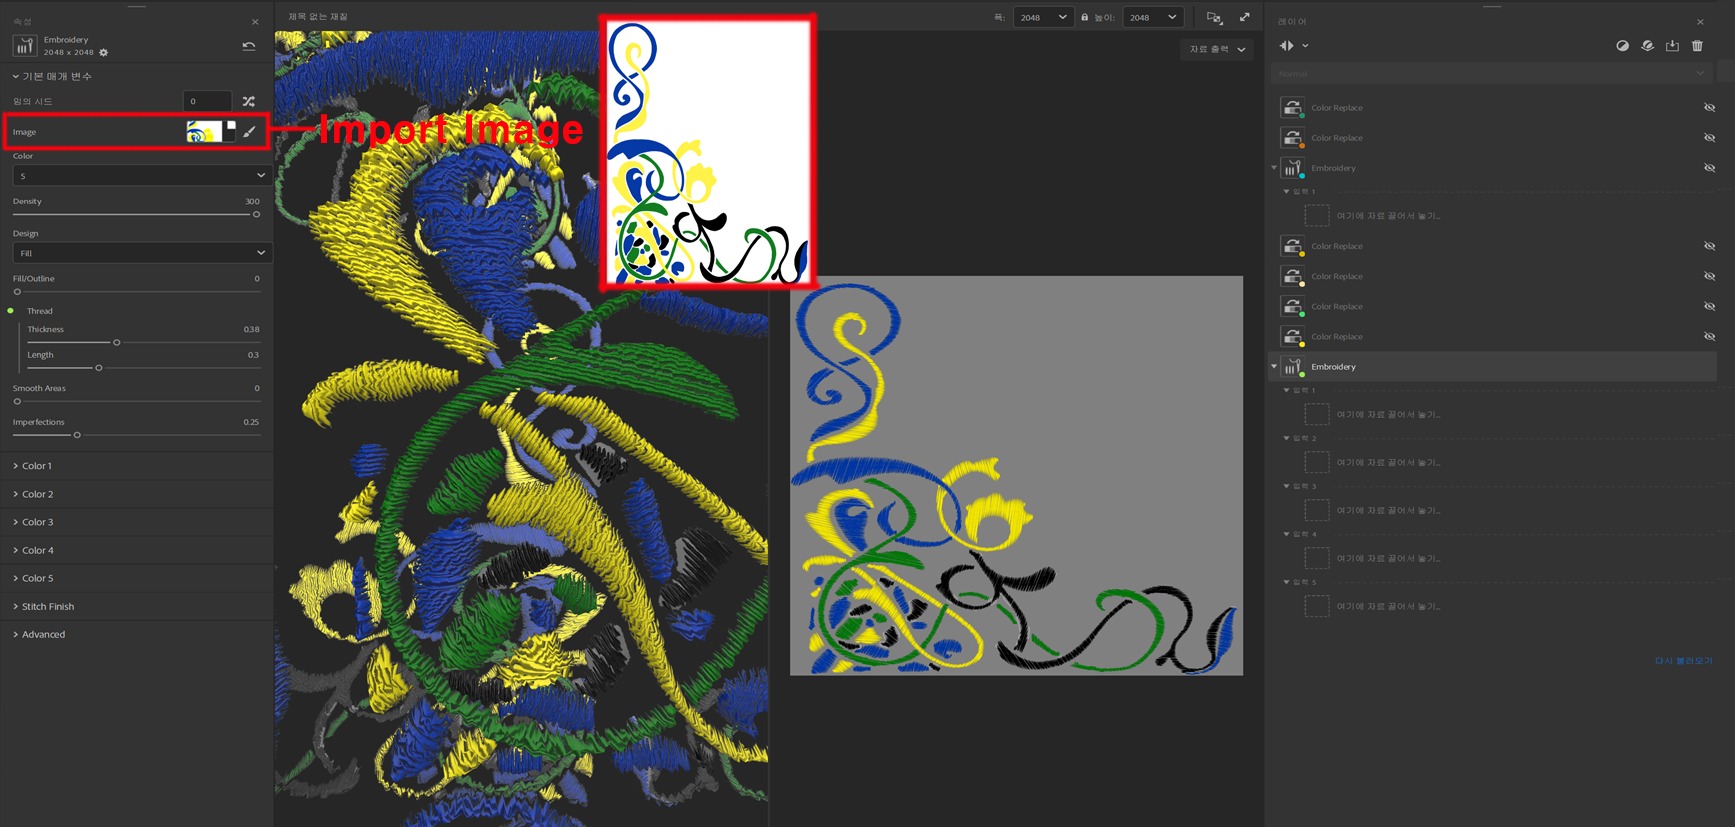
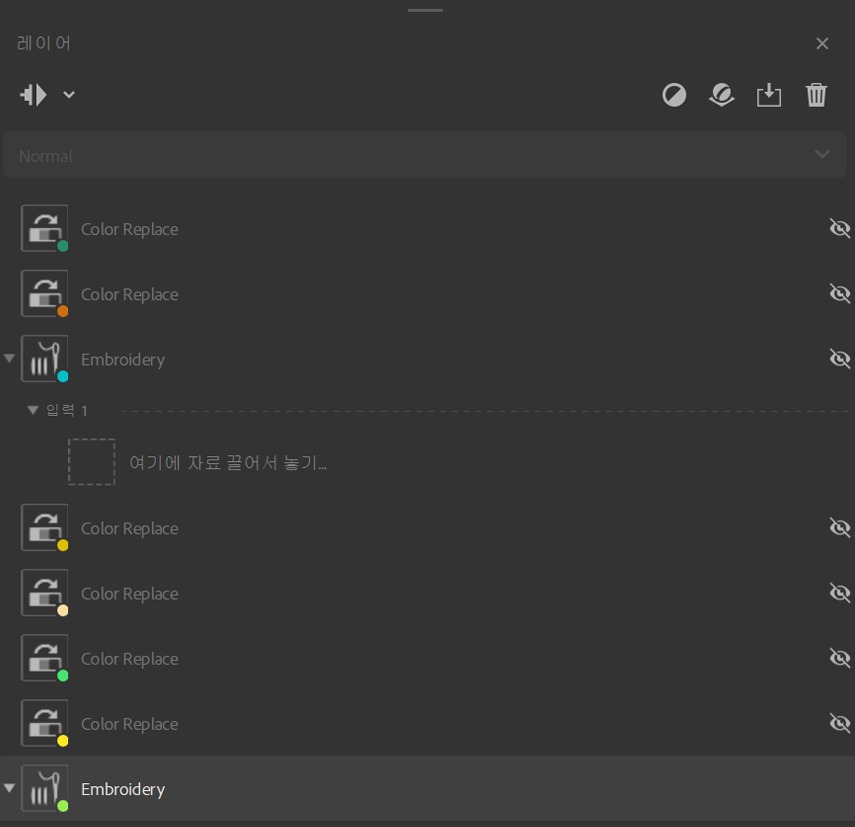
There are two main layers I used:
-
Embroidery: This creates the cross-stitch look. It offers basic styles like Satin, Twill, and Split.
-
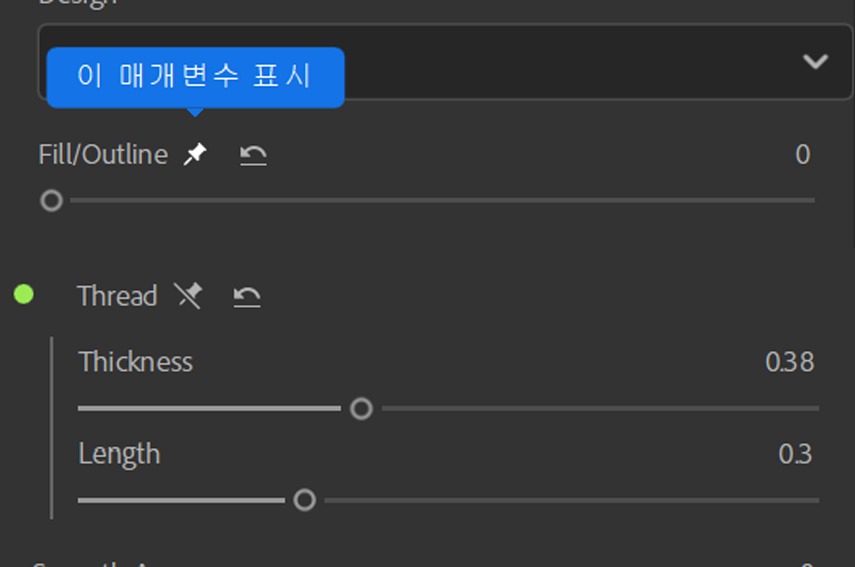
Color Replace: This lets you change specific colors in the pattern. By exposing parameters (using the pin icon), you can later adjust them freely in Substance Painter.
That’s all I needed to get the embroidery working the way I wanted.
Once everything is set up, you can export the material to Substance Painter.
Substance Sampler supports direct export to Painter, Designer, and Stager by default.
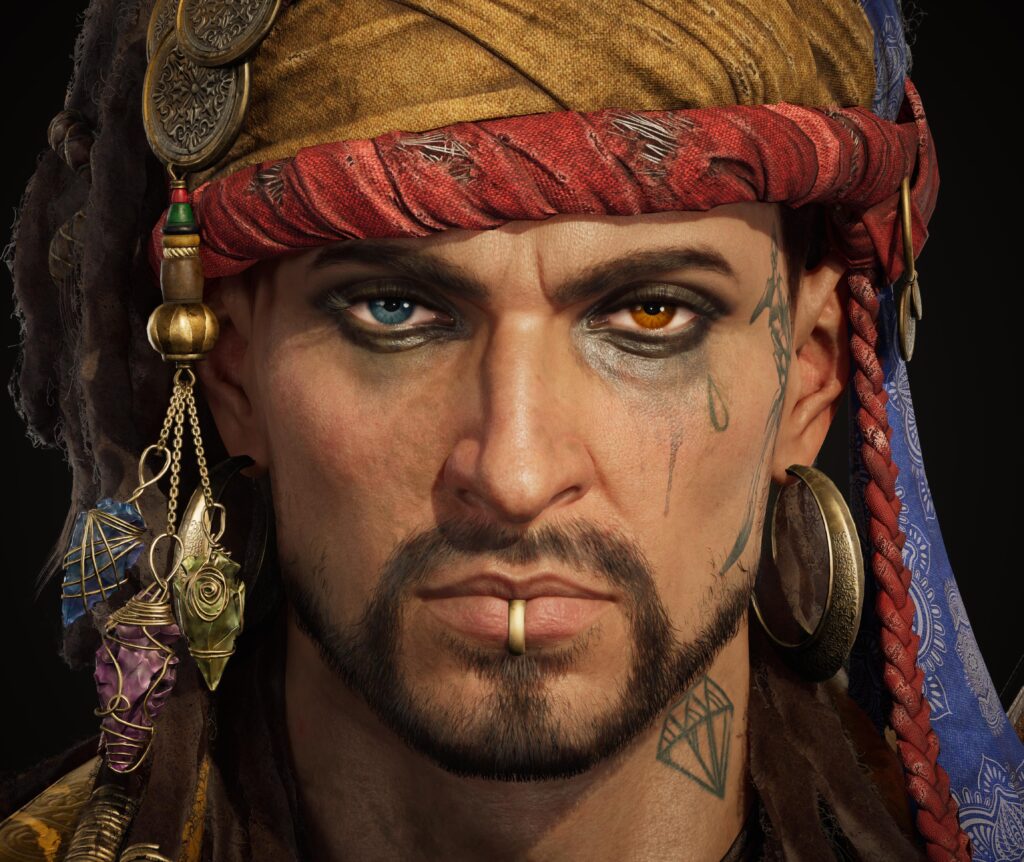
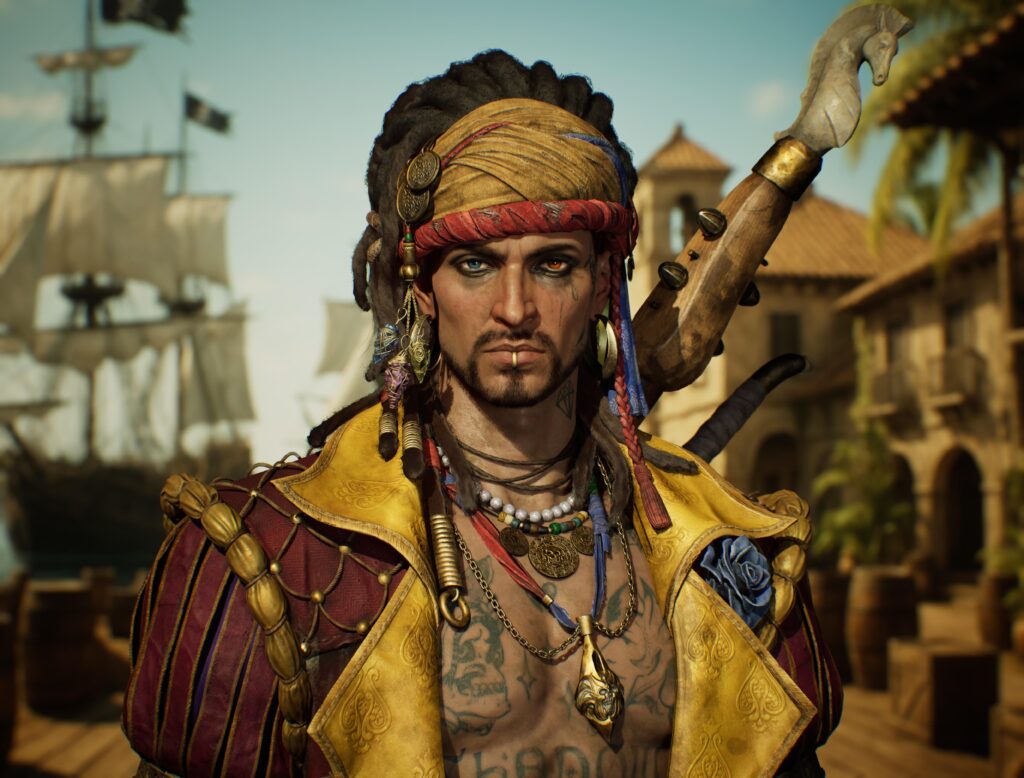
Face & Hair
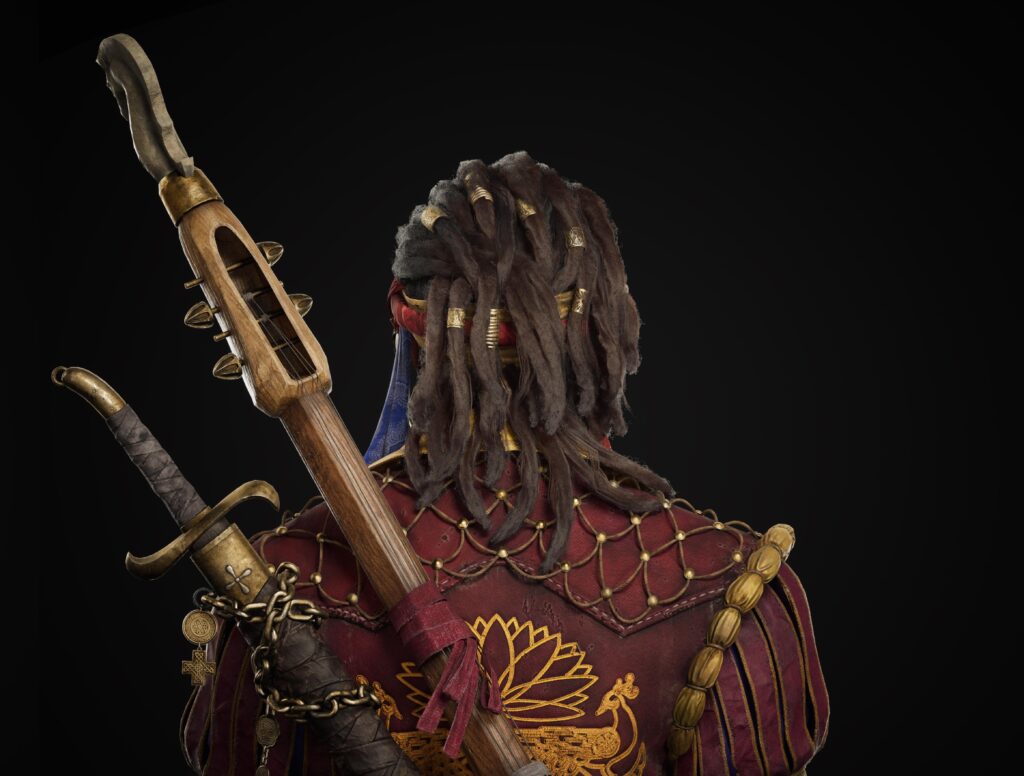
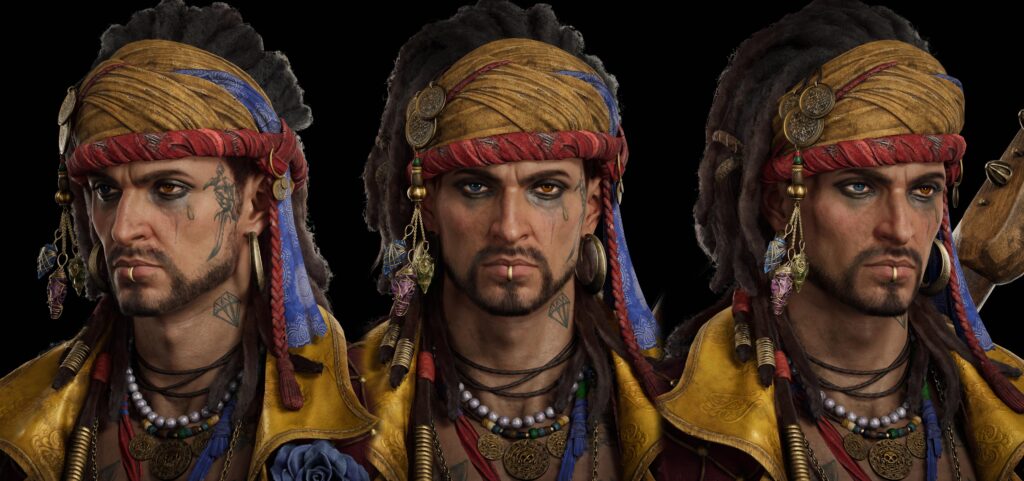
Dreadlock hair textures were created using Ornatrix.
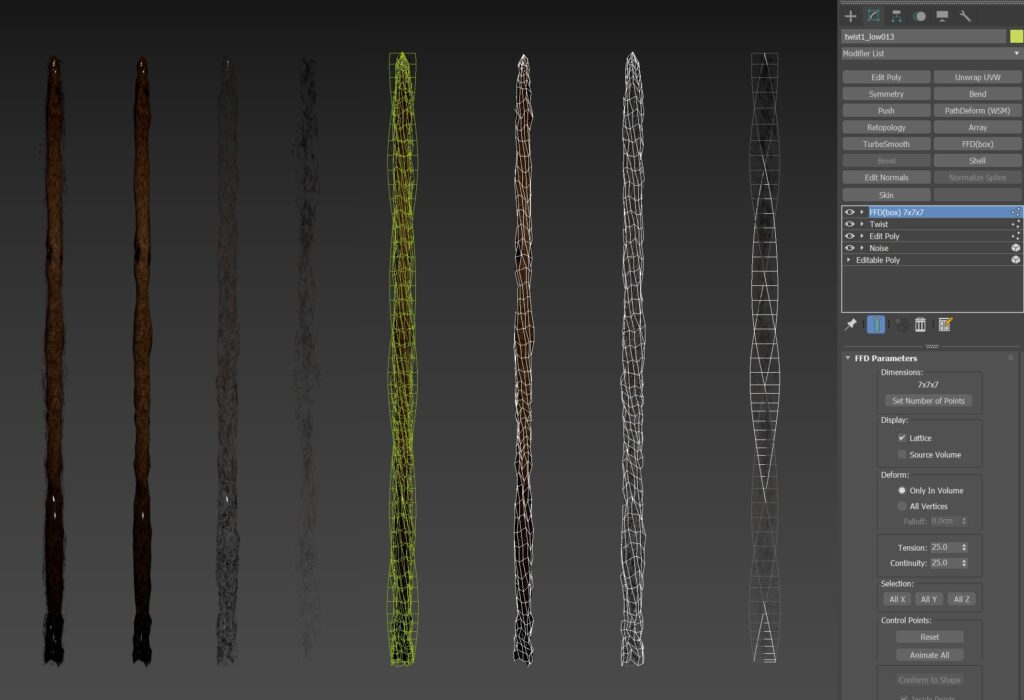
The yellow cylinders shown in the high poly are there to prevent the inner surface from being exposed during the Marmoset bake step, thus creating gaps in the dread hair texture.
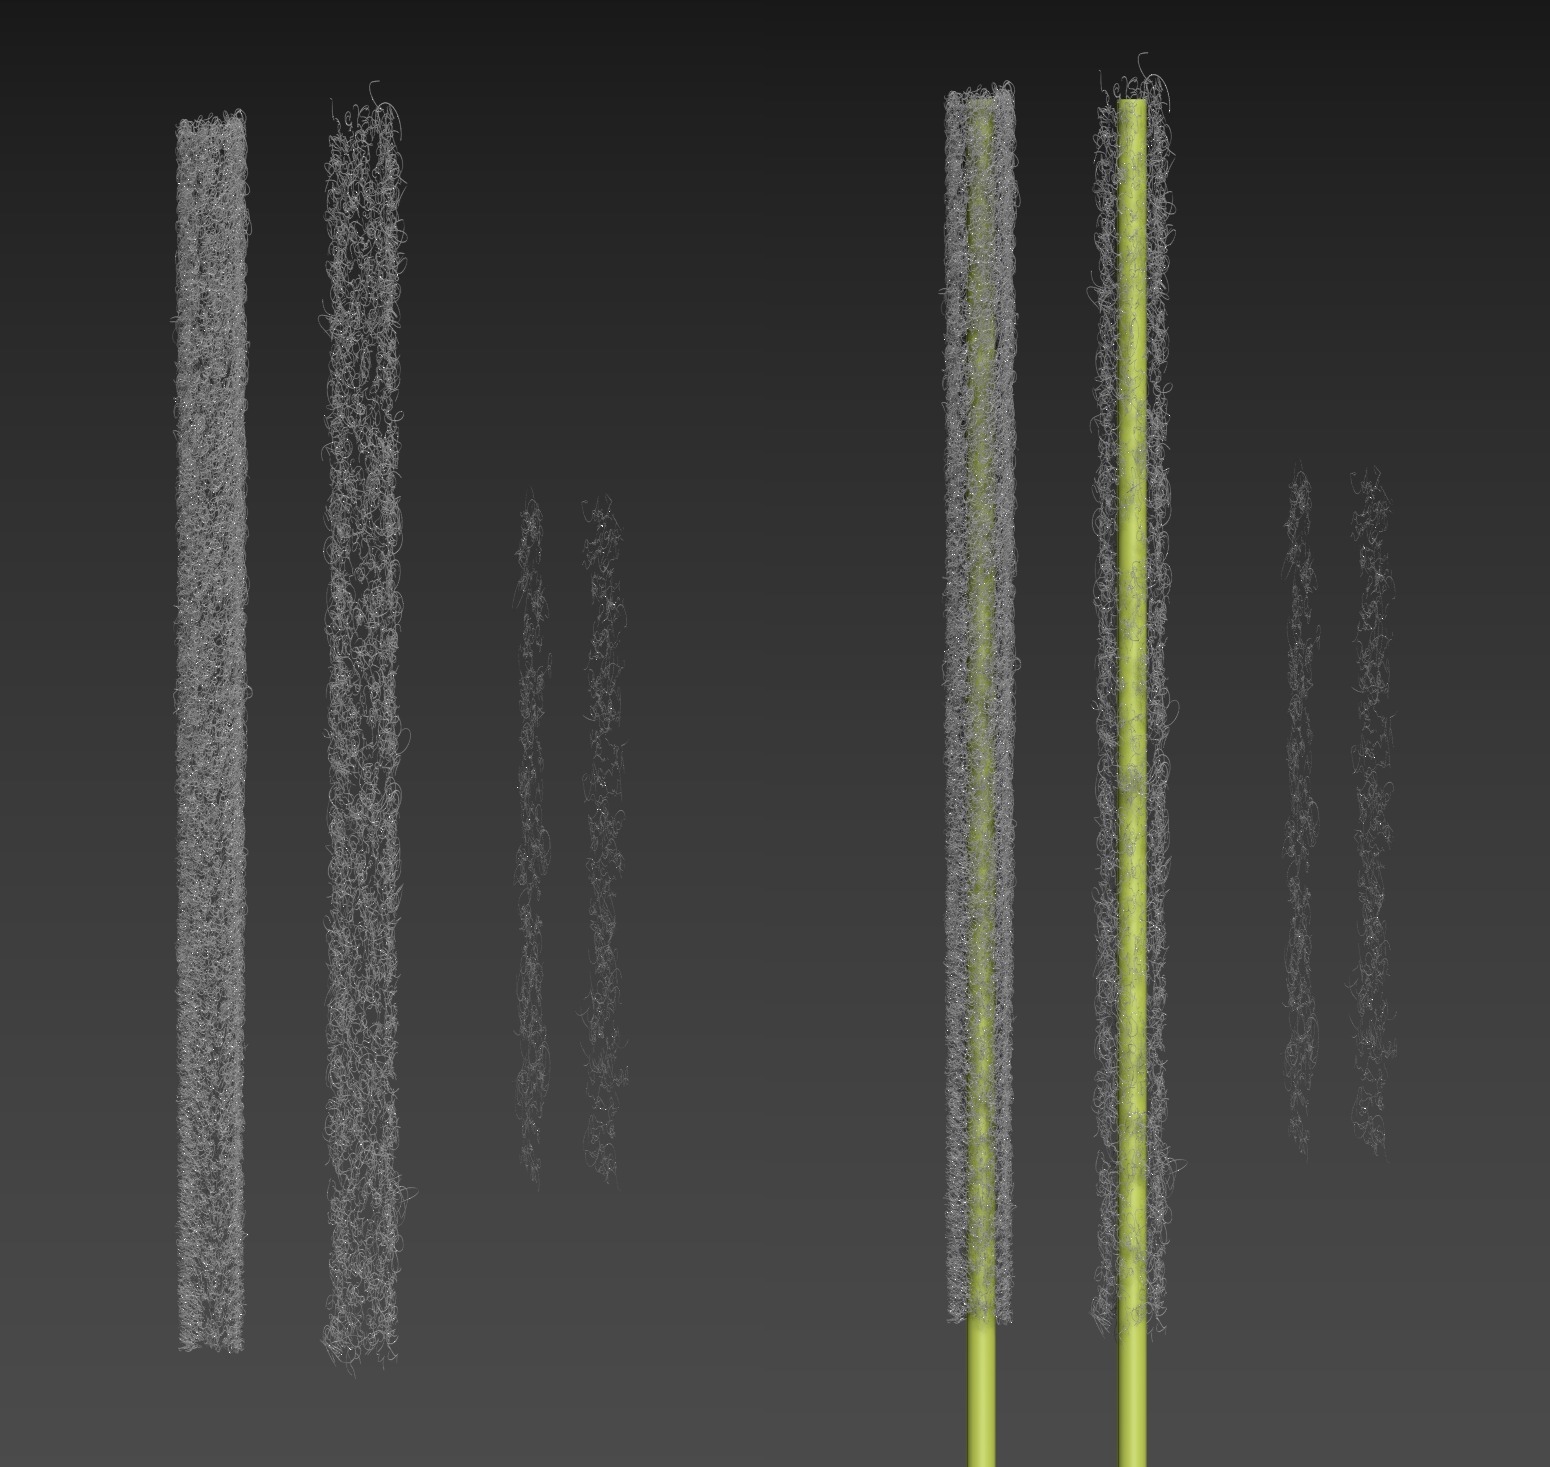
Below is the baked alpha map that came out of baking.
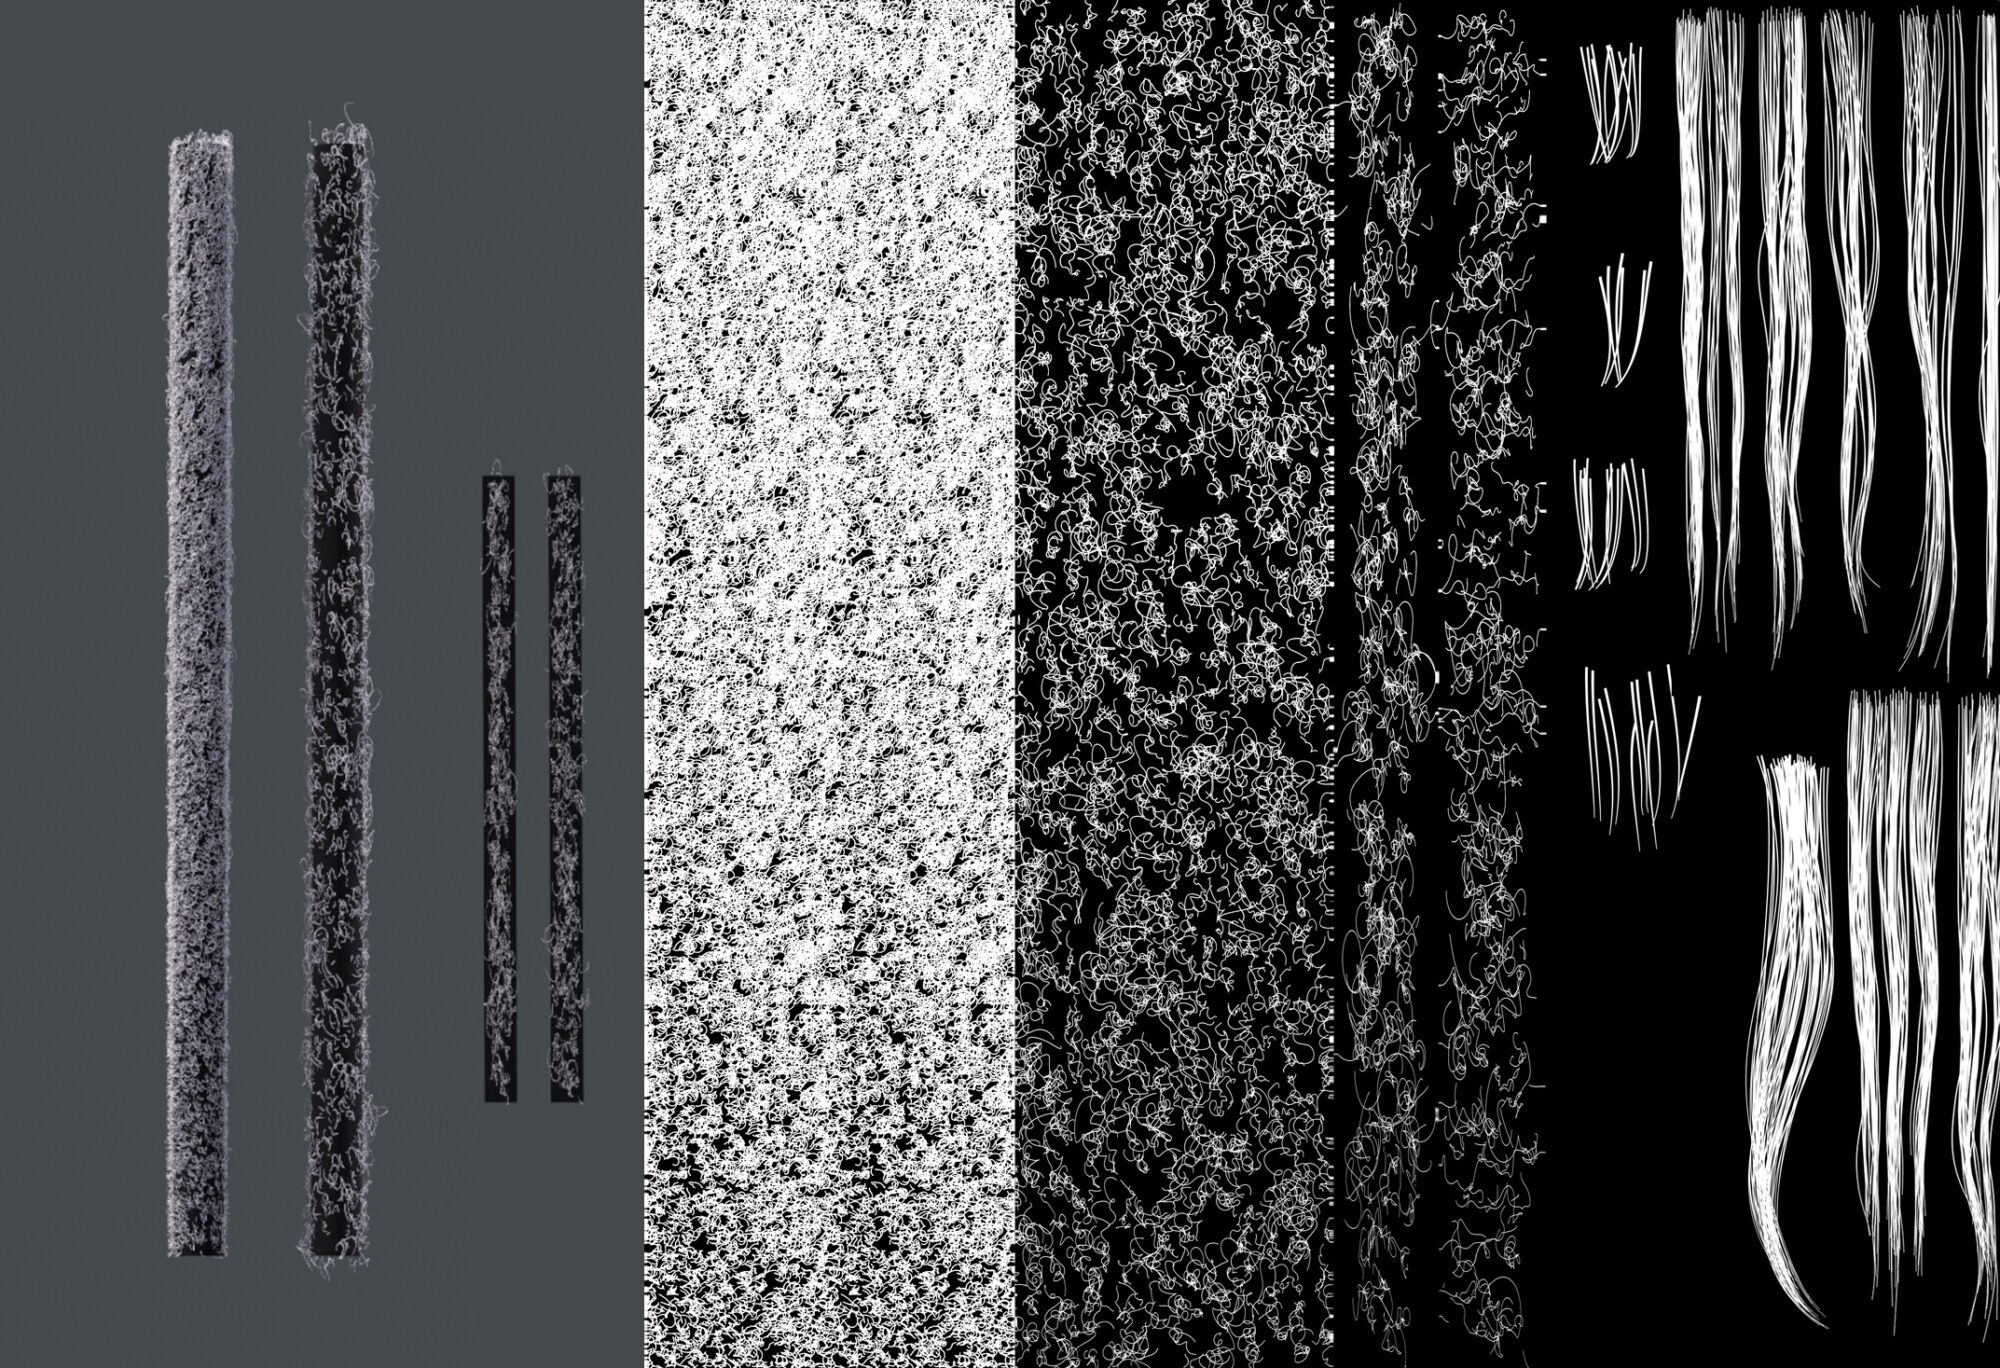
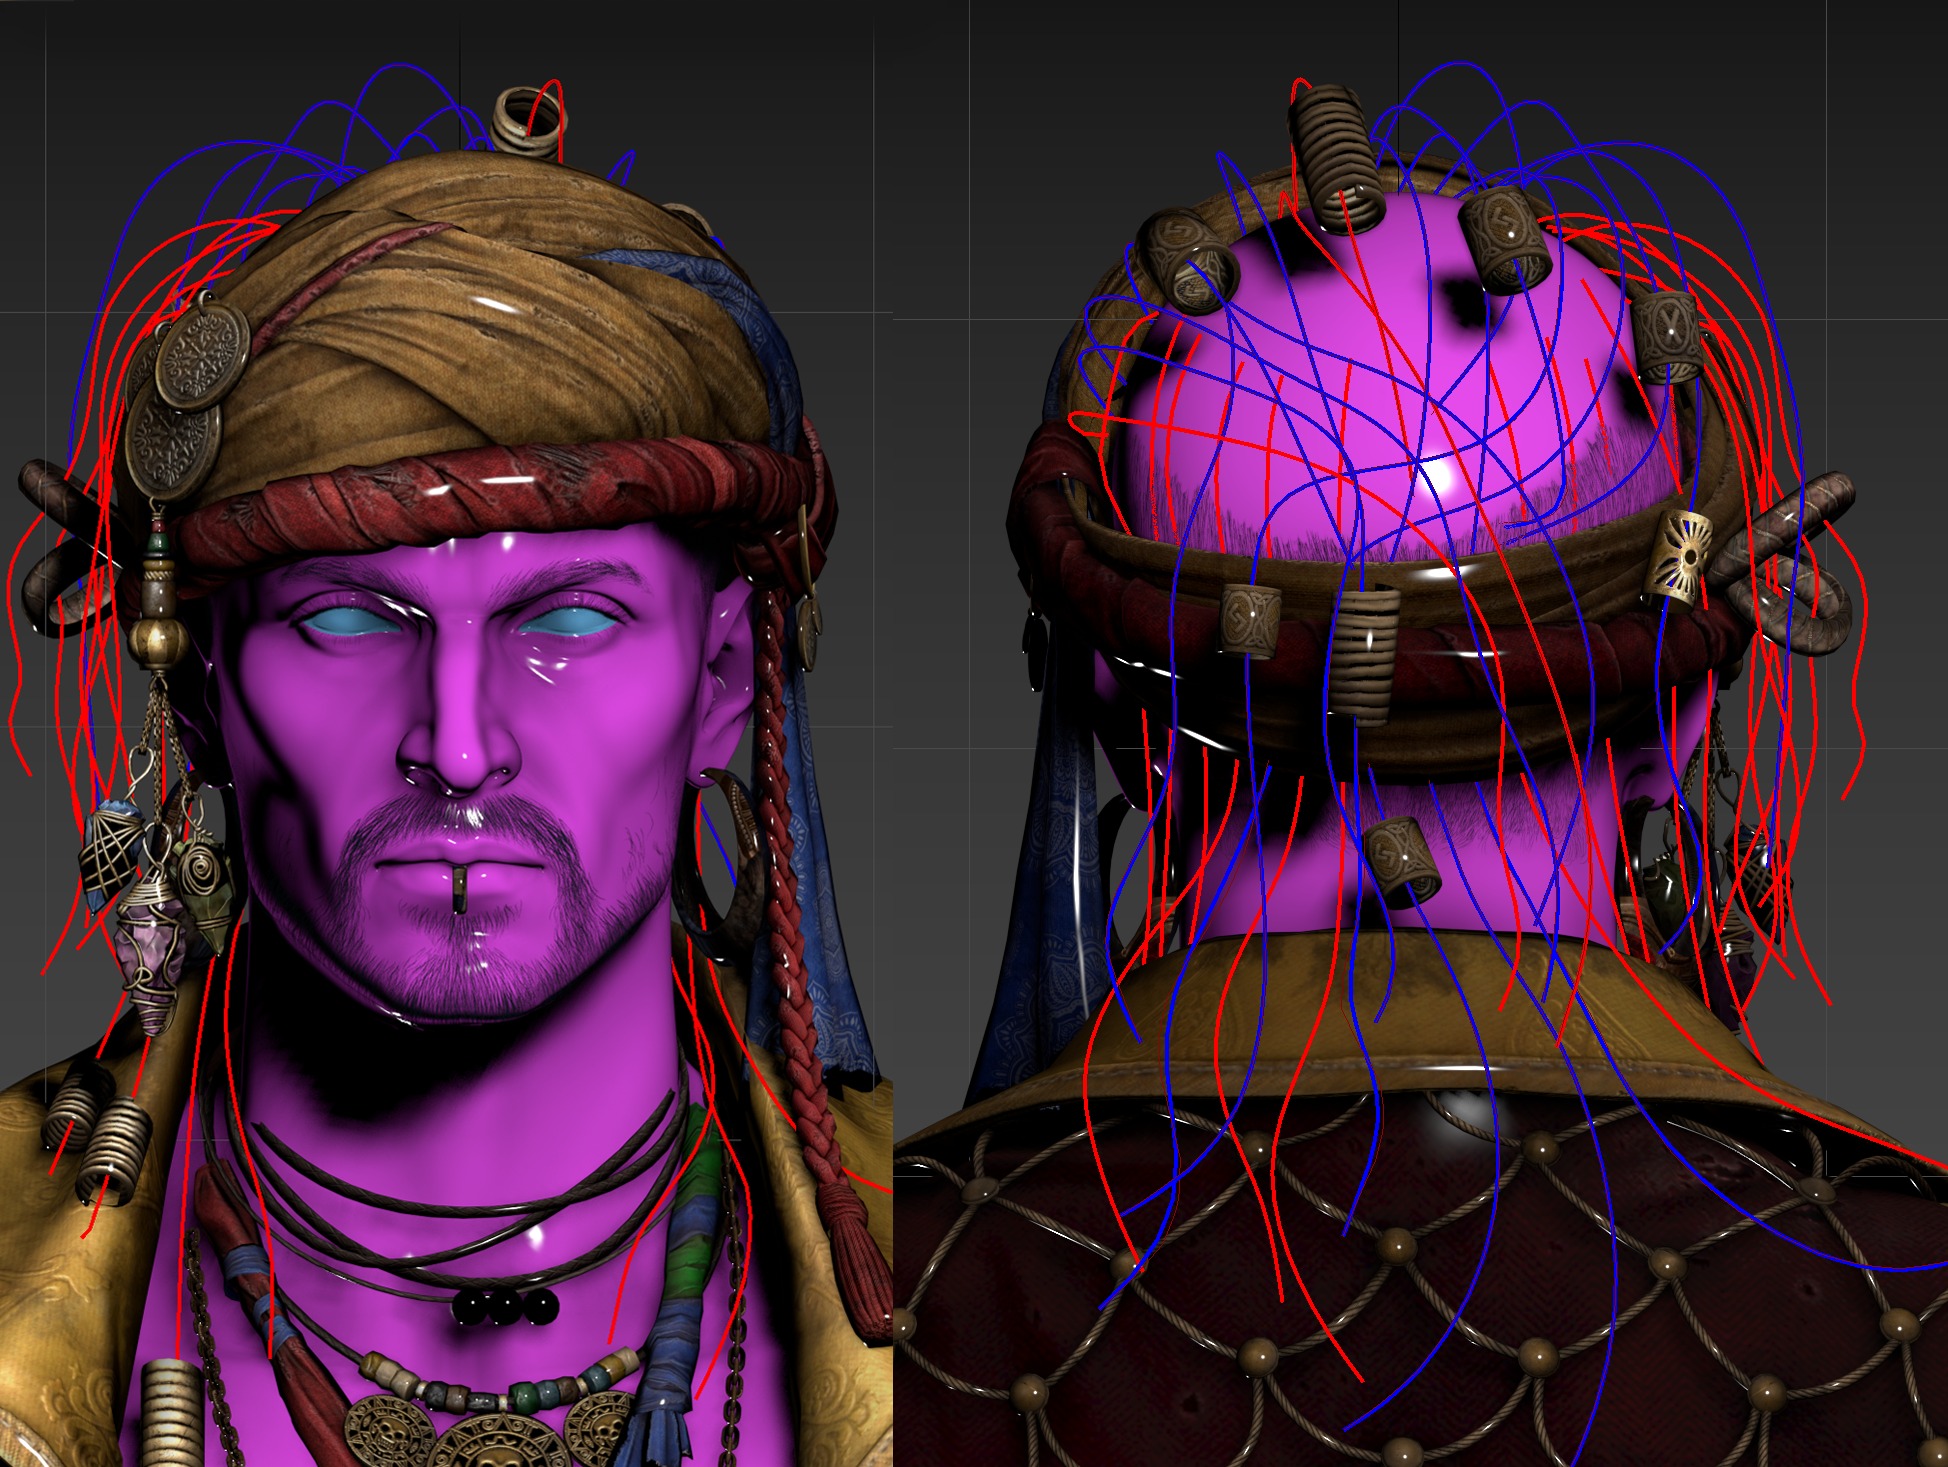
The dreadlocks were built in three layers: dense base hair, a looser secondary layer, and flyaway hairs.
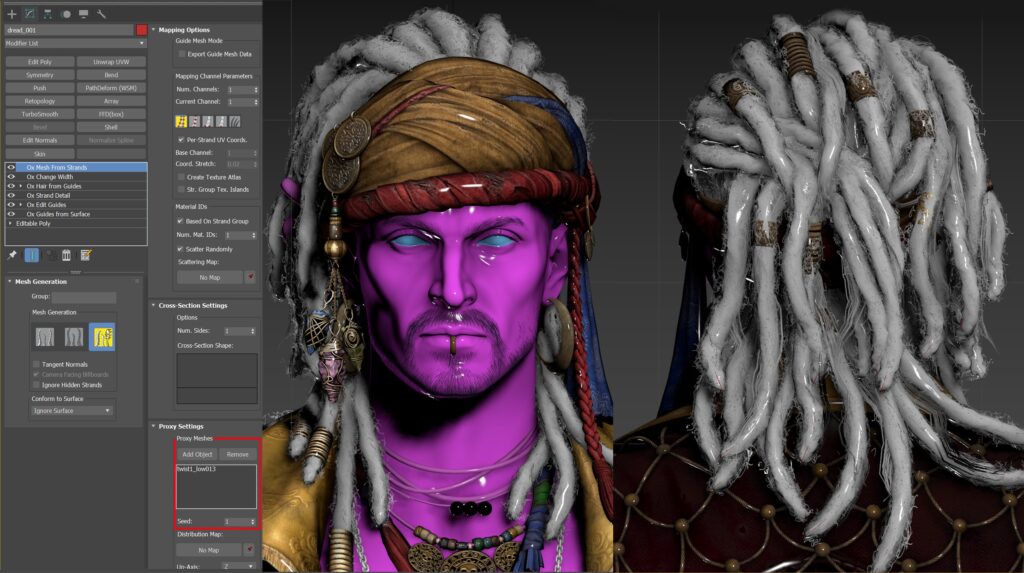
I then used Ornatrix’s Ox Mesh From Strands modifier to generate the final mesh from guide curves.
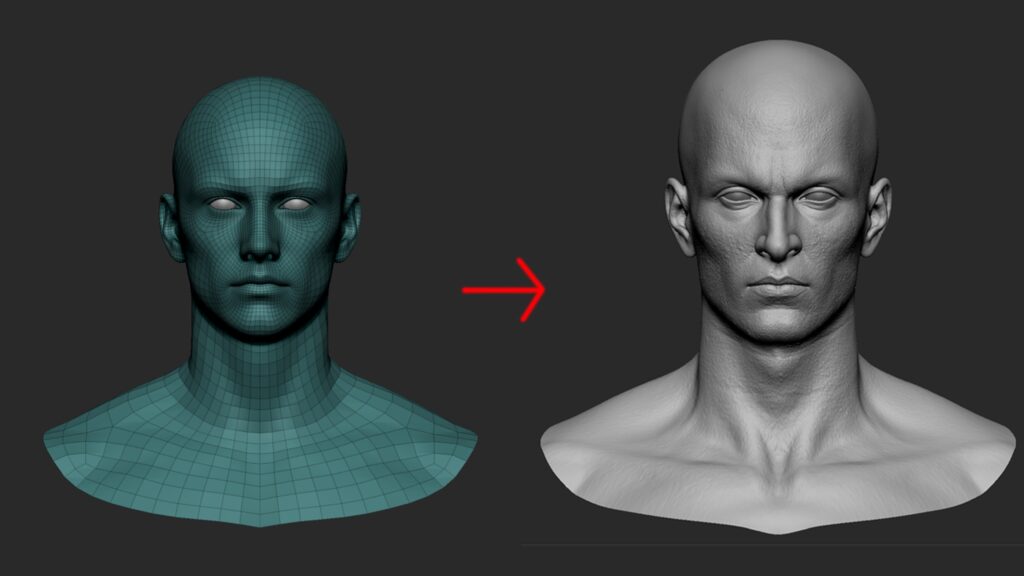
The face and body were based on the MetaHuman base mesh, which was efficient as it required no additional UV or topology work. I also reused MetaHuman shaders in Unreal.
For texturing, I used ZWrap to project high-quality scan textures (albedo, displacement) onto the mesh. The TexturingXYZ channel workflow was followed, so I’ll omit the detailed explanation here.
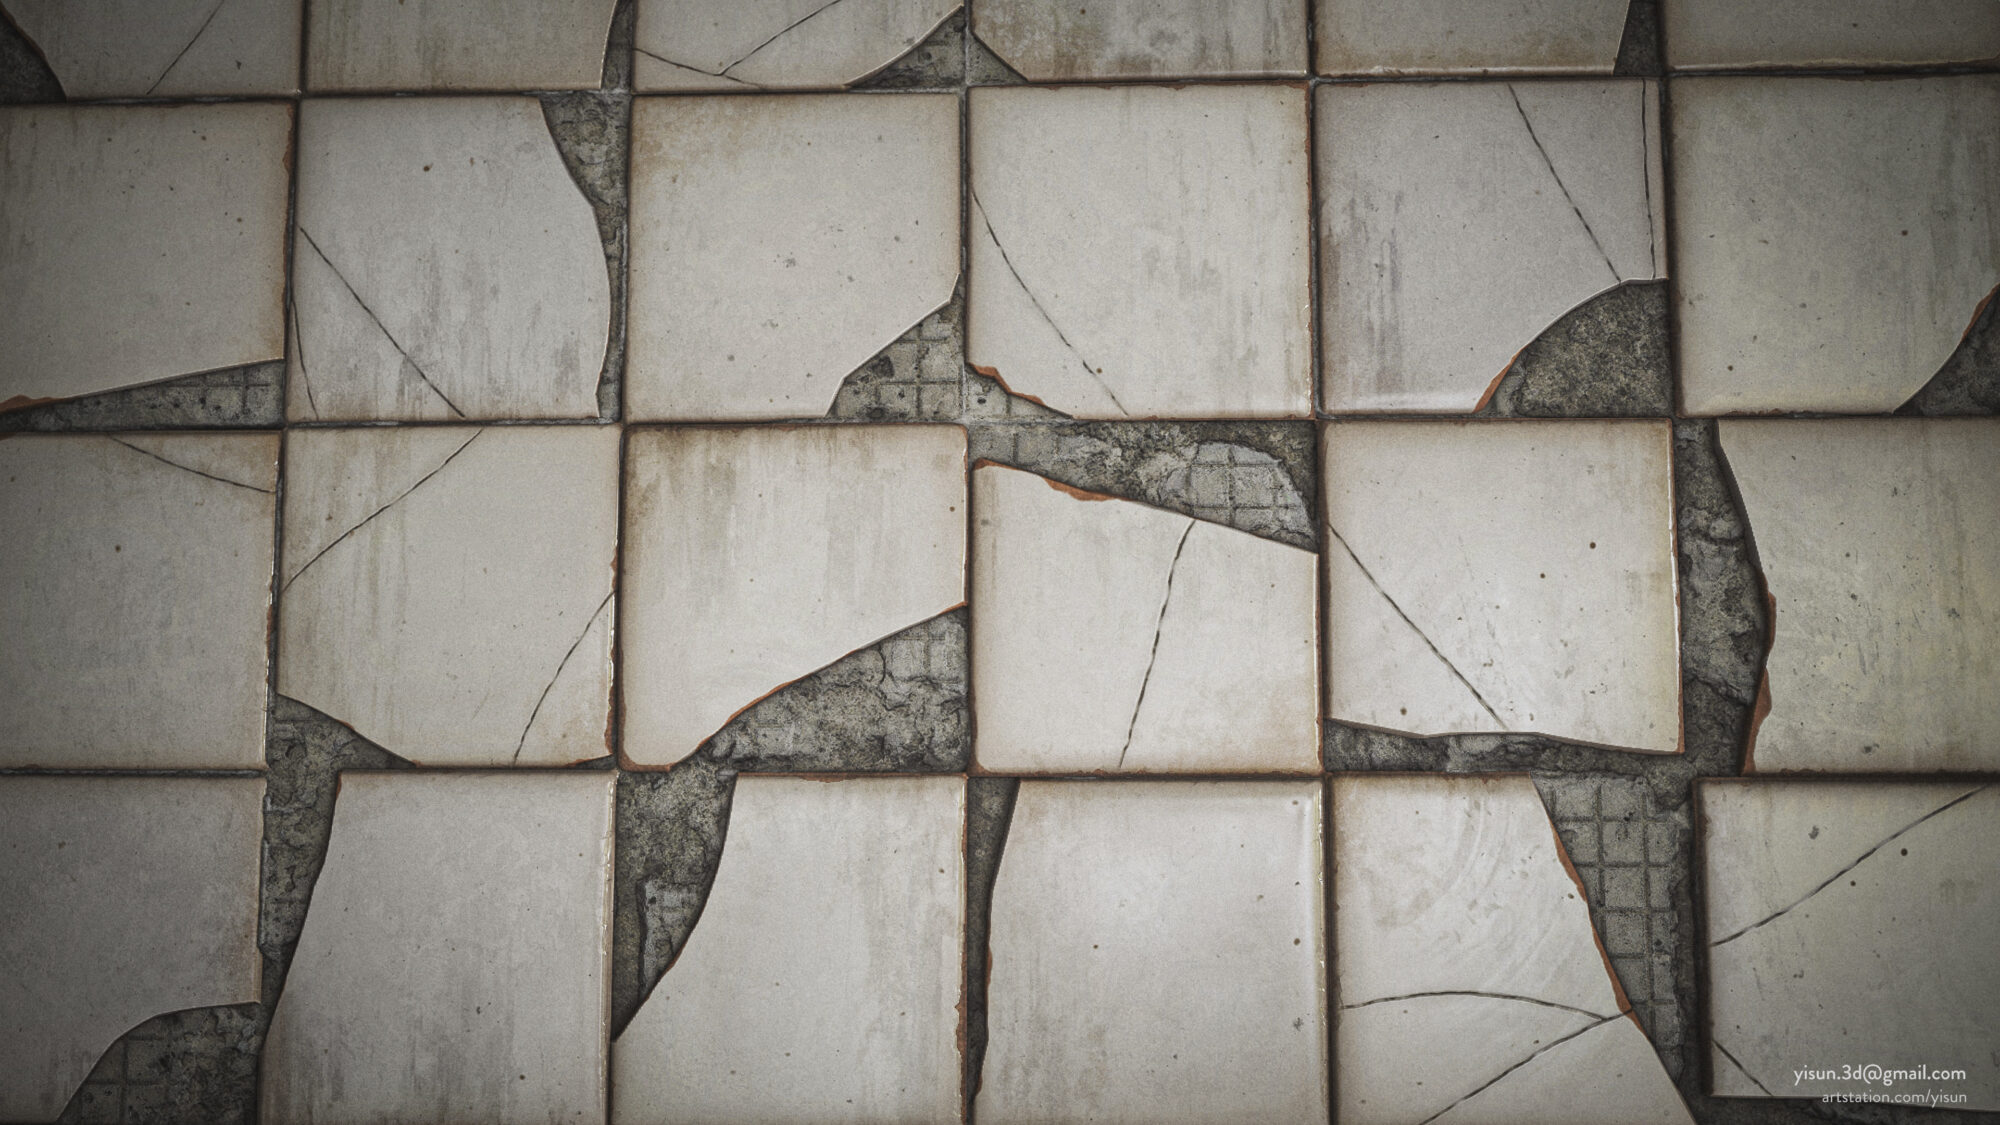
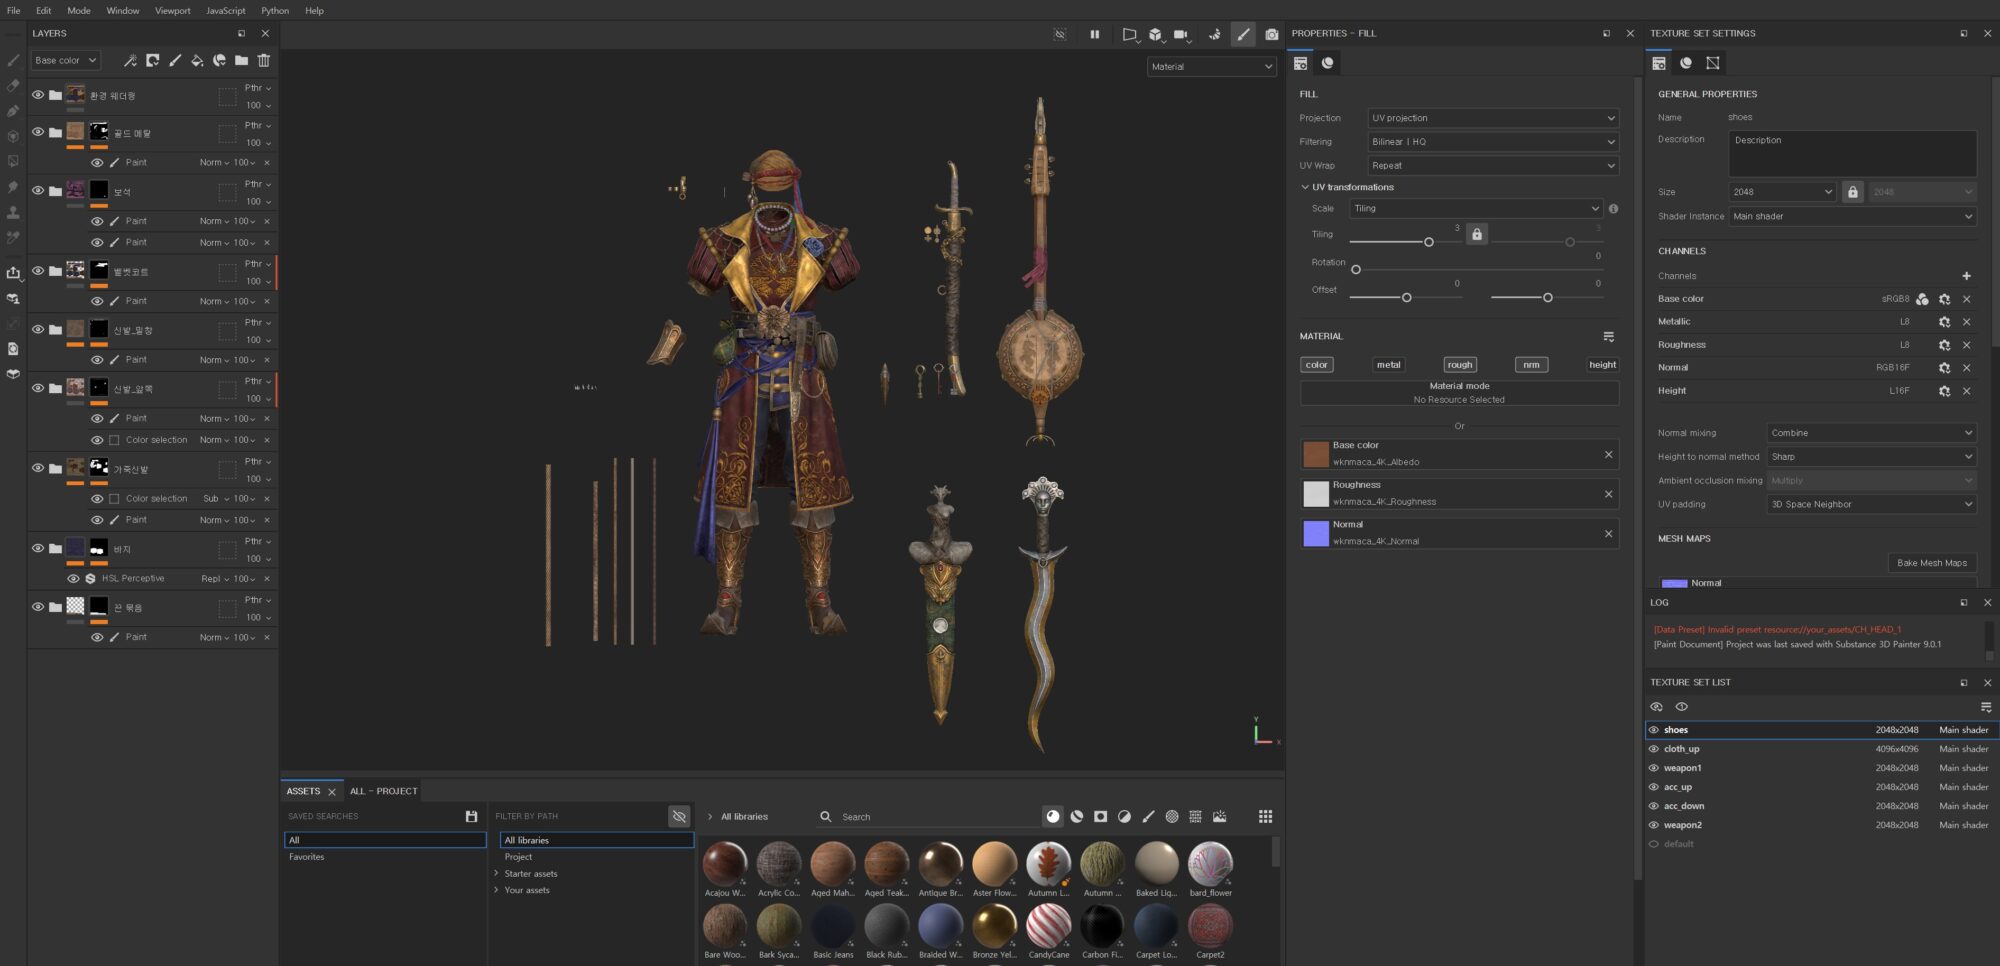
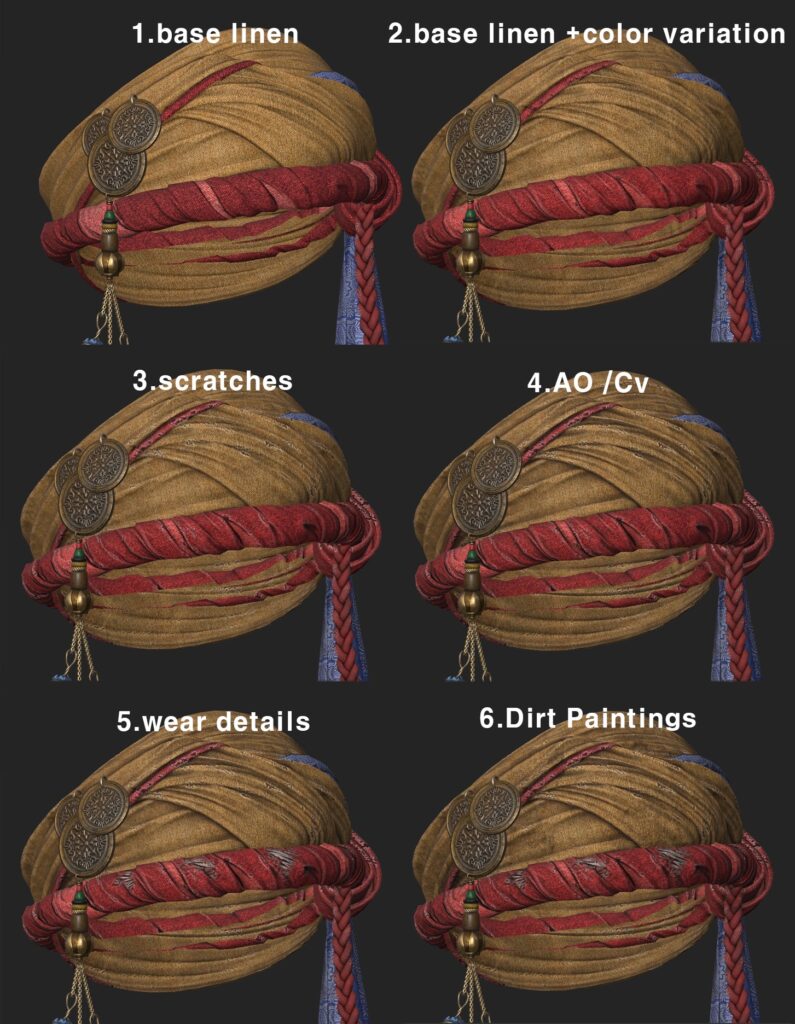
Texturing
Each material was painted with attention to micro detail: sweat stains in friction areas, dirt and mud buildup, chipped surfaces layered with dust.
These subtle touches added life and realism.
I used MetaHuman’s eye shaders, so no custom eye textures were needed.
UV & Layout
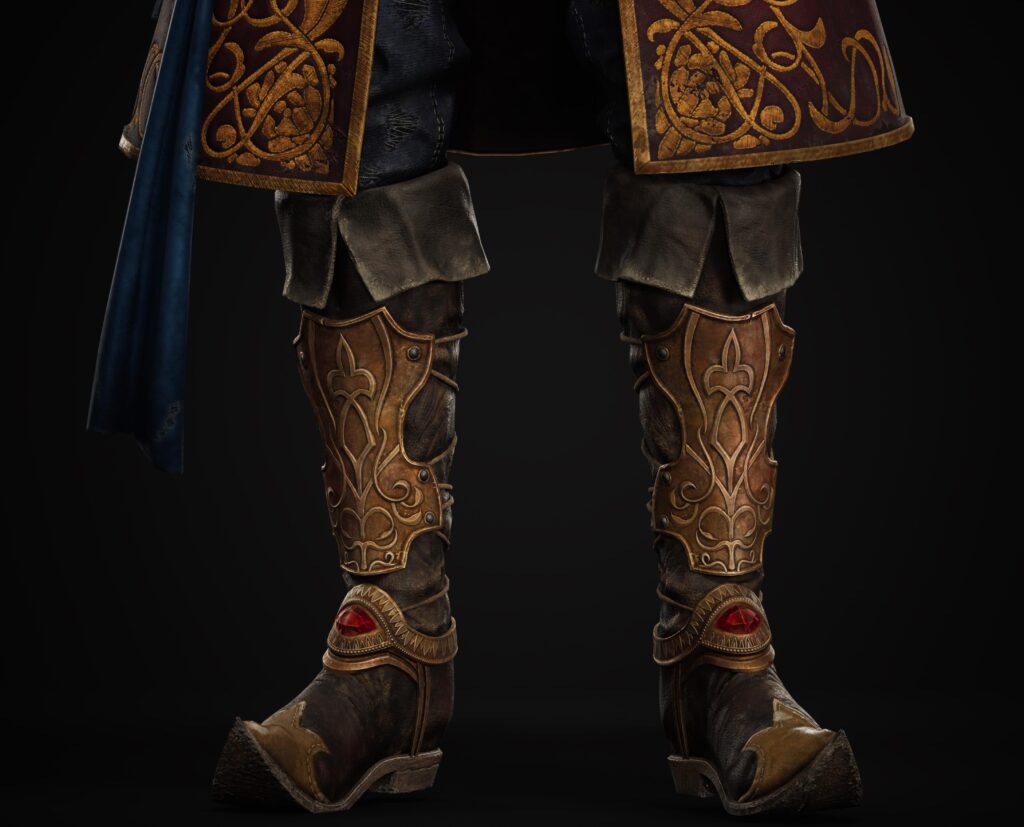
This character has many repeating elements like ropes, chains, and straps. I optimized this using trim sheets and tiling UVs for efficient texturing.
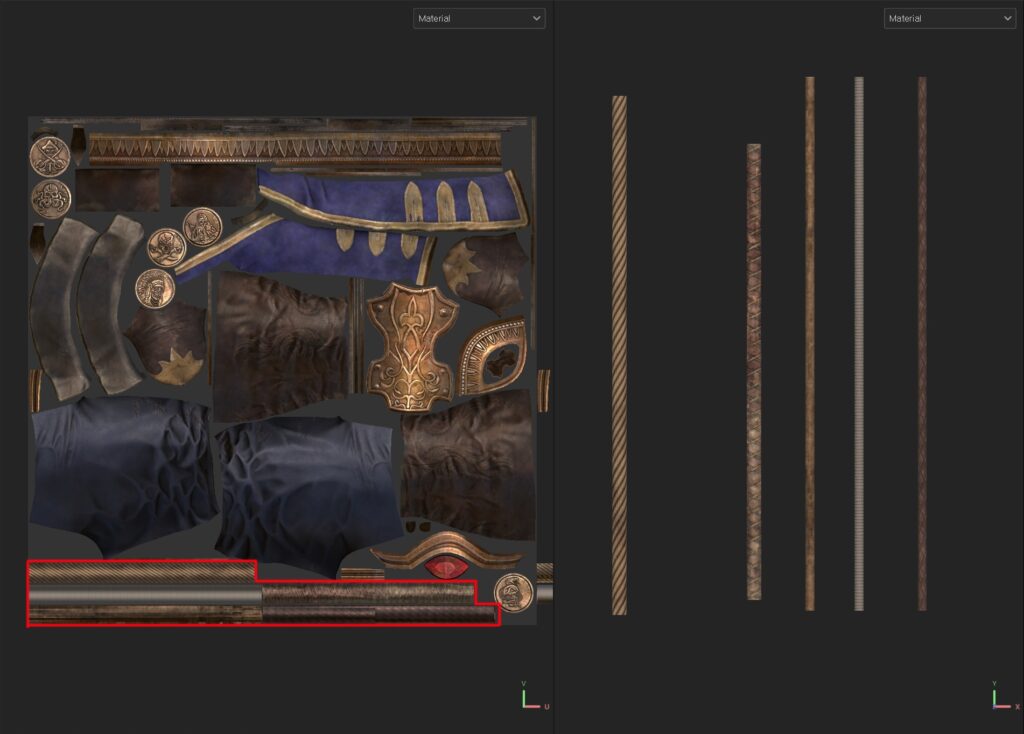
UVs were unwrapped in 3ds Max. I assigned separate materials for torso, legs, waist accessories, headgear, and weapons.

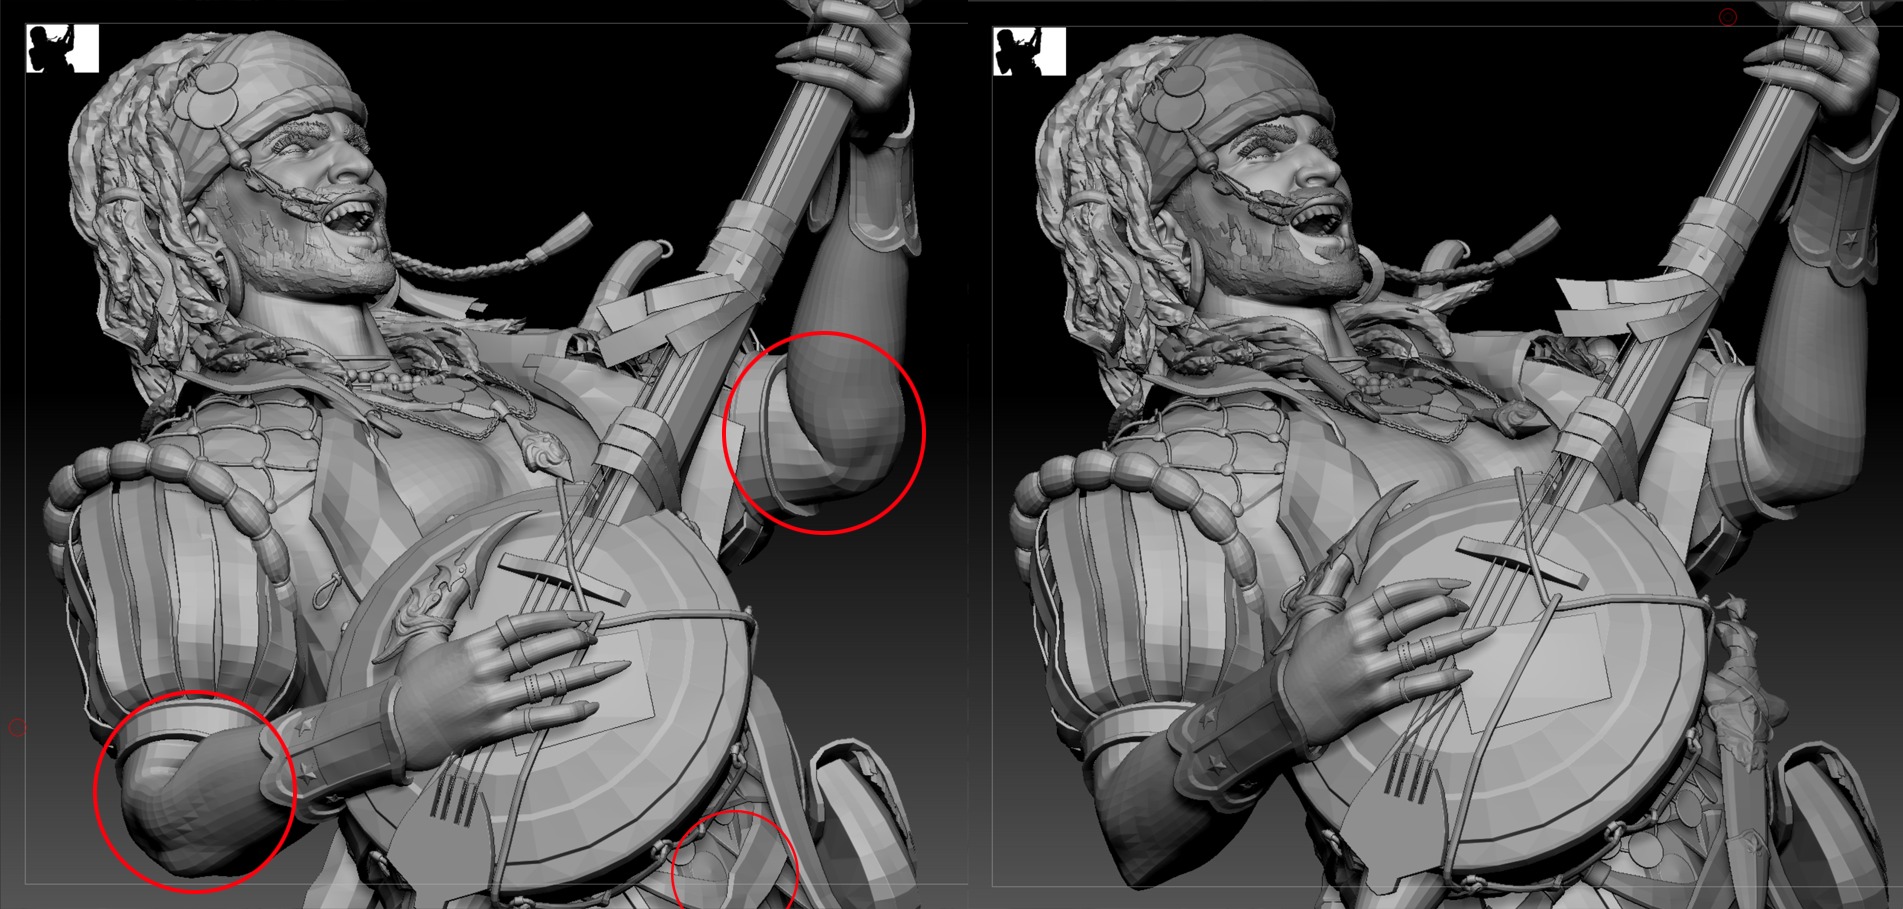
Rigging & Posing
Rigging and posing were done using the Biped system in 3ds Max for quick and effective results.

Since I’m not a professional animator, I corrected some skinning issues using ZBrush’s Transpose Master plugin for finer adjustments in joint areas.
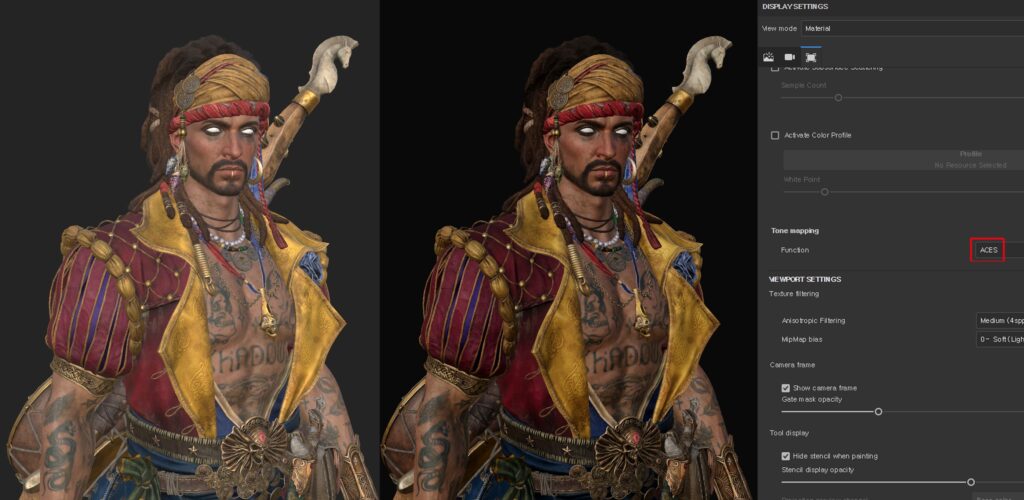
Final Render
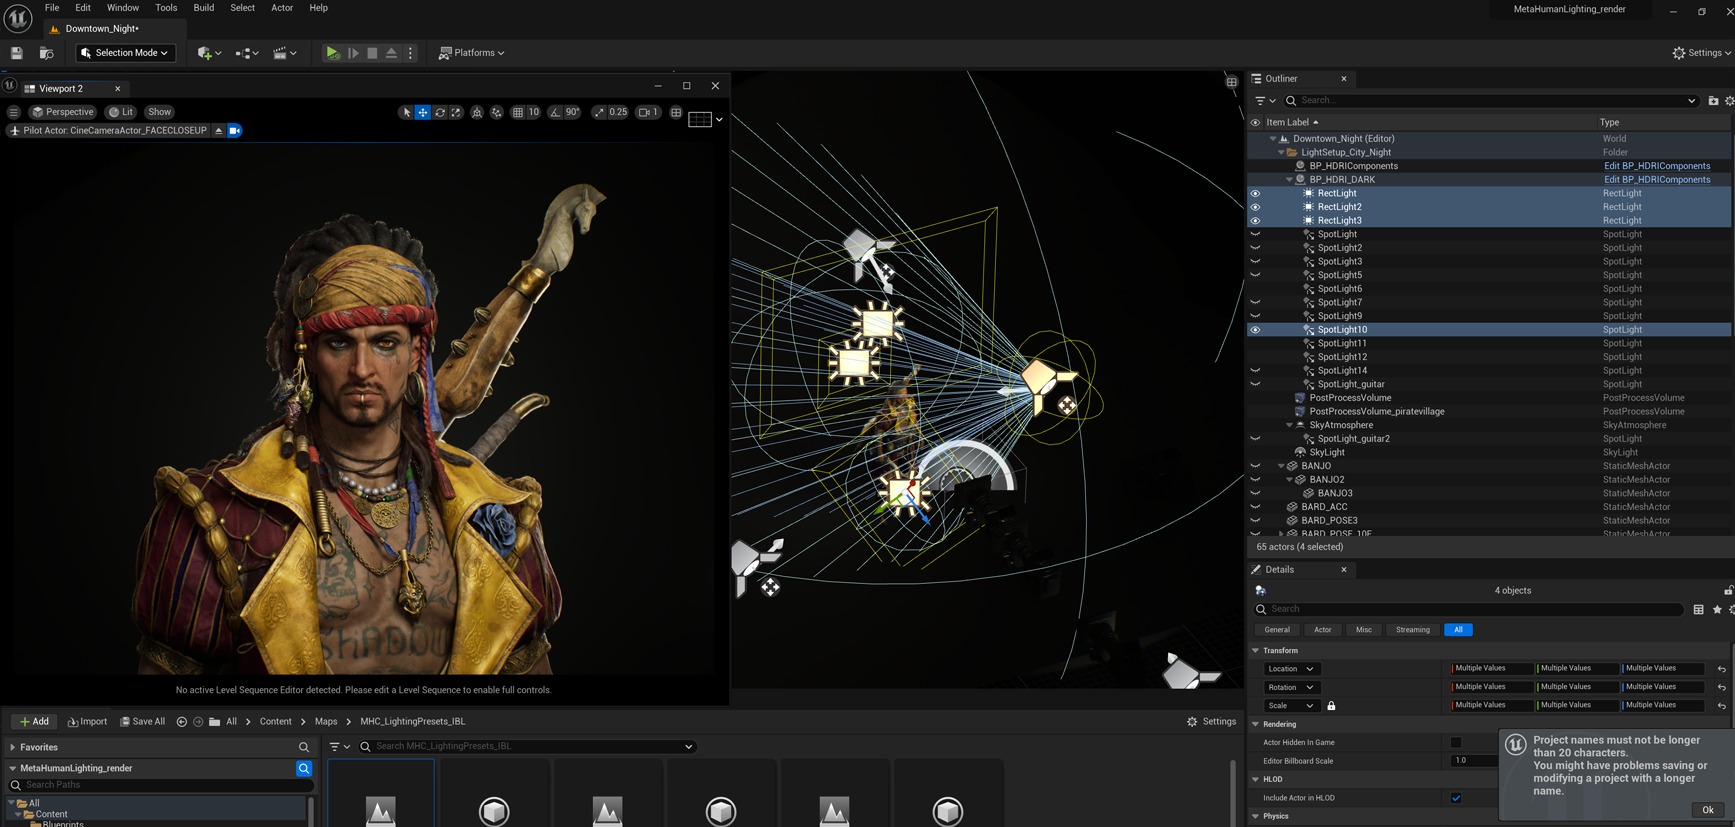
Final rendering was done in Unreal Engine 5.
I used the free MetaHuman Lighting Preset bundle to set up the lighting environment and enhance presentation.
Lighting was kept simple and effective.
I used a standard 3-point lighting setup from the preset, with a few additional lights added per scene to highlight silhouettes and materials.
Conclusion
Completing this project took about five months and was full of both challenges and rewarding moments.
I’m especially grateful to my mentor, Sim Insu, whose weekly feedback guided me through every obstacle with valuable insights from his industry experience.
I also want to thank my fellow students in our Discord study group, as their encouragement kept me going through tough times.
Building so many props, balancing vivid colors, and sculpting dreadlocks wasn’t easy, but in the end, I created a piece I’m proud of. I’m happy to share my workflow here, and I hope it helps or inspires others on their own creative journey.
Read more articles
You might also like these articles.