The Teal Wheel Tavern


Introduction
Hello! I’m Lotte de Brabander and I am a 3D Environment Artist from The Netherlands. I started my adventure into 3D when I got accepted at ‘’Breda University of Applied Sciences ‘’ where I studied Game art.
I realized fairly quickly during my study that creating environments and world-building is what I am passionate about. It brings back memories of when I would sit beside my brother, watching him play games such as ‘’Rayman 2’’ and ‘’The Legend of Zelda: Twilight Princess.’’ I was totally captivated by the world around the characters that he’d play.
My goals for this project
I had a few goals/reasons in mind to why I wanted to work on this project. One of them is being insecure about entering the industry right after university. My portfolio was missing something, which I wanted to fix before sending out job applications.
I also had knowledge gaps to fill. I had never worked with trim sheets and really wanted to try that out, especially since I want to pursue environment art.
To ensure that I would achieve my goals I ended up signing up for a 5-month long mentorship with Lucas Annunziata from ‘’The mentor Coalition.‘’ It was such a great decision. Without his advice, feedback and help the project wouldn’t be where it is right now!
Software
The software I used for this project:
Blender: For modeling and Uv’ing.
Substance Painter and Designer: For texturing.
ZBrush: For very minor sculpting of some assets.
Unreal Engine 5: To assemble the scene.
References
When I start with a project I generally look for inspiration first. With this one, I already knew that I did not want to stray too far from the concept, so I did not feel the need for a ton of reference material. In the picture below I condensed some of the references I gathered so you can have an idea of what I look for. Depending on the project; I look for references from other games, projects, illustrations and real-life (google street-view can be helpful sometimes too!).
For this one, I mainly looked at certain games and projects to get an idea of the level of detail with the camera angle and images that use certain techniques that I was interested in trying out.

Setting up the project
When setting up I usually do some basic things like creating an asset list to define the scope, blocking out the big shapes and creating small breakdowns to further define what is important to the scene.
Something I struggled with was getting the right camera view when I worked on the block-out, thankfully I found out about Fspy . It’s a handy tool to calculate the camera settings and if you use Blender you can instantly create the camera with those settings using their plugin!
Below is an example of how I broke down some of the tileables and trim sheets. It’s pretty straightforward, but by visualizing these things you create more clarity for yourself.

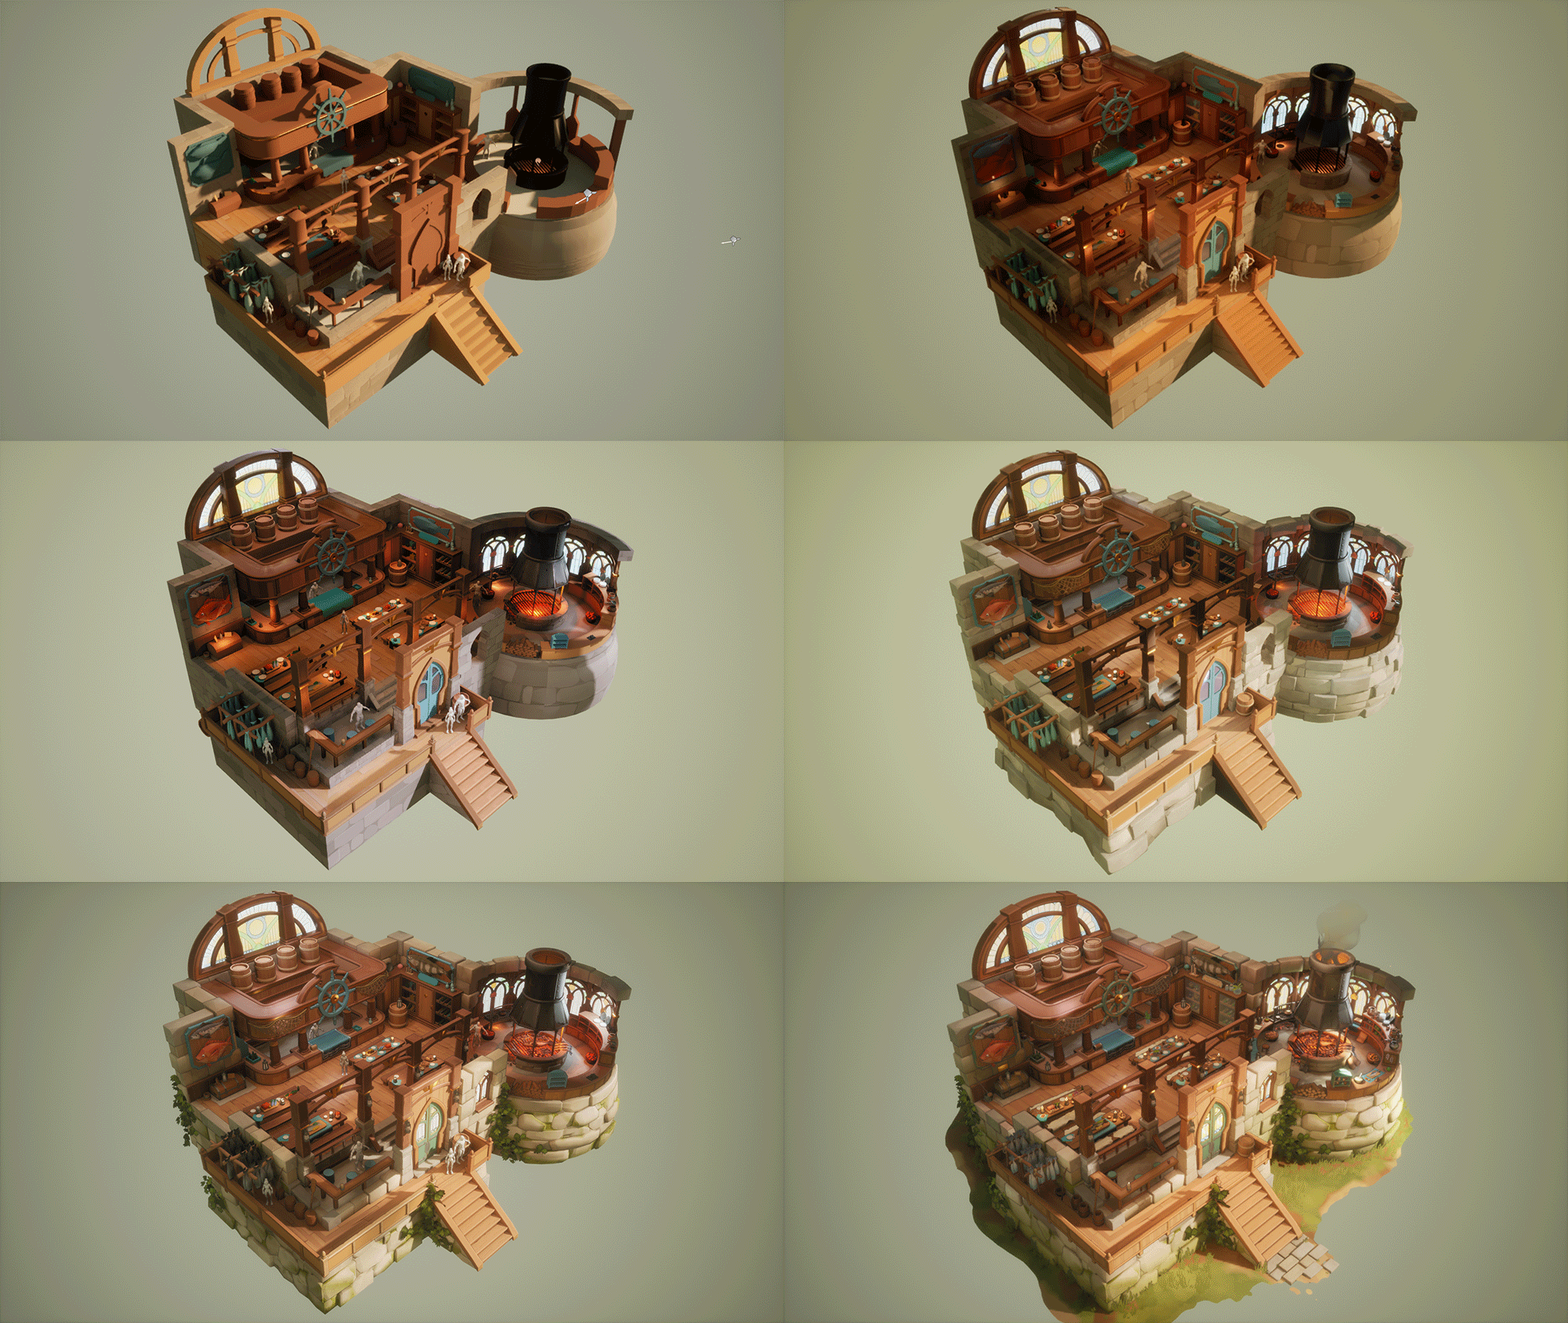
Here is also a work in progress gif that can show you a bit of the order in how/when I approach the scene as a whole.

Materials
The materials and textures that I have created all had to be readable from a distance while still showing some form of variation with the colors. What worked for me was to keep the shape language simple and not blending in the colors in a soft way, but instead with a harsh line.
It is tempting to add a lot of detail or making it look really pretty and complex, but it does not always benefit the scene that you are working on. In my case a lot of detail only hurt the scene by decreasing the readability and giving it a mushy look. So by simplifying the material it might look less impressive, but don’t be discouraged by that! The most important thing is that it works and looks good in your scene.
So here you can see a close up of the wood material that I made and one with a comparison of my scene and the concept.

In the images below I will show you some of the more important steps in the graph that I took to make a texture that worked for my scene.
The base shape [blue] Is pretty straightforward. Just play around with the brick generator to get the shapes you desire.

To create a less uniform look with the lines you can then plug it into the bevel node. Do it a few times and make sure to use a mask that will indicate which plank is affected by which bevel.

To create some height difference in the planks you can use the flood-fill to gradient and layer those a few times. I blend them in the end with a multiply since it just gave a nicer affect. A bit more subtle compared to the blend at 50%

The noise was done with slope blurring a crystal and fluid noise, which was then put into the flood fill mapper node as seen in the image below. Just play around with the parameters in there until you get a nice result. I think it is a really fun node to work with! To remove the gaps [purple] between the planks you can use this awesome custom dilation/erosion node.

So here you can see the trim sheet that I used which was made based on the floor plank material, including the painted version. I textured about 50% of the entire scene with this trim. If you have a material that you use often then you might want to look further into using a trim sheet, it will make your life so much easier.
Wall Models
I struggled quite a bit with the walls. I’m not entirely sure why it was such a challenge for me, but I’m happy how they ended up! I wanted to use tessellation at first but since I worked in UE5 that was not going to happen. In the end I made the texture in Substance Designer and UV’ed the wall pieces seamlessly. I then cut out some stone pieces and extruded them to give the model more depth.
I gave it a simple vertex paint to add some moss to it and a bit of a gradient.
The gradient method I got from Tharlevx’s Video and I highly recommend checking out his content, you can learn so much from him!

Lighting
The lighting was something that also took a lot of iterations. Working with Lumen was really fun though. I tried different lighting set-ups [see WIP gif from earlier] since I wasn’t sure how to reach the same feeling as the concept. Most of them felt too dark, so I started experimenting with making the scene lighter. That completely made sense, since the concept works with highlights rather than shadows.
I still ended up using some more shadow compared to the concept but kept it to a minimum. What I did to have more control over the shadow was having two rectangular lights, one that casts a shadow and one that doesn’t and has them basically layer each other. This way I could control the amount of shadow by simply playing with the intensity of the light.
To get the soft look I simply upped the bloom for the entire scene in the post-processing.


Adding details
My favorite part of working on a project like this is adding detail to make it feel less static. Just making your foliage wiggle a little bit with the ‘’smallgrasswind’’ node or having some clouds move over your buildings can add just that little ‘’something’’ that you might feel is missing. They don’t have to cost much of your time either. It really doesn’t have to be difficult and complex, anything small can already lift your scene up!
Take the cloud shadows as an example. It is a simple light function that I put in my directional light. For the texture, I use a simple clouds2 tiling texture with the ability to toy around with the contrast of the shadows. I got this from Underscore’s tutorial, which I highly recommend watching if this is something you’d like to add.


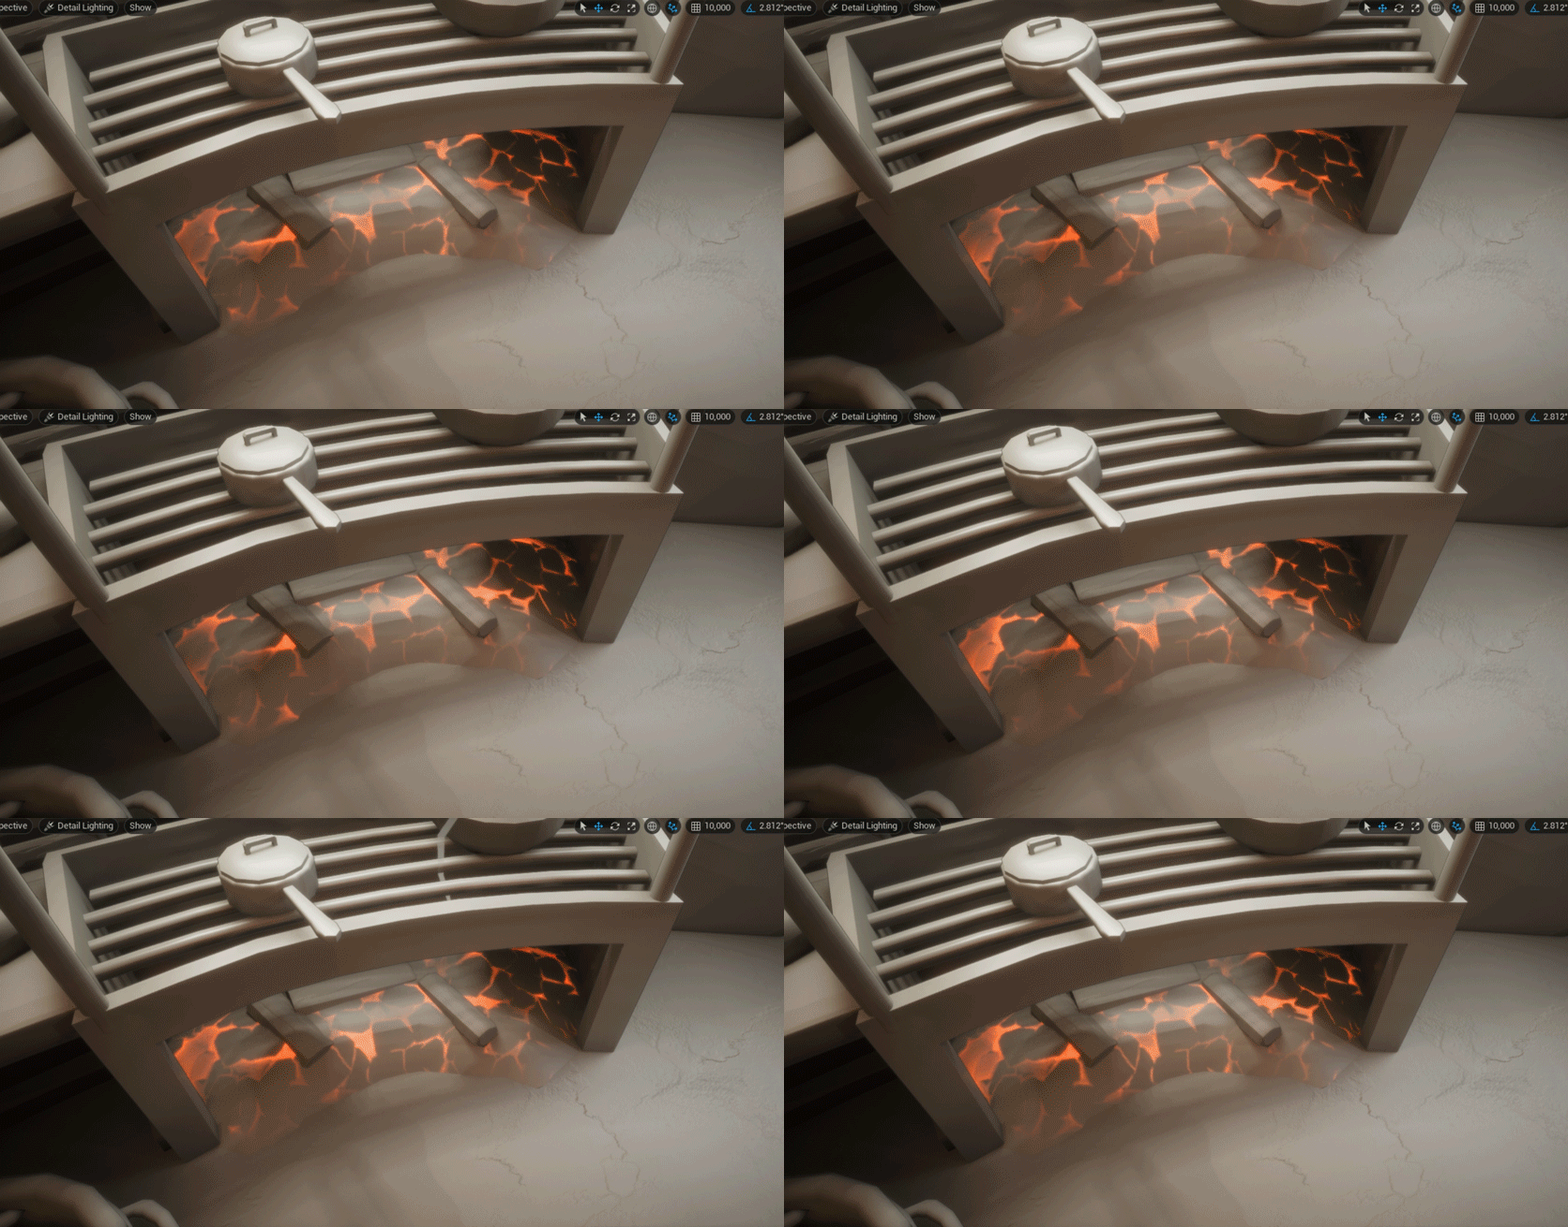
Another way of a similar set-up is to use the ‘’panner part’’ of the cloud graph as a way to give the coal some more motion with the emissive intensity.


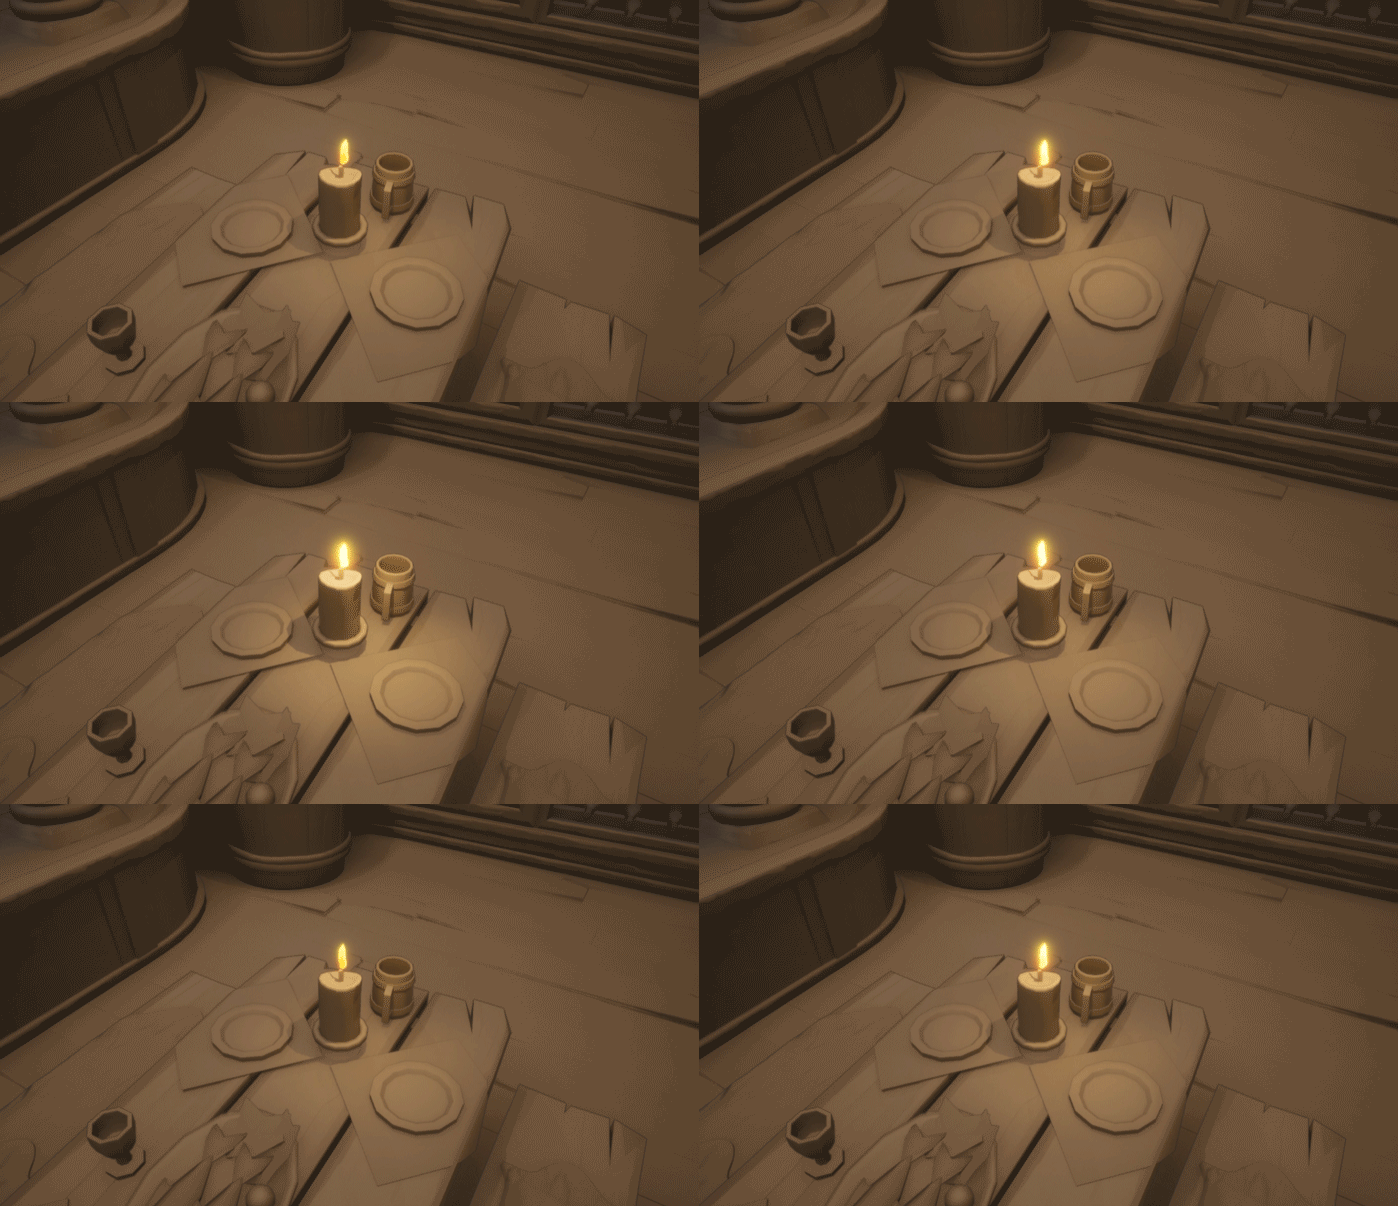
You can also add a really simple flicker light function for your candles or fire! It’s a light function that you can put on a point light and it gives you the illusion of well. Flickering lights! Alternatively, you can add a ‘’simplegrasswind’’ node and bump up the emissive to the flame of a candle and create a quick candle effect. Below you can see how easy it is to create a flicker function.
And also below, how I added it to the candle model:


Conclusion
Working on this project has been so much fun. There are a million things that I would approach differently in my next project, but that only shows how much I have learned with this one! For now, I’m happy that I managed to finish it.
I hope that people find this breakdown even a tiny bit useful and if you have any questions feel free to contact me on:
https://twitter.com/BrabanderLotte


