
Introduction
Hello! My name is Andrey Sdobnov and I've been a 3D Artist for 3 years.

References & Ideas
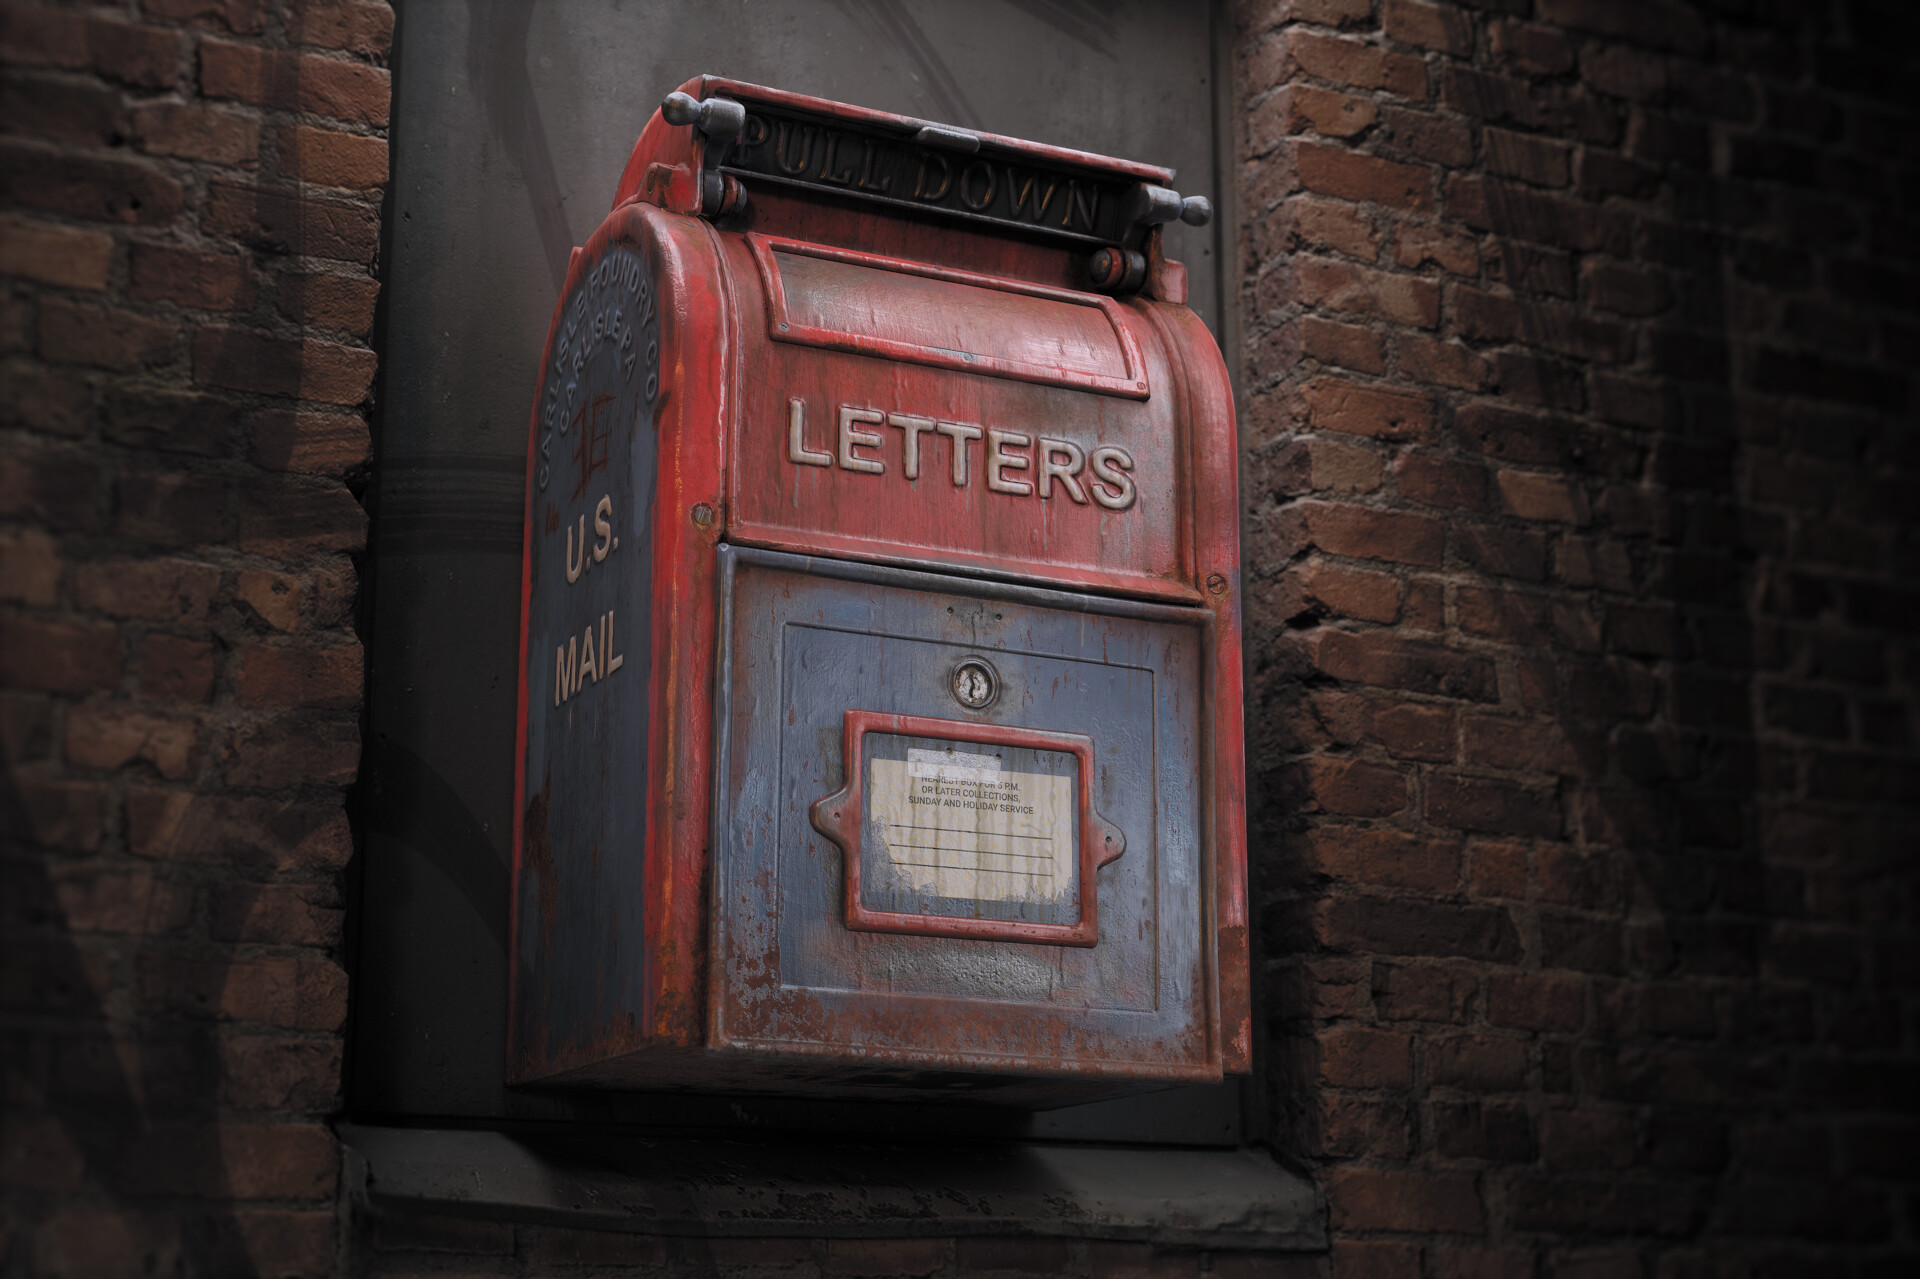
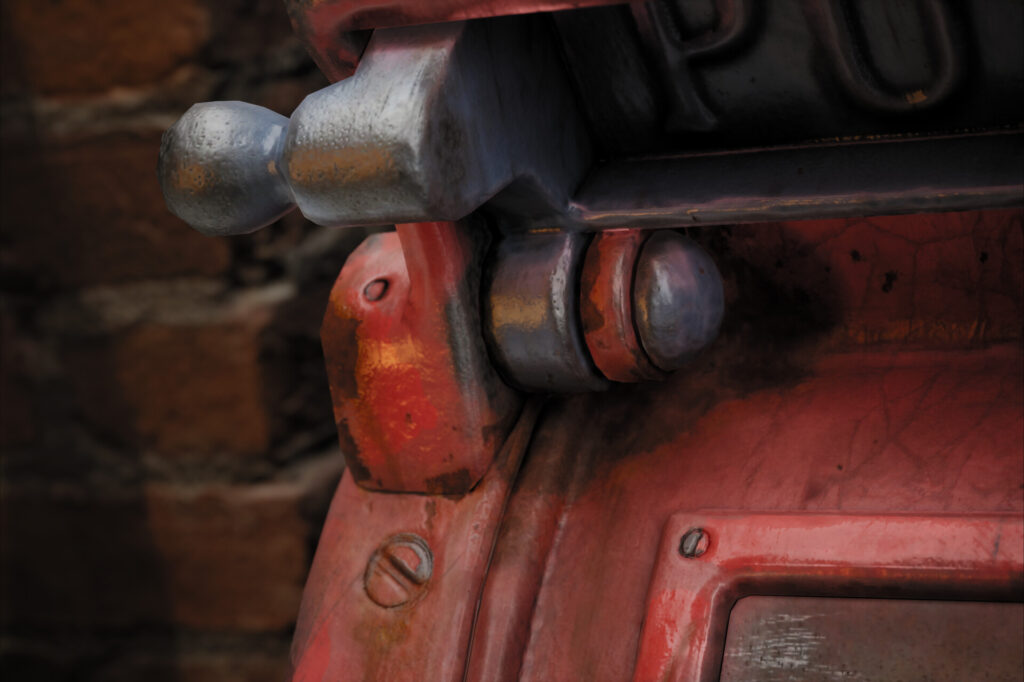
This project began with a test task in the studio. I was asked to make a model of a mailbox with the given requirements, and I immediately began to look for references.
This is an important stage because it is necessary to understand what kind of object you are reproducing – what materials it is made of, what its mechanics are, in what conditions it is usually found and how it ages.
I try to find as many references as I can. I want to have photos from different angles in different weather conditions and with different lighting. For these purposes, I use the search functions of Google, look for photos on auction sites and on Reddit and watch videos on Youtube. I also try to look for closeup photos in high resolution to see fine surface detail.
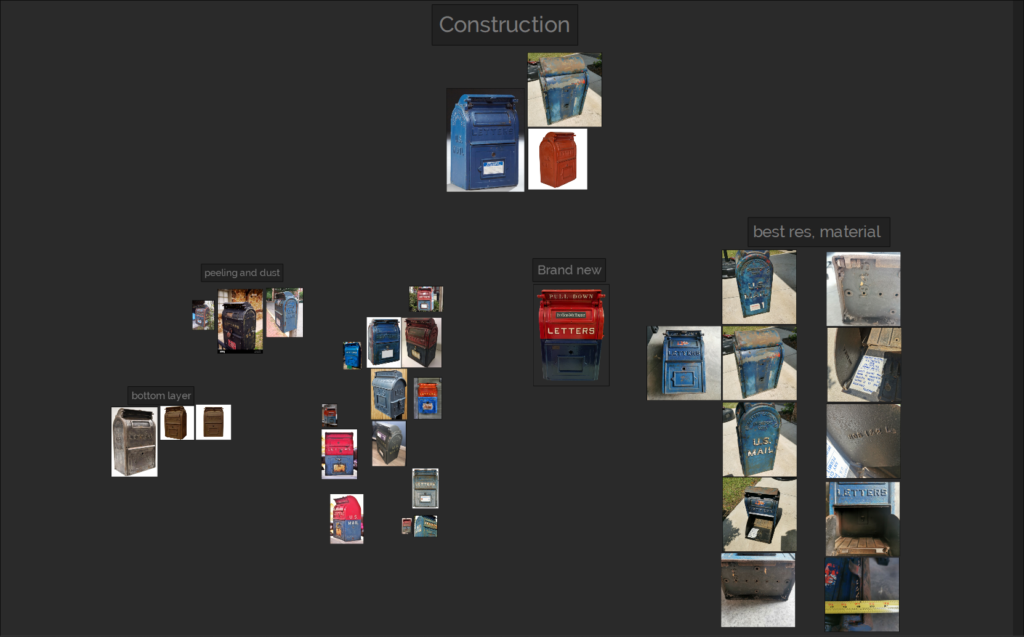
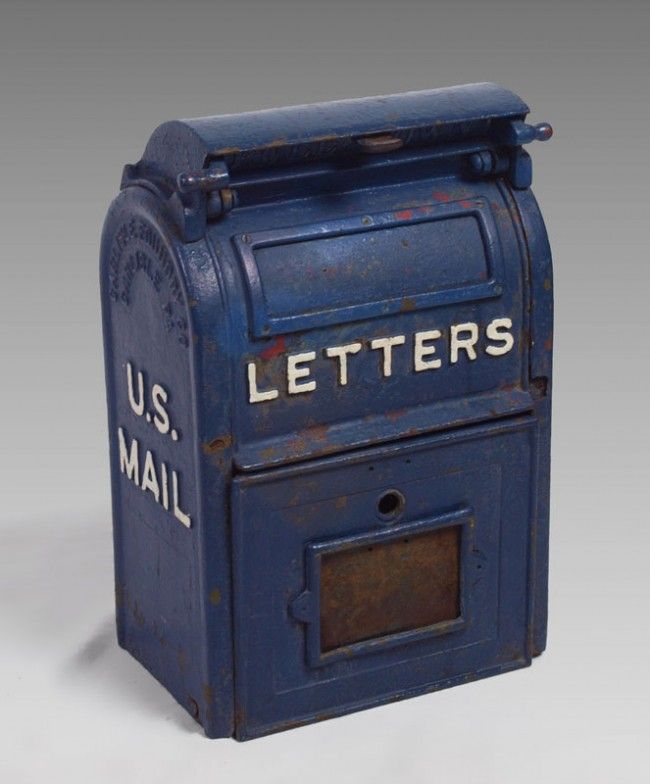
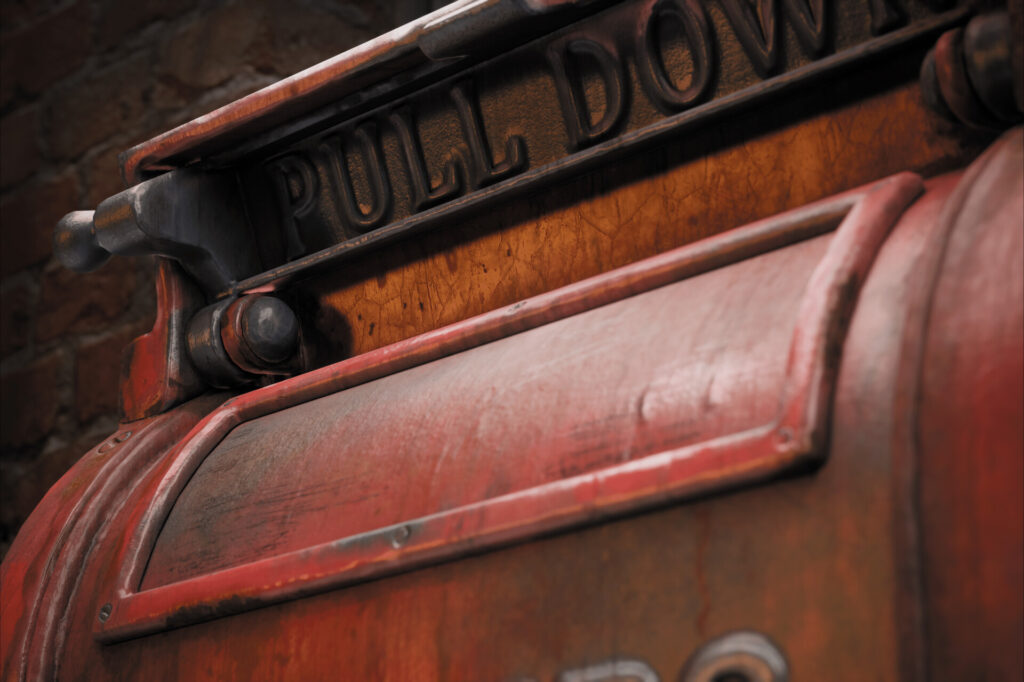
It often happens that the object in the photos is slightly different, it has different versions and execution techniques – in such cases, I either focus on the main reference that satisfies me the most or take from each version of the object the most successful, in my opinion, visual solutions.
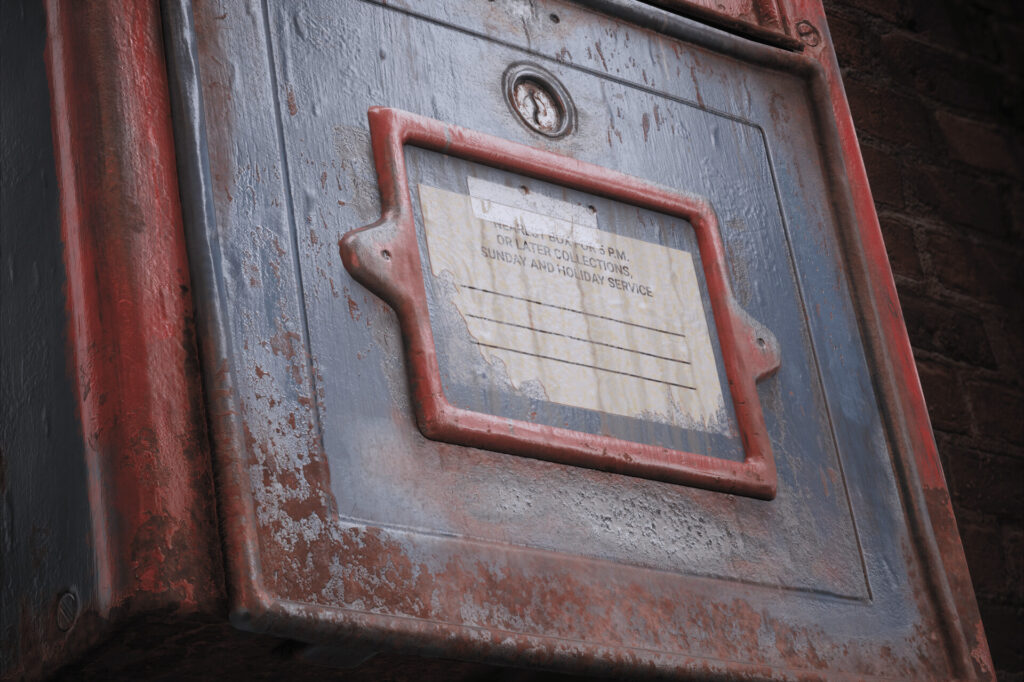
At the same stage, you need to think about how you can diversify the textures and geometry so that the object seems alive and tells some kind of story. It is always better to make a memorable subject than a boring and monotonous one. In this particular case, I decided to ditch the traditional letterbox stickers and graffiti and add scrawled lettering.
Modelling Workflow
Since I didn’t have blueprints or orthographic photos of the object, I decided to use camera mapping, which is fairly easy to do in Blender.
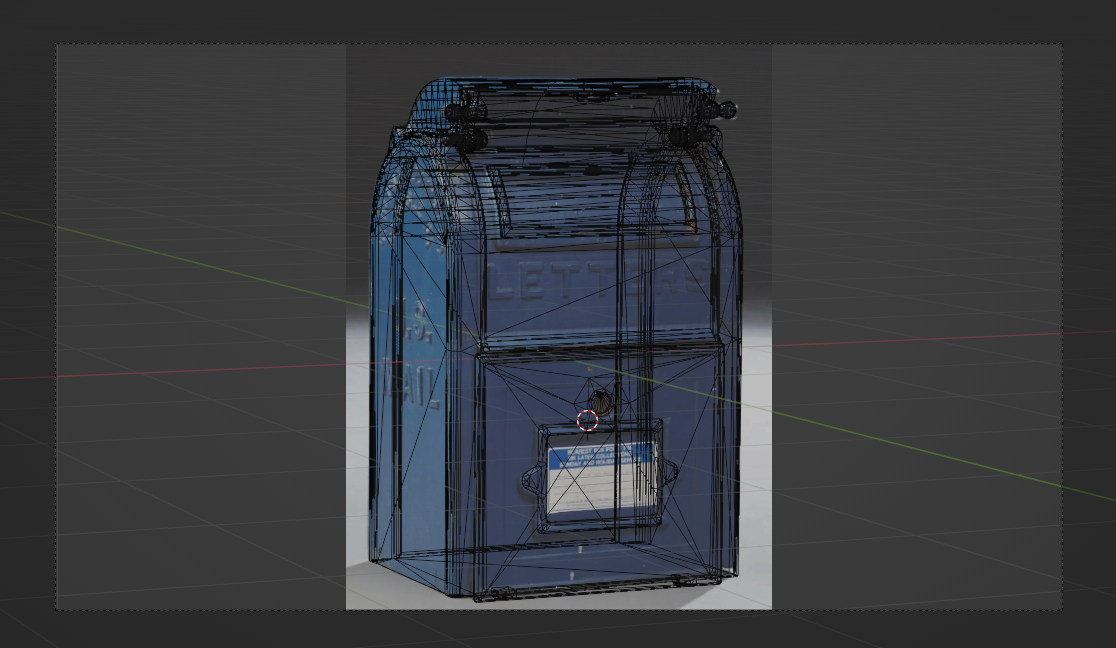
Once I set up the camera, it was up to the small thing – you just need to create forms that are suitable in size and silhouette.
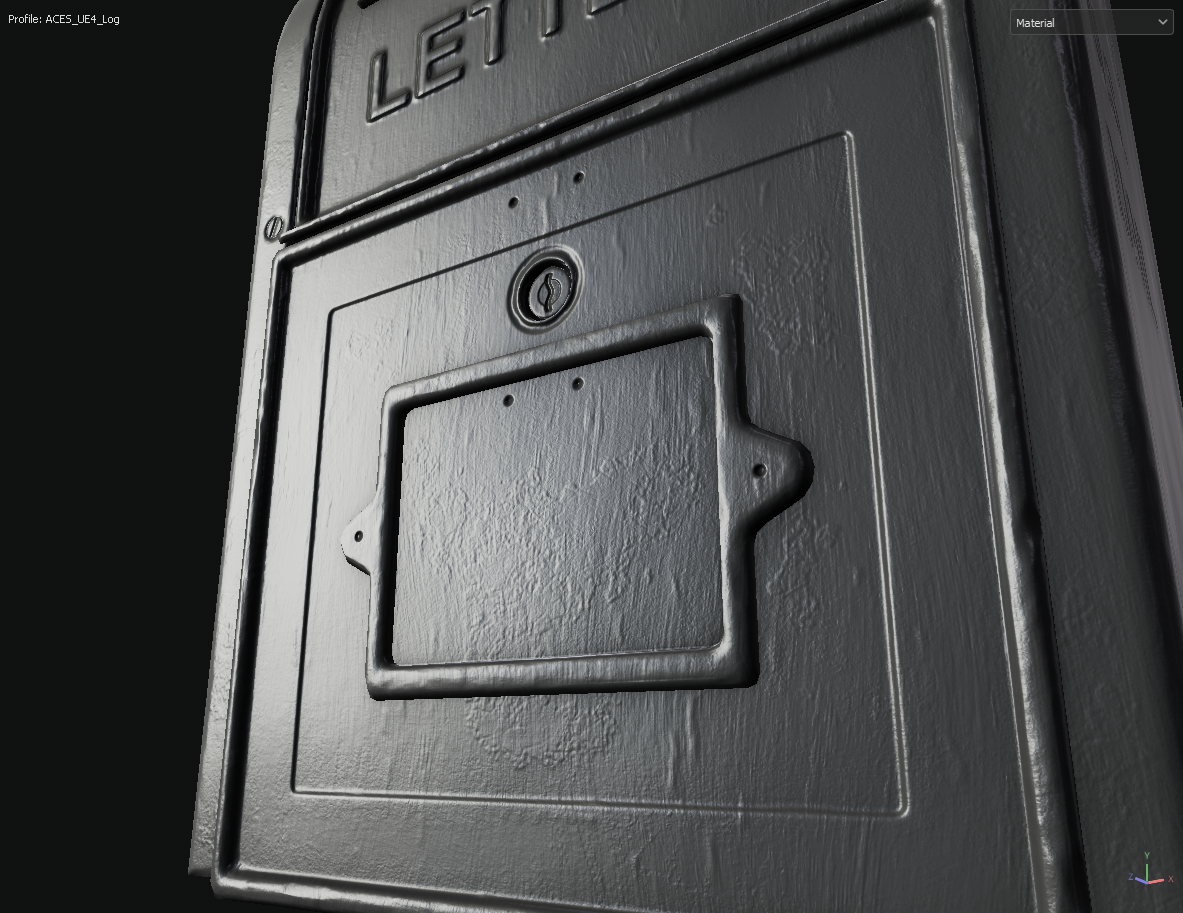
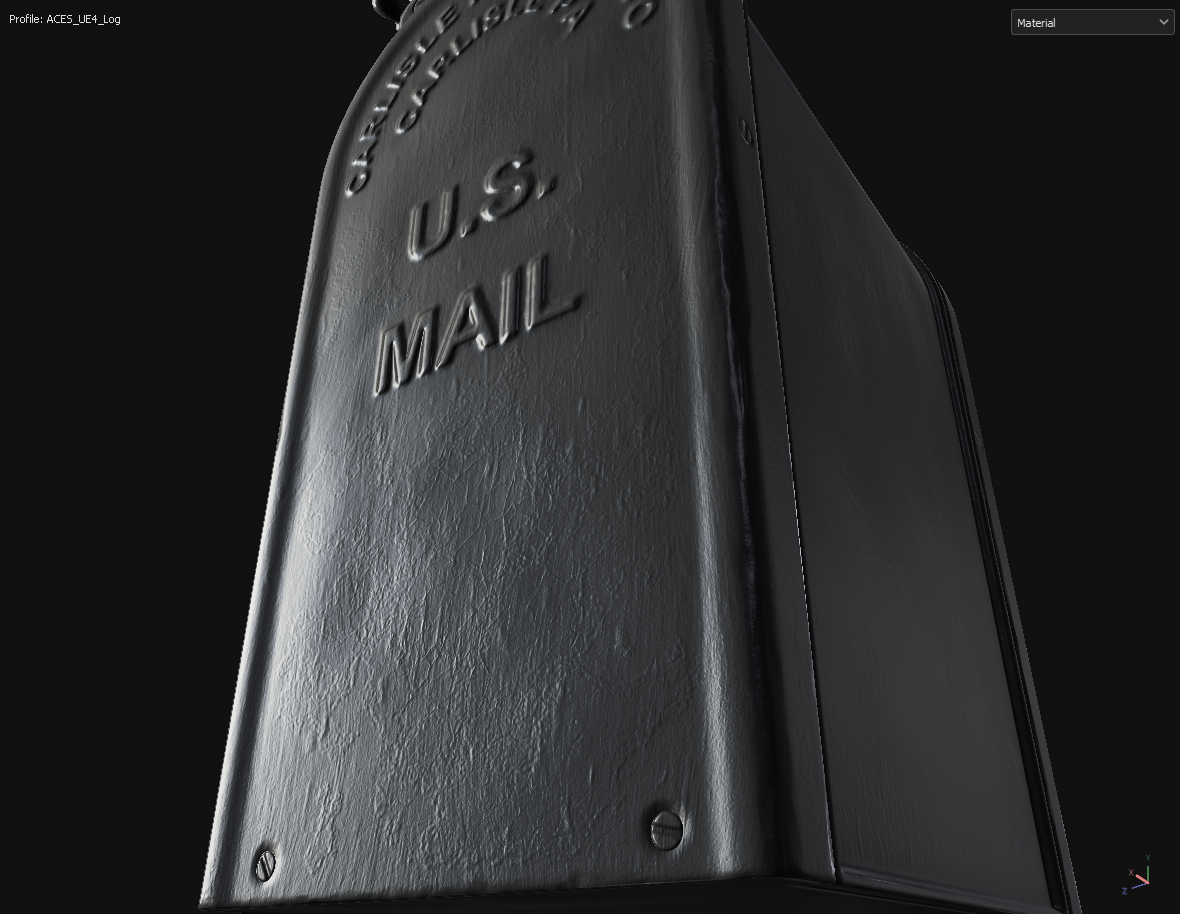
When the midpoly was ready, I exported it to ZBrush to do the necessary boolean operations there, as well as sculpt the surface damage. I applied damage evenly, without accents, because I needed to achieve uneven reflections from beveled edges. I also deformed flat surfaces, as thin metal is deformed. Thus, I got a highpoly model.
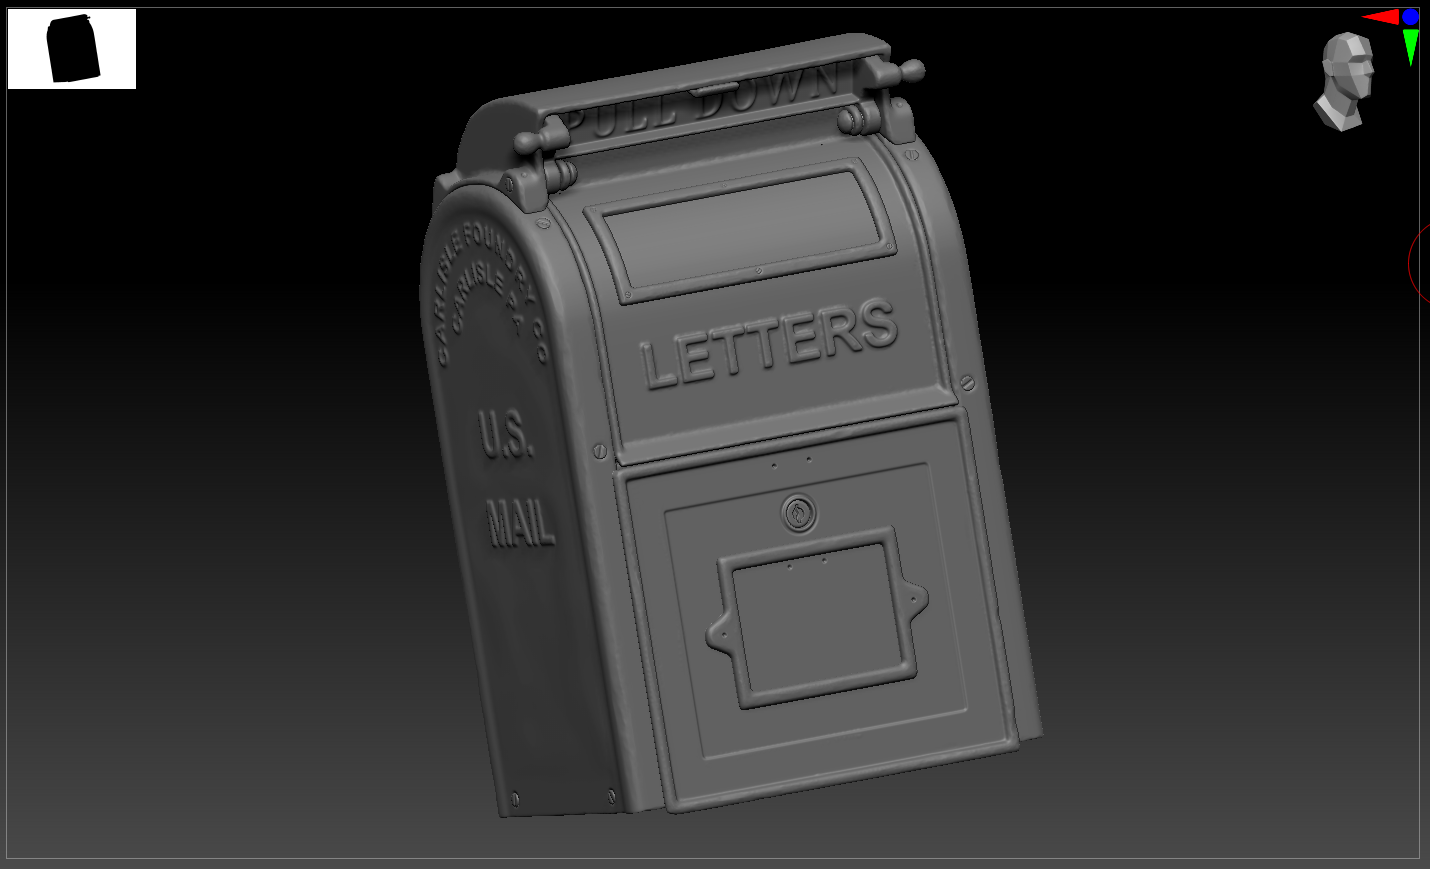
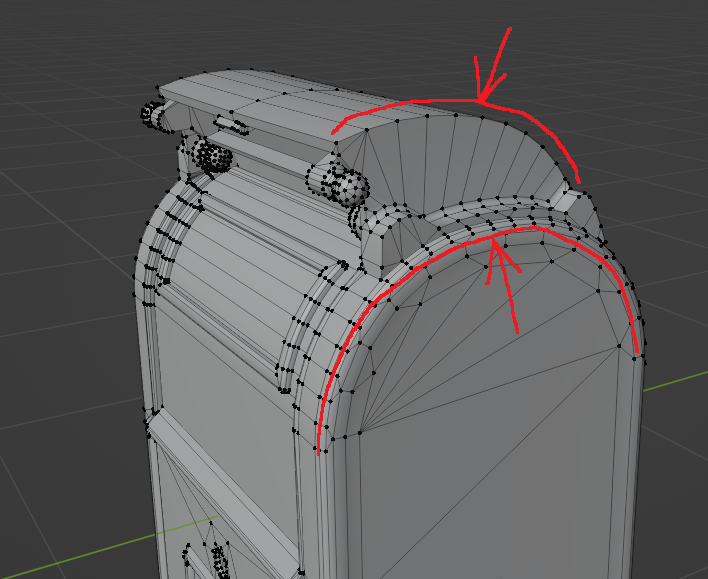
As for low-poly, everything is simple. We need to do more geometry where the surface is curved and in places where the silhouette of the object is visible so that the polygonality is not notable, and less on flat surfaces.
You also need to keep track of how many vertices you spend on cylindrical surfaces. For example, there is a different number of cylinder verts, although their radius is approximately the same – you definitely don’t want this.
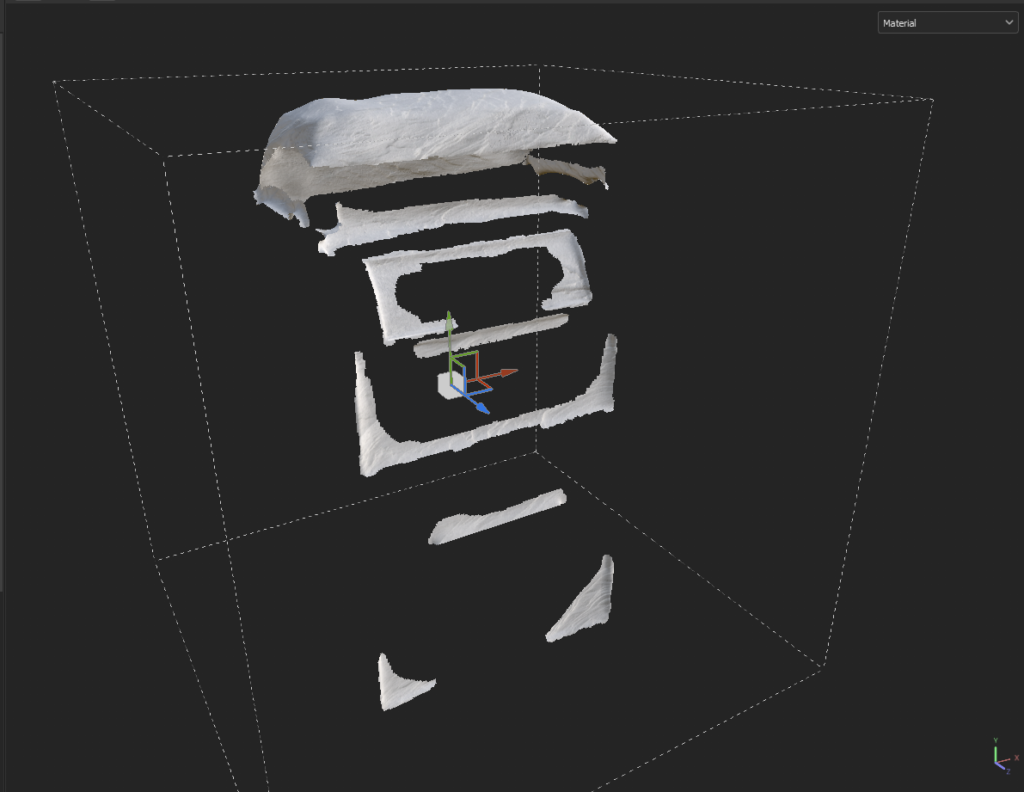
The idea of snow came to me at the final stage of production. I wanted the snow to be voluminous so that it would sink into the cavities and settle on top, so I needed geometry snow. I just took the finished object, made a remesh in Blender and with a smoothing brush in sculpting mode smoothed out the places where there should be snow.
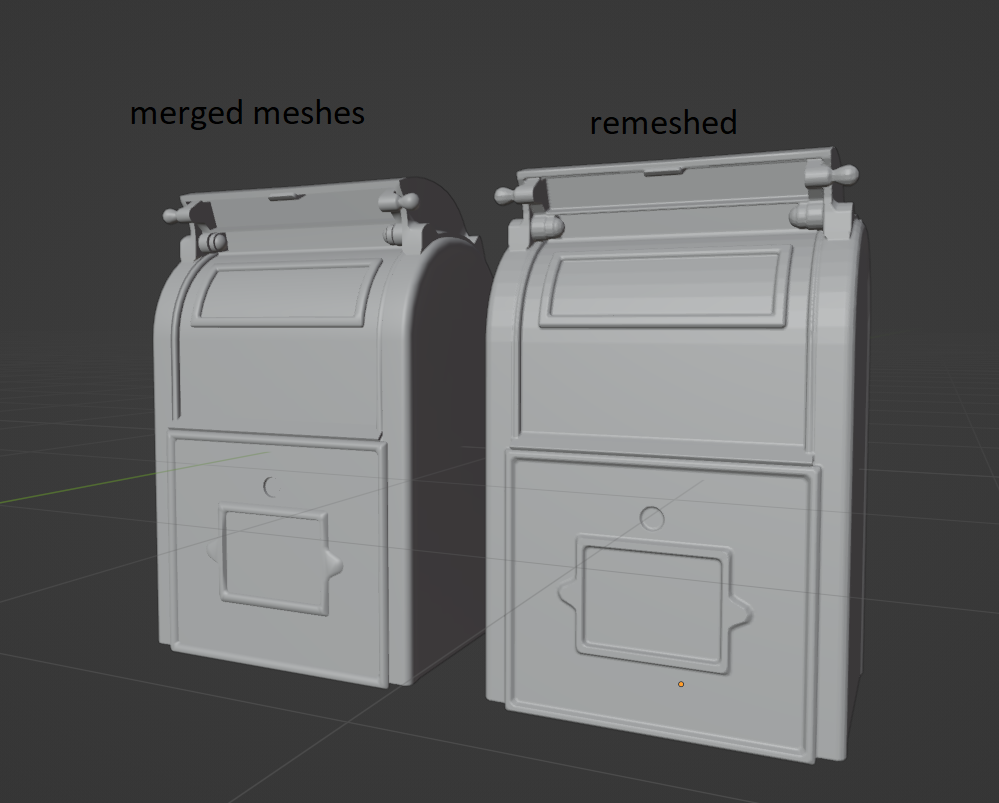
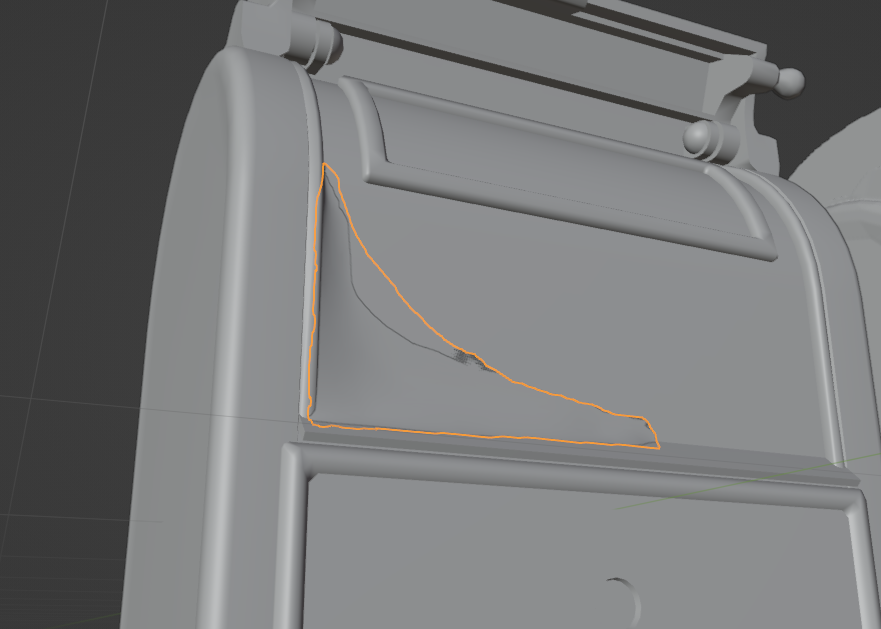
I used a my ready object to have the snow overlay directly on top of the existing geometry almost seamlessly. I didn’t worry about the topology because I only made the snow for rendering, and we’ll deal with geometry intersections in the Unreal Engine.
Uving & Baking
With UV it’s easy – I made the seams in the right places and packed all the shells with UVPackmaster3 (an awesome addon). I almost did not do overlaps, I did not reduce the texel in poorly visible places, such were the requirements. The only thing I did was straighten the curved shells so there were no anti-aliasing artifacts with the straighten islands and ZenUV quadrify functions.
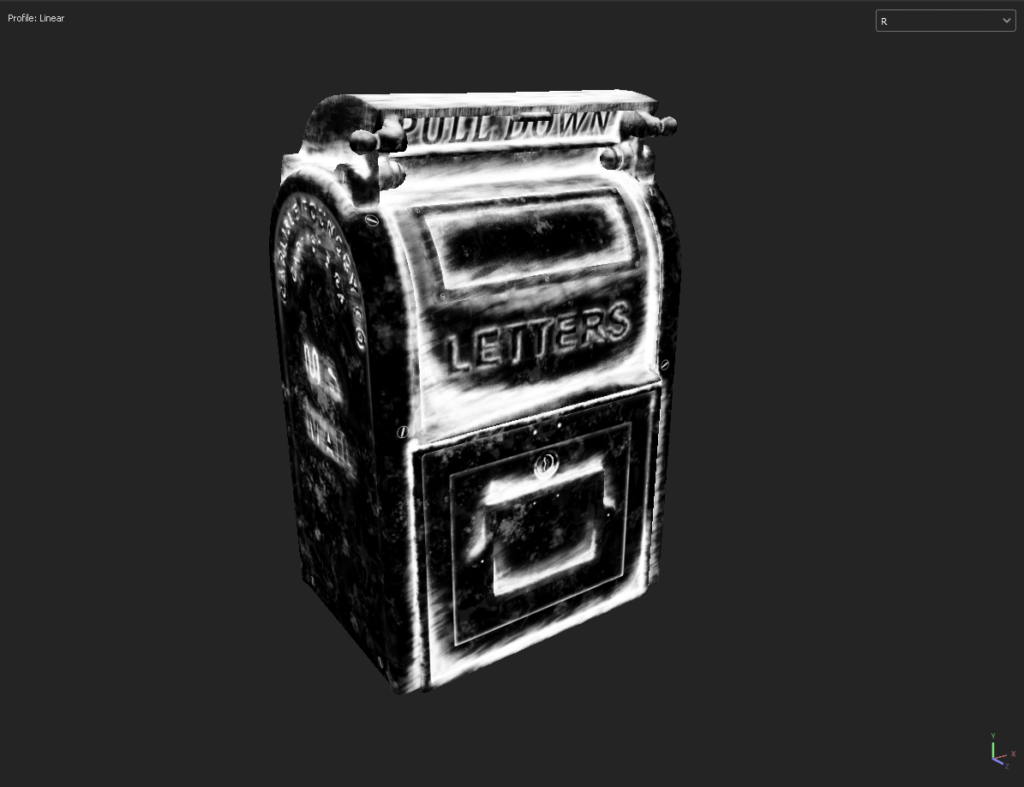
Next, I exported the highpoly and lowpoly to the Marmoset Toolbag to bake the maps.
Texturing workflow
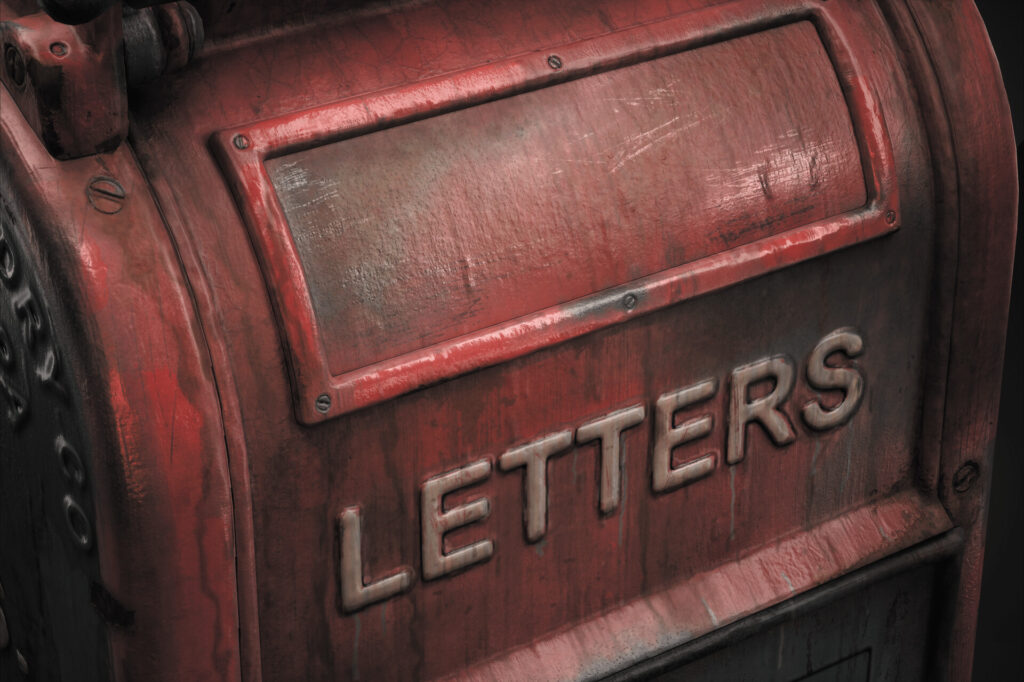
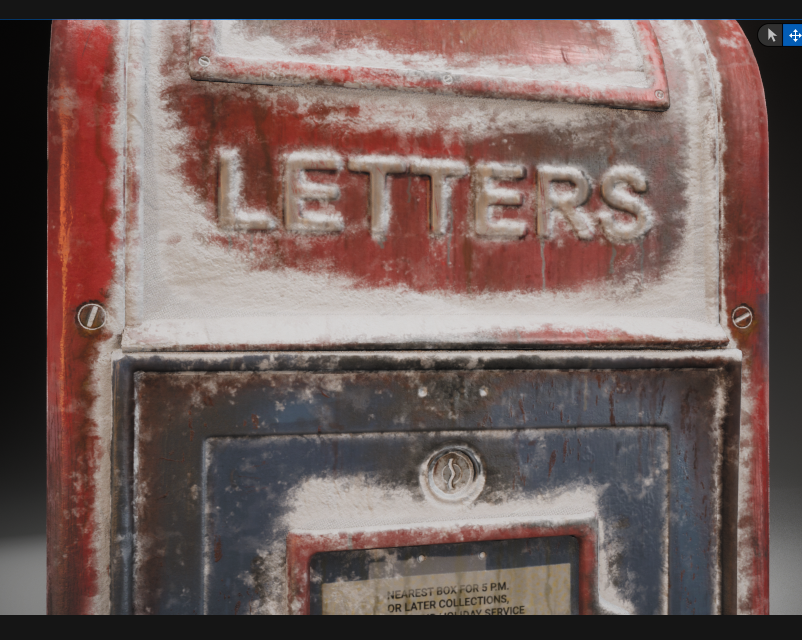
Texturing is one of the most important steps in creating a model and one of the most interesting for me. When working with textures, I pay a lot of attention to references, so I always have PureRef open.

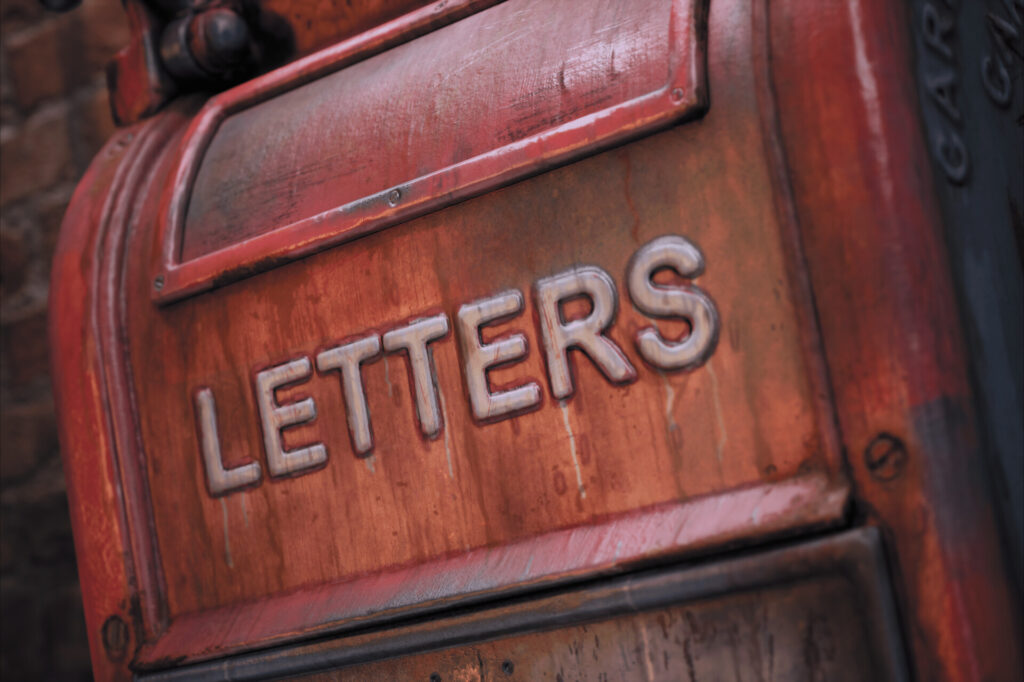
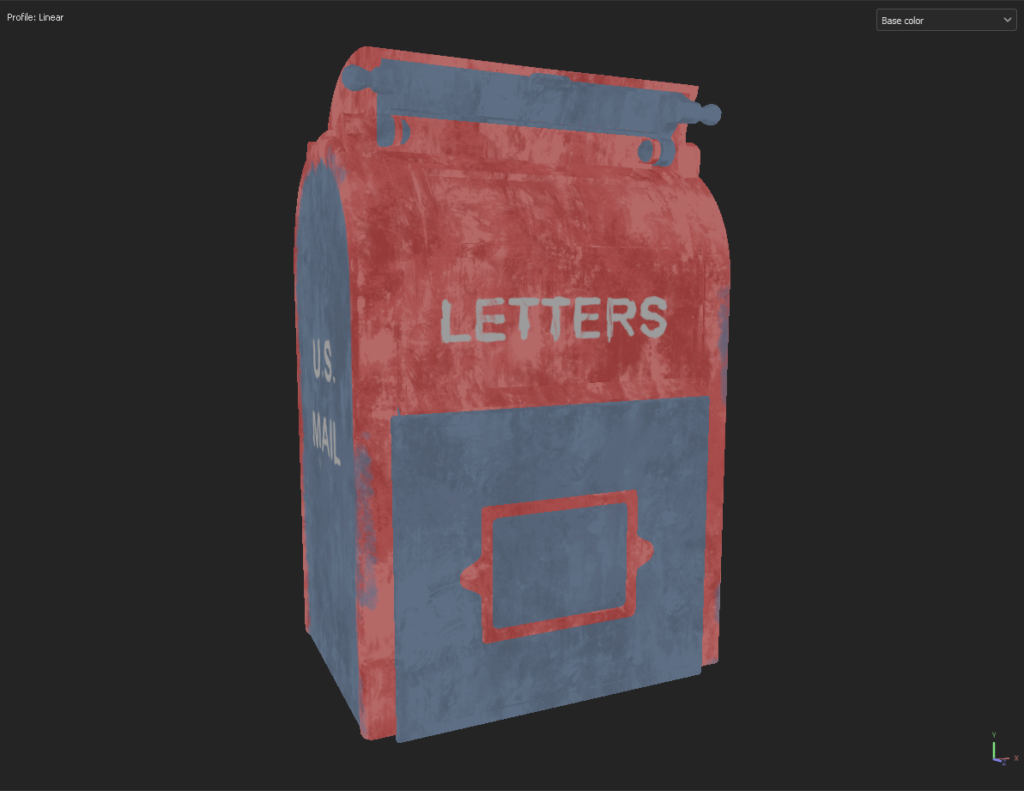
First I made a base layer with height information that should convey the character of the surface, there I added old layers of paint, brush marks and all that.
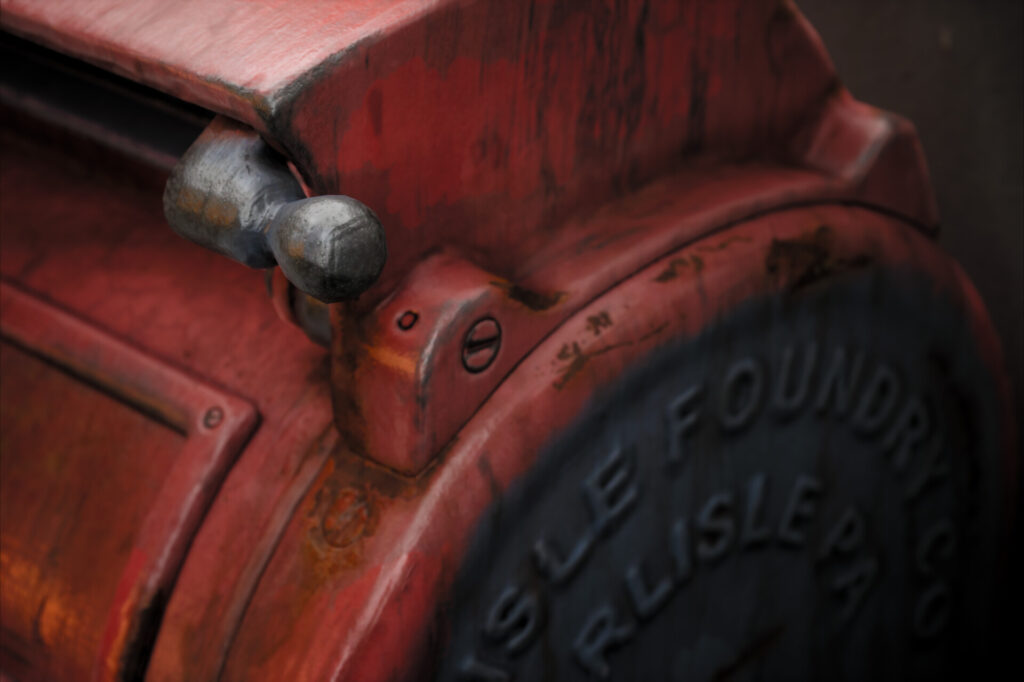
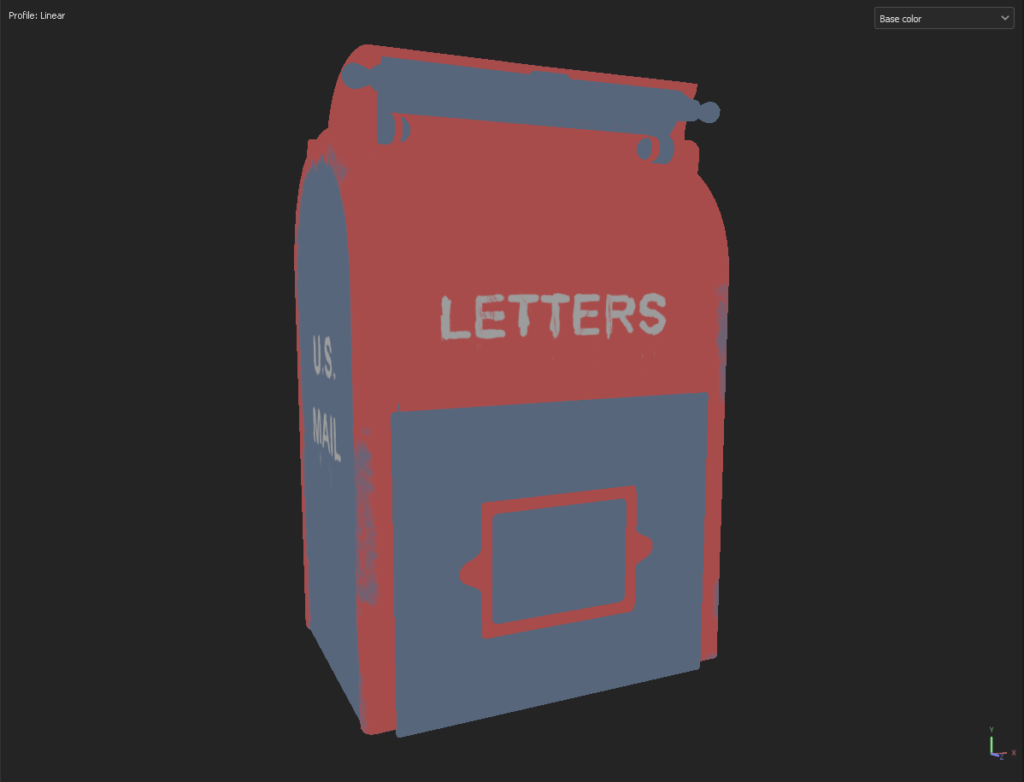
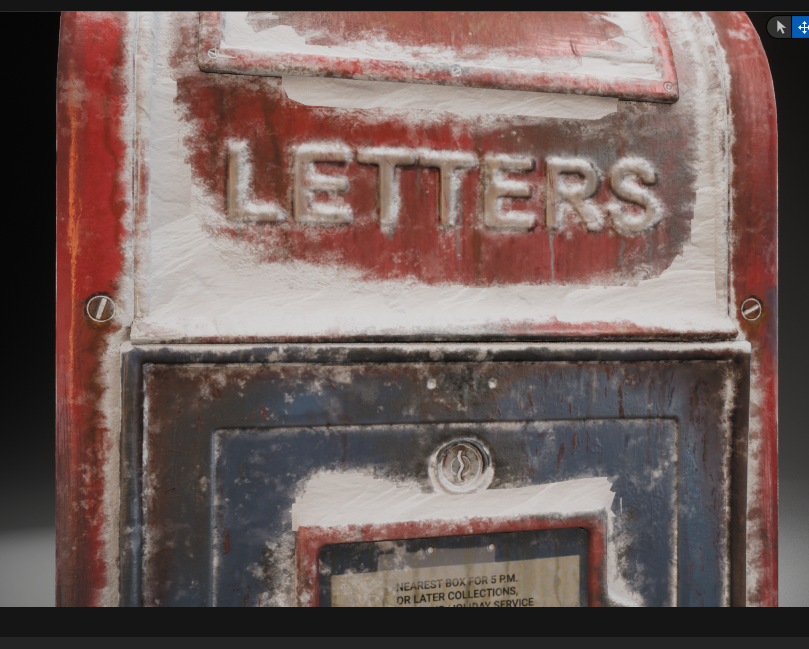
Next, I made base colors and roughness for each material that makes up the mailbox. When working with textures, I find it important not to use flat colors, so in my work I always add color variation to the base color for variety. To do this, I create several layers with different colors and overlay them with a grunge mask, and then make a separate layer in which I use blur and slope blur to blend them using the grayscale texture that I made earlier.
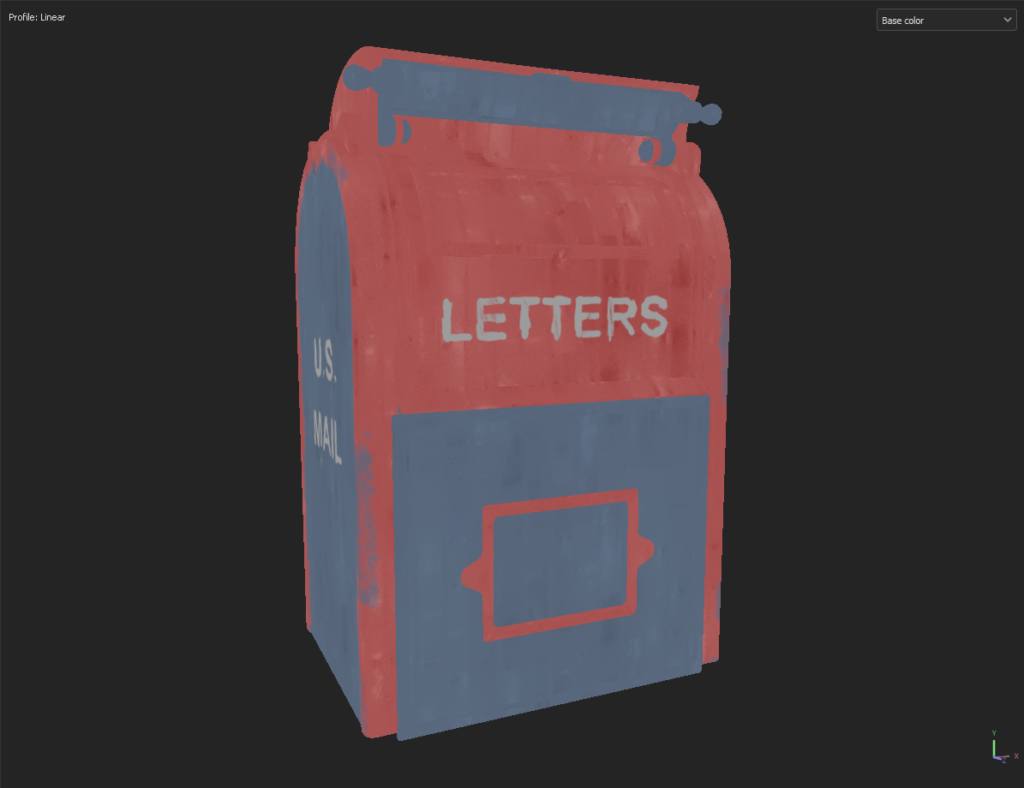
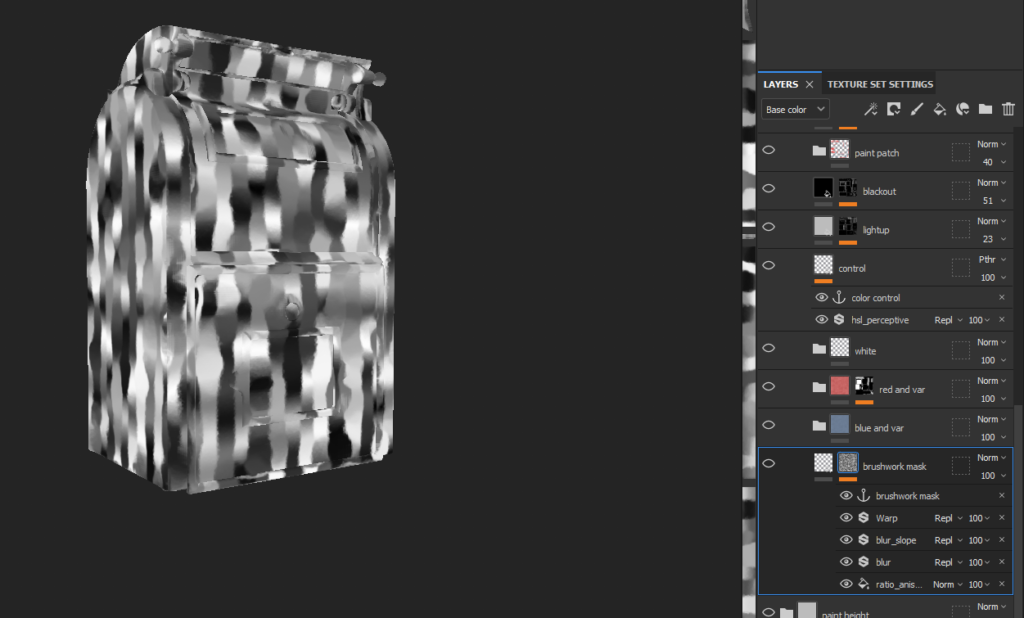
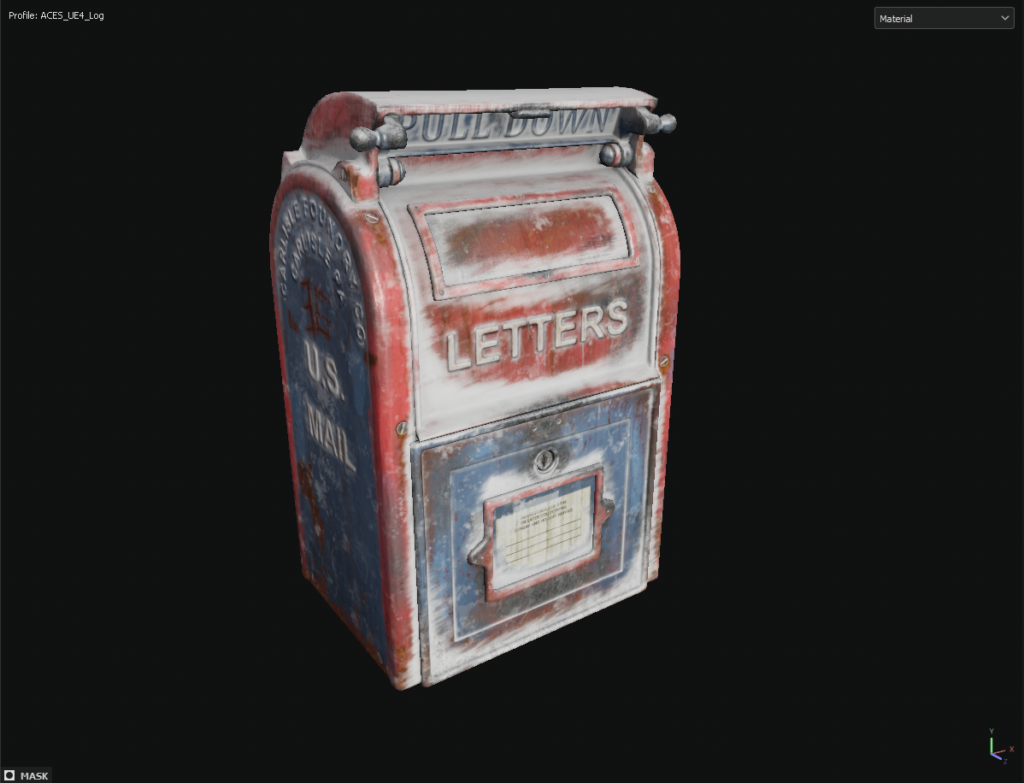
Then I successively added detail to the textures – dirt, smudges, roughness imperfections, rust. I try to keep the materials separate – for example, rust and dirt will be in separate folders so that I can organize the layers, turn them on and off.
For high-quality snow, one geometry is not enough, it was necessary to make a smooth transition from snow to a letterbox, so I made an additional mask in the Substance Painter, which I will then use in the unreal engine.
I drew it by hand to show how the mailbox is covered with snow. Because I made the snow late in the model, I didn’t put much effort into it. I took the texture for the snow mesh from megascans and applied it to the Substance Painter using triplanar projection.
Rendering
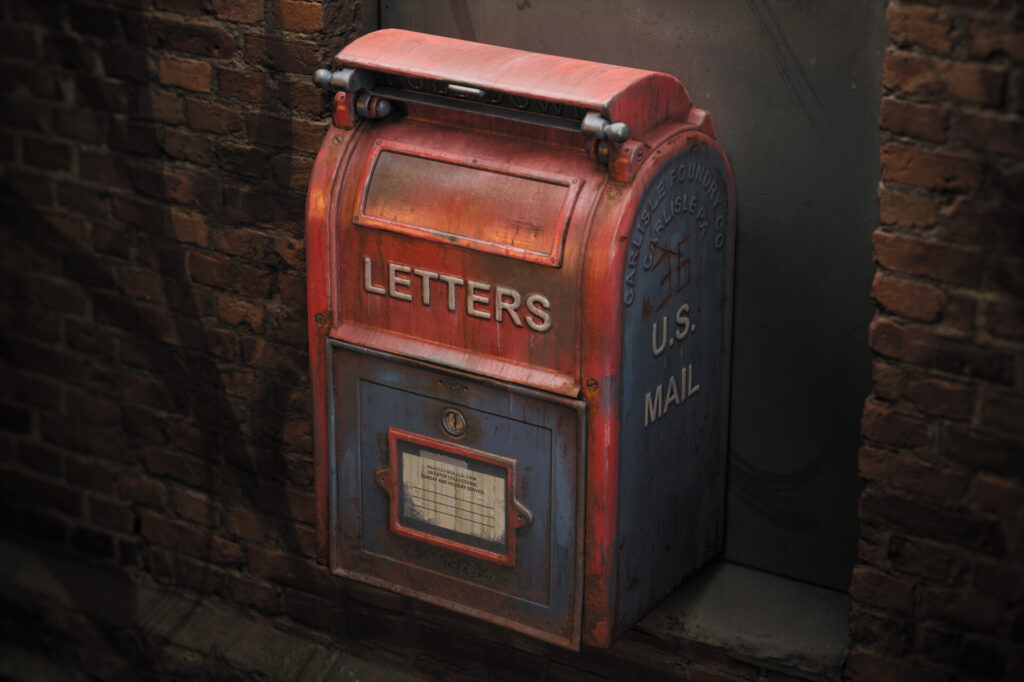
For rendering, I chose Unreal Engine because I wanted to practice with it and because rendering in marmoset seems a bit casual/cartoonish/stylized to me.
I made two scenes – in one I put a blank on the background, added an HDRI backdrop, and exposed the light.
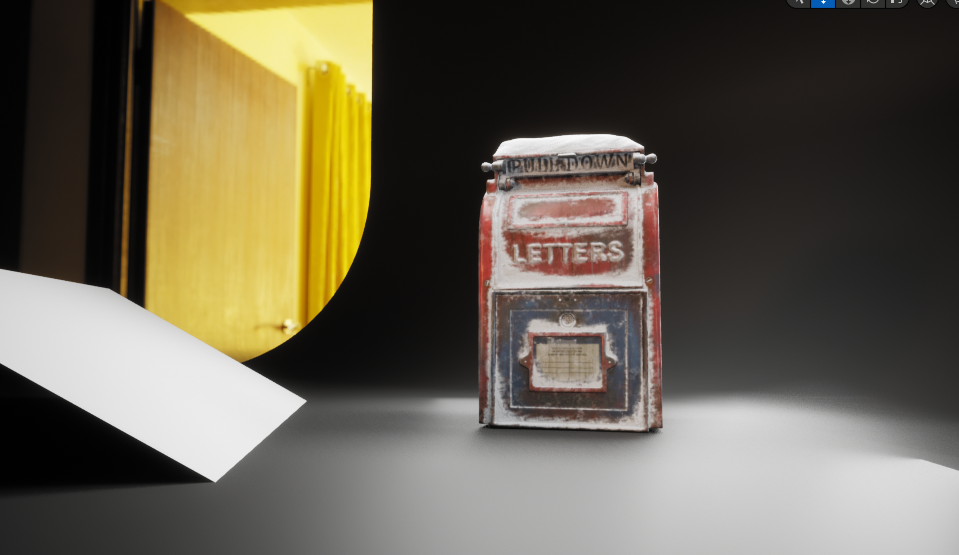

In the second scene, I added assets from Megascans – a brick wall and graffiti.
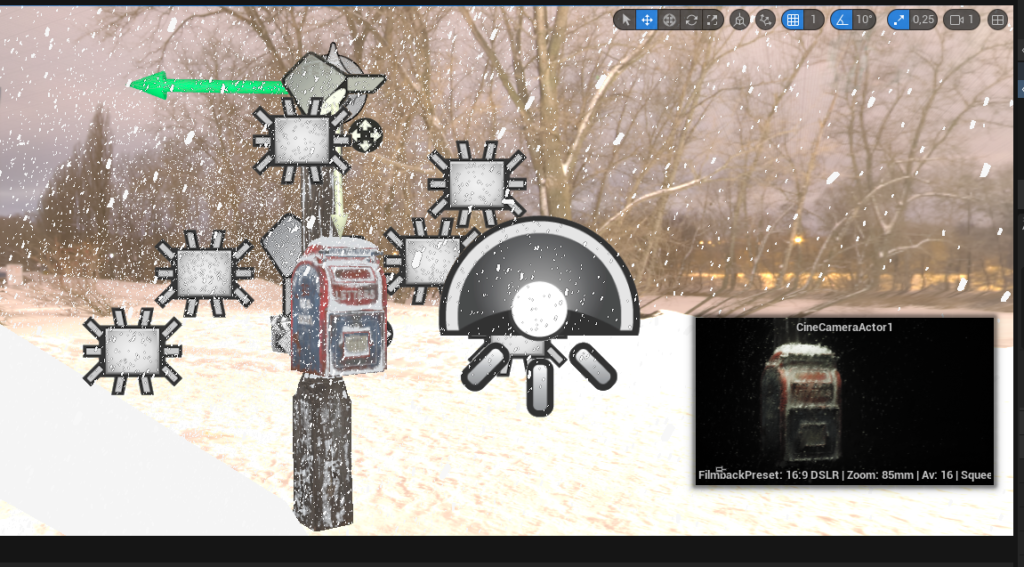
I set the light intuitively, without using diagrams. I try to add light in such a way that it emphasizes the object’s depth and shines on the edges. This means the light should cast deep shadows but not overexpose the subject, so I usually have a few soft fill lights and a lot of very bright lights that shine in essential areas. I control the exposure manually in the camera settings, I turn off auto exposure.
To bring the snow texture and volumetric snow together, I made a different material for the snow mesh with a pixel offset, so that the snow mesh kind of dissolves as it approaches the letterbox.
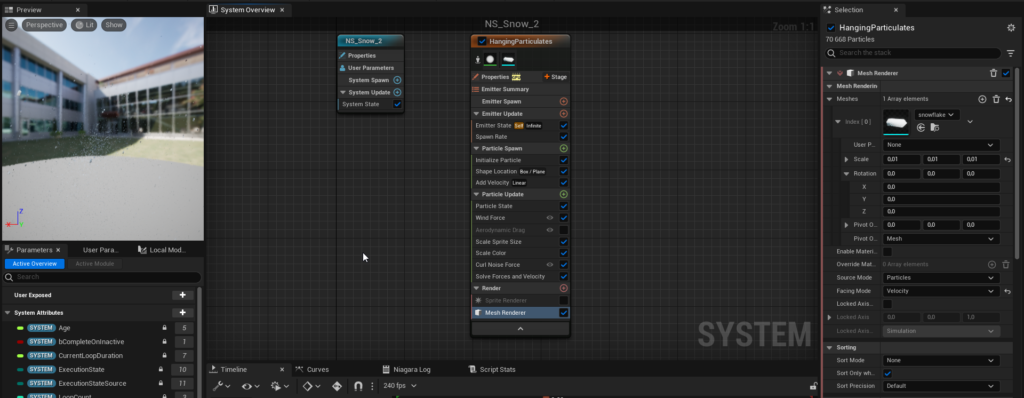
Additionally, I made a simple snowfall effect in Niagara. For the correct rendering of the particles, I had to replace the sprite renderer with a mesh renderer with a custom snowflake mesh.
Outro
This is how the work turned out. Of course, I can’t tell you everything I would like to, because the article would be very long, but I hope that this is not the last article!
Separately, I want to thank Alexey Ivanchenko (https://www.artstation.com/aivanch), who gave me invaluable help with this work and never got tired of giving me feedback. Great professional and a great person!
I want to thank the Games Artist team for the opportunity to write this material and the Artstation artist community for their support.
See you soon!
Read more articles
You might also like these articles.