Zombie Tool

Introduction
Hello everyone, my name is Dimitrios (aka Dimo). I come from a small island in Greece.
My journey into the game industry started as a Software Engineer, but pretty quickly I pivoted into game development. Since then, I have honed my skills and had some really great experiences in the industry.
I've been working in AAA for around 8 years now, and at this moment in time, I’m part of the very talented 4A Games 3D Environment team.
Although my professional path focuses on 3D Environment Art, my thirst for learning new things led me to experiment with a lot of different techniques to present my work and create stories.
Project
As of recently, I decided to finally start a project that I’ve been planning for a while: a series of interconnected art pieces with similar themes, conveying a unique and personal story.
This story was mostly inspired by local folklore, so I wanted to start with the smallest yet important part of my series, the tool.
Tools
For this specific project, I decided to use the following tools:
- PureRef (Reference Board)
- Blender (Blocking, Midpoly, UVs, Final Animation)
- ZBrush (Sculpting)
- Substance Painter (Texturing)
- Marmoset Toolbag (Baking Object Space textures, Final Renders)
- CapCut (Video Editing, Sound Composition)
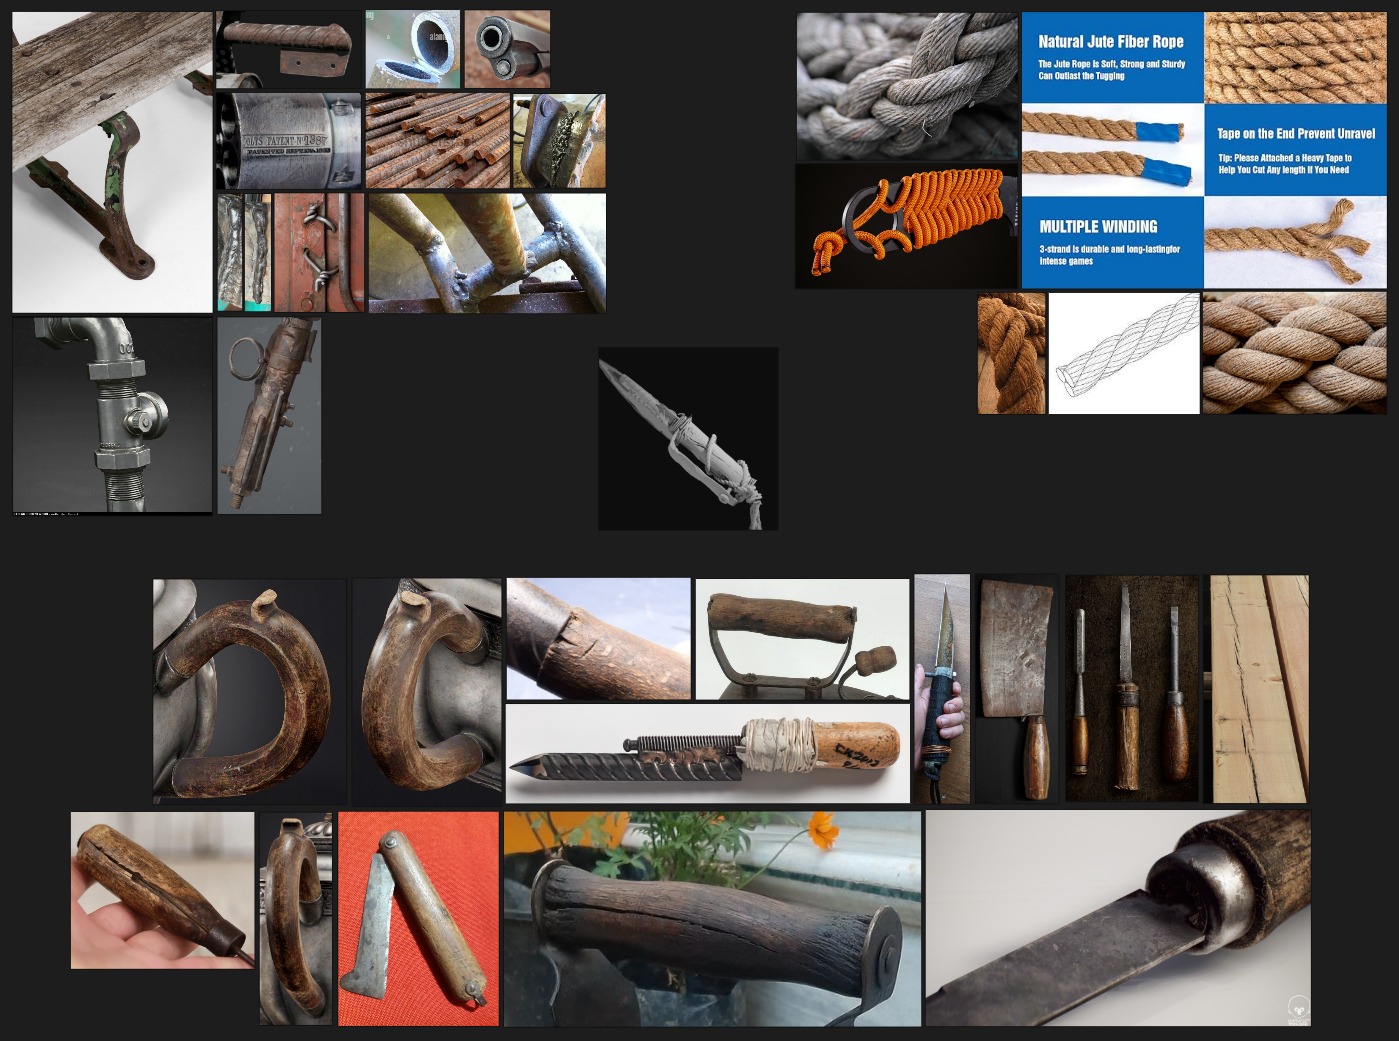
References
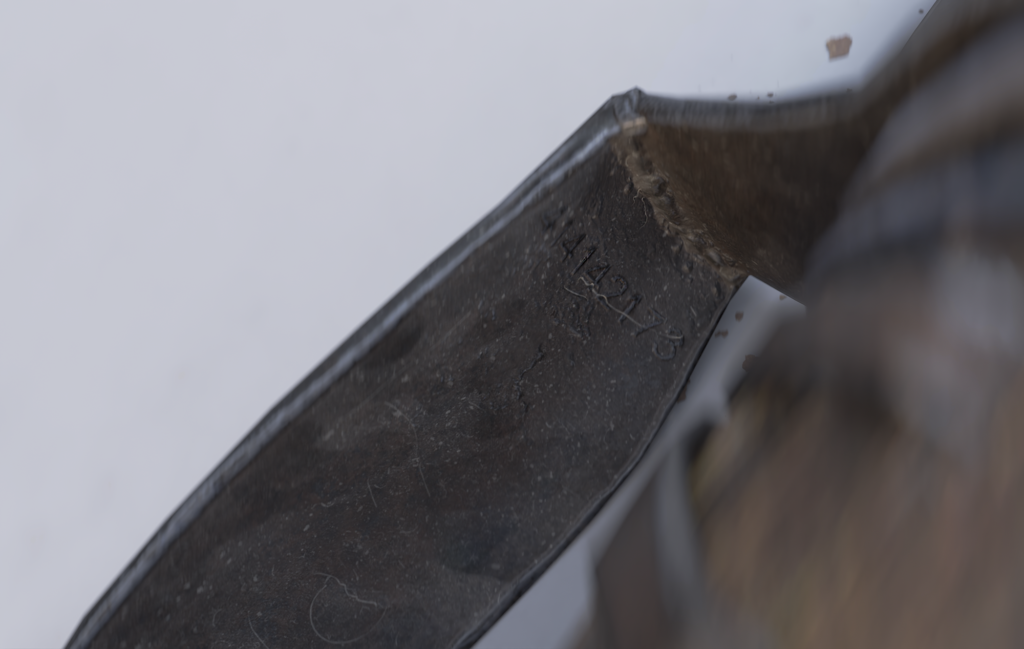
So, to start off, I went reference hunting. Pinterest and ArtStation are my go-to choices for reference gathering, BUT I love to just go out and take pictures, using them as a reference or making alphas and stencils that will aid me in any future project.
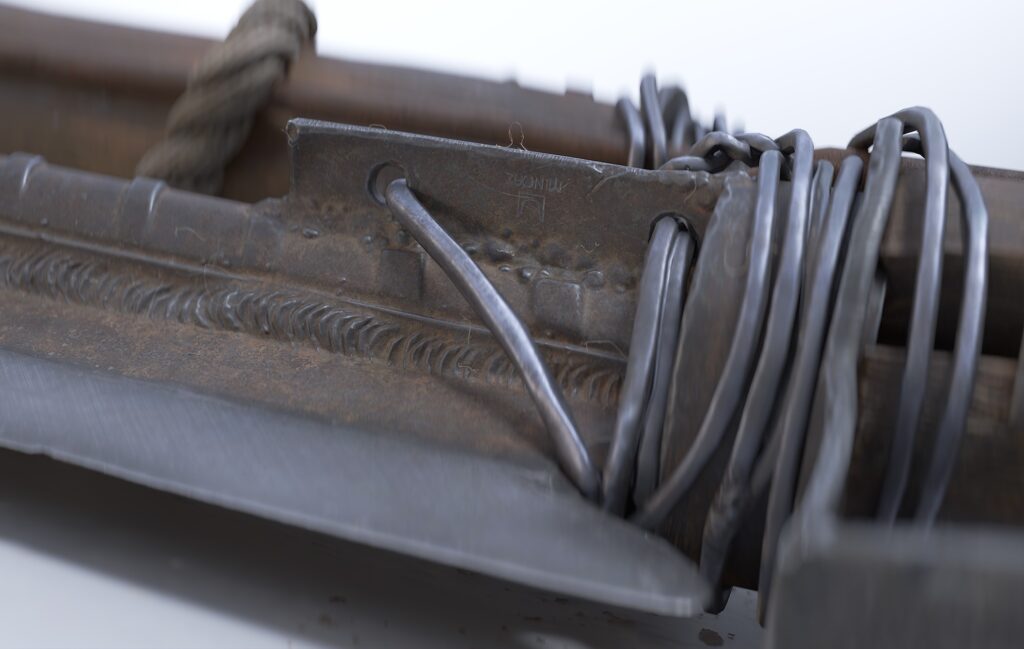
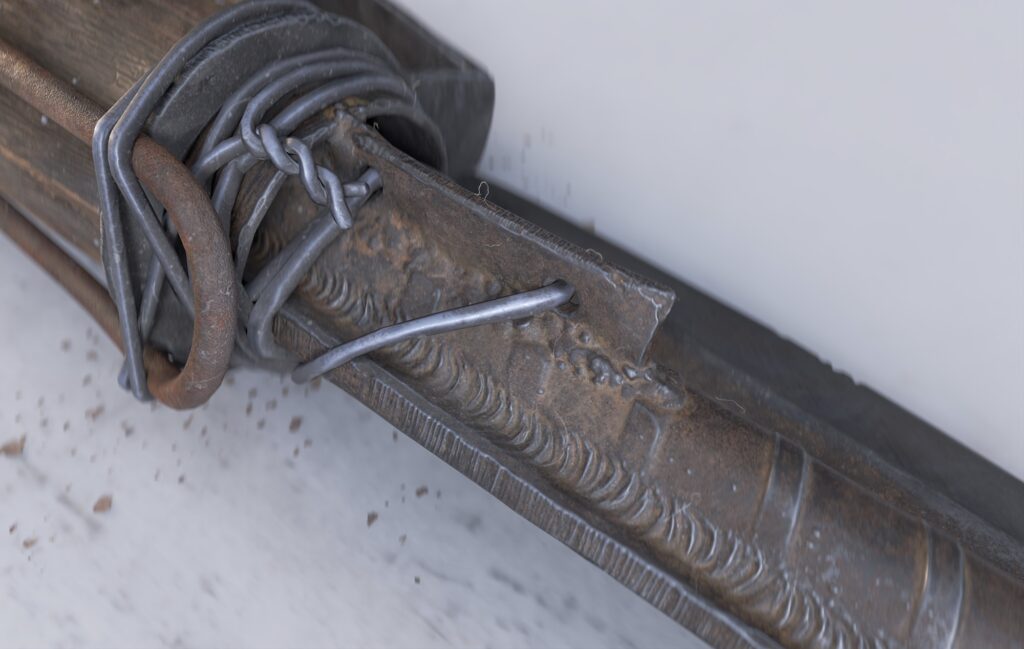
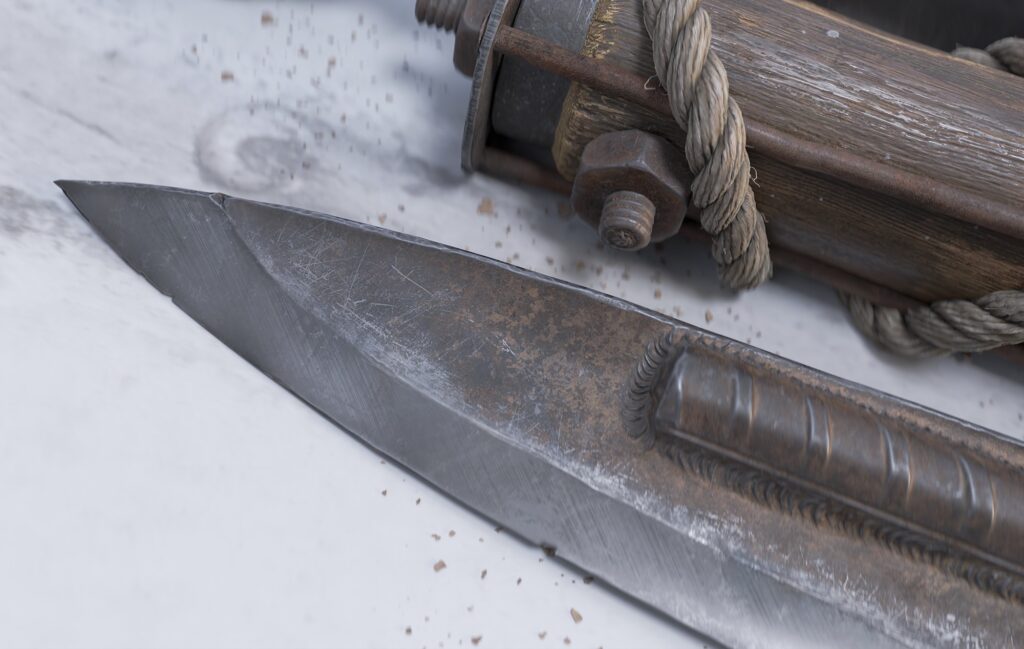
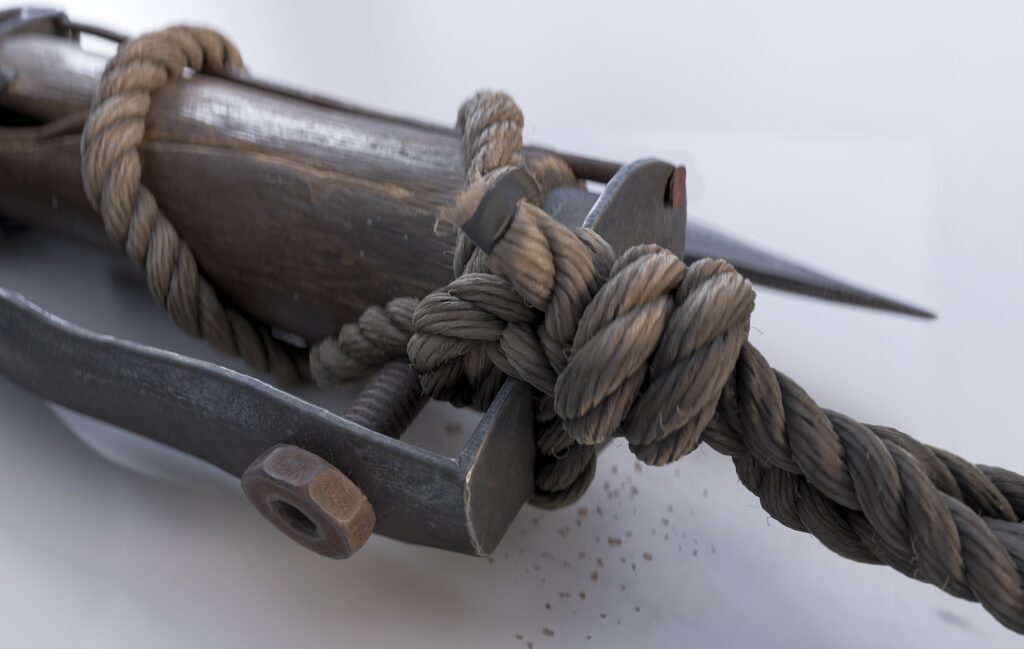
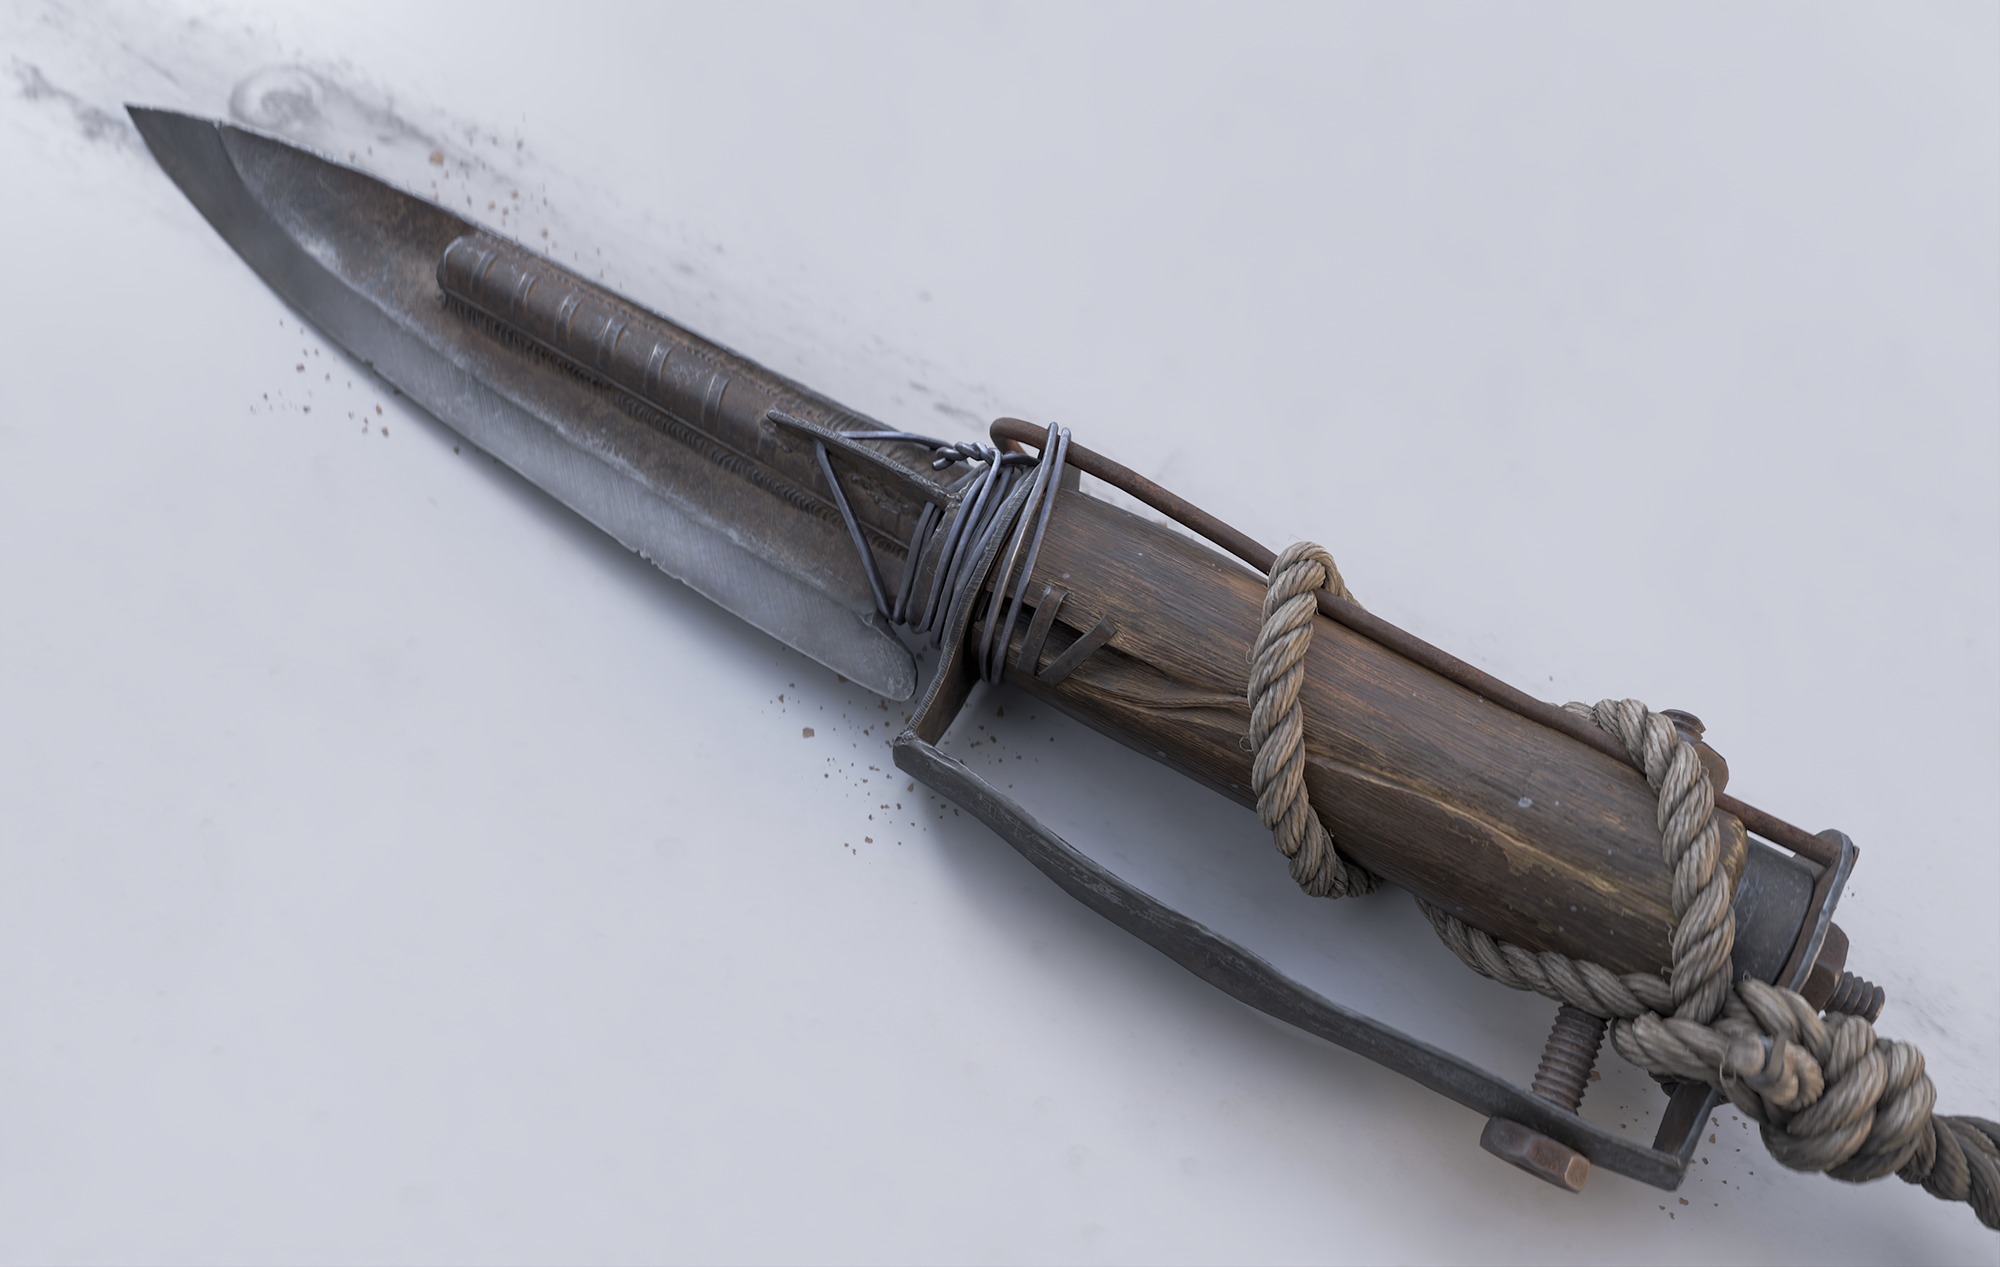
I wanted to use an old hot iron grip as my knife handle and also a modified pipe as my blade, along with bent and welded metal as a finger shield, with a sailor’s rope on the bottom of my handle for safety, and an iron rod that connects everything logically and visually.
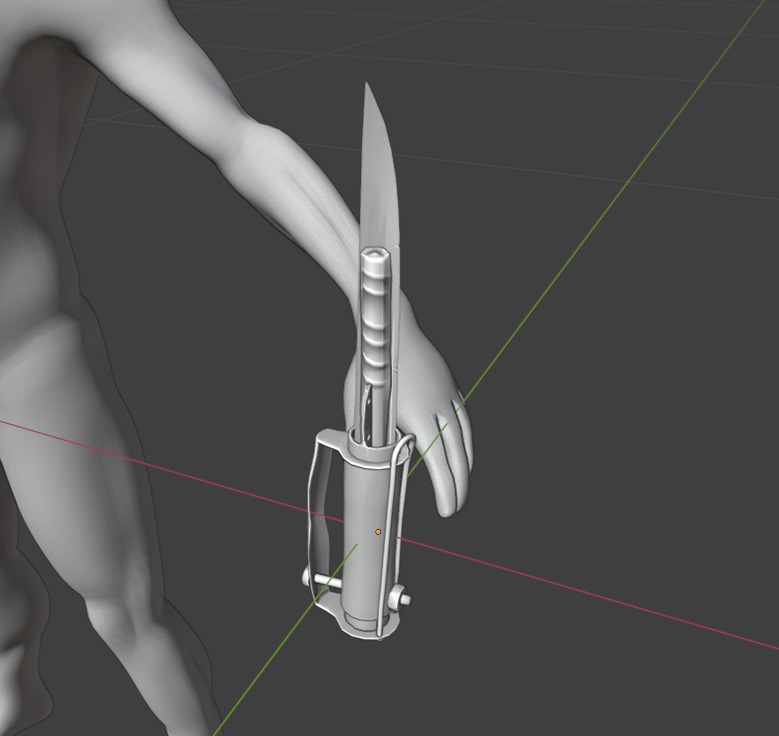
Blockout
My blockout was really primitive and a bit different from my final, but I was testing different shapes to break up the silhouette nicely.
This is super important, especially if you don’t have concept art or a 1:1 reference. I used my human scale reference and started blocking.
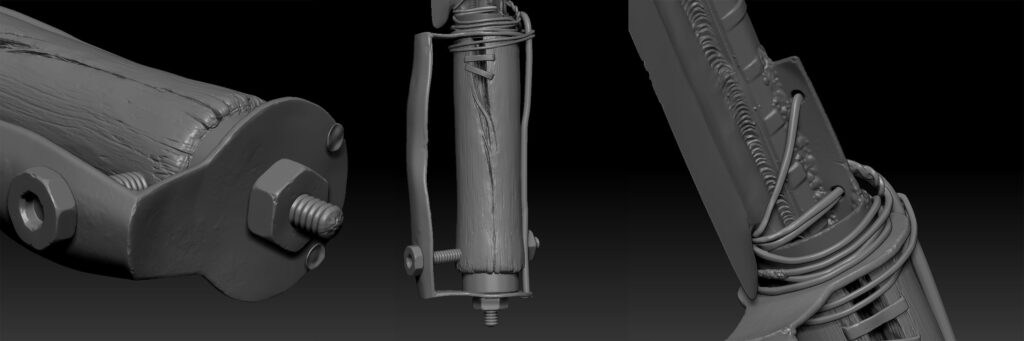
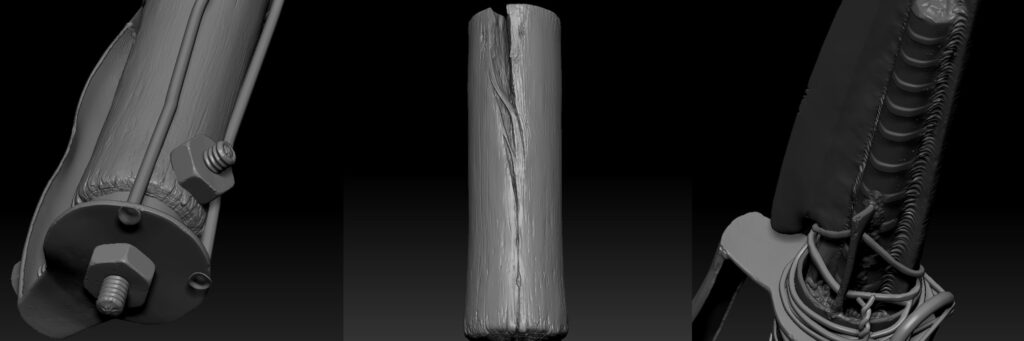
Highpoly
I very quickly went to ZBrush because I wanted to test some ideas that I had early on, while being able to replace or add meshes that I didn’t like as subtools, which made experimenting very fun.
I mostly use the basic brushes like clay, clay buildup, standard, trim dynamic, pinch, polish, slash, and move (with or without alpha masks).
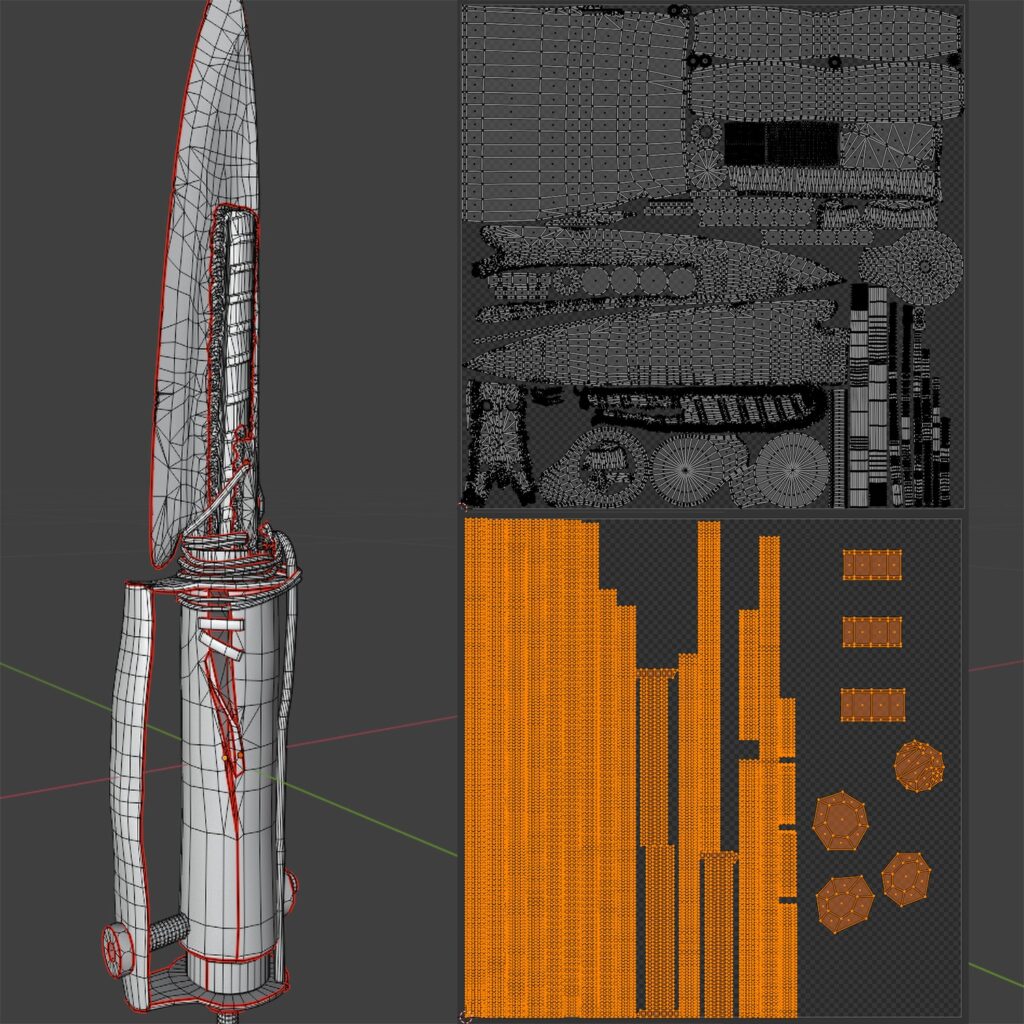
Midpoly
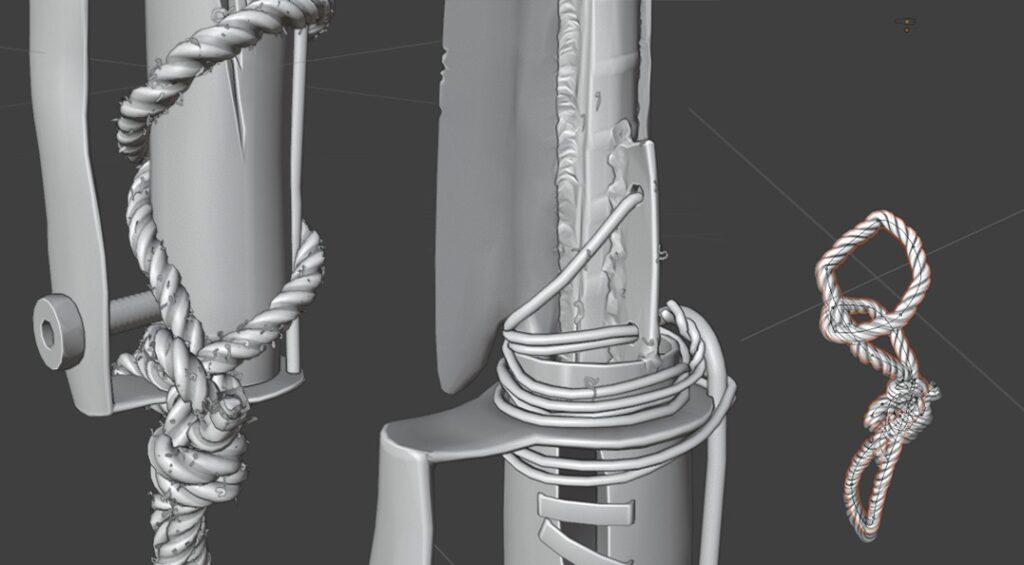
After I had something that I was happy with, I brought everything into Blender. I created the rope with some good ol’ Bézier curves with a lookup shape.
Then I started creating my midpoly along with my UVs in the process, mixing decimation and manual retopology to keep important silhouette shapes along with the optimized geo.
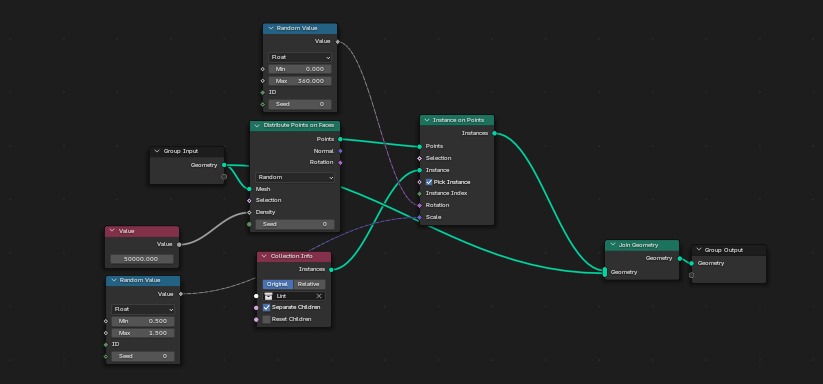
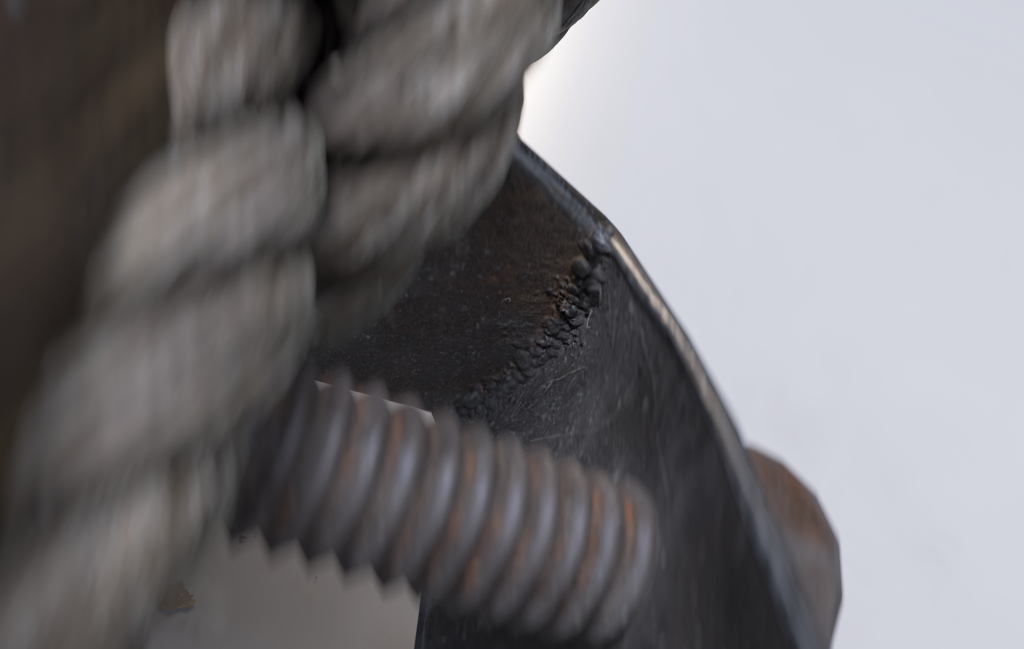
I added details like lint around the asset, mostly on the rope. Those were done with a combination of geo nodes and manually placed by hand in certain places, like near the “MINOAS” logo.
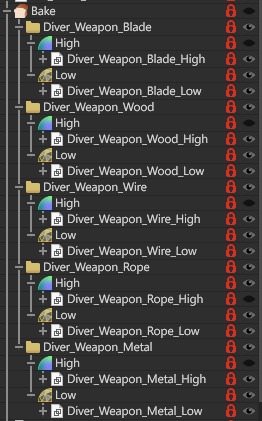
Baking
Well, I love Marmoset and its tools when it comes to baking the object space textures, so this is a pretty straightforward process of exporting all the different parts of LP and HP and fixing errors that might come.
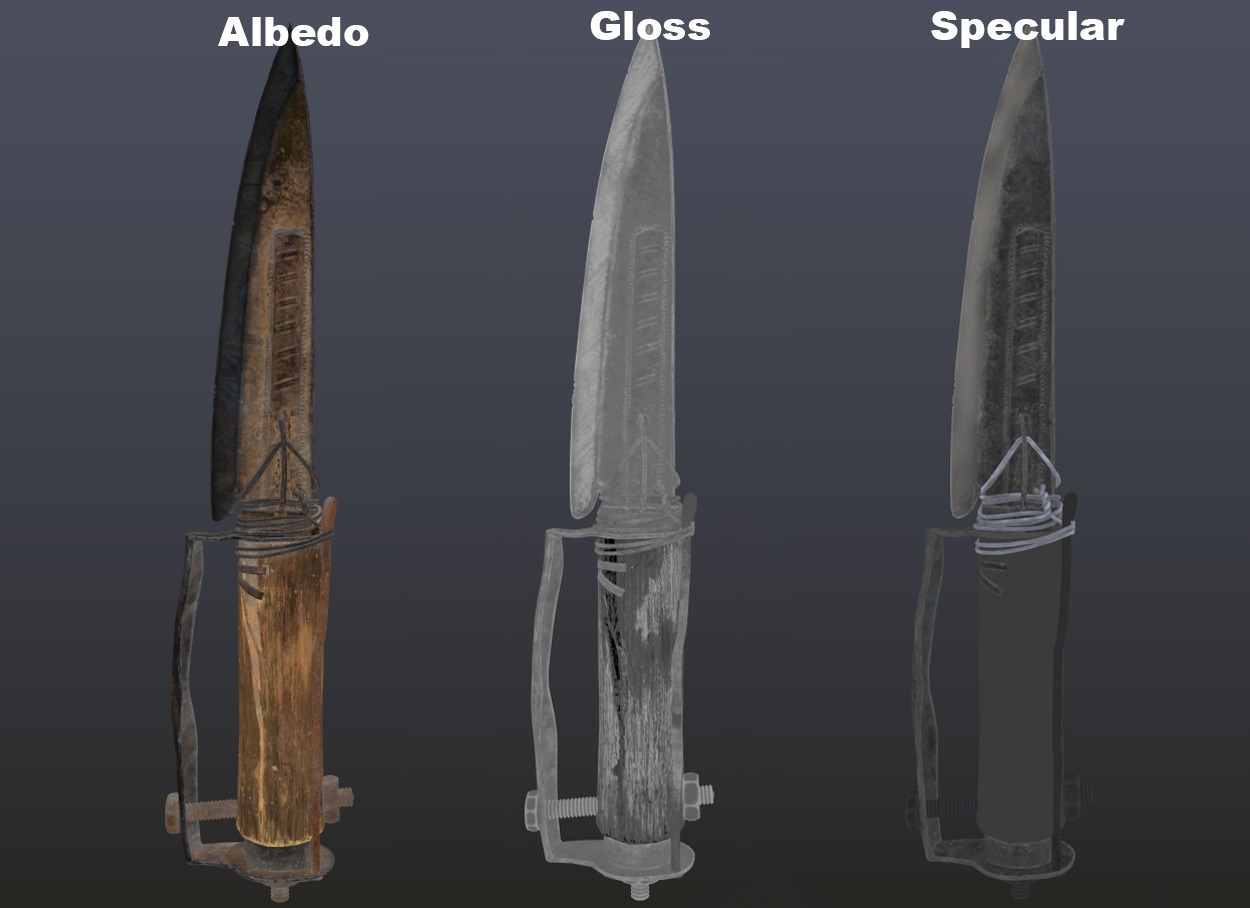
Texturing
I always start with solid fill layers and break them up with stencils, alphas, or textures made from IRL pictures.
I wanted to make a variation of aged metal in order to convey that most of them were found and put together at different times during this knife’s life, either to repair damages on it or found in different conditions, etc.
Rendering
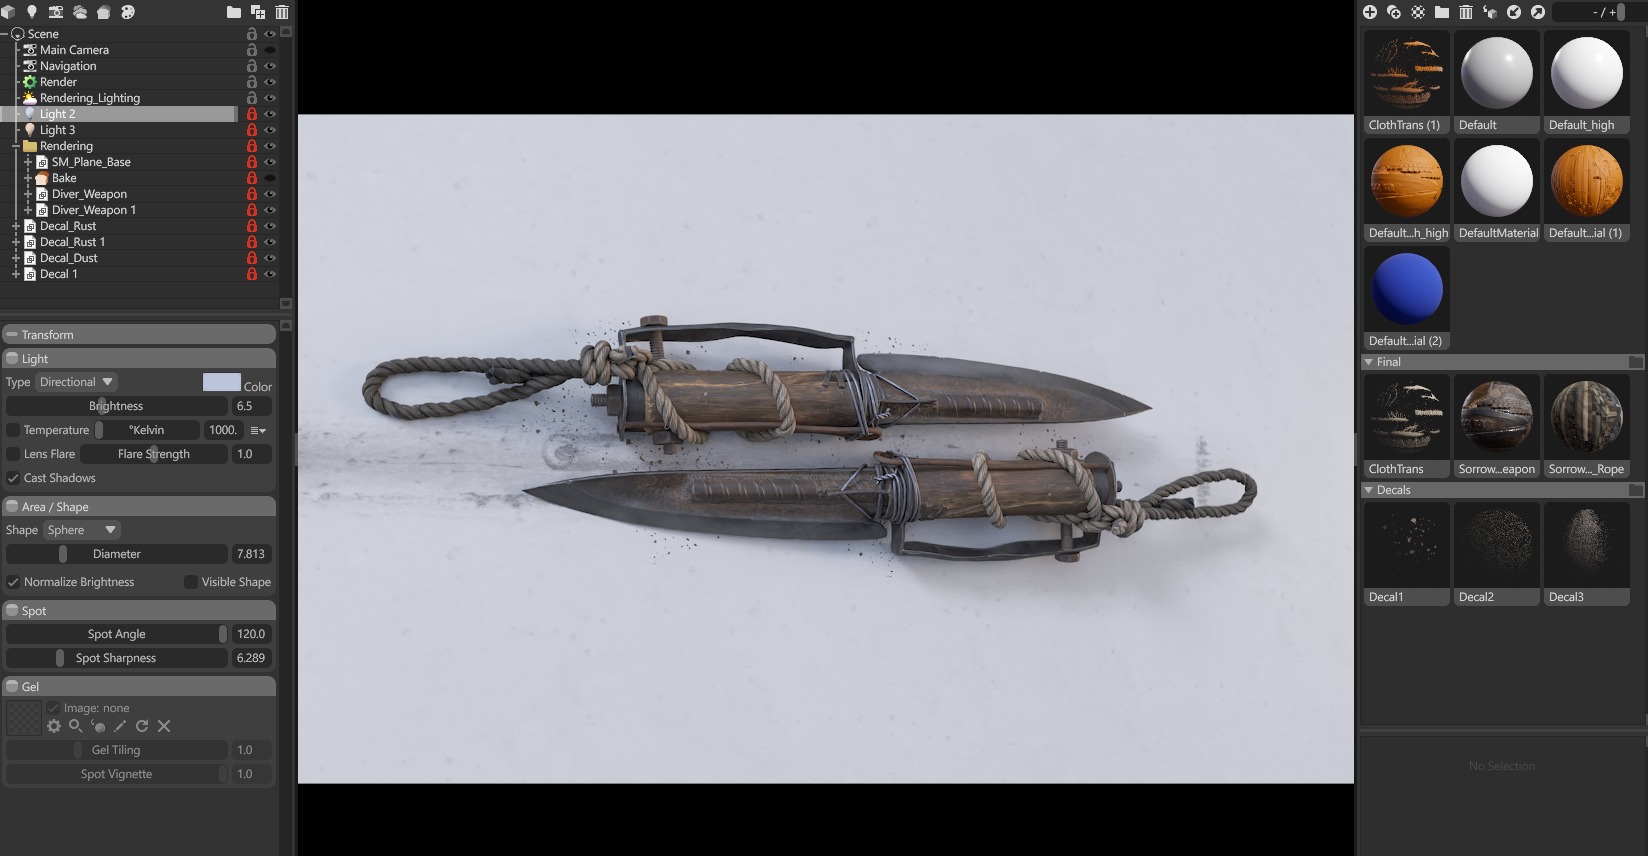
For the renders, I used Marmoset.
I also wanted to tell a story around the environment, presentation is key, so I put some decals of rusted flakes and dust grunge on the floor to better sell the asset.
Lighting-wise, I went for a really simple overcast weather HDRI with two really subtle directional lights on the left and right of the knife: one with warm tones and the second with cold tones.
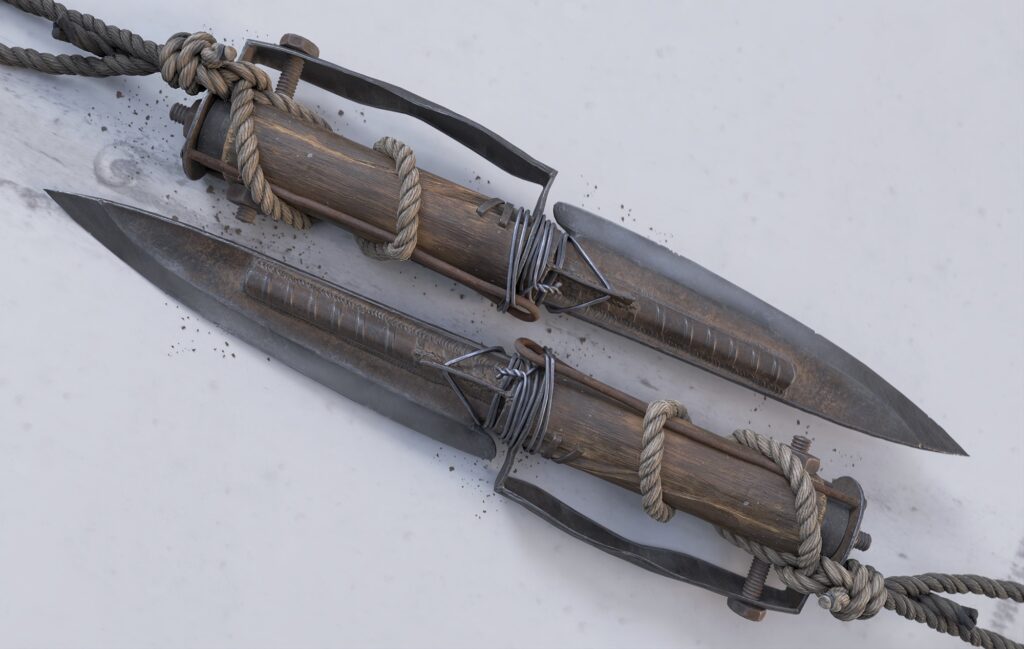
This helped keep the asset relatively grounded, but also showed the highlights of the knife — like edges or damages pretty clearly. Keeping it simple is better for realism; using too many lights can make your art look stylized and artificial.
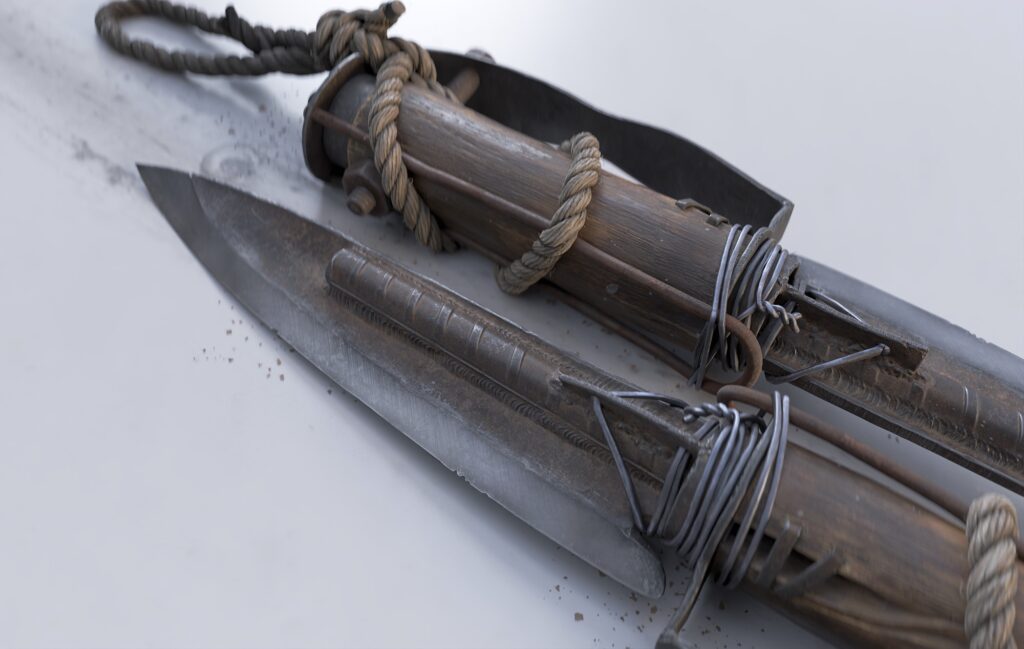
For the final shots, I wanted to emphasise the microdetails, so I focused most of the shots on the lint accumulation around the prop, along with the texturing of the edges and rust materials.
Animation
This part took me the most time because I had to learn about animation in a couple of weeks in order to produce something that is believable enough.
All were done frame by frame, and my process was pretty straightforward:
-
Create bones on my protagonist’s hands and properly weight paint them.
-
Make key poses per certain keyframes.
-
Add the in-between frames for smoother movement.
-
Apply some basic animation rules and physics to make the fingers, rope, and knife more believable.
Hunt: Showdown
Hunt: Showdown was a big inspiration in that, using it as my main reference for knife melee combat.
The animation was rendered in Eevee Next for faster adjustments, but also due to the inability of the Cycles Renderer to render Specular/Smoothness workflow materials.
After rendering the animations, I brought the clip inside CapCut and, along with a collection of sounds that were hand-picked and edited from freesound.org and personal recordings, tried to convey the materials and animation of my protagonist.
Closing Words
This project pushed my sculpting, texturing, and presentation skills to new levels.
If there’s one piece of advice I’d offer: Study your references and keep things simple.
Overcomplicating things often makes work feel artificial. Focus on the story you want to tell and build from there. A huge thank-you to my mentors and friends at 4A Games for their constant support, feedback, and knowledge-sharing.
See you at the next one!
Dimo.
Read more articles
You might also like these articles.