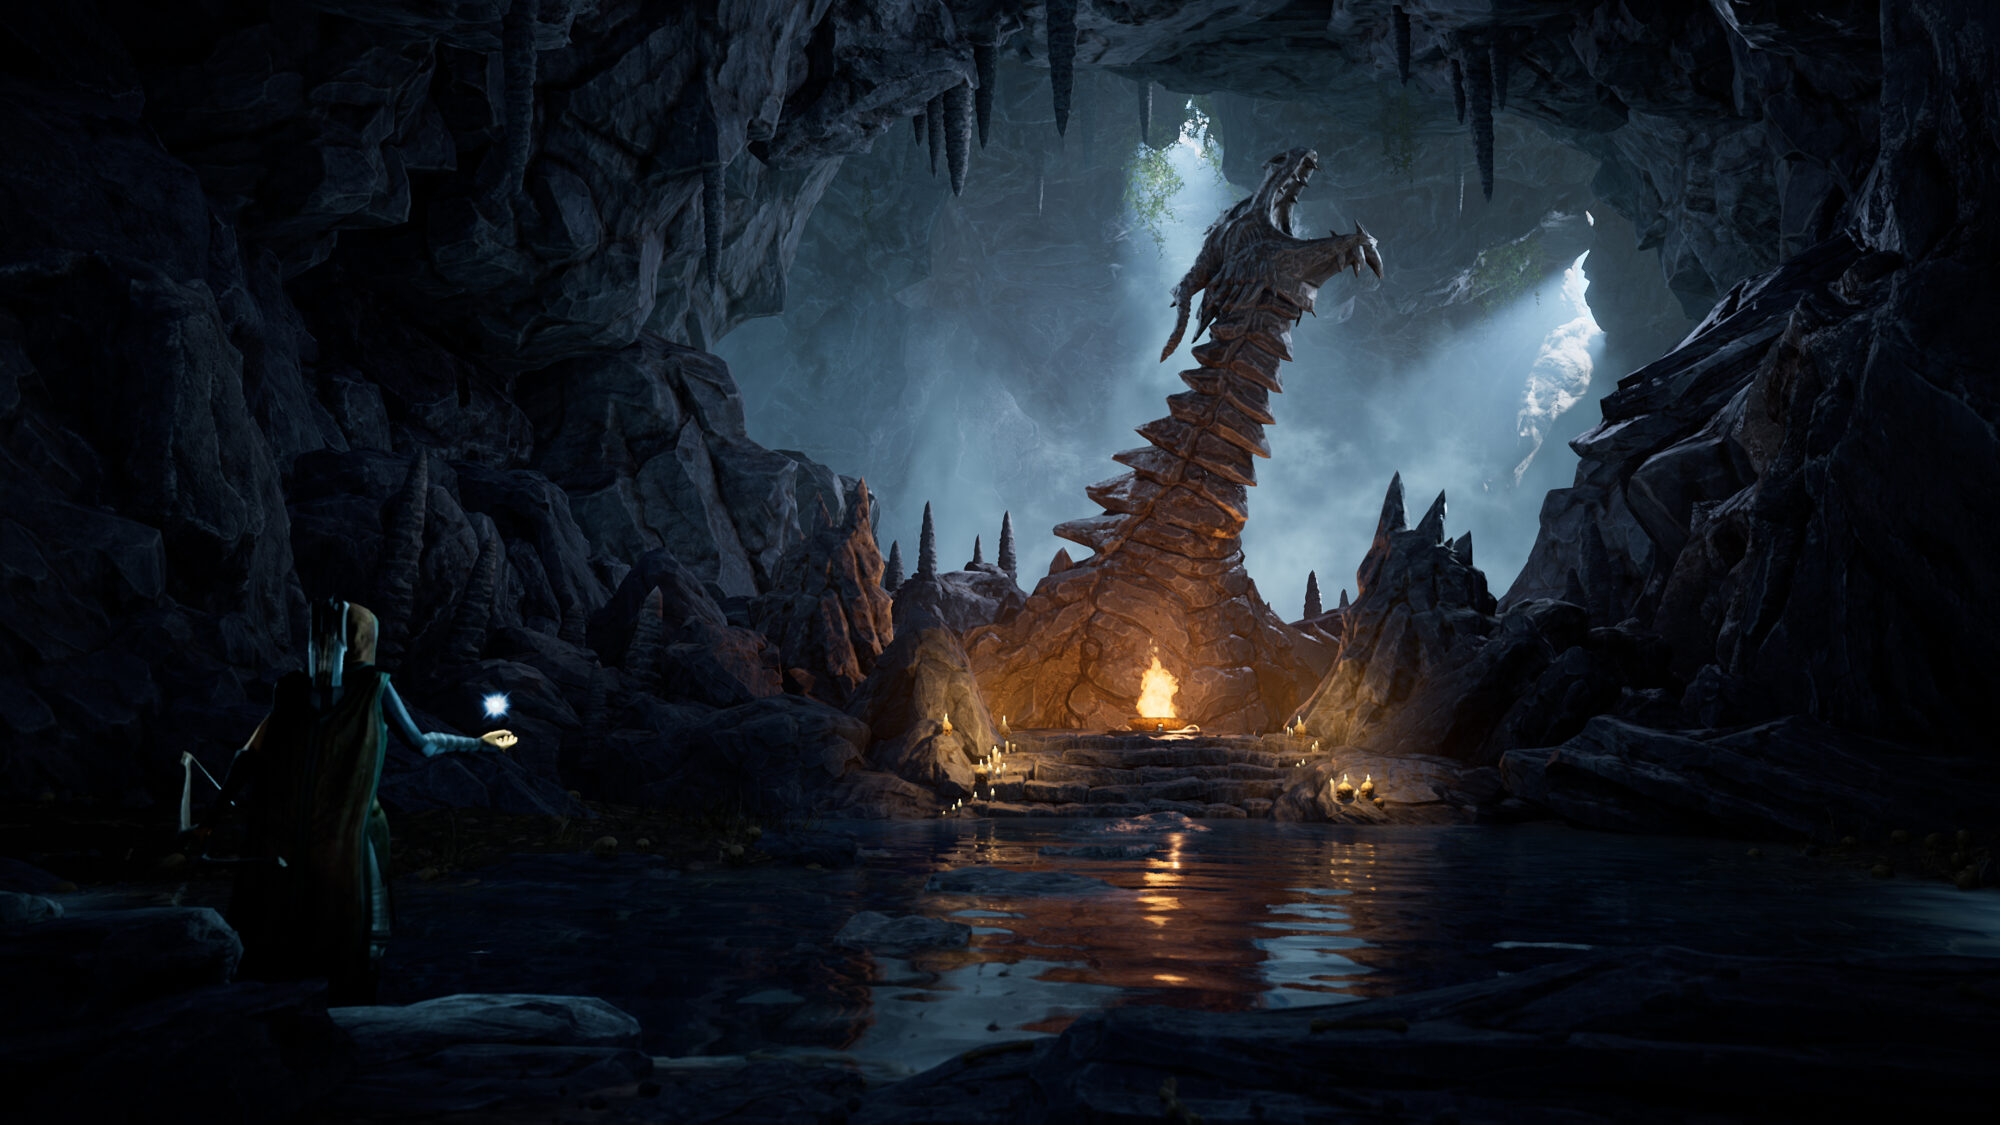
Dragon Cave


Introduction
Hello, my name is James Naughton, and I am a 3D Artist based in Manchester United Kingdom. I am a graduate in 3D Visual Effects at the University of Central Lancashire.
Project Goals
All my projects tend to be heavily inspired by my favourite video games growing up and one of those game series was Elder Scrolls. As an avid Zbrush user I wanted to further my skills with a Zbrush heavy environment, I stumbled across a striking concept art from the Elder Scrolls Online set in a cave with a large stone dragon shrine in the centre of the composition.
With this, the goals of the project were to refine my Lighting, composition, storytelling and Zbrush skills.
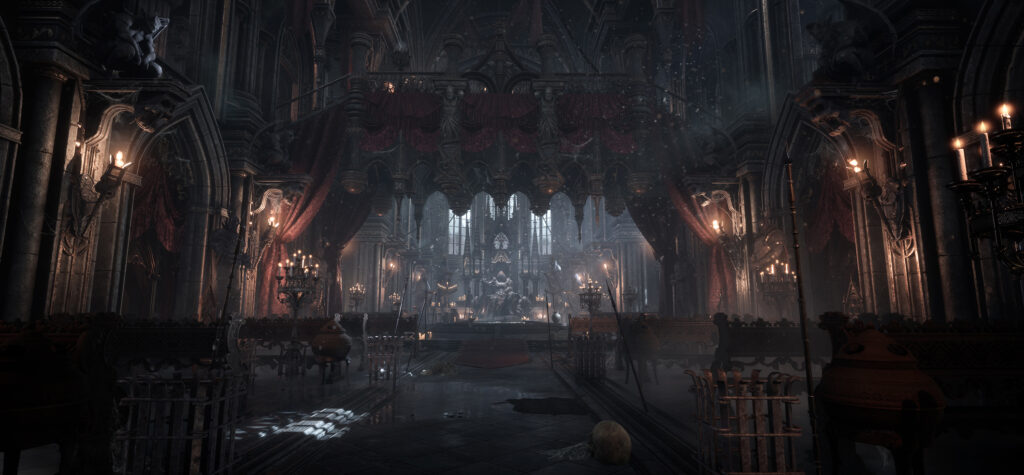
Concept Art and Reference

My main reference for this environment was of course the concept art I found playing ESO, but I took heavy inspiration from Skyrim with its tone and lighting of its cave dungeons. I always loved the moments in Skyrim when you would go through the dungeons and a large
striking environment is revealed to you and you just take some time to soak it in such as Shadow green Cavern.
I also spent some time analysing the types of rocks I would need to assemble the cave. I broke the reference down into large to small rock forms. Understanding this early on helped speed this project up massively in the long run.
Block out and composition
With the aim of creating the sense of grand scale and discovery it was very important I paid close attention to the composition of the environment. Before I even created the UE4 scene I began creating a base rock that would create the structure of the cave and a basic block out for the dragon in the centre so I could position my camera to focus on that dragon as early as possible in the shot.

It was important that I blocked out the lighting at this stage too as it plays such an important role in the composition of the environment, knowing this, I assembled the base rock so two open areas would let in some natural sunlight outside and a simple point light for where I know a fire will be beneath the dragon.
Sculpting

One of my main goals with this project was to refine my Zbrush skillset and as I have not had much experience creating rocks previously this was great practise to learn how to use the brushes im used to but in a difference way. I spent a lot of time on the stone dragon piece as it was the hero asset of the scene, as it was important I paid attention to the concept and understood how the rocks that make the shape of the dragon make sense.
I would start with a low resolution dynameshed sphere and begin to create the silhouette of the dragon and blocking in the larger shapes at first using brushes such as clay buildup to dig in areas and adding form to other areas and the move brush to change the overall shape. After this id give the asset a quick once over with the trim dynamic brush to give some areas of the silhouette a more angled and flatter look.
Once I was happy with the overall silhouette of the dragon I would keep working with dynamesh building form whilst increasing the resolution each stage and once I was happy with the low and mid-frequency I would subdivide the dynameshed asset and freeze subdivisions then zremesh to get cleaner topology then I would subdivide the zremeshed version to around the same poly count as the dynameshed version then click unfreeze subdivisions to reproject the detail back onto clean topology for my high-frequency sculpting.
For the high frequency sculpting I would use alphas such as rock cracks and add them to areas that make the most sense which would be typically on the lower half of the dragon, I would use the alphas as a base then further the shape of them by sculpting into them and spreading them out to add variation to the alpha.

The various rocks in the environment involved a similar approach to them, the brushes that were the most useful I found were, the move brush to get a base shape down, clay buildup to build form, occasionally malletfast2 for specific jagged rocks, trim dynamic for adding flatter areas, trimsmoothborder for giving the rocks a layered effect and hpolish to finalise the sharper edges of the rocks.


Materials

I am quite new to Substance Designer as I usually create my tileables in Zbrush but with this project I wanted to use it as an opportunity to learn more about it. I came across Daniel Thiger and his rock creation technique videos online, these videos helped me out massively to create the type of layered rock I was aiming for.

It was nice to be able to change the entire shape style of the rocks with a few node changes non-destructively and really helped me get the specific type of rock material I was going for.
Masks and master material

I wanted to be able to change the look of the textures of my rocks on the fly and Unreal does a really good job of letting you do this with masks in the material set up. My master material was not anything complex but I set it up so I could change the colour and intensity of the curvature and dirt of my rocks using masks that I created in substance painter.

This was a very handy way of making certain rocks pop more than others with the use of instances from the master material. To create the masks, I would use various dirt and curvature masks in substance painter and I made a smart material out of this and used it on all of my rocks and I would make changes if they were needed to the smart material depending on the rock.

Once I apply my smart material and change it to suit the rock, I would pack the dirt, Curvature and ambient occlusion into a RGB packed texture. I would also use substance painter to bake my high poly version of the rocks onto a low version, then I would tile my Designer rock material over the baked normal to retain crisp detail when the rocks are viewed up close.
Lighting and post process

The lighting process of an environment is always one of my favourite parts as you can really tell a story with it. I wanted to create the sense of discovery and grand scale and using natural light coming through at the very back end of the cave helped guide the eye to the dragon with also creating a stronger silhouette of it with the contrasting lights. Using Height fog combined with some planes with wispy fog alphas aided creating that contrasting look between cool and warm tones.

I used many spot and point lights in the scene to add bounce and rim lights to areas I wanted you to see with the skylight only being used to fill in shadows that are too dark. The goal was to get the look that the natural light is spilling all the way from the back of the cave to the foreground gradually and for the areas with sunlight coming through I used a god ray blueprint from the blueprint scene on the epic marketplace with a spotlight next to it with a strong intensity then I would add various spotlights around where I think the light would bounce around the cave from those areas. I repeated a similar process for the warmer lights at the centre of the composition and on the character.
For the post process I took a screenshot from unreal of the environment and brought this into Photoshop and did a base colour grade in there first. I then made a colour LUT from this and applied it to my post process in UE4. After that I spent time fine tuning the smaller details in the post process such as a vignette to make the centre pop out, some adjustments to the AO of the scene, slight bloom for the brightest areas and tweaks to the screen space GI and reflections.
Bringing the environment to life
Subtle movement and life in an environment play a crucial role in making it feel believable. To bring this scene to life I thought a good idea would be to have a character in the foreground of the shot discovering the dragon shrine to add to the story I am trying to convey.

I sourced a character from Mixamo with a basic idle animation, I did not need the character to be super detailed and high quality as I knew it would be only playing the role of a dimly lit silhouette in the environment. I brought the character into Maya and made changes to the animation to fit what I wanted the character to do.
I then brought this back into Unreal and attached a glowing orb I made to the hand socket of the character. The glowing orb was simple to make with an emissive ball with cards with a starburst effect duplicated around it and the intensity animated with a simple material set up.
The scene has minimal Megascans use with me only using 2 assets which were grass and hanging moss assets. The hanging moss was used near where the natural light is spilling through at the back and the grass was dotted around the midground of the environment to fill empty space. The water and fire were just the standard assets found within UE4.26.

Conclusion
Thanks a lot for reading and if you want to see more of my work check out my Artstation https://www.artstation.com/jnaughton98
Thanks to James for allowing us to have such an in-depth look at his process. If you liked this environment breakdown and want to see more like it from other inspiring artist’s make sure to follow us on :
https://www.artstation.com/gamesartist
Read more articles
You might also like these articles.