Introduction
Hello, my name is Nicholas. I am a 3D Artist currently based in Melbourne, Australia.
I have been in my role for 3 years now, and I absolutely love working in this industry.


Project Goal
The goals of this project were to further develop my skills in modeling and texturing, and hopefully end up with a portfolio-worthy piece.
Software Used
- Autodesk Maya – High/low poly models + UV mapping
- Zbrush – Live Boolean + smoothing
- Marmoset Toolbag – Baking + Rendering
- Substance Painter – Texturing
Reference Gathering
For real-world objects like this one, I find auction sites and online shops, such as eBay and Facebook Marketplace, a great resource for high-resolution images. A good place to start with reference gathering is to hunt down the measurements of the prop or something of a similar size. Dimensions.com is a fantastic resource for this.
Blocking
I start my blocking by importing any orthographic-style reference images directly into my scene. Not having to switch back and forth between modeling software and references will help you maintain your flow.
I make sure to capture the broad shapes during blocking and aim to nail the correct silhouette and proportions.
It’s good to start thinking about how you will approach the model at this stage. Identify what pieces need to be modeled in, what could be floating geometry, and what could be achieved in the texturing stage.


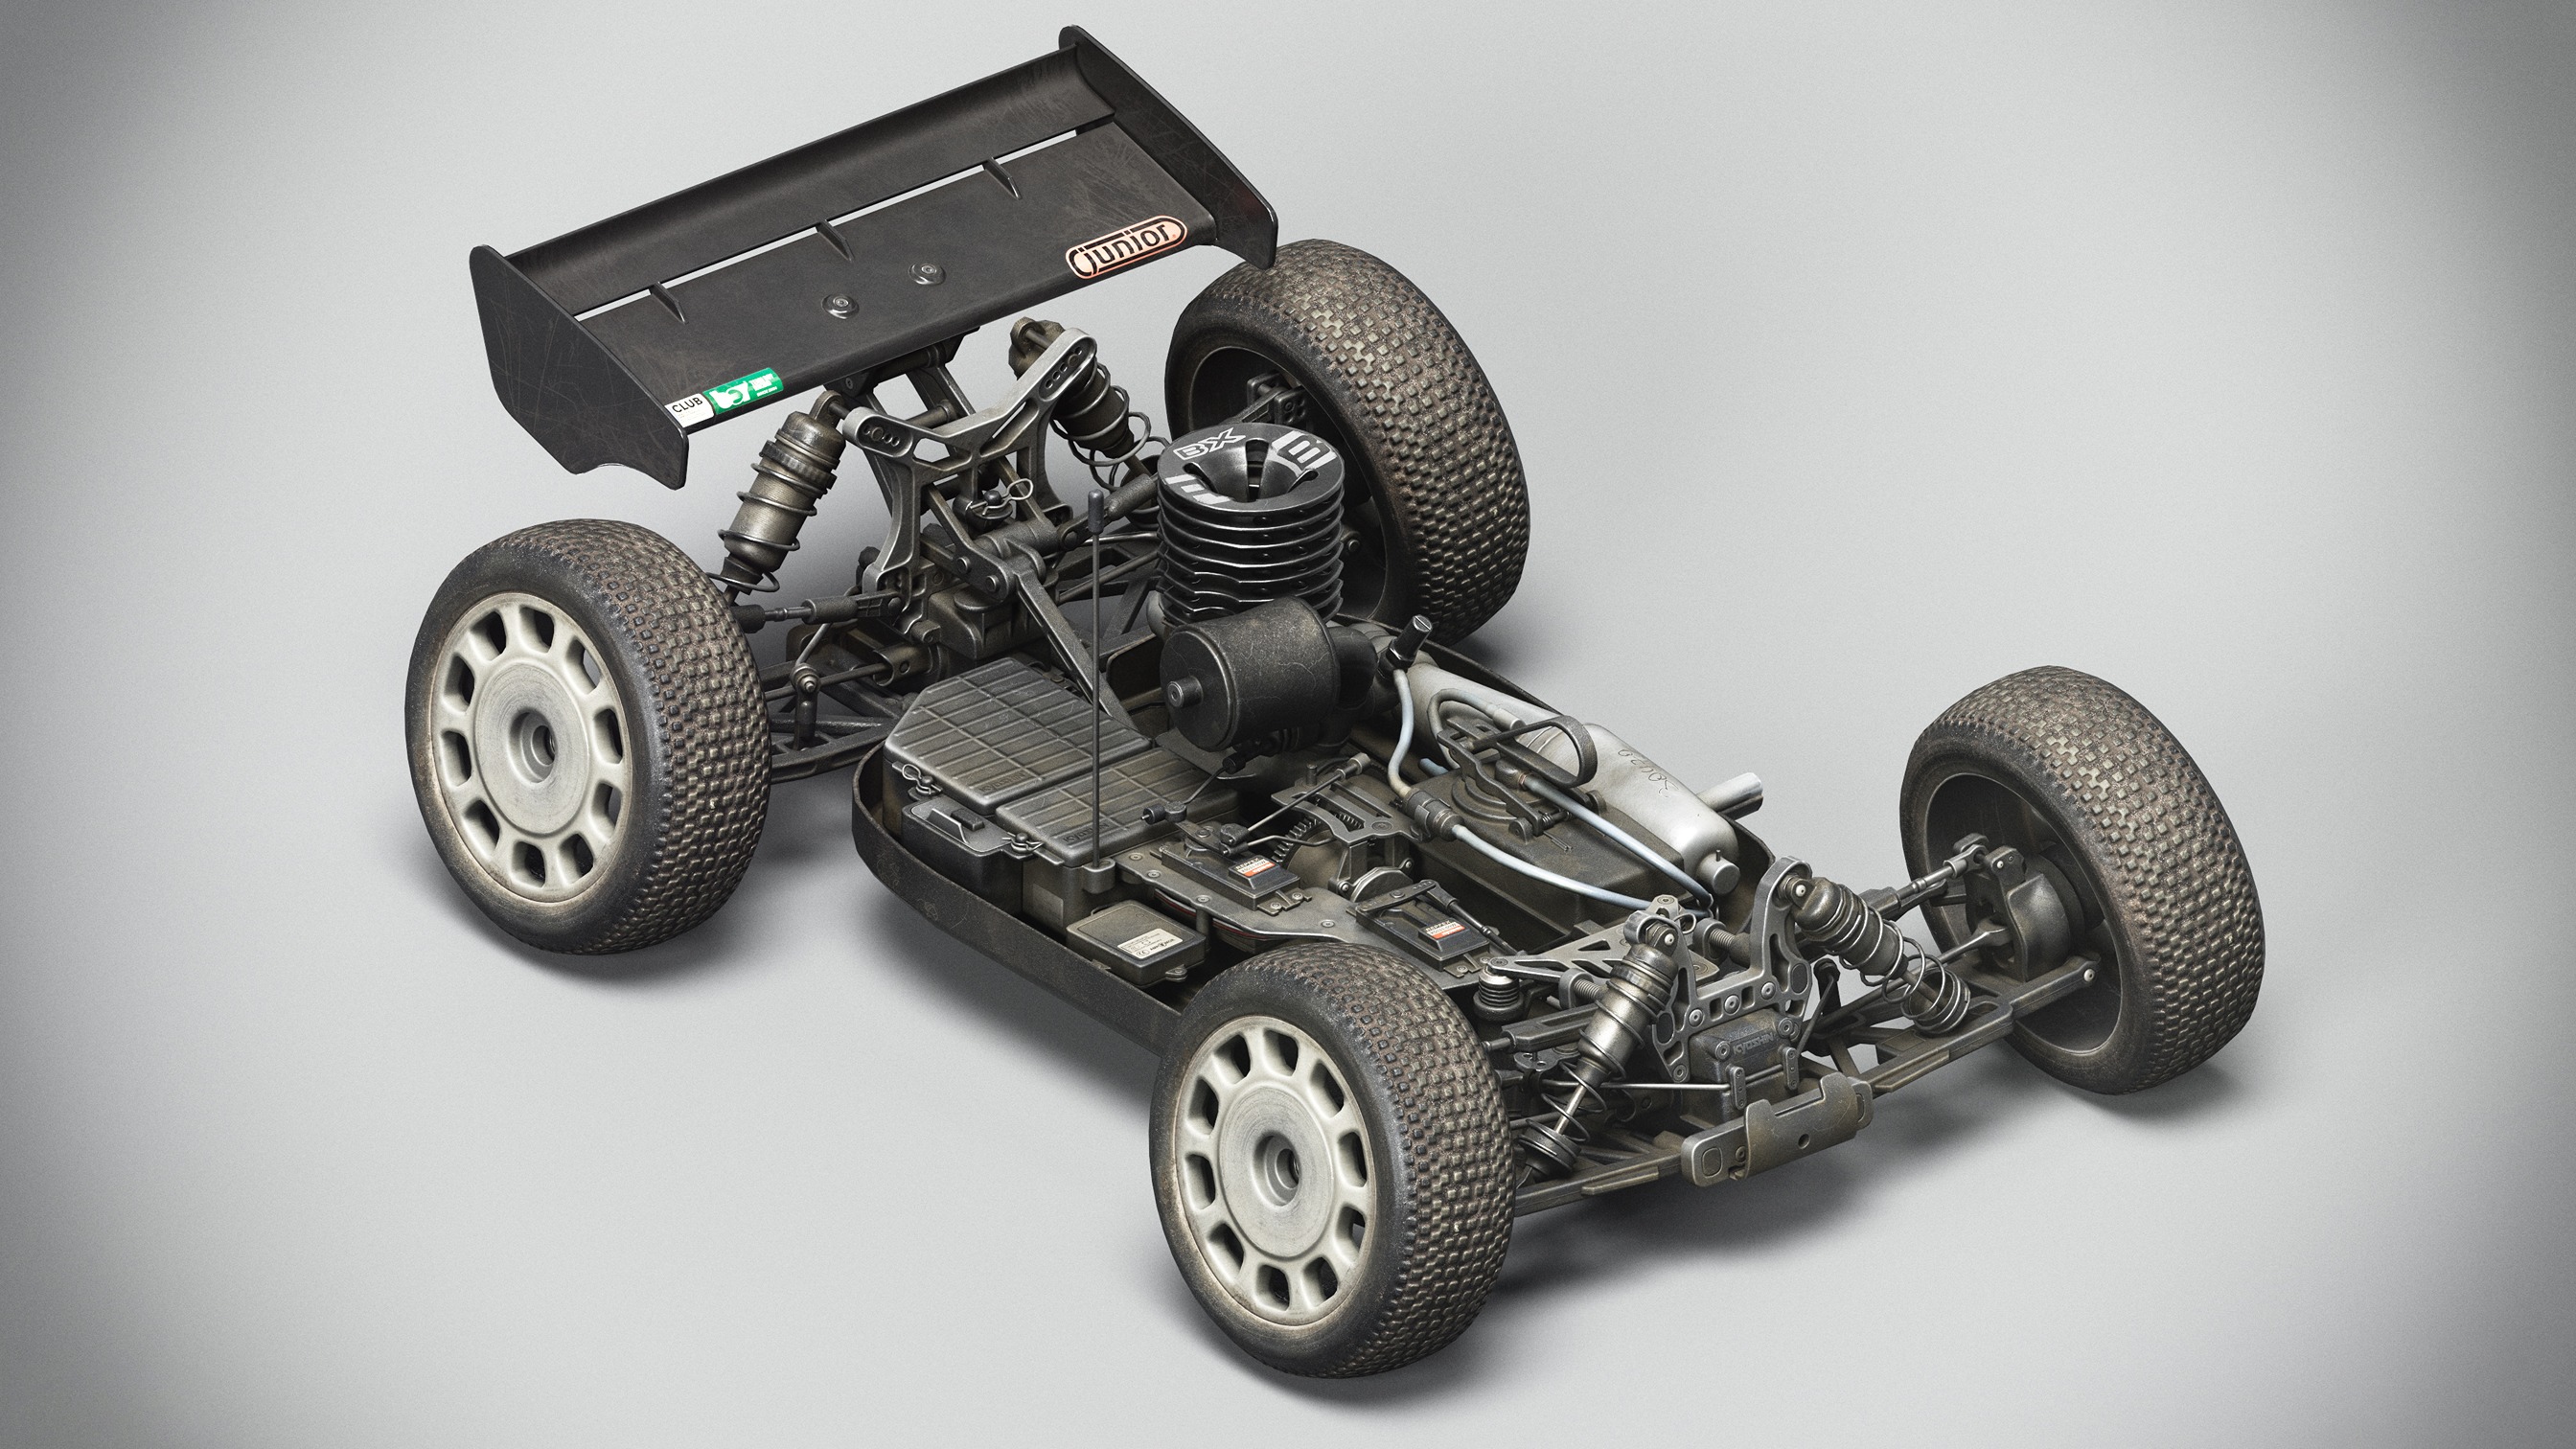
High Poly
I decided early on that I was going to use this project to properly learn Subdivision modeling. There are several reasons I wanted to learn Sub-D modeling: it gives you control over your smoothing and bevels, has infinite scalability, gives you a good starting point for a low-poly model, and is a sure-fire way to model when other methods may fail. The downsides are that it is time-consuming, can lead to a cumbersome mesh, and is a “destructive” method of modeling.
For learning Sub-D Modeling, I referred to the sacred text: The Polycount Forum, “How The F*#% Do I Model This?”. Unfortunately, most of the image links are lost to time, but using The WayBack Machine, I was able to retrieve some of the lost image links. There are also archives scattered around the internet.
I chose to use Live Boolean in Zbrush to cut out screw holes and vents. Modeling these details would not have been worth the time sink, and the meshes would have become far more cumbersome with edge loops.
Tip: Use a high-specular material when doing Sub-D modeling. This makes it far easier to spot bad deformations in the smoothing.


Low Poly
As I mentioned earlier, a benefit of doing Sub-D modeling is that you can use the high-poly model as a starting point for the low-poly model. Typically, this involves taking the base model, applying one step of smoothing, and then stripping out edge loops to optimize.
UV Mapping
I tried to keep my UV shells straight, which wasn’t always possible with such rounded shapes. Generally, trading UV warping for straighter UV shells is better. Keeping UV shells squared helps them pack together better and reduces wasted UV space. It also reduces aliasing artifacts when baking normals and makes painting some details easier during the texturing stage.
Baking
During this step, I take the time to colorize my high-poly model to produce a custom ID mask during the bake. I group the colors based on materials used or to separate the elements from each other.
I also make sure to assign new materials to the low-poly models and name those materials appropriately. This makes identifying materials throughout the pipeline much easier, e.g., “Controller buttons” vs. “lambert1”.

Texturing
For this project, I used Substance Painter for texturing. My first step into texturing is to set up masks for each of my elements. Using the Material ID I baked earlier makes this process a breeze.
I like to organize my masks into a folder at the bottom of the layer stack and use anchor points to reference them in the layers above. This keeps everything tidy, and I know exactly where to go to make adjustments to the masks. I can add/subtract from these base masks, and it will update dynamically to all associated layers that are referencing the anchor points.
I also block in my base colors and roughness values during this step. After I have set up my anchor points and base colors/roughness, I move on to putting in height details such as text and material detail before moving on to degradation details such as scratches and dents.

For text, I created my masks in Photoshop first, then brought them over to Substance Painter as an alpha mask. I then apply a black mask to a fill layer, add a fill layer to that black mask, and then plug the alpha mask from Photoshop into the fill layer.
Setting the projection to planar projection, I then move the text mask into the correct position. This method is far better than stamping with a brush because it gives me more control over placement, is easily editable, and doesn’t rely on UV position.
Before I move onto adjusting roughness values, I set up a basic render scene in Marmoset (or wherever I’m going to do my final renders) with a simple 3-point lighting setup. I link up my models and textures from Substance Painter.
I will export from Painter regularly and use this scene to gauge how the roughness and color values are translating to my final scene.
Now, my piece should be looking brand new, as though it just left the factory floor. Now it’s time to grunge it up! This is where we really get to add the narrative to the piece. I tend to layer my grunge based on a narrative.
Knicks, dents, sticky stuff, gunk building up in the crevices – these things would accumulate from the prop being used.
Dirt and dust are the final layers I add, as they tend to accumulate as something is left unused or uncleaned for a duration of time.
For getting gunk into the crevices, I either use the curvature generator or the AO bake as an alpha mask, then adjust the levels to tighten in on the nooks.
Put a slight warp on the results to break up the edge, blur, then hit it with a grunge overlay. Subtract from this by layering several other grunge layers or painting out details.
With dust, I start by using a light generator to get directionality and give the appearance that the dust has settled on upward-facing areas.
I give complete coverage using a grunge map set to tri-planar, and then subtract from that layer, focusing on high-contact areas where dust is more likely to be brushed away.

Rendering
Now that the texturing stage is done, I can start focusing on the composition of my final render. I start by choosing my focal point, which in this case will be the Nintendo 64 console itself. I chose to use a 120mm focal distance and a 5.6/f aperture.
A lens that has a focal length of 38mm and under will have lens distortion, which I didn’t want. A long focal length will work with my low aperture to give me a nice depth of field.
I try to find a camera angle that is dynamic and shows off the better aspects of the model (and hides my mistakes).
Once I feel I have something close to my final angles, I start filling in the scene with the other elements and working on the overall composition of the shots.

The scene background was initially intended to be blank, so the lighting motivation would have been a simple studio lighting setup.

But after feedback from my peers, I added the carpet, a wall, and a skirting board to lean into the nostalgic narrative of the piece. Now that I had set a location for the piece (a bedroom floor), I had a better idea of the lighting motivations.
I used a warmer-toned light to emulate a ceiling light, and filled it with a subtle blue, as if some evening light was streaming in from a nearby window.
The TV set was added at the very end as I felt it would make an interesting practical light for rim lighting the model.


Posting
Before publicly posting the piece, I do a quick thumbnail exploration by taking some test renders, photoshopping them onto the front page sporadically, and seeing which ones grab the most attention.
I’m not huge on the whole social media gambit, but after sinking the time into making this piece, I may as well increase my chances of getting eyes on it.
Once it goes live, sharing it around in communities and friendship groups will help get that initial boost, and hopefully snowball from there to the front page. Good luck!

Conclusion
I believe this piece achieved its purpose, and a little more. I learned a great deal over the duration of working on it, and the positive reception to it has been very gratifying.
I’m glad there are so many nostalgia junkies out there like myself that I could spark a little joy in.


Read more articles
You might also like these articles.