Crossbow


Introduction
Hi, I'm a 19-year-old 3D prop artist with a passion for creating environments in video games. Currently studying computer science, I embarked on my 3D art journey at the age of 17.
Additionally, I'm studying German as I plan to move there soon. I am actively seeking a junior prop artist position to further develop my skills and grow as an artist.
Goals
My main objectives for this project were to improve my texturing abilities, develop a tileable material for optimal performance, and deliver a final presentation of the highest quality.
Additionally, as 4K textures are not typically used in-game art, I aimed to maintain high quality by utilizing a 2K texture. With this in mind, I mirrored several parts of my mesh to ensure consistency and efficiency in texturing.


References
When I decided to create a 3D game prop, I was inspired by the concept art of the crossbow from “Plague Tale 2,” drawn by Damien Papet) artstation.com/damien_papet (. I was impressed by the attention to detail and the overall design of the crossbow, and I wanted to create a similar prop with my own twist.
To start my 3D game prop project, I searched for handmade weapons such as crossbows, and I found a great website that provided me with inspiration. The website is https://todsworkshop.com/pages/gallery, and it gave me an idea of the different designs and styles of crossbows.
From there, I began to search for artwork related to my project and downloaded all the relevant images. I used Puref to create a mood board that helped guide me throughout the process and keep me inspired.
In addition to gathering references and artwork, I also wanted to understand the mechanics of a crossbow.
To do this, I watched some videos on YouTube to learn how a person can make their own handmade crossbow. This knowledge helped me create a more realistic and functional design for my prop.

Blockout
I started the modelling process by creating a blockout of the crossbow prop. To do this, I used an add-on called Perspective Plotter in Blender. This add-on allowed me to match the concept art perfectly with the camera, ensuring that all the shapes were aligned correctly. By aligning the X and Y axis of the reference photo, I could ensure that the blocked shapes were proportioned to real-life sizes.
To further enhance the blockout stage of my crossbow prop, I added a metaball to get a better sense of how the shading would look on the low-poly model. This allowed me to identify any potential shading issues or areas that needed improvement, which I could then address in the subsequent modelling stages.

Low poly
For my crossbow prop, I aimed to create a modelling workflow that allowed me to use the blockout models as the foundation for the final low-poly model. While some adjustments and changes were necessary, this approach helped me to stay consistent throughout the modelling process.
To create the low-poly model, I started by deleting the middle lines made by the mirror modifier, along with any unneeded geometry and vertices. I then added weighted normals where needed to ensure that the model looked smooth and polished.
Finally, I used a triangle modifier in Blender to ensure that the triangulation method was consistent across different software, thereby avoiding any potential artifacts that could affect the final output. With this workflow, I was able to create a clean and consistent low-poly model that retained the overall shape and form of the blockout model.

I also recommend using an add-on called the Bend Modifier.
High-poly
For the high-poly model of my crossbow prop, I used the well-known method of seaming hard edges and then importing the mesh into ZBrush for dynameshing. This allowed me to refine the overall shape and add edge details where necessary.
However, my main focus for the high-poly model was to prepare it for the texturing stage, rather than adding an excessive amount of details. To achieve this, I added edge damages and smoothing where needed, while keeping the overall detail level relatively low.
Additionally, I also high-polyed some parts of the model within Blender itself before exporting the mesh. This helped me to ensure that the high-poly model had the necessary level of detail and looked consistent with the rest of the prop.
Lastly, I would like to share a tip – I found that creating a personalized UI in ZBrush made the entire process much easier and faster. This allowed me to easily access the tools and features that I used frequently, and improve my workflow efficiency.

UV & Baking
For the UV process, I followed a simple rule – each hard edge should be seamed, but not each seam should be a hard edge. This allowed me to efficiently utilize the UV space while ensuring that the UV layout was optimized for baking.
To further enhance my UV and baking skills, I found the following tutorials and courses to be extremely helpful:
- Complex Props for Games: https://www.artstation.com/artwork/D5kXE0
- Essentials, EP 3: Normal Map Floaters: https://www.youtube.com/watch?v=ny-M4QRGFN8
One new thing that I learned during this project was the ability to add extra high-poly models when I didn’t have the exact mesh in the low-poly folder in Marmoset Toolbag. For example, for mirrored parts, I just had one unique mesh instead of the mirrored one in the low-poly folder.
However, for the main body, I wanted to have the ambient occlusion for both the unique and mirrored meshes. So, I added the mirrored one in the high-poly folder of the main body. I found this feature to be very helpful and convenient, and it made the process much smoother.


Texturing Workflow
For this part, I decided which parts were mirrored, tileable, or should have unique textures. Starting the texturing process was as easy as masking different parts and organizing them into folders in Substance Painter.
Next, I used some adjustments in Substance Painter settings to ensure that I would get the same result in Marmoset Toolbag. I also split my screen into two sides so I could compare the differences between the two software.
I used the same HDRI in both with the exact rotation for each and then made further adjustments to achieve the exact same result.
“For further information, I highly recommend checking out the must-watch course by the great Jason Ord on ArtStation Learning: ‘Substance Painter: Pushing Your Texturing Further’. You can find it at this link: https://www.artstation.com/learning/courses/owg/substance-painter-pushing-your-texturing-further.”

- Green: Tileable Texture
- White: Mirrored UV
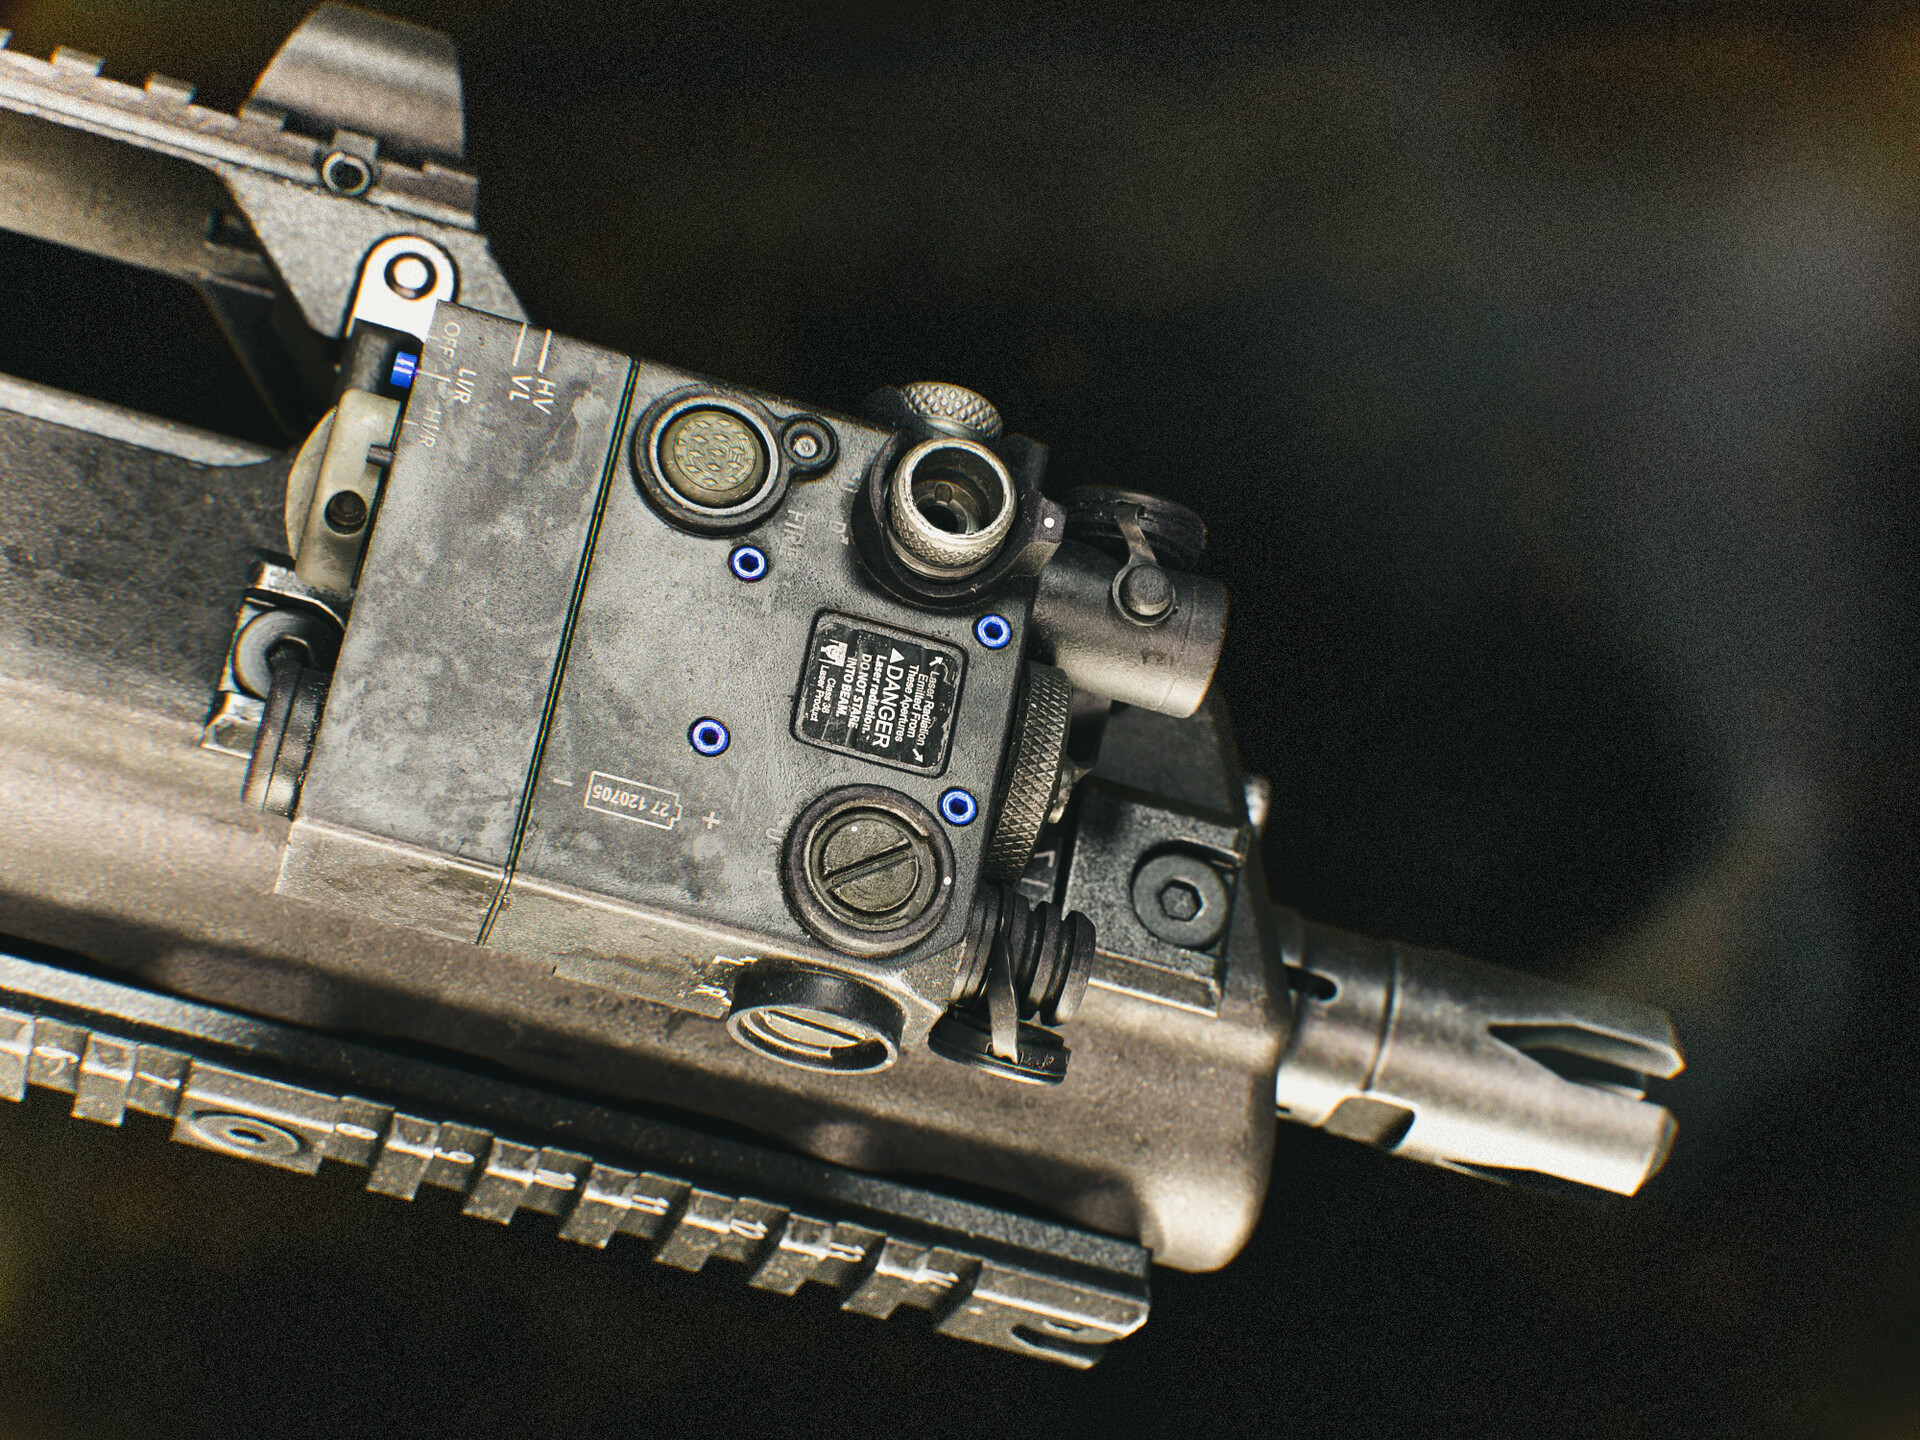
To have full control over my texturing, I opted not to use smart materials and instead relied on smart masks. For creating roughness variation on the metal, I used a technique involving five fill layers of Dust/Scratches/Smudges/Stains/Streaks.
For each layer, I set the roughness value and in some cases used a color or metallic layer. Then, I added a black mask and combined all the grunge maps using the Screen blending mode to have them all in one fill layer. I organized these layers into a folder called “Roughness Variation”, which gave my metal a striking appearance.
To complete the look, I added some extra hand-painted dirt and fingerprints. Additionally, I created a custom tool mixed with the welding brush in Substance Painter, as well as additional filters, generators, and anchor points, which worked well for welding effects.

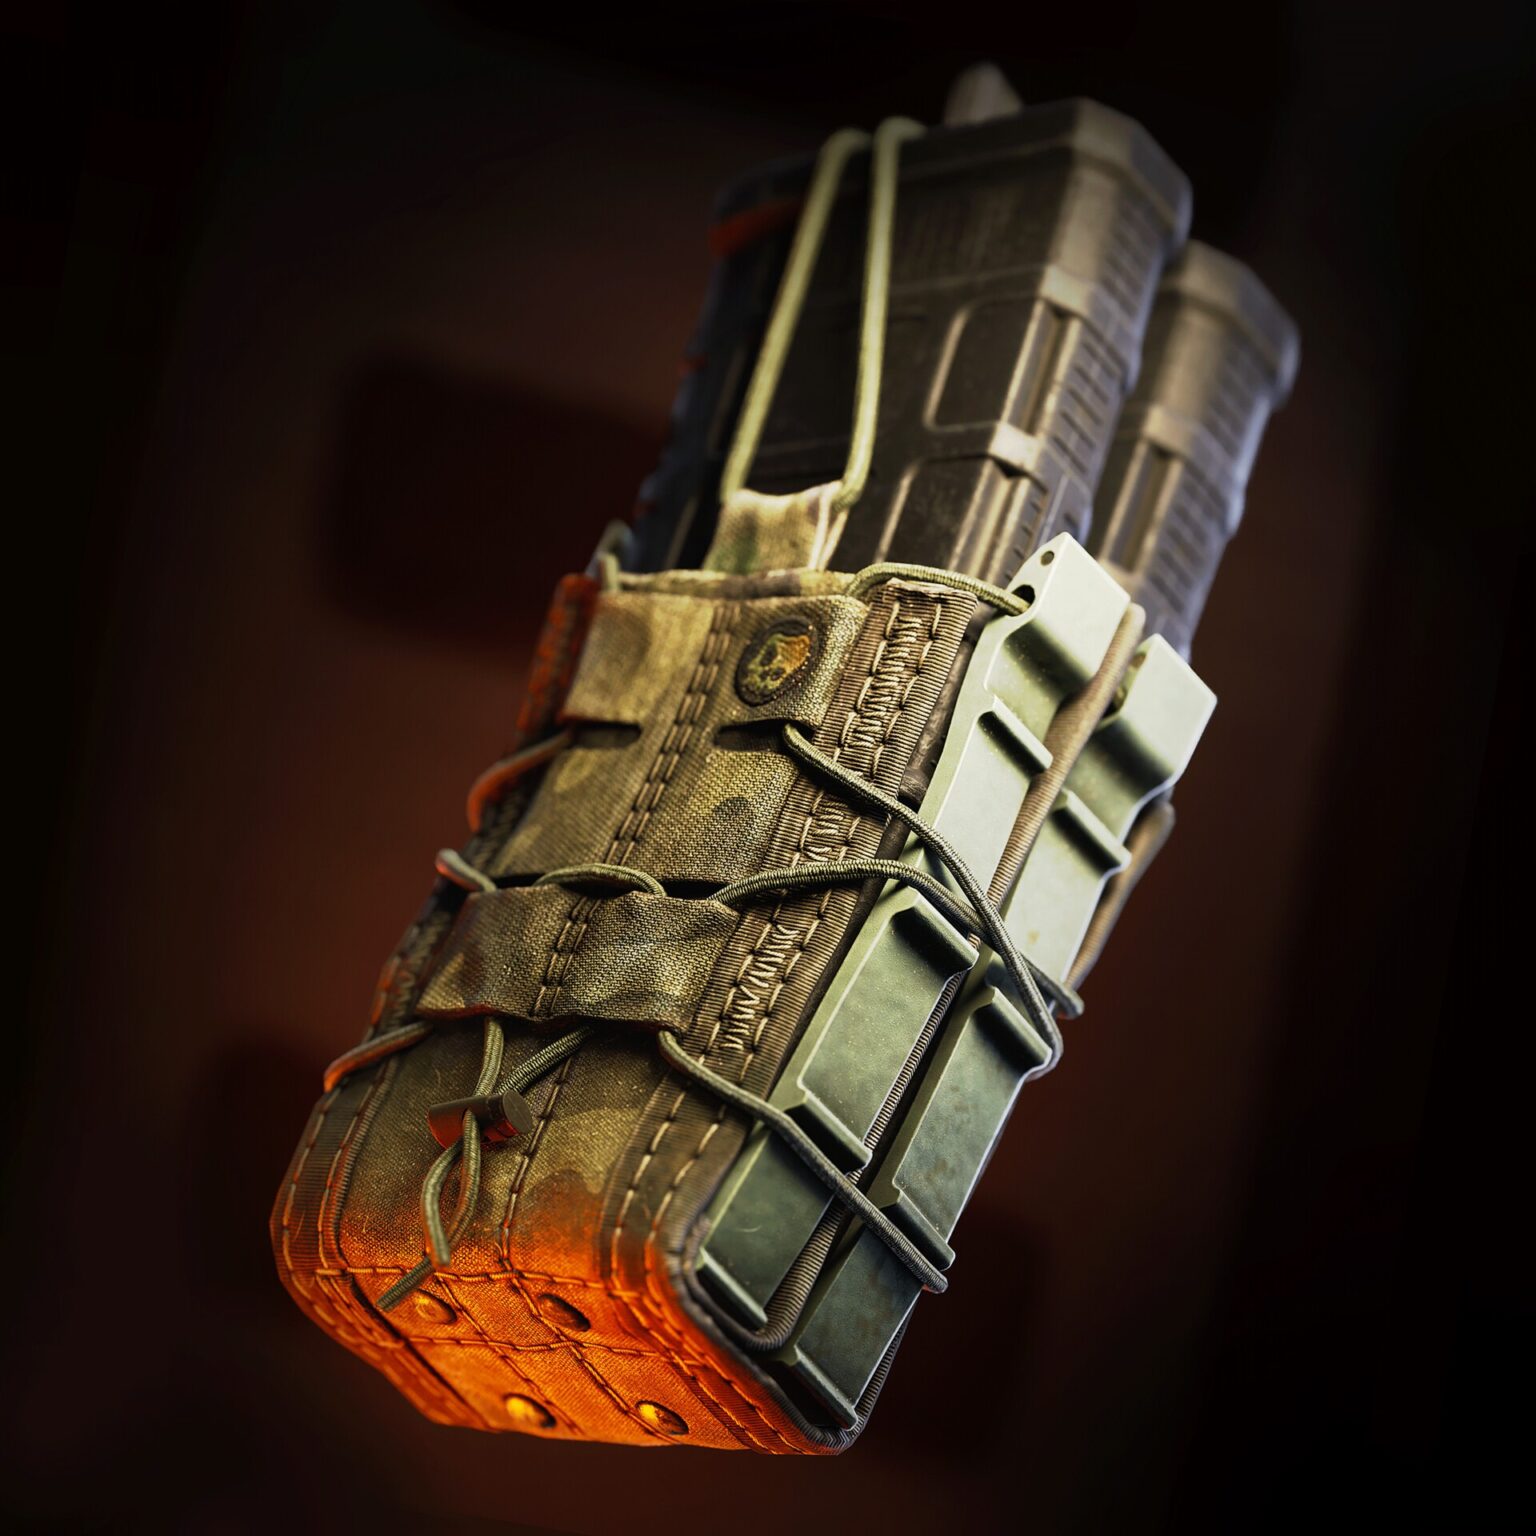
To create the unique textured ropes, I utilized directional line texture maps and black masks to create a smart material. It was surprisingly easy! For the tilable rope, I first created a blockout rope in Blender, imported it into ZBrush to add extra details, then baked and textured it in Substance Painter.
After setting the textures in Blender and using an array and rotation tool to create a tilable highpoly mesh, I baked everything in Marmoset Tool Bag to achieve a seamless rope texture. The reason for this approach was that I noticed the reference ropes had a tilable texture, which allowed me to optimize the mesh while also learning something new!


To add extra storytelling to my crossbow prop, I gathered numerous references and watched videos to understand how it functions. This gave me a clear idea of how to incorporate scratches, dirt, and other details. Additionally, you may have noticed the yellow heart carved on the wood. This is a personal touch, as I have a fondness for the color yellow and thought it would be a nice addition to the prop.
For creating the cracks in the wood, I conducted an extensive search on the internet using both Google Images and Yandex search engines. I was able to find some good photos which I imported into the Blender compositor to create a grunge map.
To enhance the sharpness of the grunge map and remove any unnecessary details, I utilized the blur-contrast technique. I found this method to be particularly effective in most cases.
I utilized the grunge maps that I created using the aforementioned method, not only for the height map but also for creating variations in the darkness and roughness of the wood layers.
Don’t Forget Feedback!
Receiving feedback is crucial to improving your work, and I cannot stress this enough! Throughout the creation of my prop, I regularly posted images of my progress in the critique section of the Discord Community called Dinusty Empire.
The members of this community were generous with their time and provided me with invaluable feedback. As I approached the final stages of my project, I even began seeking feedback on every aspect of my work by joining their voice channels. This helped me identify hidden problems and made my work stand out. I highly recommend seeking feedback at every stage of your work, as it is a key factor in improving and growing as an artist.
The DiNusty Empire: https://discord.gg/dinustyempire
Rendering and lighting
For rendering, I meticulously adjusted all available parameters in Marmoset Tool Bag to achieve an appealing visual result. If you are new to real-time prop rendering, I recommend checking out Chamfer Zone’s tutorials on the topic:
To enhance the lighting of my prop, I utilized two fundamental techniques:
- Rim lighting
- Cold-warm contrast


Additionally, I incorporated my HDRIs and fine-tuned them to achieve the desired effect. After many iterations of tweaking and refining, I arrived at the final result.

Conclusion
So, with these techniques, I was able to make the middle crossbow stand out in the shot. For the other shots, I added two additional rim lights, one from left to right and the other from right to left, to achieve the rim light effect in all of my renders.
In the end, I created a backup of my render project in the Marmoset Toolbag to make it ready for a 3D viewer export. Then, I deleted unnecessary lights since Marmoset Toolbag only allows 3 area lights, and I disabled some textures of the rope to reduce the file size to less than 15 MB.
This was necessary since without a pro subscription in Artstation, you cannot post 3D viewers that are heavier than 15 MB. I believe an ultra-adjustment feature for export size in Marmoset Toolbag is necessary so that we can compress 3D scenes as much as possible to achieve a 15 MB file size.
In the end, I would like to express my gratitude to everyone who took the time to read this article. I hope that you found it helpful and informative and that you enjoyed learning about my process and techniques. Thank you for your attention and support.
I also wanted to thank the Games Artist team for giving me the opportunity to share my experience with other artists.
Read more articles
You might also like these articles.