

Introduction
Hi, I'm Mauro from Turin, Italy. I’m a 3D Real-Time Generalist focused on 3D Character creation. Since my childhood, I've been hooked on animation and video games. This passion led me to study art, design, animation, and direction.
I worked on VR education applications and vehicle design, but I wasn't truly satisfied. So, I decided to take a break and, during my last year, focused my study on “Character and Creature Design Path” at Think Tank Online school.
Games Artist UK & Think Tank Training Centre
We are proud to collaborate with TTTC, an institution renowned for equipping CG Artists with the tools and mentoring they need to thrive in the industry.
At Think Tank, students receive guidance from professionals who work in some of the most iconic VFX, Gaming & Animation studios.
This partnership enables Think Tank’s best and brightest students to create insightful articles for our website whilst also helping other students and professionals enhance their own workflows.
If you would like to find out more information on how to become a partner, please visit our Partners page.
Project Presentation
This is Sædmund the Berserker, a game-ready character I developed during the Think Tank Online mentorship term. It’s an original concept I designed years ago for my own Dungeons & Dragons character, a story-driven tabletop game I played for a long time.
When I first created him, I was inspired by my childhood Anime heroes, from Berserk to Final Fantasy, focusing on muscles, big swords, and catchy poses.
I was excited to bring him to life again!

As a student, I wanted this project to showcase all the skills and techniques I’ve honed during my last year at Think Tank.
However, Sædmund also represents a personal milestone: the chance to push my artistic boundaries, dedicating time and passion, with guidance from my mentor to express myself through this cinematic 3D character creation.
References
In the beginning, my project lacked a solid concept. However, I had stories and descriptions that fueled tons of notes, helping me to define the mood and feeling I wanted to capture.
The title references the “Lands of Rashemen” from the “Forgotten Realms” campaign setting: “Here, harsh frontiers meet cold mountains and unforgiving forests. The people are strong and fierce, with legendary warriors.
Mystic mead fuels their berserker rage, while powerful witches wield primal and spiritual magic. They stand defiant against the evil Red Wizards of Thay who threaten their borders.”
Inspired by the style of games like The Witcher and God of War, my main idea was to bridge the gap between fantasy and realistic styles, fusing these elements to create a unique visual language.
Drawing from a pool of references, I initially focused on the concept art of the talented Jun Kim.

His Viking vibes heavily influenced the overall aesthetic, providing the perfect foundation to weave in the mystical elements typical of the character’s fantasy stories.
This synergy ultimately refined my concept.
For my character’s equipment design, I delved into Celtic and Dark Fantasy references and materials.
During the character’s adventures, he has collected many items with rich histories, such as The Bloody Greaves, the Bone Jaw, and the Northern Fang Blade, all of which whisper stories I have played for years. I had a lot of fun bringing them to life through a game representation.

Blockout
Pinterest and PureRef are invaluable tools for managing creativity. However, a structured pipeline schedule is essential for staying organized and on track.
This involves meticulously breaking down character design into distinct sections, ensuring a thorough exploration of every aspect.
I start by constructing a base mesh in ZBrush using primitive shapes to establish the character’s overall proportions and silhouette. By leveraging Dynamesh and ZModeler functions, I can iterate quickly during the blockout phase, refining the shapes until they form a cohesive whole.


Clothing
Once I achieved a solid blockout, I used Marvelous Designer to create more realistic clothing and accessories. The process involved designing digital patterns for each piece, considering factors like fabric weight and drape.
When I finished, I was satisfied with the base mesh, which I needed to proceed to the next step (the most fun one).


Sculpting the Face & Body
Crafting the high-poly model, I adopted a multifaceted approach. My initial focus was sculpting the face and body in ZBrush, drawing inspiration from various sources, especially artist Gerry Arthur’s concept of Ifan Ben-Mezd.
I constantly consulted anatomical charts and existing character models, conducting numerous tests to achieve a realistic style.
“Anatomy for Sculptors” is a must-have for this purpose.
This ensured the body’s size and pose were believable, helping me fix many errors during the process.


Armour & Clothes
For the clothing, belts, and bags, I used a combination of tools.
Marvelous Designer facilitated the creation of realistic folds, seams, and imperfections, while ZBrush’s sculpting brushes allowed me to refine these details and capture the weathered leather aesthetic.
Hard surfaces like armor, gloves, and boots were tackled in ZModeler.
Here, I utilized a robust brush library, including custom metal brushes from Vladimir Silkin and Michael Dunnam in ArtStation’s store, alongside my own alphas and regular brushes.
This approach allowed the creation of intricate details like symbols, backstory elements, and wear and tear to be incorporated. The “bloody greaves” were a particular area of experimentation, where I explored a unique red dragon scale aesthetic.


Weapon & Accessories
Rounding out the high-poly model, I meticulously modeled various detailed accessories in Maya.
These included the necklace, emblem, buckles, and the “Northern fang,” a greatsword inspired by the design of an old MMORPG, “Lineage II“.


Grooming
For the creation of the hair, I used GS CurveTools, a Maya plugin, and Curve Controlled Hair Cards, which allowed me to precisely control the hair curves derived from the decimated sculpted mockup.
The fur was created using Xgen for the shoulders and the armor’s belt. Fibershop was then used to create the hair and fur texture maps.


Retopology
For the head topology, I leveraged the free base mesh from 3dscanstore.com, using ZWrap, a ZBrush plugin, to project my sculpting work into a new topology, which also allowed me to integrate some body scan data for enhanced micro-detailing.
Then I used the 2D patterns from Marvelous to recreate a topology for cloth and strings. For the rest of the character’s equipment, I used a traditional quad-draw approach in Maya for retopology.
At the end of this process, I achieved a polycount of 170k tris for the character and 70k tris for the grooming.
UV Mapping
In Maya, each section of the character was strategically grouped to define nine different texture sets. This approach allowed for a targeted allocation of detail where needed.
I then proceeded to create the UV maps for each element, ensuring optimal texel density throughout the model.

Texturing
With all the UV maps set up, the low-poly was meticulously baked on Substance Painter, focusing on projecting nearby pieces to achieve a more consistent Ambient Occlusion across the model.
Following a color scheme of silver, gold, red, and blue, I used various materials and symbols to enrich the visual graphics and added distinctive marks to let the character’s backstory shine through.


Rigging
For the rigging, setup, and posing of the character, I relied on Advanced Skeleton, a Maya Automatic Rigging Tool, that helped me create a robust and versatile rigging system.
I also created a small setup for the cloak to simulate a wind effect.
Animation
With the character rigged and ready, it was time to infuse it with life through animation. Using Maya, I added subtle movements and a simple walk, ensuring the scene’s dynamism and engagement.
My purpose was to exalt the moment before the action, the willingness to act, imbued with concentration, before the attack.

Direction
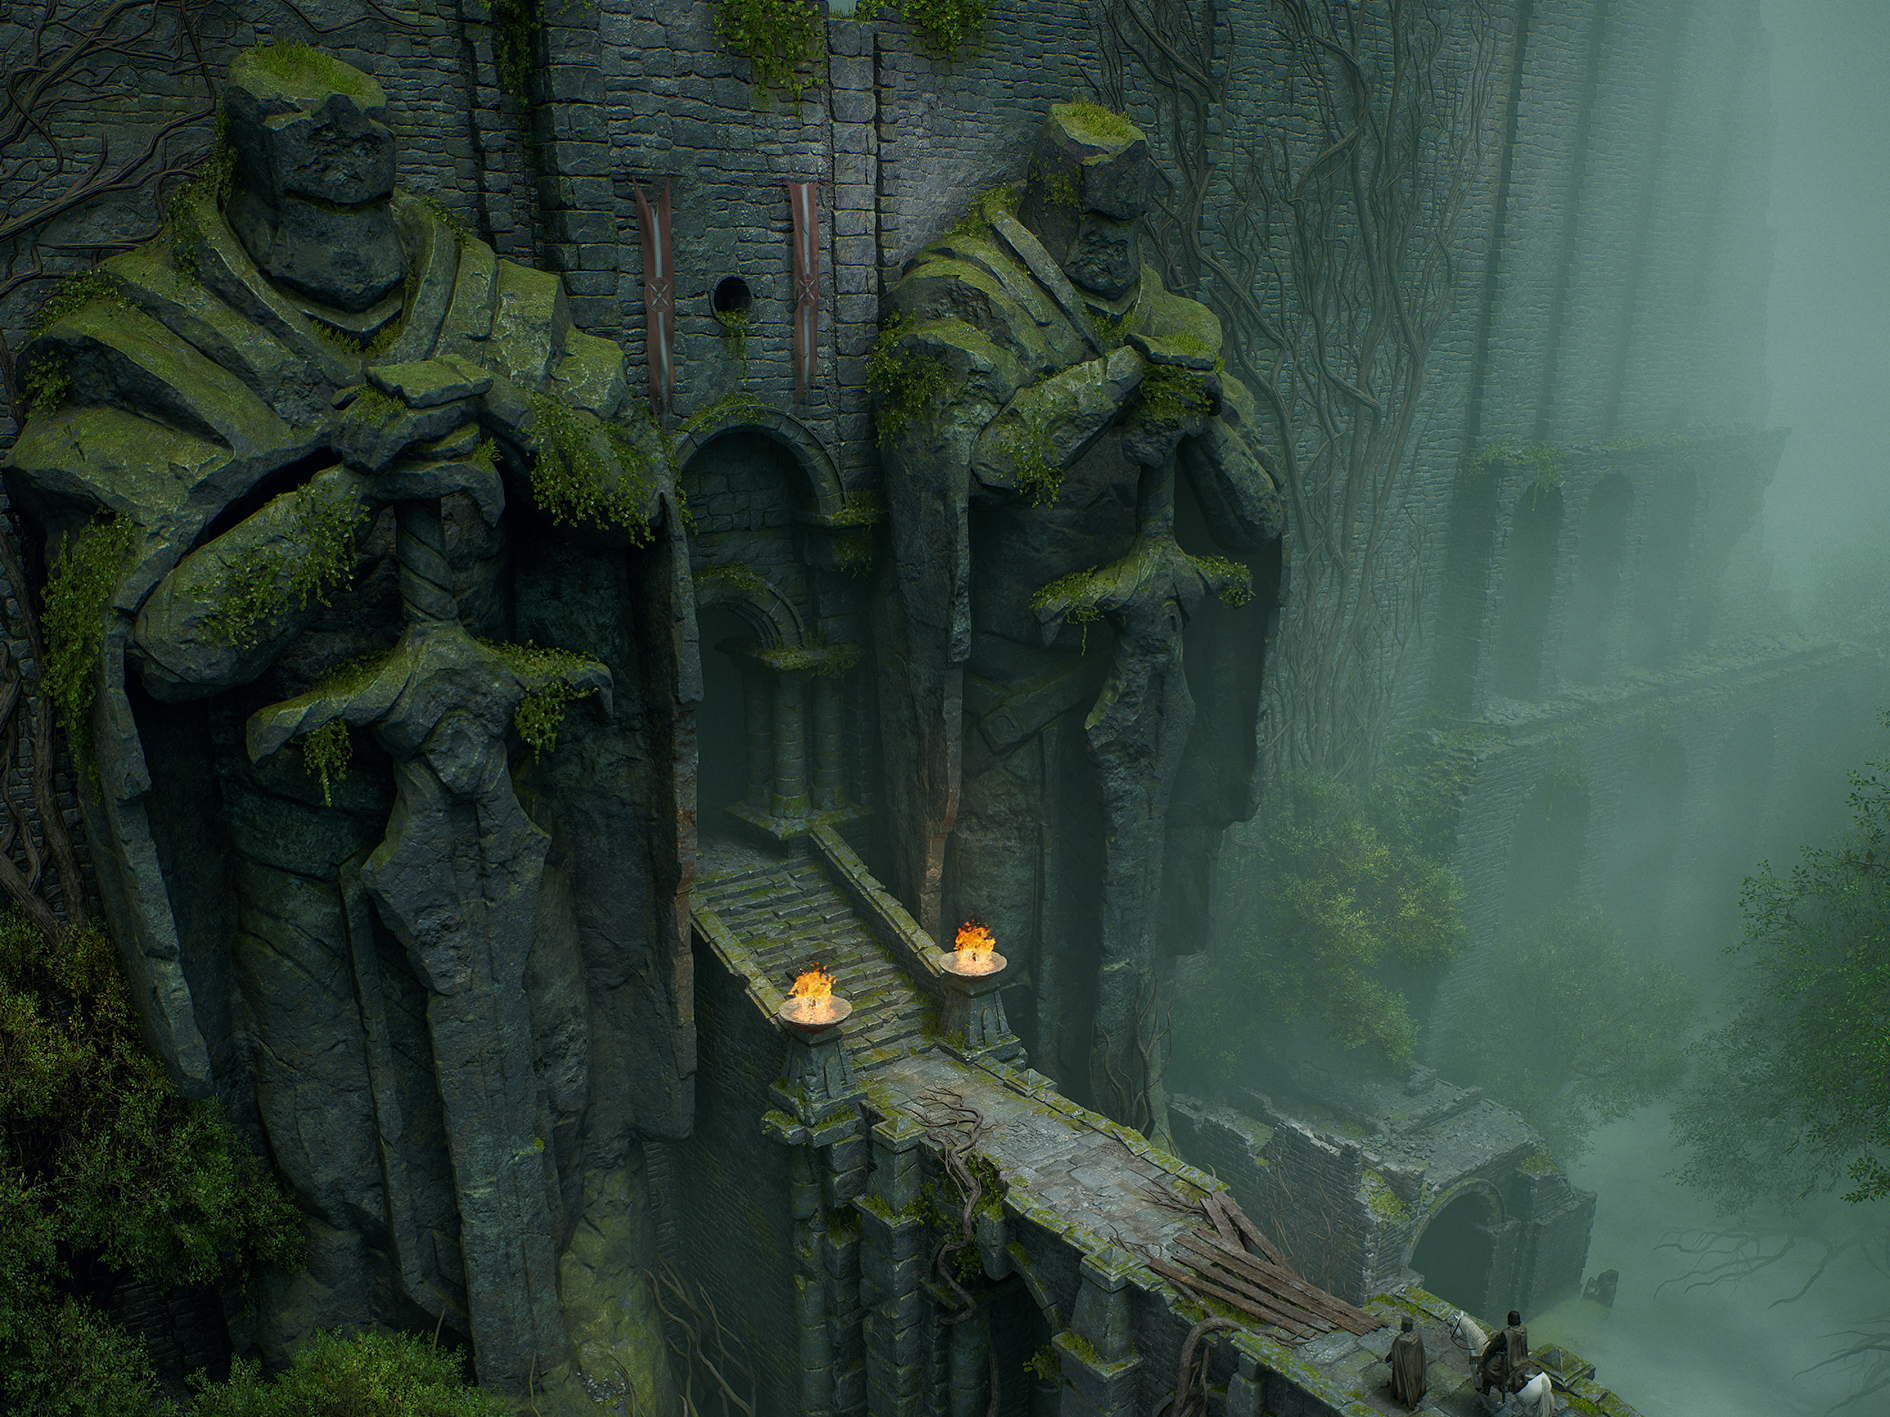
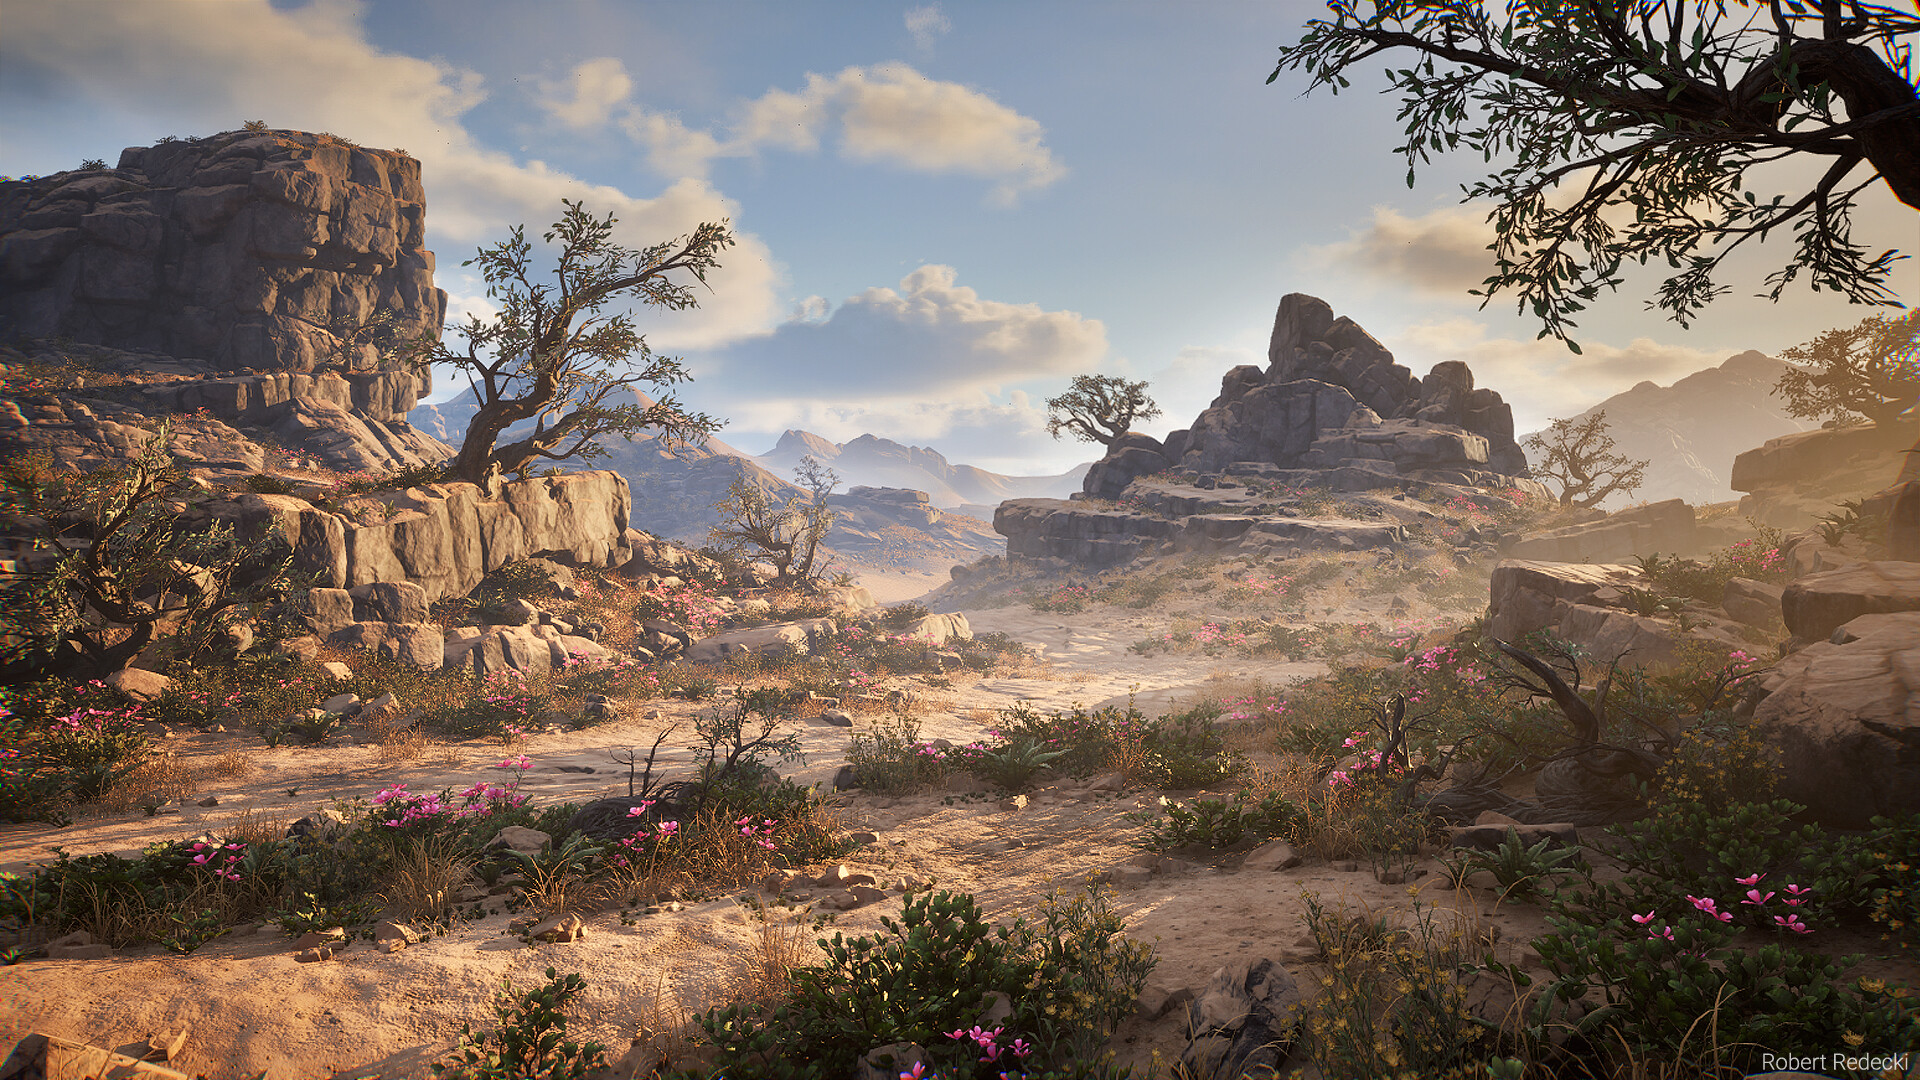
To further enrich the scene, I delved into the world of Quixel Megascans, downloading natural assets to create a captivating battle environment. To enhance the scene’s dynamism, I incorporated a slow animation with weather and cold, breathing life into the surroundings.
I had a lot of fun setting up the mood for the battle, building up the silence, the slow motion of the weather, the cold breath, and the fog, all to introduce and prepare you for the final boss fight.
Finally, to avoid boring 360° turntables, I strategically placed cameras all around the character, laying the groundwork for an epic cinematic experience.
Rendering Real-Time
Once all the elements were meticulously set up, I imported the entire scene into Marmoset Toolbag.
I lit up the scene using an “Orange & Teal” look to emphasize the theatrical scene’s mood.
Then, I applied materials, fine-tuned camera settings, and rendered 20 captivating shots, each piece puzzled together to form a cohesive grand cinematic scene.

Post-Production
After the rendering process, I turned to video compositing in After Effects. I assembled the rendered shots, seamlessly weaving them together to create a cohesive visual experience.
Then I incorporated informative graphics that evoke the feeling of a game interface.
Finally, I synchronized the visuals with an original score composed by my talented girlfriend, Domiziana, whose support throughout this project was invaluable.

Final Result
From the initial sketches to the final render, each step has been infused with passion and dedication, resulting in a cinematic piece that I am truly proud of.
This year of learning has been a transformative experience, pushing me to expand my creative horizons and explore new artistic avenues. I am grateful for the opportunities I’ve had to experiment, challenge myself, and grow as an artist.
As we conclude this artistic journey, I want to express my heartfelt gratitude to everyone who has supported me along the way. A special thanks go to my fellow students who enriched my learning experience.
I’m also deeply grateful for the guidance and mentorship provided by Nicolas Niño, Luis Omar and Sean Ferreira.

Read more articles
You might also like these articles.


