
Introduction
Hello, my name is Fedukov Nikita (FedNick). I am a 3D Artist specializing in weapon and hard surface modeling, and I currently work at Reissad Studio.
Project
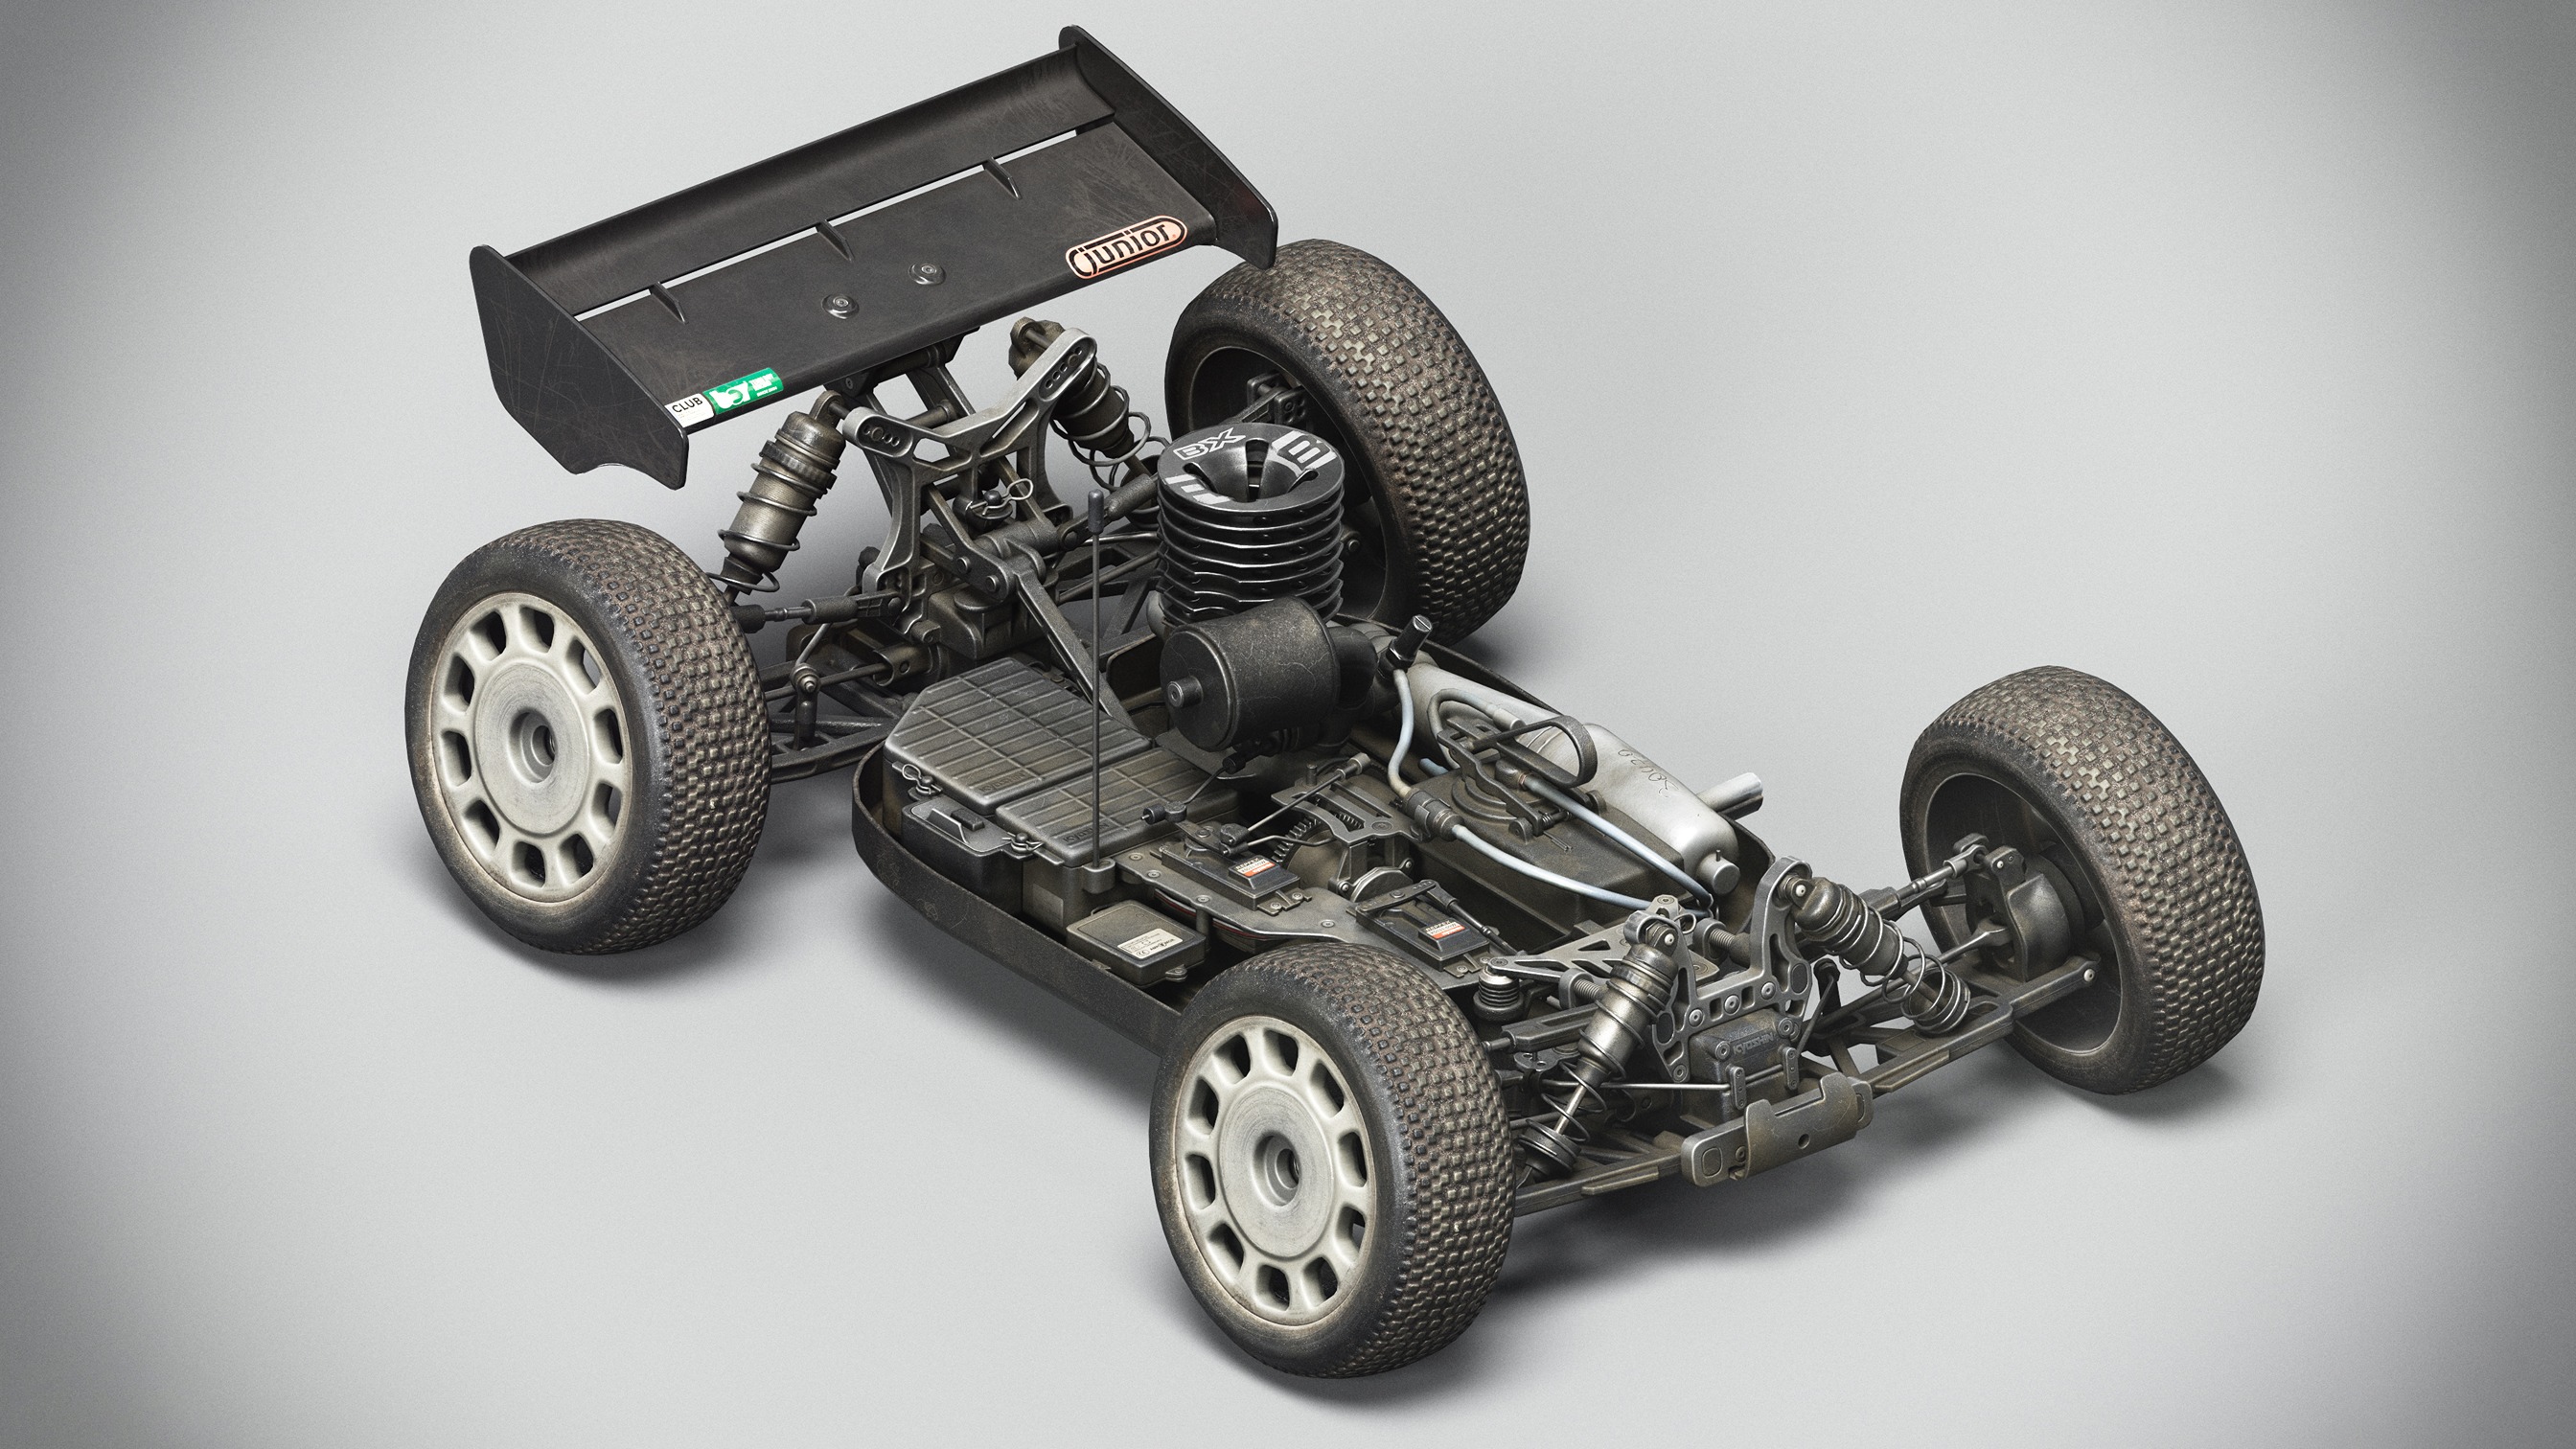
My main specialization is weapon modeling; however, I also have experience working with vehicle modeling. The goal of the project was to create a basic model of an RC car for the game Bodycam.
The main idea was to design a car that would not just serve as a display piece but also be actively used – regularly participating in races and test runs on a track.
The exterior design of the vehicle reflects this concept: the surface features realistic signs of wear and damage, imitating recent participation in a dirt track race.


Software
- ZBrush
- Cinema 4D
- Blender
- RizomUV
- Substance Painter
- Marmoset Toolbag
- Photoshop
- Unreal Engine


References
Accurate reference selection is a critically important stage of the process. It is necessary to search for high-quality images that demonstrate the proportions and silhouette of the model from all possible angles.
In addition, careful study of texture references is essential, as it contributes to creating more realistic and detailed materials.
One should not limit themselves only to photographs of specific objects – for the best results, I recommend collecting a broad spectrum of references, including general references, to better understand texturing and materials.

Modelling
The first step I start with is creating a blockout. This step allows me to check all proportions and, most importantly, ensure the functionality of the model, whether it is a car or a weapon.
My workflow involves a sequential development from a low-poly model to a high-poly one. This approach is due to the fact that I did not use sculpting in ZBrush for this project.

Once the model is fully prepared, I add even chamfers.
In some cases, I increase the chamfer radius at the junctions of parts to achieve a more precise and realistic appearance.


After completing these steps, I transfer the model to ZBrush, where I use DynaMesh. Then, I apply a Polish smoothing with a one-unit intensity to improve the surface.
After that, I perform Decimation, which reduces the polygon count without losing significant details.

Thus, I obtain a high-quality low-poly and high-poly model based on the initial blockout.

UVs
Afterward, I transfer everything to RizomUV, where I make sure to straighten all the UV shells.
This process is quite monotonous and time-consuming, especially when working with assets that contain many details. Nevertheless, during these moments, I can relax by chatting with friends on Discord or watching movies and series.
After completing the UV unwrapping, I assemble everything in Blender using the UV Packmaster plugin for UV packing. I recommend setting the Precision value to around 1500 for better packing quality.
For hidden details, I reduce the Texel size by 25-50% to optimize the size of the textures without significant loss of quality.

As a result, I ended up with 6 sets of UV layouts:
- Body (2 sets of UVs) • Internal details (2 sets of UVs) • Wheel (1 set of UVs) • Spoiler (1 set of UVs)
Of course, it’s important to mention that approximately half of this model contains overlaps.

Baking
I strongly recommend performing texture baking exclusively in Marmoset Toolbag 4.0.6.3 as this version provides the highest quality results compared to other programs.
I bake the following maps:
- Normal • World space normal • Position • Curvature • ID • Ambient Occlusion
I pay special attention to the AO map. Increasing the number of passes during AO baking will result in a softer transition and a higher-quality map. Yes, it is also possible to bake textures in Substance Painter, but keep in mind that the maximum number of passes for the AO map is limited to 256. This is an important consideration.

Texturing
This stage is the most enjoyable and exciting for me in the workflow. It can be “savored” for a long time, adding details and refining them with each layer.
Unfortunately, within the project, each stage is allocated a strict amount of time, so texturing typically takes from three days to a week. I use the Metal/Rough pipeline.
To begin, I set up the scene in Substance Painter. I recommend immediately disabling the AO Intensity parameter, as enabling it can display unrealistic or distorted results, complicating further work and texture adjustments.
Of course, don’t forget to increase the quality from Low to High or Very High (I sometimes forget this as well).

The final step before starting the final processing is to set the color gamma to ACES UE.
This ensures the most accurate texture display, closely matching Unreal Engine settings, which helps achieve a better result.

At the very beginning of the work, I organize folders according to their names, assigning each a specific color for easier navigation (for example, metal is associated with blue).
A very important step is creating an isolation of the model you will be texturing. This significantly simplifies the workflow, allowing you to focus on specific parts and avoid confusion when working on details.
It is also important to separate all parts from each other beforehand.
And finally, after all the preparatory stages, you can begin texturing.

My standard workflow is as follows: I start by applying a base material, most often using the so-called “Plastic – Old Computer.”
I want to thank my friend Vlad Starkov for telling me about this material and for constantly sharing tips on how to improve textures – “Plastic – Old Computer” is excellent for creating realistic, worn surfaces and gives character to the texture.
Next, I apply all the necessary inscriptions and stickers that will be on the model. After that, I plan logical damages and dirt to give the object realism. At the very end, I add a layer of dust to emphasize wear and usage.
During the process, I also create additional maps – height and normal maps – to enhance detail. Keep in mind that damages, scratches, and dirt have different heights, roughness, and colors, so pay attention to these aspects. An important tip – never set metalness to one, except for scratches and heavily worn areas.
This increases the amount of information on the metalness map, making the material more realistic.
The final stage is adding dust. To do this, you need to study where dust tends to accumulate most in real life and layer it in multiple layers for a more natural effect.
Usually, I create the dust material on top of all folders to make it easier to manage and adjust its position and intensity.


Rendering
I believe my renders on ArtStation are quite simple – I haven’t changed the presentation of my work for two years. I use a white background and the same HDRI map each time.
Additionally, I don’t add any extra light sources. Recently, I’ve started using another HDRI map to add some variety to the visuals.
My advice is to try to create an environment for your work, as it will make it much more interesting and attractive.
However, if you feel that this only worsens your presentation, nothing beats a classic white background. The main thing is to do what suits your style and helps better convey the idea of your project.
Conclusion
Thank you Games Artist for the opportunity to share this article with your readers. I wish continued success in your projects, and don’t forget to find time for rest – it’s important for inspiration and maintaining high-quality work.
Good luck with your creative achievements!
Read more articles
You might also like these articles.