

Introduction
Hello everyone!
My name is Rudo Turiak, a character/creature artist at Ubisoft Montpellier. I started with 3D graphics 6 years ago and fell in love with character creation.


Goals
My main goal was to find a way to iterate faster on portfolio pieces. In my free time, I want to focus on improving the shapes, composition, colors, and general art direction of my work, while cutting corners of retopology/baking and other technical stuff.
Software
Zbrush for modeling+retopo, Rizom for UVs, Substance Painter for textures, and Marmoset for baking+rendering.
The final touch in Photoshop.
Design
Dave Rapoza is an incredible artist. It feels like every character he creates has a soul – I would like to bring it to my work too. I am not trying to follow concepts 1:1, I prefer to add my personal touch.

Reference
A fundamental part of the whole process. My boards are messy, but I constantly add new ideas and references during the modeling. I also have separate mood boards, where I collect shots/photos/art/patterns/compositions that feel good. I want to feed my brain with beauty and variety.


Blockout
For personal work, I like to start from the sphere. Blockout sculptris – masking and separation of individual parts – Dynamesh – ZRemesher.
I try to jump to Marmoset as soon as possible, so I can play with light and composition from the beginning. It helps to identify issues. One of the best tools at this stage is the plugin Transpose Master, where I can adjust multiple parts at the same time. The uniform density of the topology is helpful for proper masking.
Finding the right proportions is necessary, be free to experiment at this stage.

High Poly
Layers and morph targets play the main role in high poly sculpting. I like to store morph targets, exaggerate the detail, and bring them down with the morph brush in certain areas.
I learned this workflow by watching the ZBrush summit with Blur Studio in 2018 time 36:10.
Retopo/UVs/Baking
Here we are, this was the part that I wanted to optimize. I love clean topology and UVs, but for the stuff, I do in my free time, I want to cut corners and focus on the important parts. I have tried the workflow of Marco Plouffe from Keos Mason, it works perfectly in this case.
First, you need to decimate your mesh in Zbrush, then you move on automatic UVs in Rizom, and finally, bake textures in Marmoset Toolbag (or directly in Substance Painter) and you are ready to go for texturing. Retopology, Uvs, and baking took 3-4 minutes for an individual asset. For everyone who is just starting with character modeling, this is not a production workflow!


Texturing
For the base, I work only with albedo and roughness. I create one base material for the bones that I can share across assets, composed of simple generators/procedural masks. On top of that, I continue with handpainted color passes + details. This is the stage where I like to experiment with overlaying and projection of photo textures – unsplash.com is an amazing source of high-quality photos.

Generators in Substance Painter are great friends, but it is necessary to break the uniform look of the generated masks to bring a more organic feel.
After every bigger adjustment, I check the reexported textures in Marmoset Toolbag.

In the end, some height noise and roughness variation helps to break up the specularity even more. Secondary CGX reflection in the material setup will bring some details too.

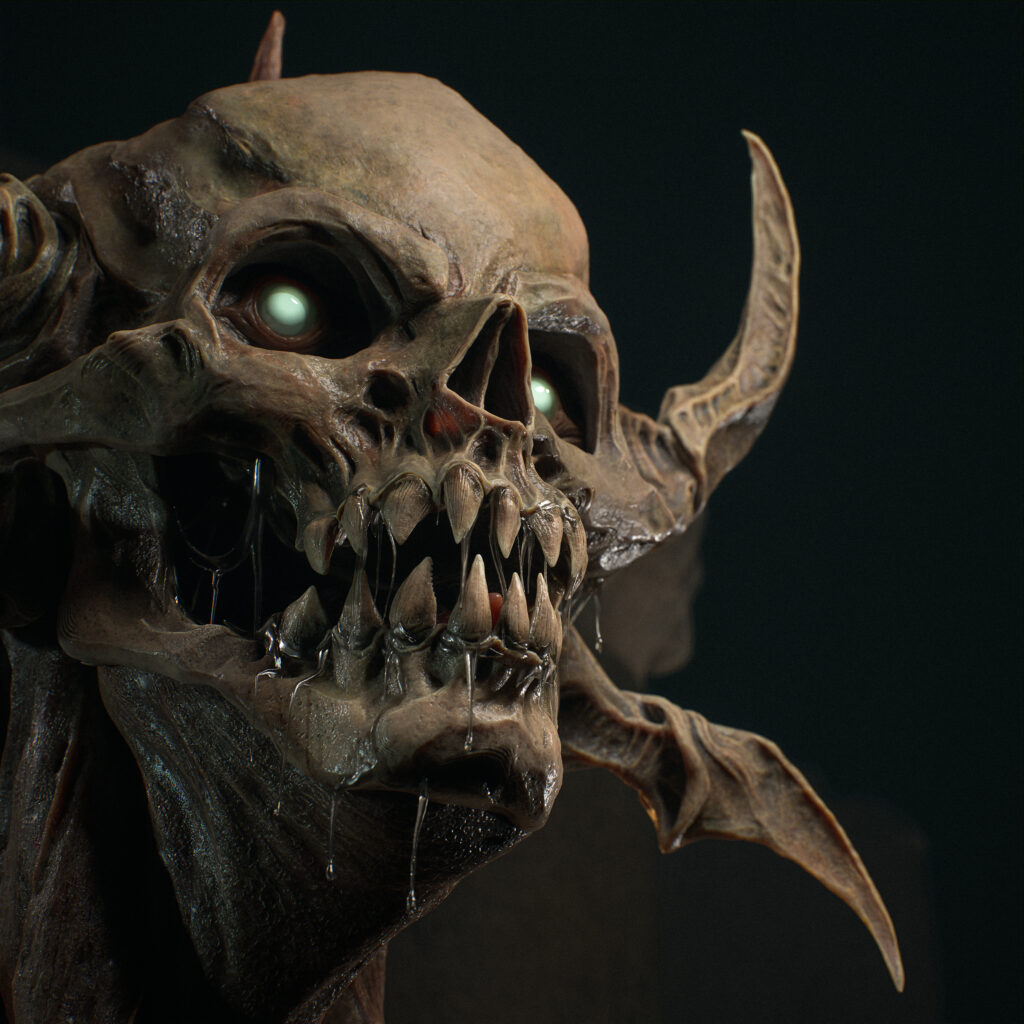
Eyes
Eyes are one of the most important parts of every project. I prefer to start with the poly paint in Zbrush and iterate on ideas during high poly modeling. In this case, I was going for blind eyes. Over time I added emissive texture, so the eyes will catch your attention.
They are composed of 3 parts. Emissive geometry inside of the eyeball. Eyeball with alpha texture is blocking emissive light on the sides. Cornea is a little milky and diffuses the light.

Lighting/Rendering
From the block-out stage, I experiment with lighting. I see many beautiful models on the Artstation with poor presentation, so I try to improve and learn the rules of composition, color theory, and lighting.
Quixel Bridge is a handy tool for background assets. I model my environment in Maya, playing with the composition of assets. Chromatic aberration, bloom, and depth of field are the only post-process I use in Marmoset. I prefer to do the final touch in Photoshop.
For portraits, I go for 85mm or 100 mm in the camera settings. Skylight is not my main source of light, but I prefer to keep it on 10% of the brightness intensity – lighting feels more complex. A great source of HDRI is https://polyhaven.com/.


Conclusion
For me working on personal stuff feels better than watching Netflix! I just enjoy the process. Also, asking friends for feedback is one of my favorite parts – a good way how to catch up and listen to how other people think. Time to choose another concept.
If you have any questions or if there is any way how could I help you, feel free to reach out on Artstation or Linkedin.
Thanks for reading and good luck!

Read more articles
You might also like these articles.


