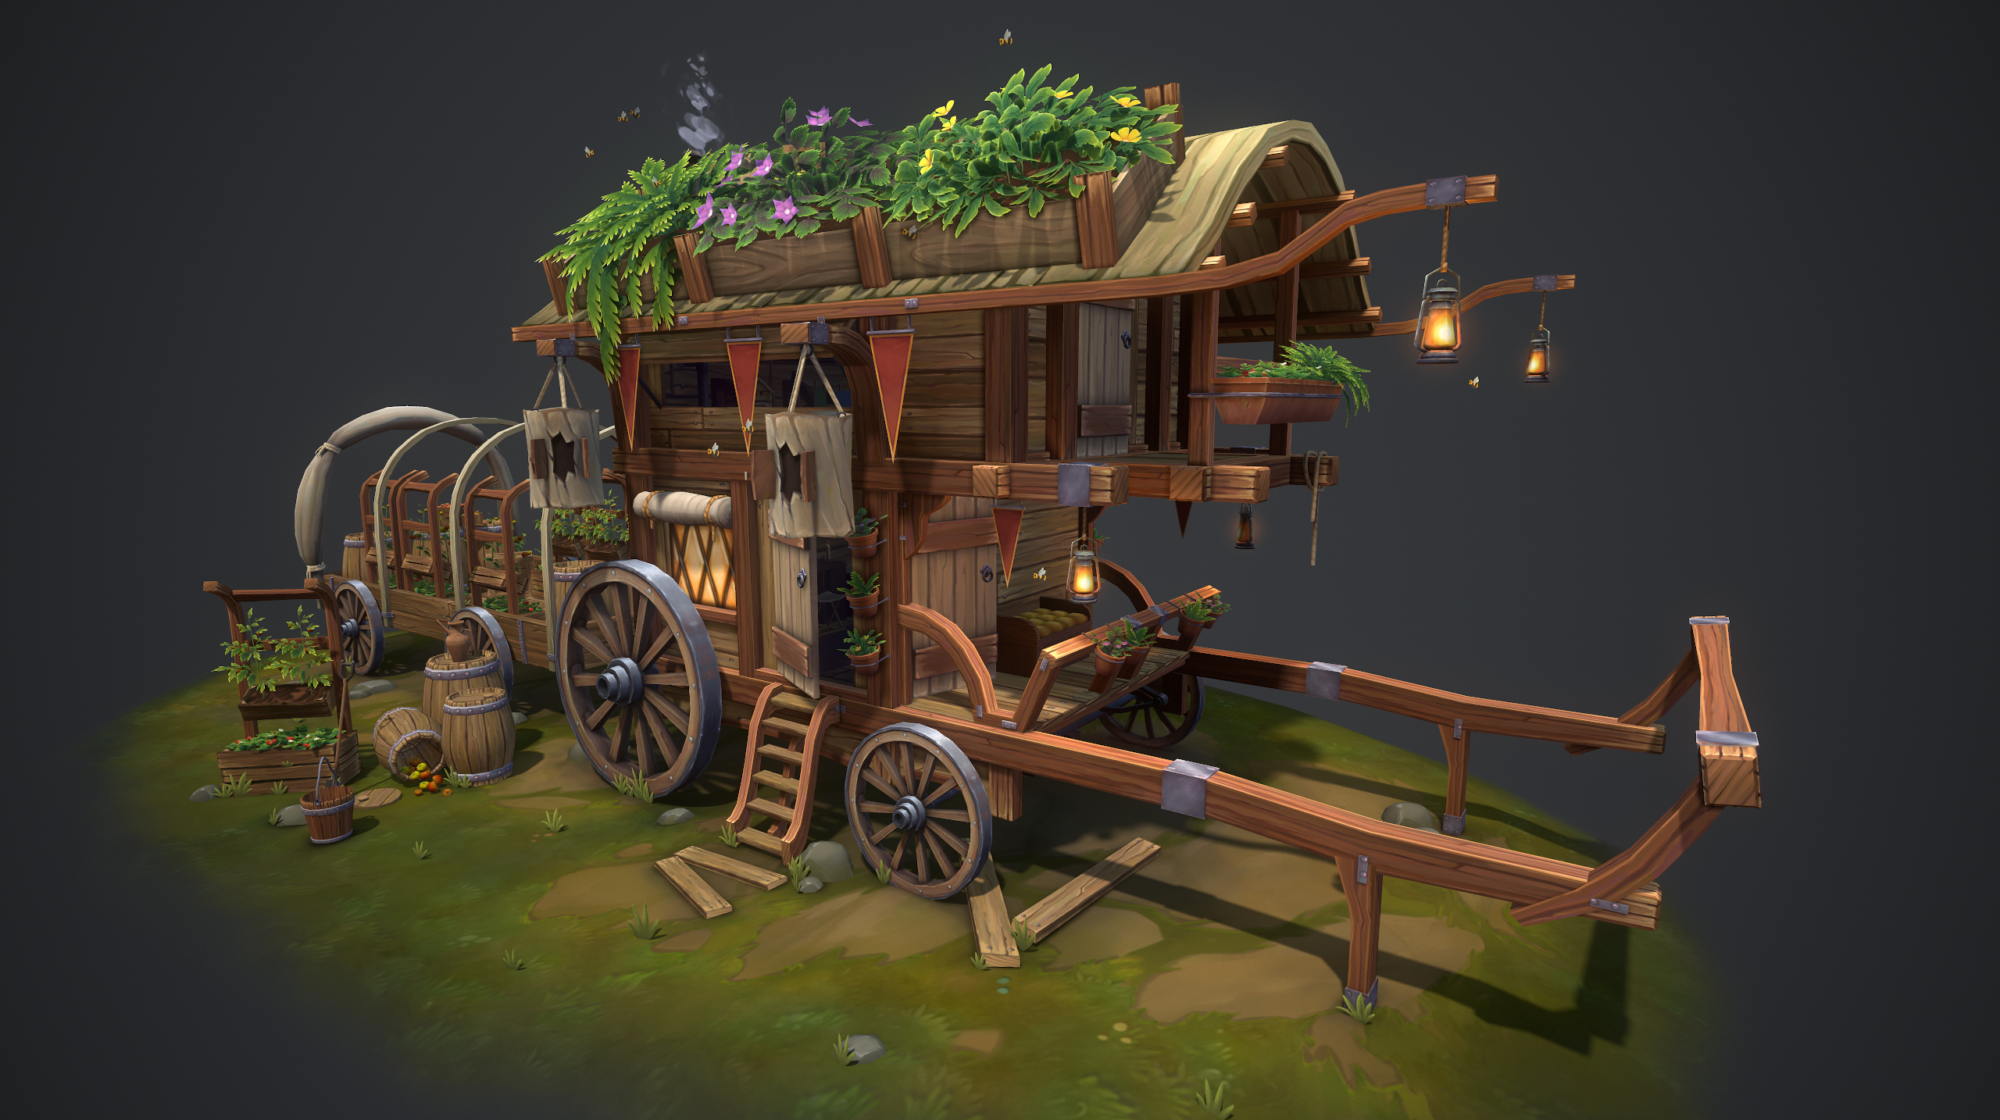
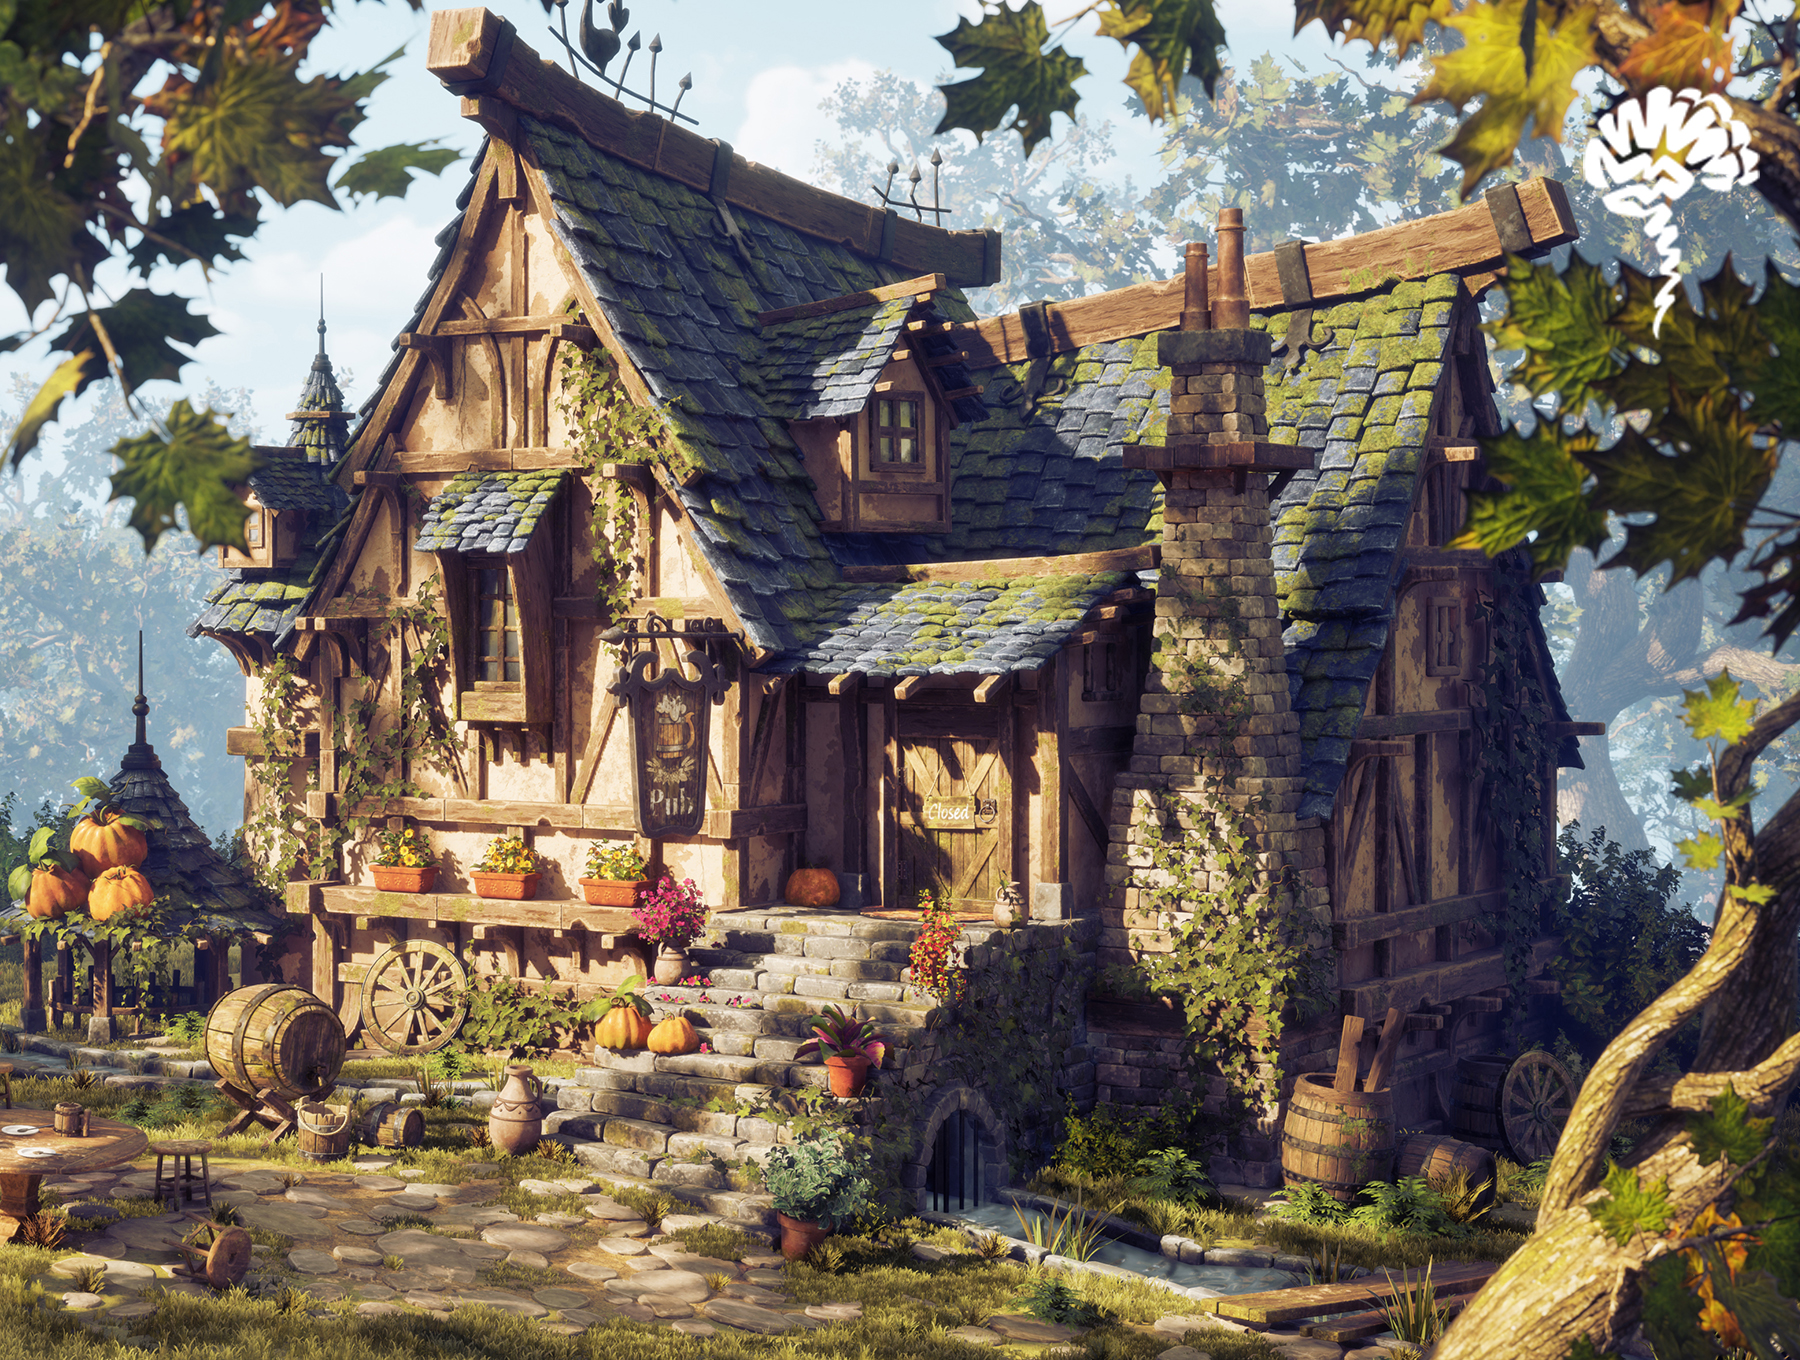
Medieval House

Introduction
Hello everyone! My name is Anca Mihis, I’m a student at Think Thank Training Center Online, on the “Environment and Props for Games” programme.
This project is my first environment scene made for my end of term assignment.
Goals and Software
The main goal of this project was to learn the necessary software and gain as much knowledge as possible about the workflow and complete process of creating an environment.
I also aimed to keep the project as close as possible to the chosen concept.
Software Used
Maya, Unreal Engine, ZBrush, Substance Designer, Substance Painter, Photoshop, After Effects
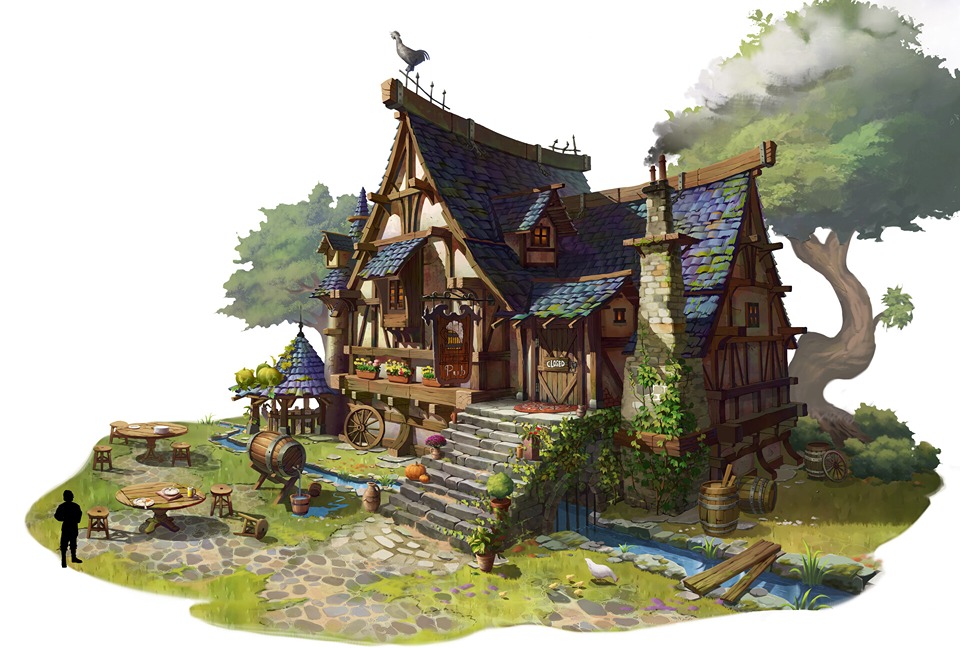
The project is inspired by the amazing concept of Kyungsup Sin.
References
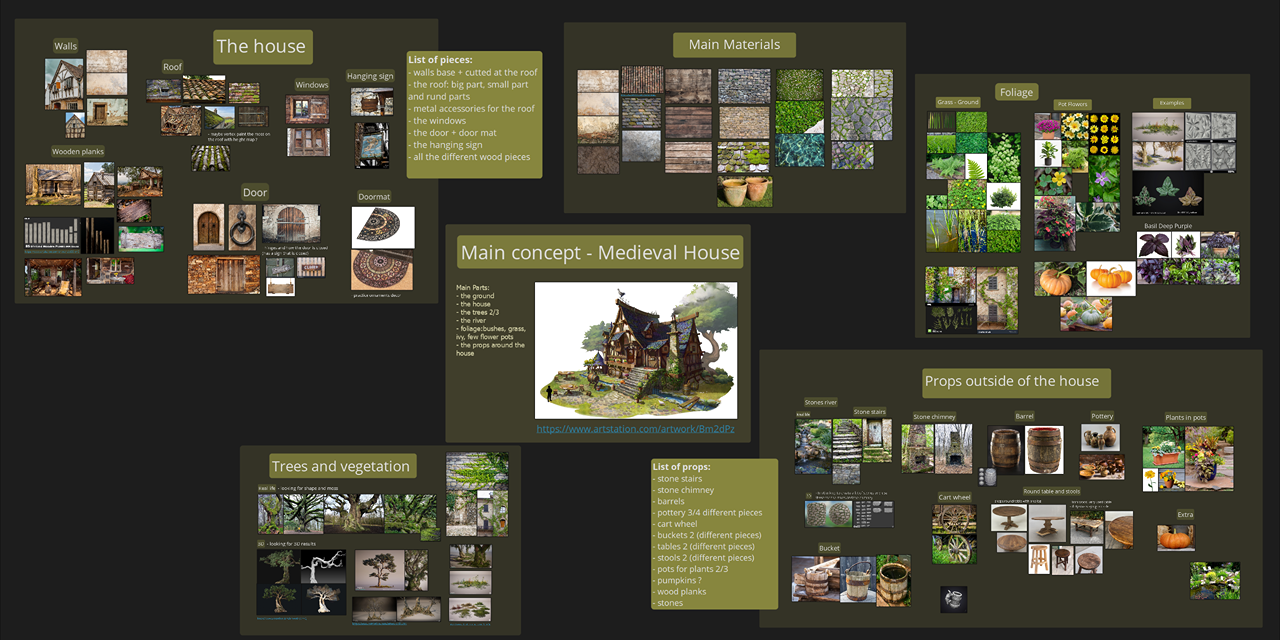
When I start a new project, gathering references and making a plan for its structure is important. During this step, I study the concept closely, discovering details or potential challenges.
I like to organize parts of the scene into groups, as this helps me stay disciplined throughout the process. For this purpose, I use PureRef.
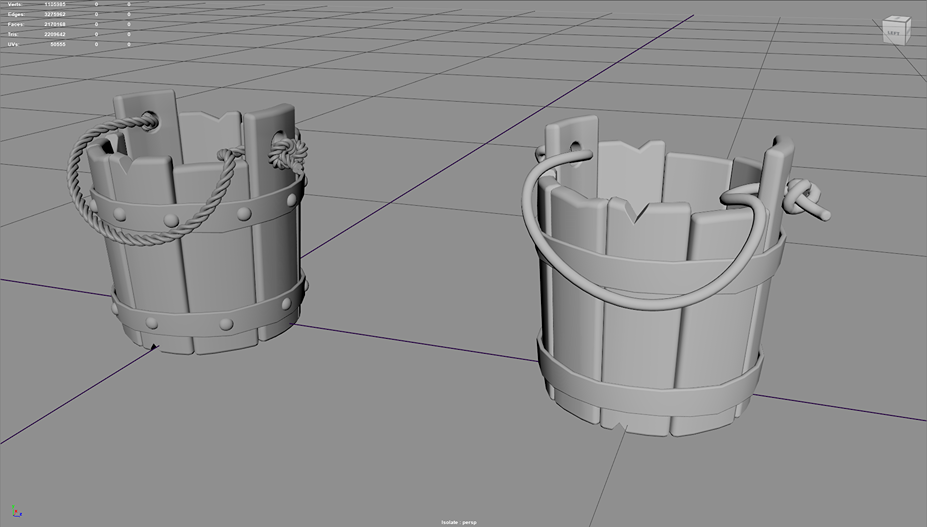
Blockout and Modeling
I start the blockout in Maya, setting up a camera to match the perspective of the concept. Then, I build the simple shapes, beginning with the largest and most visible objects in the scene.
Typically, I start with the door dimensions, using that as a measurement for the rest of the scene. In this stage, you can make as many adjustments as needed to shapes, dimensions, or proportions to see what works best.


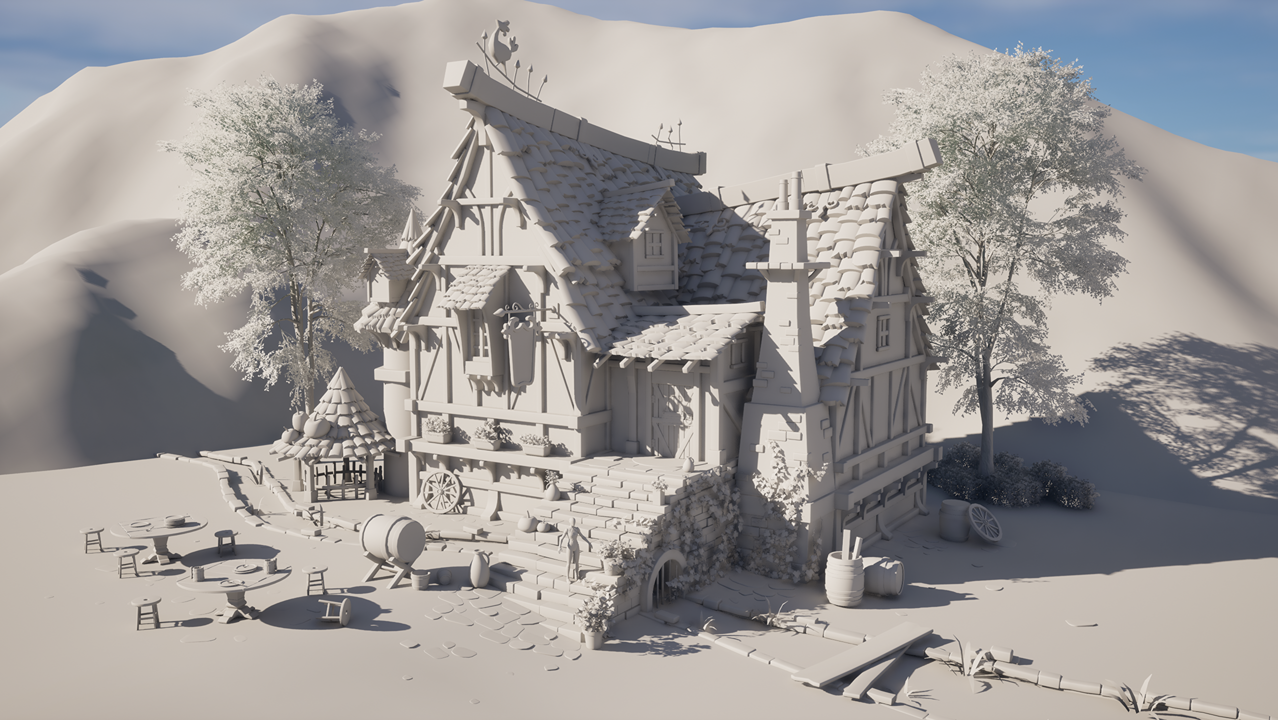
After spending time on the blockout and refining the details of objects, I preferred to get the blockout as close as possible to the final modeling stage, using mid-poly assets in the scene.
I imported the scene into Unreal Engine and set up the camera.
The trees and bushes were temporarily added from the Unreal Engine Marketplace, solely for the blockout.
UVs and Baking
After building everything, I decided on a texel density of 5.12 for this project. With this in mind, I categorized the objects based on the type of texture they would have: tileable, trim sheets, single textures, etc. The UVs were then created in Maya.
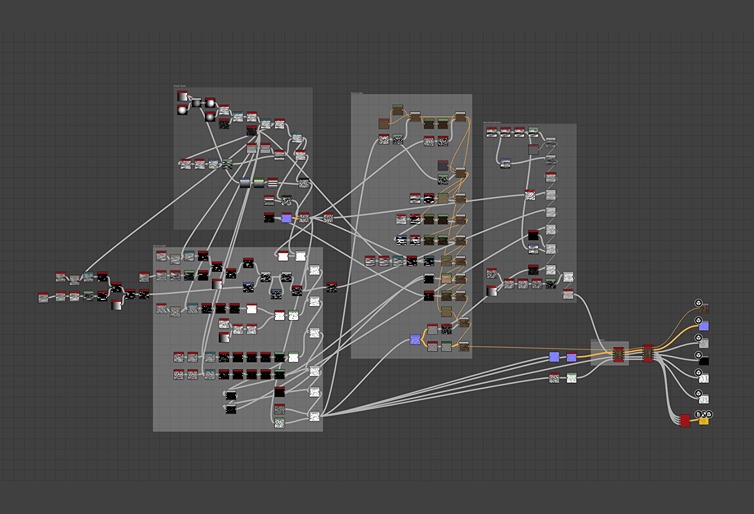
For baking, I primarily used Substance Designer, one of the programs I focused on learning during this project.
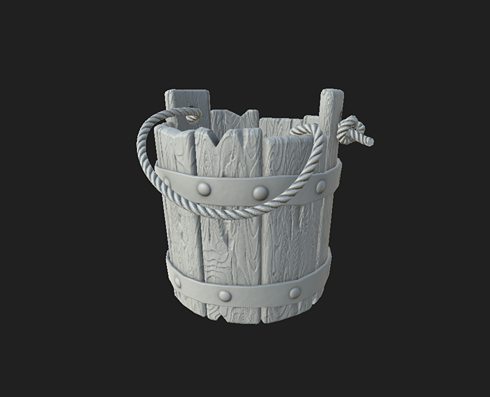
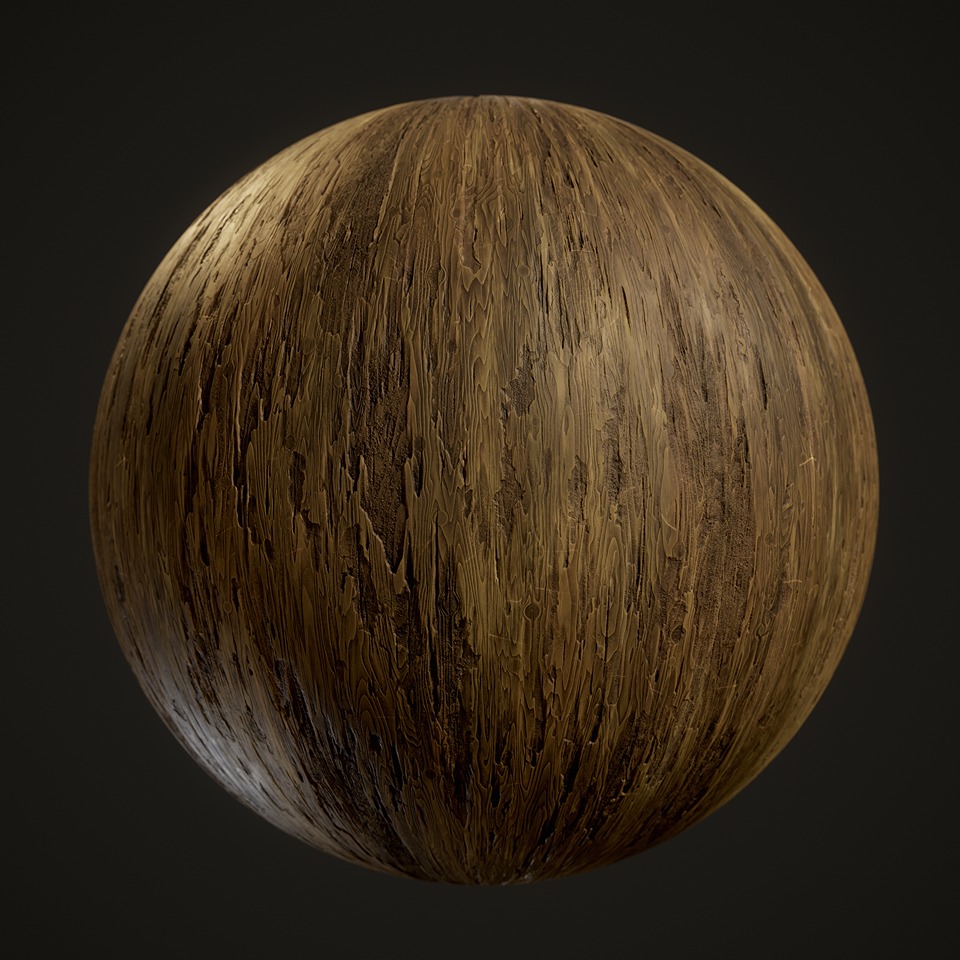
Materials
For the materials, I started with the tileable ones: wood, ground, moss, etc.
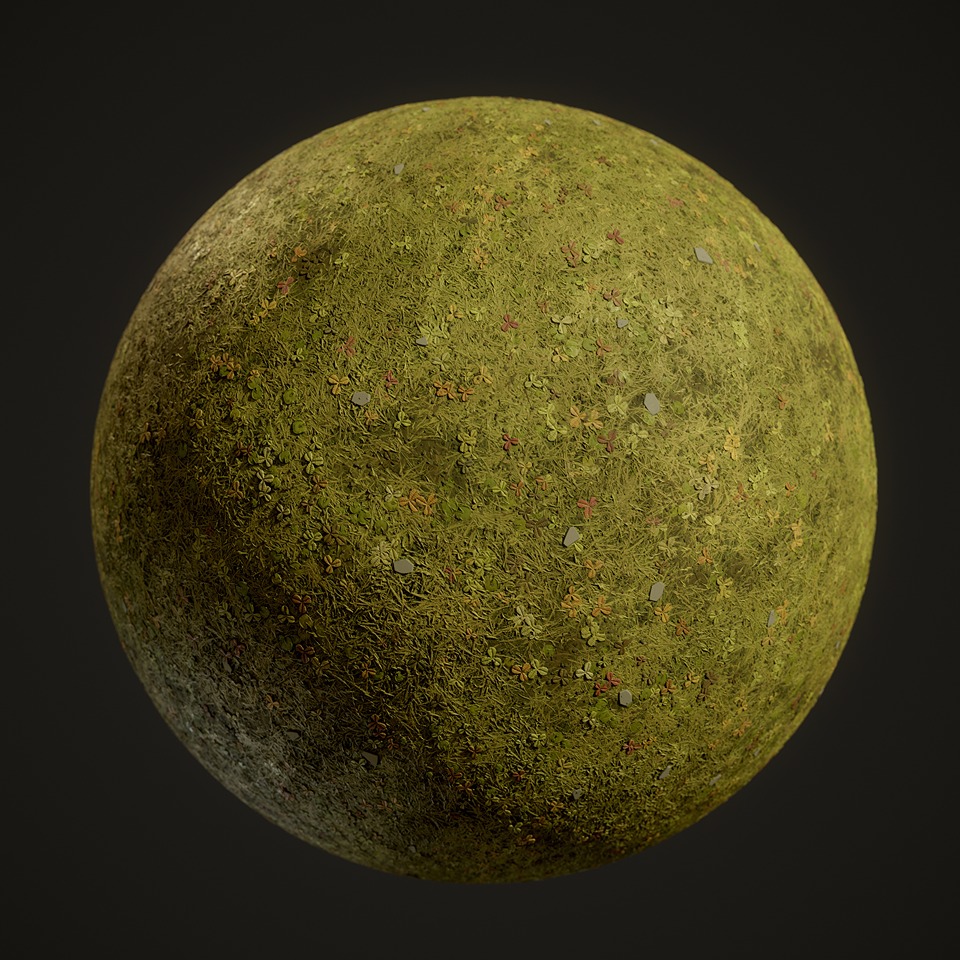
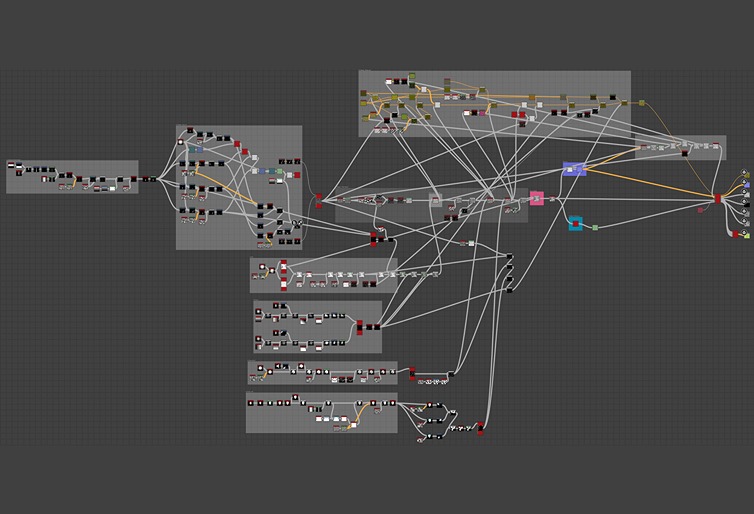


For the ground material, I followed this tutorial:
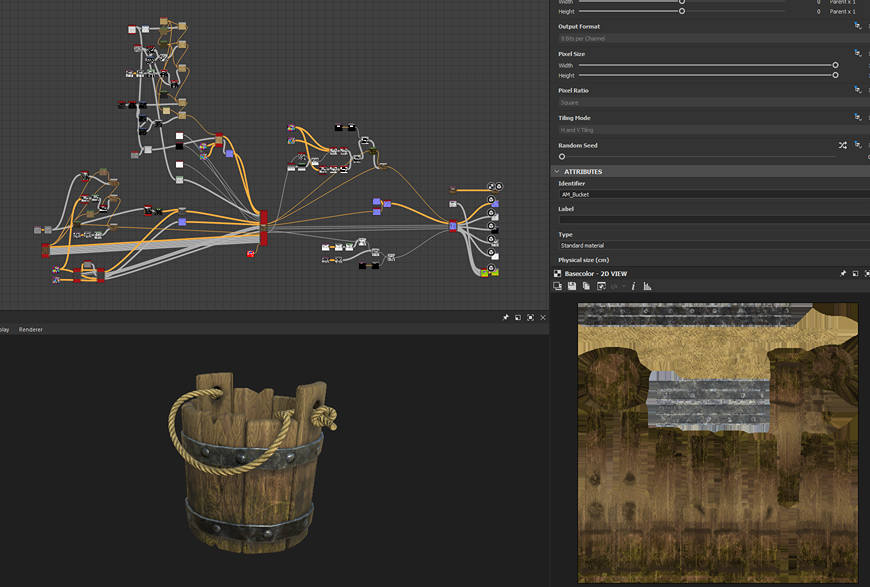
I created a simple trim sheet for all the pots in the scene.
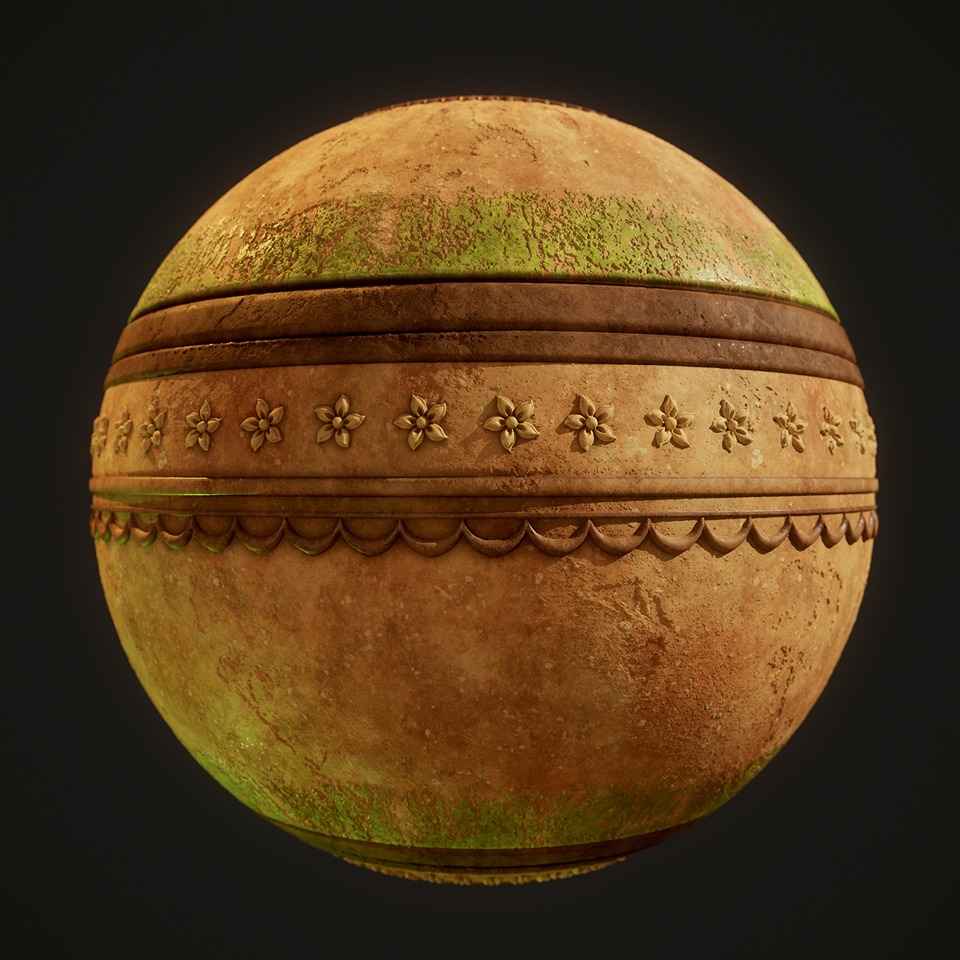
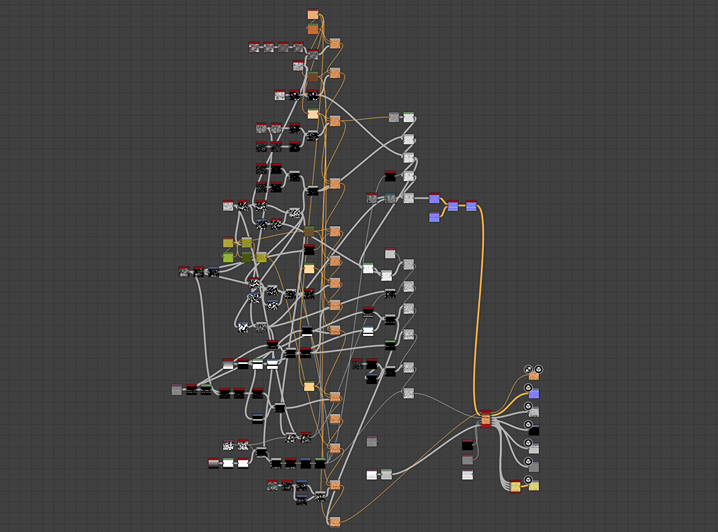
I used Substance Designer to texture the props as well.
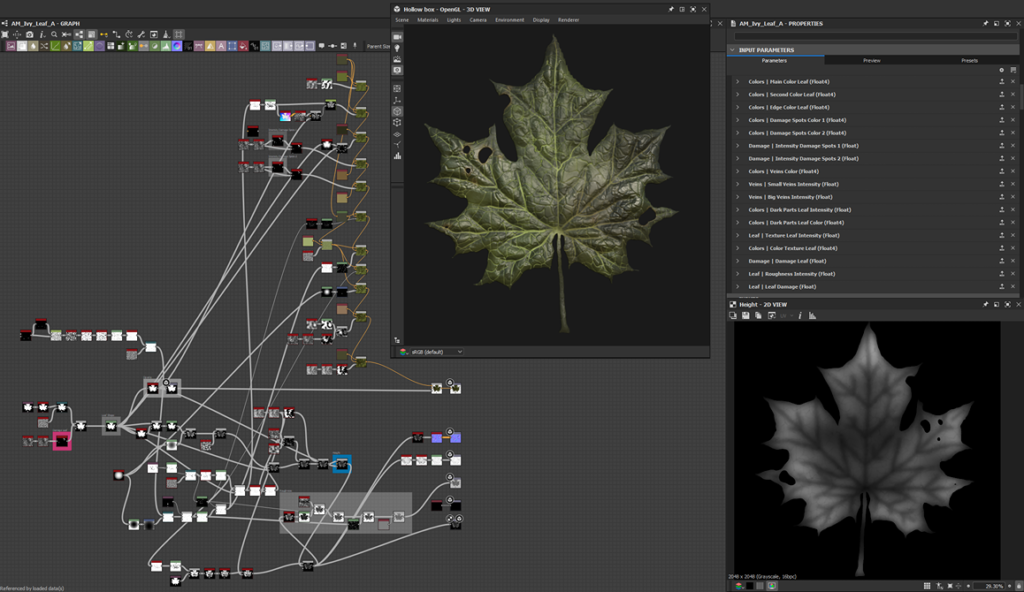
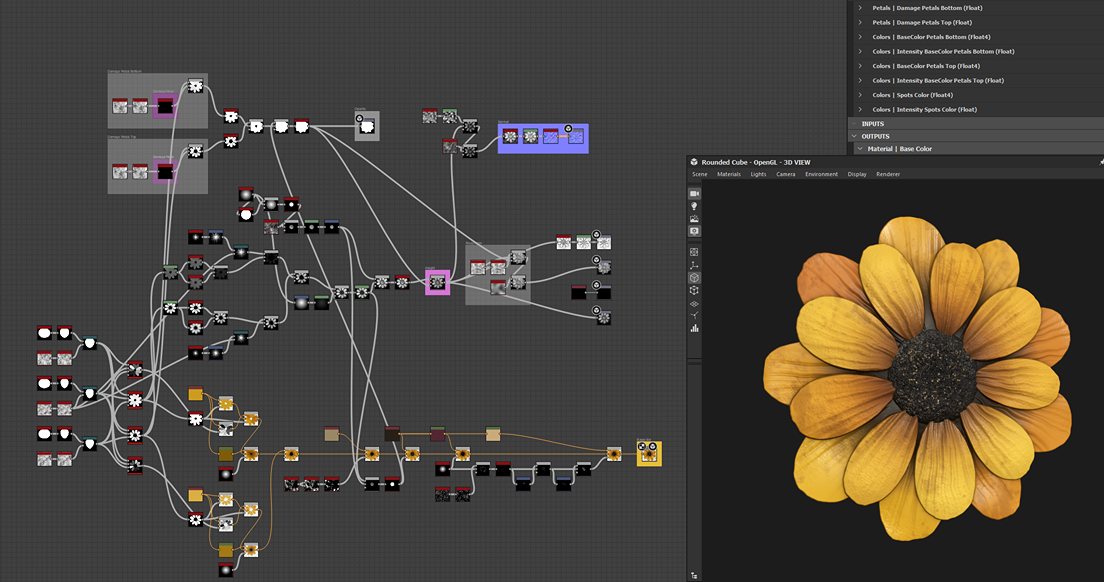
Foliage
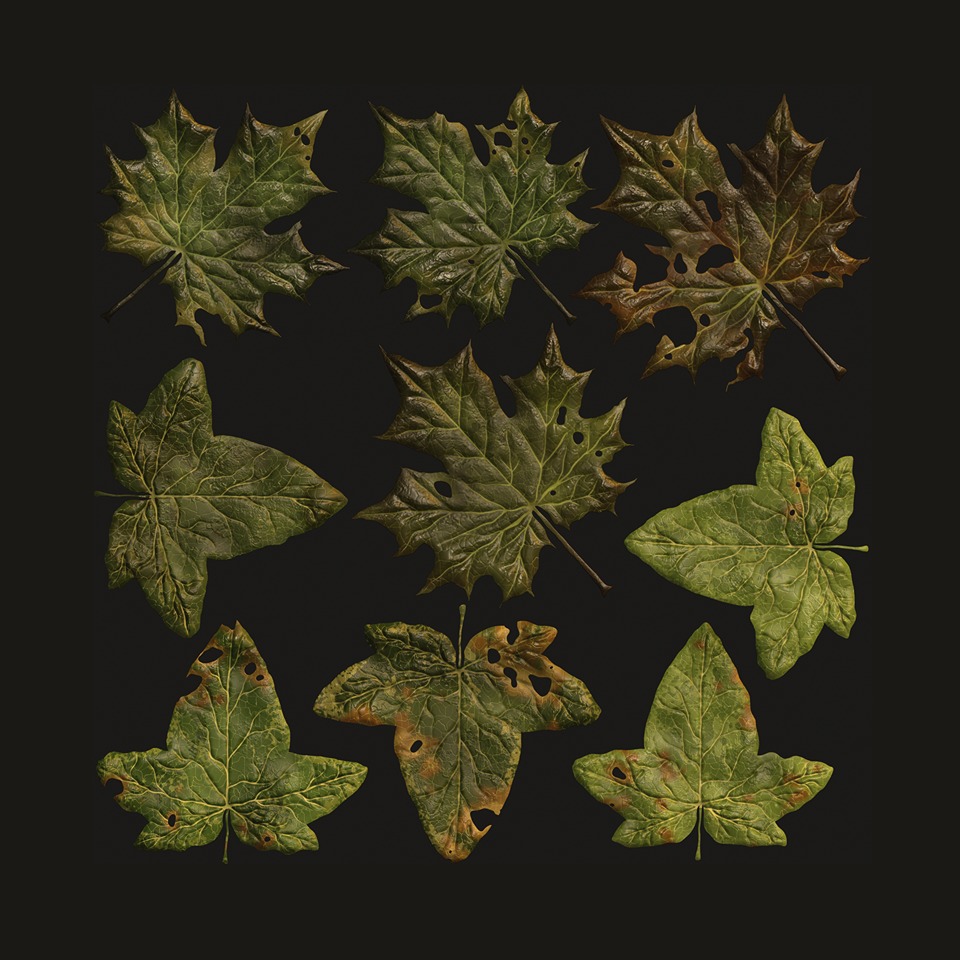
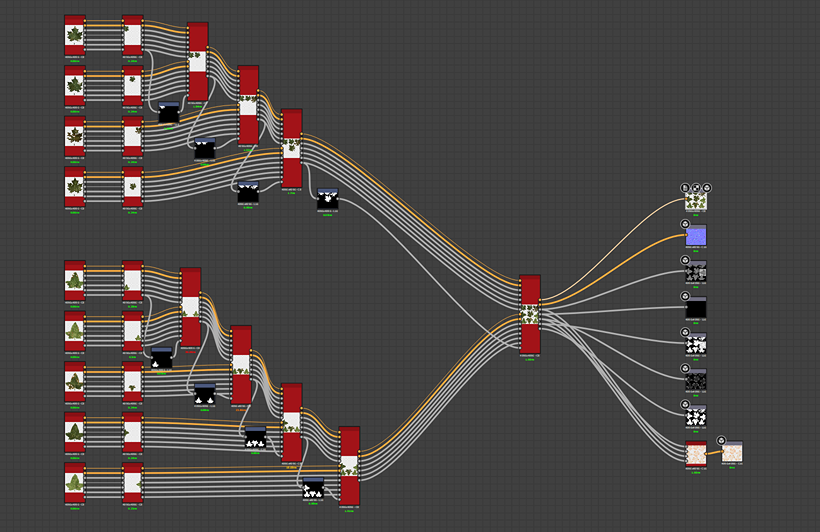
For the foliage, I again used Substance Designer. First, I created different leaf and flower generators, making several variations for the leaves, and finally compiling them all into an atlas.
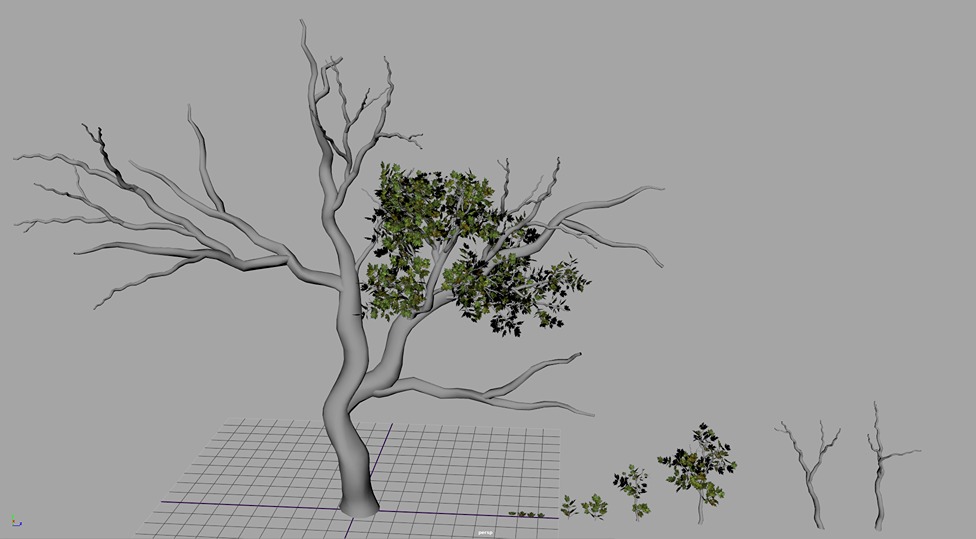
After creating the foliage textures, I moved on to constructing the plants in Maya.
I chose to do this manually because it was my first attempt at adding vegetation to a scene.
I used Maya’s Paint Effects tool for the trunk and branches, and then shaped the tree as desired.
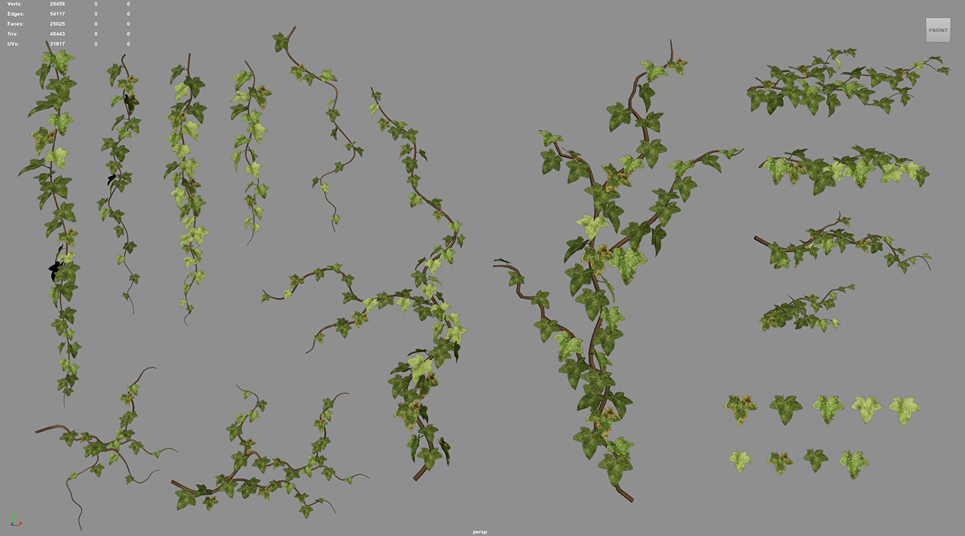
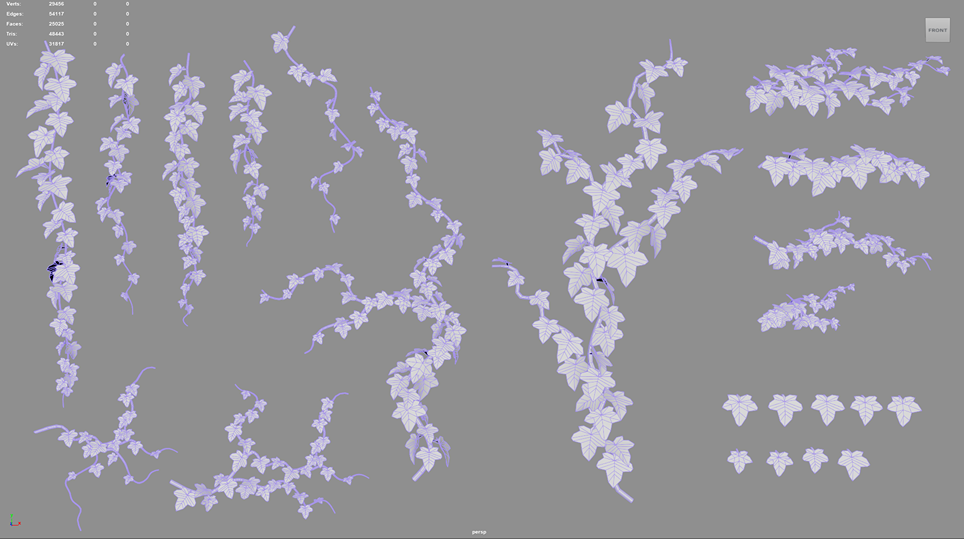
I used the same process for the ivy.
I created some modular pieces in Maya and manually assembled them in Unreal Engine to achieve the desired placement in the scene.
Vertex Painting and Color Variation
This was my first experience creating master materials in Unreal Engine, so this part was challenging for me, and I’m still working to improve it.
Here is the Master Material for vertex painting along with a demonstration.

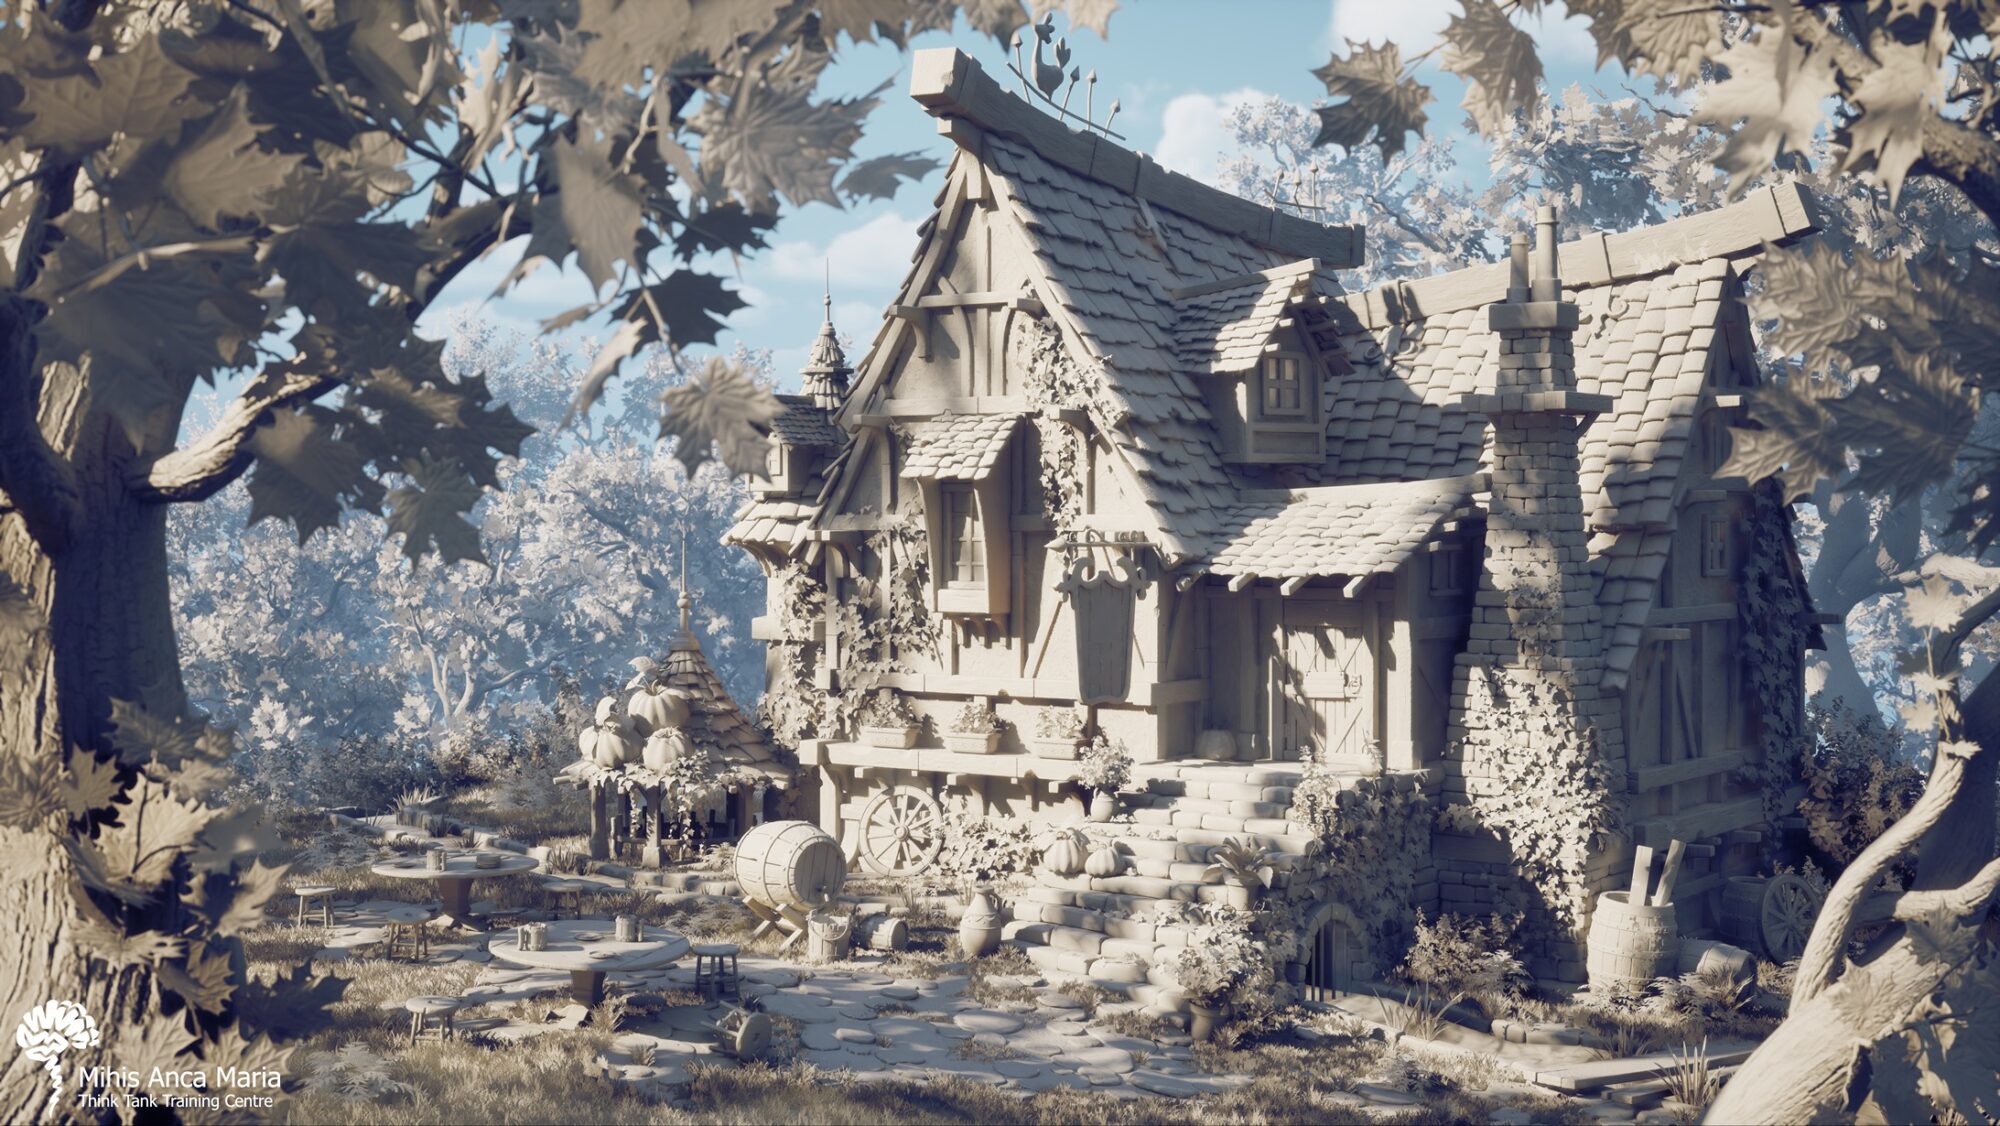
Composition and Final Render
The final composition involved a lot of iterative work. I experimented with various object placements to find the best way to draw attention to the house.
The scene was already quite busy, so I began by playing with shadows, trying different effects. Later, I added close-up branches from the trees to make the house feel more surrounded by nature.
Conclusion and Thanks
This experience was challenging but incredibly rewarding. I’m amazed by how much I learned, and the best part is that I can’t wait to keep improving!
I want to thank everyone who helped me during this project, and a big thank you to Games Artist for giving me this wonderful opportunity!
Read more articles
You might also like these articles.