Iron Blooded Ming
Introduction
Hello everyone, my name is Meng Wentao. I am currently a senior student in China.
I have been learning game modelling since the end of 2023. Because of my great interest in realistic models and textures, coupled with my major in school, I very much hope to become a good artist.
Inspiration and purpose
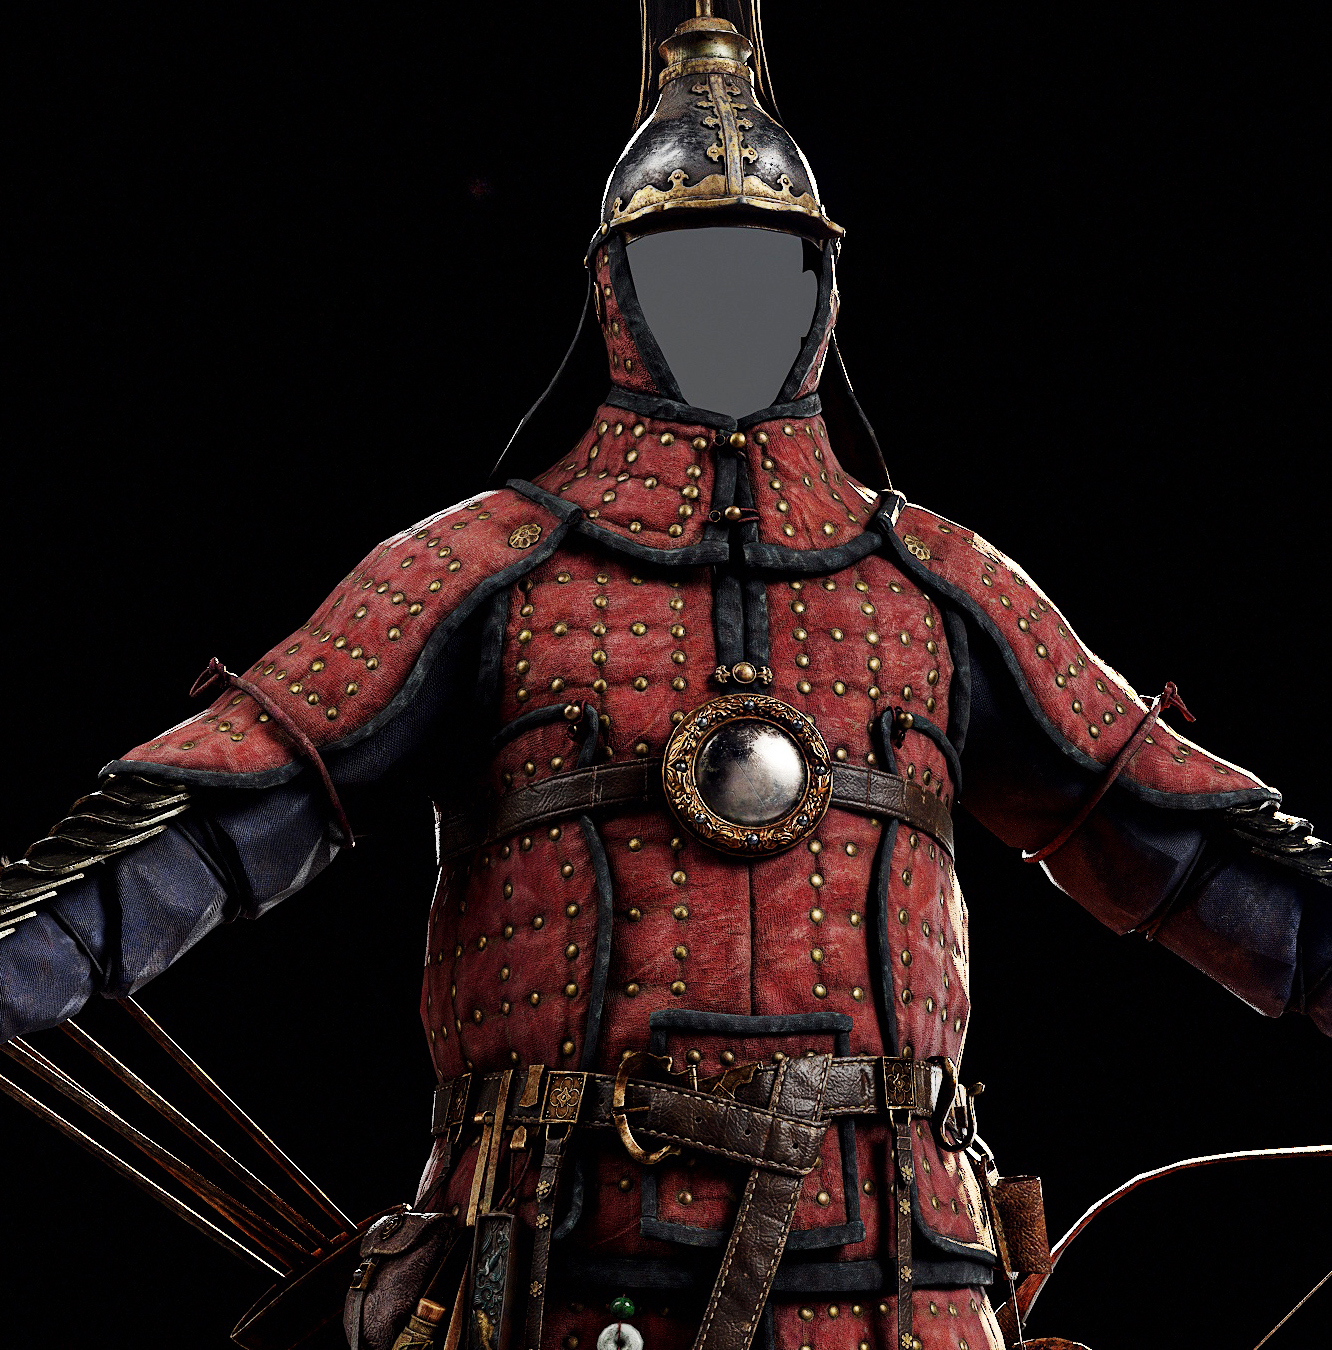
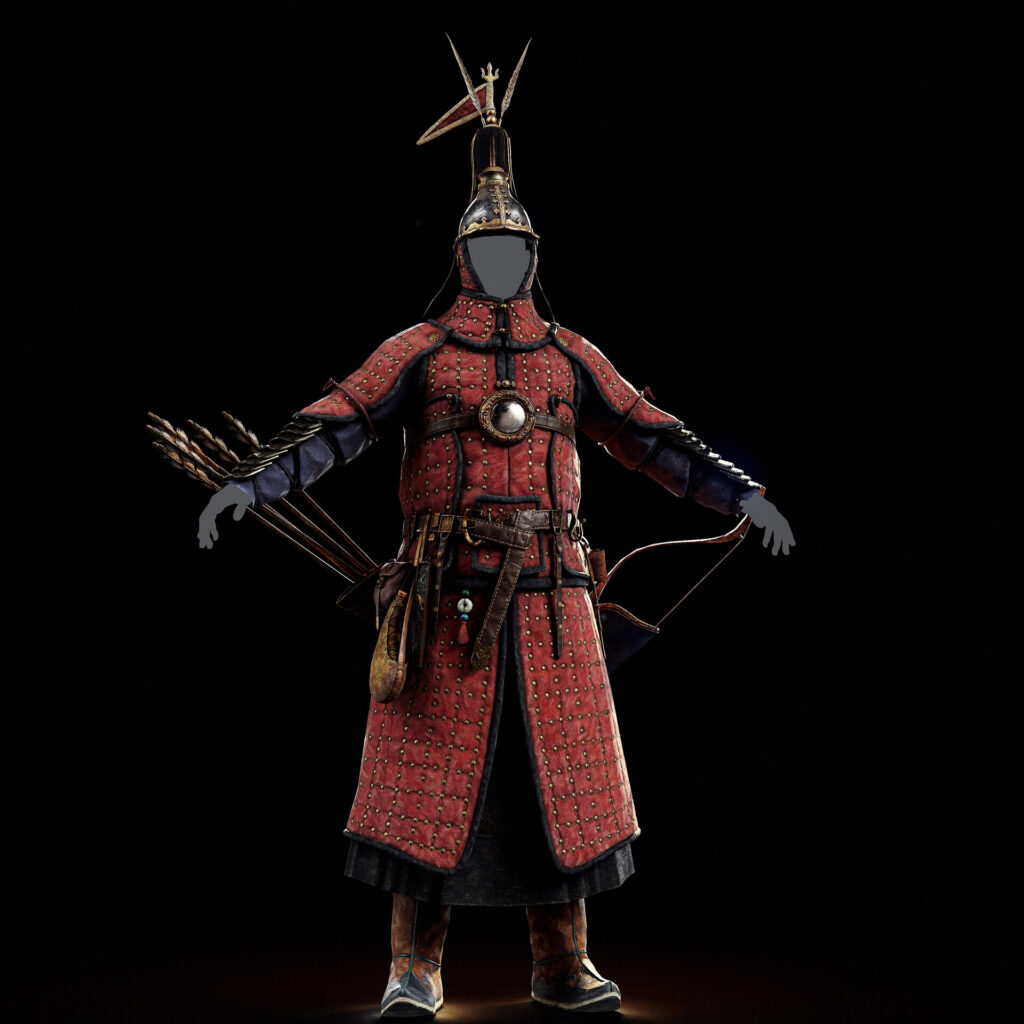
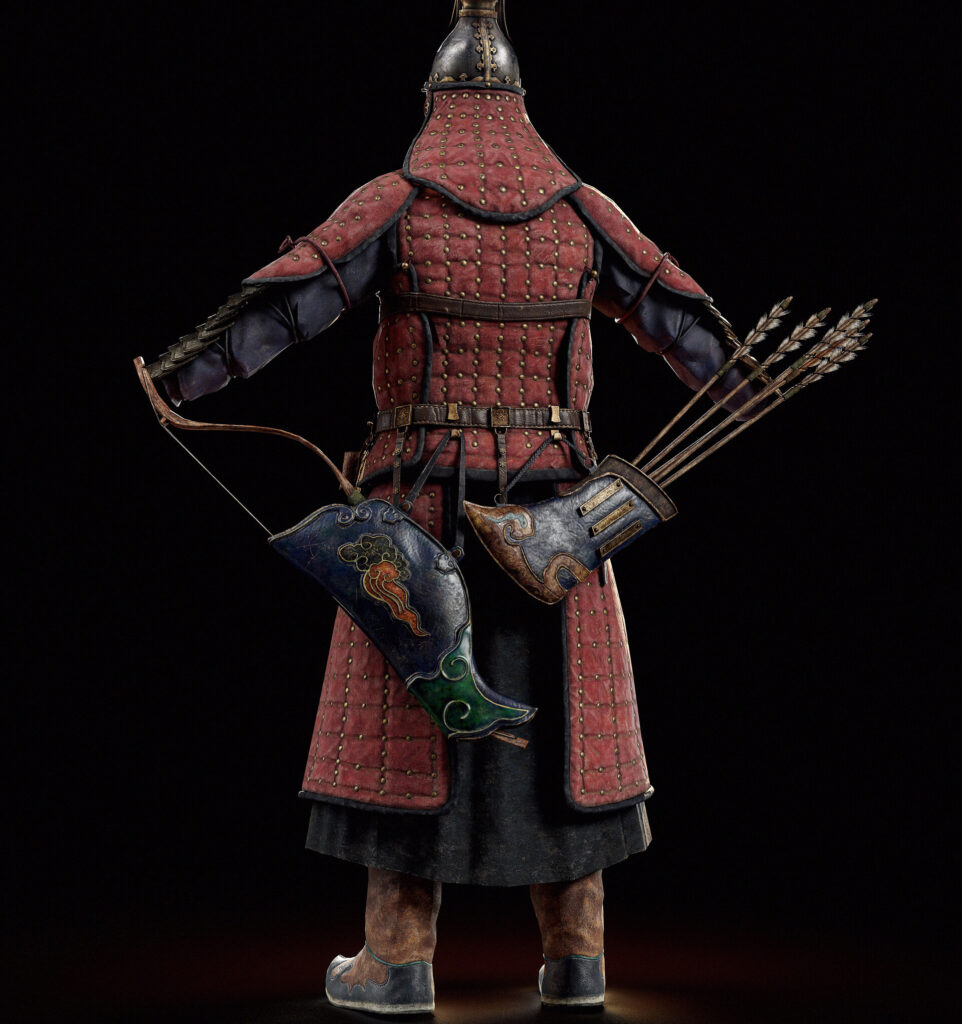
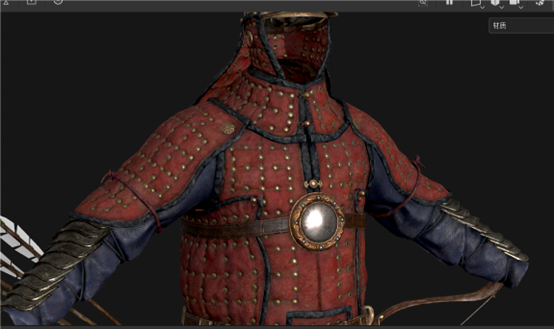
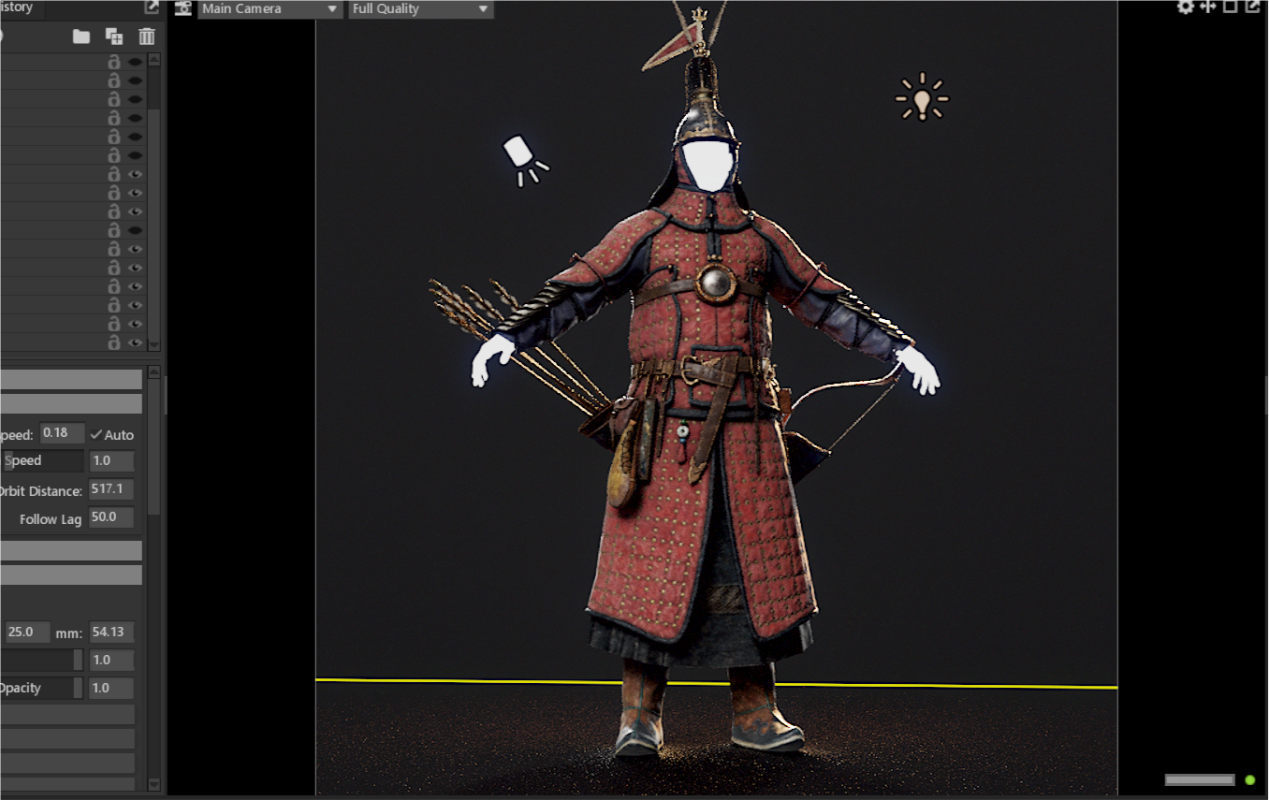
For this piece, I looked at some ancient Chinese armor paintings. Among the many armor works, I chose armor made of cloth cotton from the Ming Dynasty.
Due to my lack of knowledge about fabrics, I used ZBrush to sculpt and handle the entire process, including improvements to leather, metal, and other textures.
Software
- Maya
- Zbrush
- RizomUV
- Substance painter
- Marmoset Toolbag
Project & References
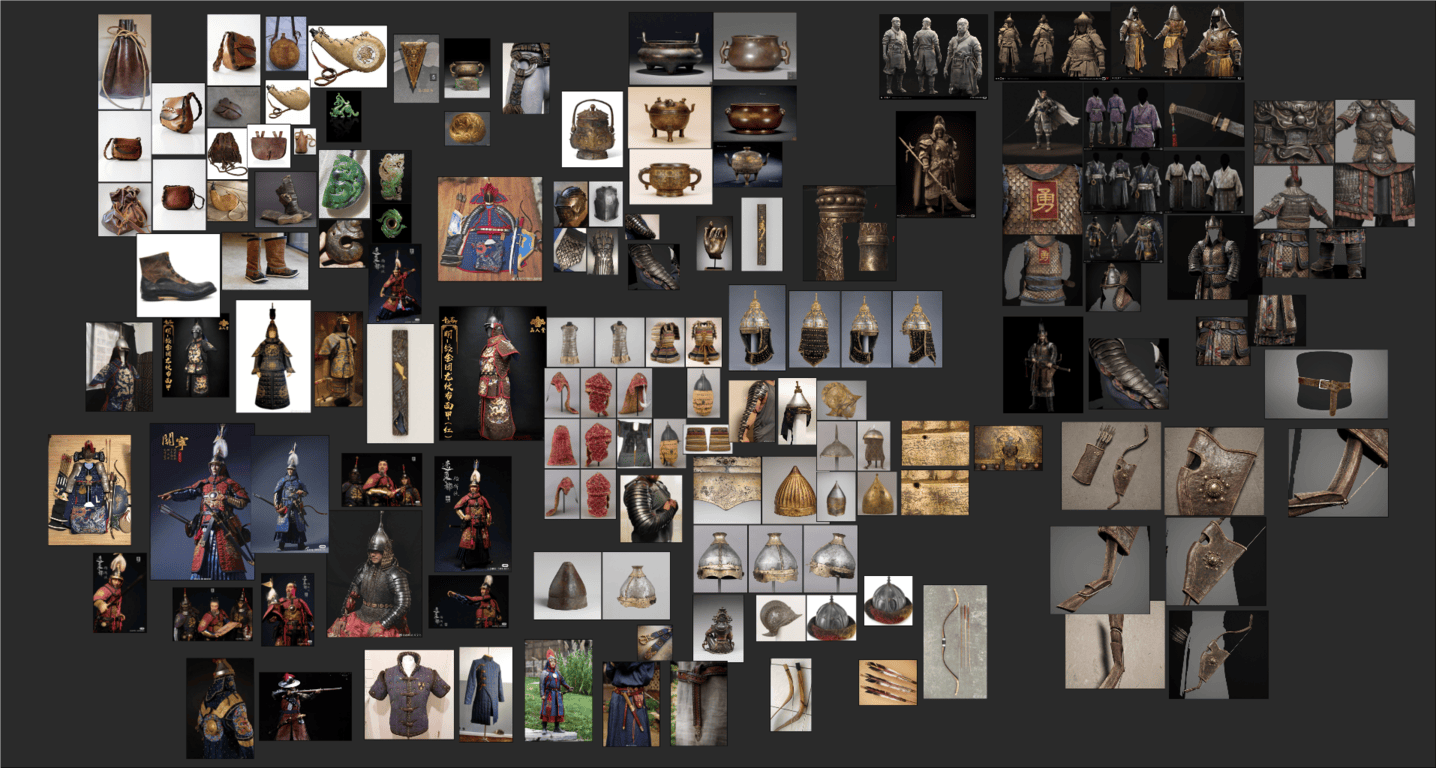
Before I started, I gathered many references to Ming Dynasty cotton armor.
Initially, I observed realistic references, then transitioned to clay and game models to study the texture expressions. Character design involves analyzing a variety of references.
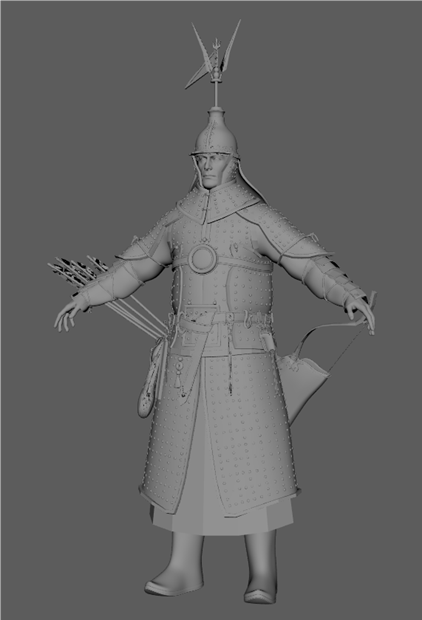
Lowpoly
In the initial low-poly stage, I used Maya for modeling. Before matching equipment and armor, I ensured the proportions of the human nude model were correct and that the armor and clothing conformed to the human body’s shape.
Of course, the equipment and armor were also based on references to fit the era. My idea is that small differences between upper and lower eras are acceptable, but cross-era gaps would look very out of place.
In the early stages of low-poly production, I only created the general model and basic interactions.
Highpoly
At this stage, I used ZBrush for engraving. First, I carved the whole body and adjusted interactions between the human body, armor, and equipment—such as object collisions and sewing tension along clothing edges.
To practice texture carving of fabrics, I avoided fabric simulation.
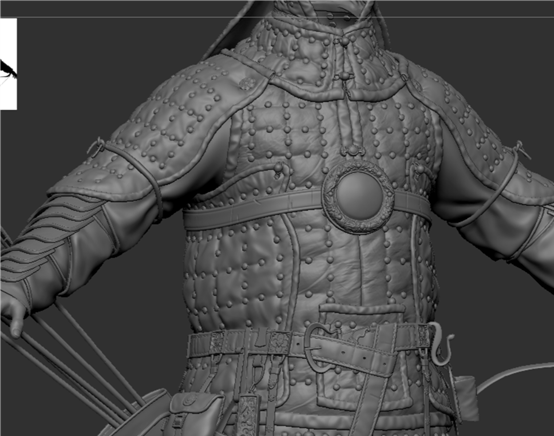
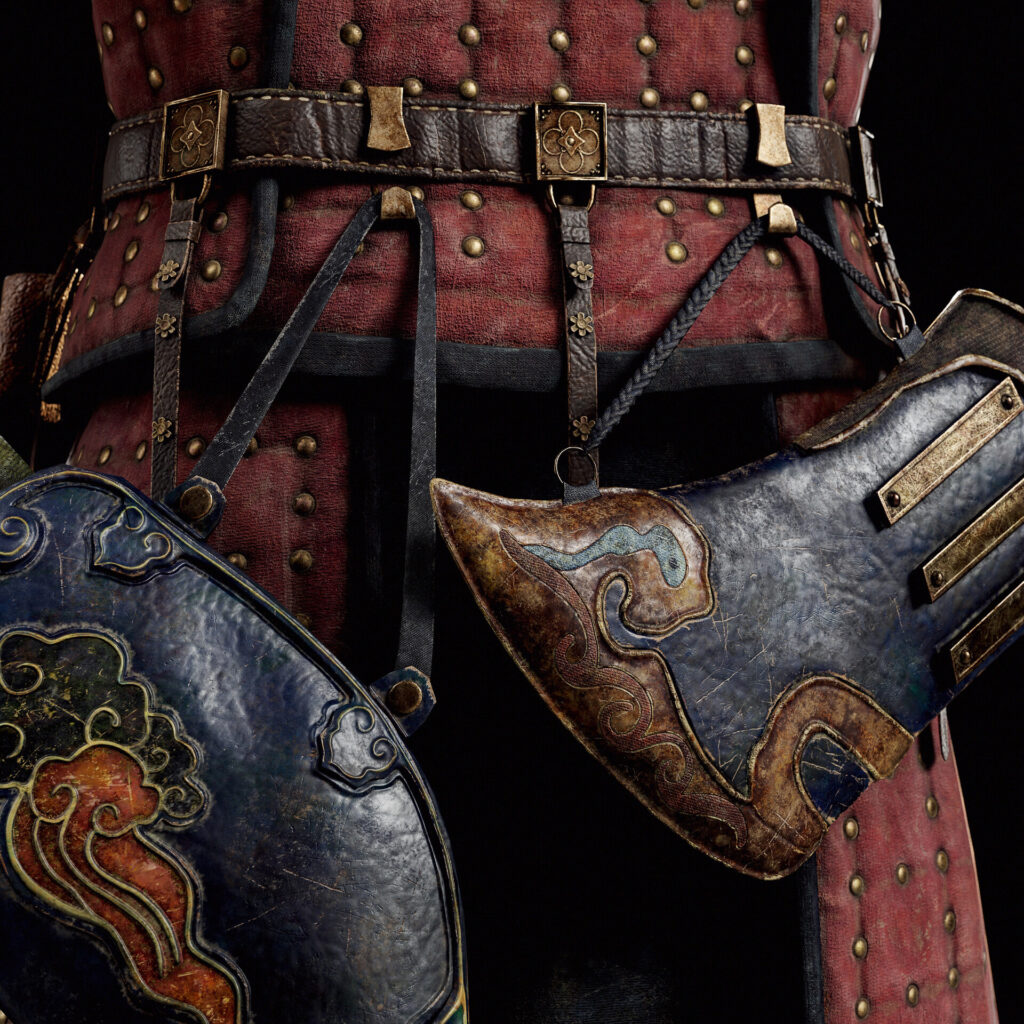
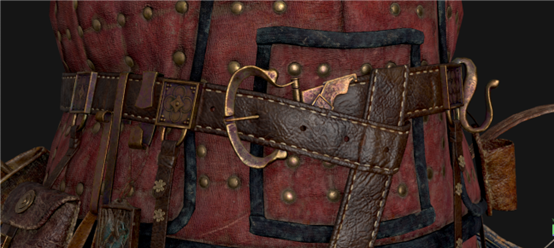
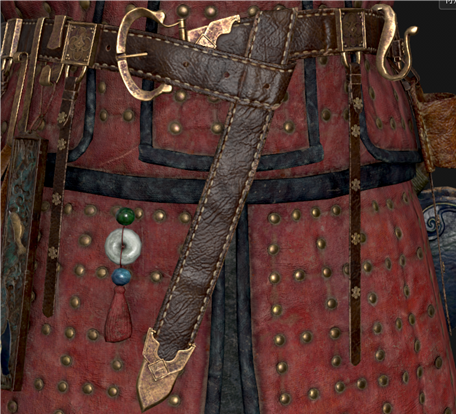
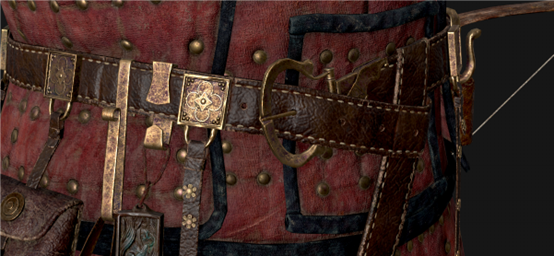
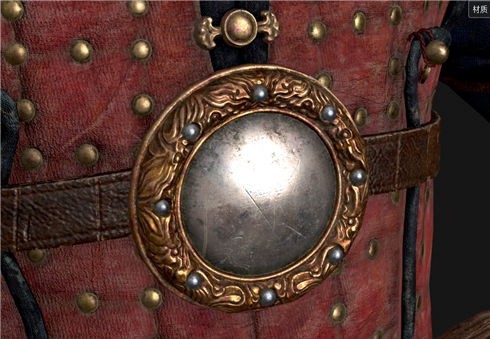
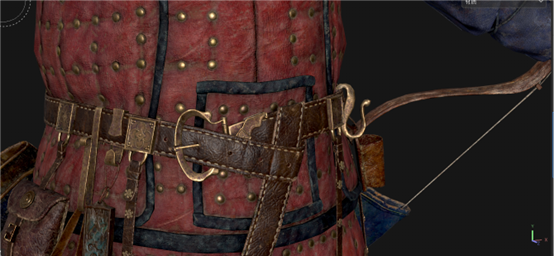
When sculpting, I examined the internal structure of the armor to understand what caused surface undulations. This included:
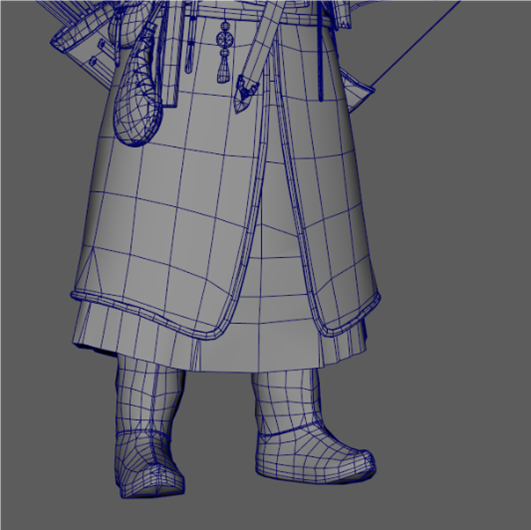
- Chest
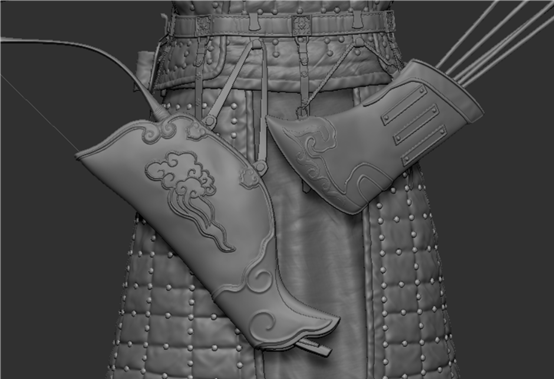
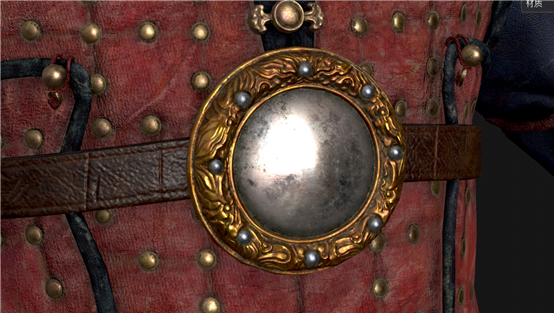
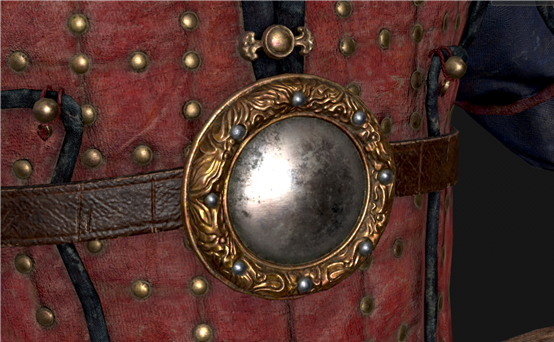
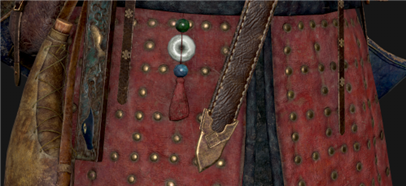
- Waist tokens
- Layered surface patterns
- Belt surface undulations
- Armor collision points and rivet connections
I focused on carving these details.
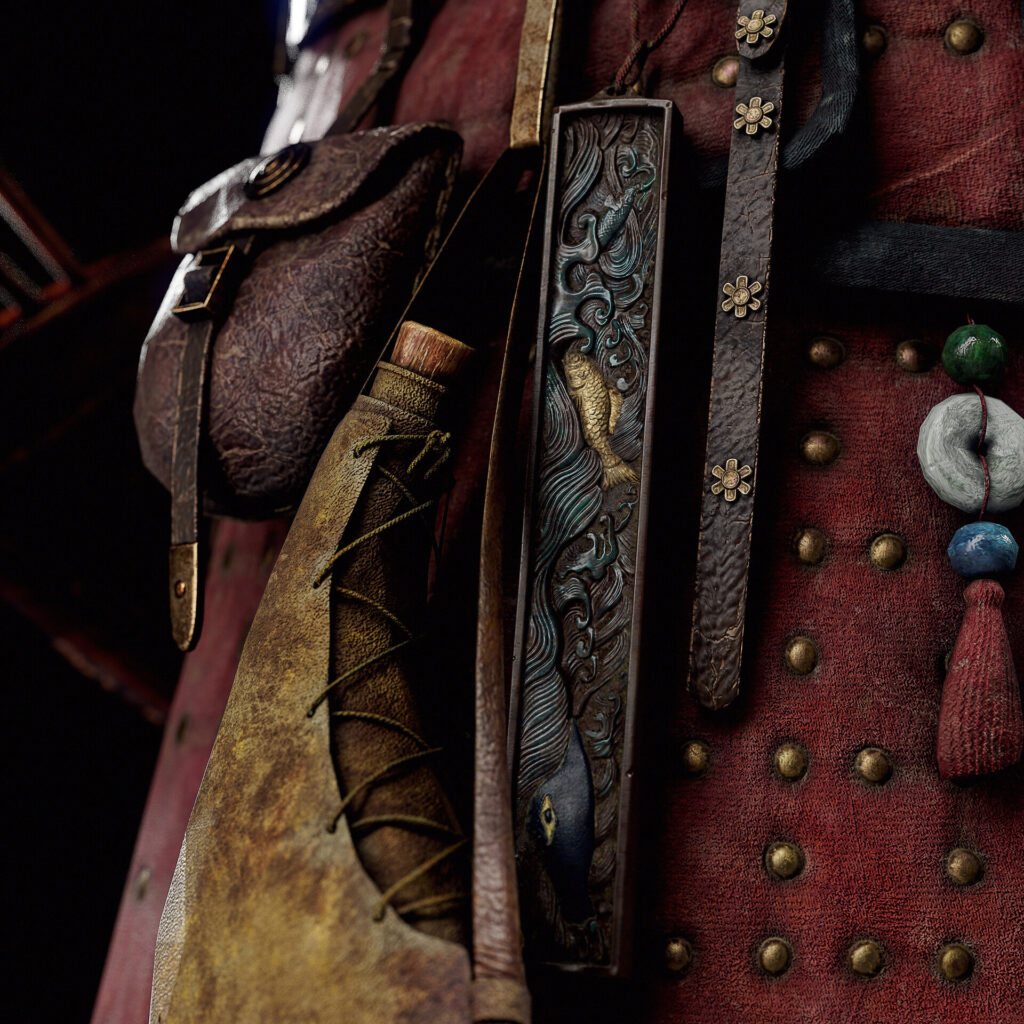
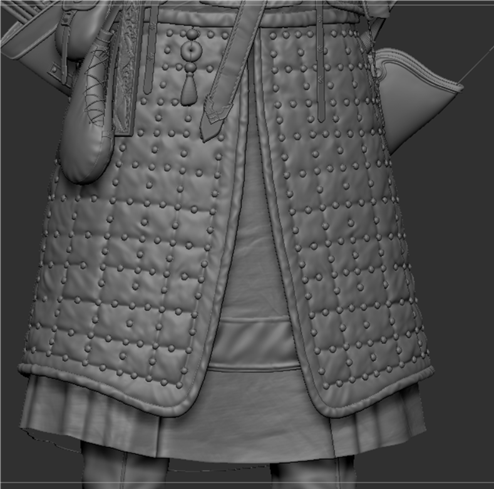
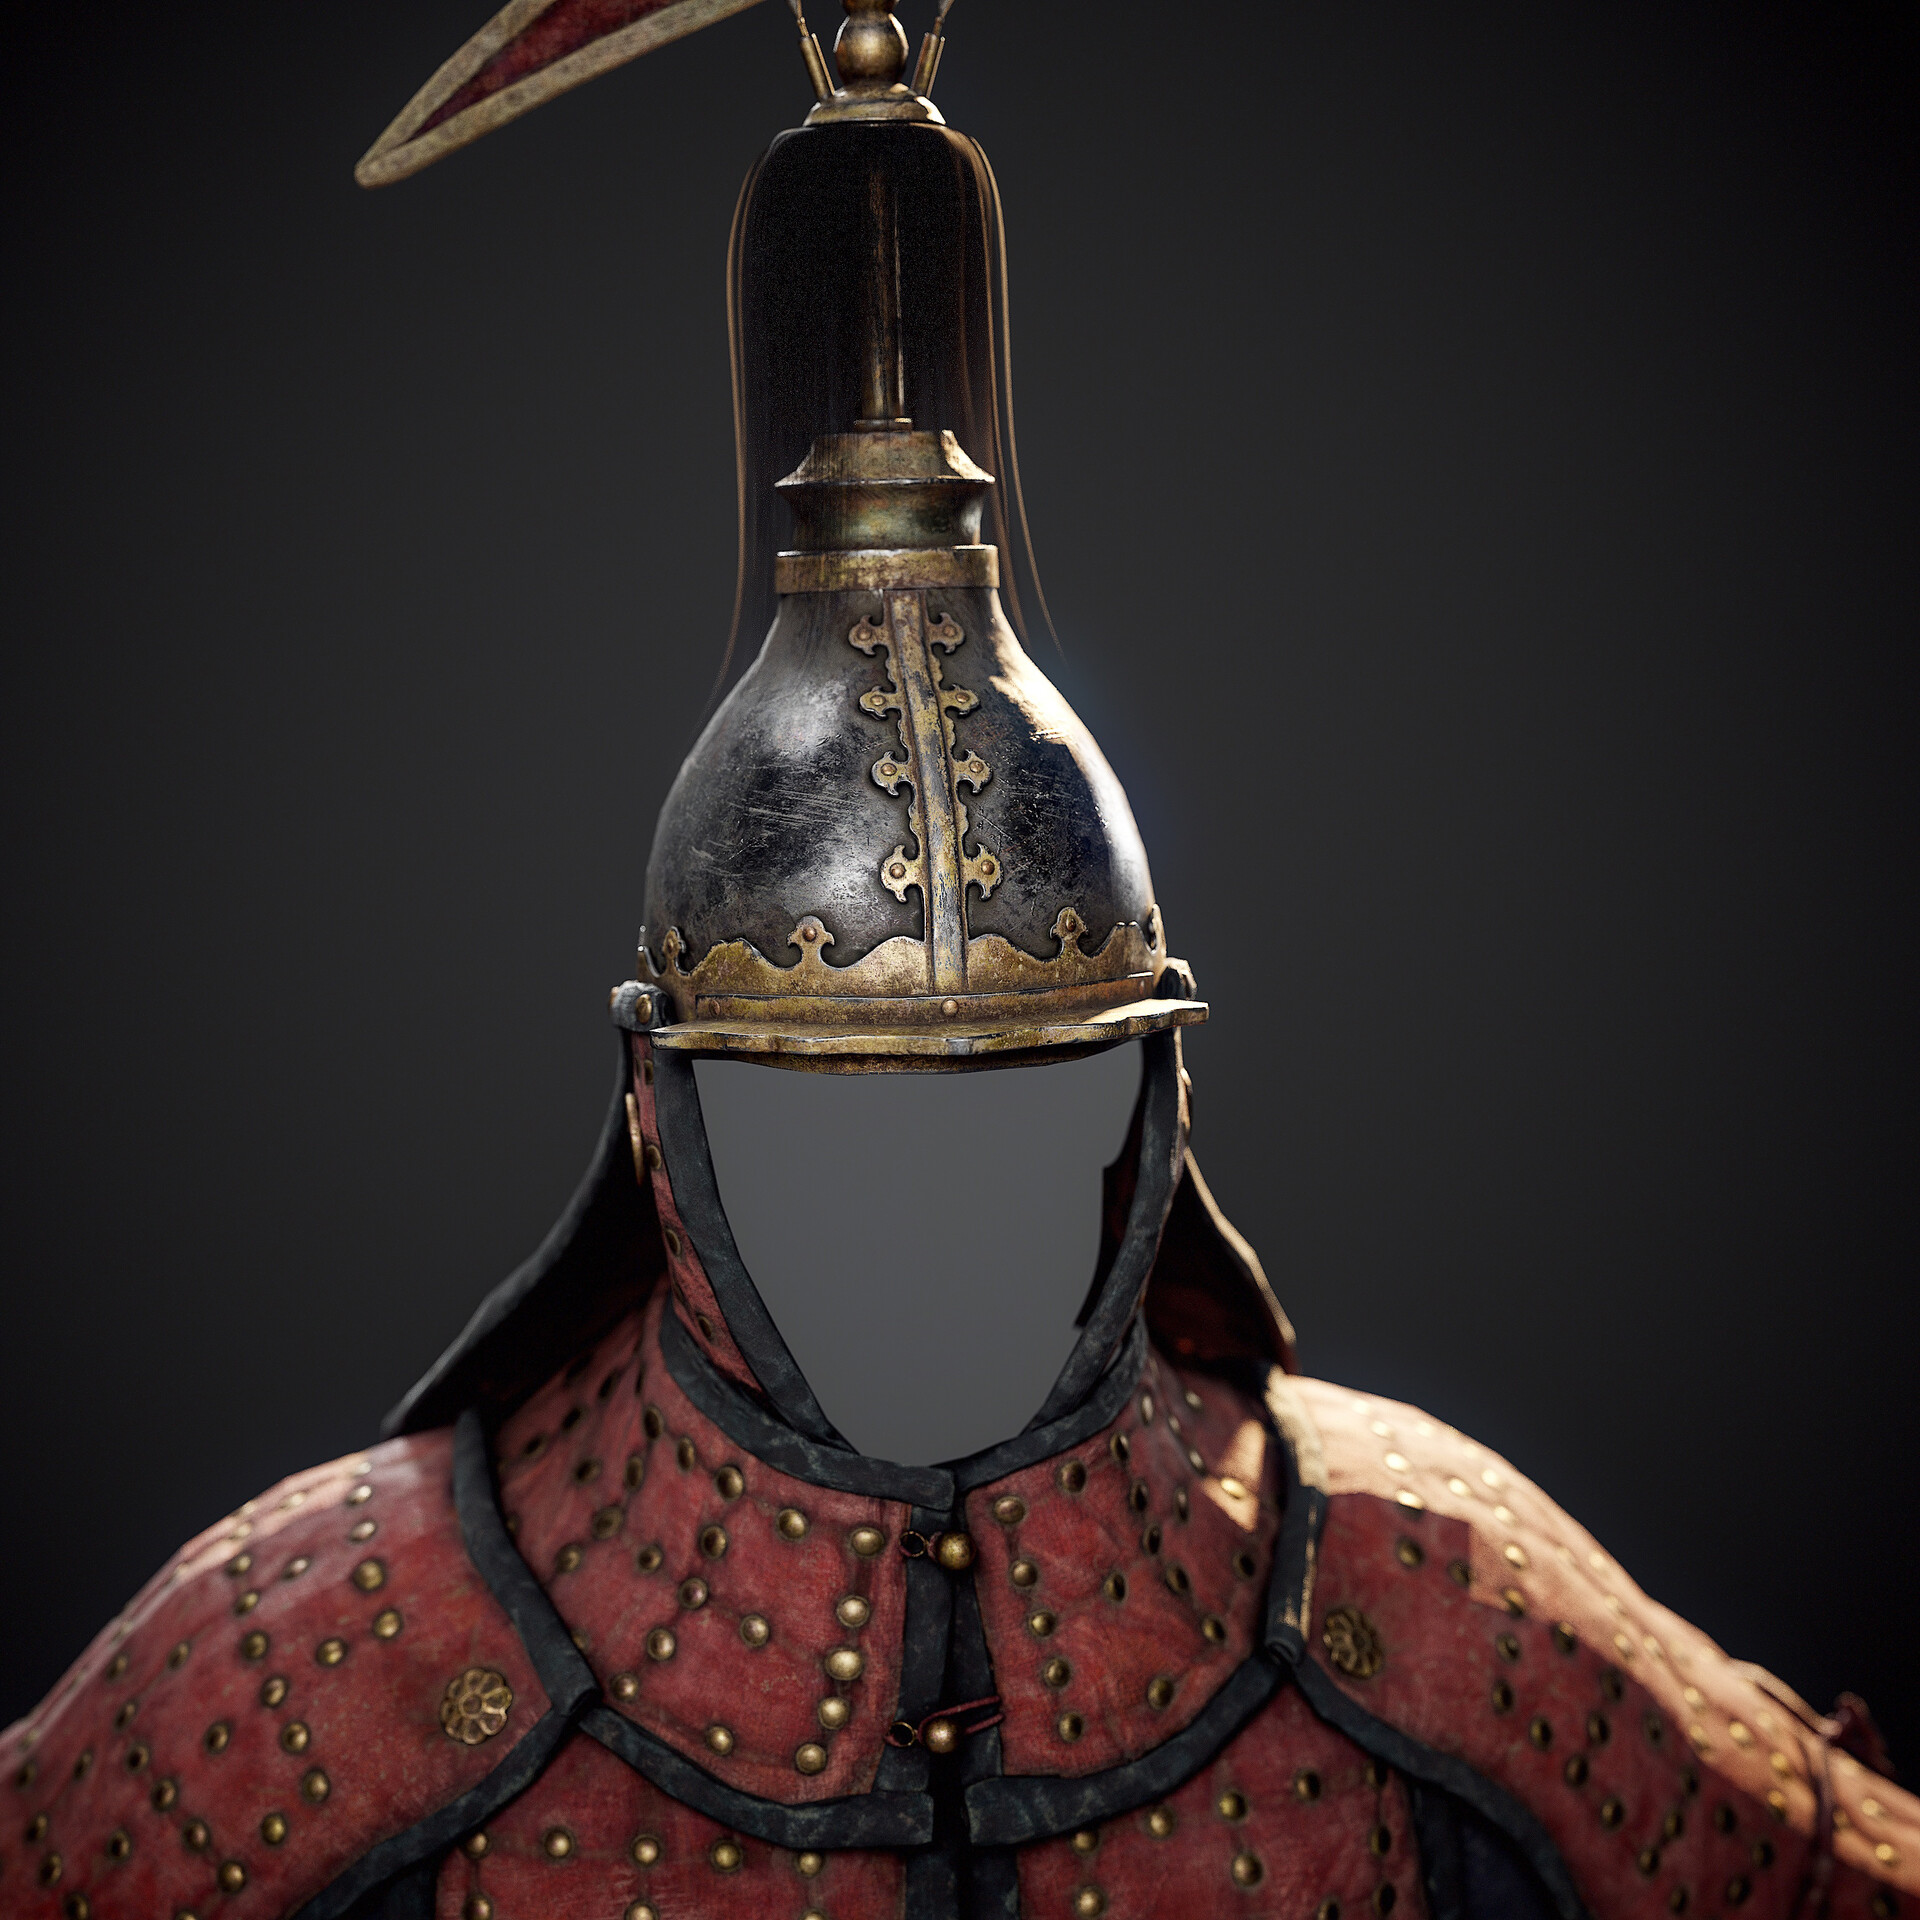
I chose a gray-and-white diagram to express the skirt’s folds and undulations. Texture painting was done in Substance Painter.
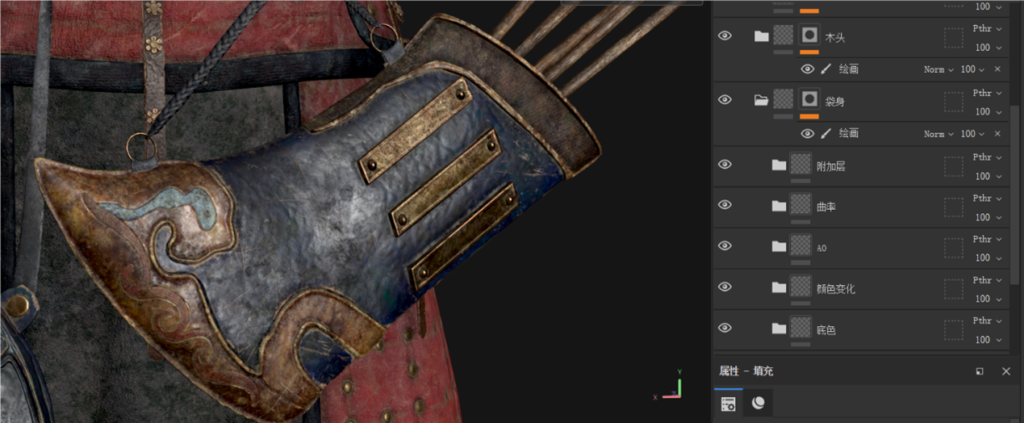
I sculpted wear bumps on the armor and represented feathers with rough models before drawing transparent maps.
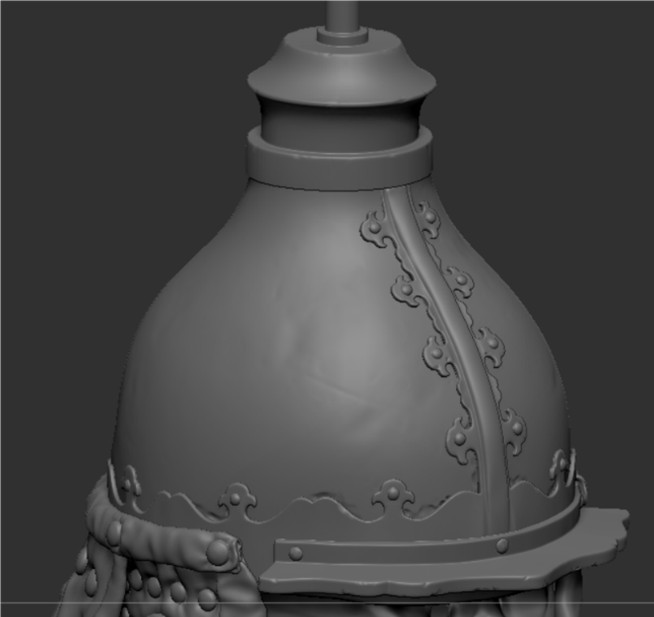
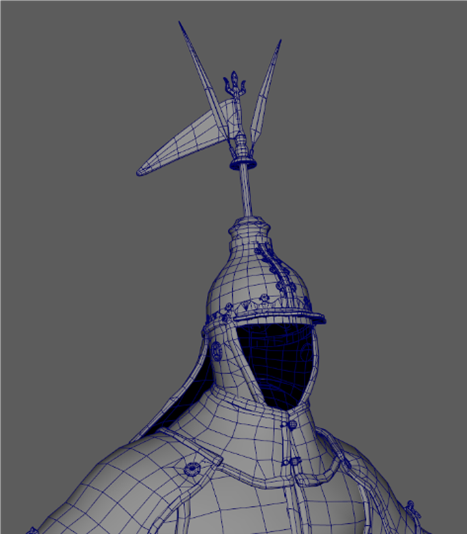
For the helmet, I added surface bumps and lace, wearing and bumping the brim edges.
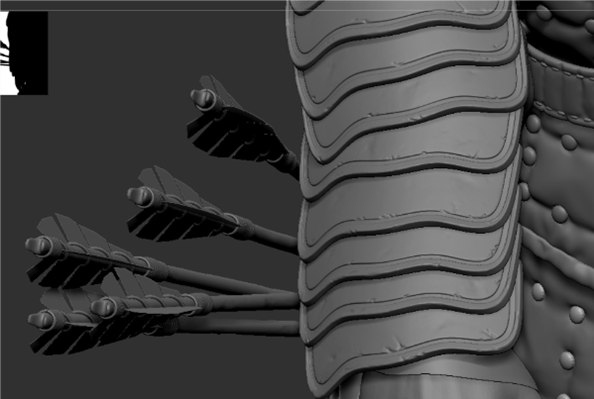
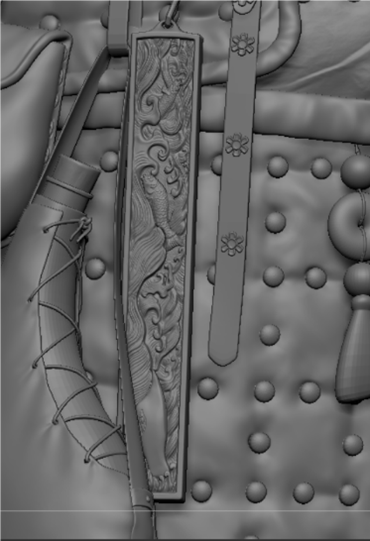
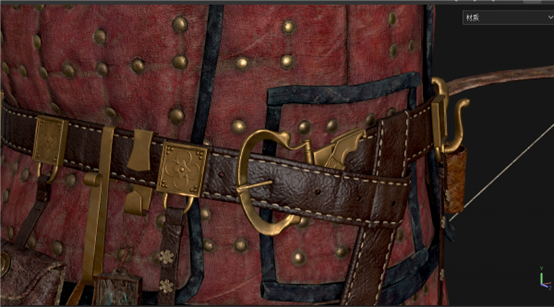
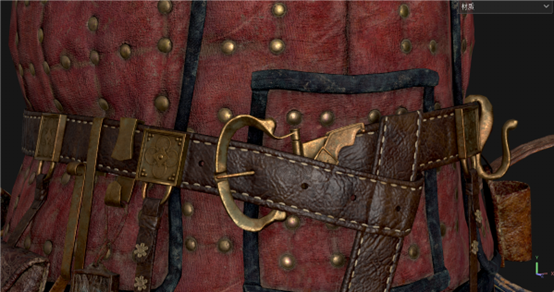
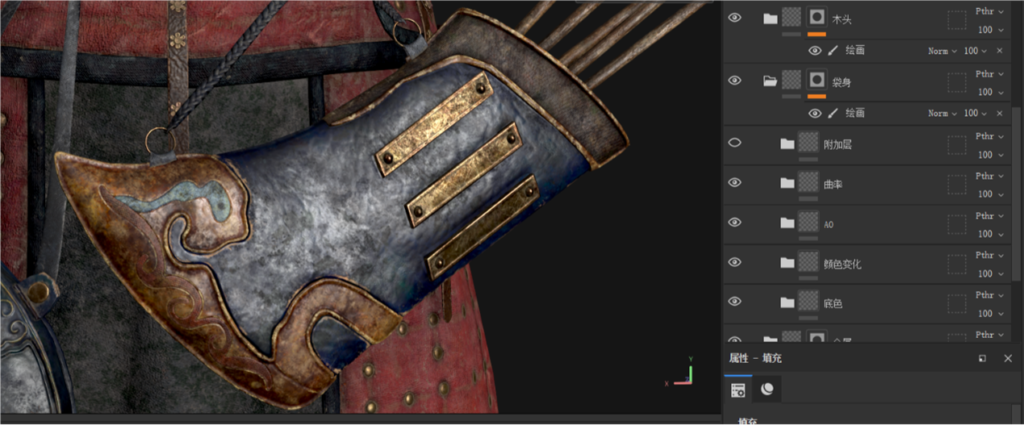
For equipment, I crafted surface patterns and simple undulations, adding wood grain textures to the bow and arrow shafts.
Topology
After completing the high-poly work, I adjusted model naming conventions and used ZBrush to reduce the model’s surface detail. This preserved high-poly details while reducing file size, making it easier to import into Maya for topology work.
Before topology, I named the high-poly model and grouped the low-poly model for easier baking.
UV
After topology, I used RizomUV to unwrap UVs, utilizing six UV sets with the UDIM method. Edges of each UV block were constrained and straightened for uniformity.
The fill function maximized UV occupancy.
Baking
Before baking, I ensured high- and low-mode naming matched correctly.
A single shader was applied to each UV block model in the low poly for UDIM distinction in Marmoset Toolbag 4. Different colored shaders were assigned on the high poly to bake ID maps.
After preparation, I used Marmoset Toolbag 4 to bake Normal, Curvature, AO, and ID textures. Additional thickness, position, and normal OBJ texture baking were done in Substance Painter, followed by UDIM naming of textures.
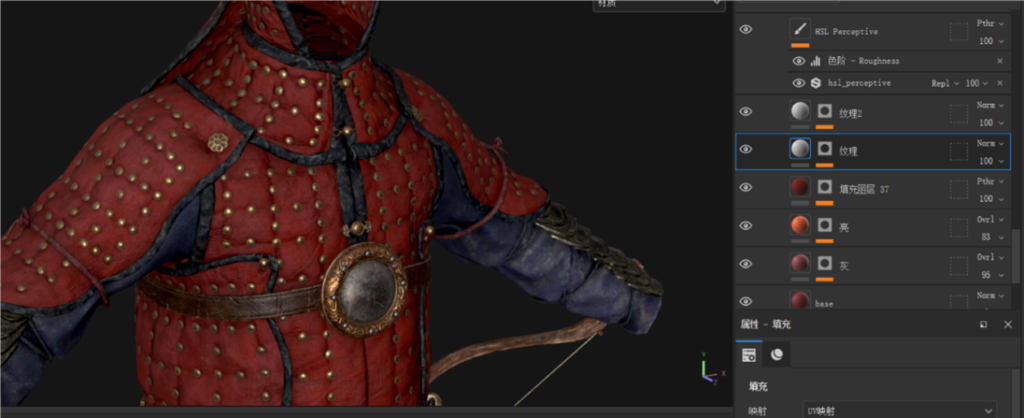
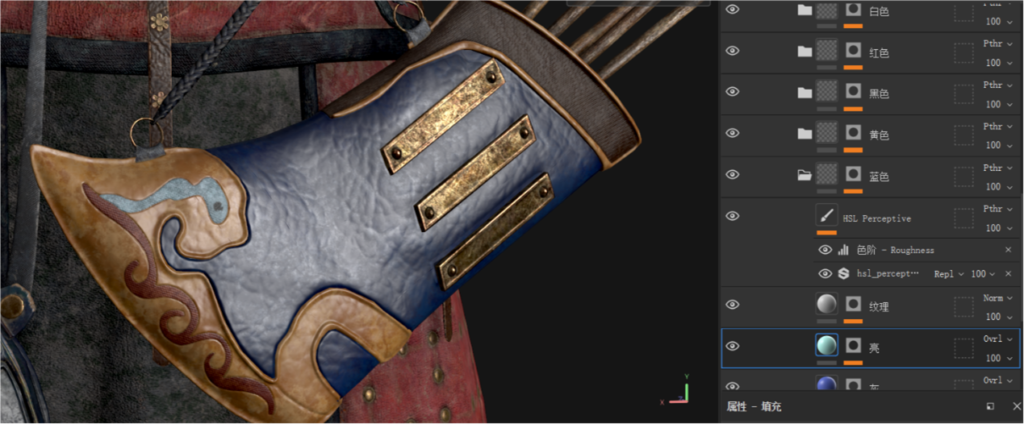
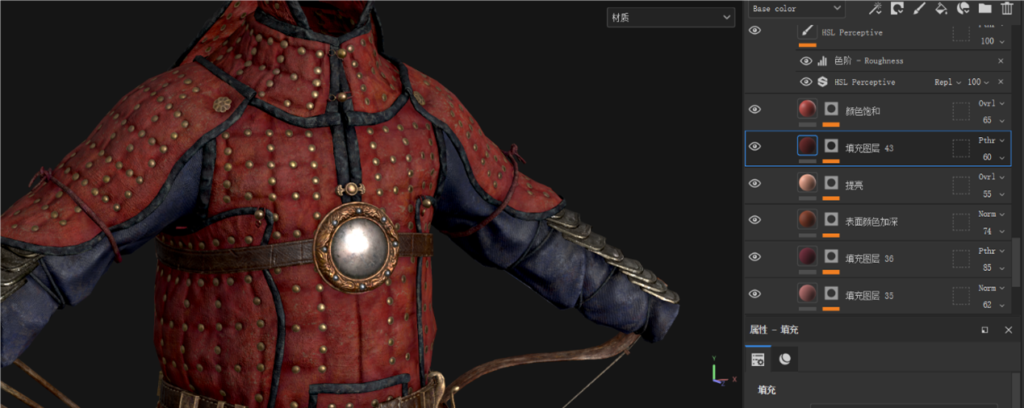
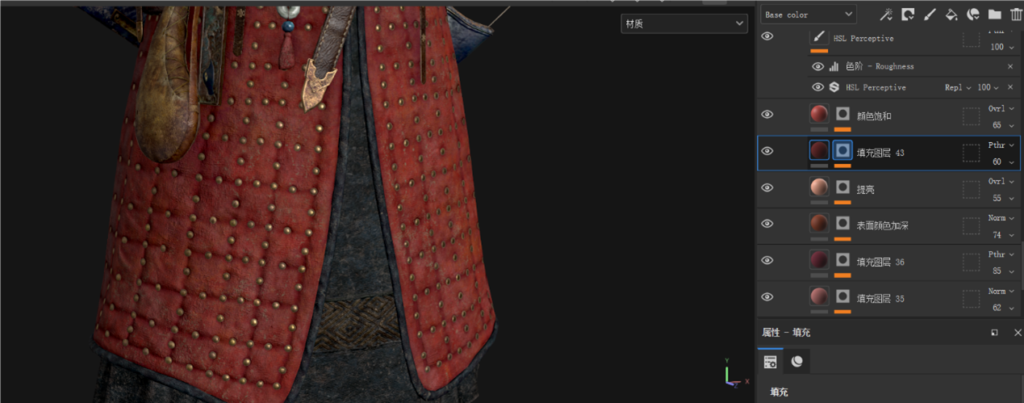
Texturing
I painted textures in Substance Painter and activated post-processing to increase contrast to 1.01, improving image color purity. Tomoco Studio’s ambient light map enhanced the desired look.
Base Layer
I used three primary colors to represent color variation and roughness. A texture map was used for the base texture.
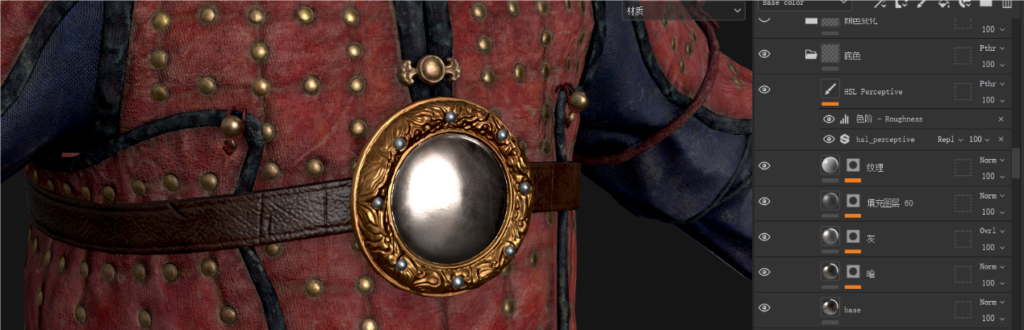
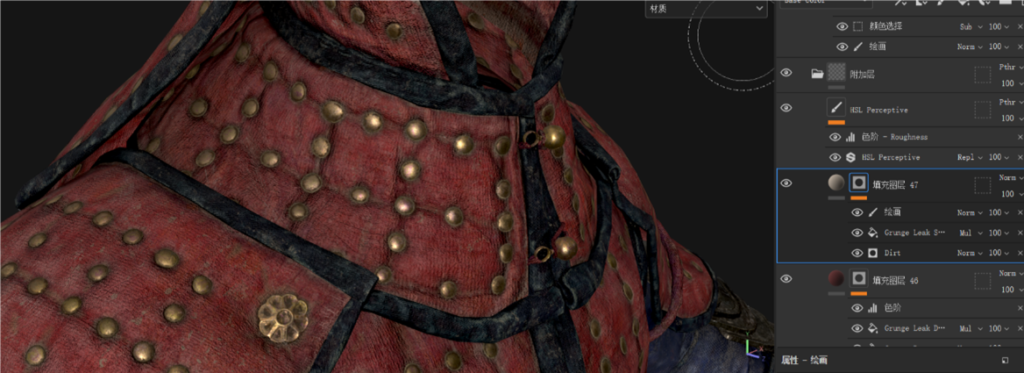
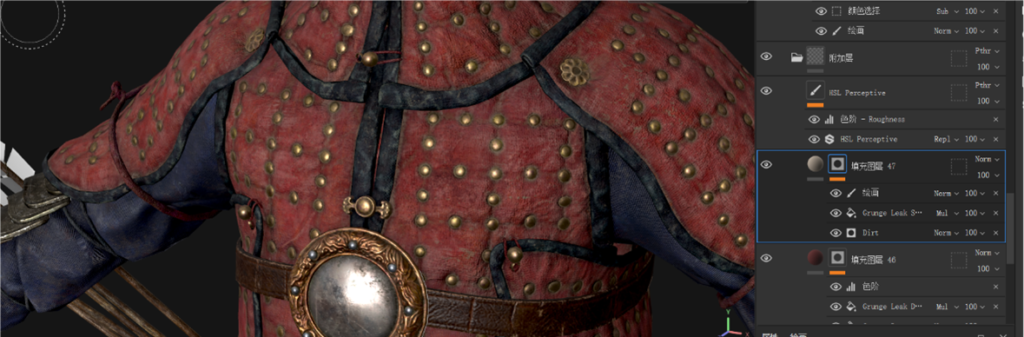
Color Change Layers
These layers were used to add traces of use, old marks, and dark surface interactions to enhance surface texture and volume.
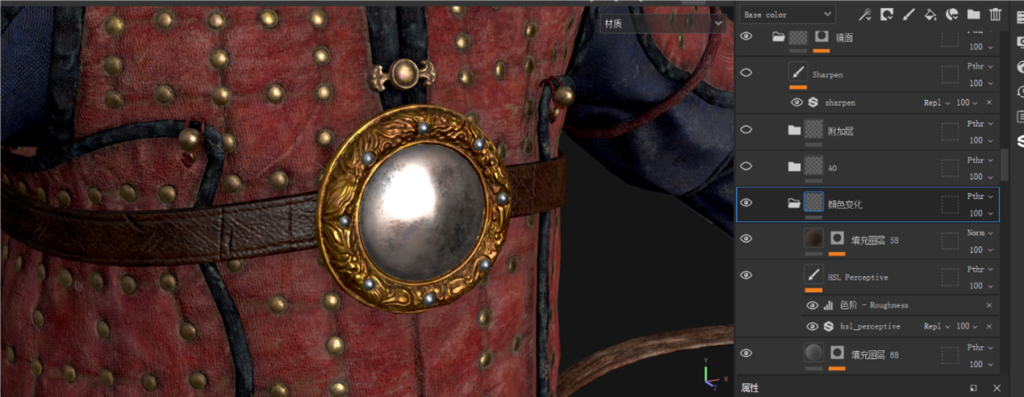
Volume Layer
Here, I added dark areas, crevices, and color changes for interaction and volume between objects.
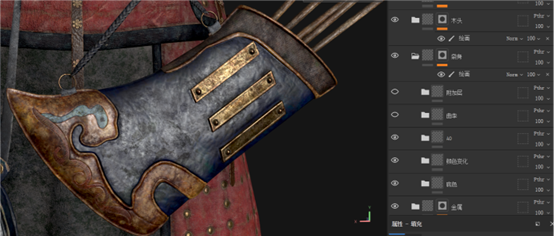
Curvature Layer
This layer emphasized edge and surface wear, improving contrast between light and dark.
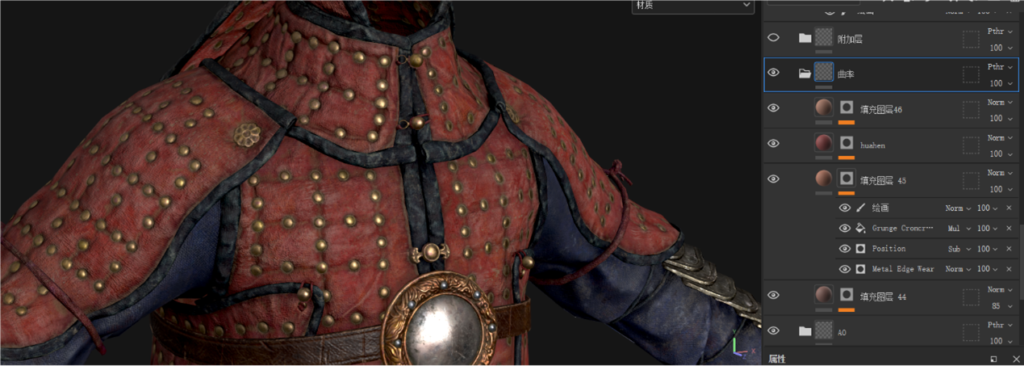
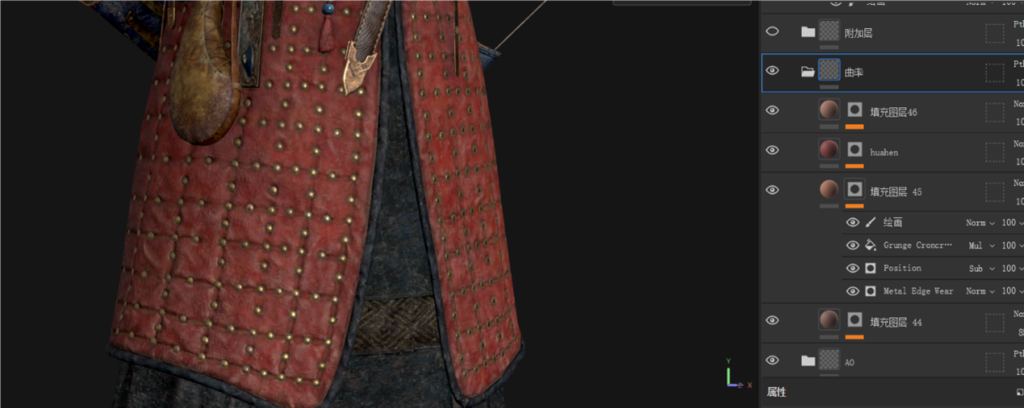
Additional Layers
This final layer was used for overall stains, rain marks, and natural discolorations. HSL adjustments refined the final appearance.
Rendering
After exporting textures from Substance Painter, I configured Marmoset Toolbag 4. A pure white HDR was used as the key light, with a warm point light on the rear right and a spotlight on the rear left.
A Shadow Catcher was included.
Thank you for reading. This is my first character work, and it has significantly improved my approach to textures. Of course, there are still many areas for improvement, but I hope you find some useful insights in this article.
Thank you to GamesArtist for this opportunity, and a special thanks to Huang Yulong and Aeworlri for their guidance.
Read more articles
You might also like these articles.