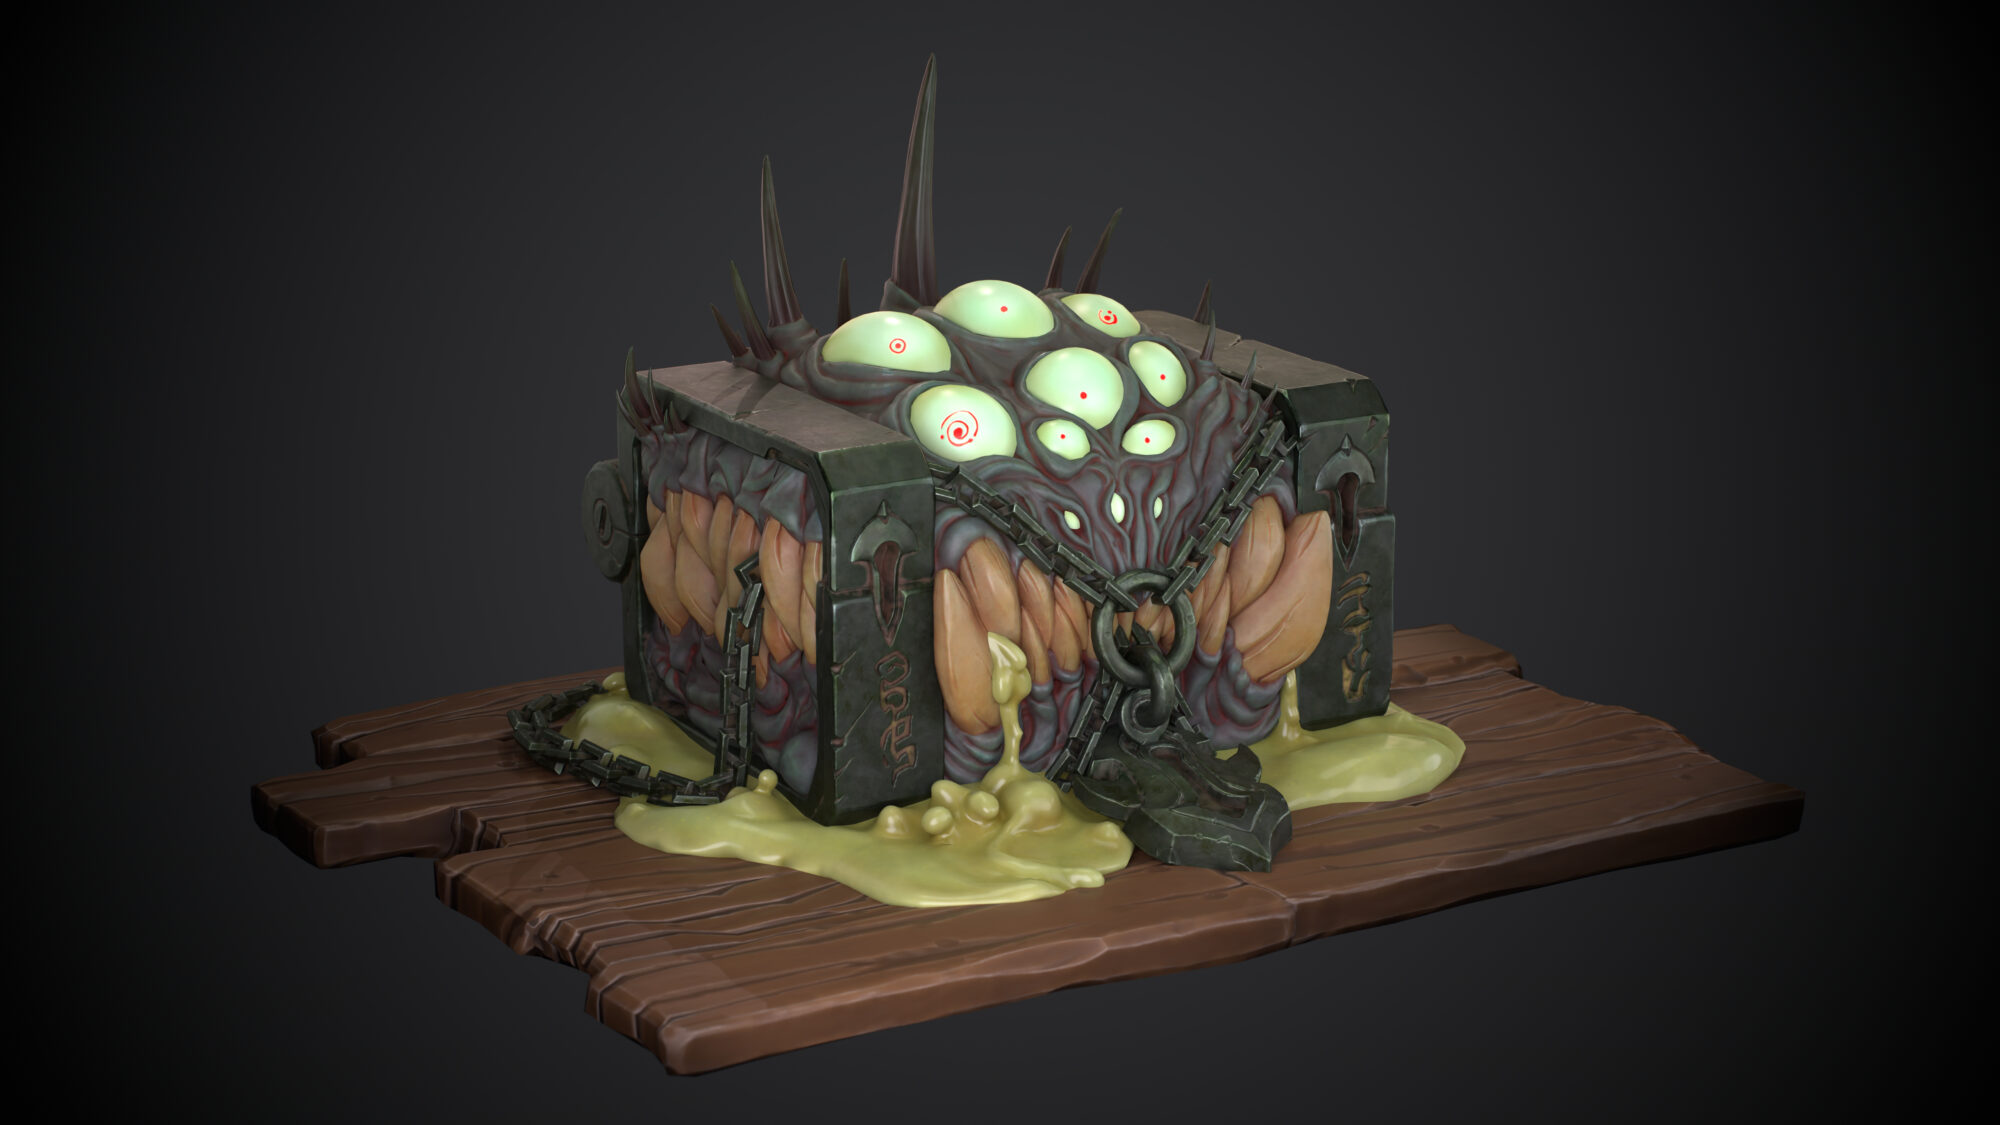
Introduction
Hello there. I’m Ivan Pavlov, I am specialized in Character sculpting and texturing.
References & Inspiration
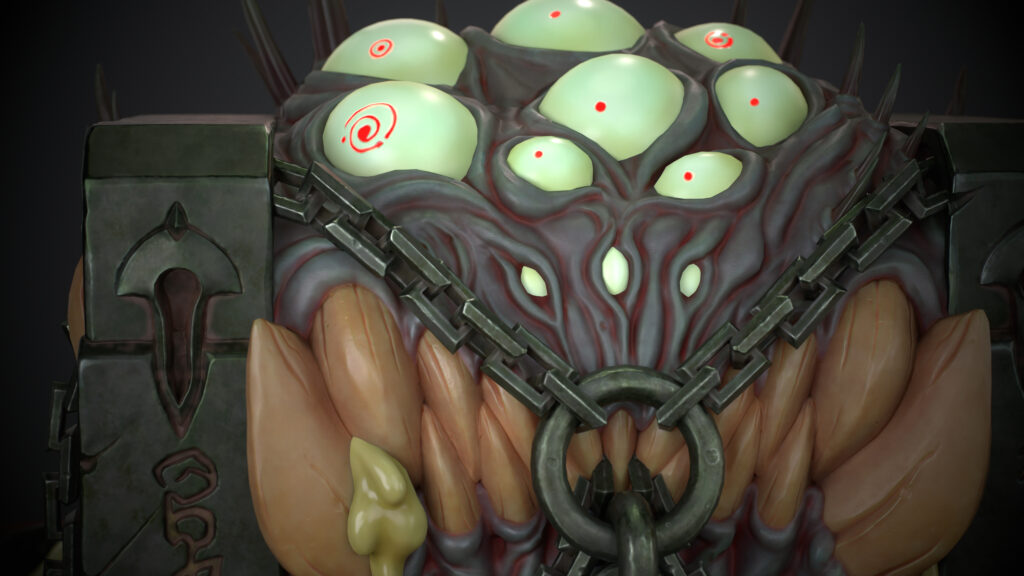
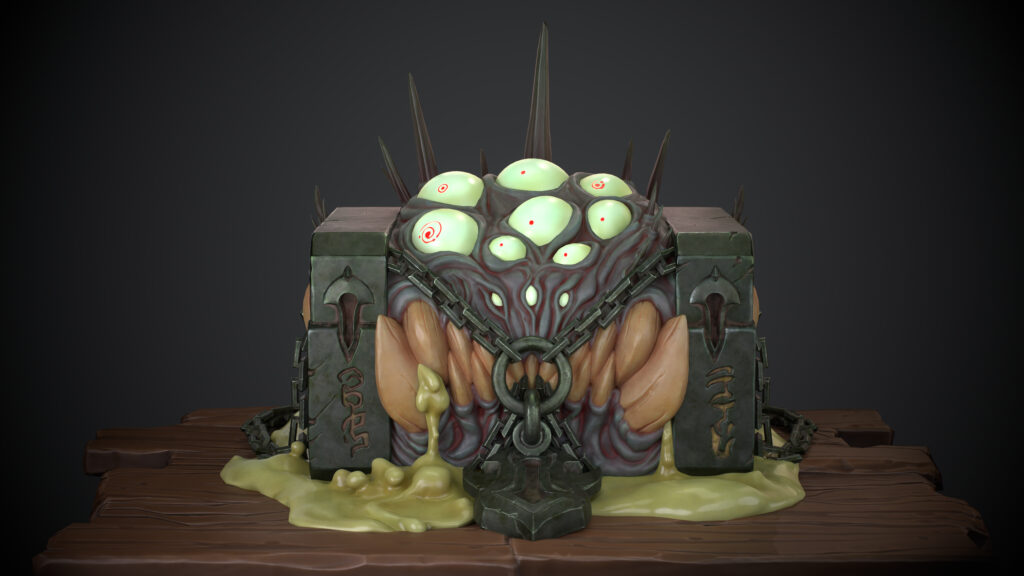
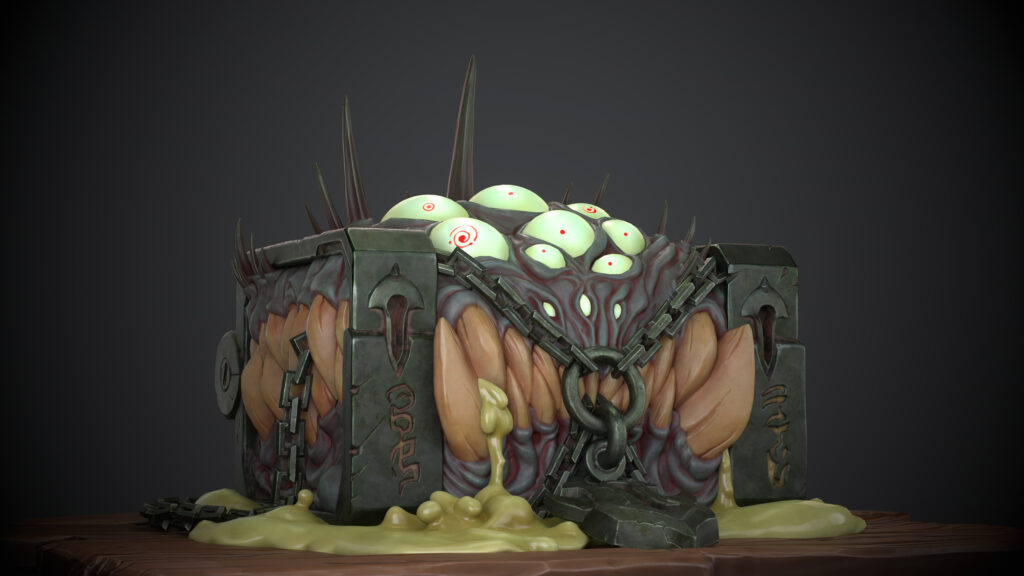
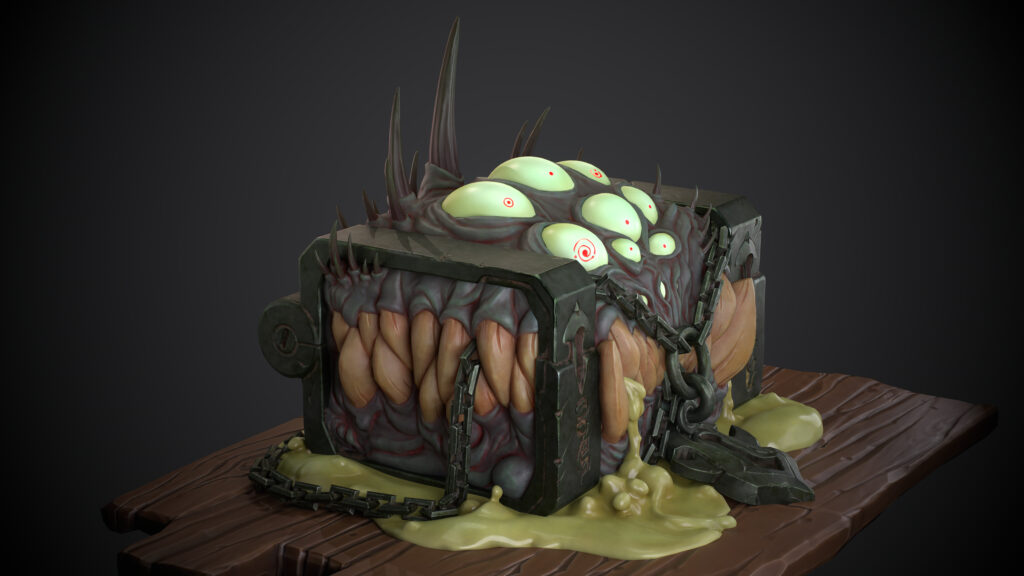
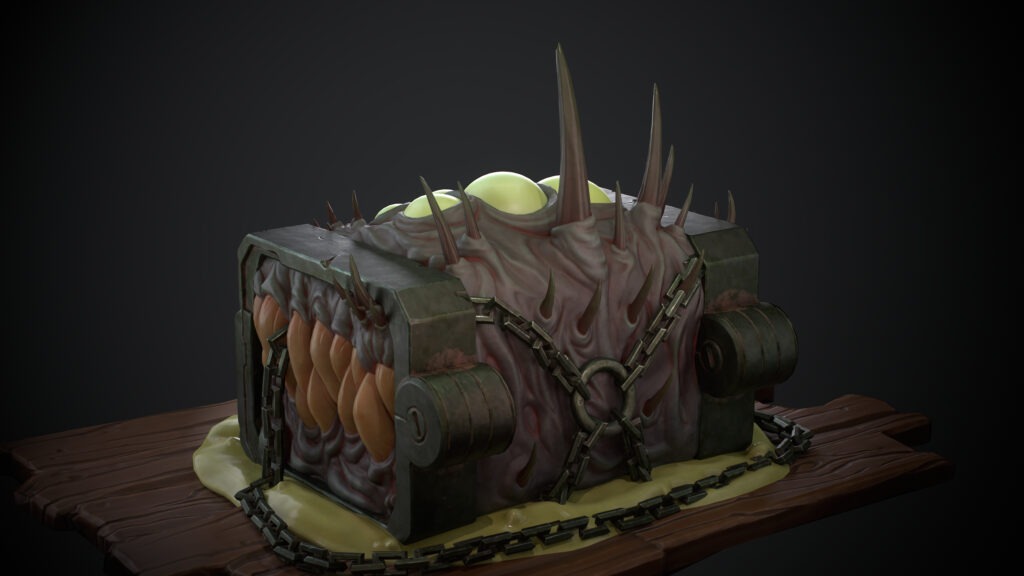
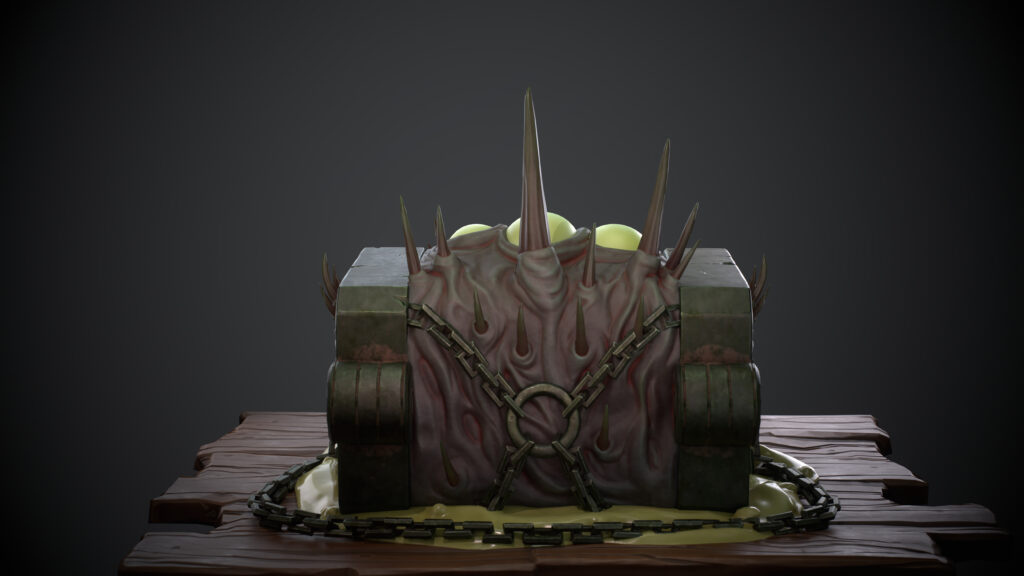
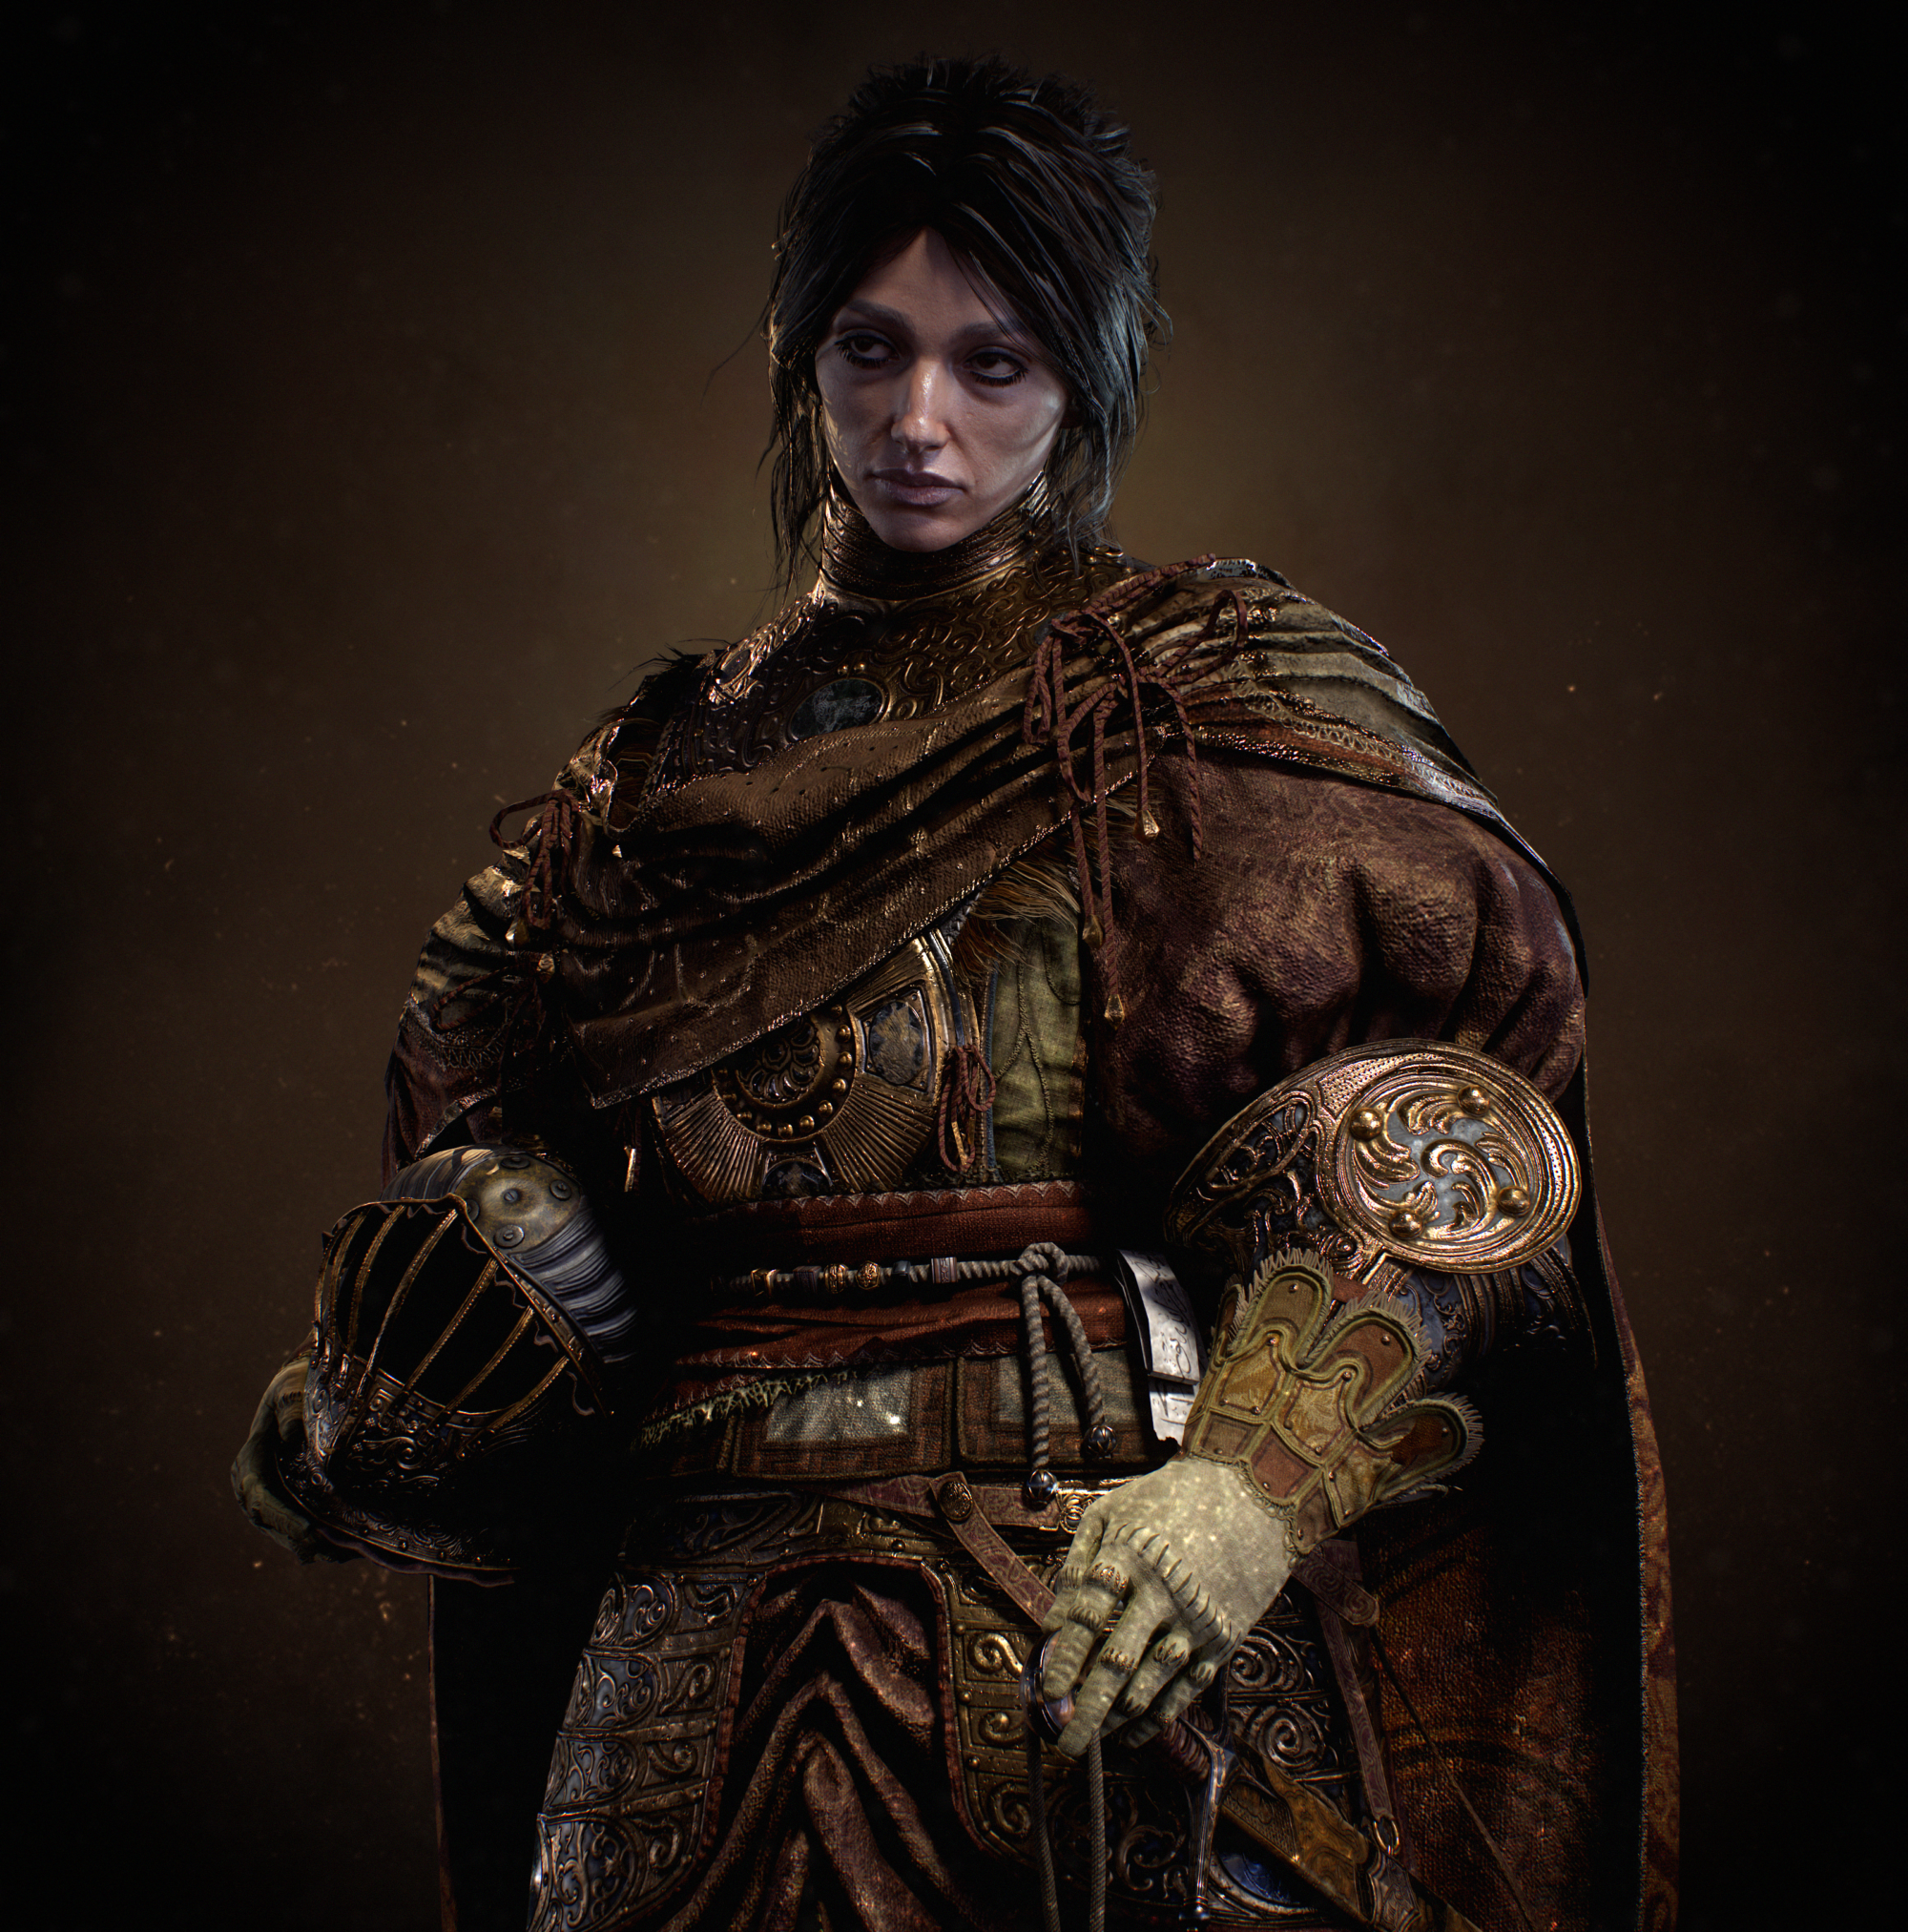
I really like the stylization and especially the style of Darksiders, so I chose an awesome concept from Avery Coleman.
https://www.artstation.com/stalphos
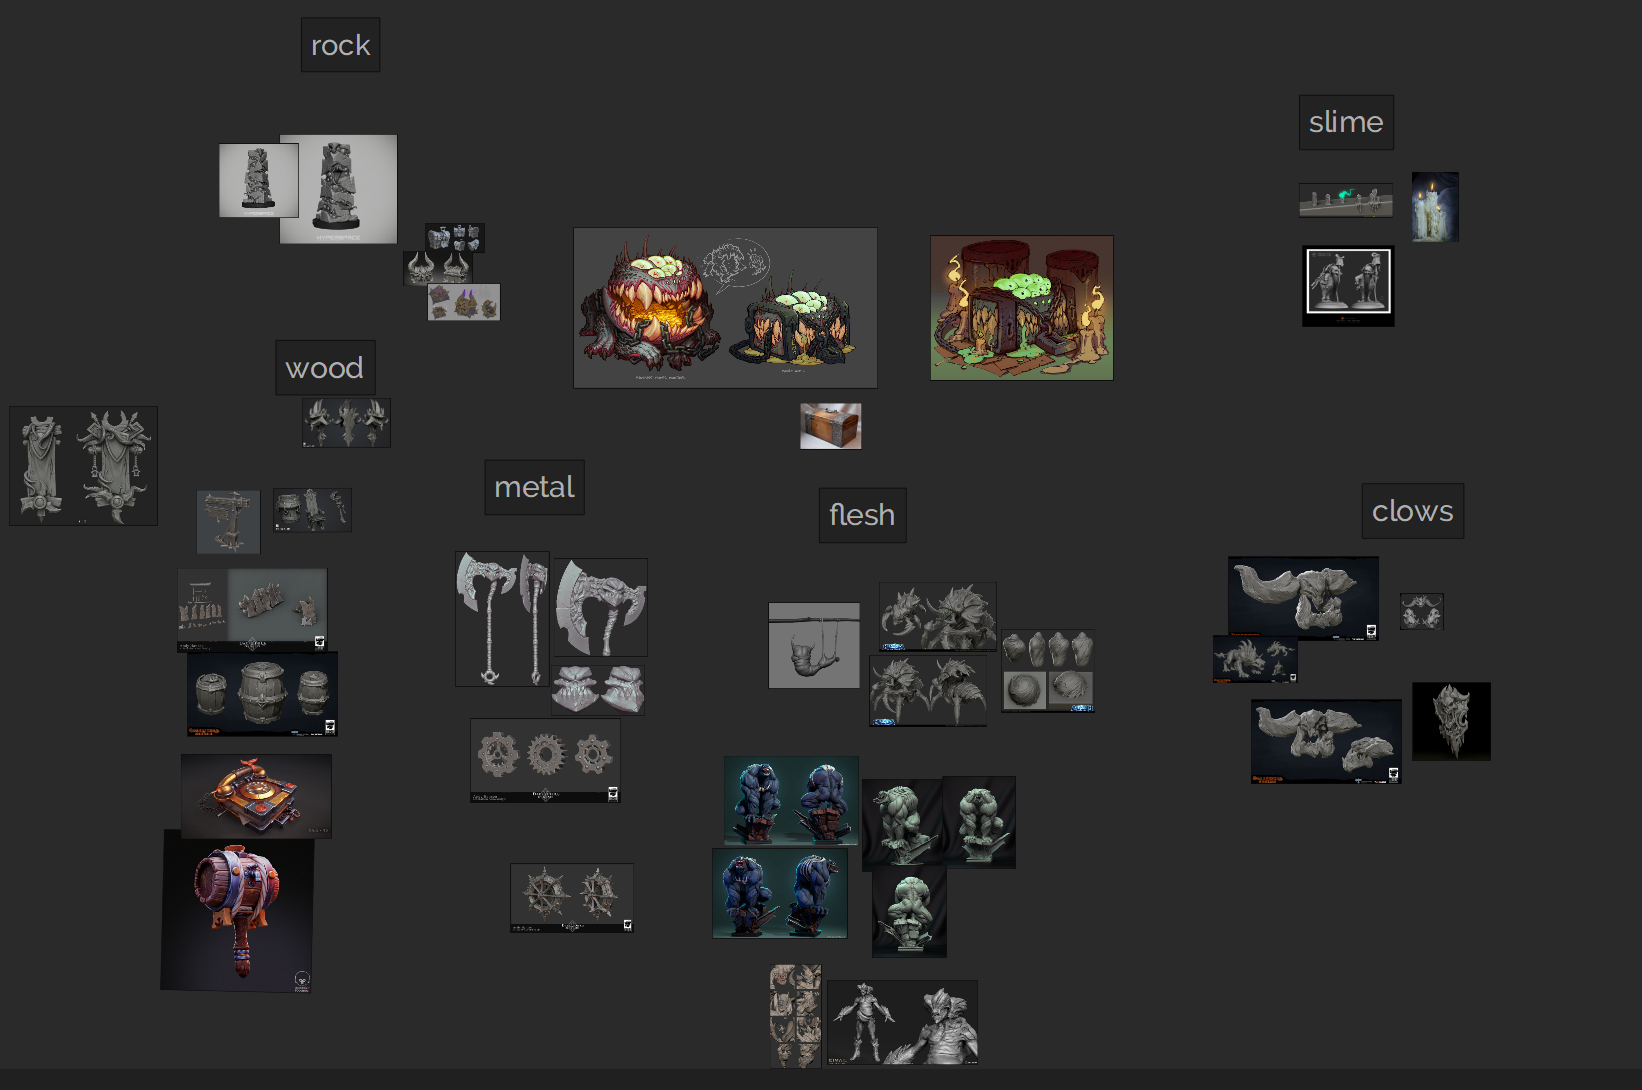
First I collected texture references that are found in the concept.
Blockout & Modelling techniques
For the blockout, I used regular primitives and a ZModeler brush to give them the right shape and volume.
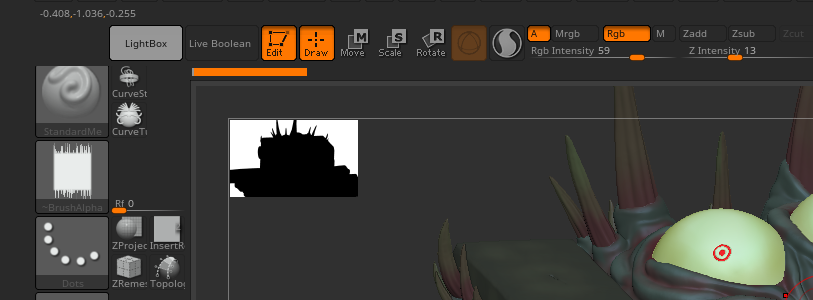
In my work, I use these brushes:
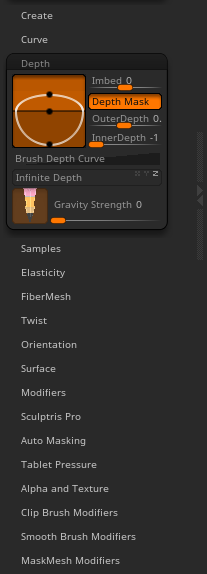
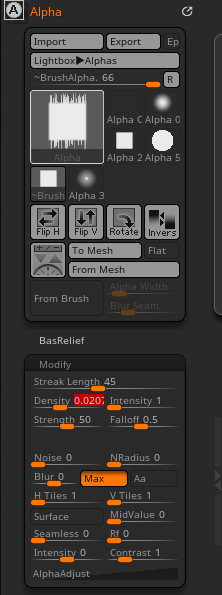
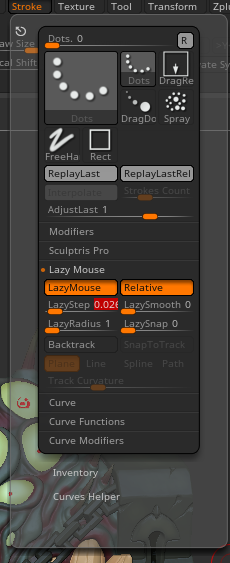
I use Standard Brush with custom settings with changed settings:
Teeth
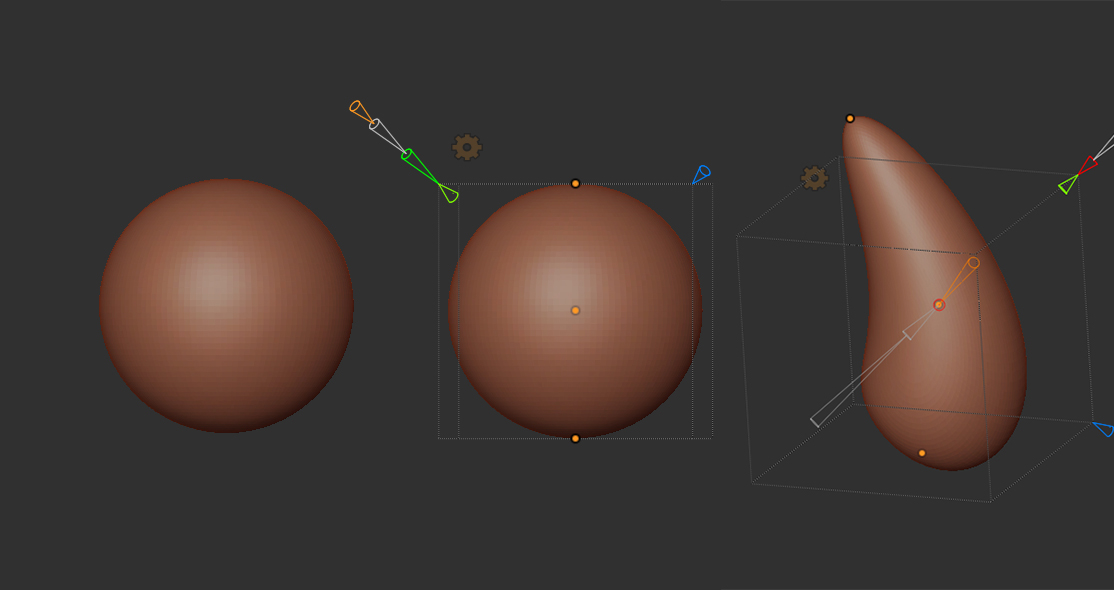
First, I created an ordinary sphere, after which I changed the shape I needed with the help of a deformer in the gizmo tool.
Chain
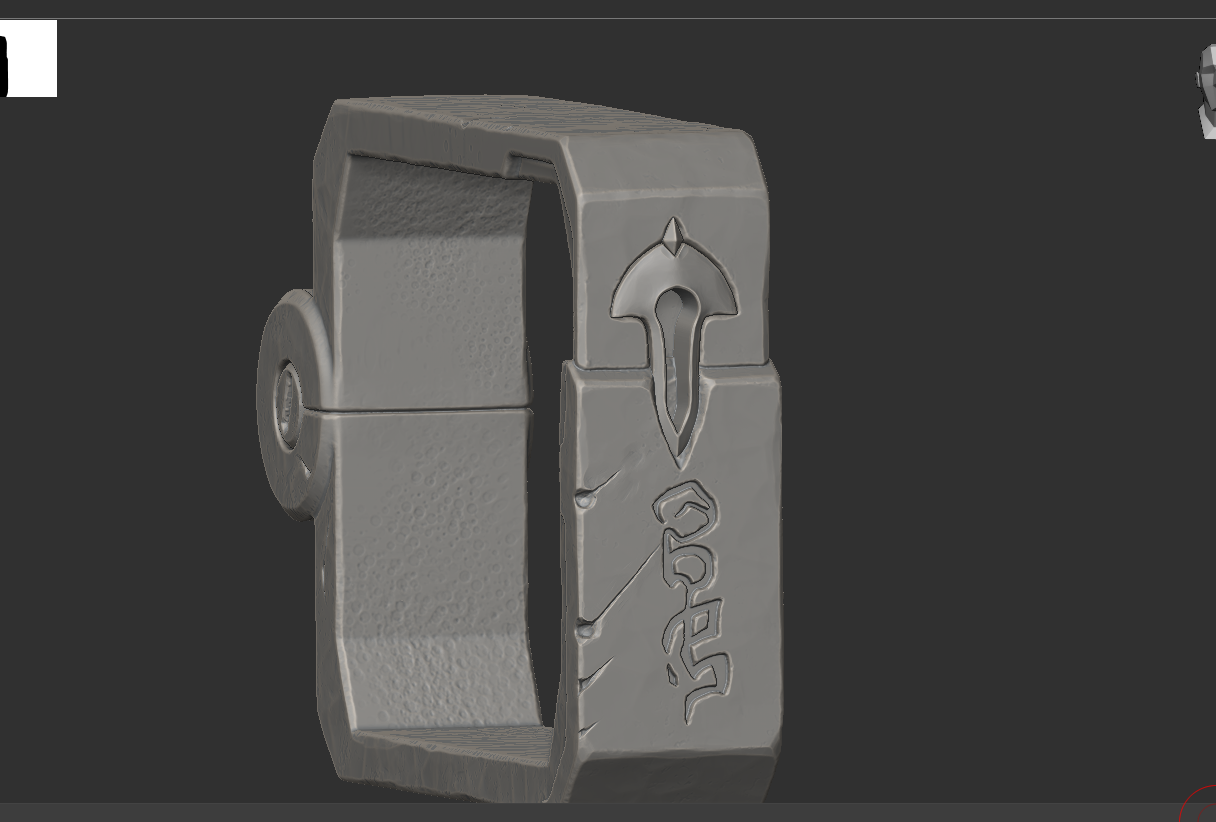
First, I made one link, after which I manually arranged them as in the concept. I only needed one half of the chain, as I’m using UV mirroring on the final model.
Lock
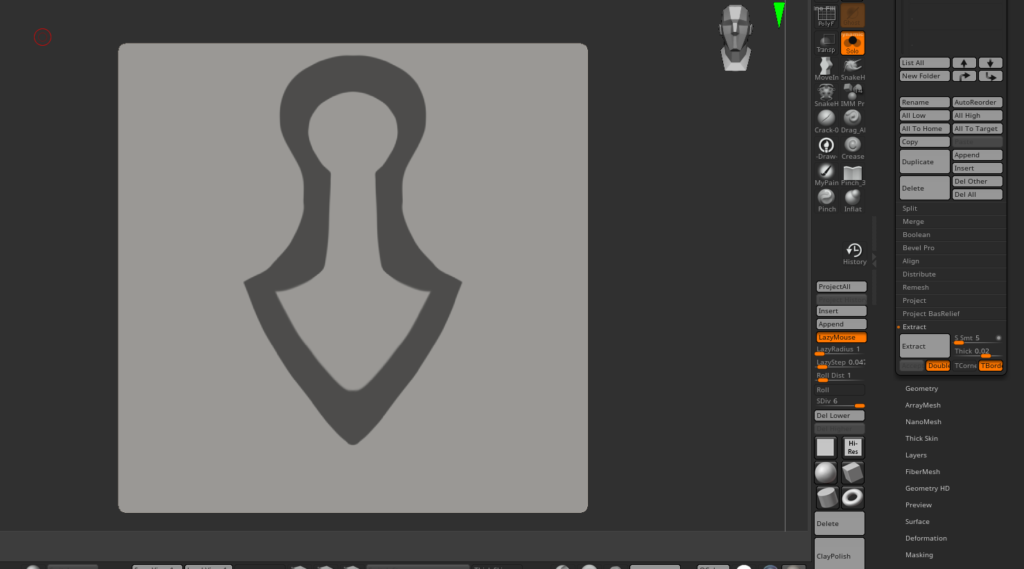
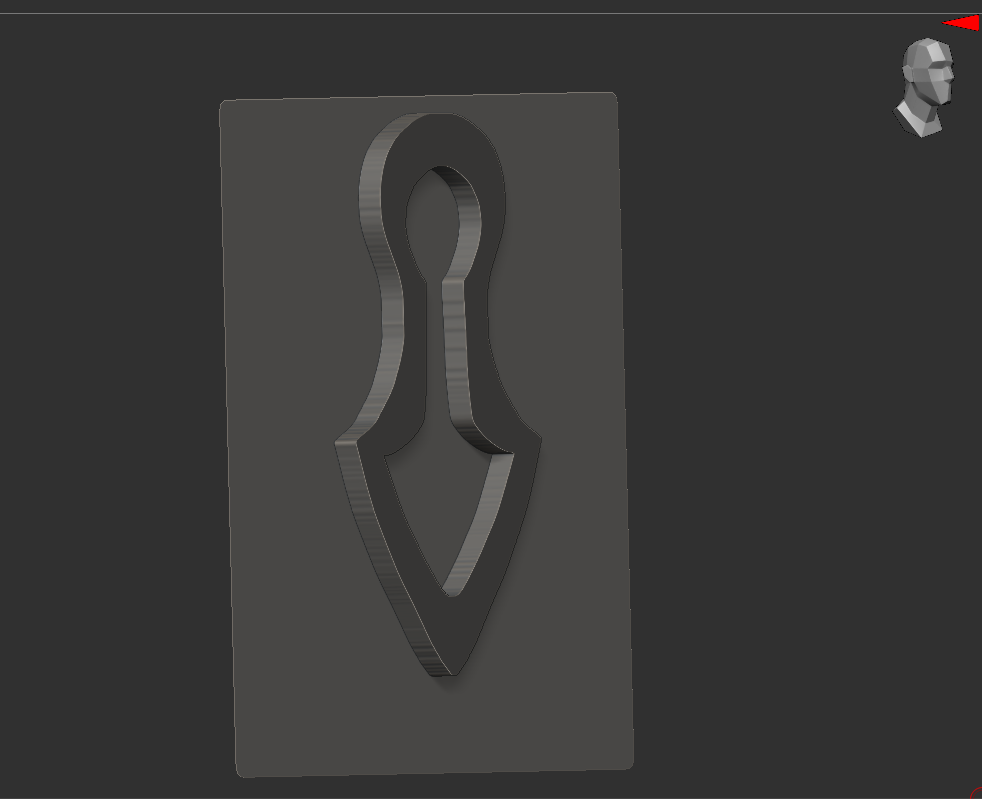
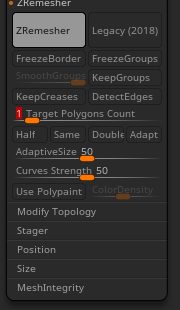
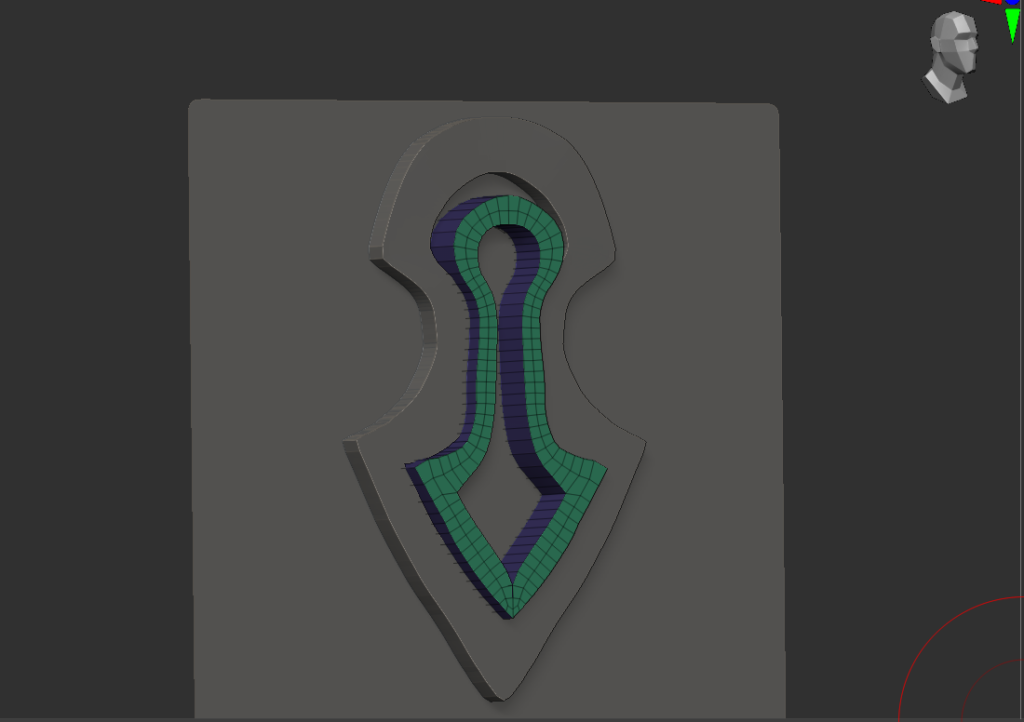
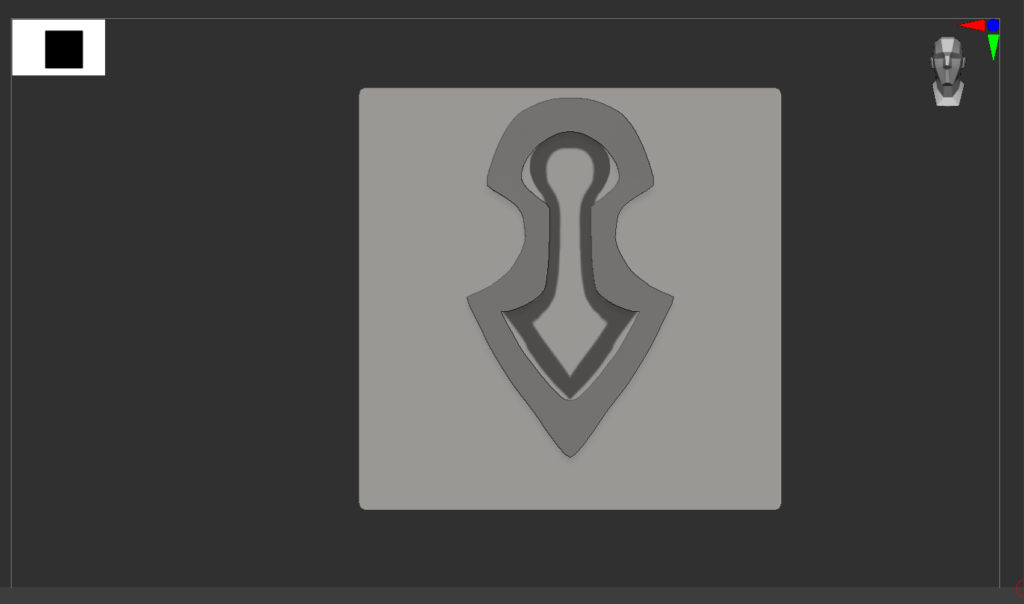
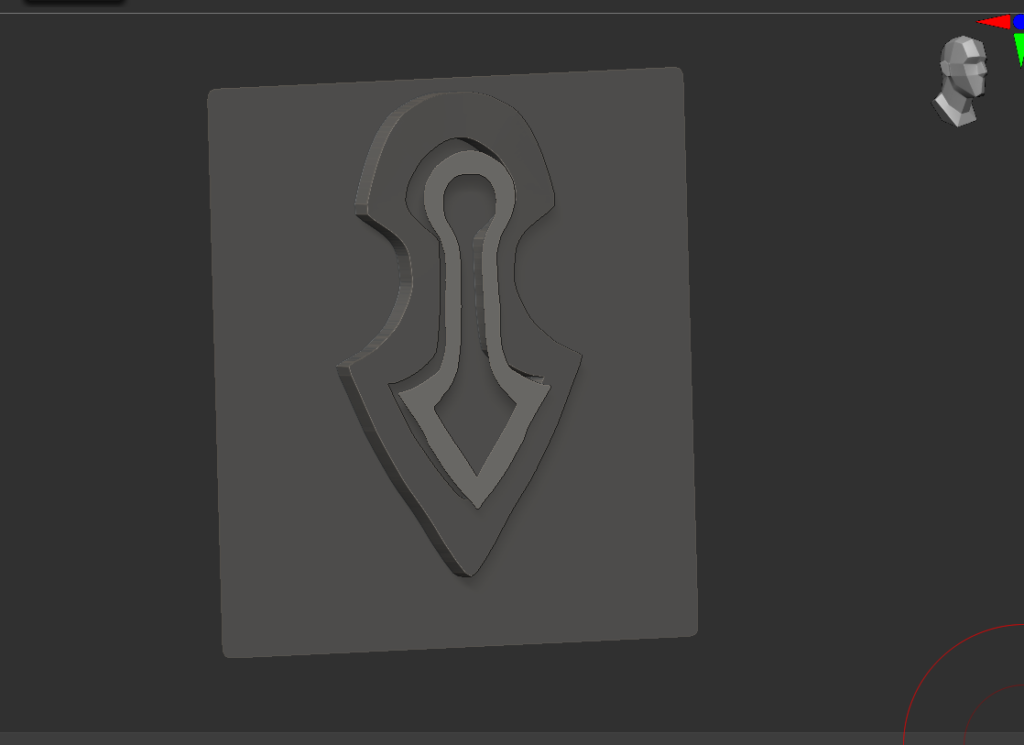
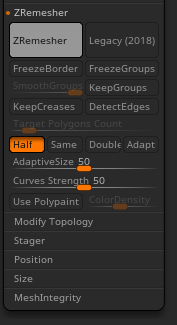
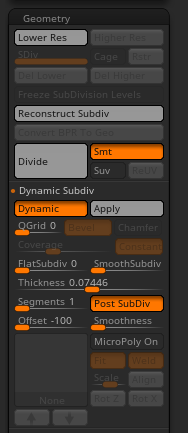
One of my favorite techniques for creating surfaces of various shapes included creating a plane of up to 1 million, after which, using a mask, I drew the shapes I needed and made an extrude. Sometimes I use shadow boxing in the same way.
Box
For the box, I used regular primitives, after which I made a dynomesh.
Saliva
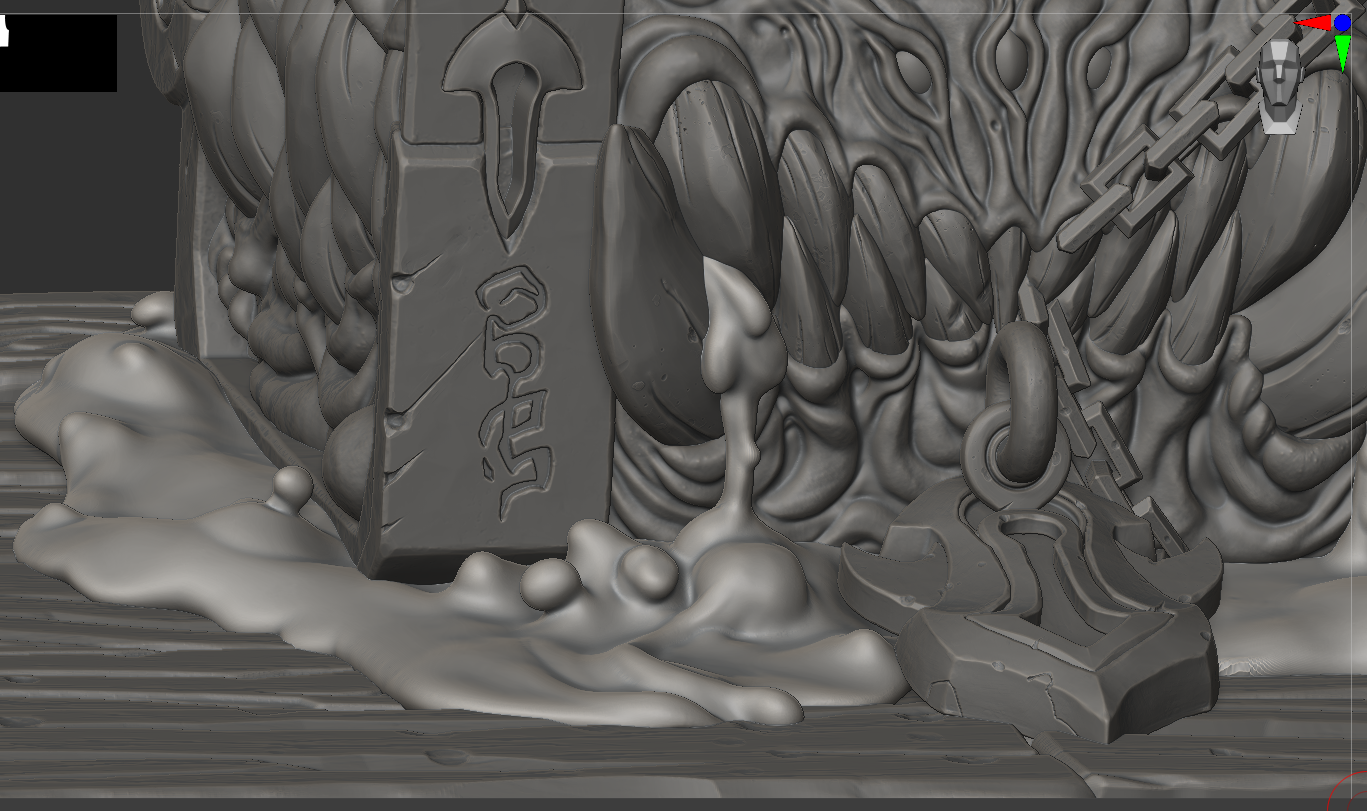
For saliva, I used candle references. To create an inflated surface, I experimented with brushes.
Painting
In all my works I use poly paint, especially for organic objects. I use Skinshade4 FS a base.
Here you can see the settings of my brush, you can play around and see what you like best.
It’s easier and faster for me to do it in Zbrush, and then just bake the vertex map and change it to substance as a base painting.
Uving & Baking
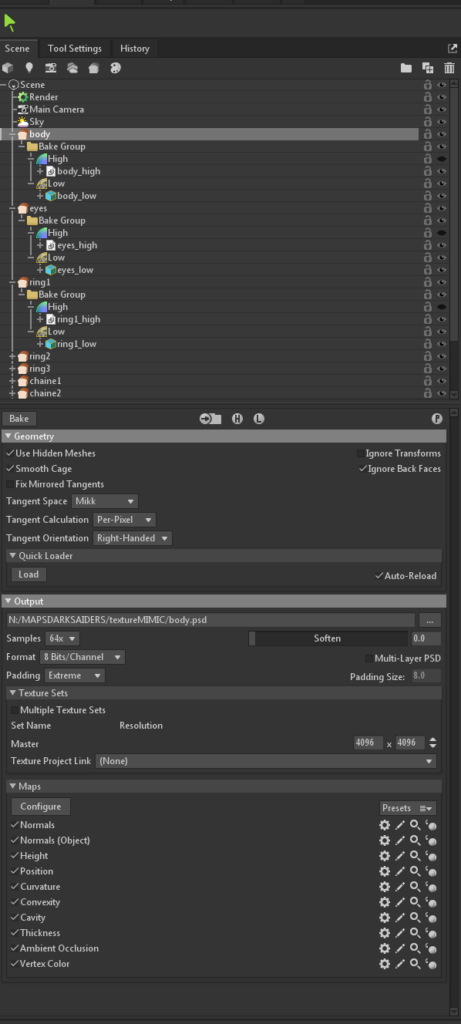
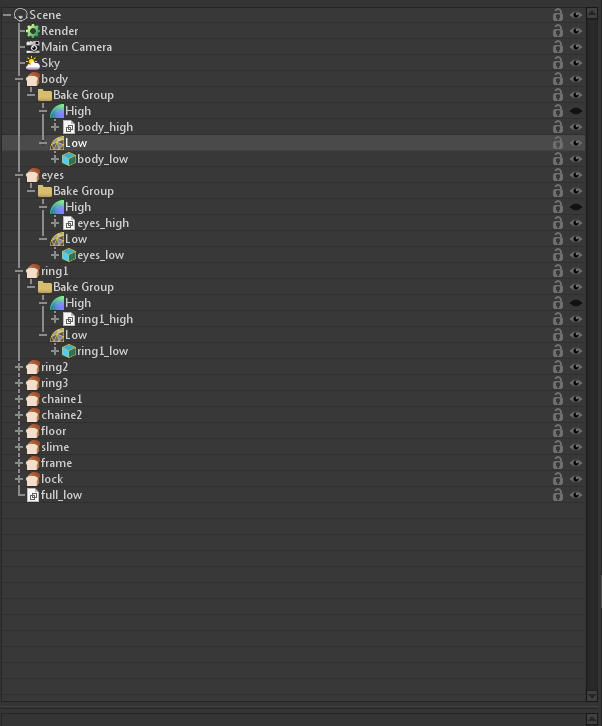
For retopology, I use 3D coat for UVs, Maya. Everything is simple and standard. I bake cards in Marmoset.
Before, in addition to the vertex color map in Zbrush, I create an ID map with a poly paint.
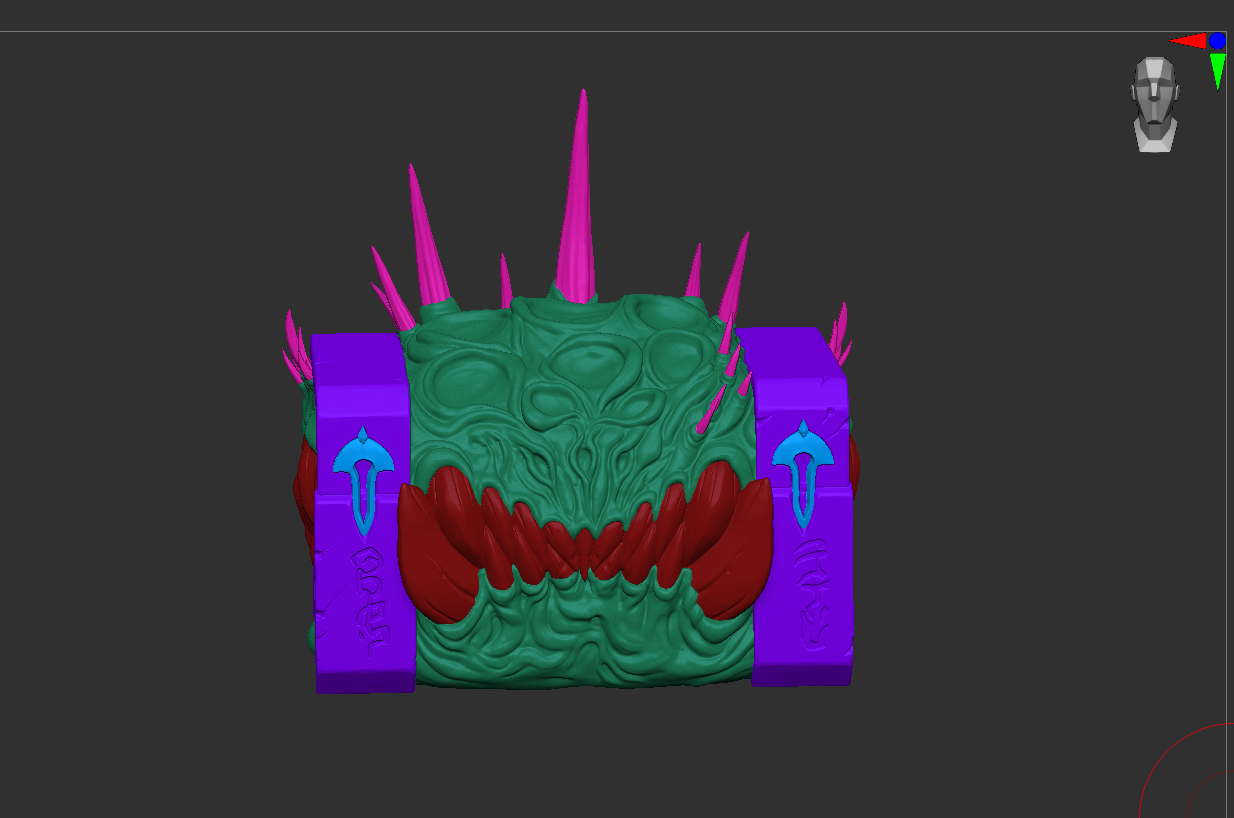
Body
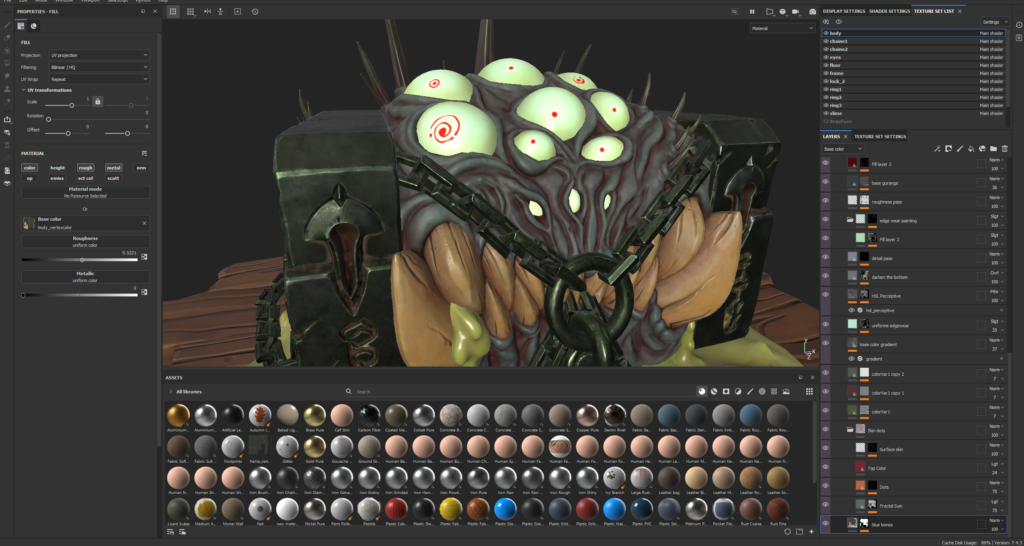
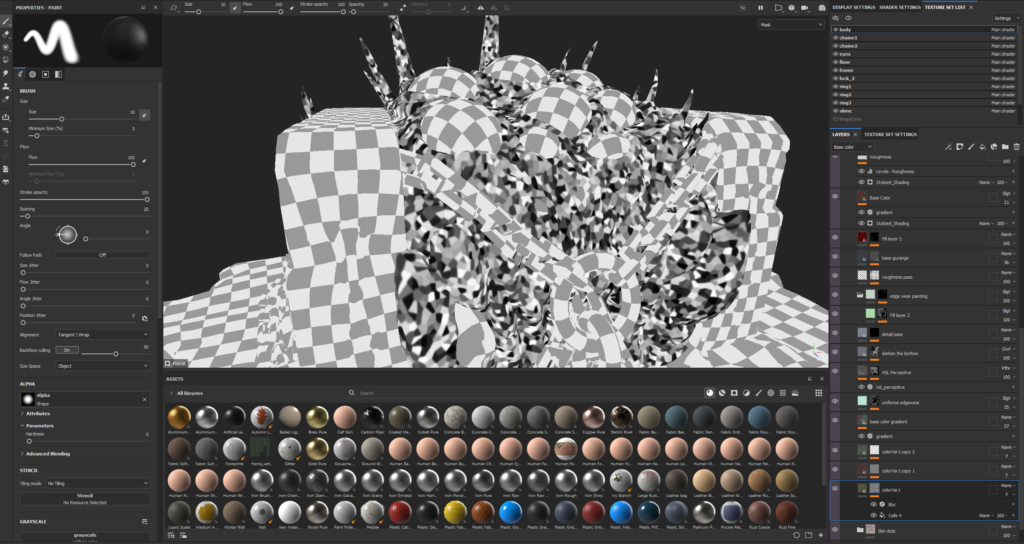
For the texture of the body at the heart of the texture, I have poly paint from Zbrush for color variation I use a cell generator. I also really like to use a gradient.
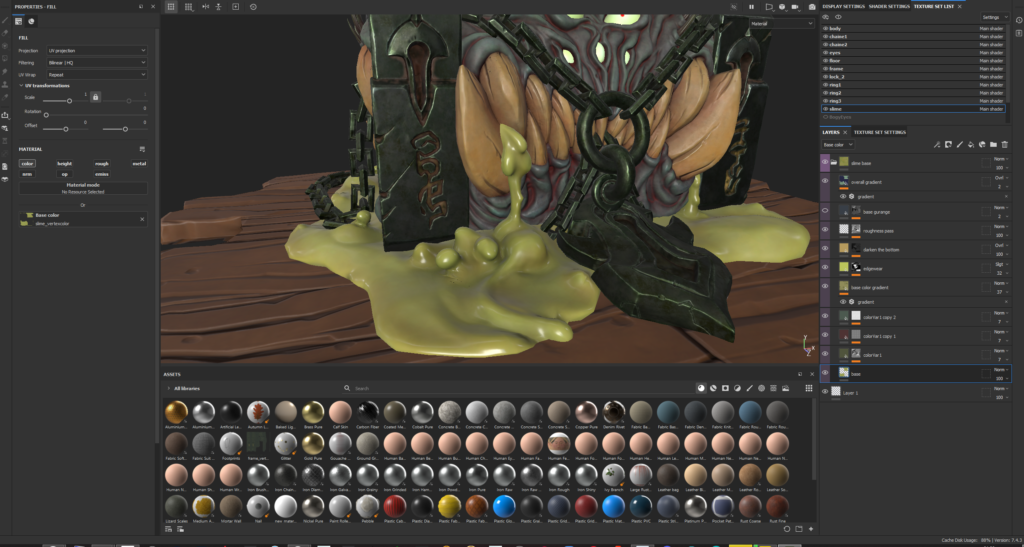
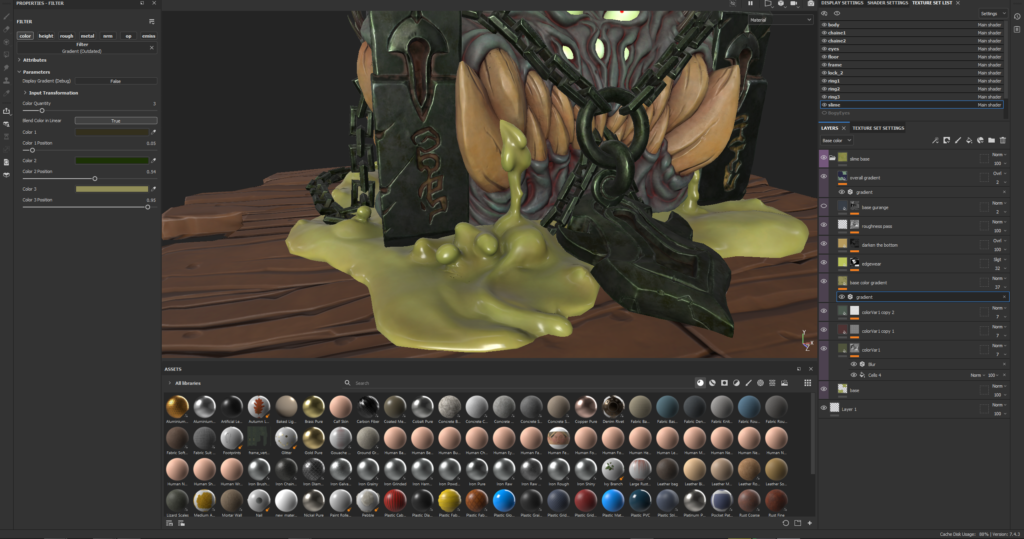
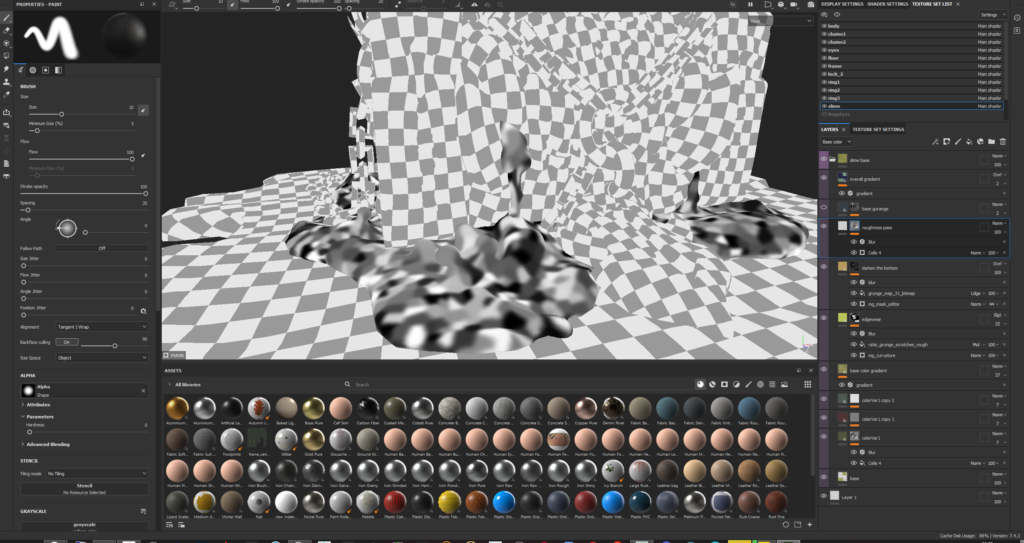
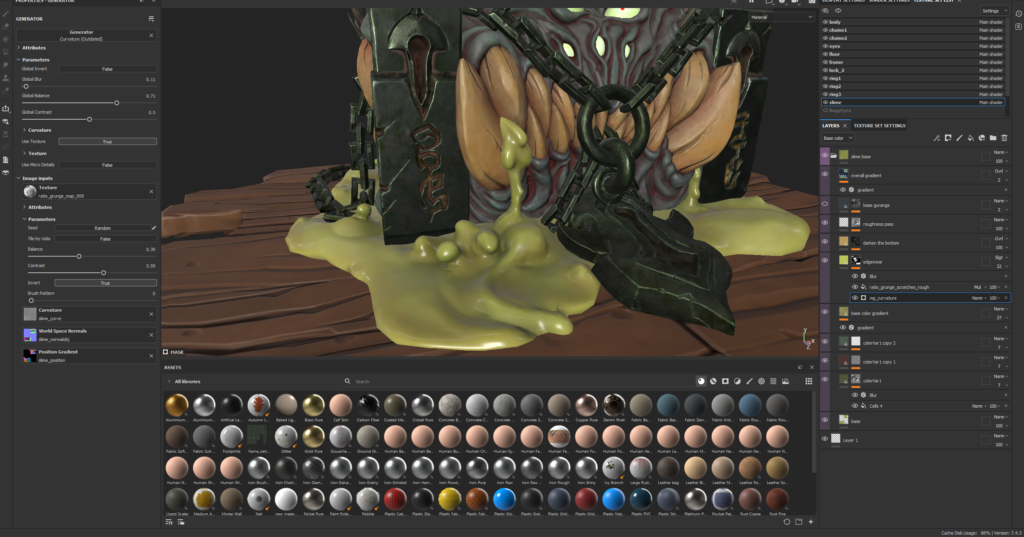
Slime
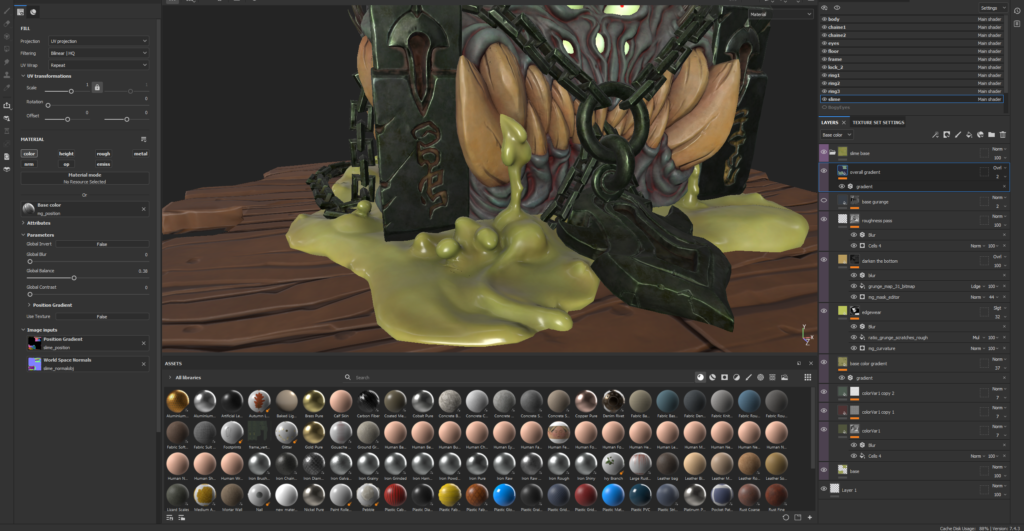
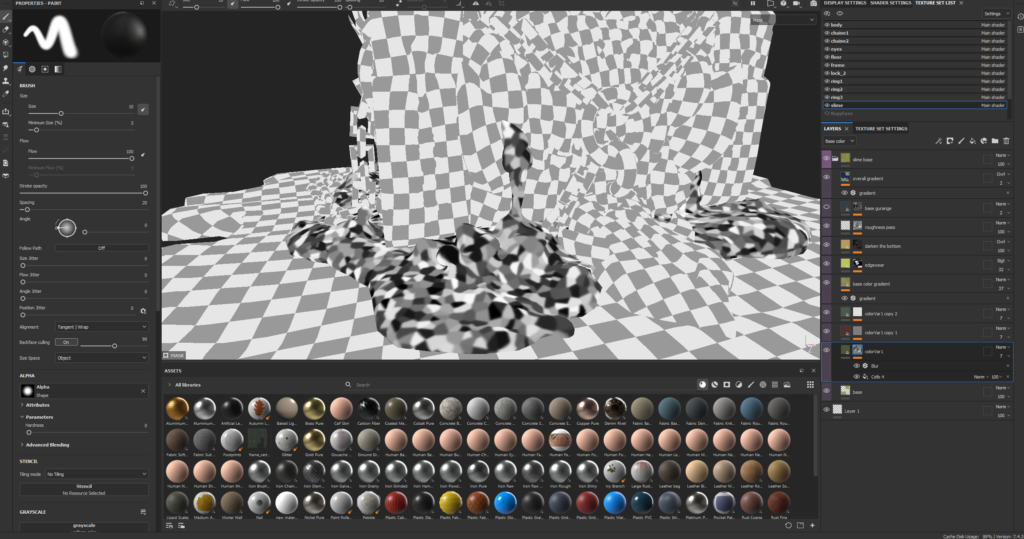
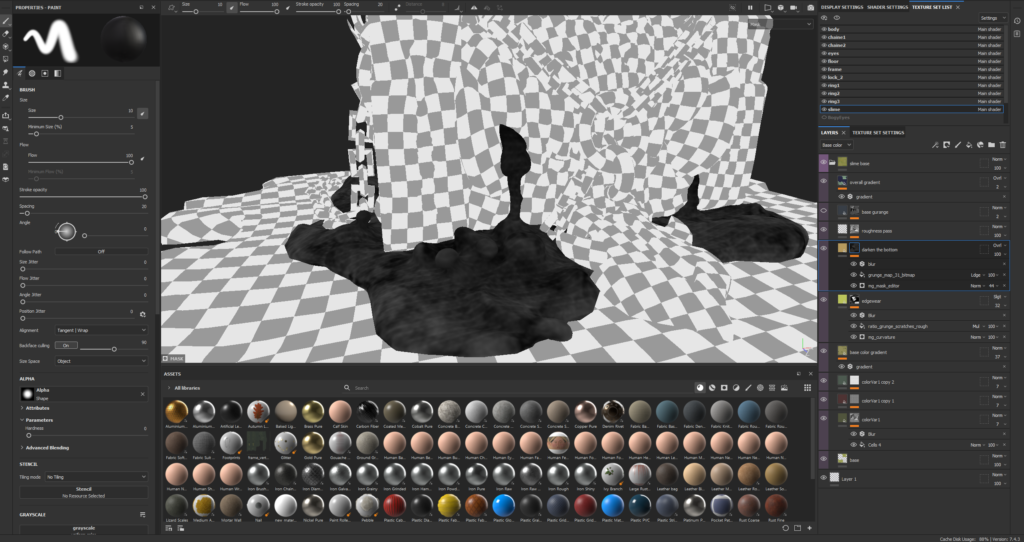
The texture of the slime was created according to a similar principle. I paid more attention to the roughness settings.
Eyes
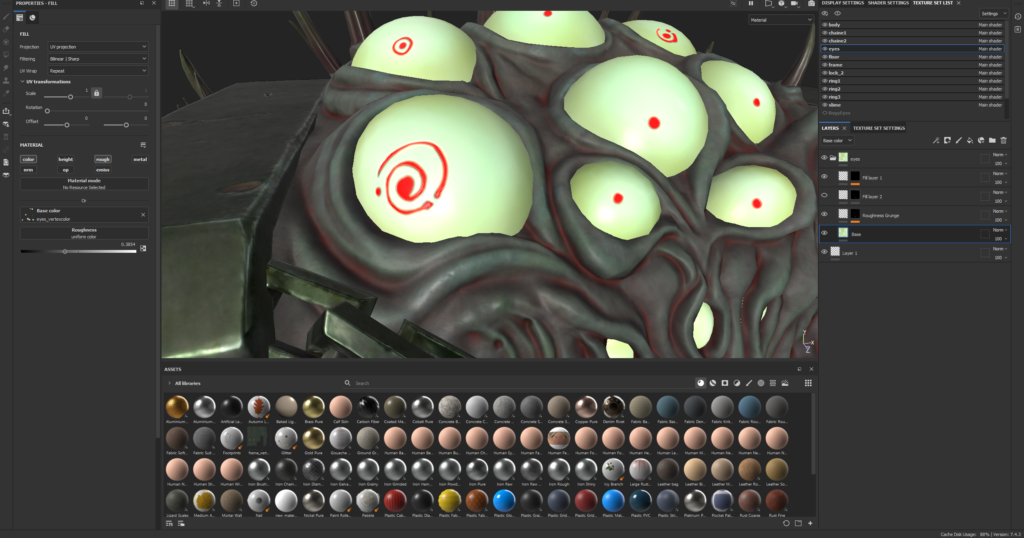
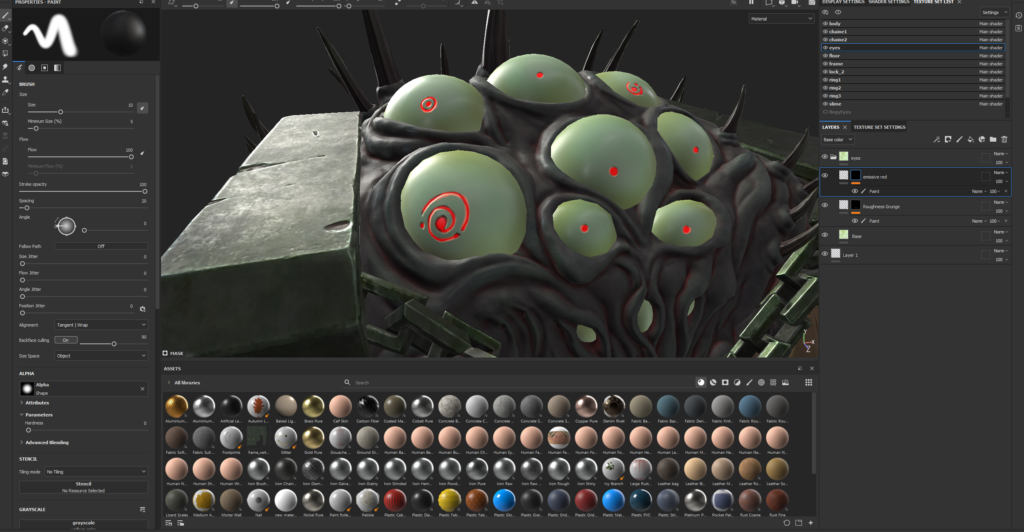
The eyes are pretty simple. Color change along the contour and roughness in the center of the eye, as well as a little glow to highlight the pupil area.
Iron
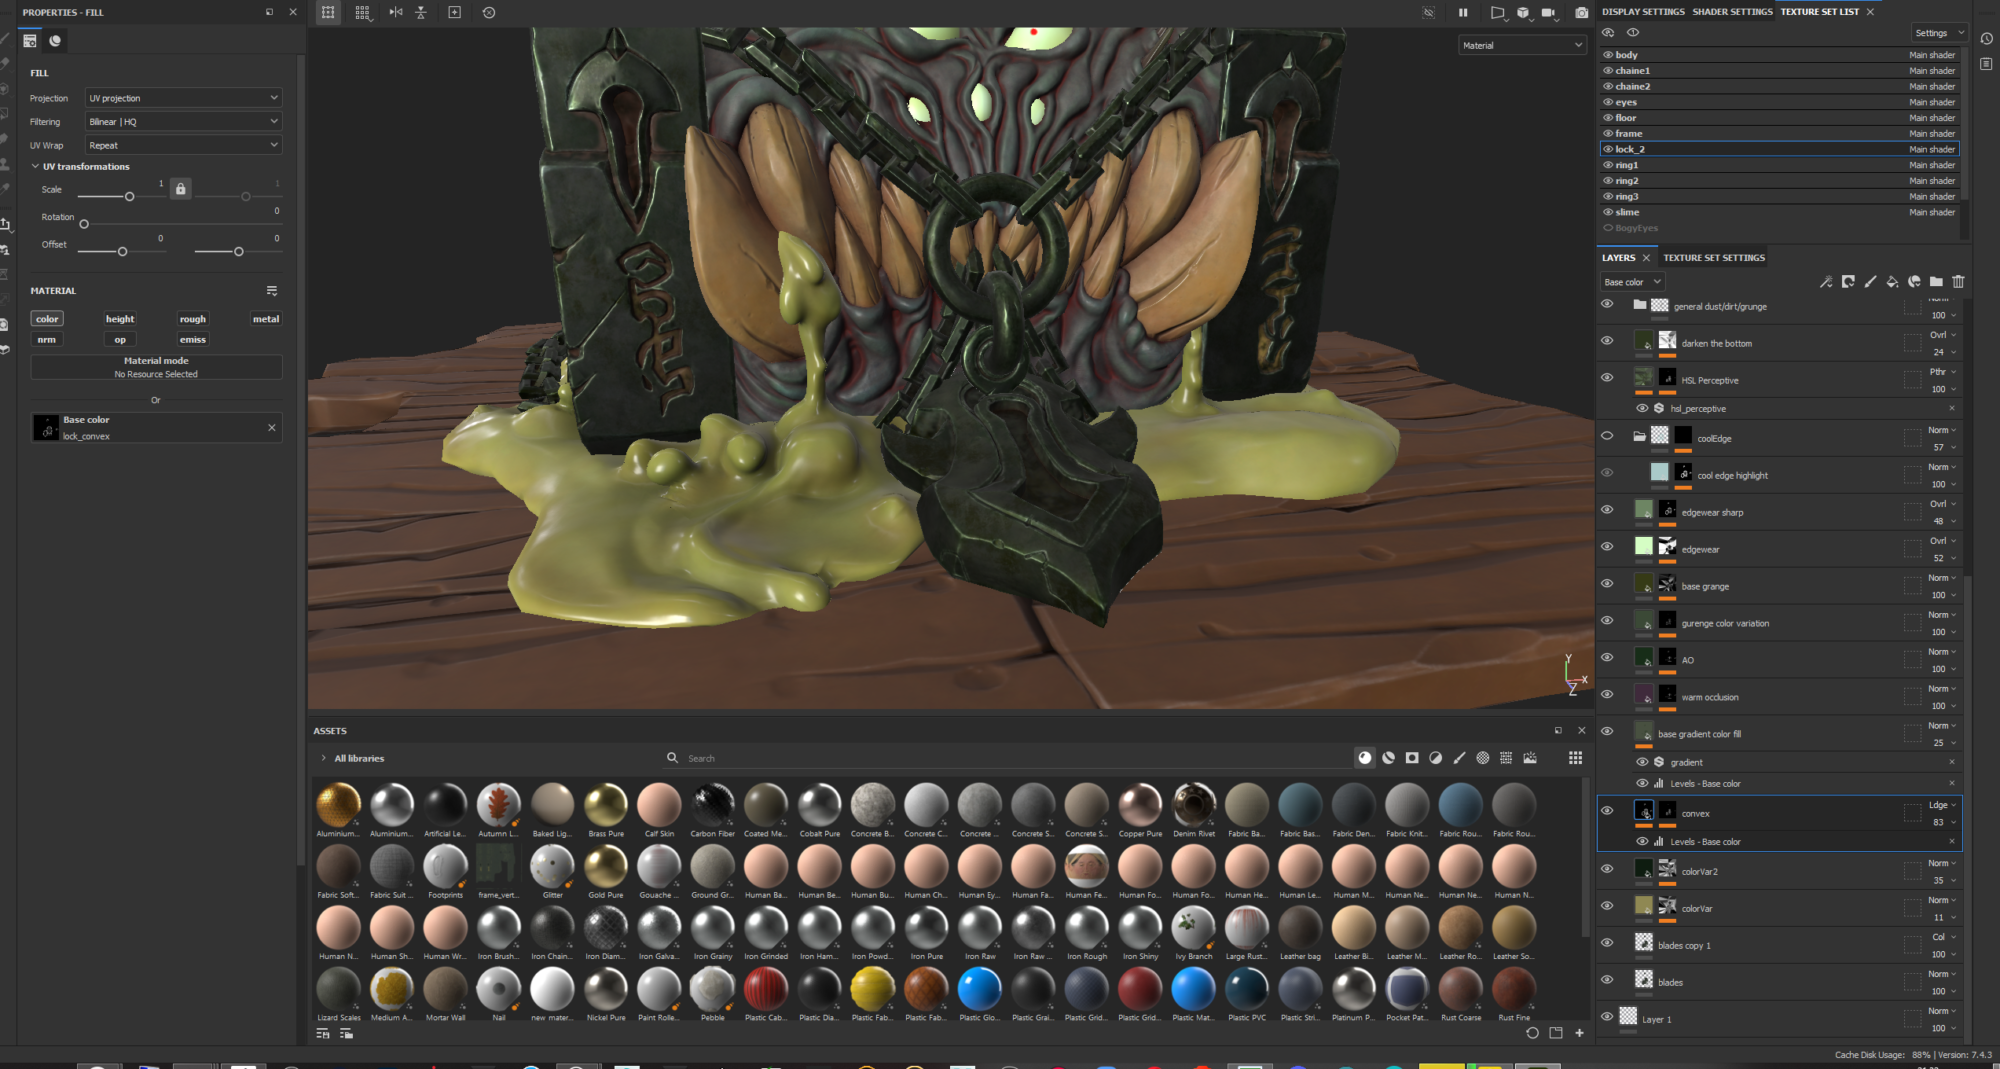
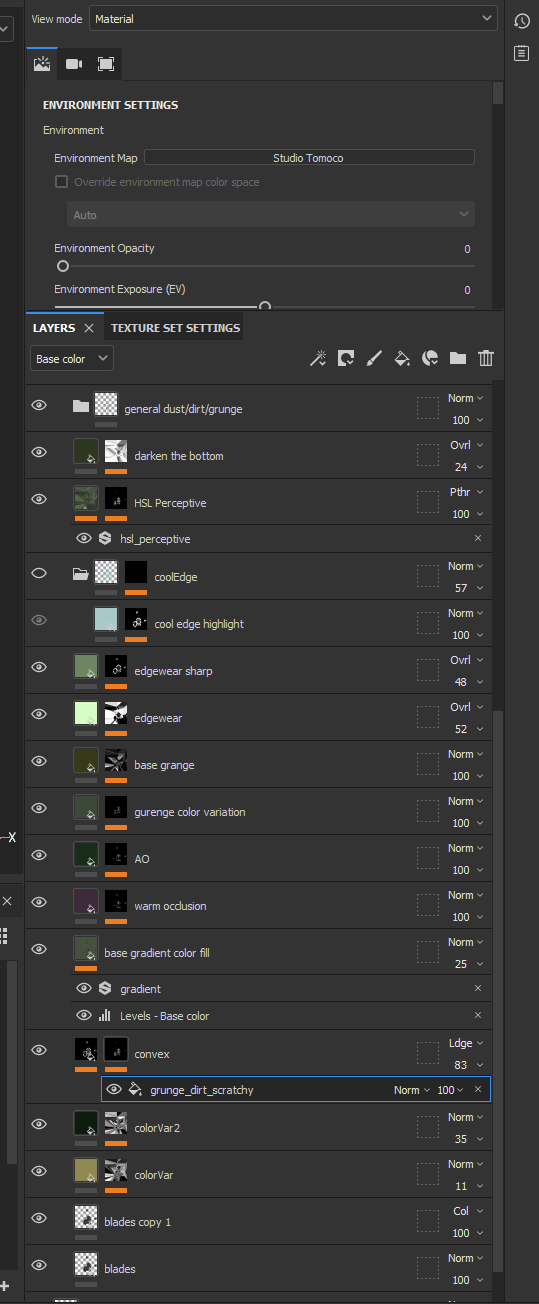
For the iron, instead of a curvature map, I like to use convex, it conveys the edges of the object better.
Lighting
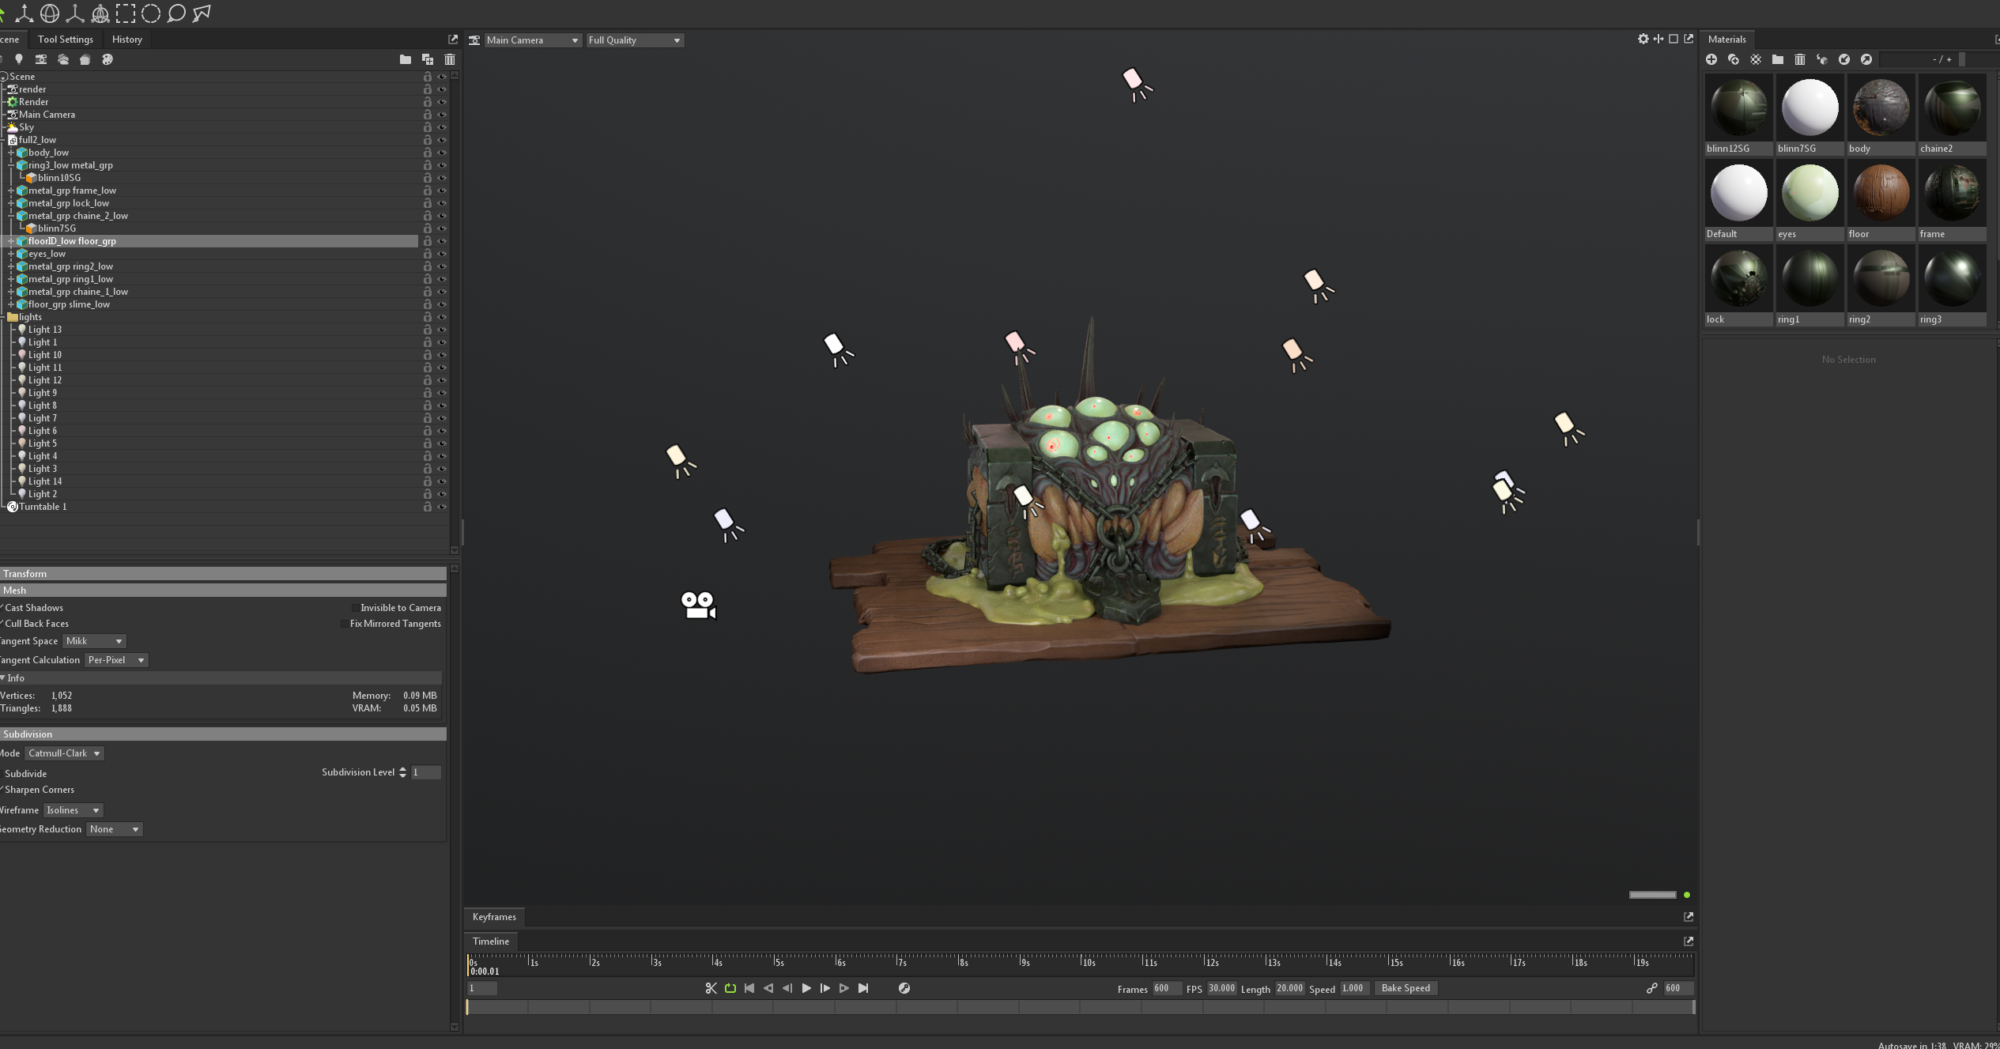
for the light I try to use a large number of sources at low intensity, they help to better control the places that I want to give more attention.
Conclusion
I hope this character breakdown was useful to you. Thank you GamesArtist.co.uk for the opportunity.
My ArtStation.

