HaHa’s Agency

Introduction
Hello, my name is Jihak Jung, and I’m a 3D Environment Artist based in South Korea.
I started my career in architectural visualization, but after discovering Unreal Engine, I naturally developed an interest in game environment art, which led me to transition into working as an environment artist.
Goals
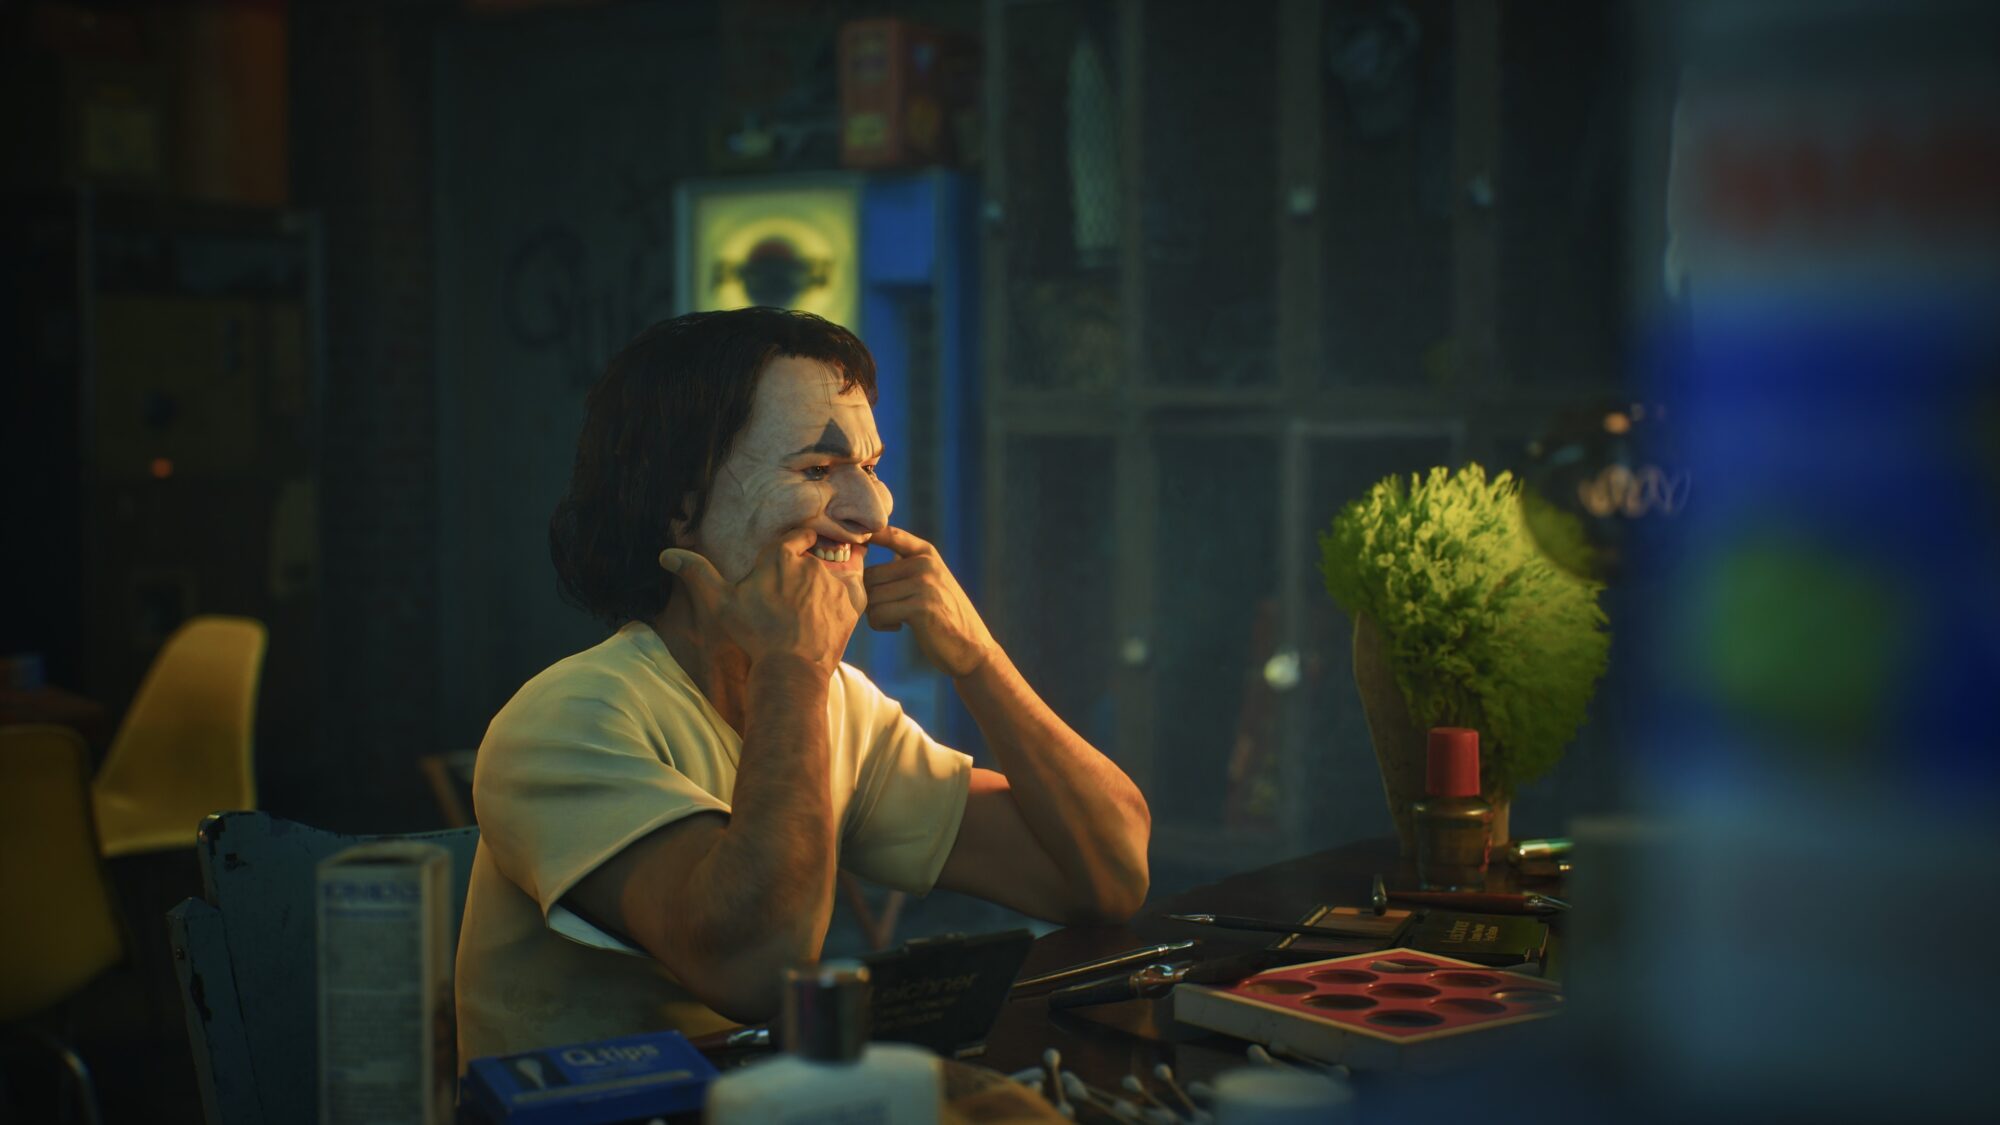
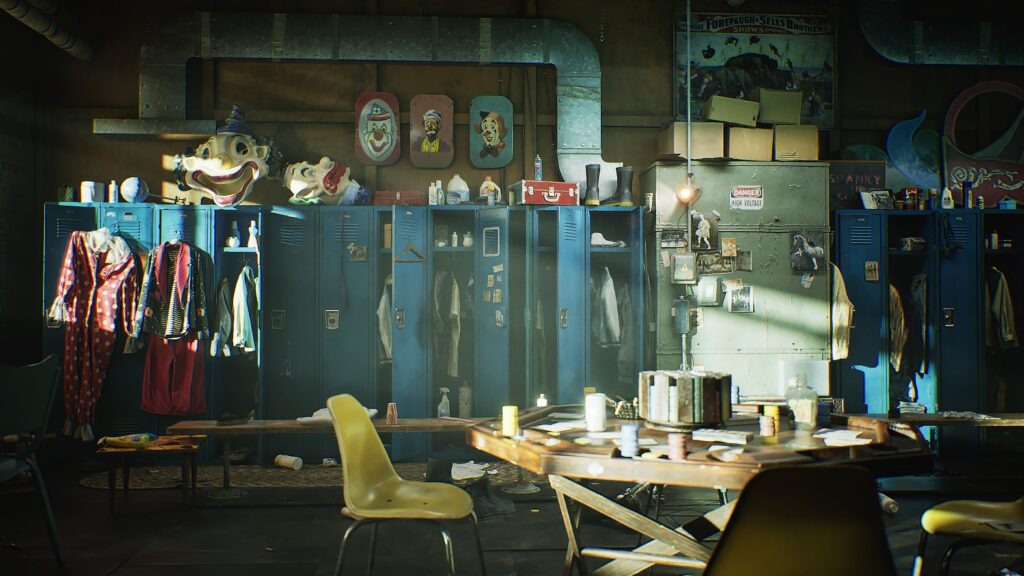
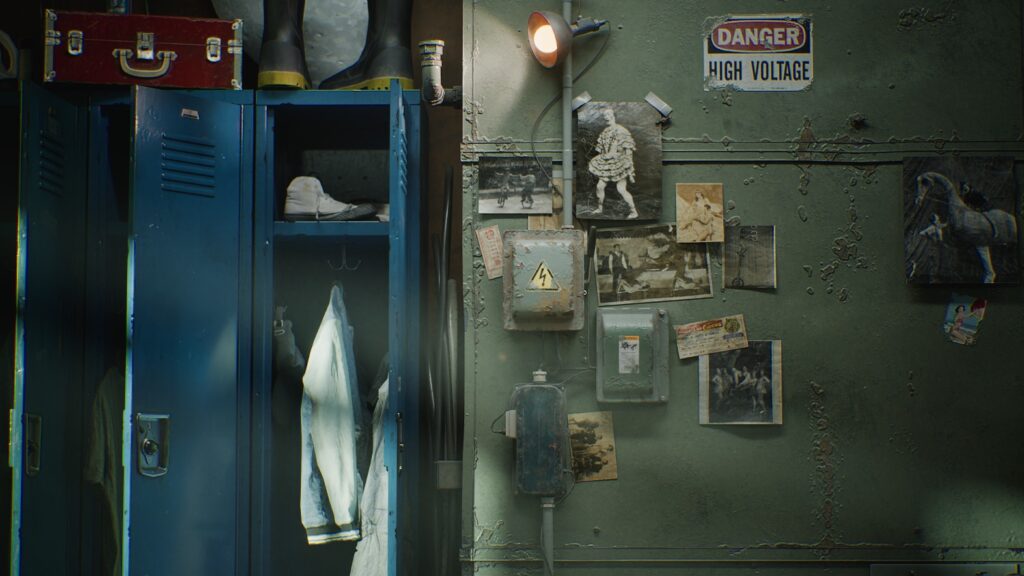
My portfolio project, “HaHa’s Agency,” was inspired by the office where Arthur Fleck worked in the film Joker (2019).
I was captivated by the striking lighting, the use of color, and the emotional atmosphere of that space.
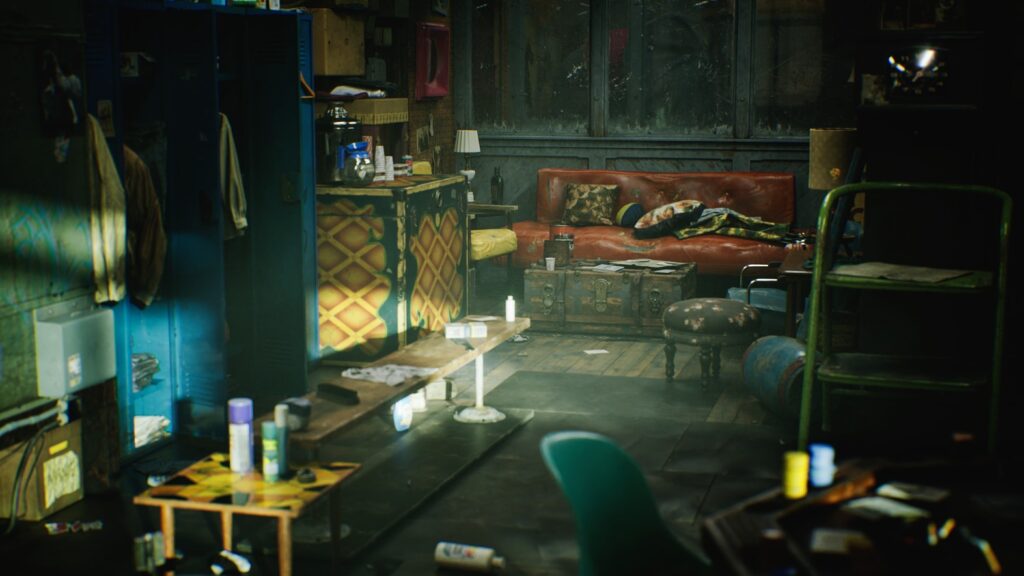
Rather than focusing solely on visual aesthetics, I chose this theme because it allowed me to explore and showcase a broad spectrum of environment art skills: from hard-surface and organic modeling to creating vintage materials and storytelling driven by mood and emotion.
It was a great opportunity to seamlessly integrate various techniques such as prop creation, lighting setup, material work, and scene composition.
Instead of replicating a specific scene exactly as it appears in the film, I reimagined the space with my own layout, maintaining the emotional tone while adding my unique artistic vision.
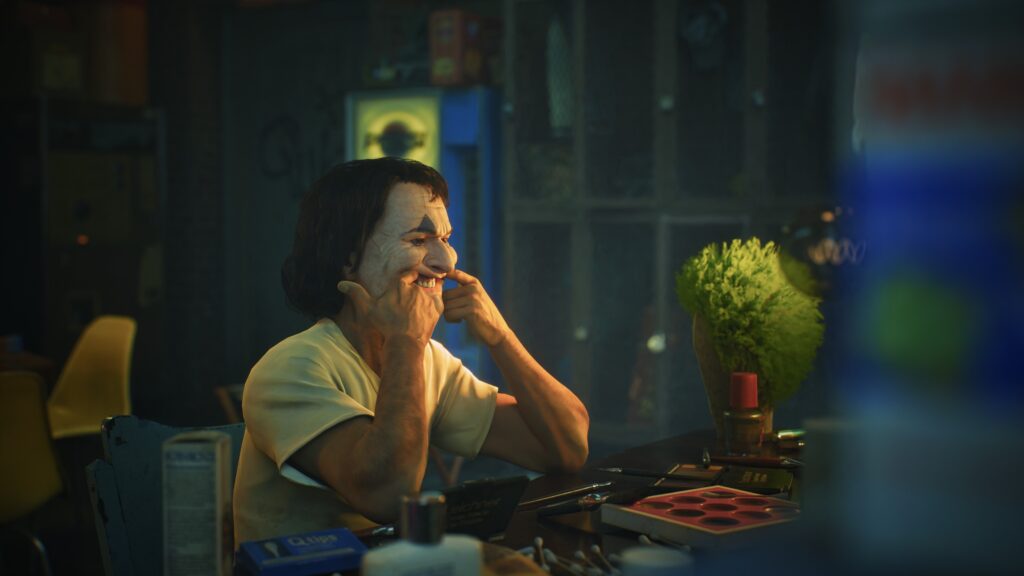
Additionally, to complete the atmosphere of the space, I created a character using MetaHuman Creator.
I customized the base model’s face, hair, skin, and clothing to enhance the overall level of detail and realism.

Tools
- 3ds Max
- Marvelous Designer
- ZBrush
- TopoGun
- RizomUV
- Substance Painter
- Substance Designer
- Substance Sampler
- Marmoset Toolbag
- Unreal Engine 5
- MetaHuman Creator
- DaVinci Resolve
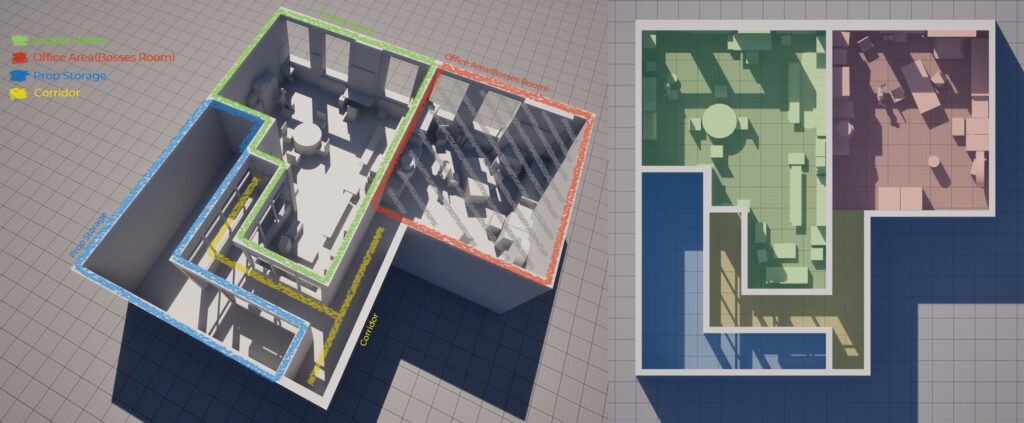
Block Out & References
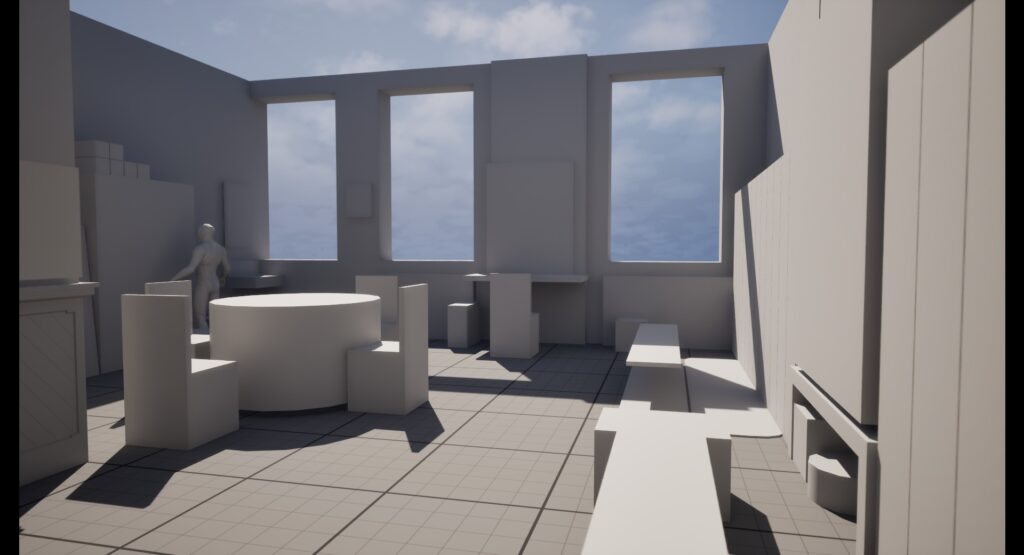
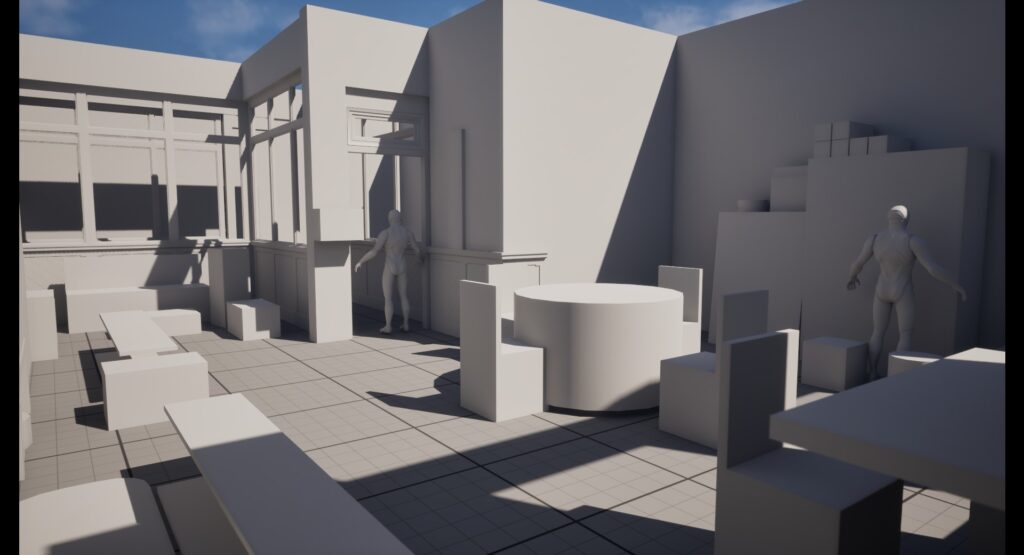
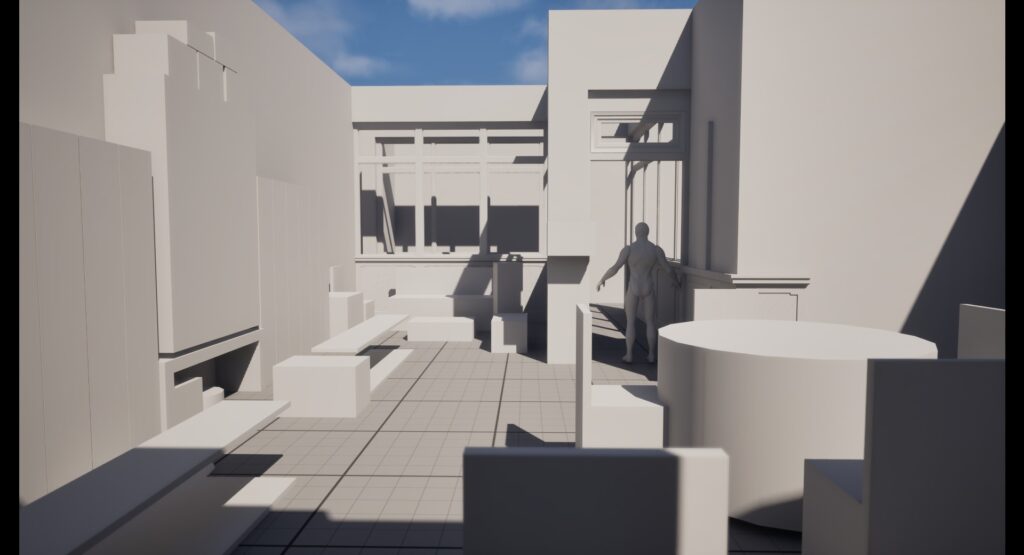
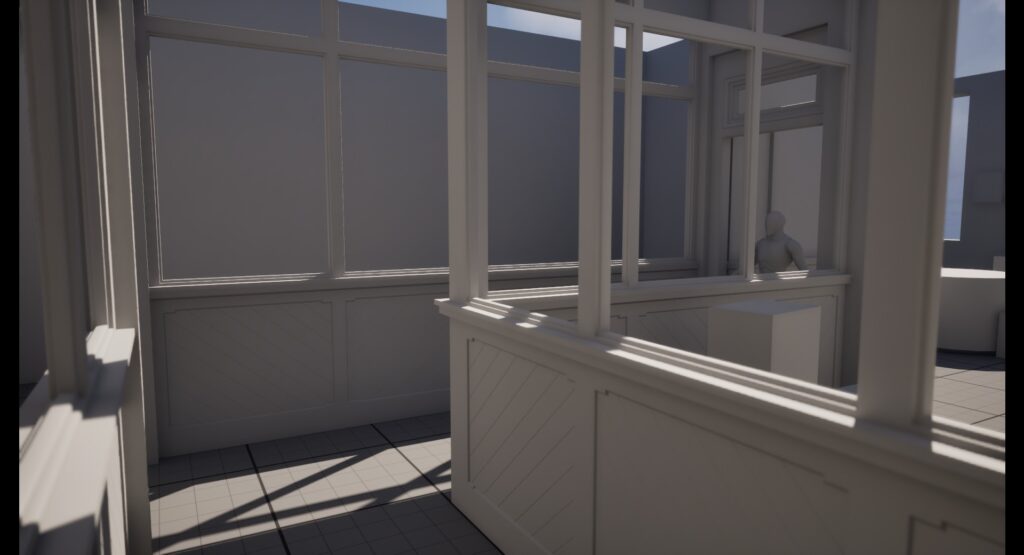
For this project, I started by blocking out the scene based on the actual filming location, calculating the real-world dimensions of the space and the scale of the characters.

The placement of the walls and overall spatial design were created with cinematic camera views and character movement paths in mind.
Throughout the process, I continuously reviewed and refined the layout within Unreal Engine to enhance the overall quality and completeness of the scene.
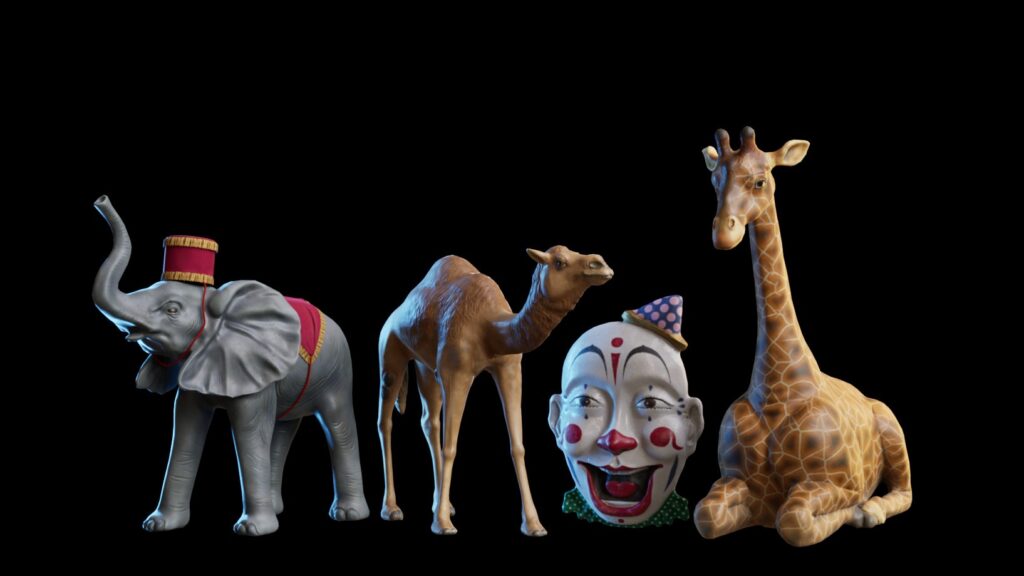
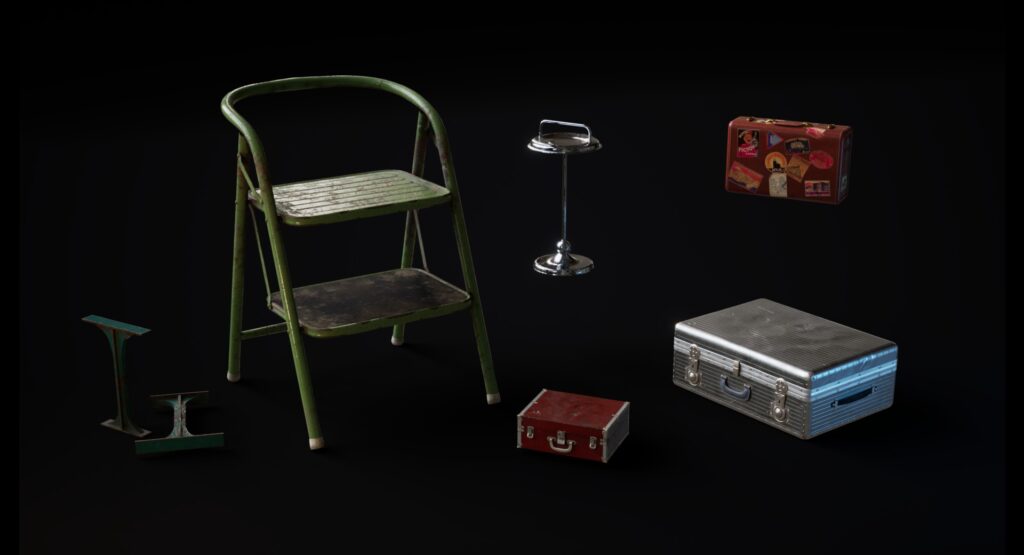
Prop Creation
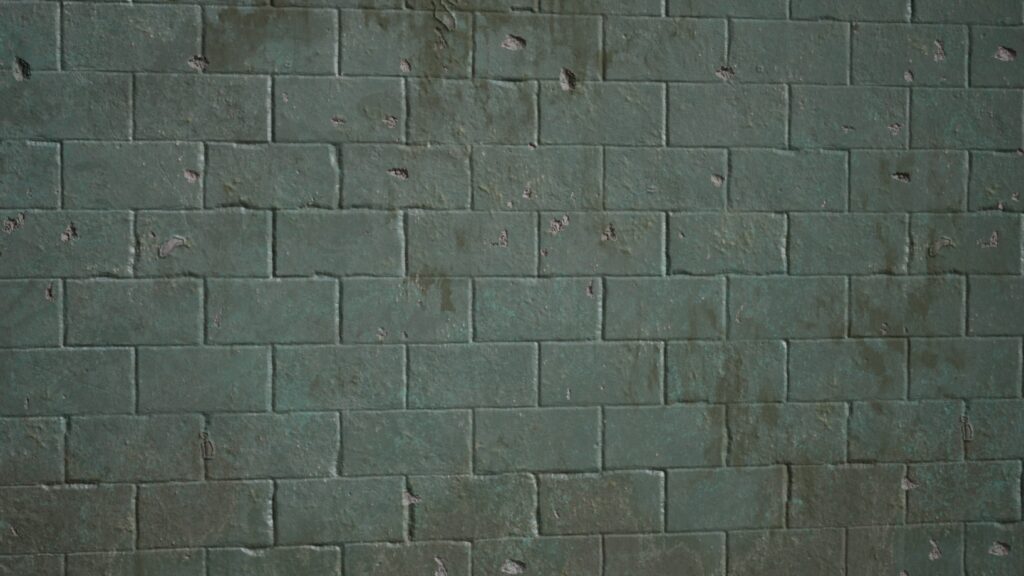
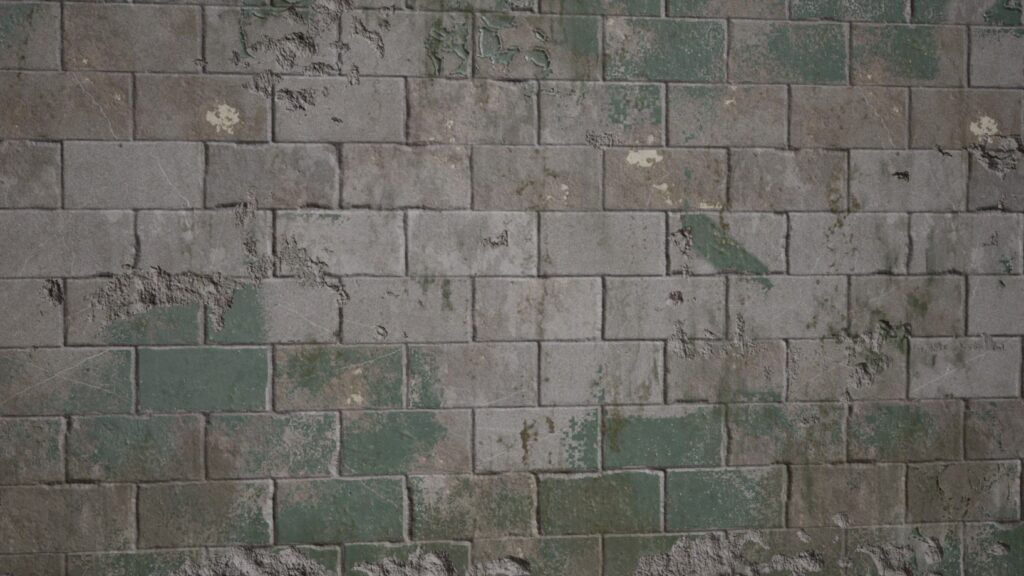
I started by placing temporary tilemaps for the walls and floors before beginning asset production.
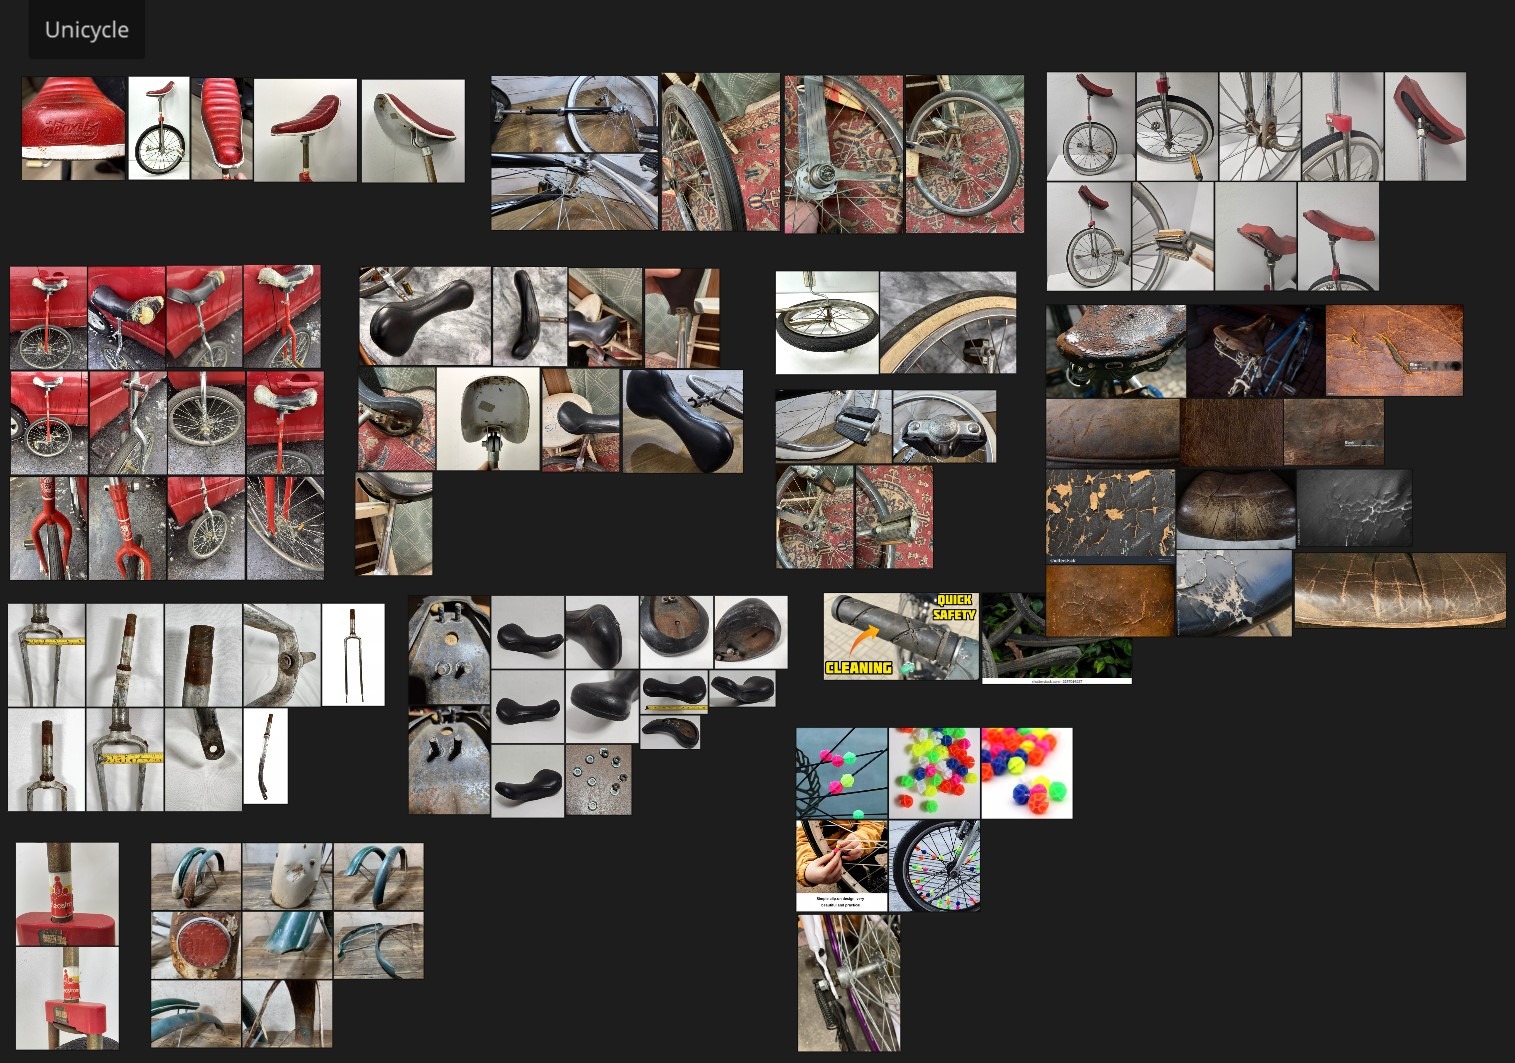
For prop creation, I always begin by collecting references. Good references are extremely important, and it’s essential to gather as many assets and examples as possible.
I collect references in detail, breaking them down by specific parts and storytelling elements.
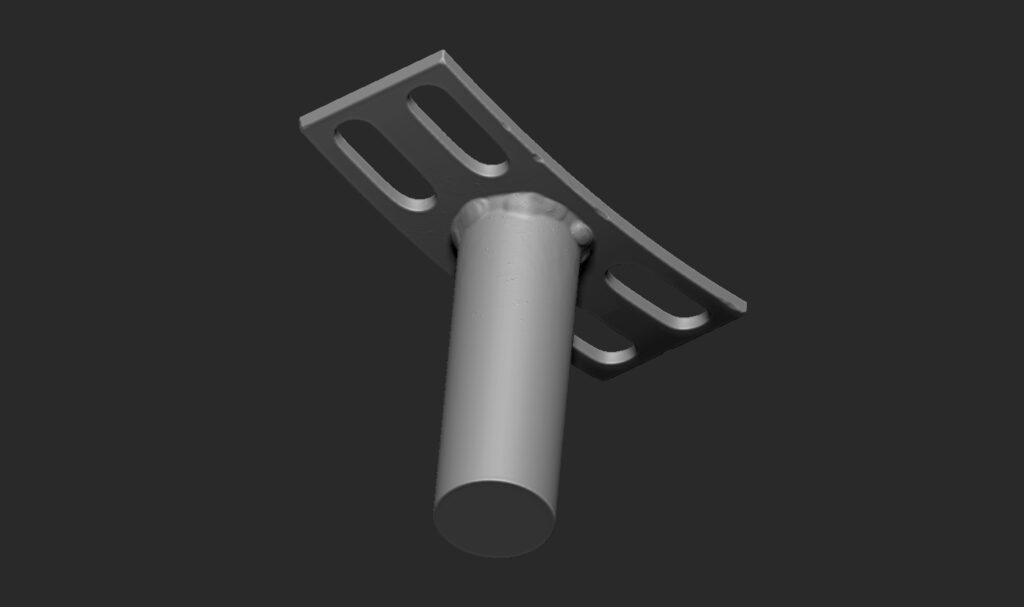
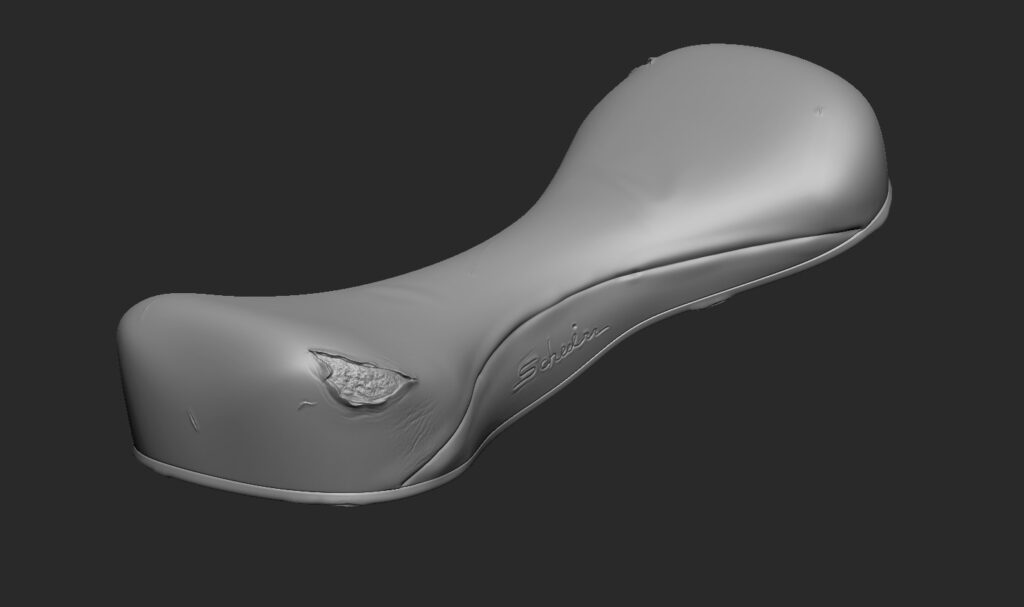
My asset creation workflow begins in 3ds Max, where I build the base models, and then I add finer details in ZBrush.
I focus on sculpting details in ZBrush that are difficult to achieve solely in Substance Painter.
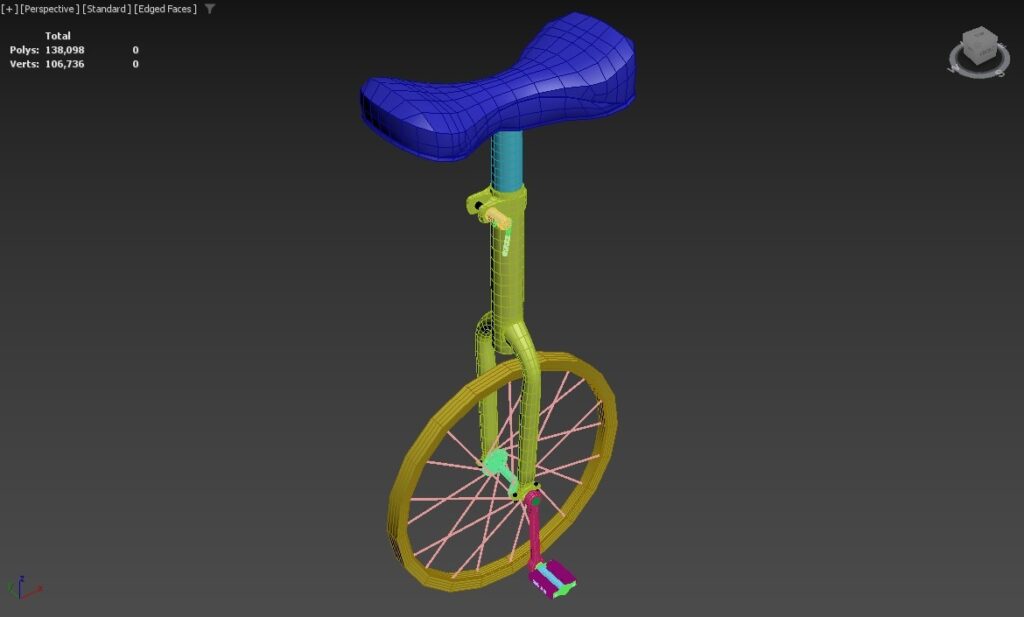
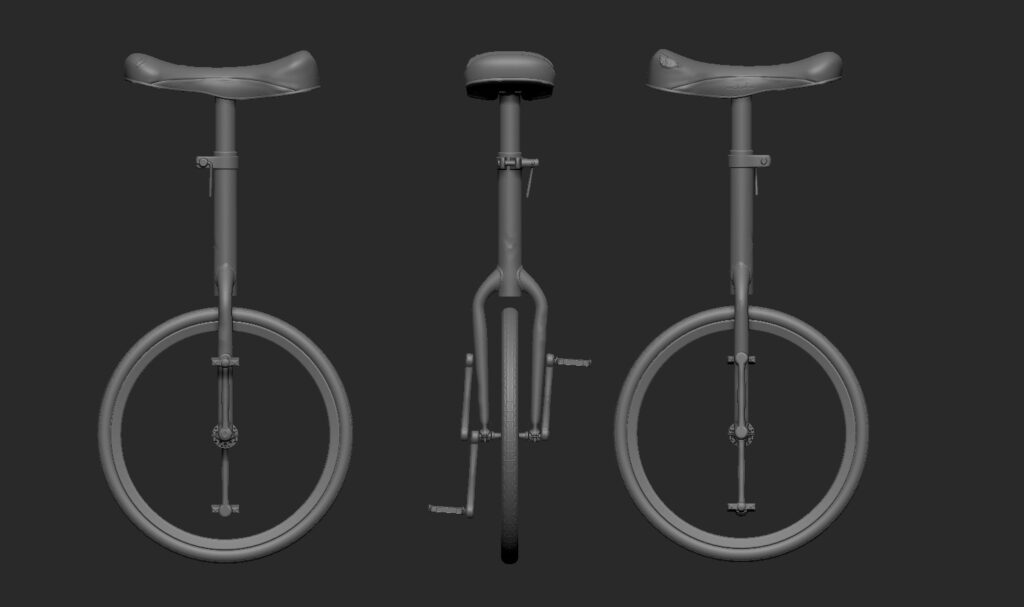
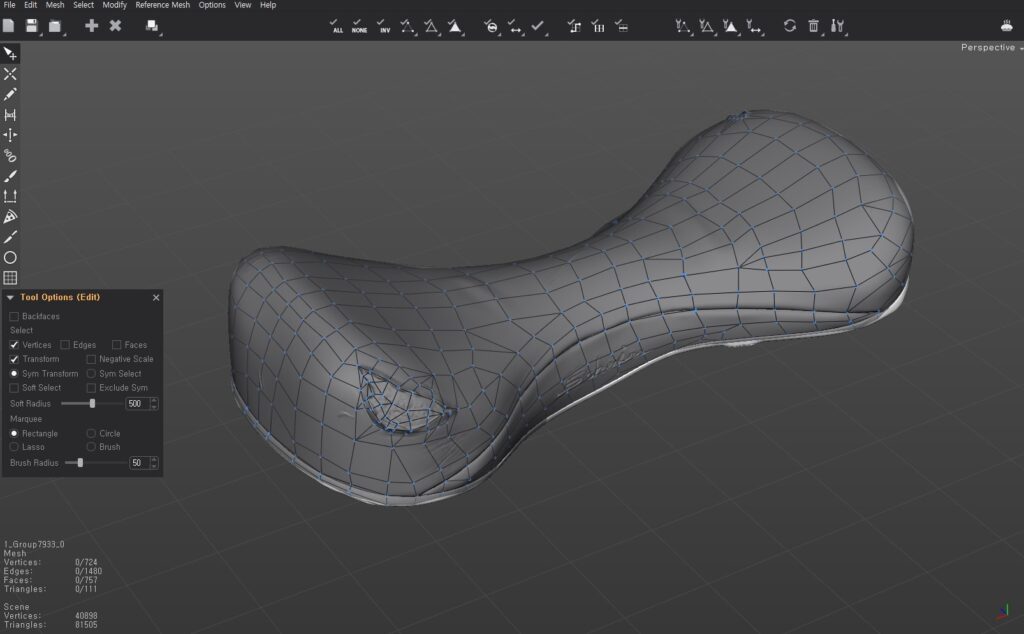
Next, I create the low-poly models either in 3ds Max or, if needed, in TopoGun. After that, I unfold and arrange the UVs in RizomUV, which I find incredibly convenient for UV unwrapping and packing.

Once the UVs are done, I move on to texturing in Substance Painter and, when necessary, also use Substance Designer or Sampler.
For rendering, I use either Marmoset Toolbag or Unreal Engine.


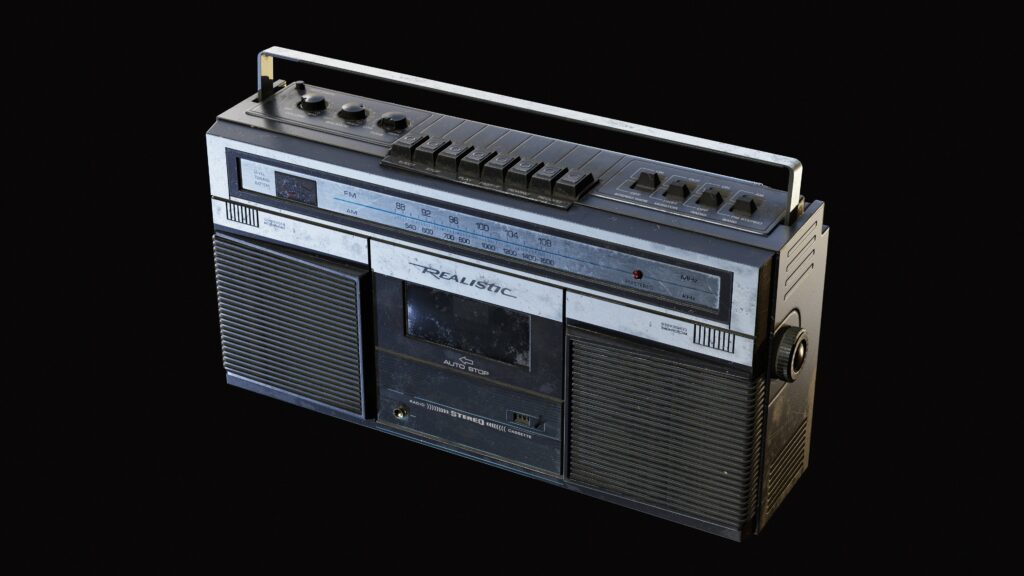

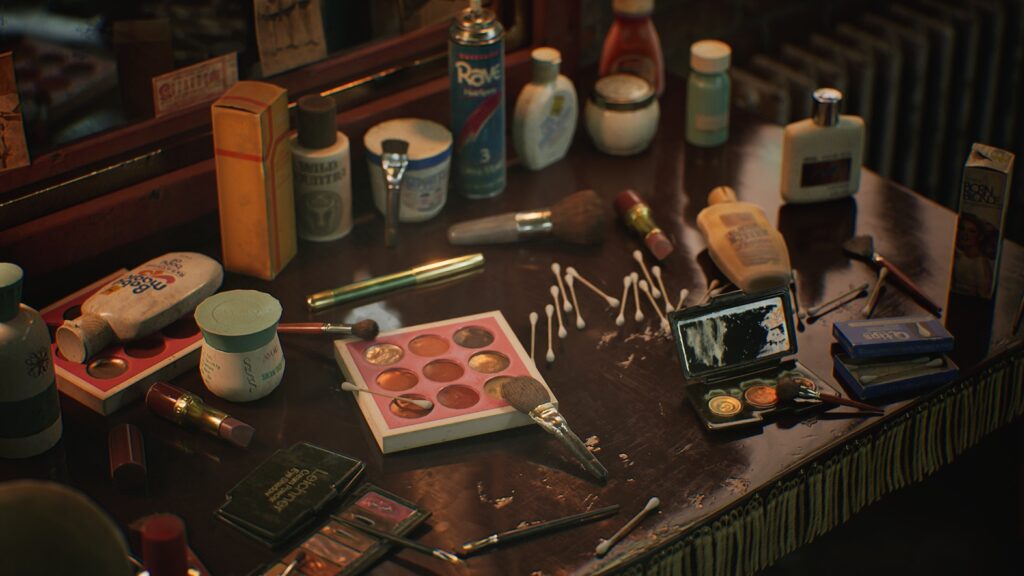
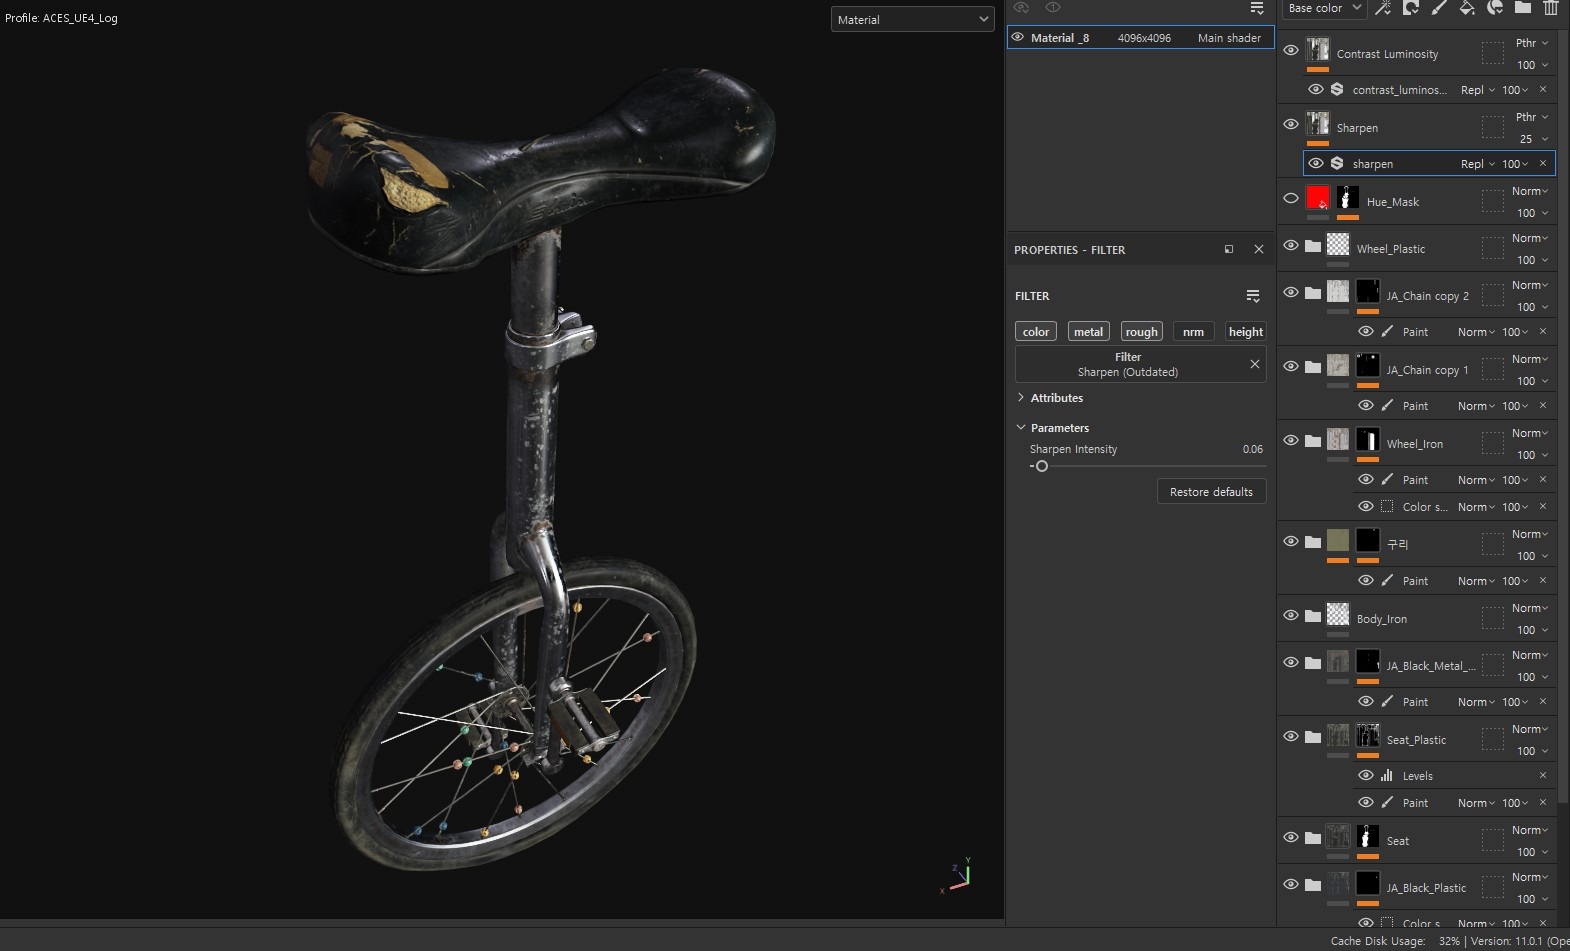
Texturing Workflow
I start with the base color and gradually build up layers, adding slight variations in color tones, roughness, and the unique textures of the object.
The key is to avoid adding heavy details right from the beginning.
I always work while referring to references, and I strongly recommend actively seeking out similar materials or props to photograph or physically examine if necessary.
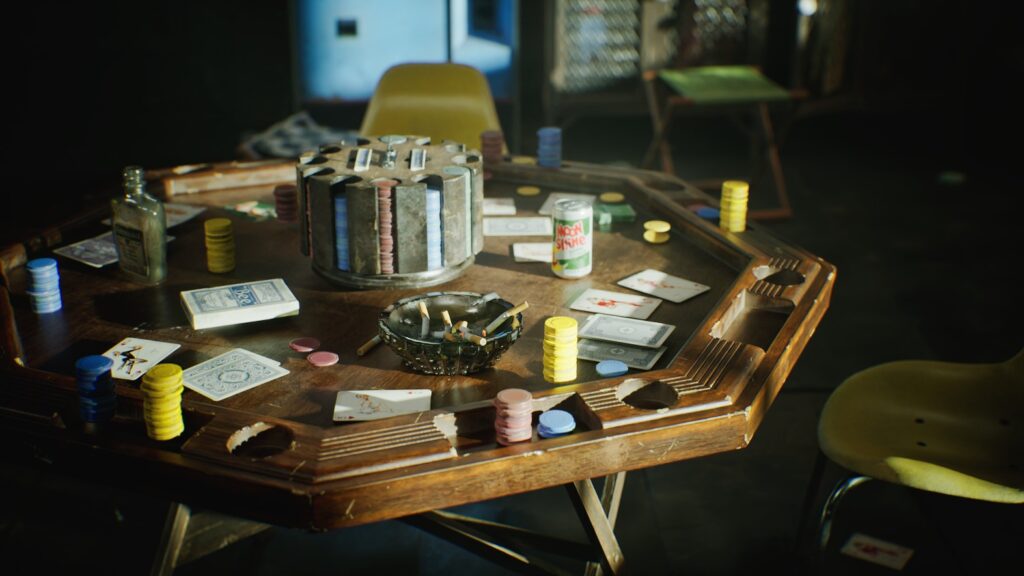
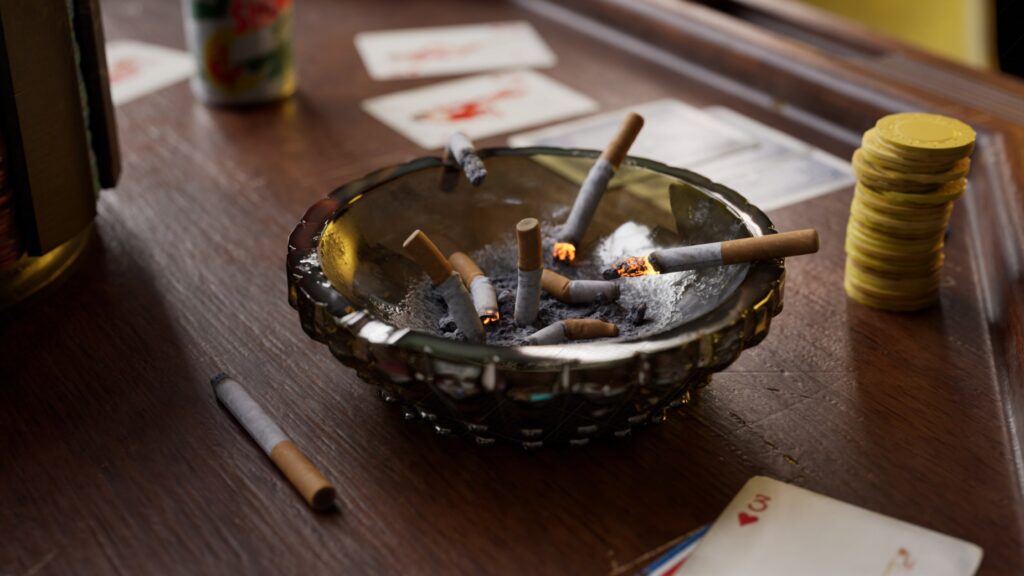
Next, I add interesting storytelling elements to the prop, such as areas of rust or spots that are worn down from frequent contact.
When adding dust, I carefully consider where dust would naturally accumulate and where it might be wiped away.
These subtle details, layered over time, greatly enhance the realism of the final piece.
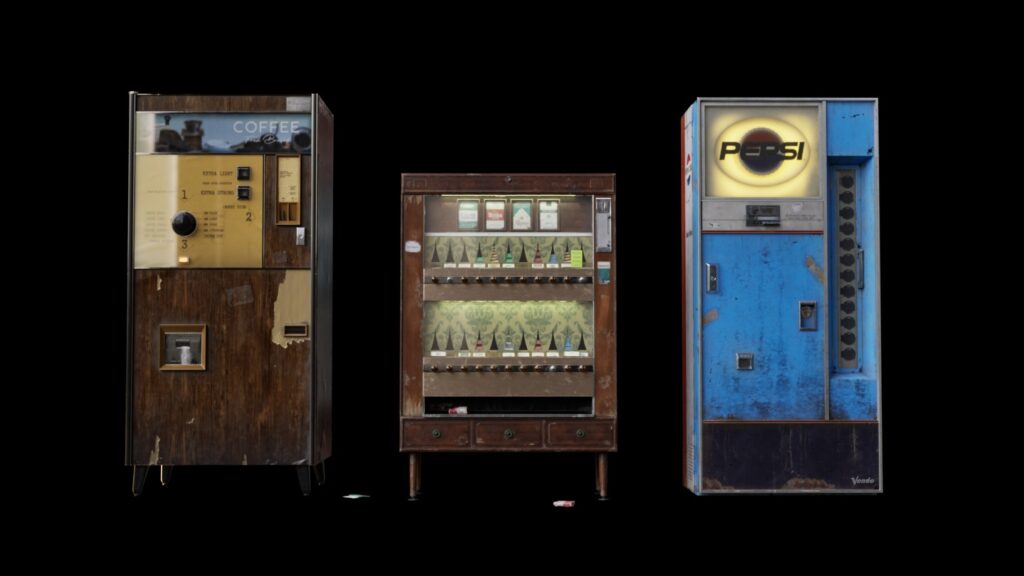
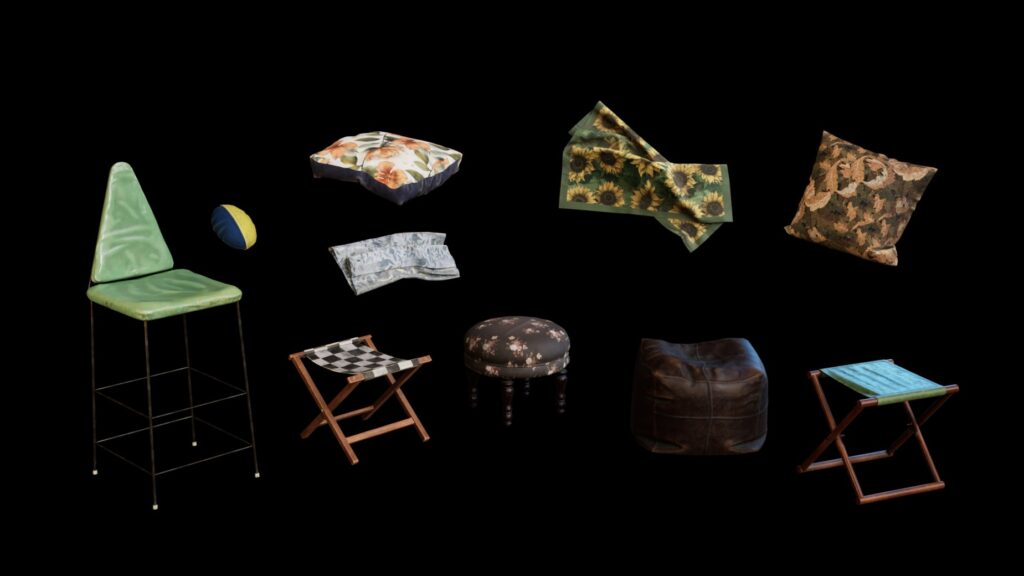
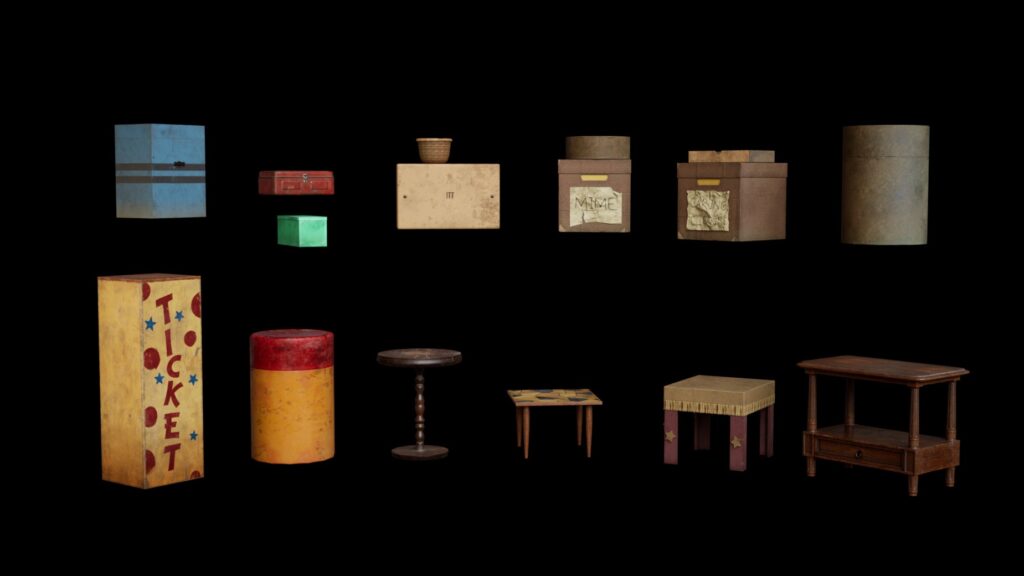
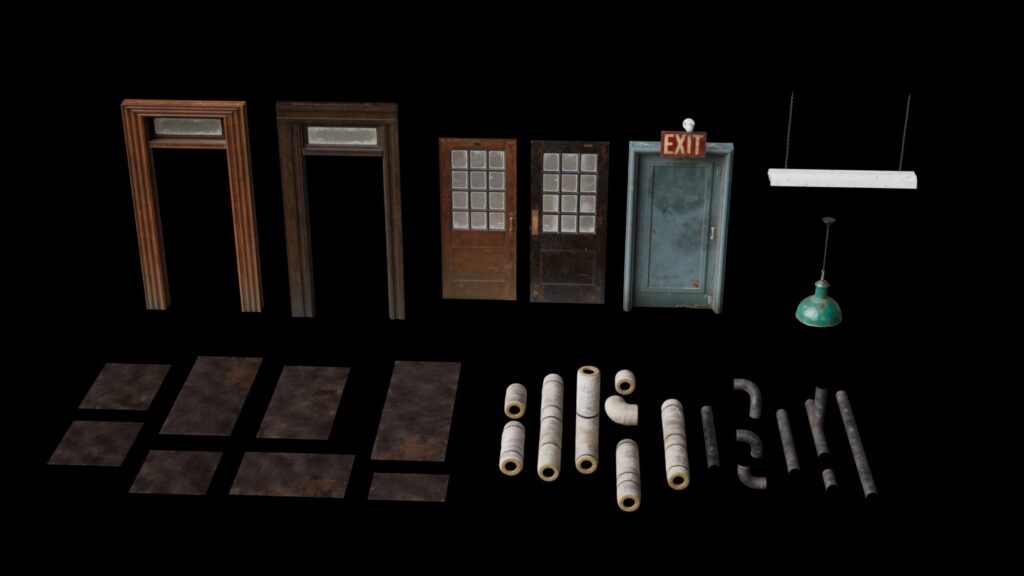
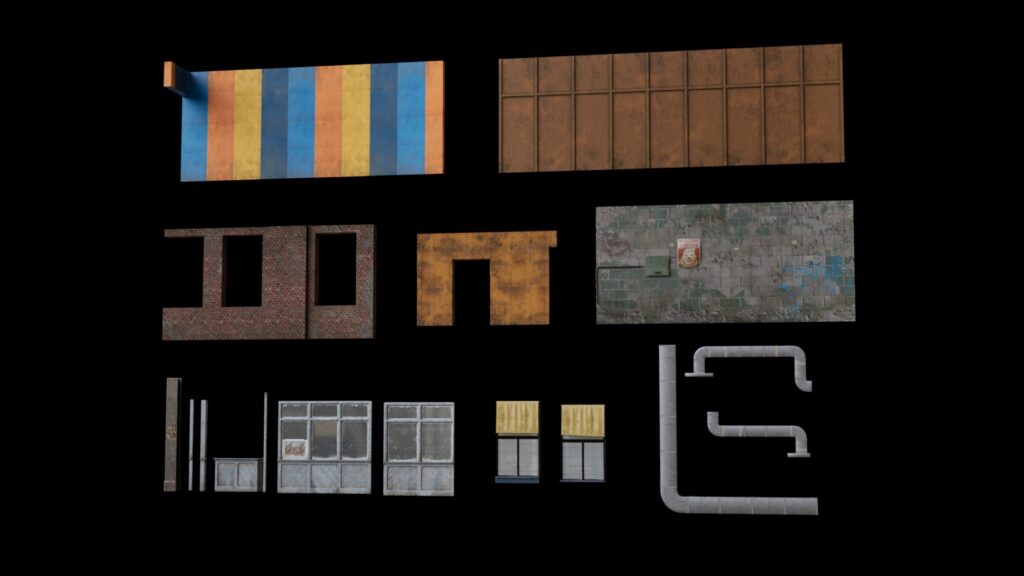
Modular Assets
These are the modular assets used in my project.
Although my project doesn’t rely heavily on highly repetitive modular structures, I still created several modular assets for it.
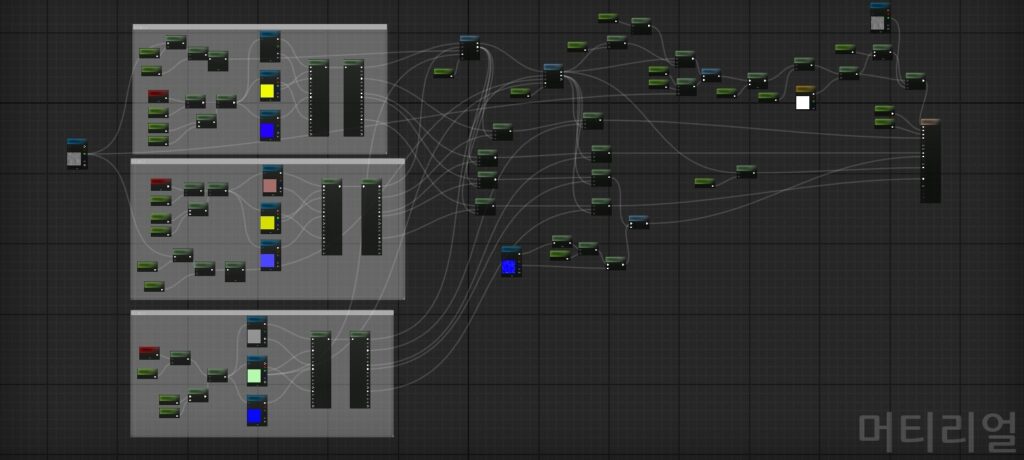
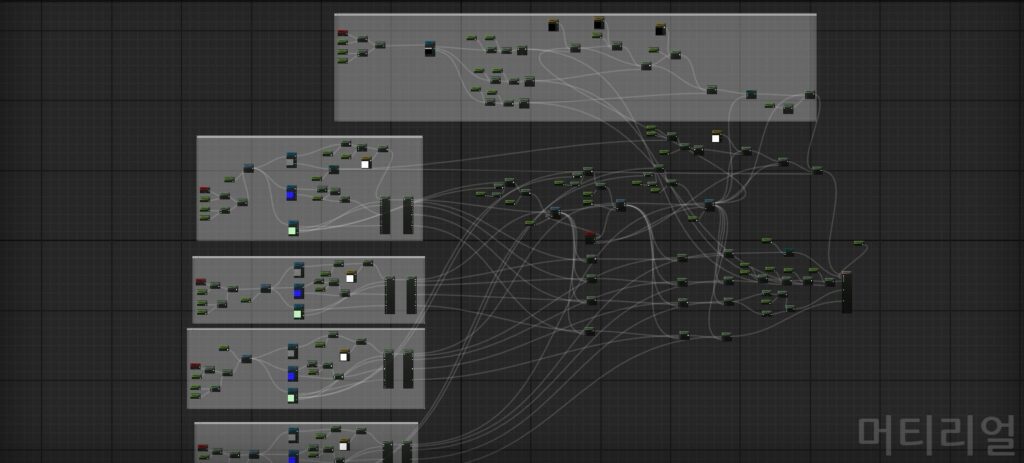
Unreal Engine Shader
In this project, I created shaders tailored to fit the assets for my scene.
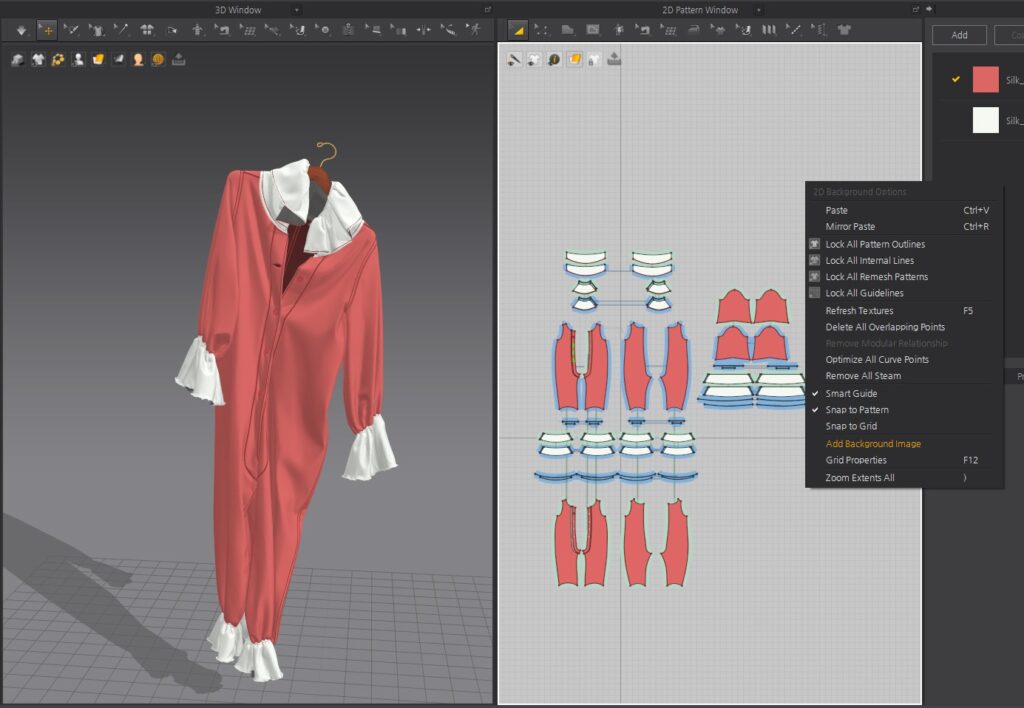
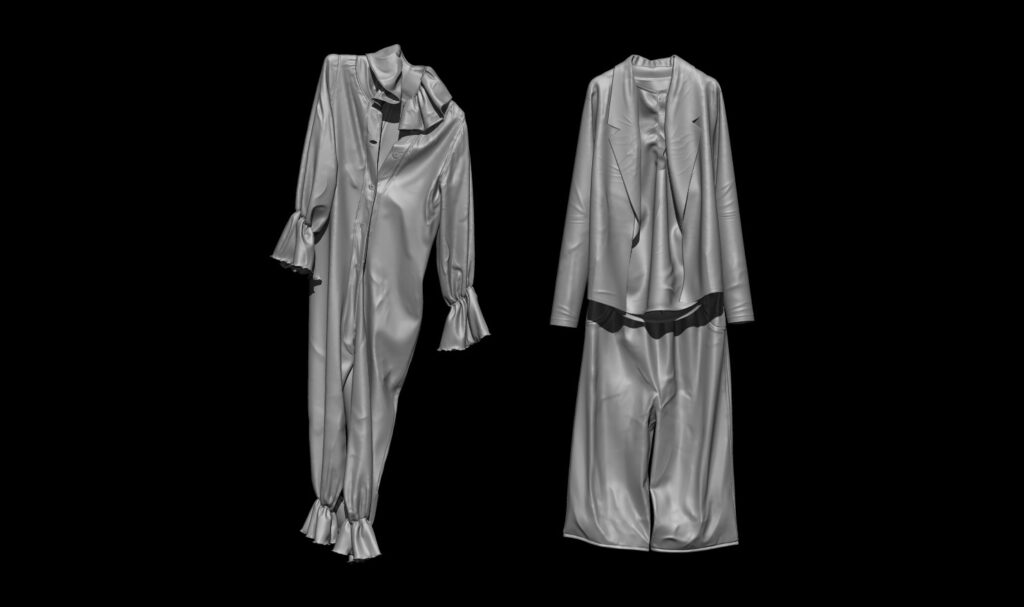
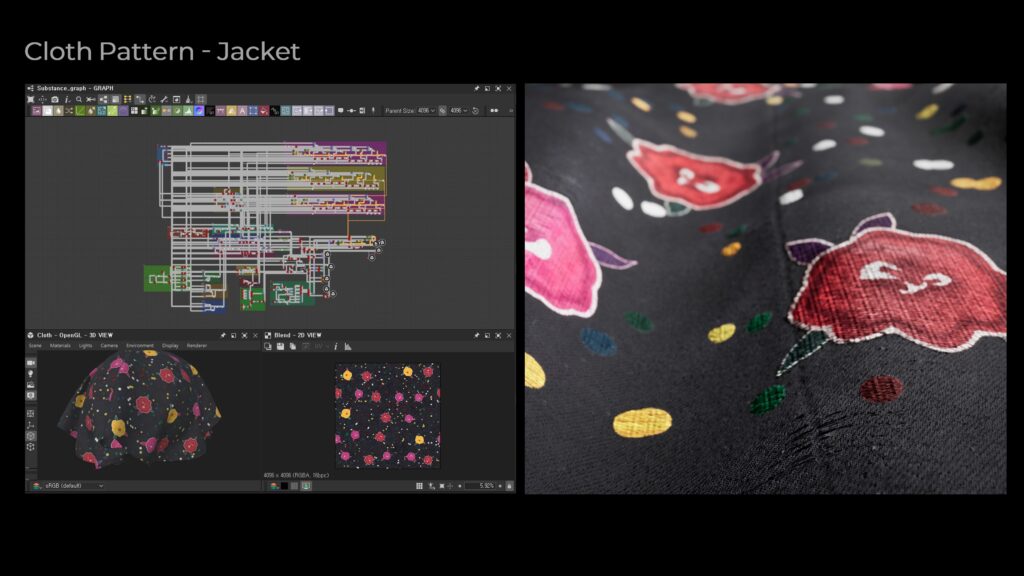
Clothing Creation Workflow
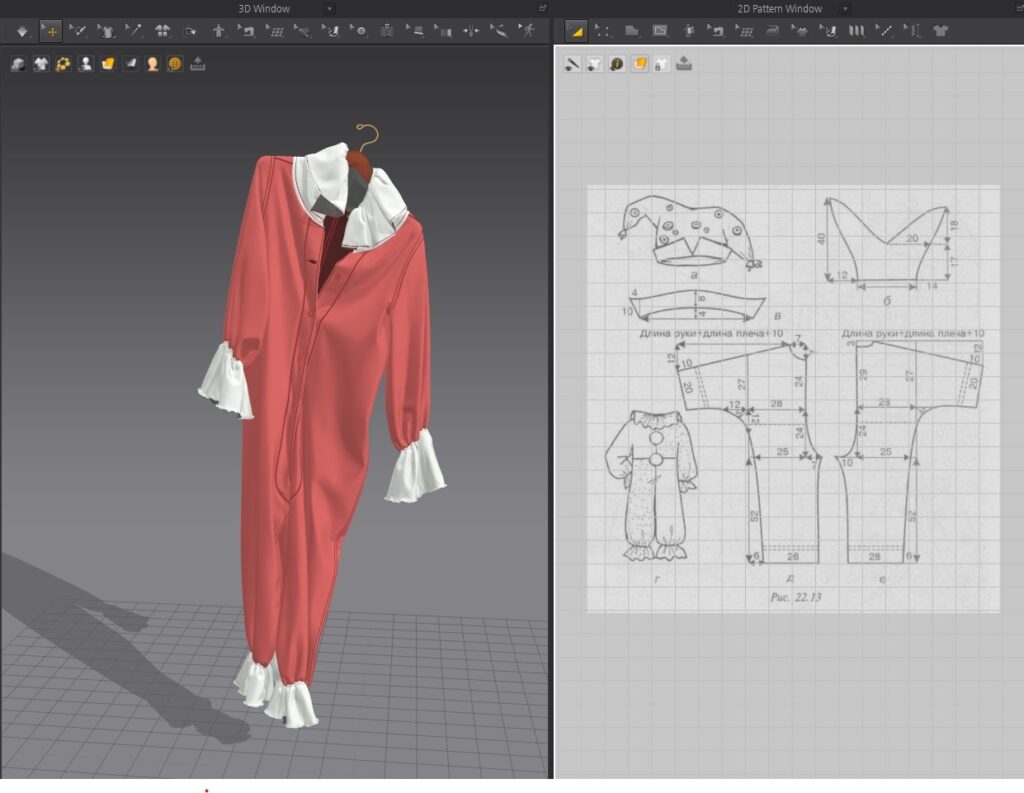
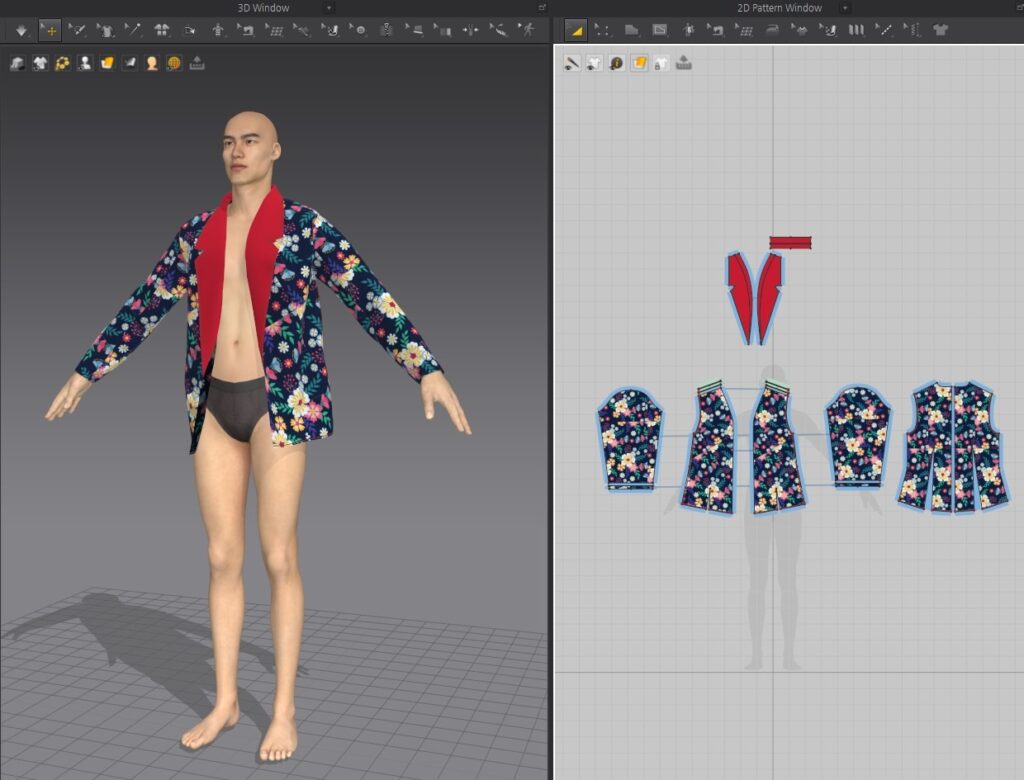
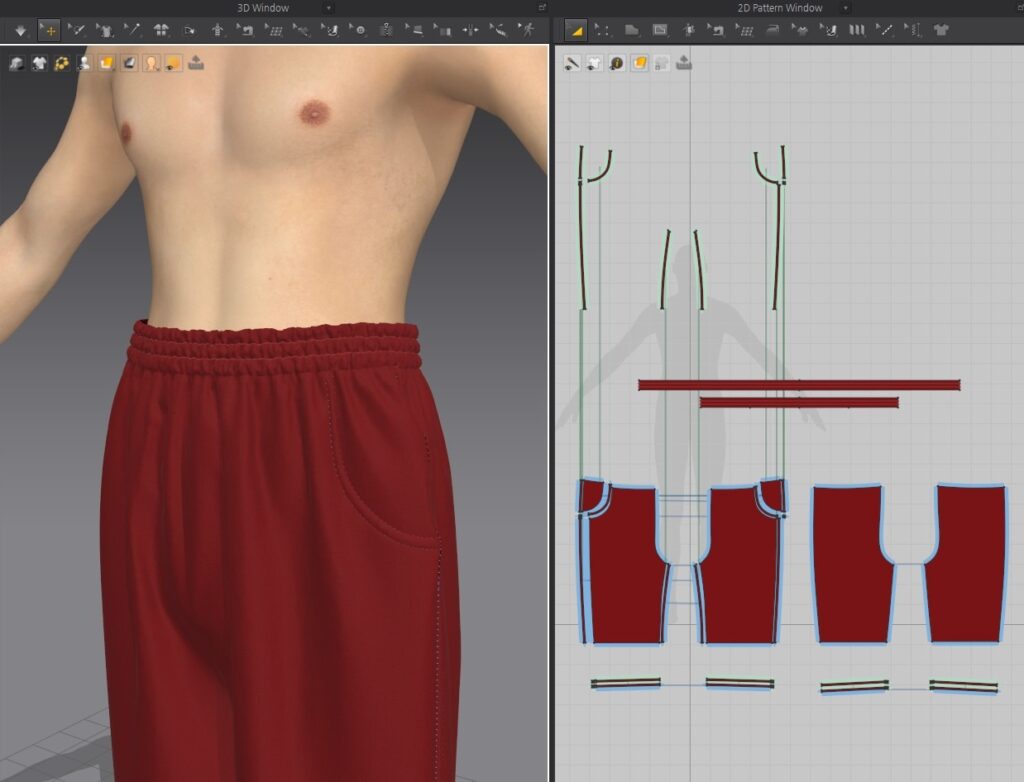
I used Marvelous Designer to create a circus costume designed to hang naturally and drape on a clothes hanger.
At first, I dressed the garment on a character model. To do this, I imported a background image of circus sewing patterns into the 2D pattern workspace in Marvelous Designer.
This approach made it much easier to establish the base shape of the clothing.
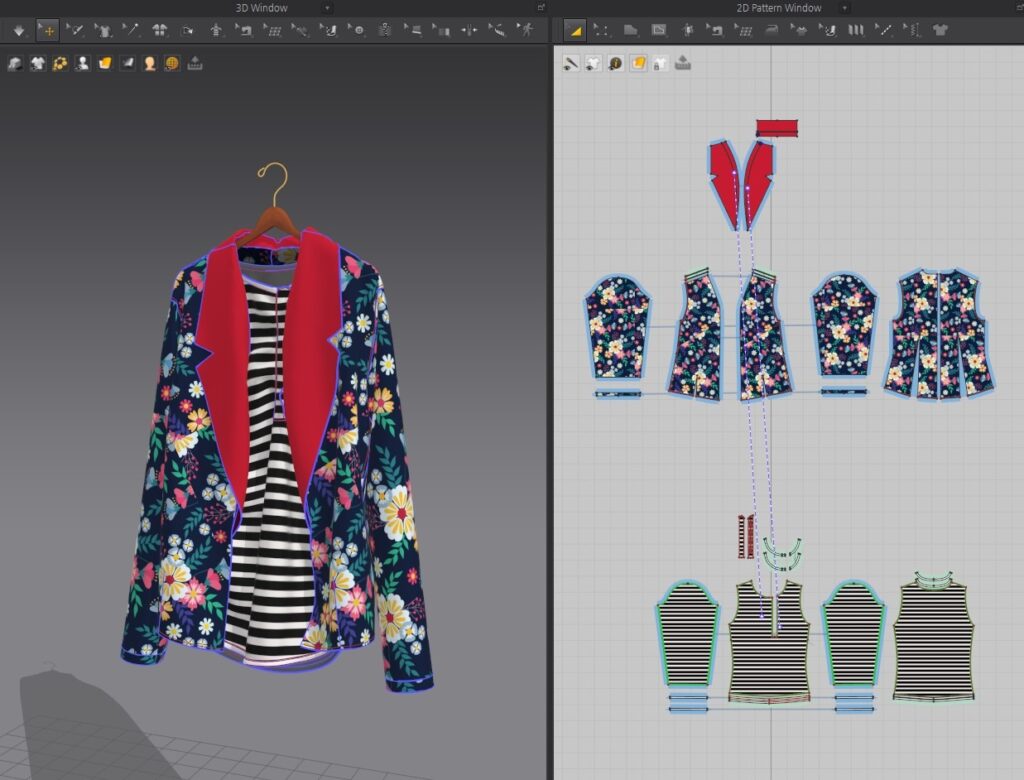
Once the garment was completed, I placed it on a hanger within Marvelous Designer to simulate realistic folds and draping.
I then exported the garment to ZBrush to add additional detail work.
Next, I created the low-poly version using TopoGun.
In my circus costume project, I wanted to achieve a progressive, torn and worn effect.
Therefore, instead of relying on Substance Painter, I chose to use Substance Designer along with custom shaders in Unreal Engine to implement this effect.

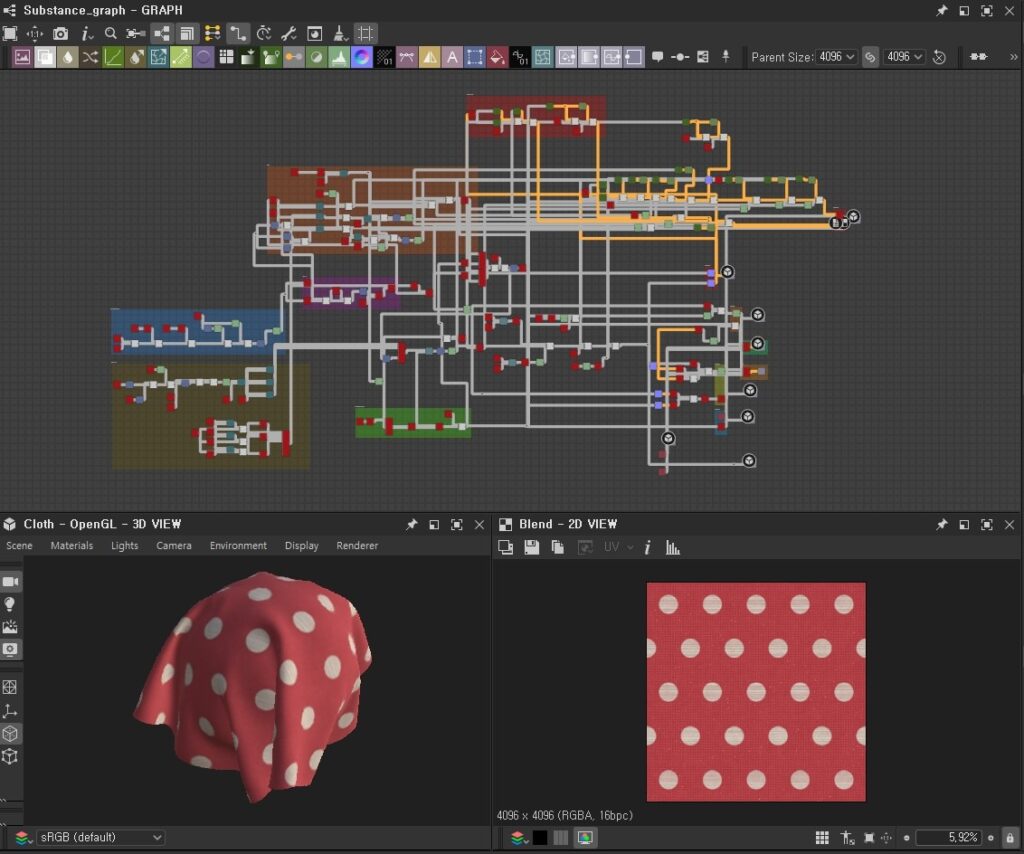
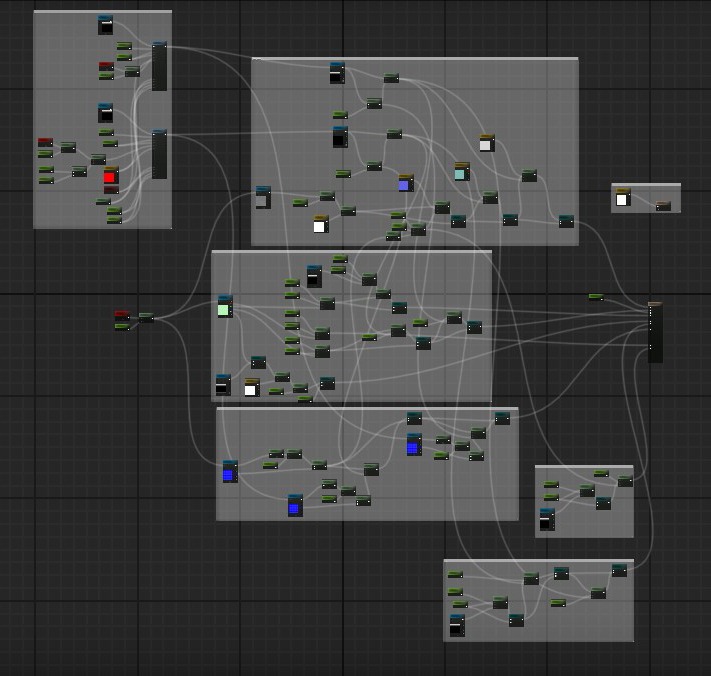
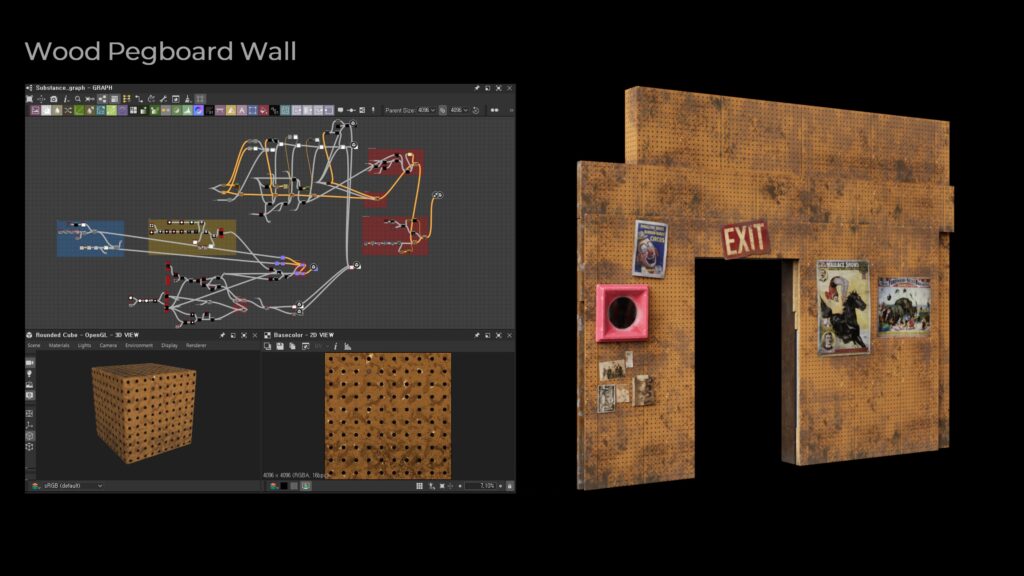
Progressive Fabric Wear & Tear Shader
Based on the created garment, I developed three levels of fabric patterns in Substance Designer: normal fabric, medium tearing, and severe tearing.
I connected these three patterns to the Height Lerp node in Unreal Engine, allowing me to control the degree of tearing using Power and Multiply nodes, driven by the Curvature texture information.
By linking this setup to the Transition Phase input of the Height Lerp node, I was able to achieve a gradual and progressive tearing effect.
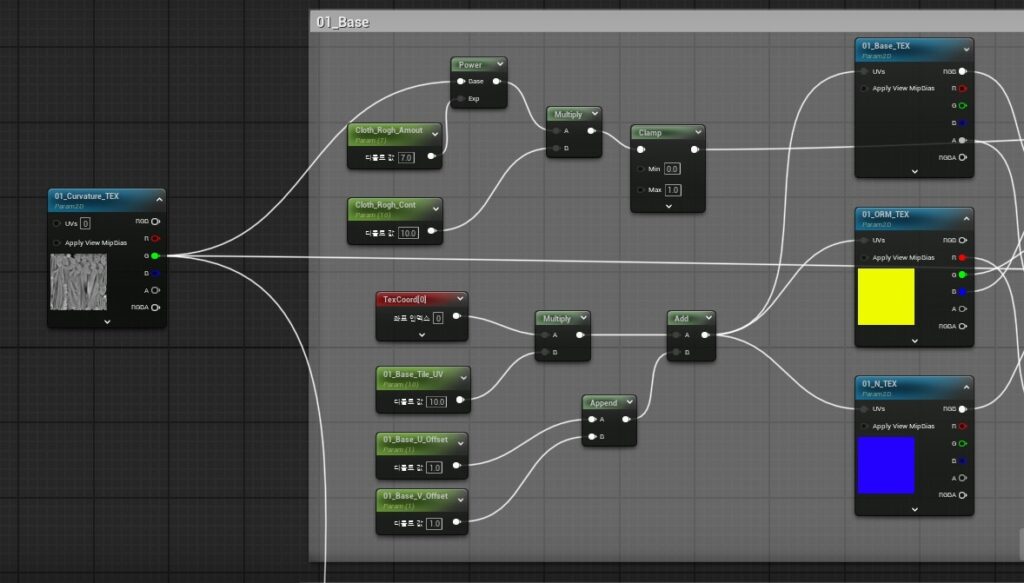
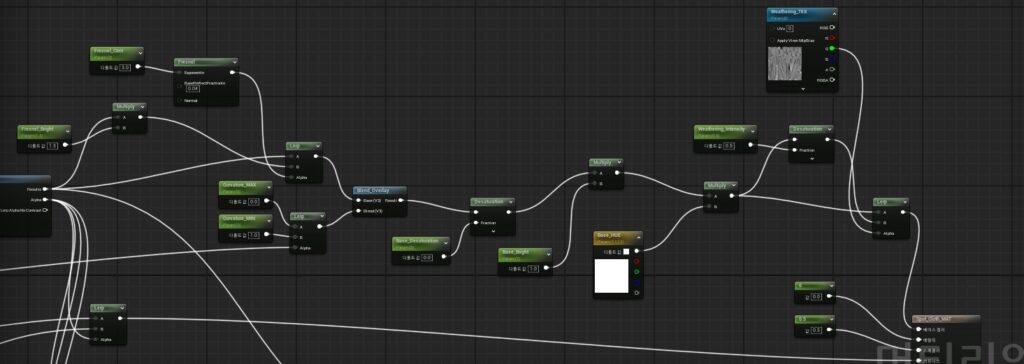

Additionally, I built custom nodes to adjust factors such as color variations in worn areas and the intensity of weathering.
This approach has the advantage of enabling detailed, progressive wear and tear effects without the need for complex workflows or changes to polygon counts.
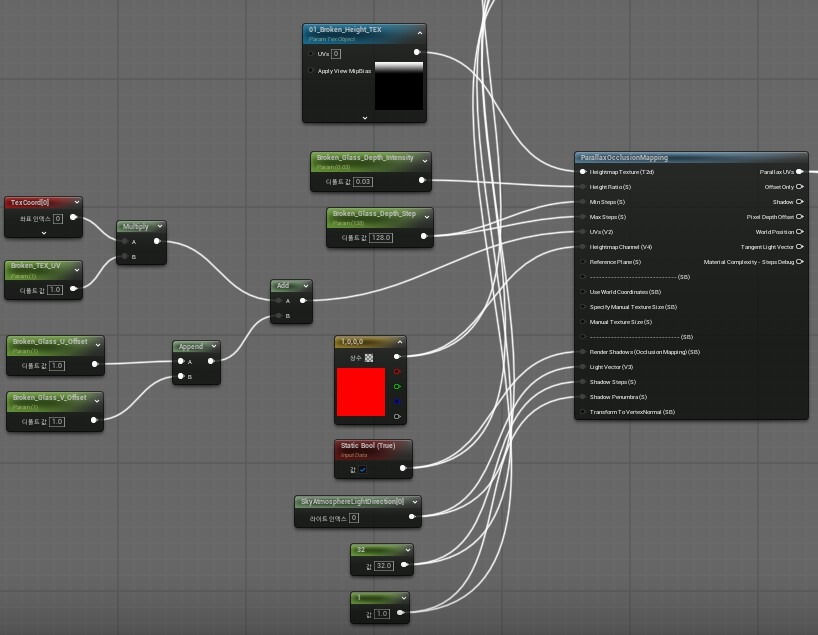
Glass Shader: POM Cracked Wired Glass
To achieve realistic cracked glass and internal wire mesh details, I used the Path Tracer rendering mode.
For the cracked glass, I wanted to create a convincing sense of depth and refractive dispersion, so I applied a Parallax Occlusion Mapping (POM) node to my Glass Master Shader.

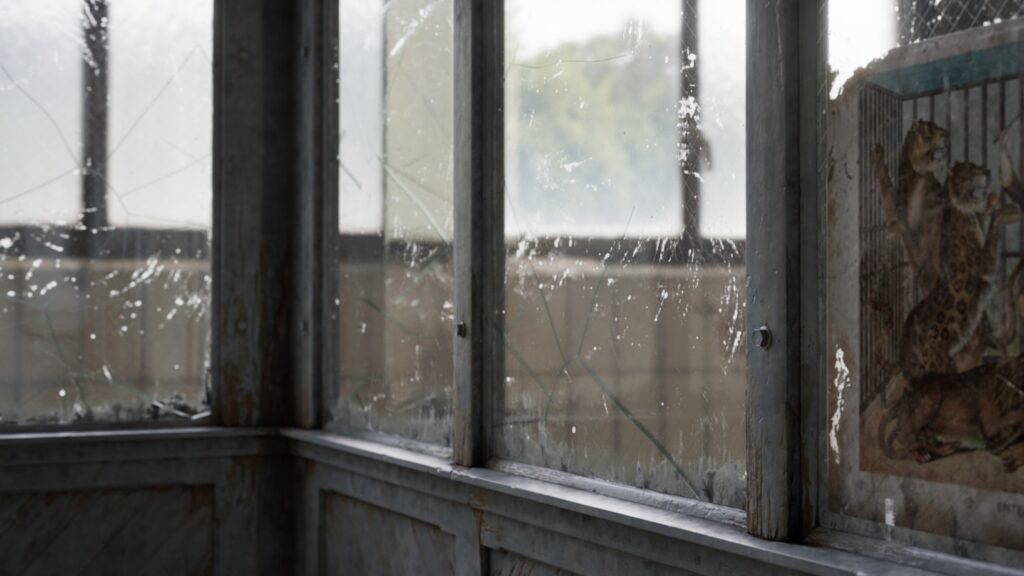
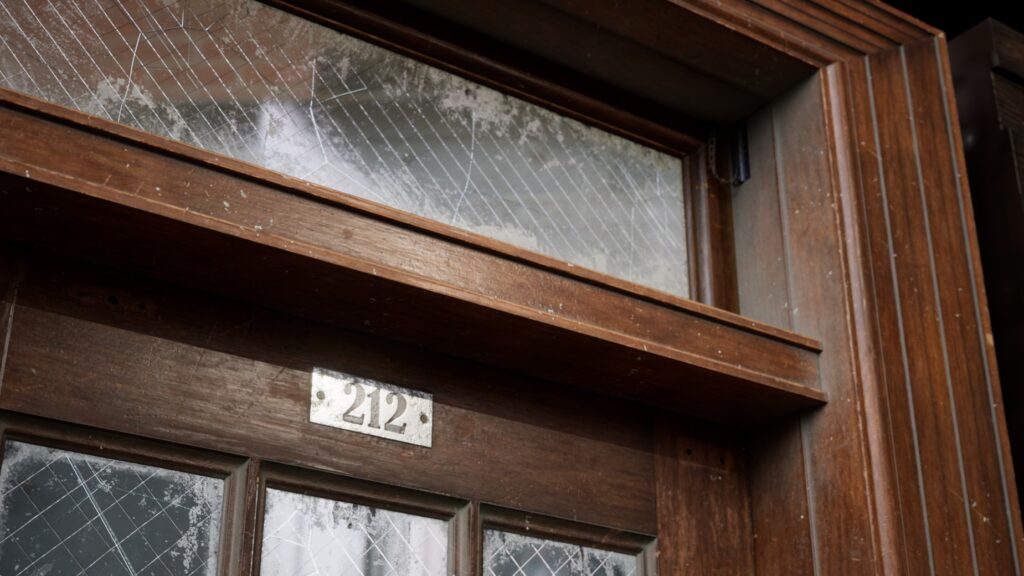
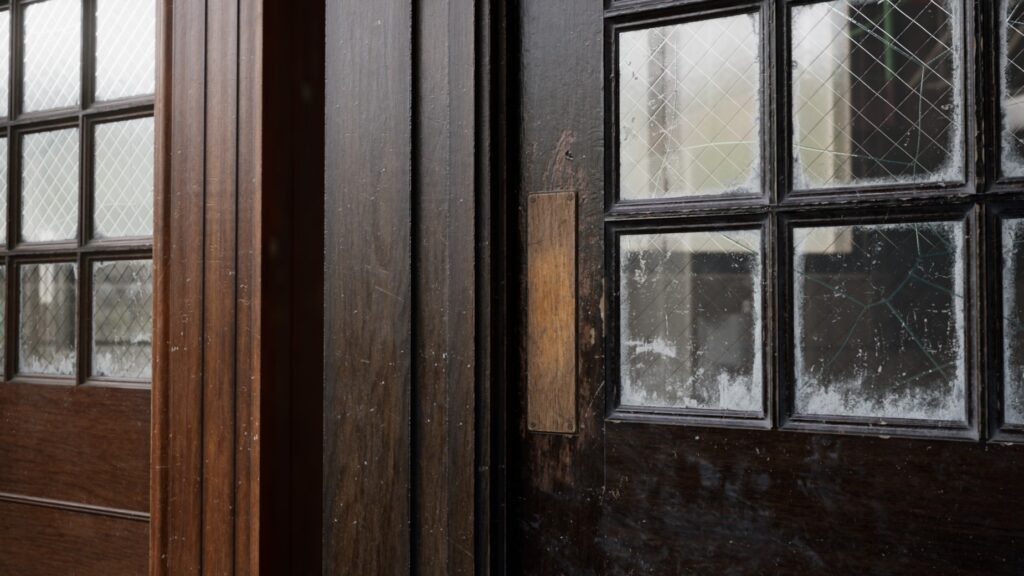
By utilizing POM, I was able to preserve a low polygon count while still adding a sense of depth.
I also blended the internal chain mesh within the glass, effectively recreating the unique patterns and details seen in real security glass.
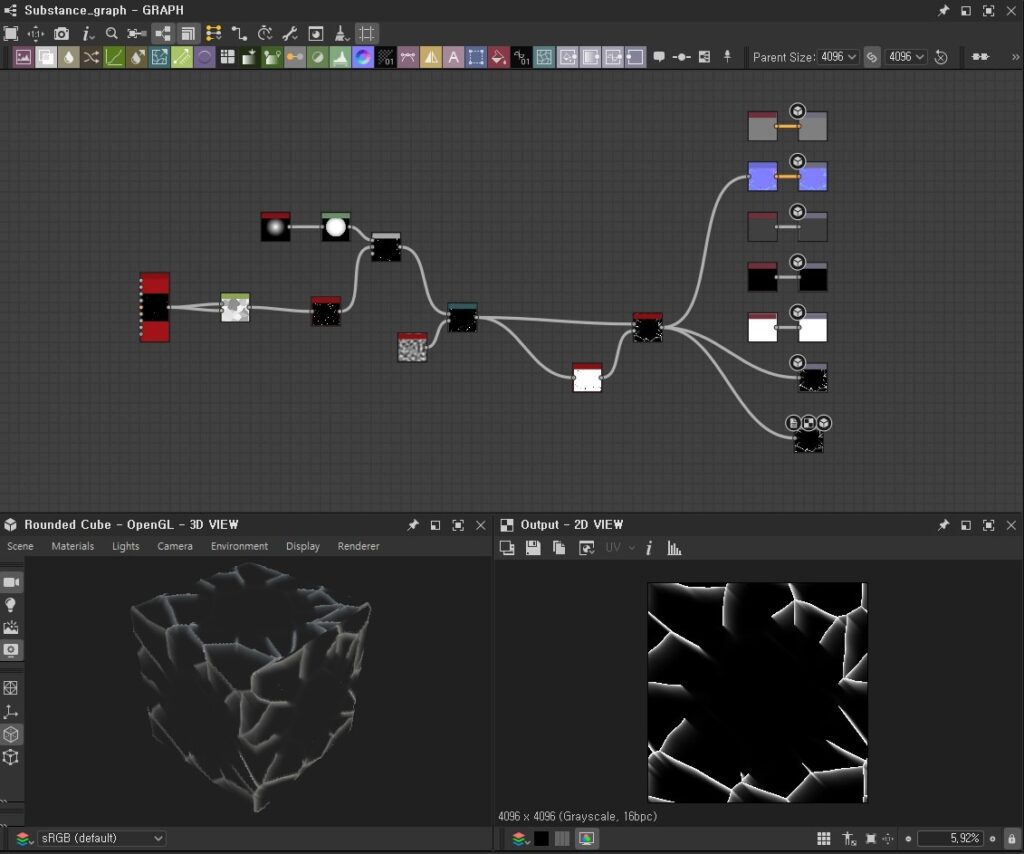
Both the cracked glass and the chain mesh were created in Substance Designer.

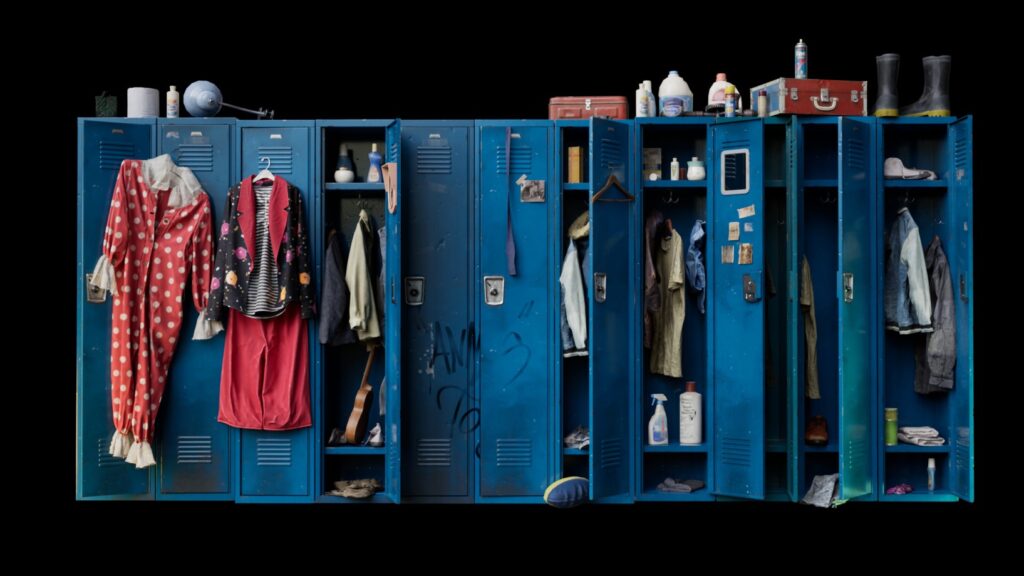
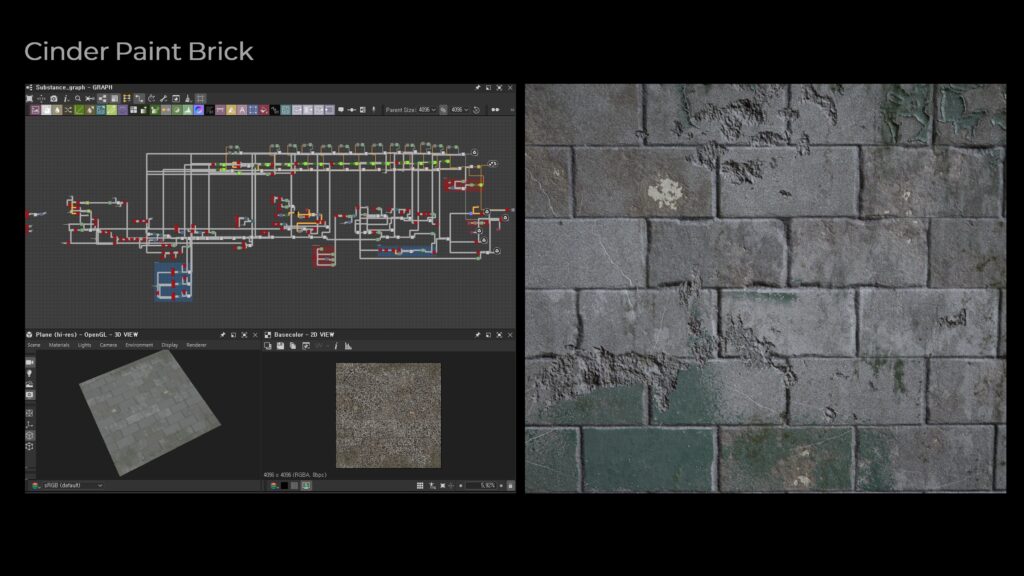
Vertex Painting & RGB Mask Shader
I first applied vertex painting to depict significant damage or major signs of aging.
After that, I added finer details like dirt, weathering, and leakage using an RGB mask on a tilemap basis.
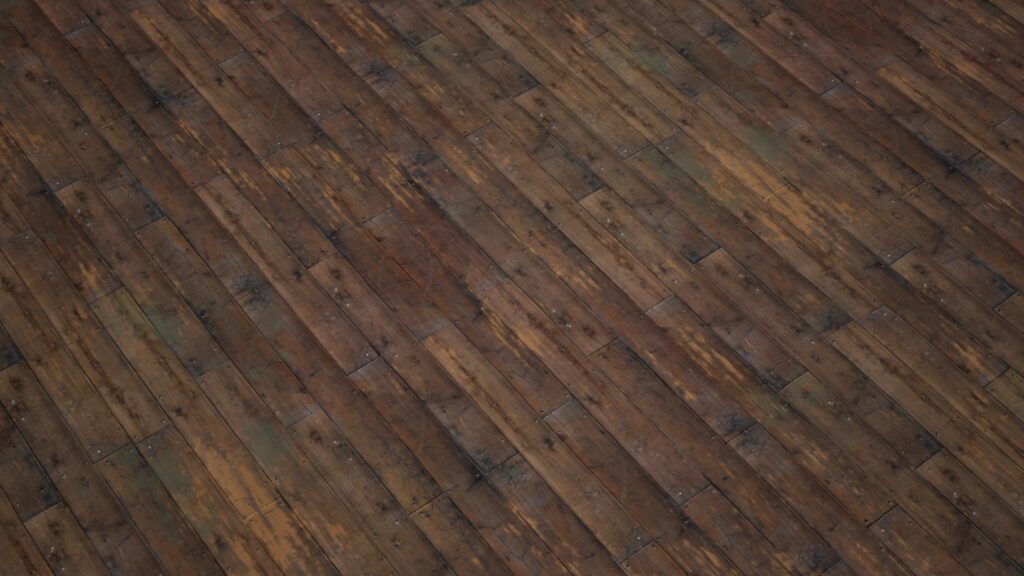


Each channel (R/G/B) of the RGB mask contained different weathering details, allowing me to manage all these variations within a single texture while maintaining the ability to control the intensity of each element individually.
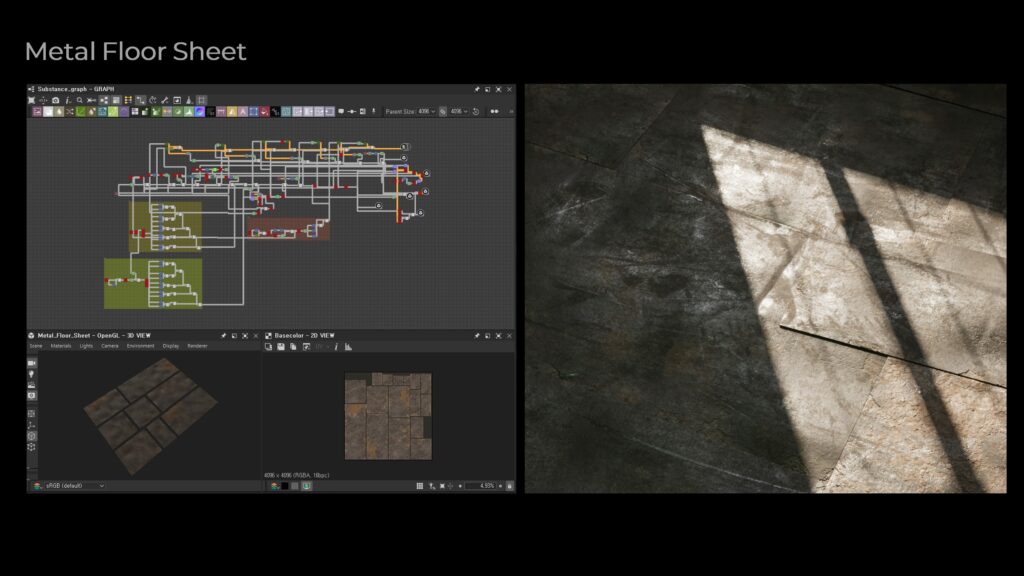
In addition, I also created various assets and tilemaps using Substance Designer.

Lighting & Post Production Setting
Lighting setup and post-production were supported by mentor and artist Sangwook Lee, who has trained many talented artists. Link to Sangwook Lee’s ArtStation.
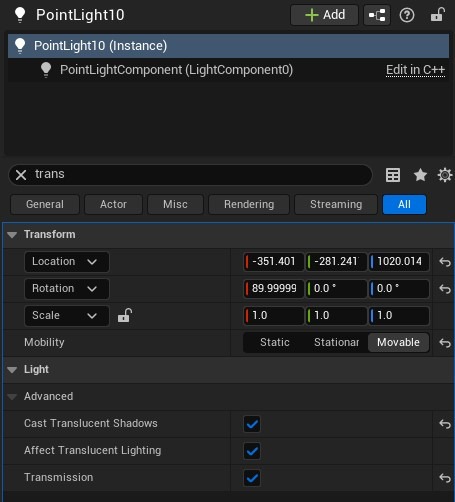
All lights were configured as Movable, and the Cast Translucent Shadows option was enabled.
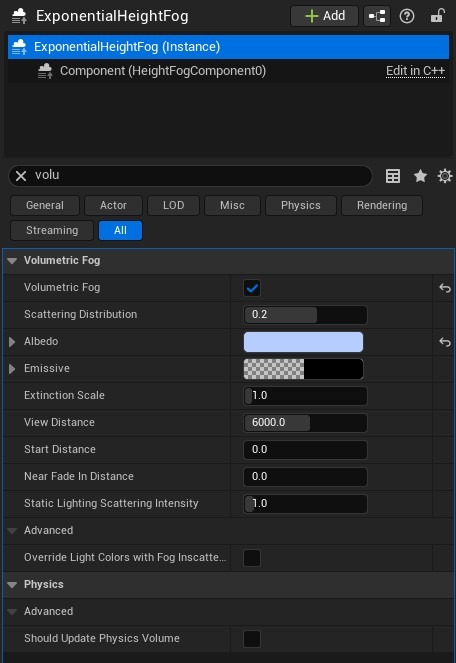
The light streaming in through the windows was expressed using a Directional Light, and Volumetric Fog was activated in the Exponential Height Fog to create god ray effects.
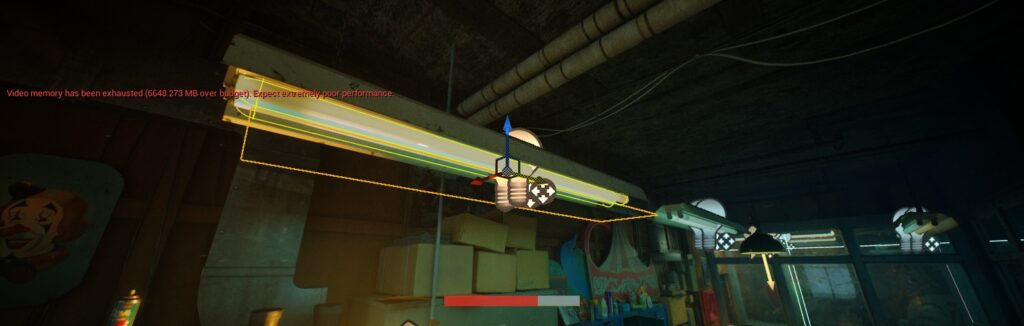
Fluorescent lighting was achieved by using a Rect Light to provide directional lighting and a Point Light to represent diffuse illumination. It is important to keep the emissive intensity in materials low because excessively high values can cause significant noise.
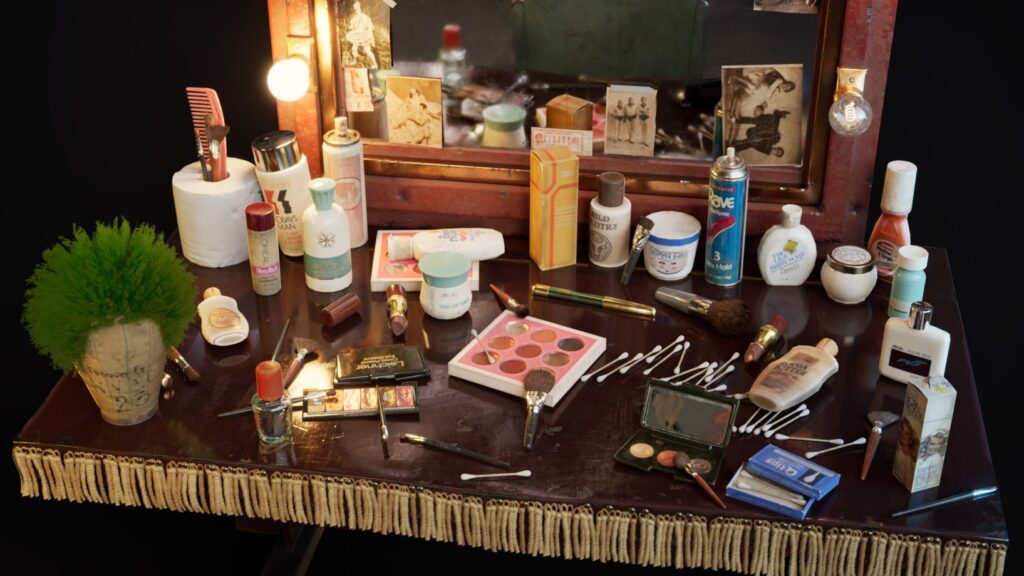
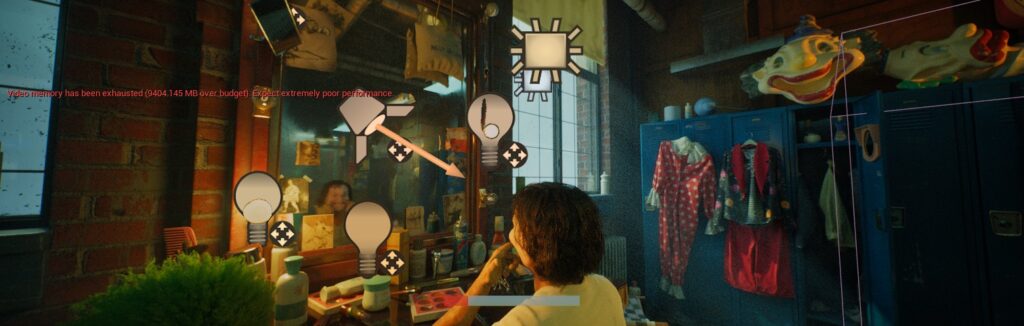
In the cinematic scene where the Joker is sitting in front of the vanity table, the surrounding lights were dimmed to emphasize the character.
The background was rendered separately to preserve a natural daylight atmosphere, focusing on the light coming through the windows.
Rendering was performed using Path Tracing, Unreal Engine’s high-quality offline renderer.
Path Tracing simulates the physical behavior of light rays, reproducing accurate global illumination, soft shadows, and realistic reflections and refractions.
This method is mainly used for portfolio work, cinematic shots, and product visualization.
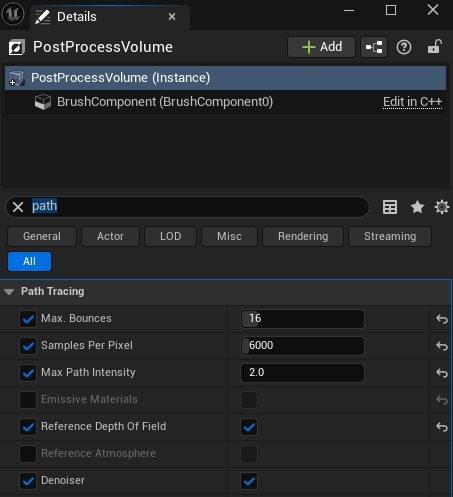
Post-production
- Max Bounces was set to 16 instead of the default 32, as there was no significant visual difference.
- Samples Per Pixel was increased in the final renders to enhance image detail.
- Max Path Intensity was lowered to prevent firefly artifacts.
- Reference Depth Of Field was kept enabled to allow cameras to focus correctly on transparent glass materials.
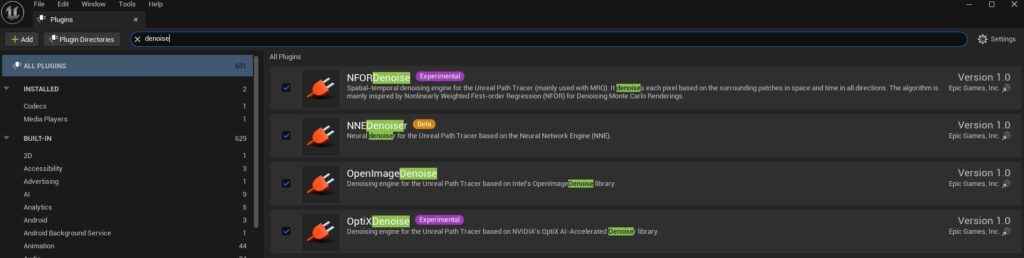
- The denoiser requires enabling the OptiX Denoise plugin before it can be used.
By default, Path Tracing does not work properly with MetaHuman’s hair physics system. To resolve this issue, the following console command needs to be entered:
r.HairStrands.PathTracing.InvalidationThreshold -1

Lastly, I would like to thank the GamesArtist team for giving me the opportunity to share this interview.
Read more articles
You might also like these articles.