Grimwood District


Introduction
Hi everyone, I'm Mario, a Senior 3D Environment Artist from Madrid, Spain. I'm a huge fan of video games and cats. I've always been interested in how game environments are created, and after a few years, I can say that's what I do for a living.
In 2018, I had the opportunity to join my first collaborative project, which eventually became a professional video game and was released last February: Crisol: Theater of Idols, developed by Vermila Studios, where I currently work as a Senior 3D Environment Artist.
Project & Goals
With this project, I set two main goals for myself: first, to improve my workflow with environments, and second, to build everything entirely from scratch. I set out to create the modules, props, materials, shaders, tools, and effects on my own so that I could better understand each process and have greater control over the final result.
I also wanted to improve my skills and learn more about Blueprints in order to streamline some of the set dressing processes.
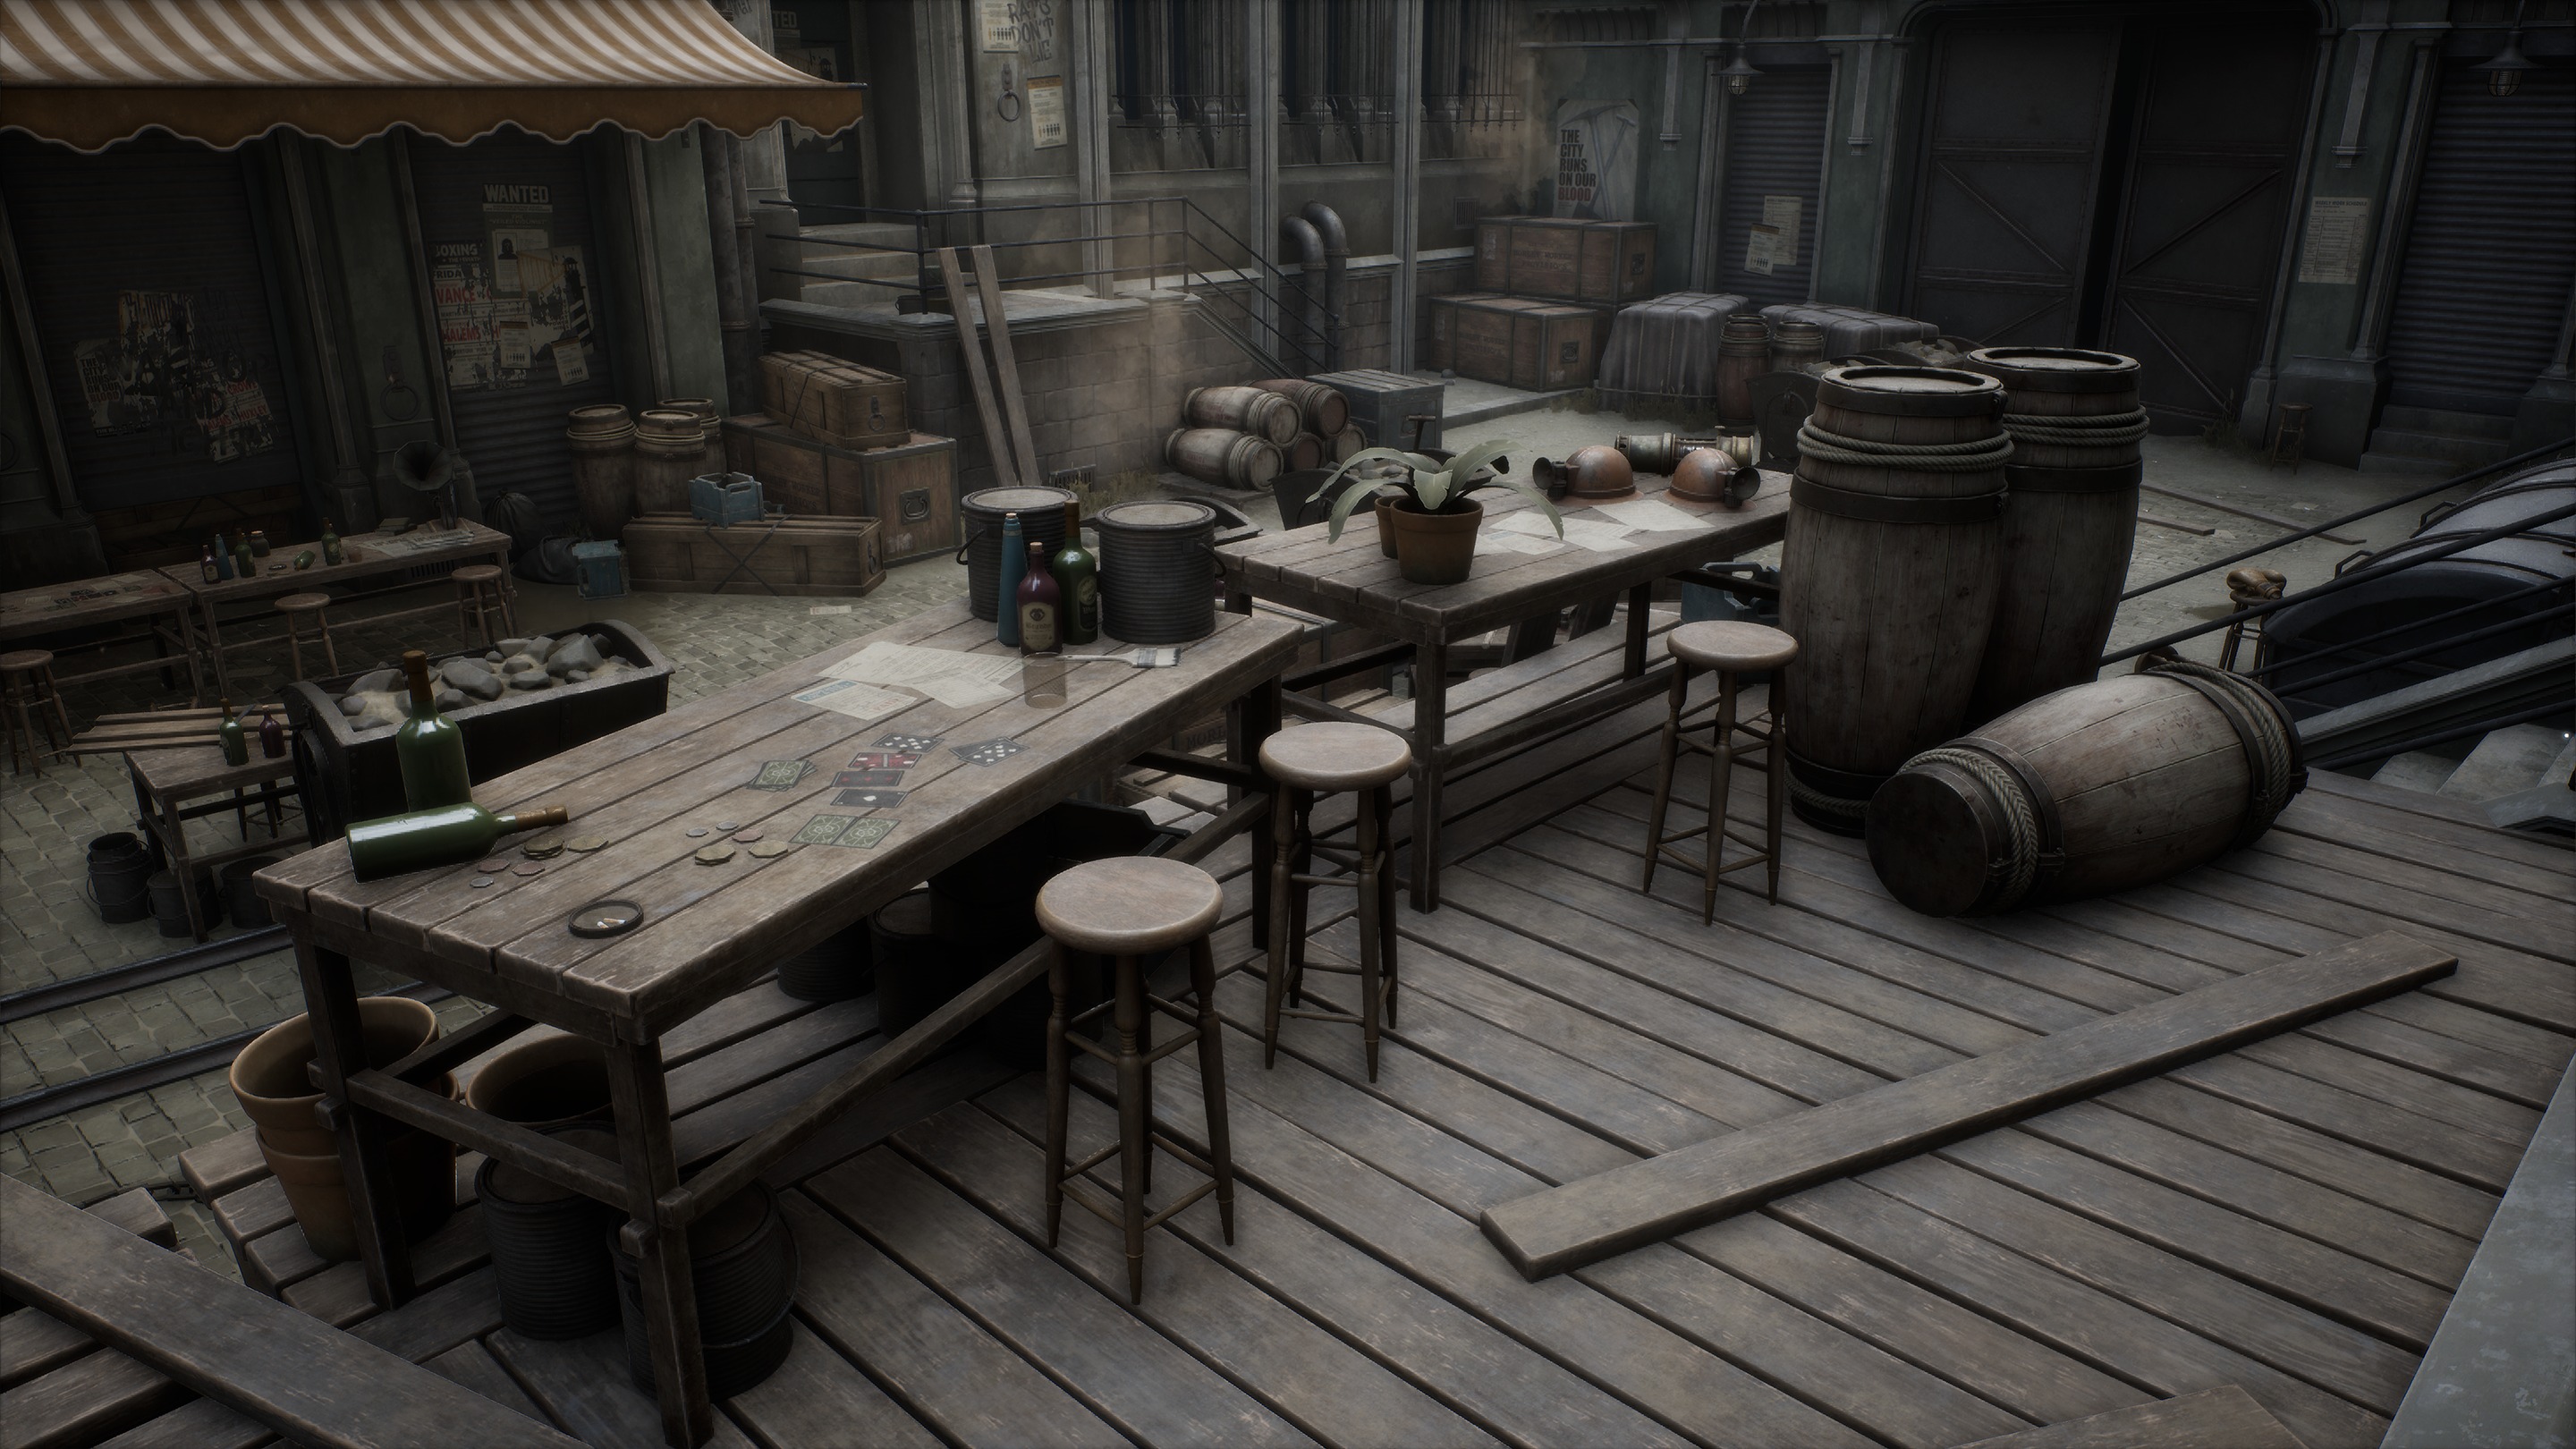
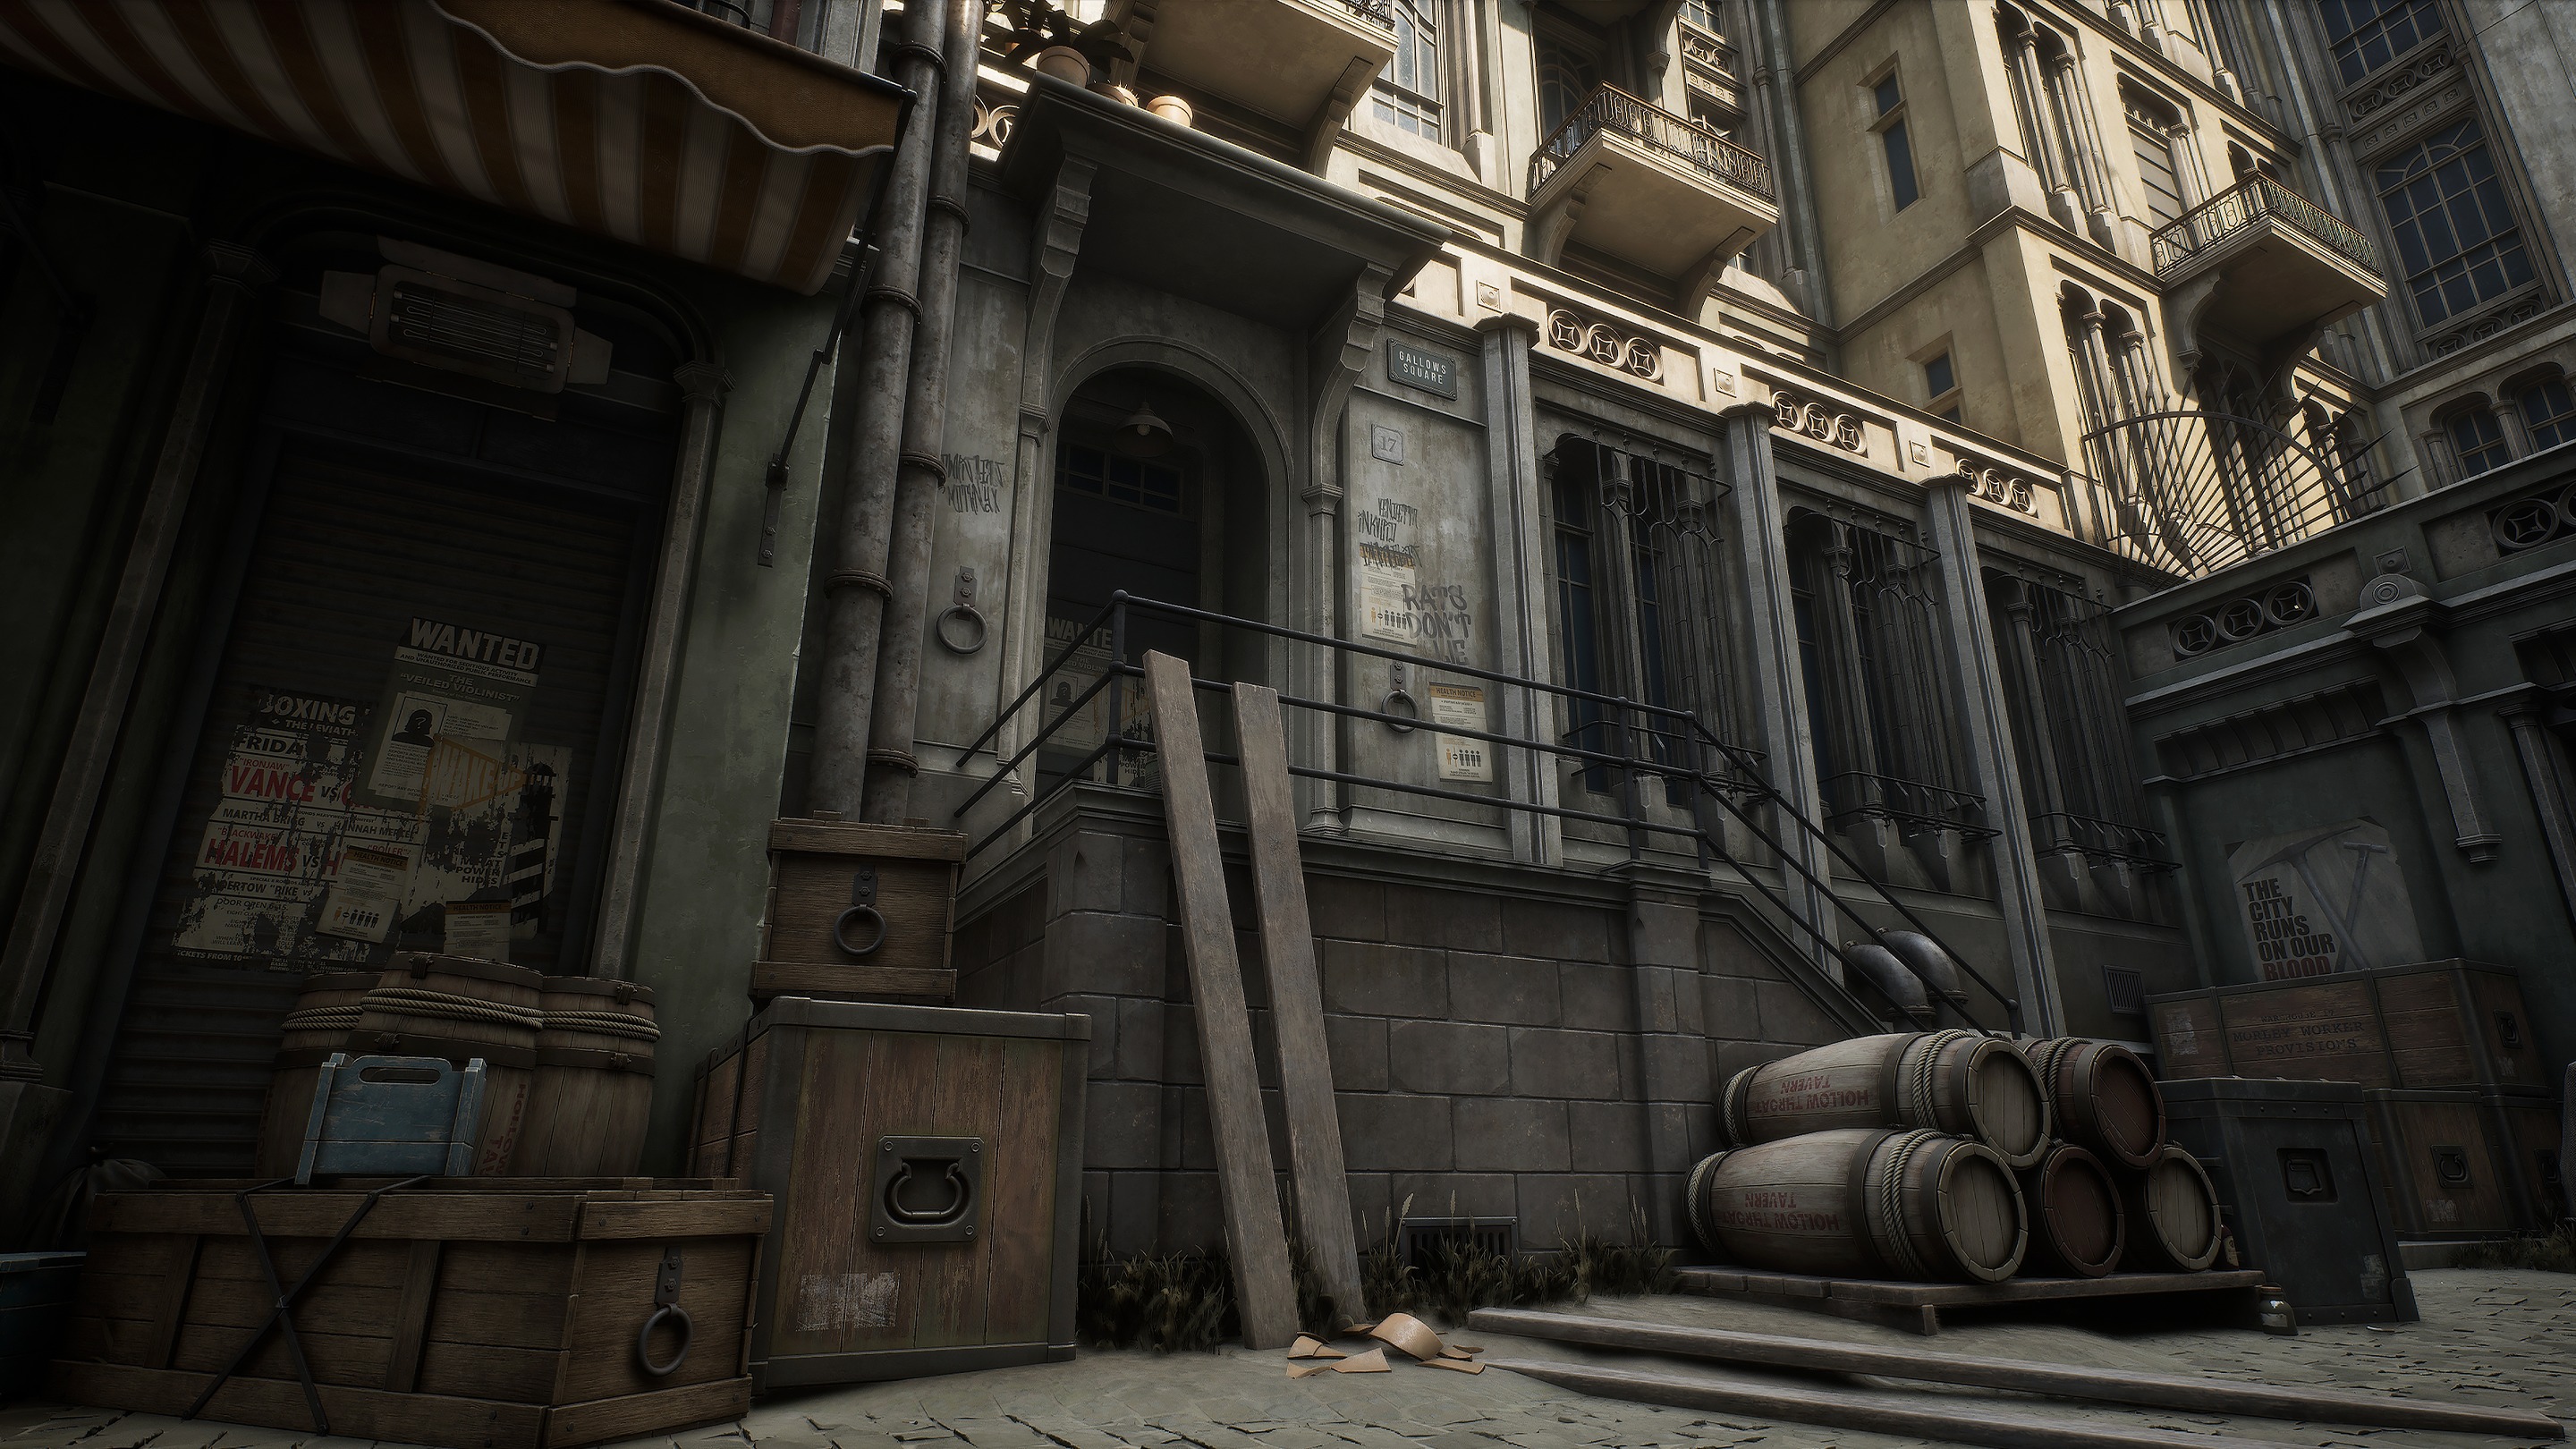
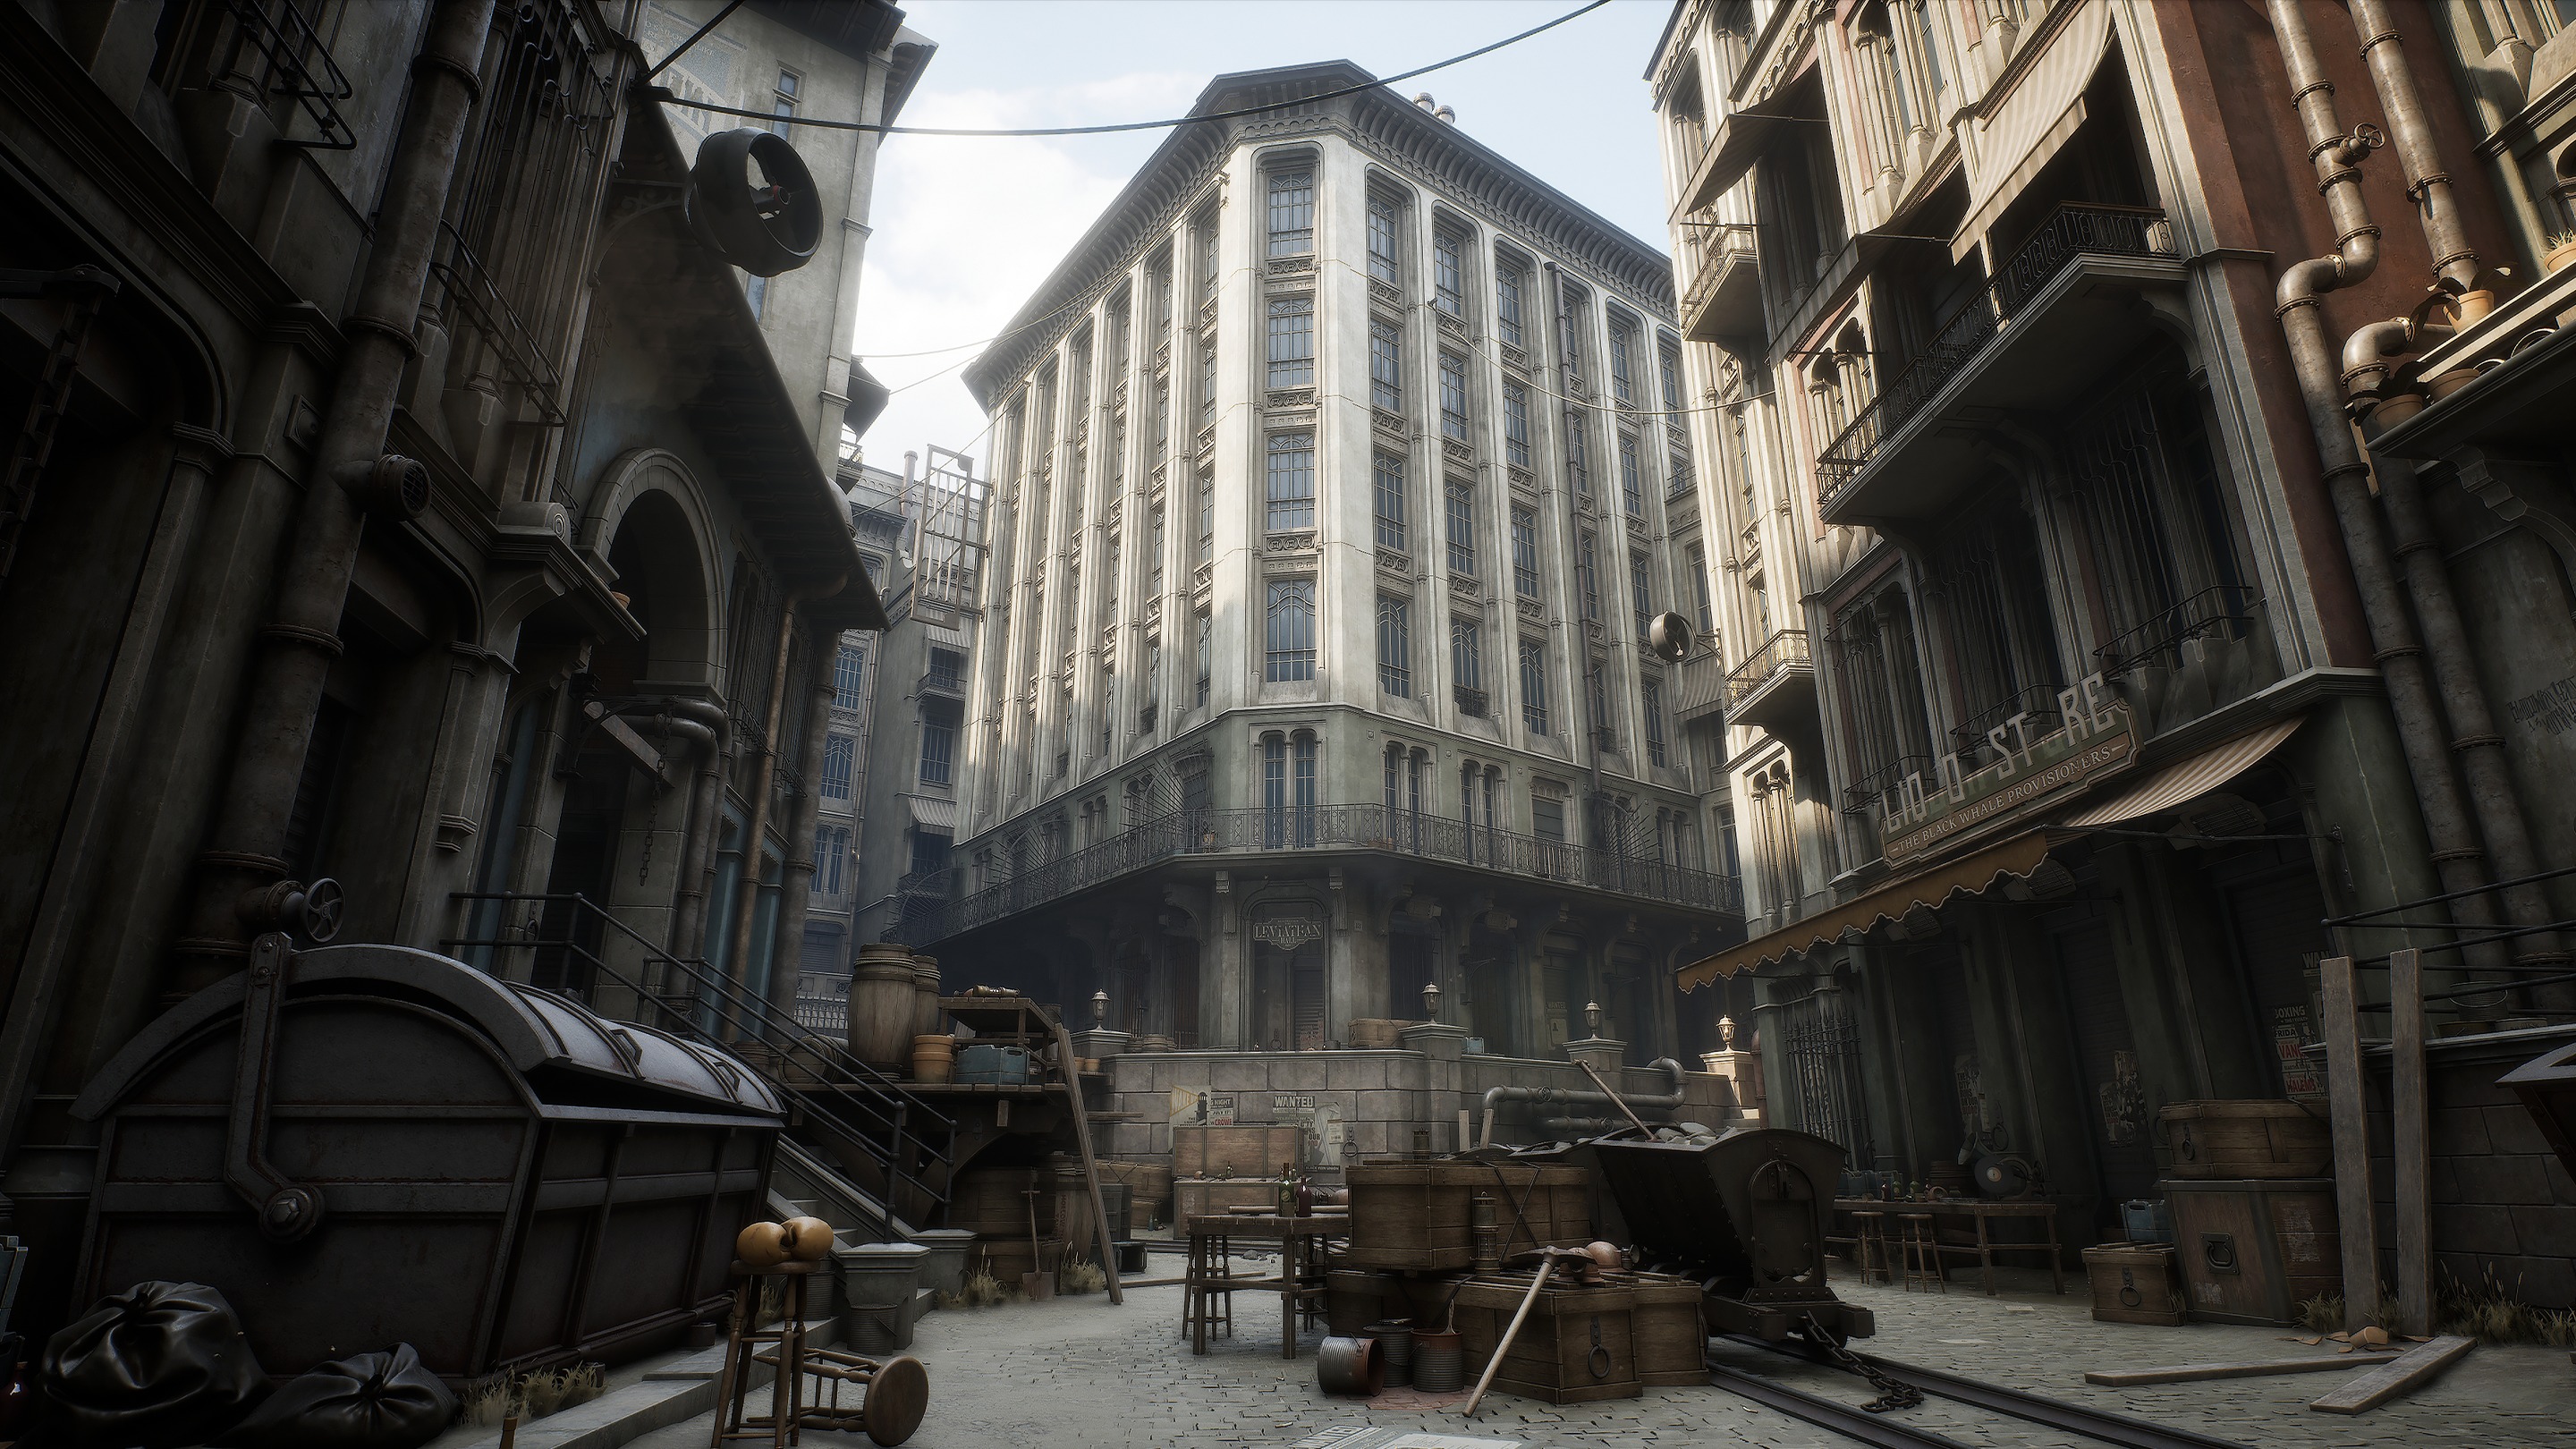
The original idea was to design a district that could fit into the world of Dishonored II. Taking into account its scale, silhouettes, and shapes while creating something entirely new.
The work of the artists at Arkane Studios has been my greatest inspiration throughout my career.
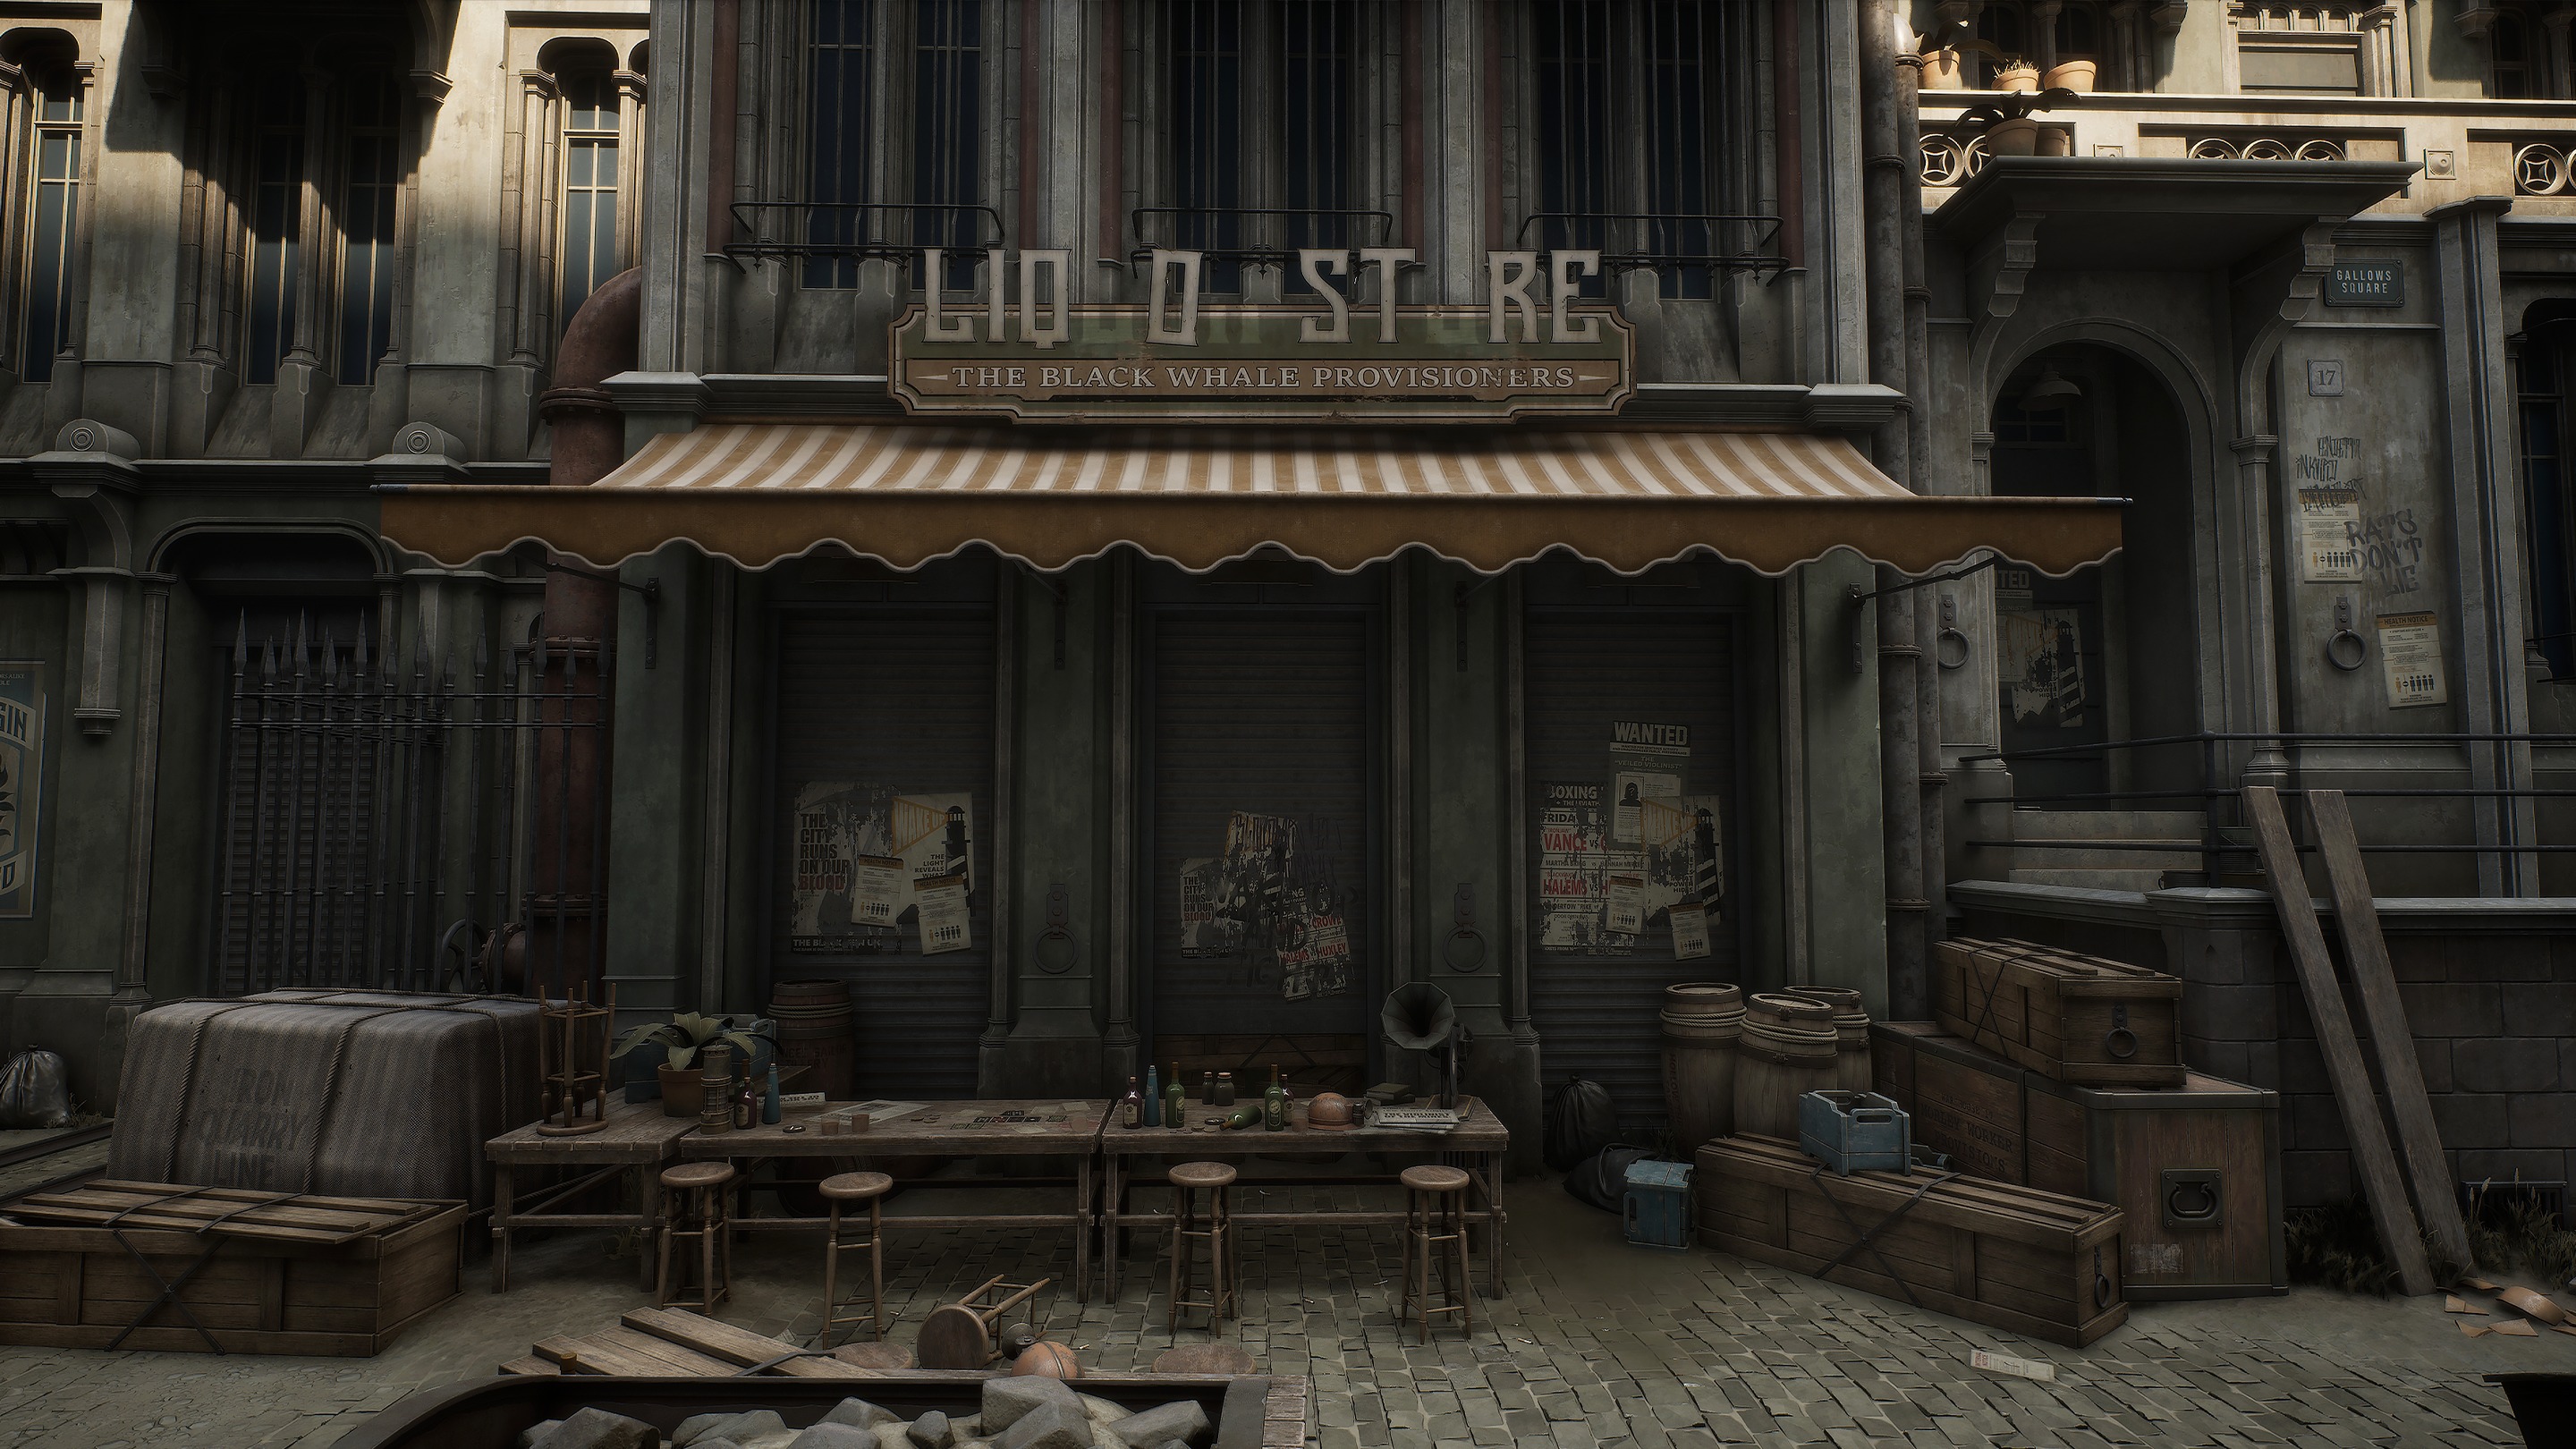
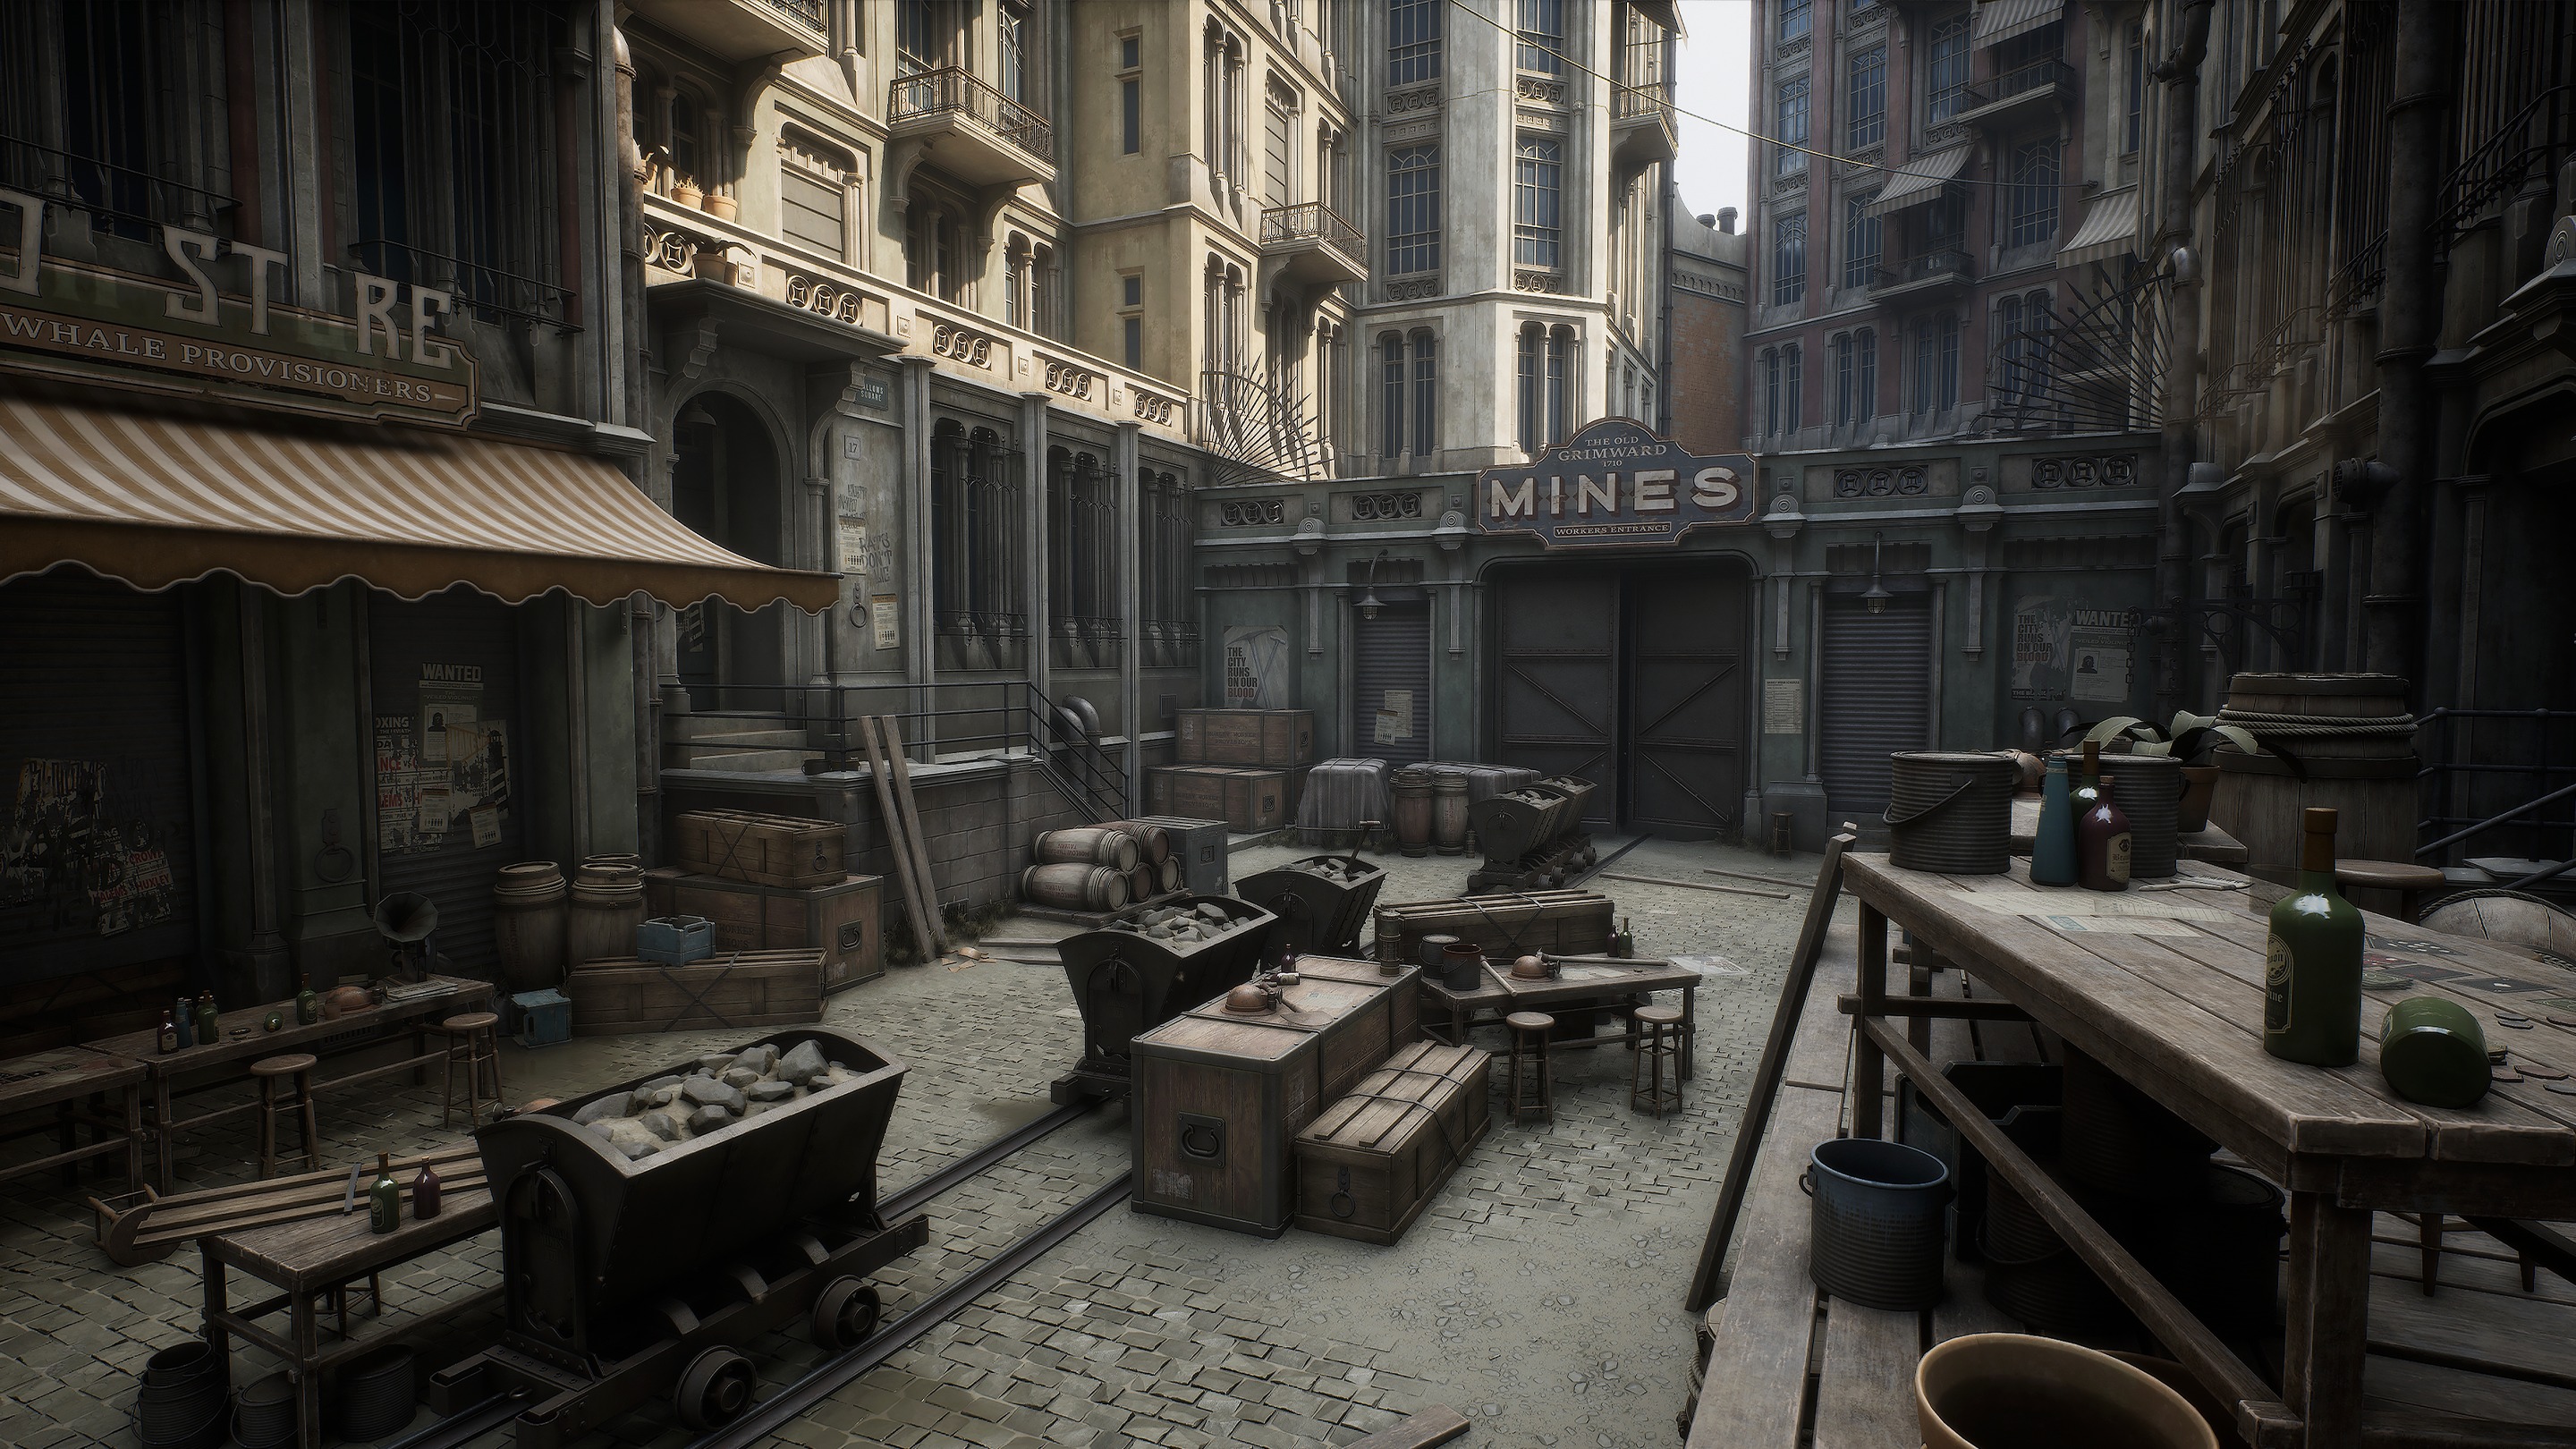
References & Inspiration
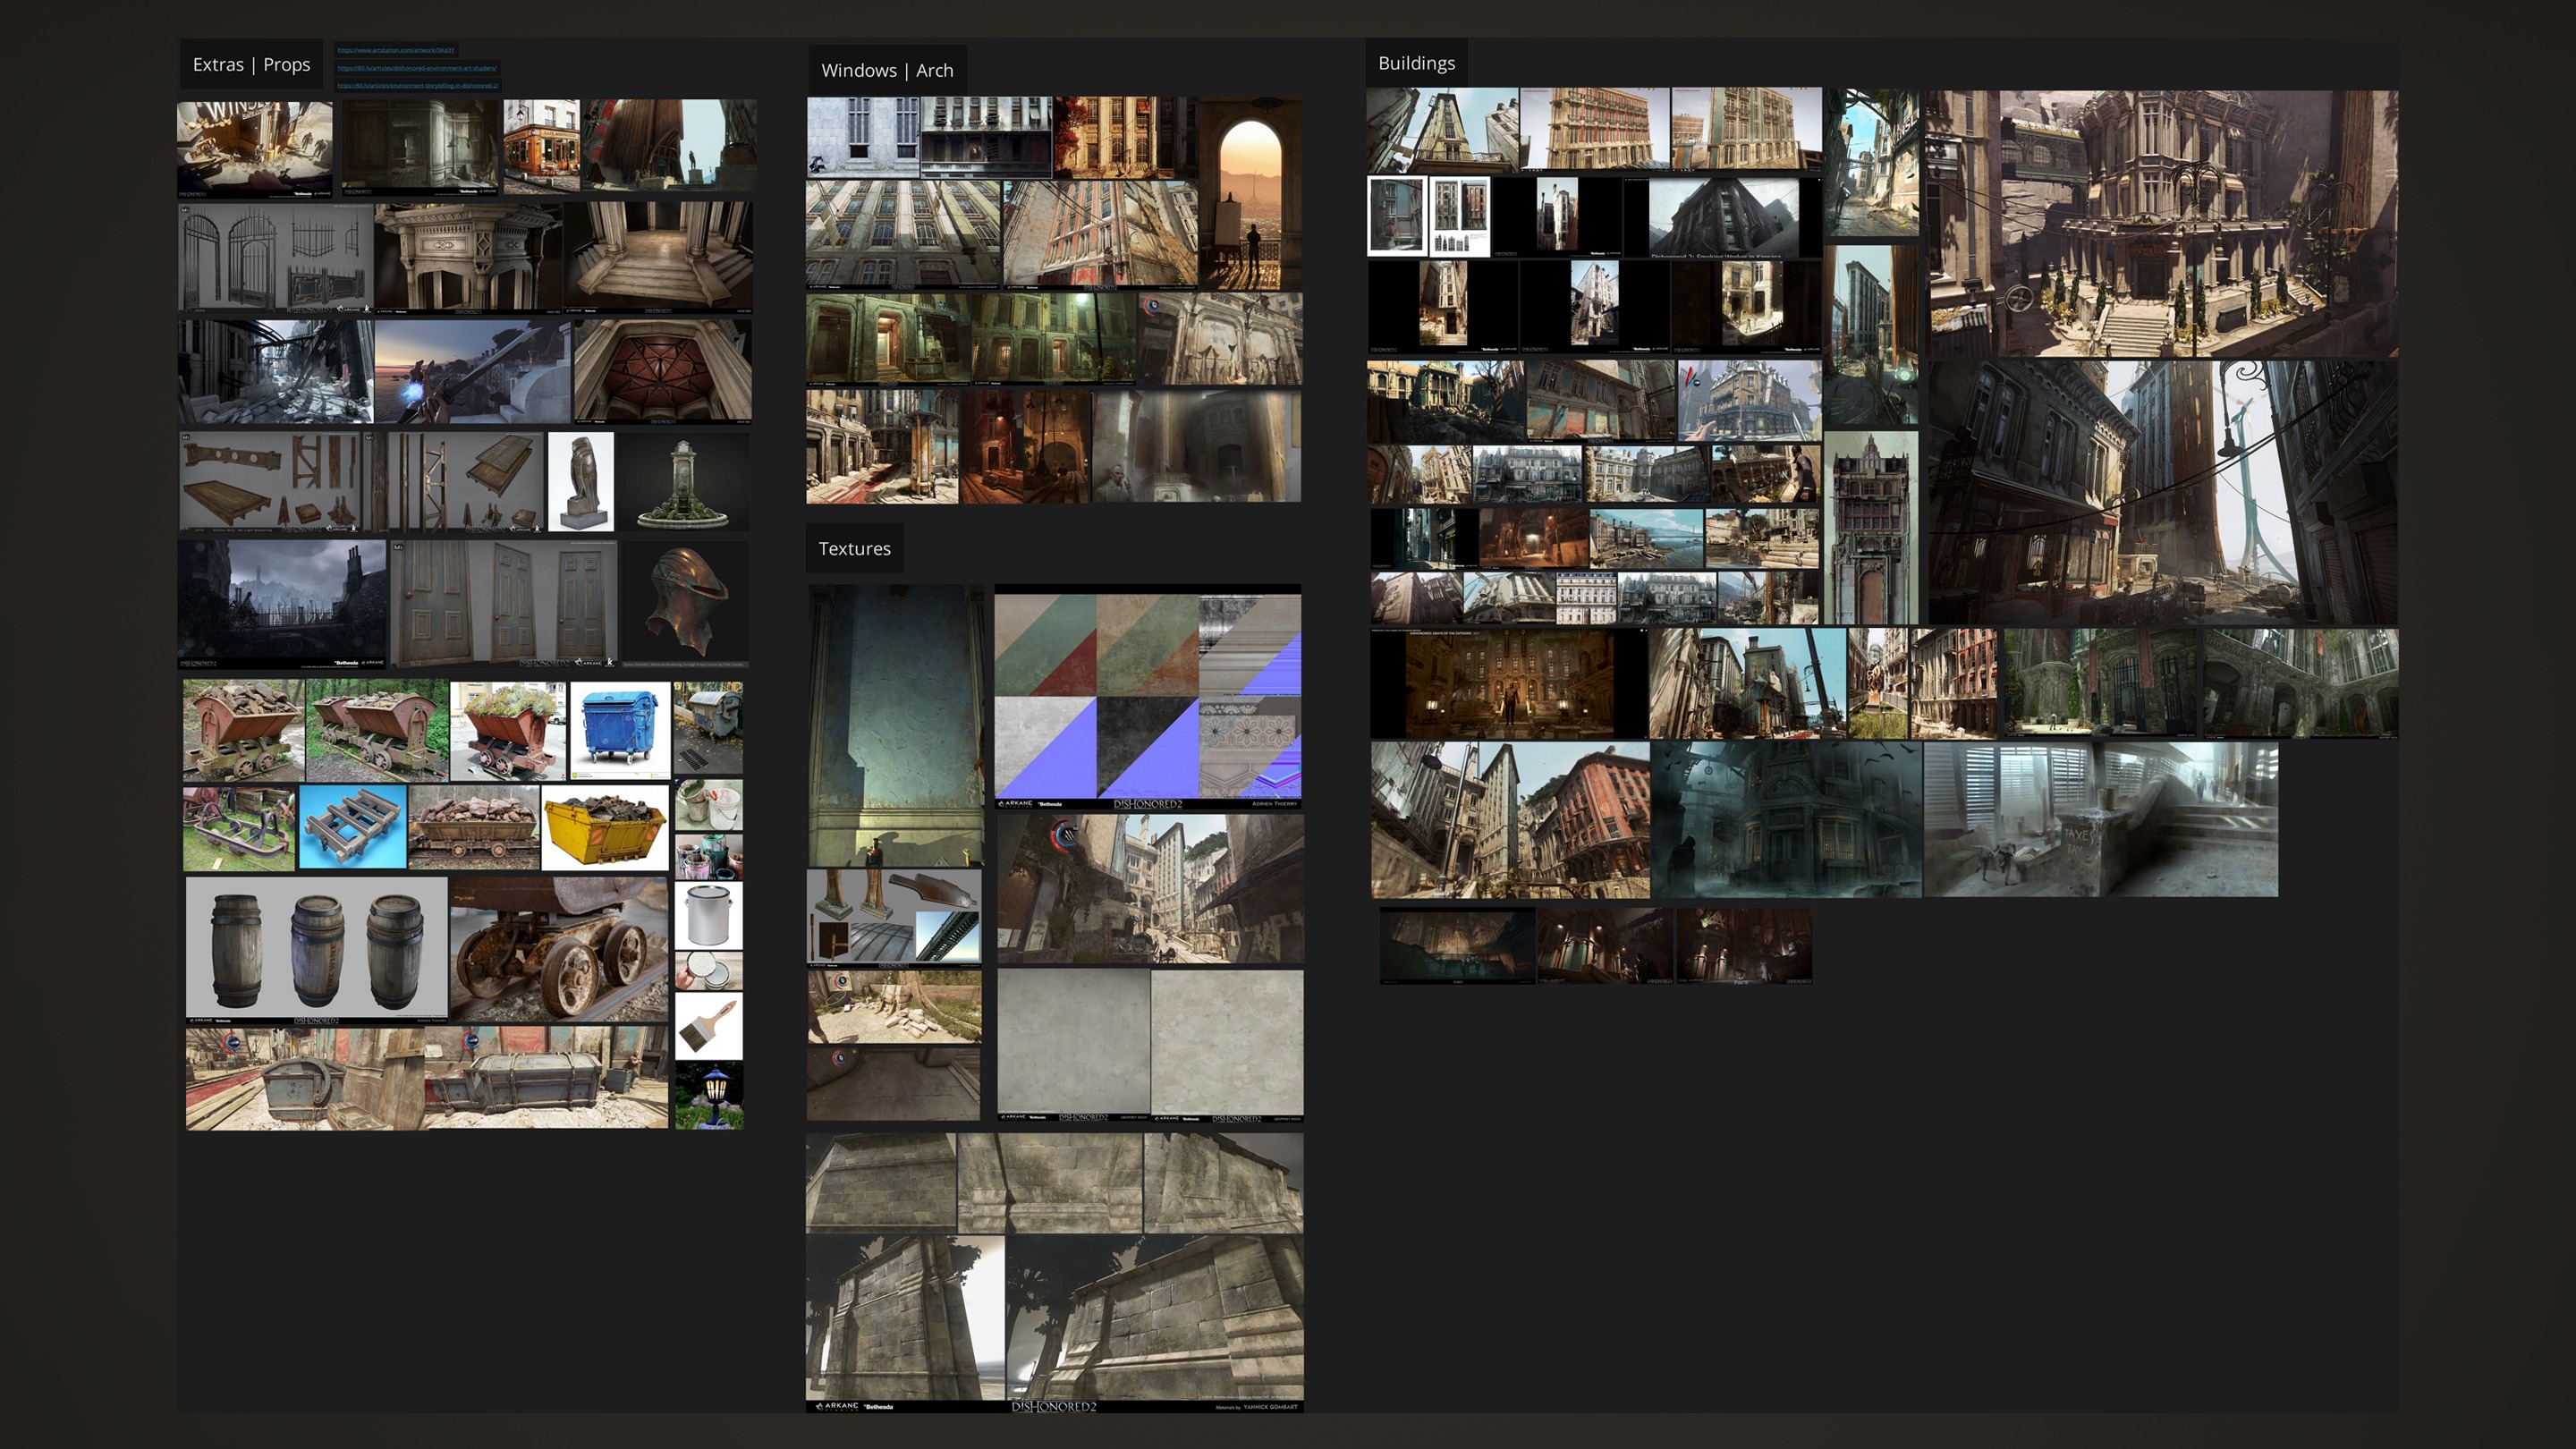
Before starting any project, I spend a lot of time gathering references. For this project, I collected in-game screenshots from Dishonored and many of its concept art pieces.
From there, I also added references from real-world objects to create props that don’t exist in the original game, adapting them so they fit coherently within the same universe.
I usually create a brief story to help ensure the entire environment feels cohesive. This process isn’t just visual – it also helps me decide which elements are necessary and how they should be integrated into the environment.
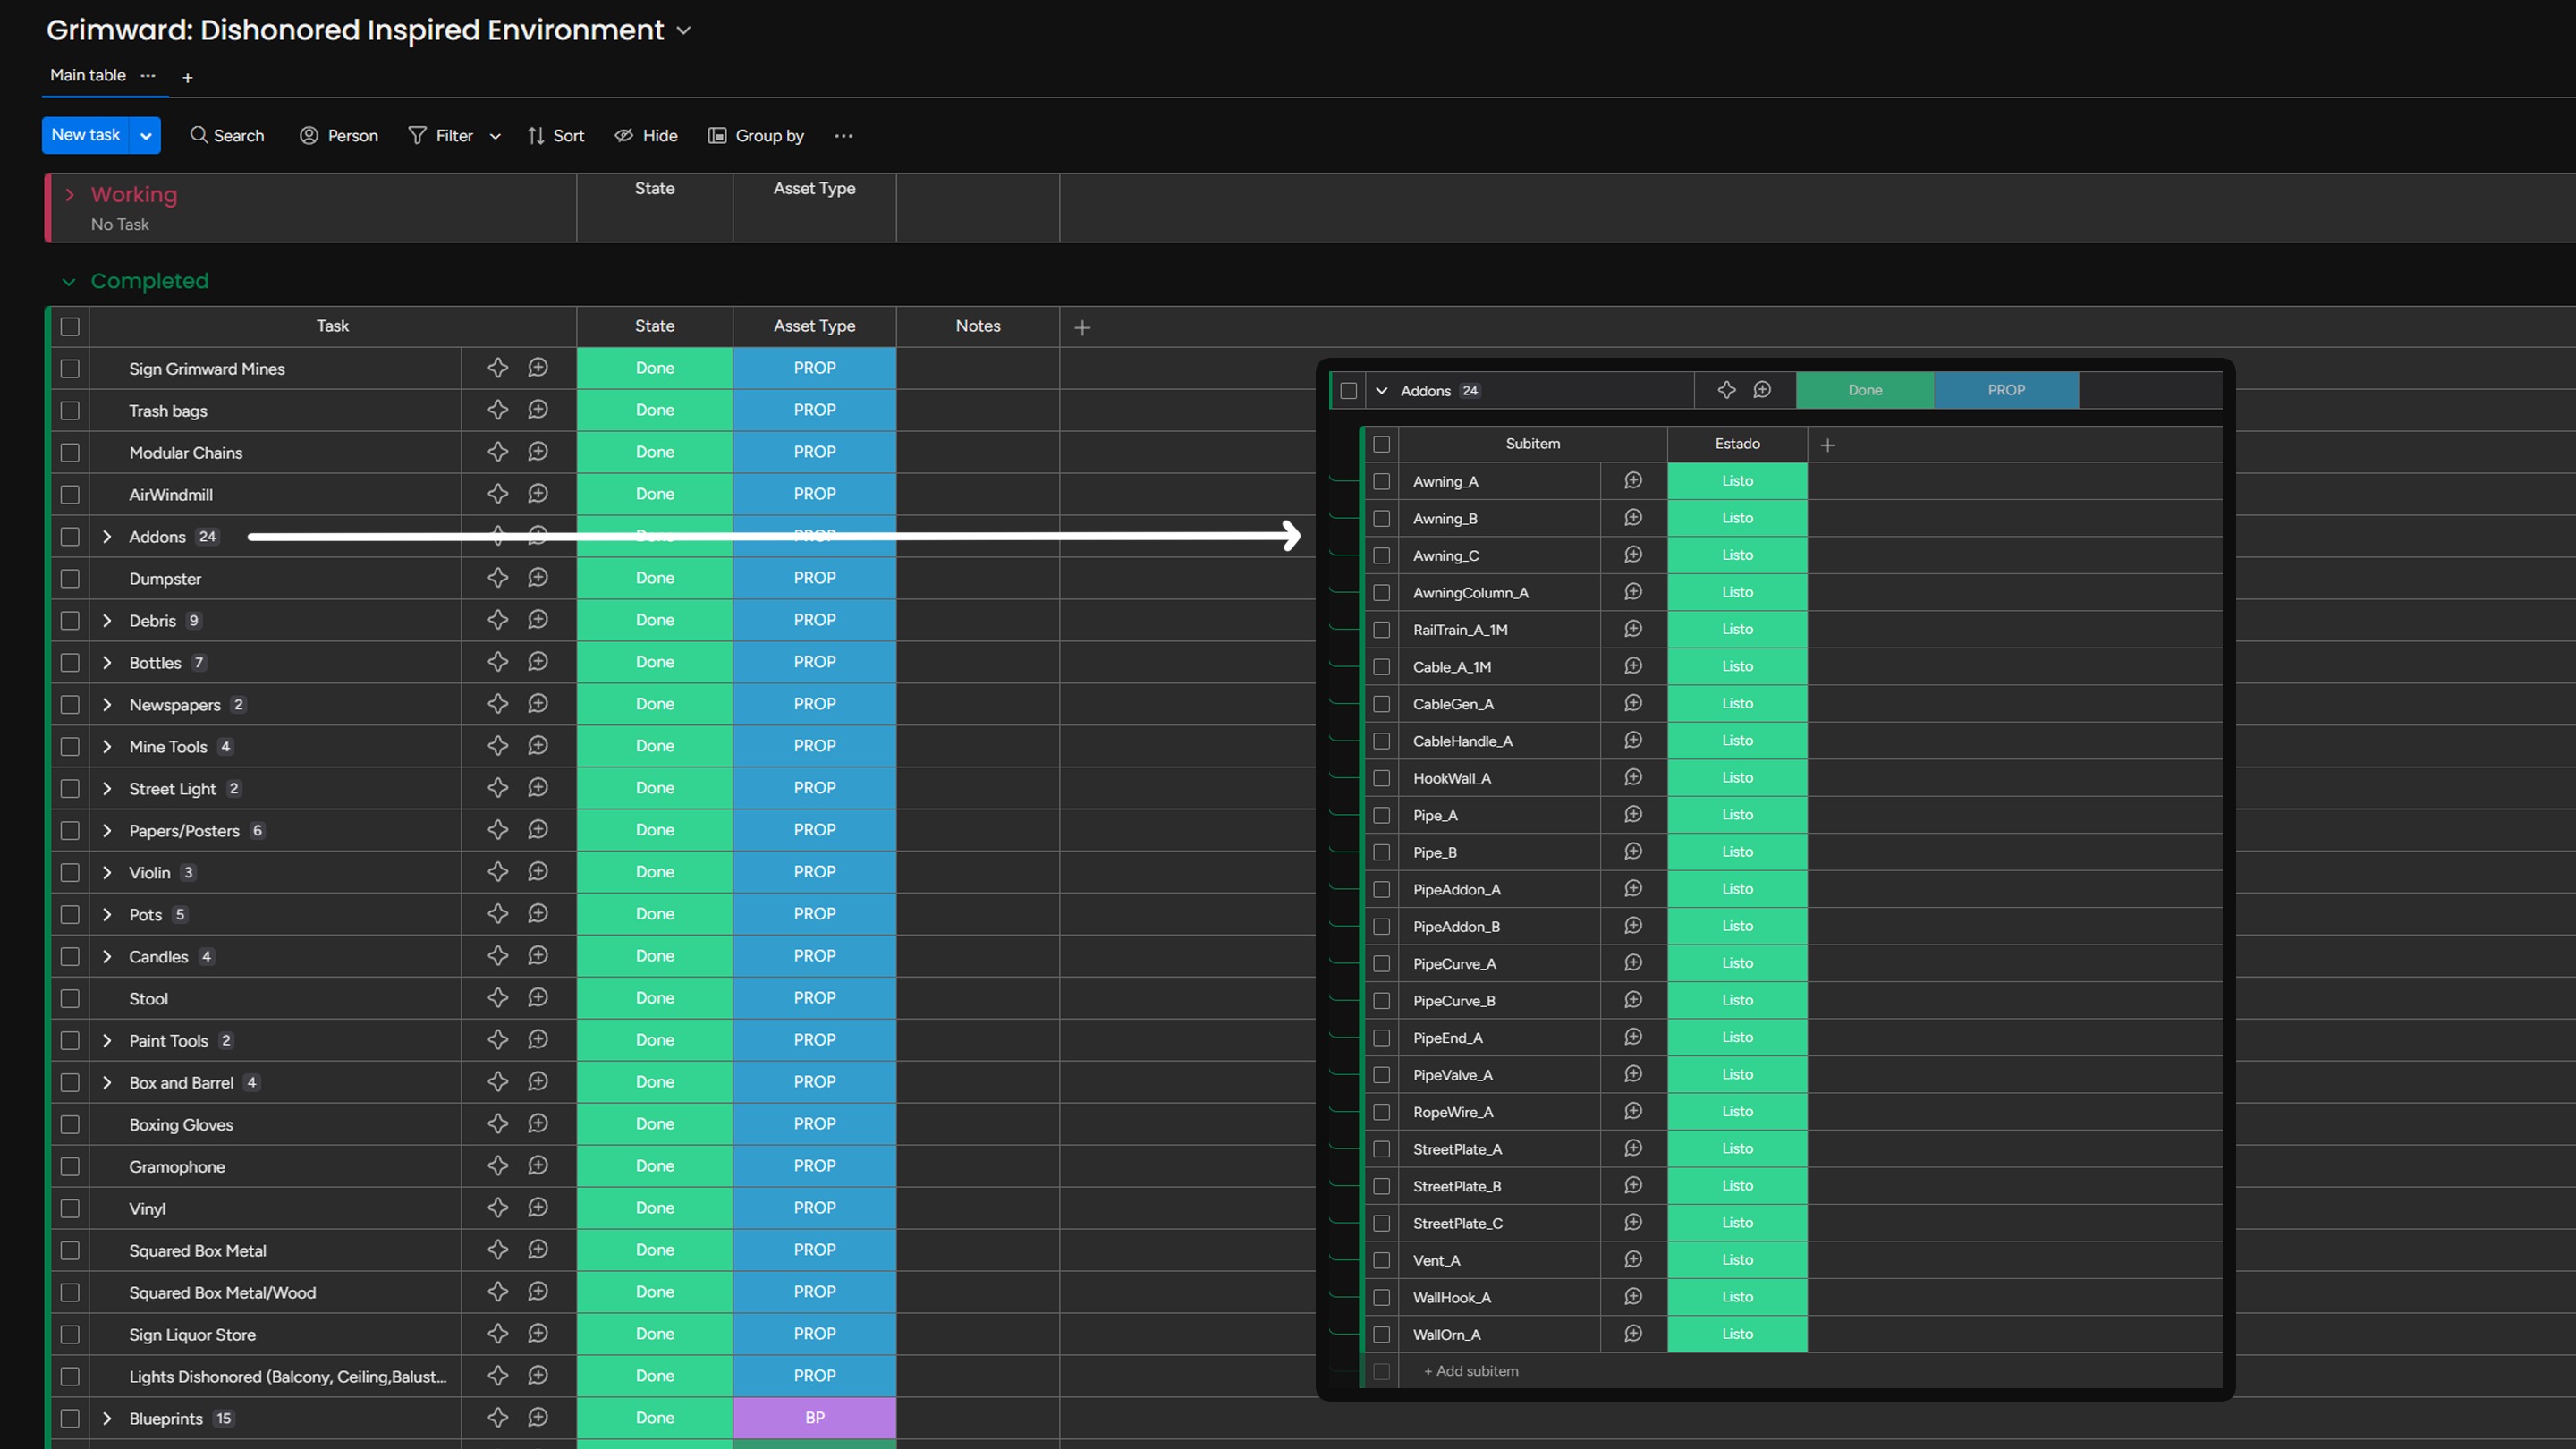
Then I create an initial list of the assets I need and gradually add to it as new requirements arise. To organise this project, I used Monday to clearly structure the tasks and keep track of them throughout the project.
Blockout
I started with a very basic blockout phase to check proportions, scales, and silhouettes. During this phase, I made many changes, as it’s the best time to experiment with compositions.
The process was as follows:
- First version using primitives in Unreal
- Adjusting proportions and silhouettes
- Converting to modules with correct dimensions
- Constant review within the engine
- Continuous iterations to validate composition and flow
Once I had created a blockout I was happy with, I exported it so I could create modules with the correct dimensions in Maya. From there, I built a modular kit and re-imported it into the engine to verify that everything fit together properly, both technically and visually.
The priority was to ensure that the space functioned well as a playable environment, with good visibility and clear navigation from different angles.
Asset Breakdown
The project was divided into several parts:
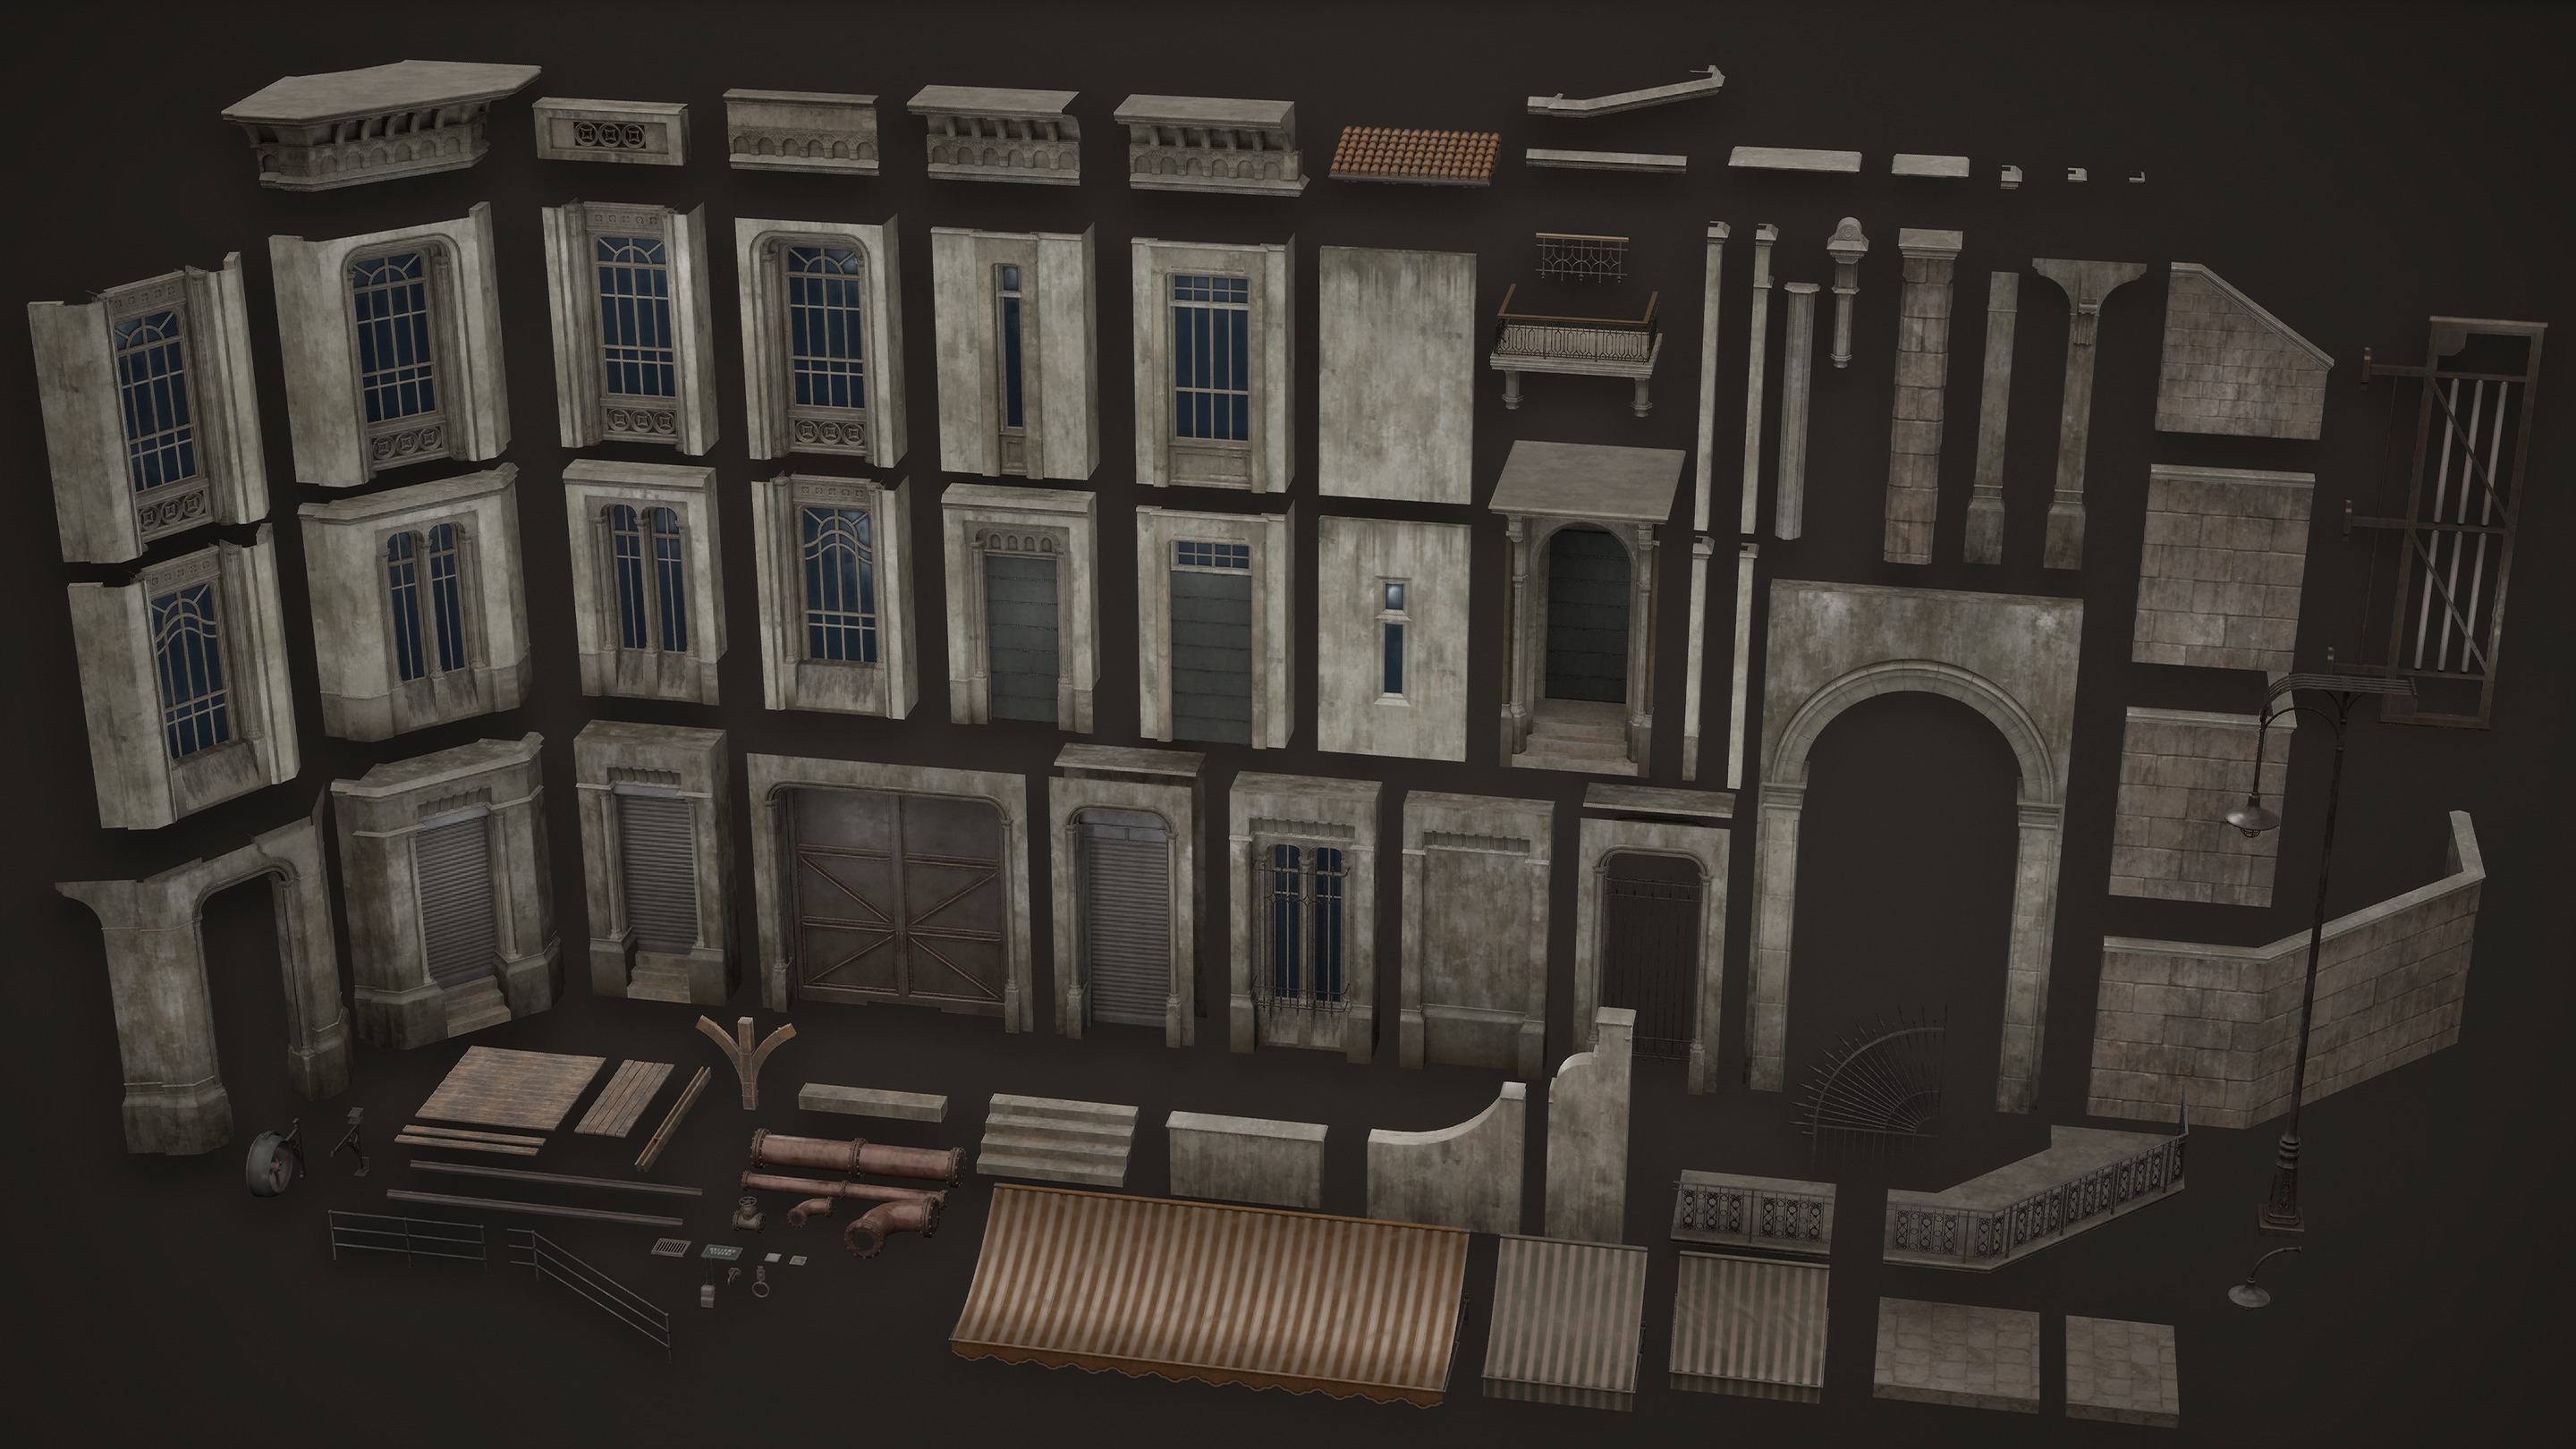
- Modular kit
- Walls, windows, floors, and reusable elements
- Variations to reduce visual repetition
- Environmental Props
- Secondary props to enrich the setting
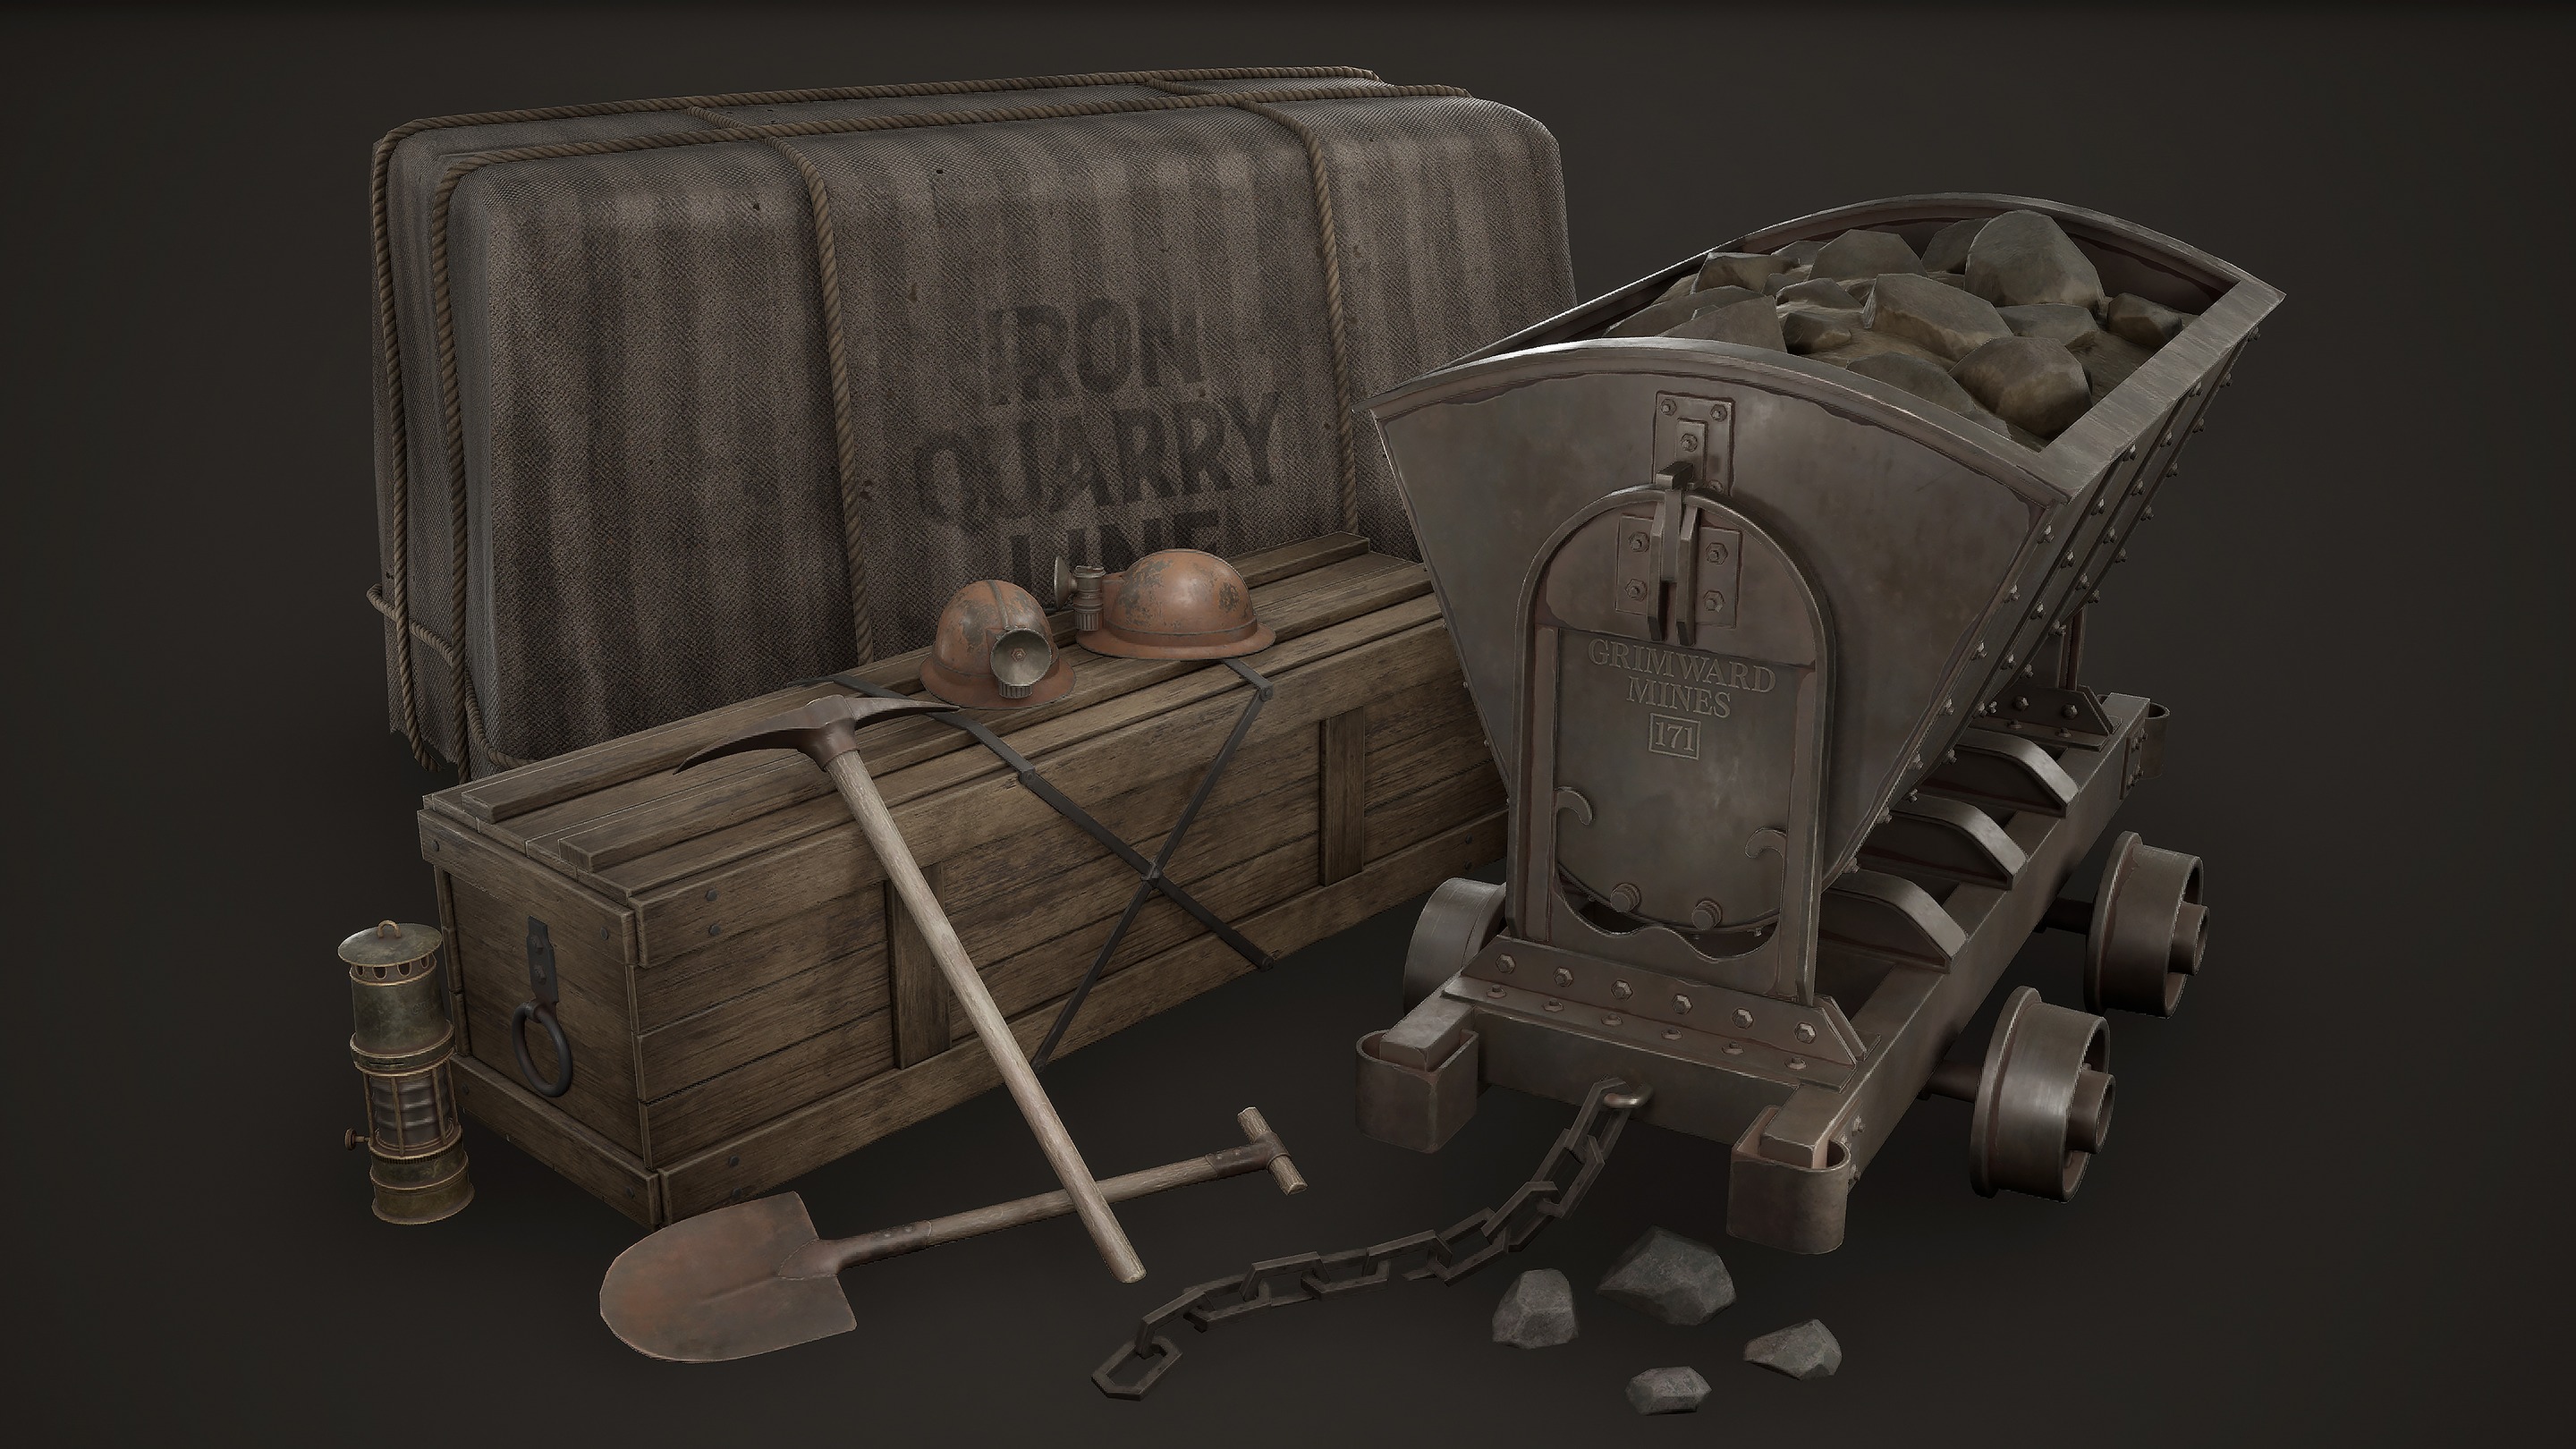
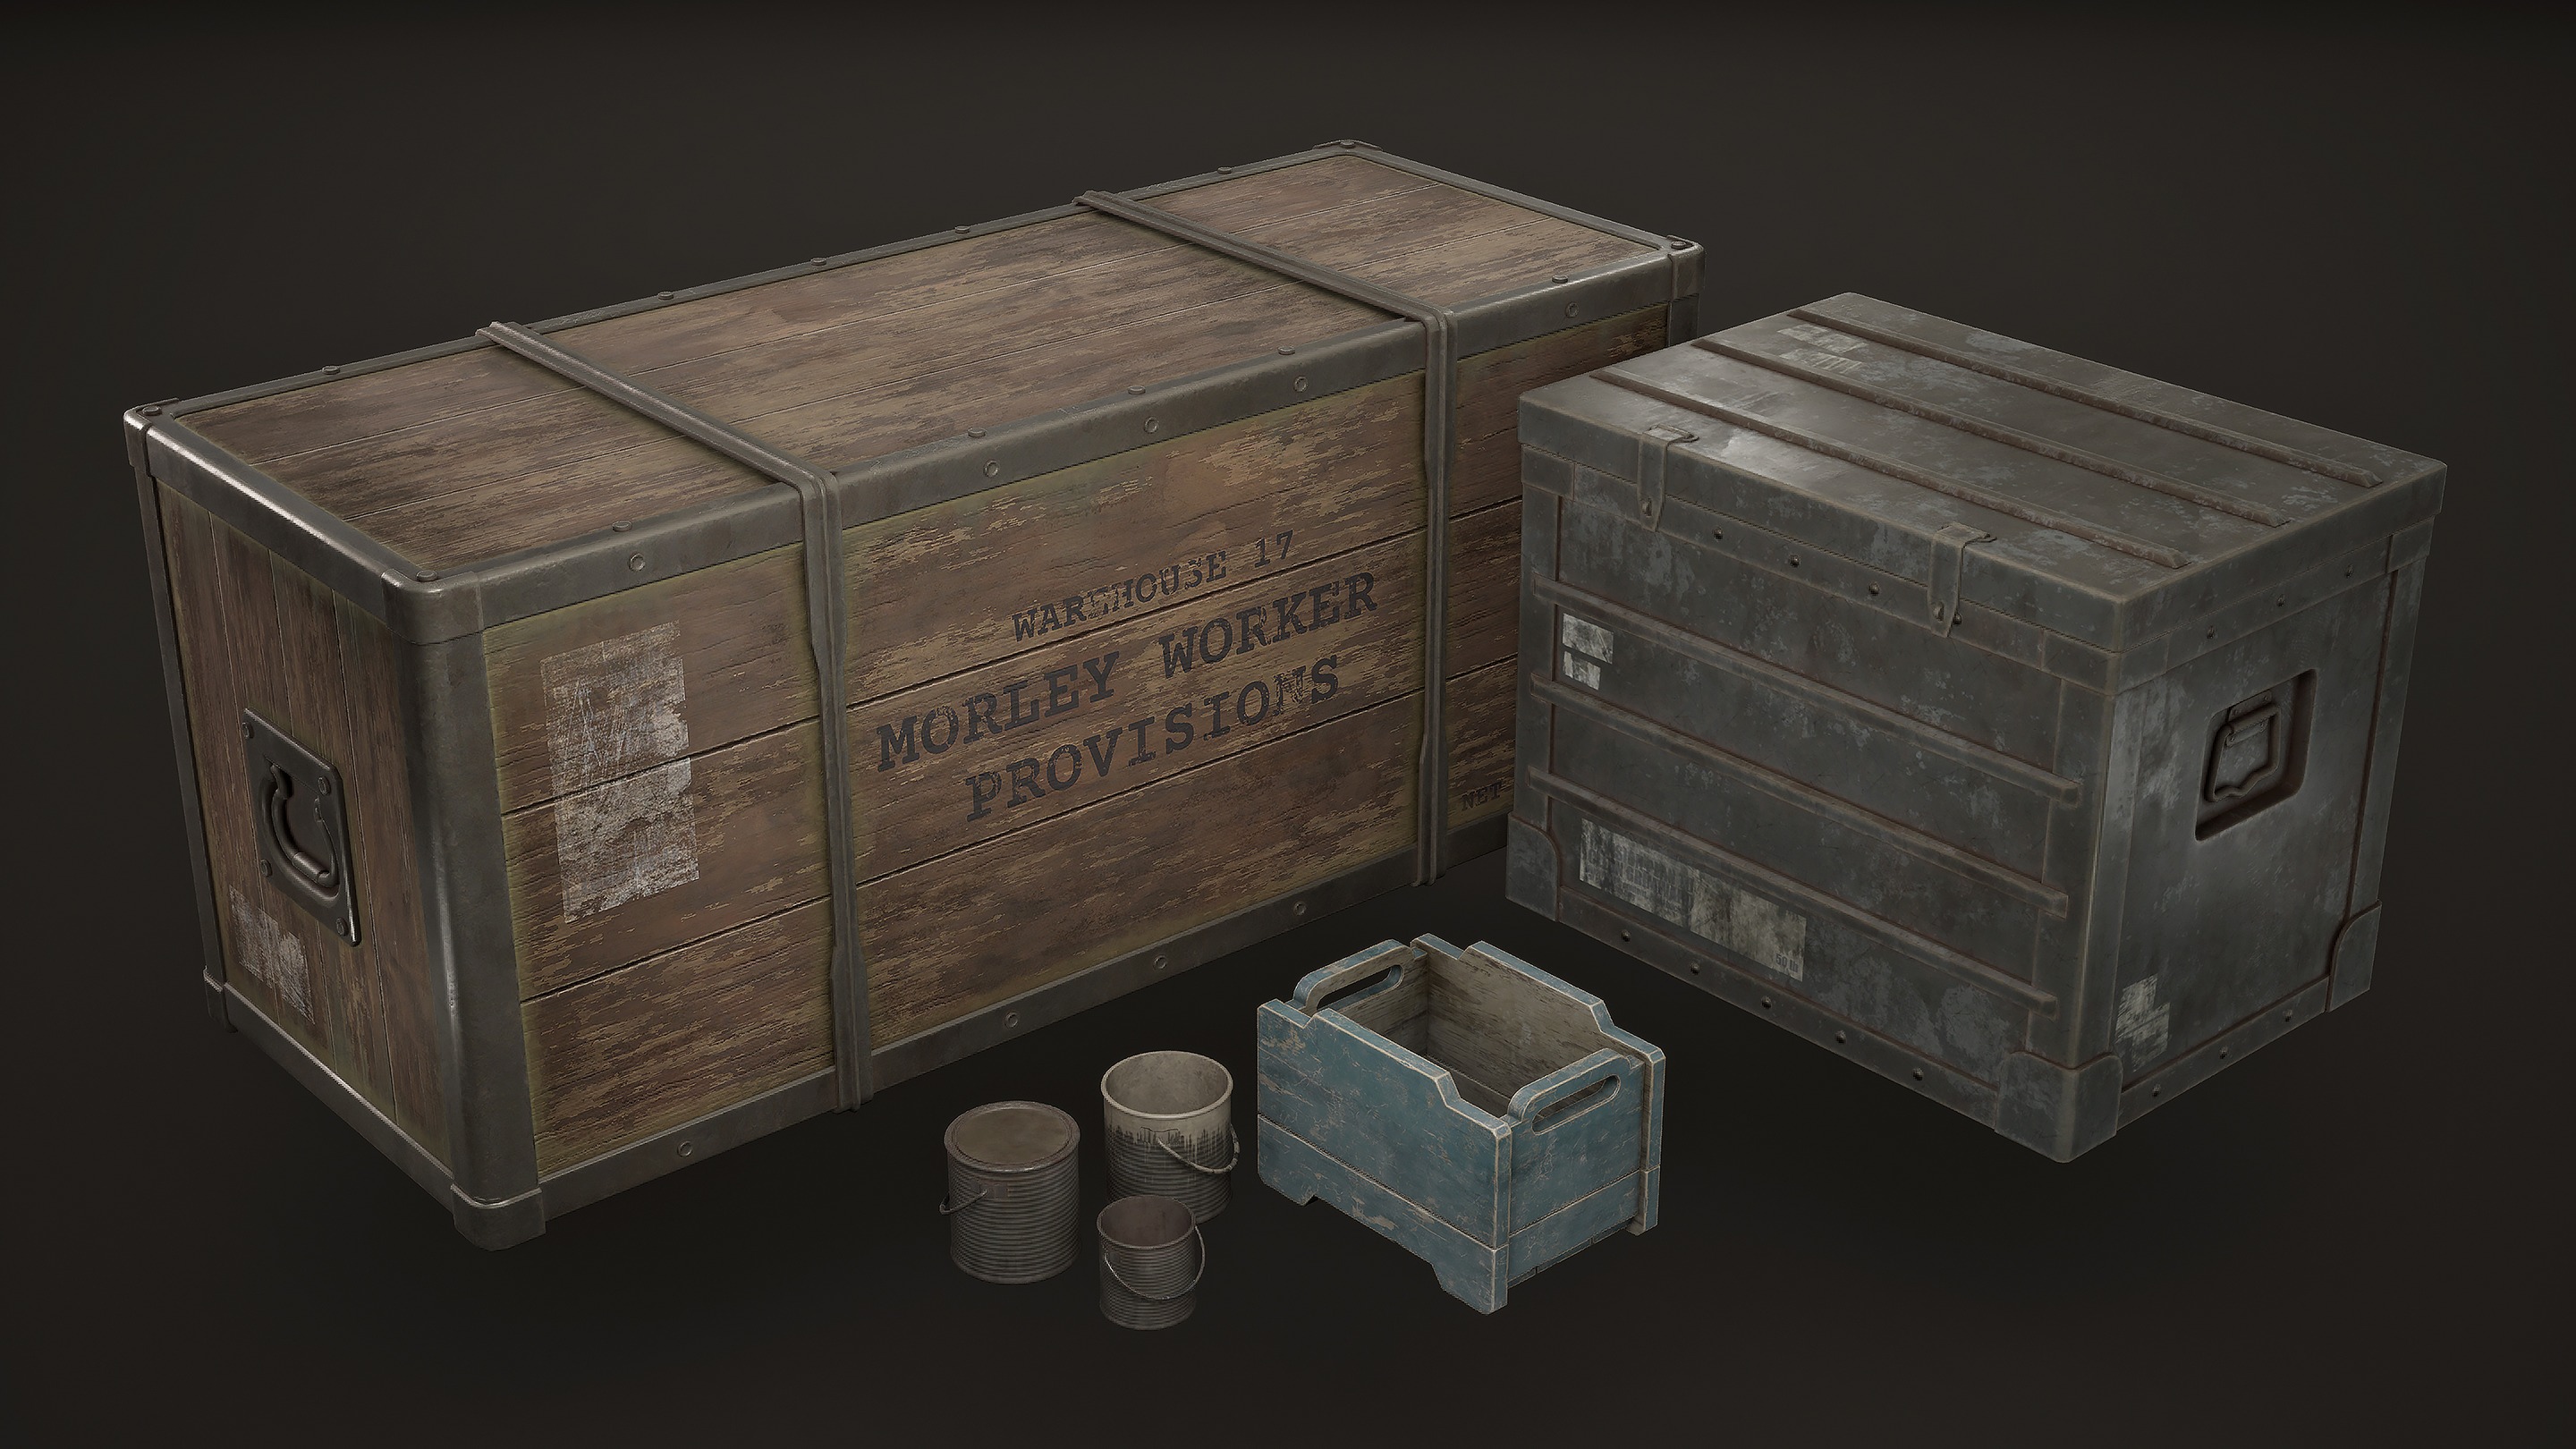
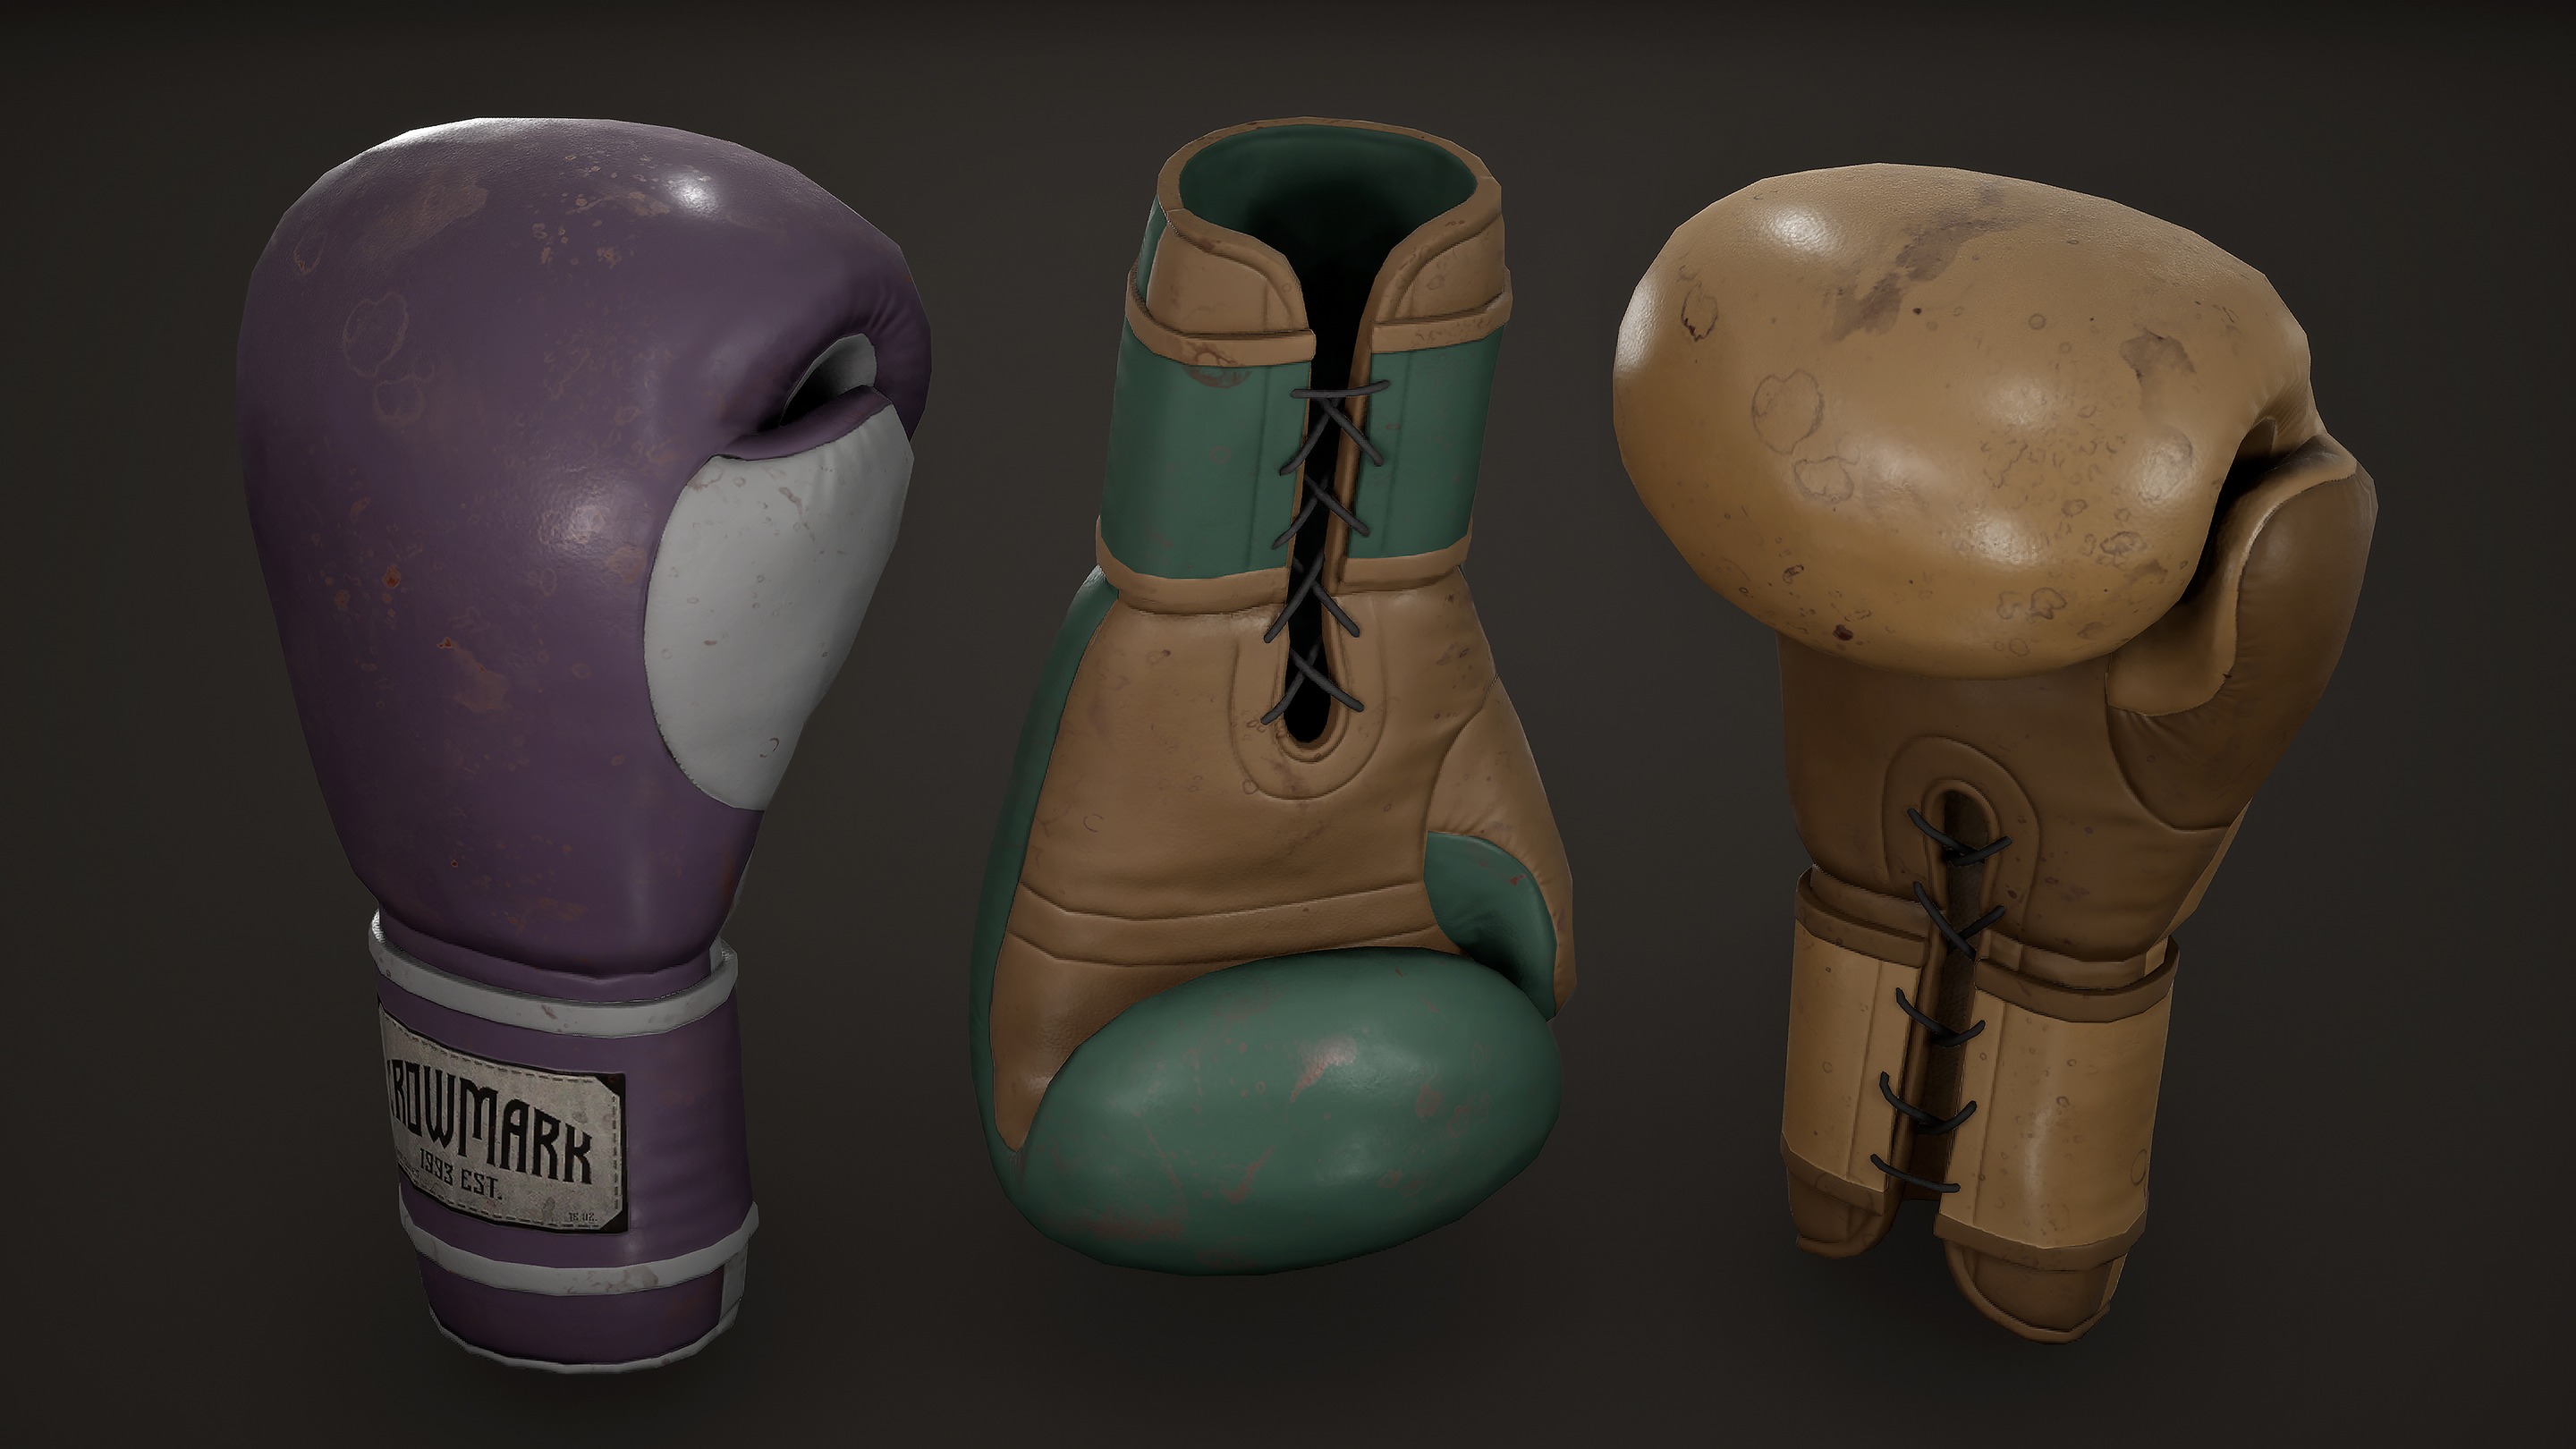
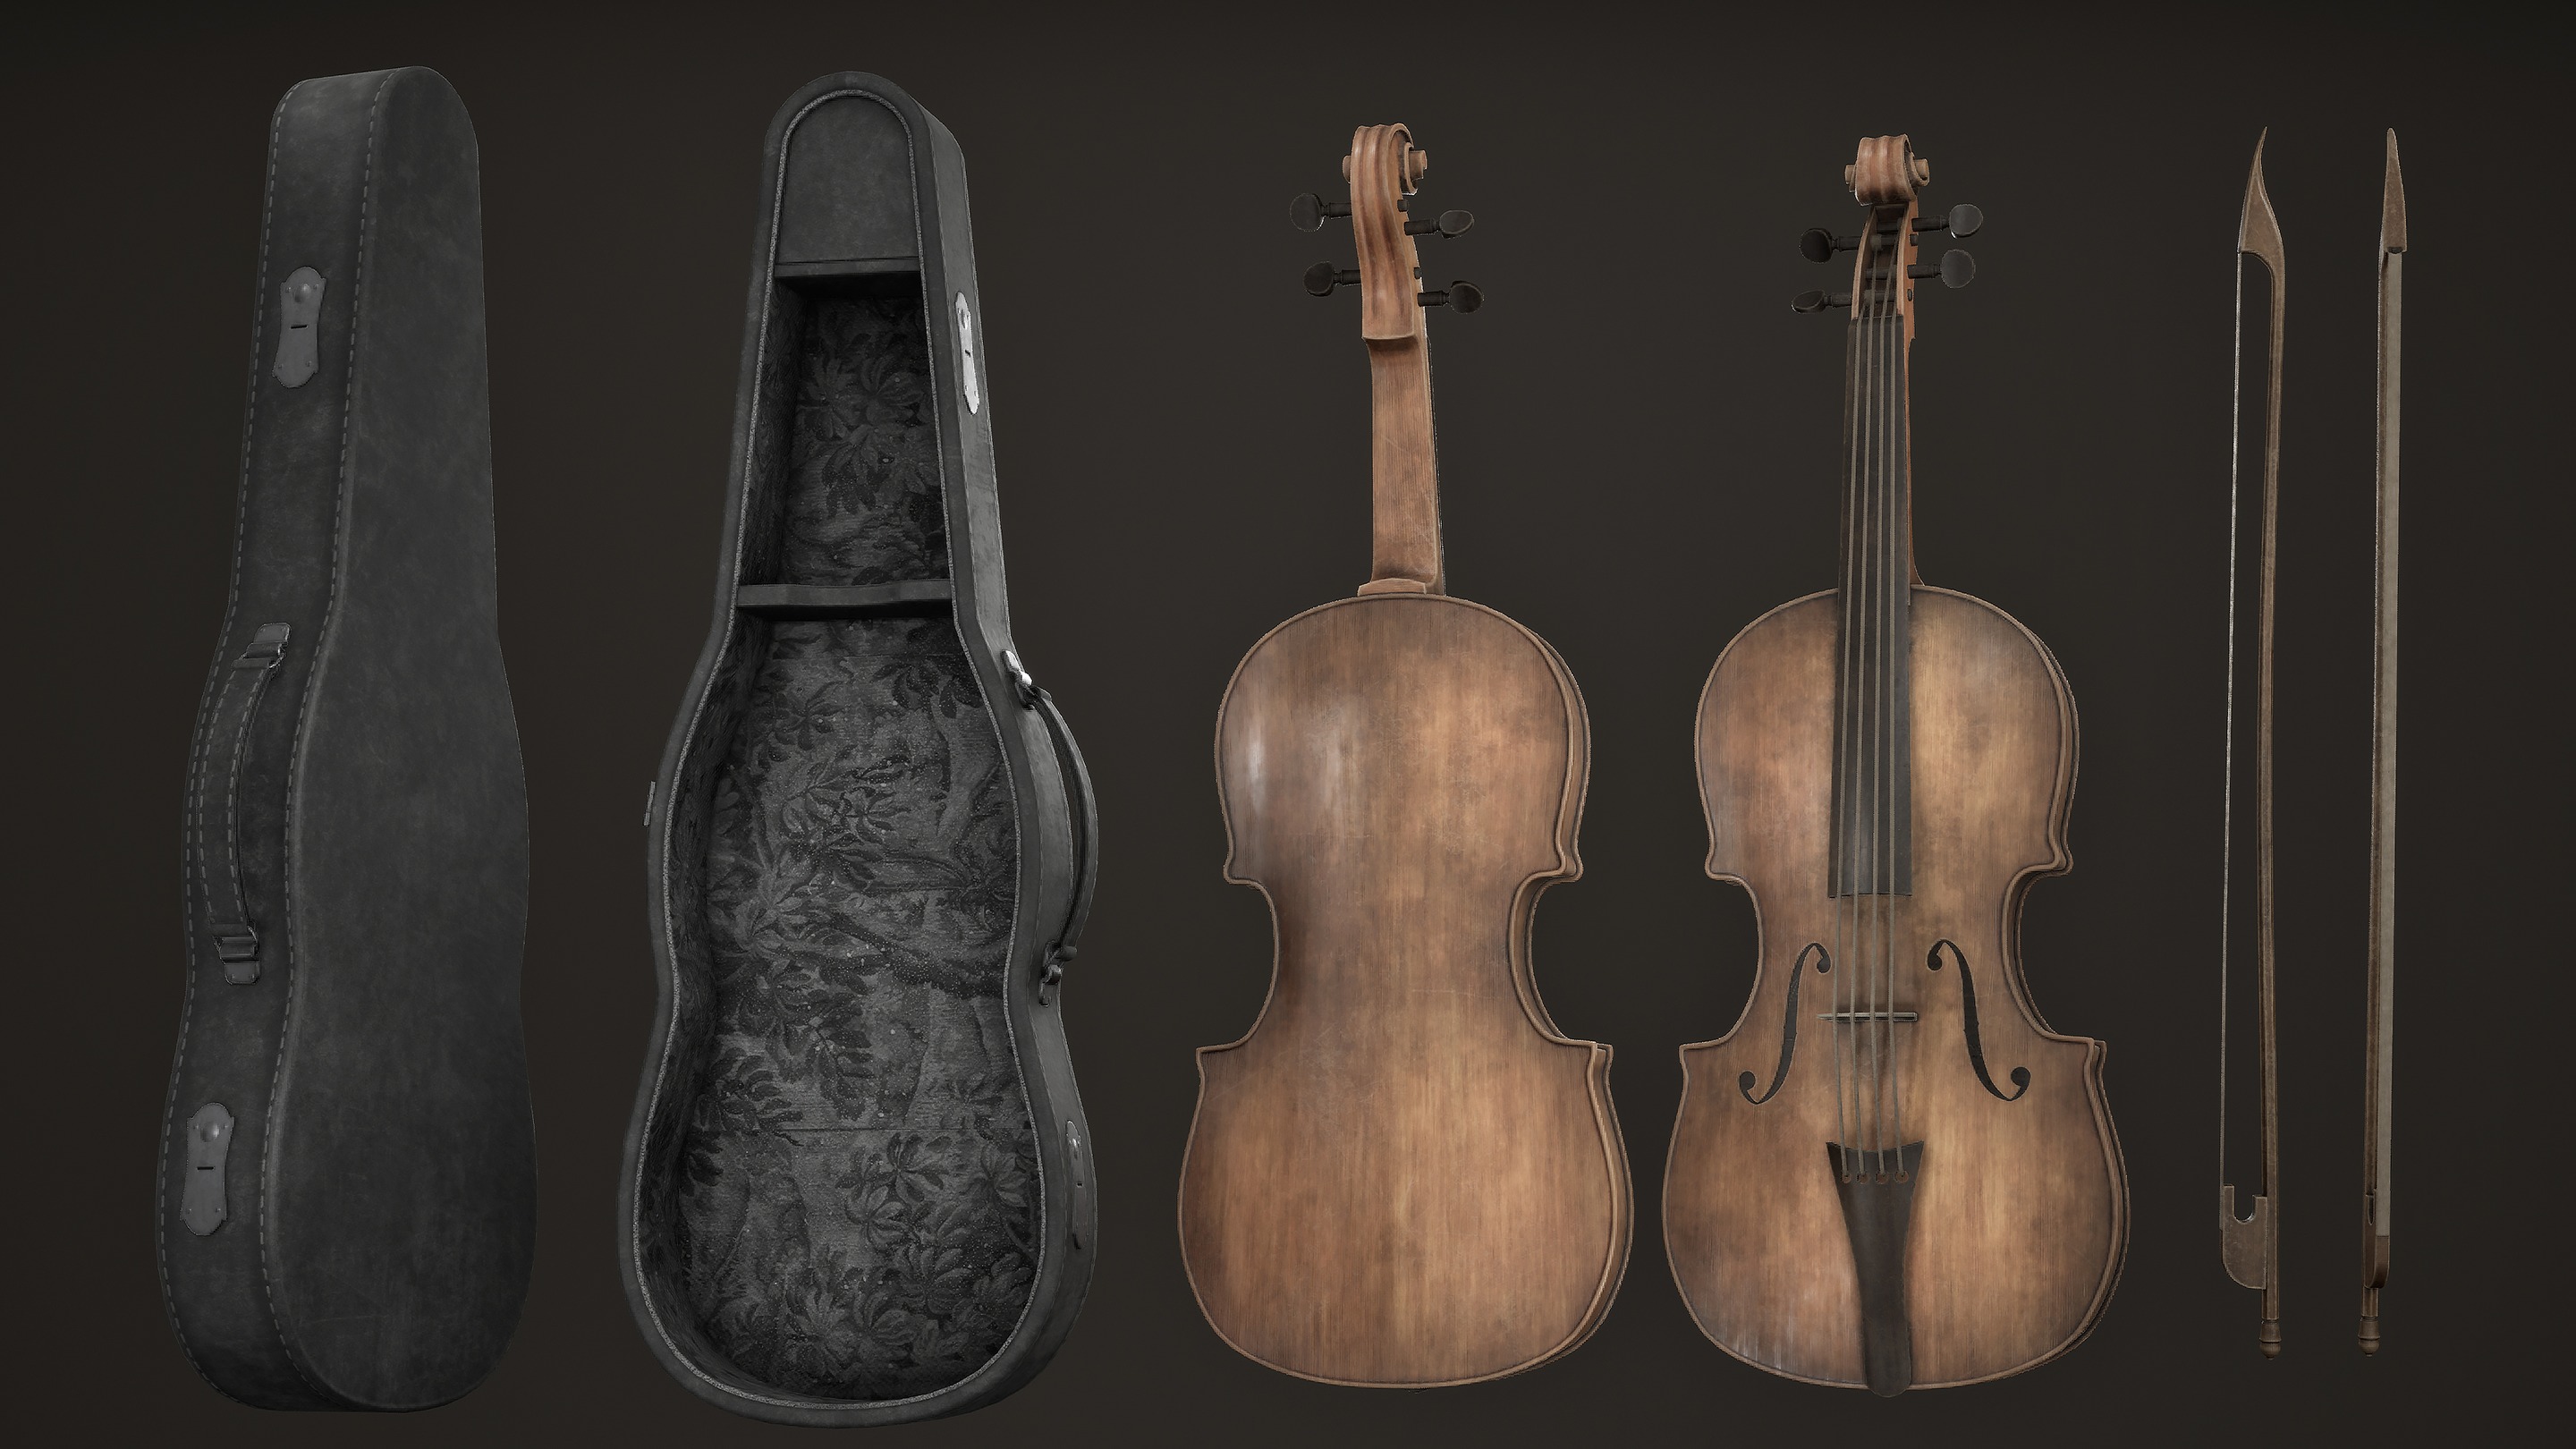
- Main Props
- Key storytelling objects
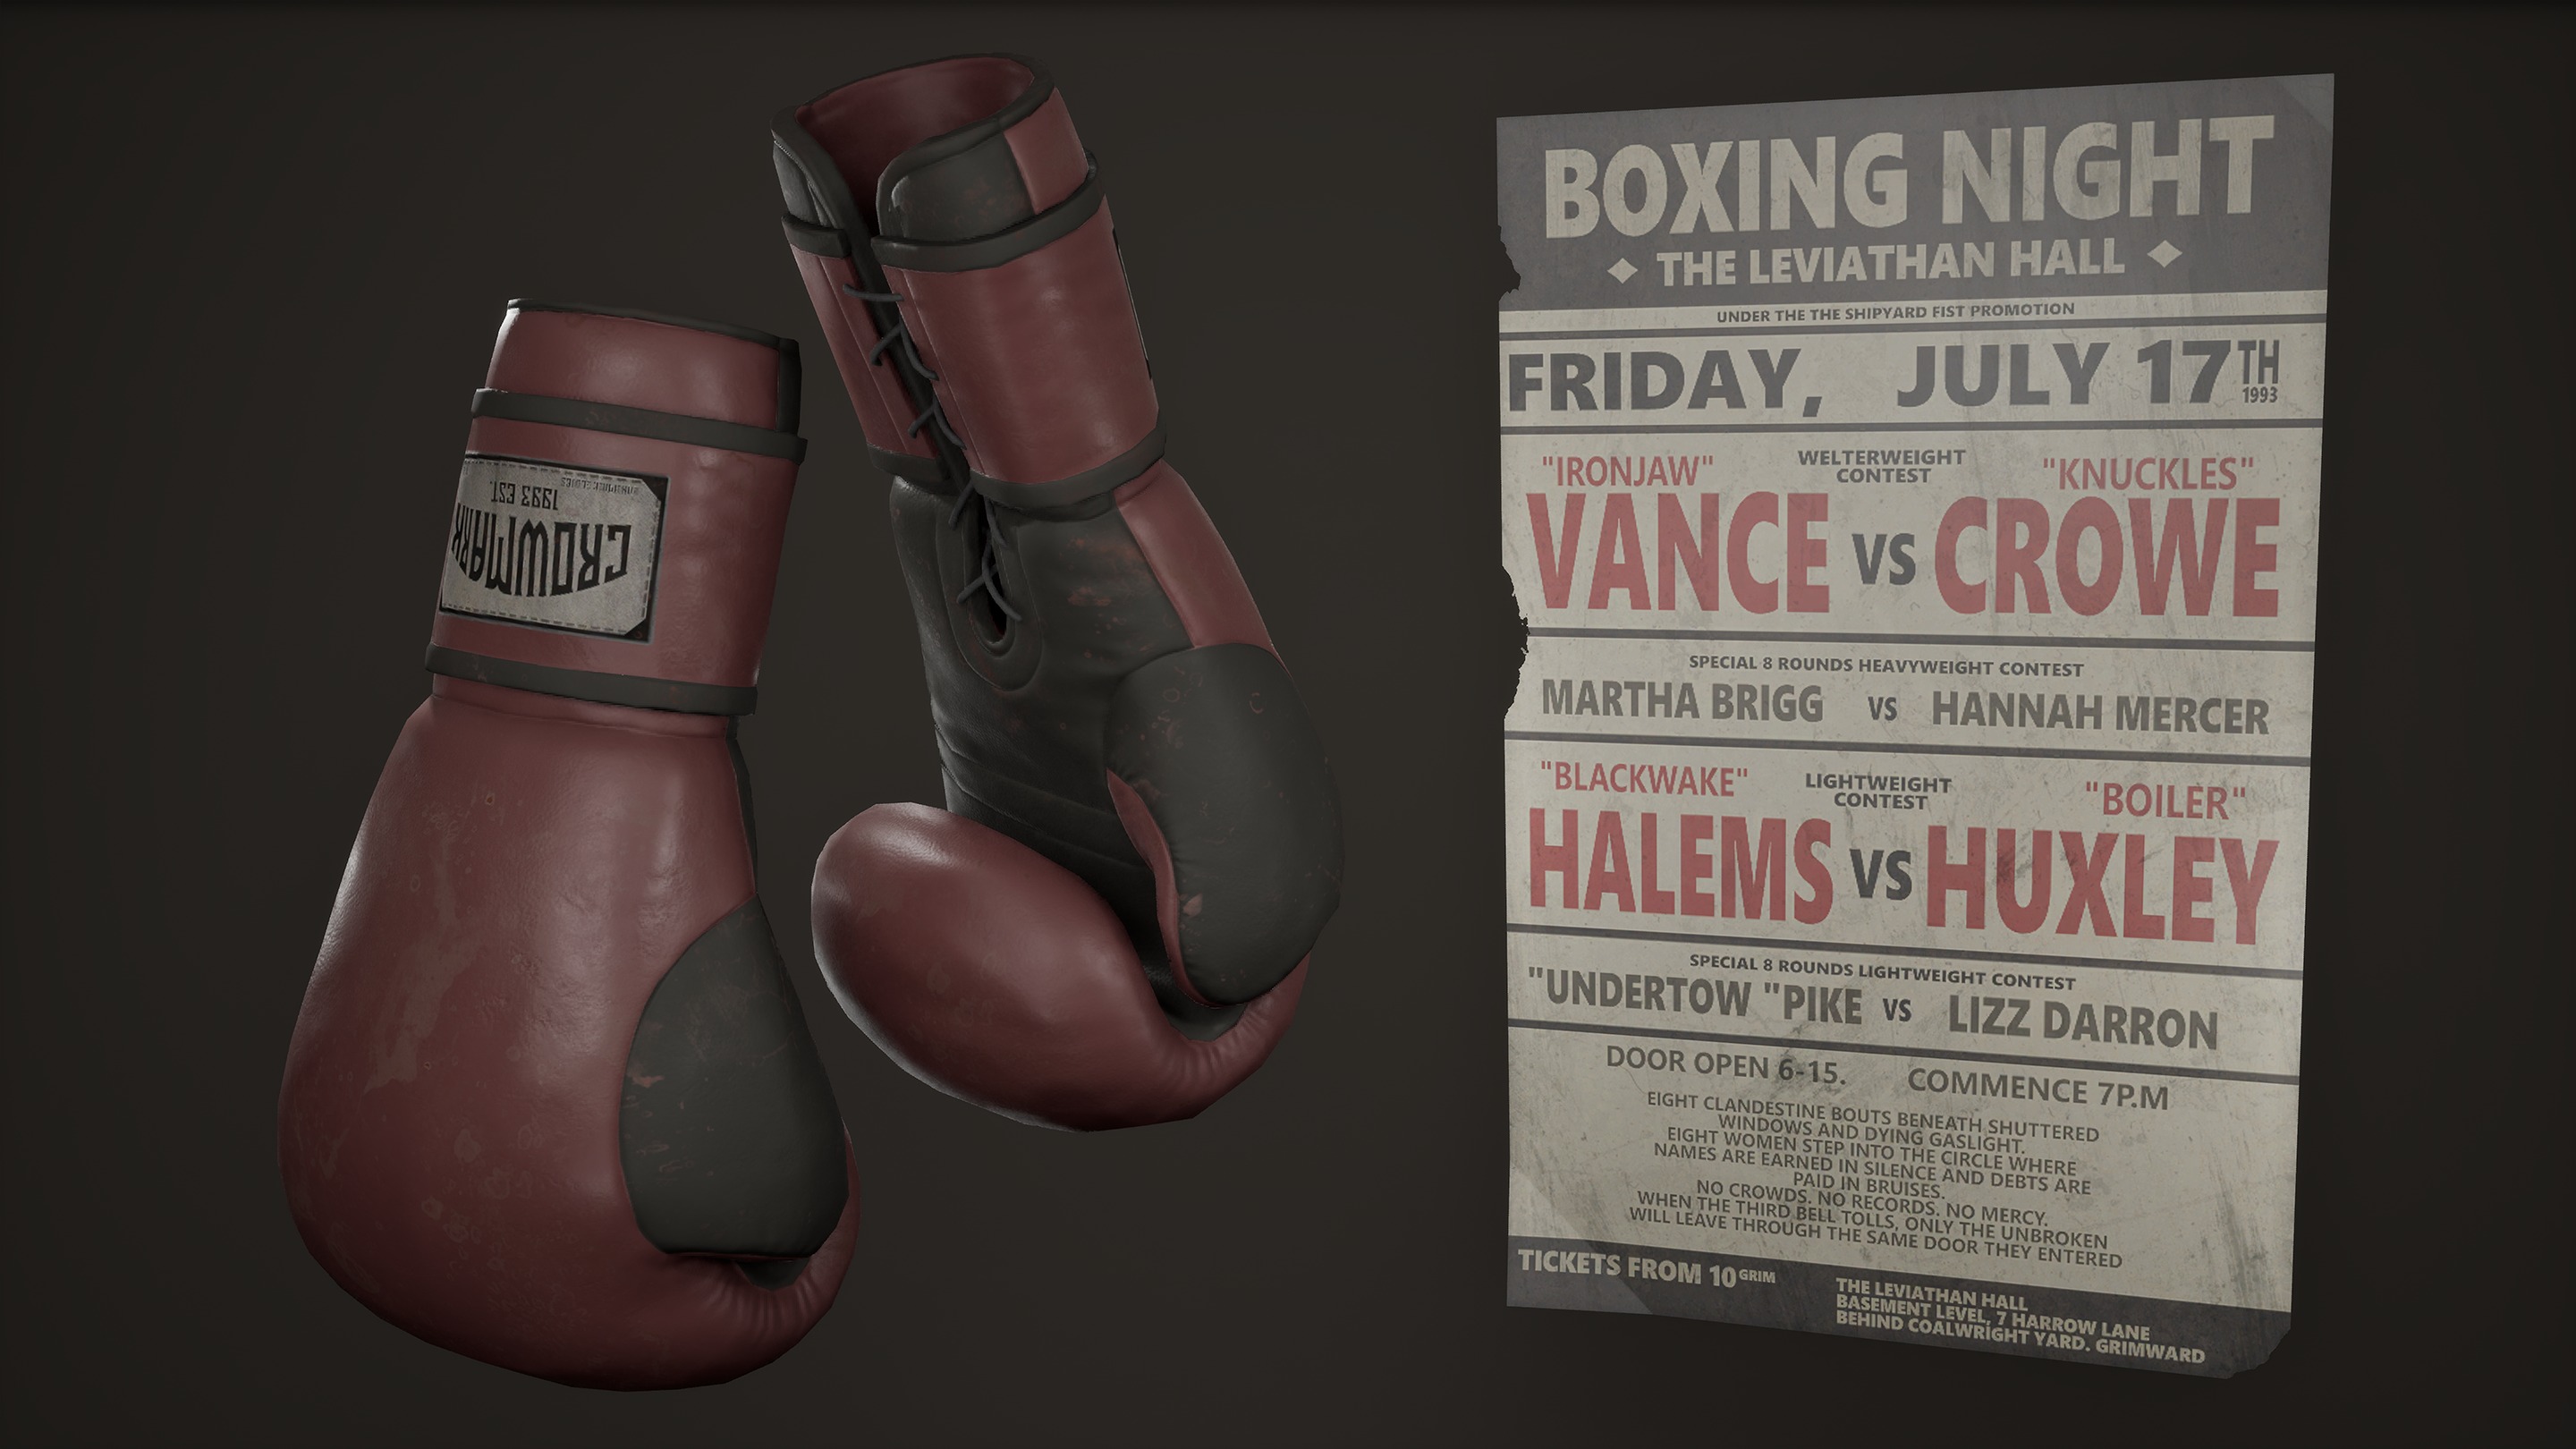
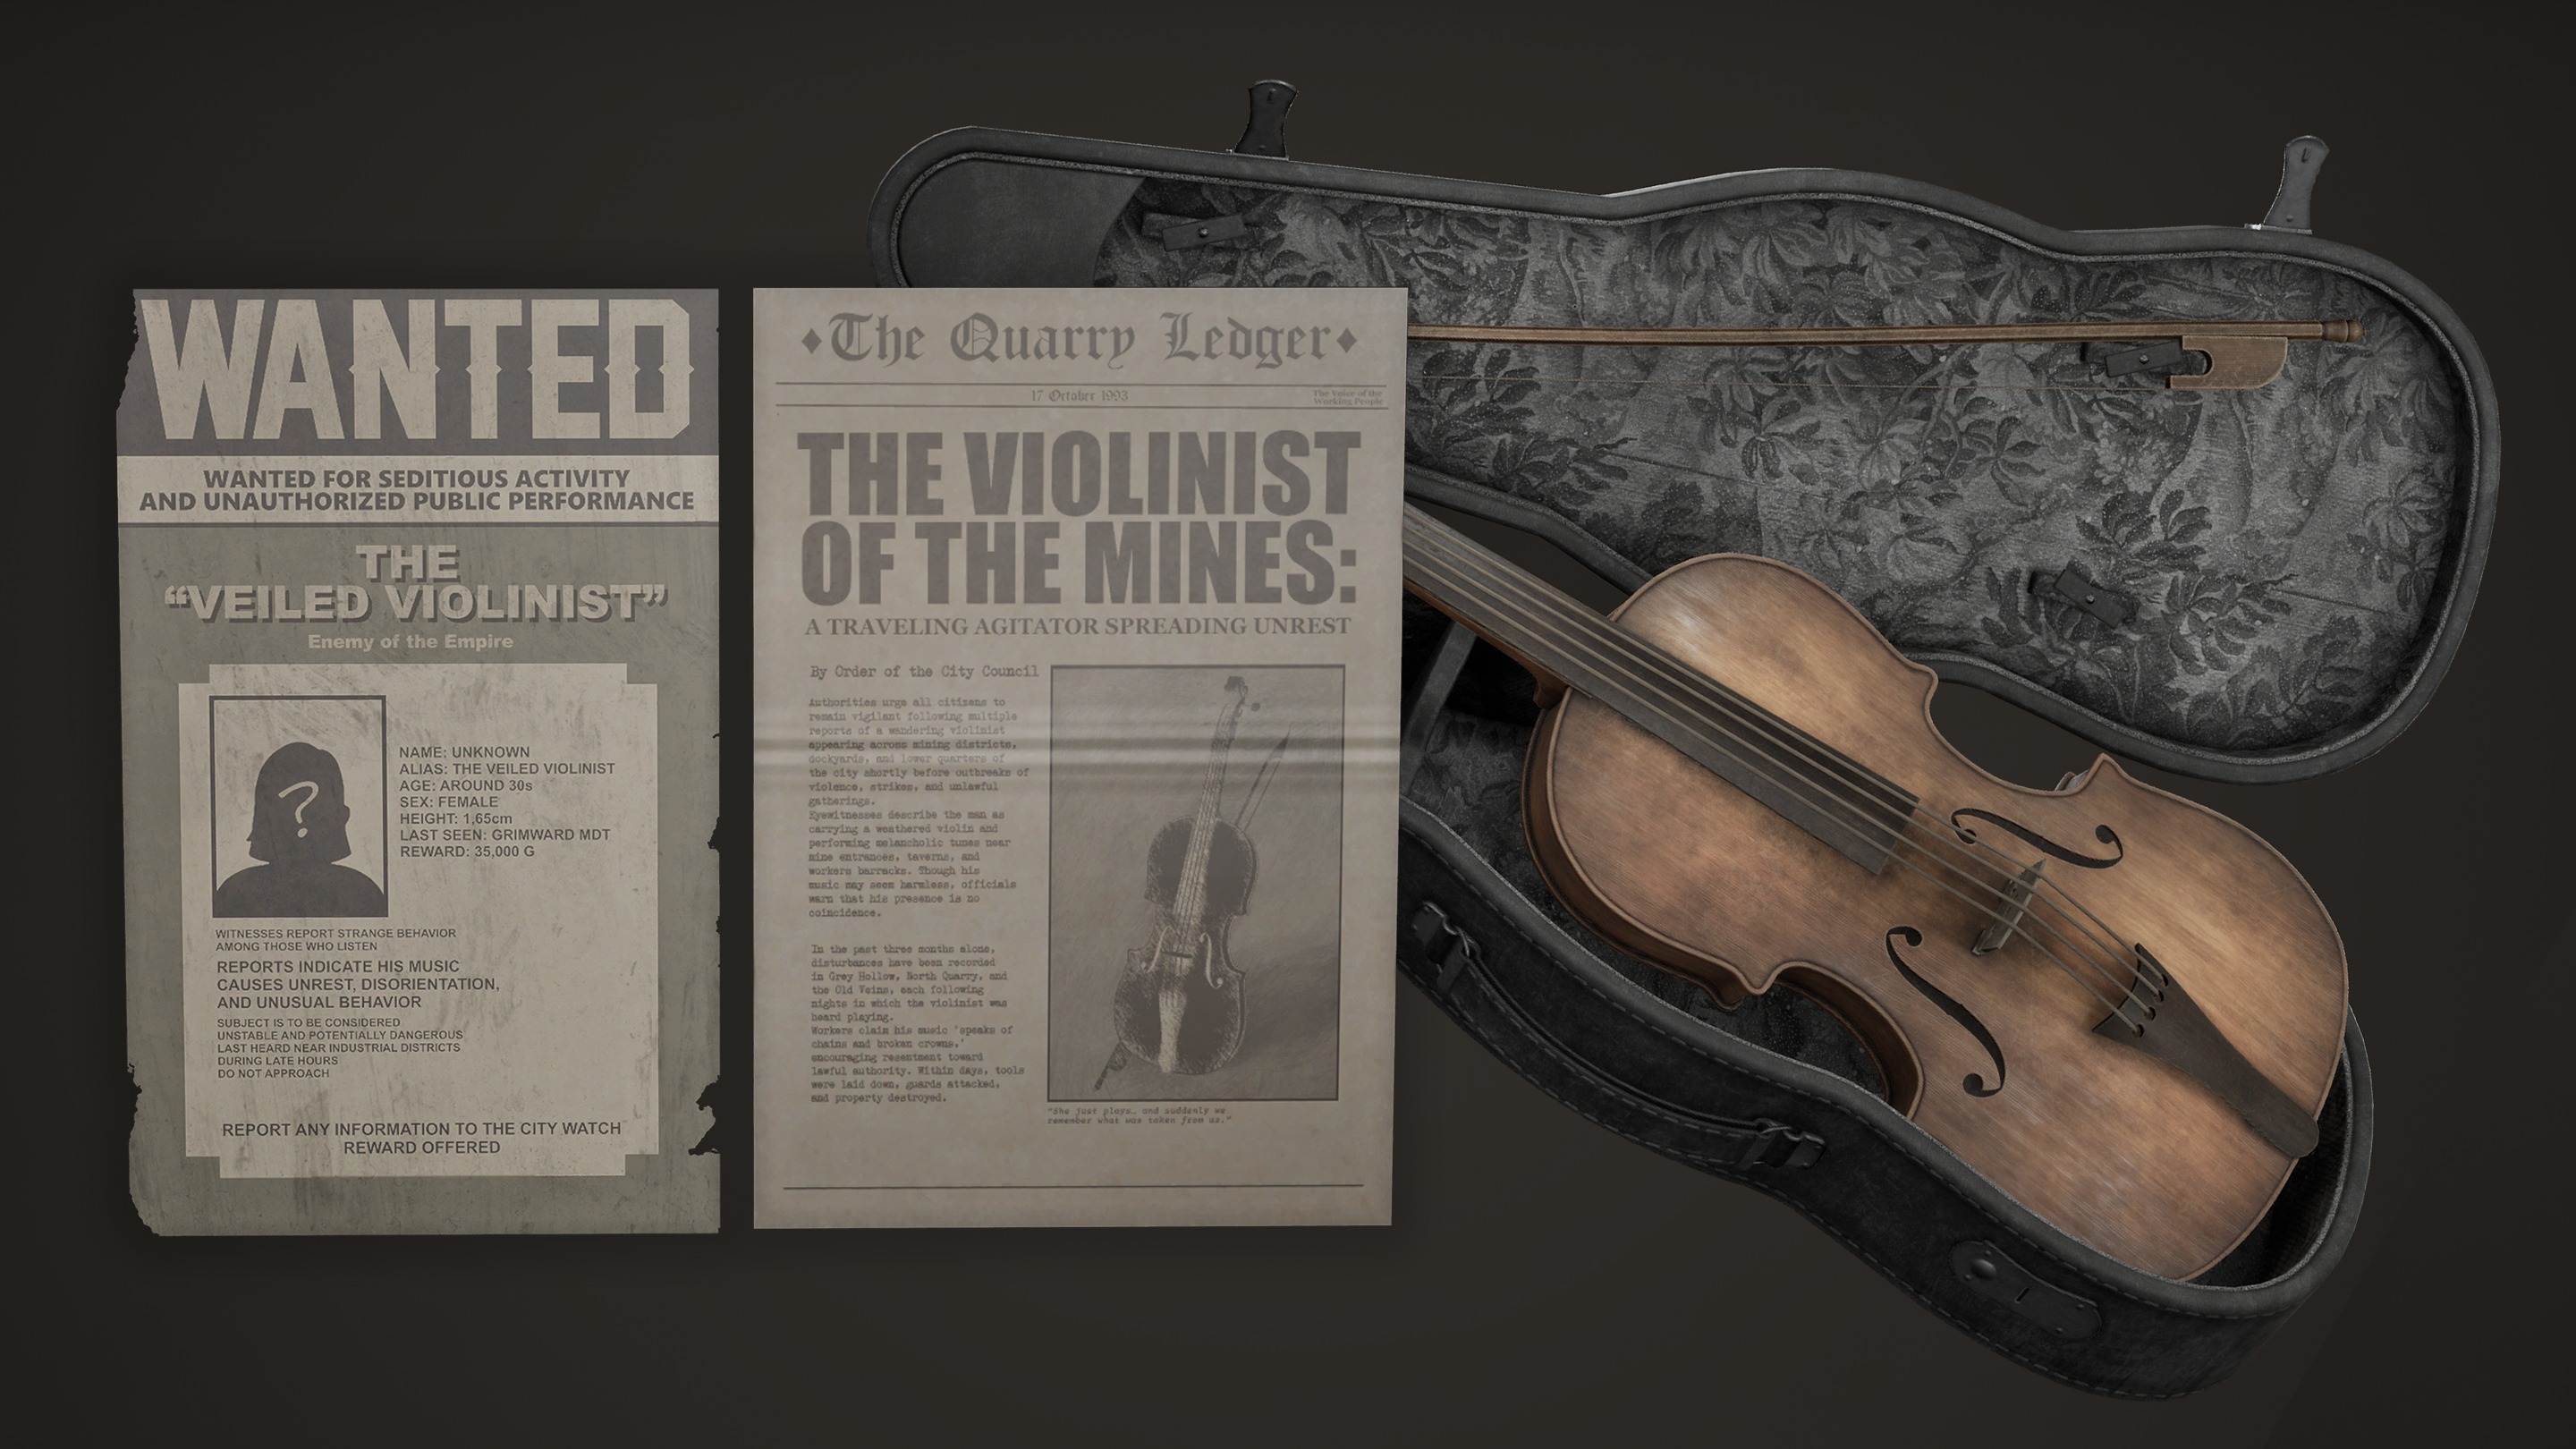
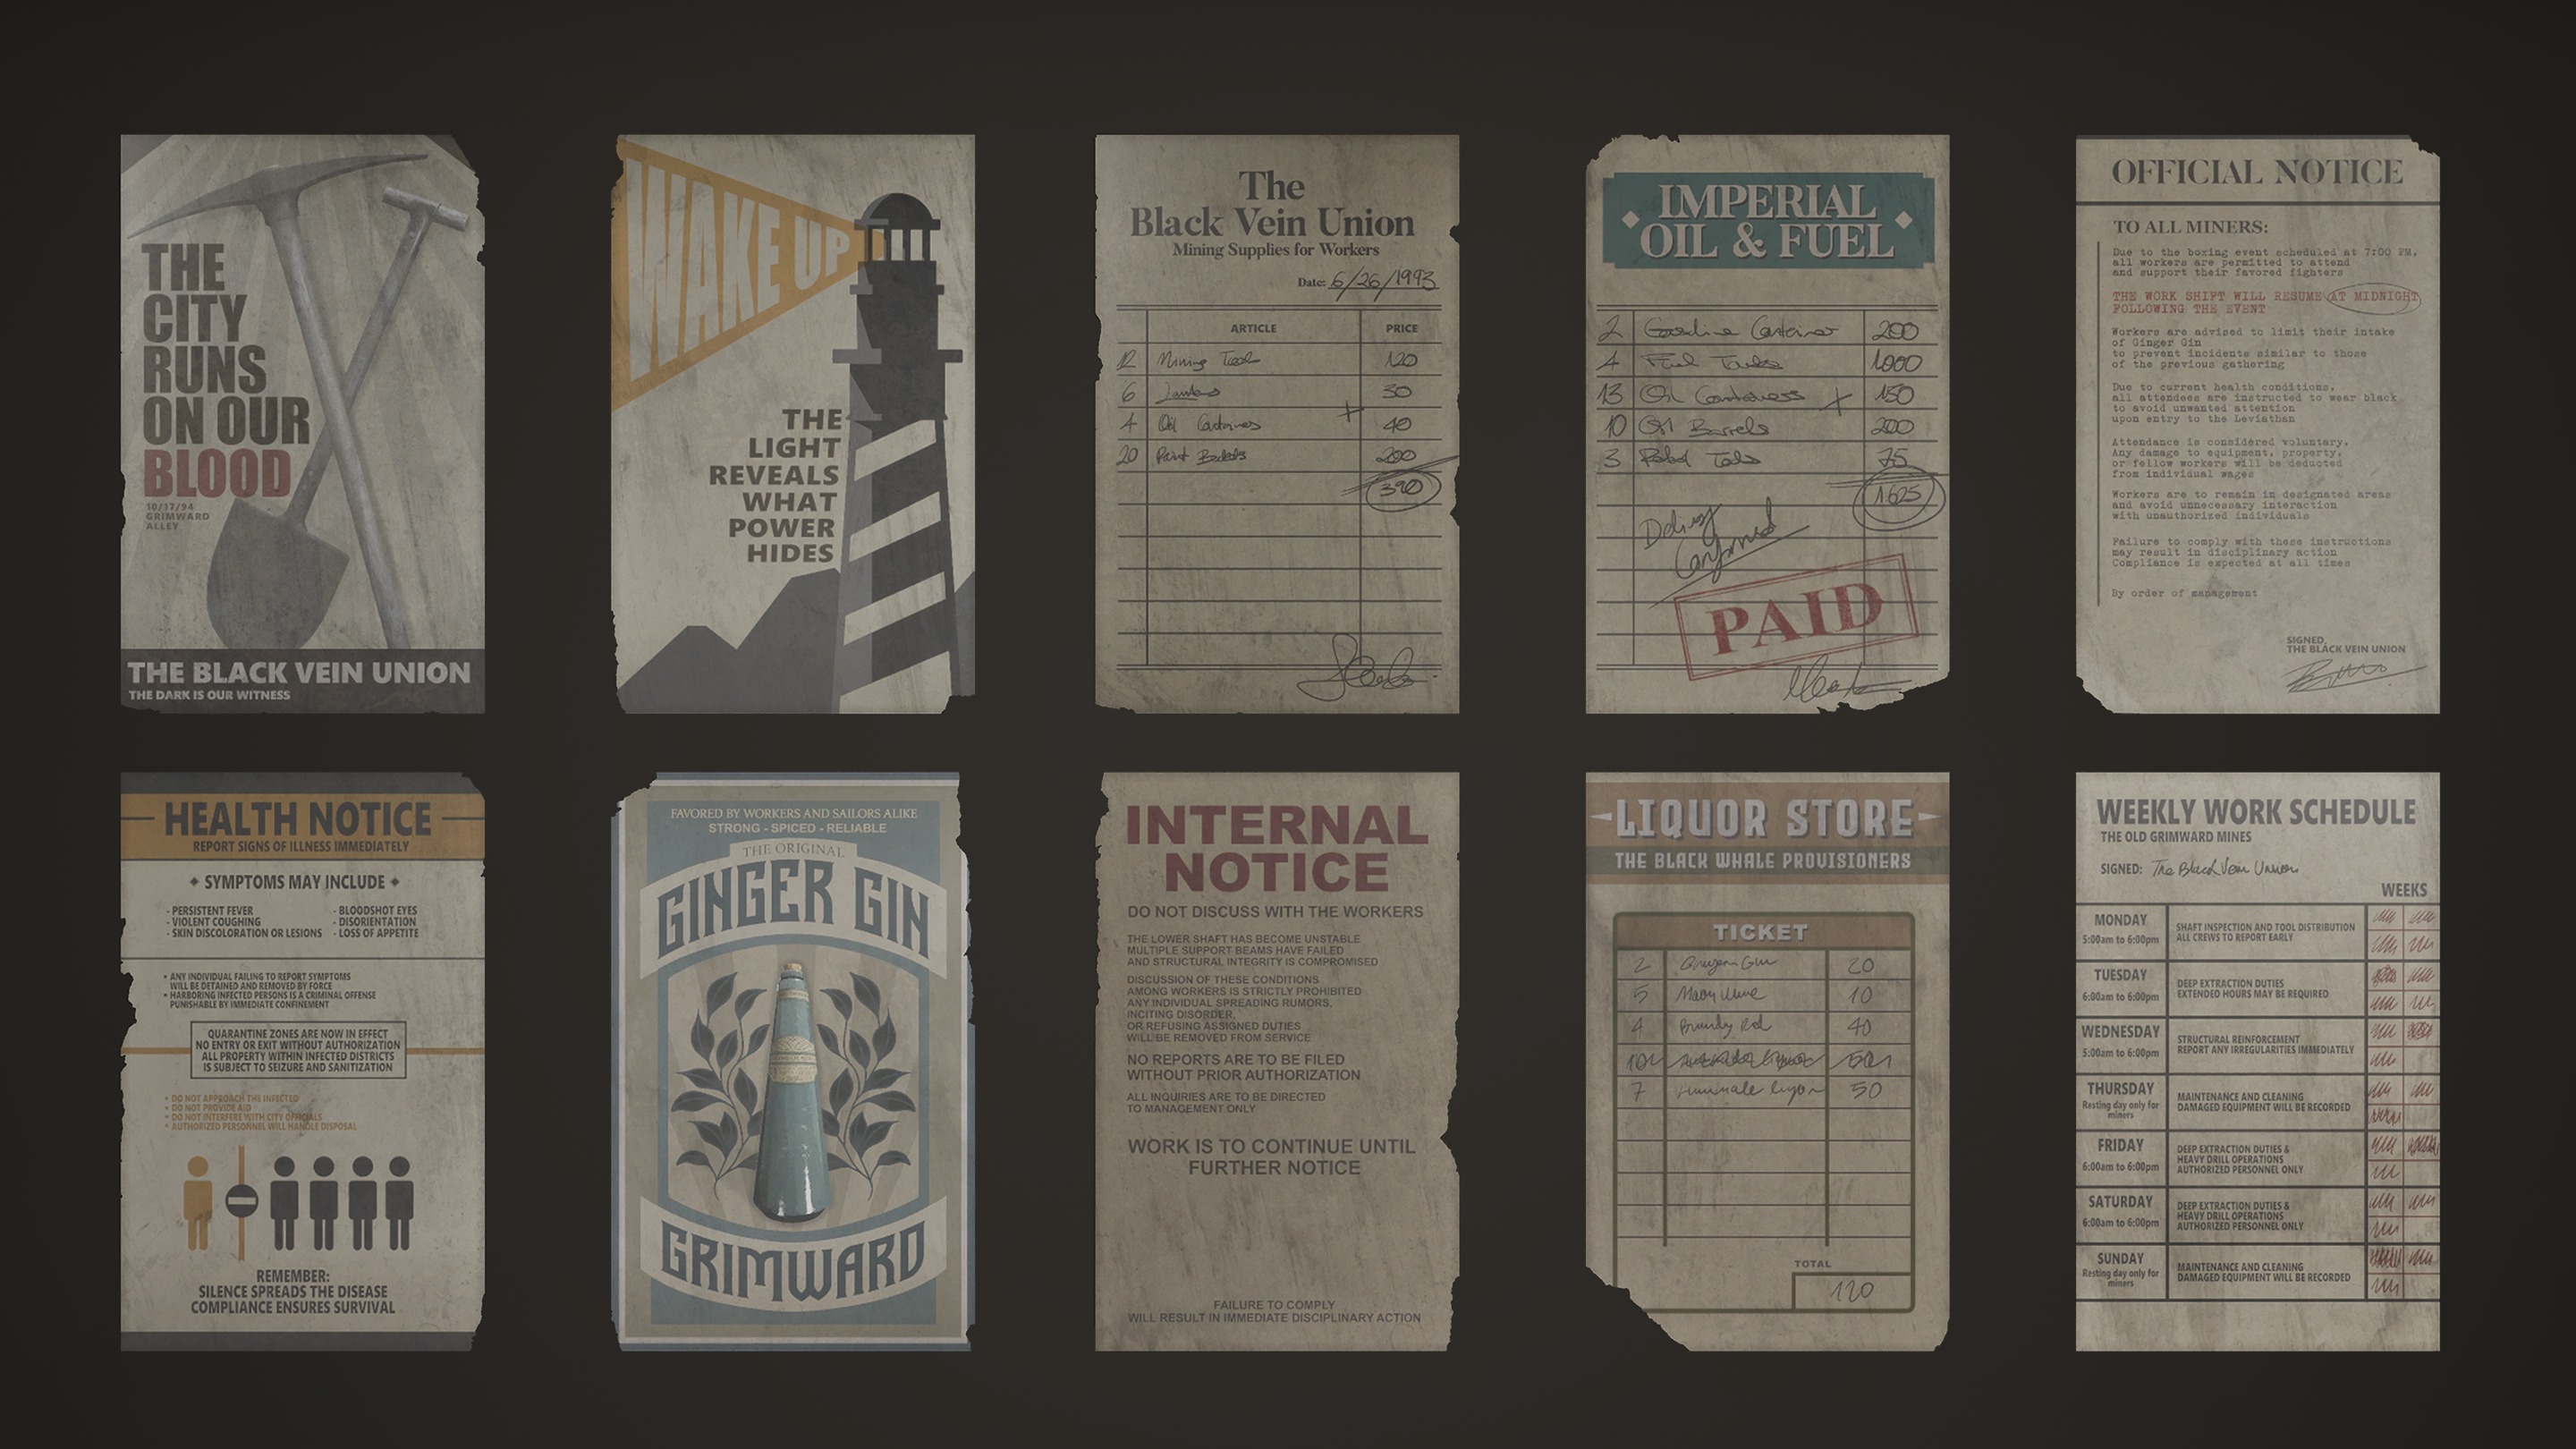
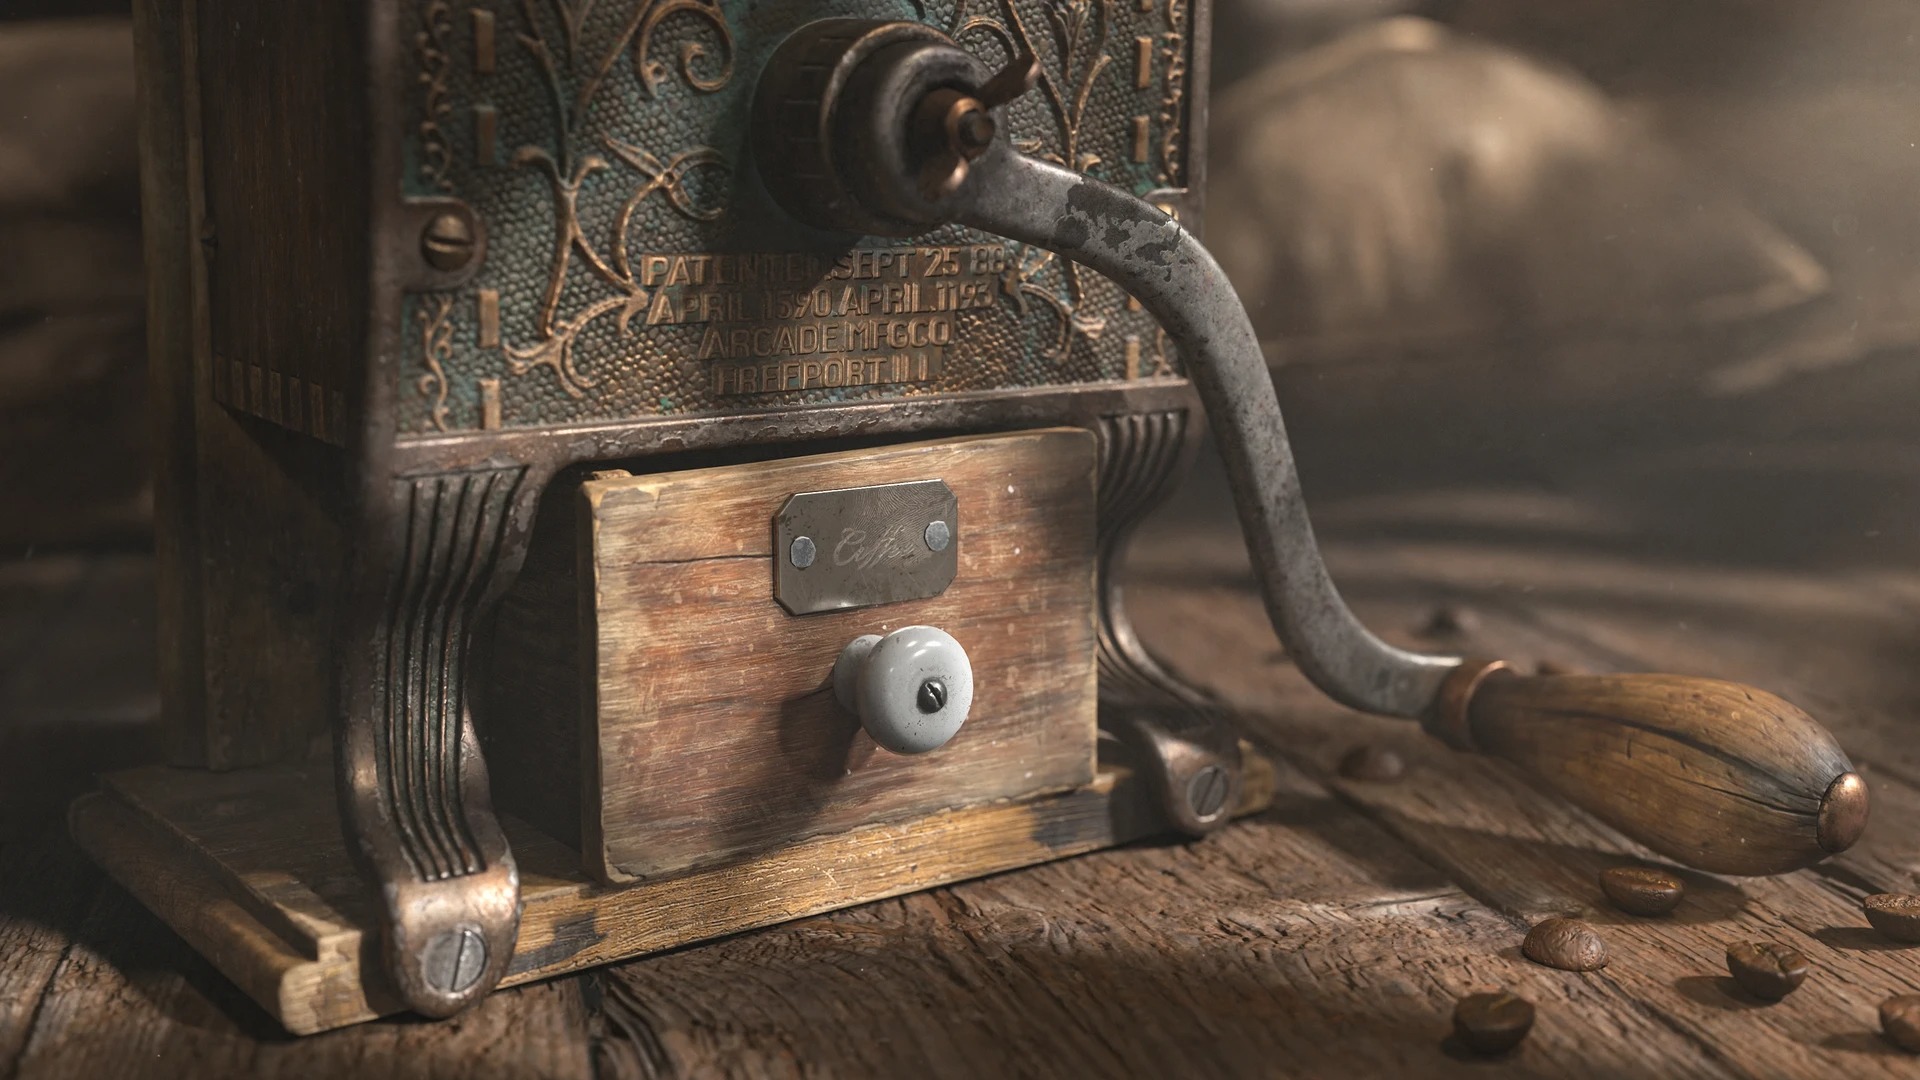
A good example of modelling and texturing is the piece I called “SewingPhone.”
It’s a piece in which I combined elements of an old sewing machine with the structure of a gramophone, aiming to create a unique object that would maintain aesthetic coherence with its surroundings while still having its own distinct character.
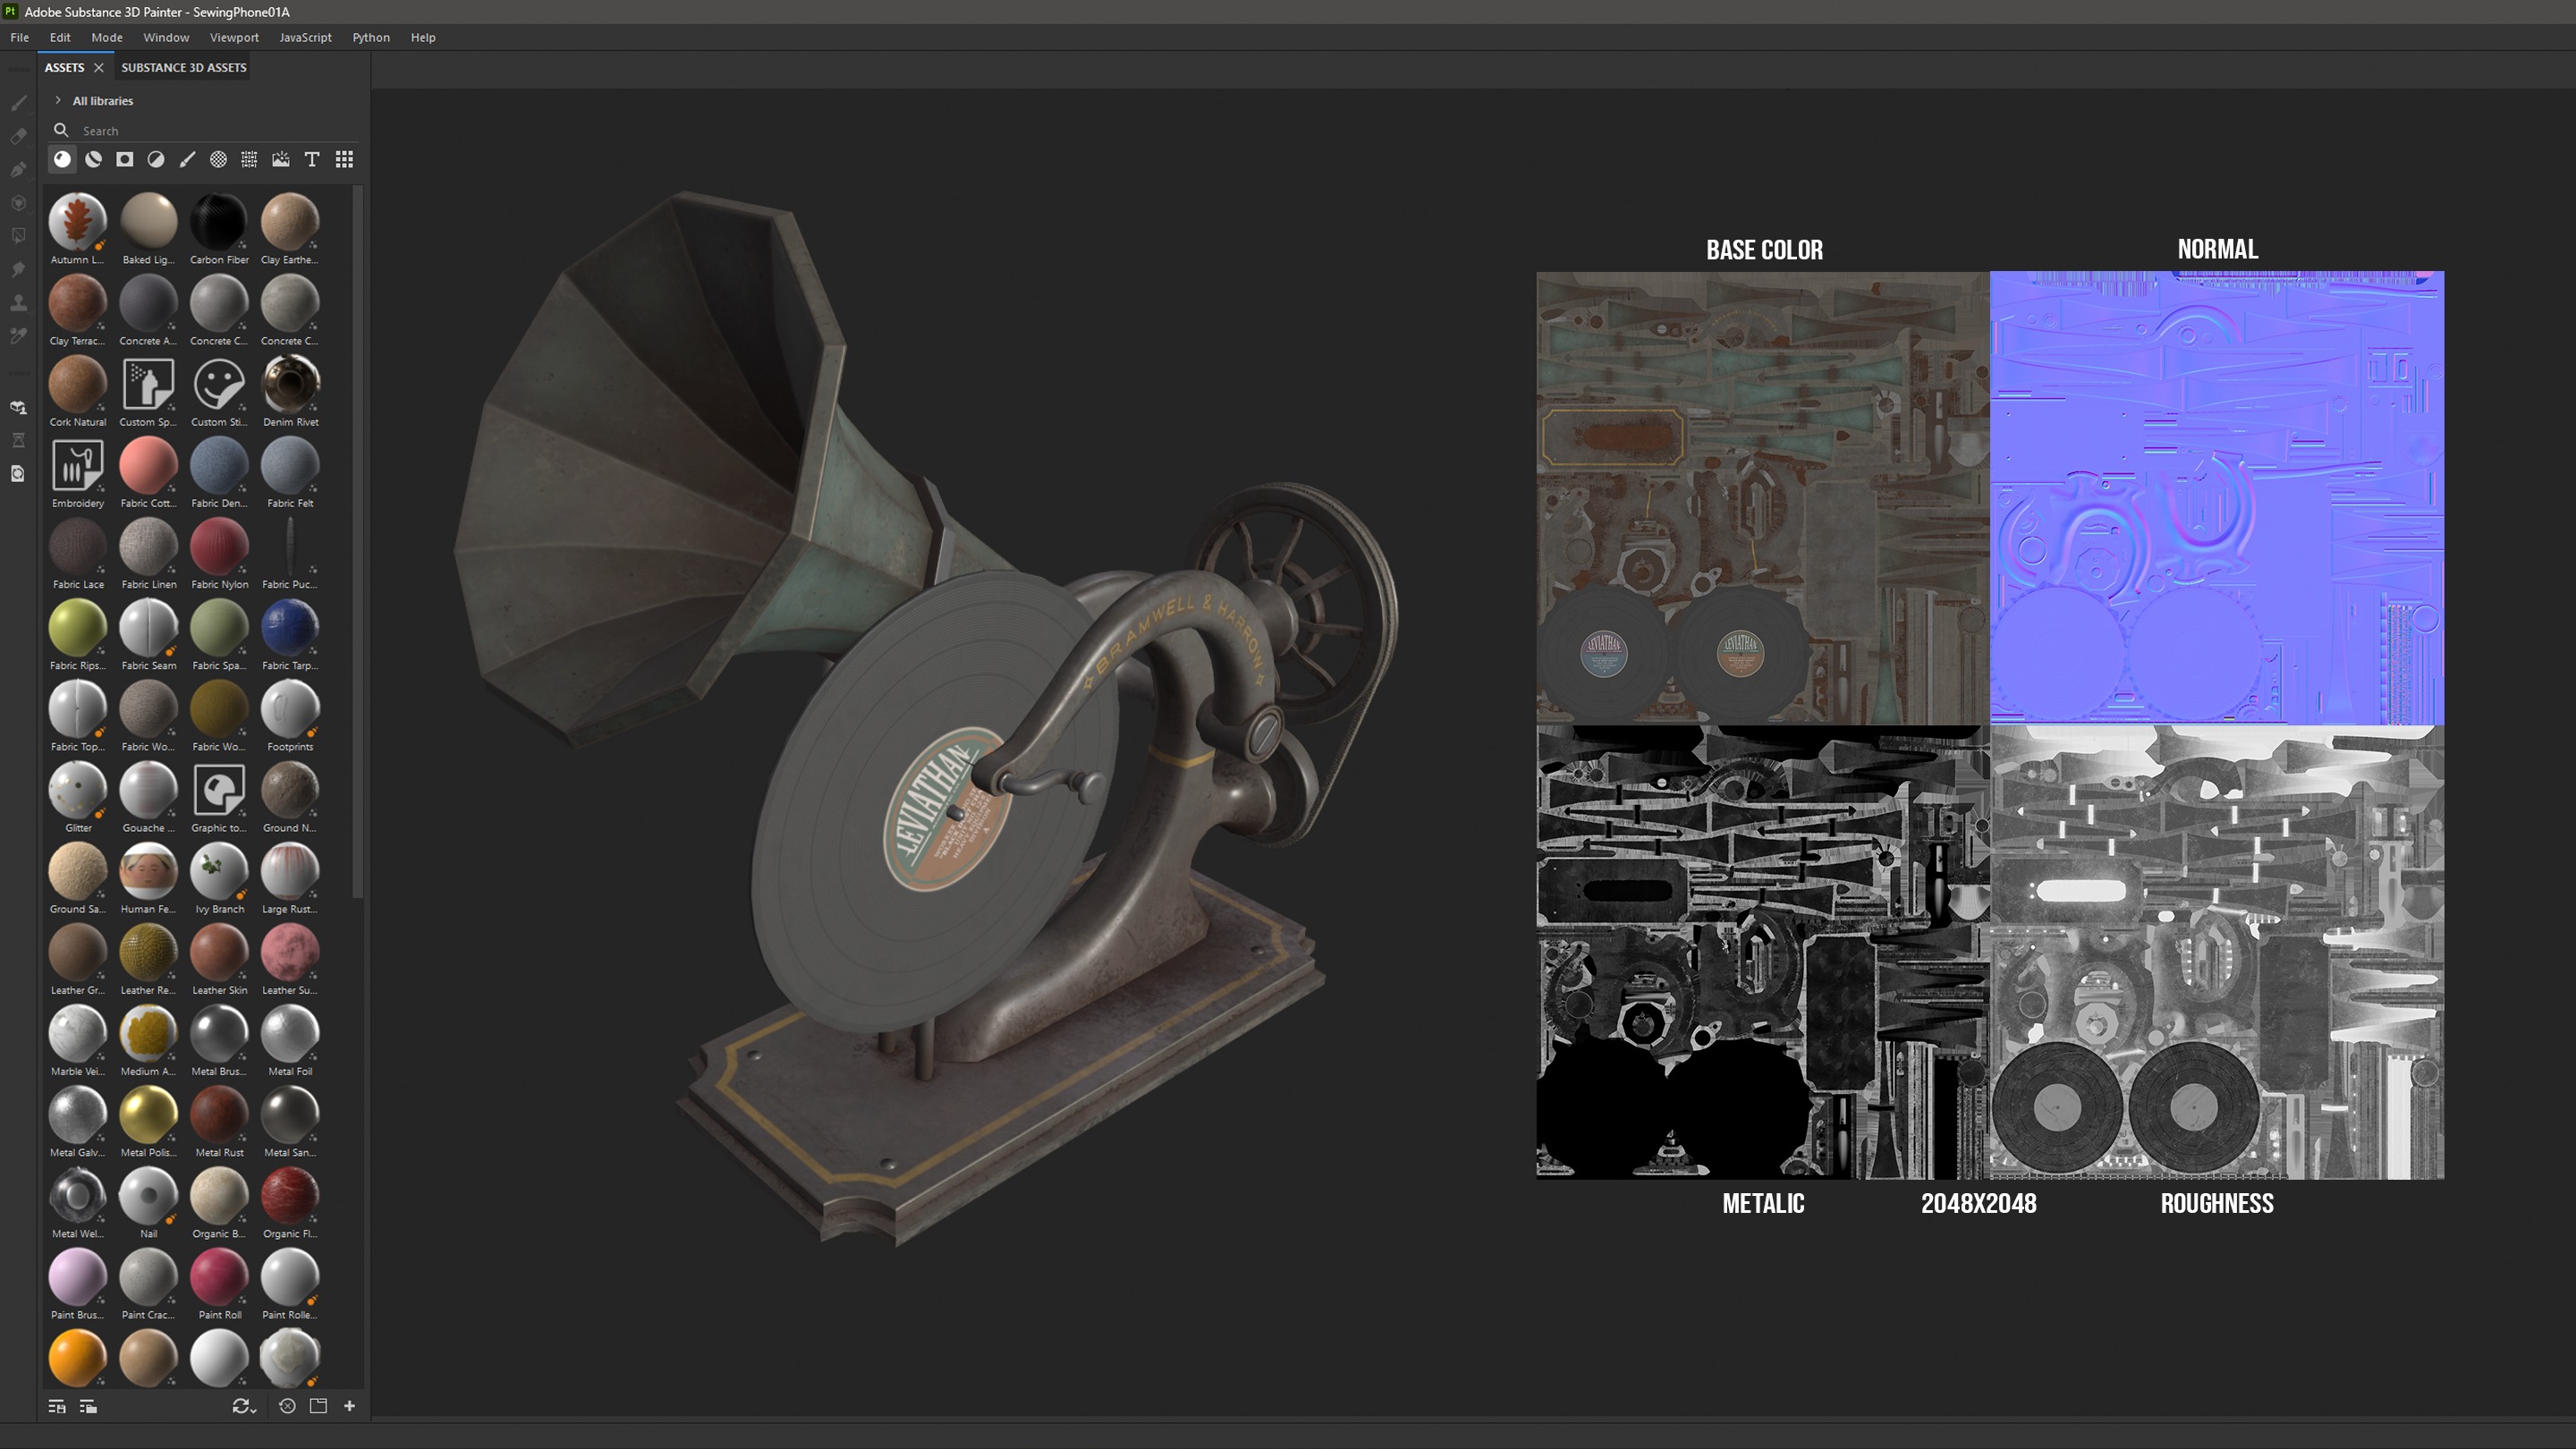
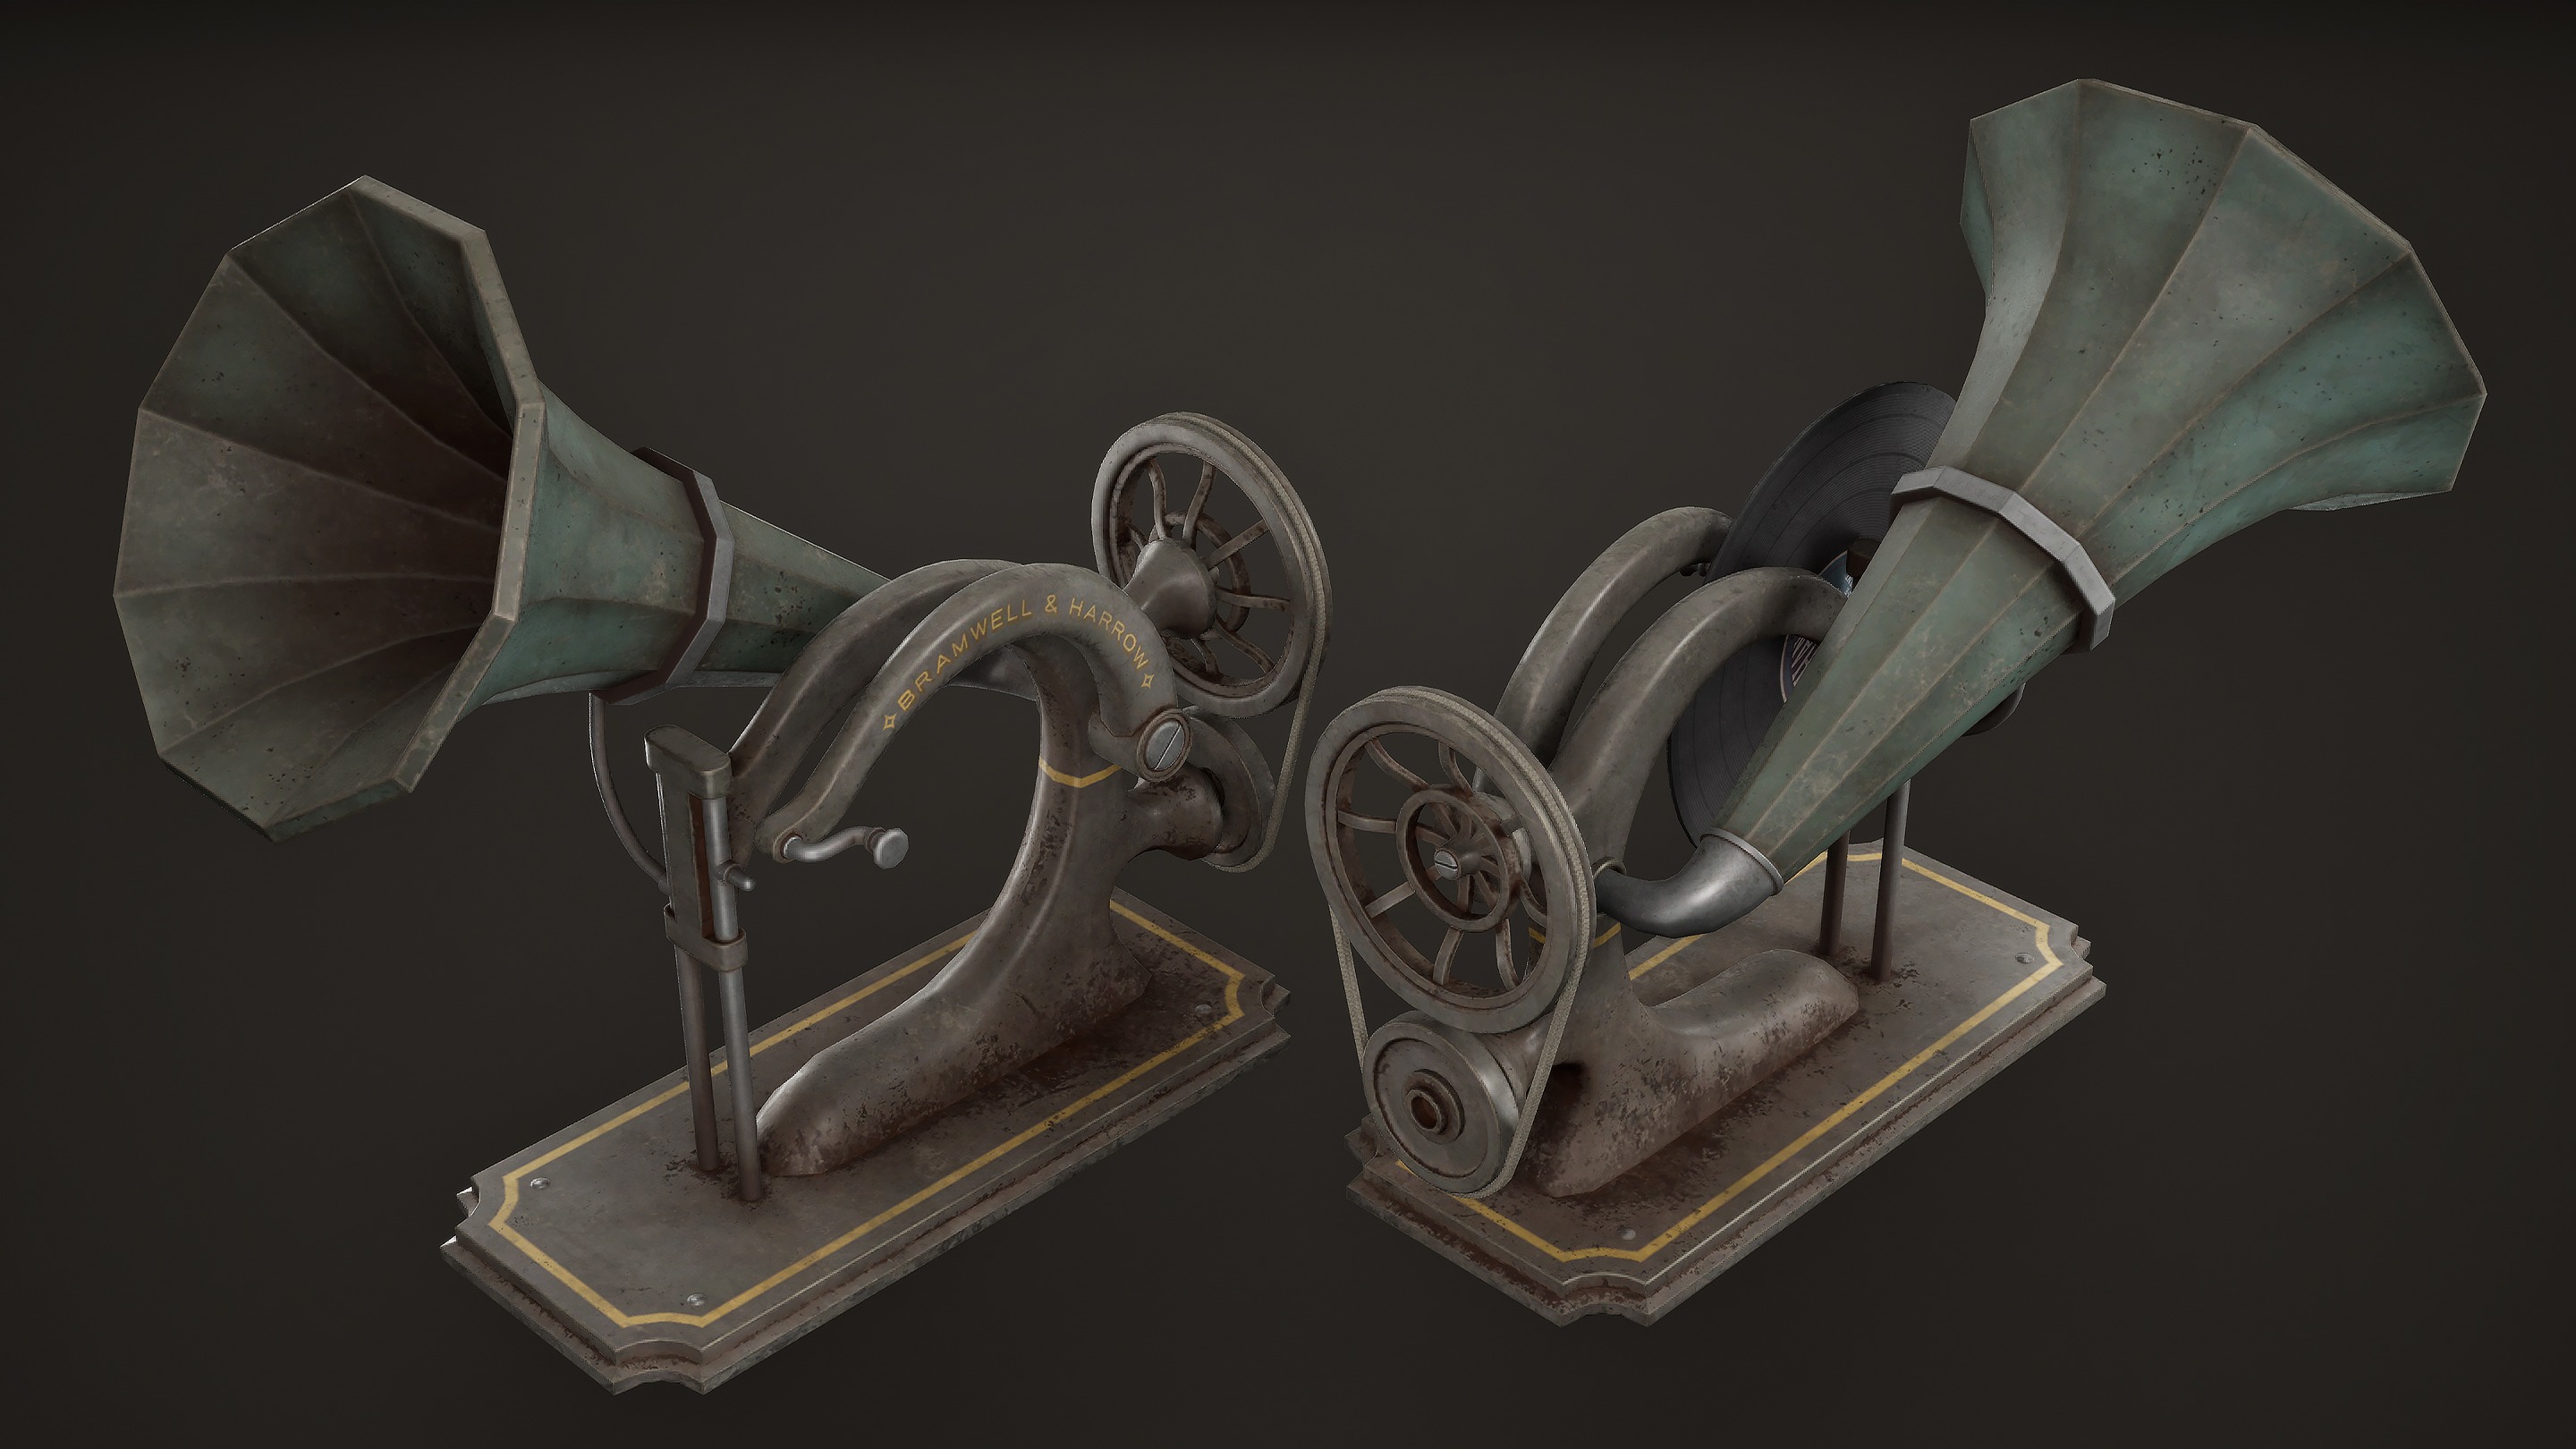
For most props, I start by defining the base color of each material, then add embedded grime, followed by surface grime, and finally small details or more recent stains.
The idea is to always work from the general to the specific, starting with the broadest details and ending with the finer ones in order to achieve a more credible and coherent result.
Blueprints
One of the things I’ve learned the most from this project has been how to improve the use of Blueprints.
I’ve used them for both simple solutions designed to streamline the placement and editing of props within the scene, and for more complex systems designed to automate tasks that would otherwise be slow and repetitive if done manually.
Thanks to these tools, setting up and optimising the environment has been much easier, allowing me to focus more on artistic decisions and less on technical tasks.
Materials & Texturing
For texturing, I combined procedural materials and unique textures.
- Substance Painter for main props
- Substance Designer for tileable materials
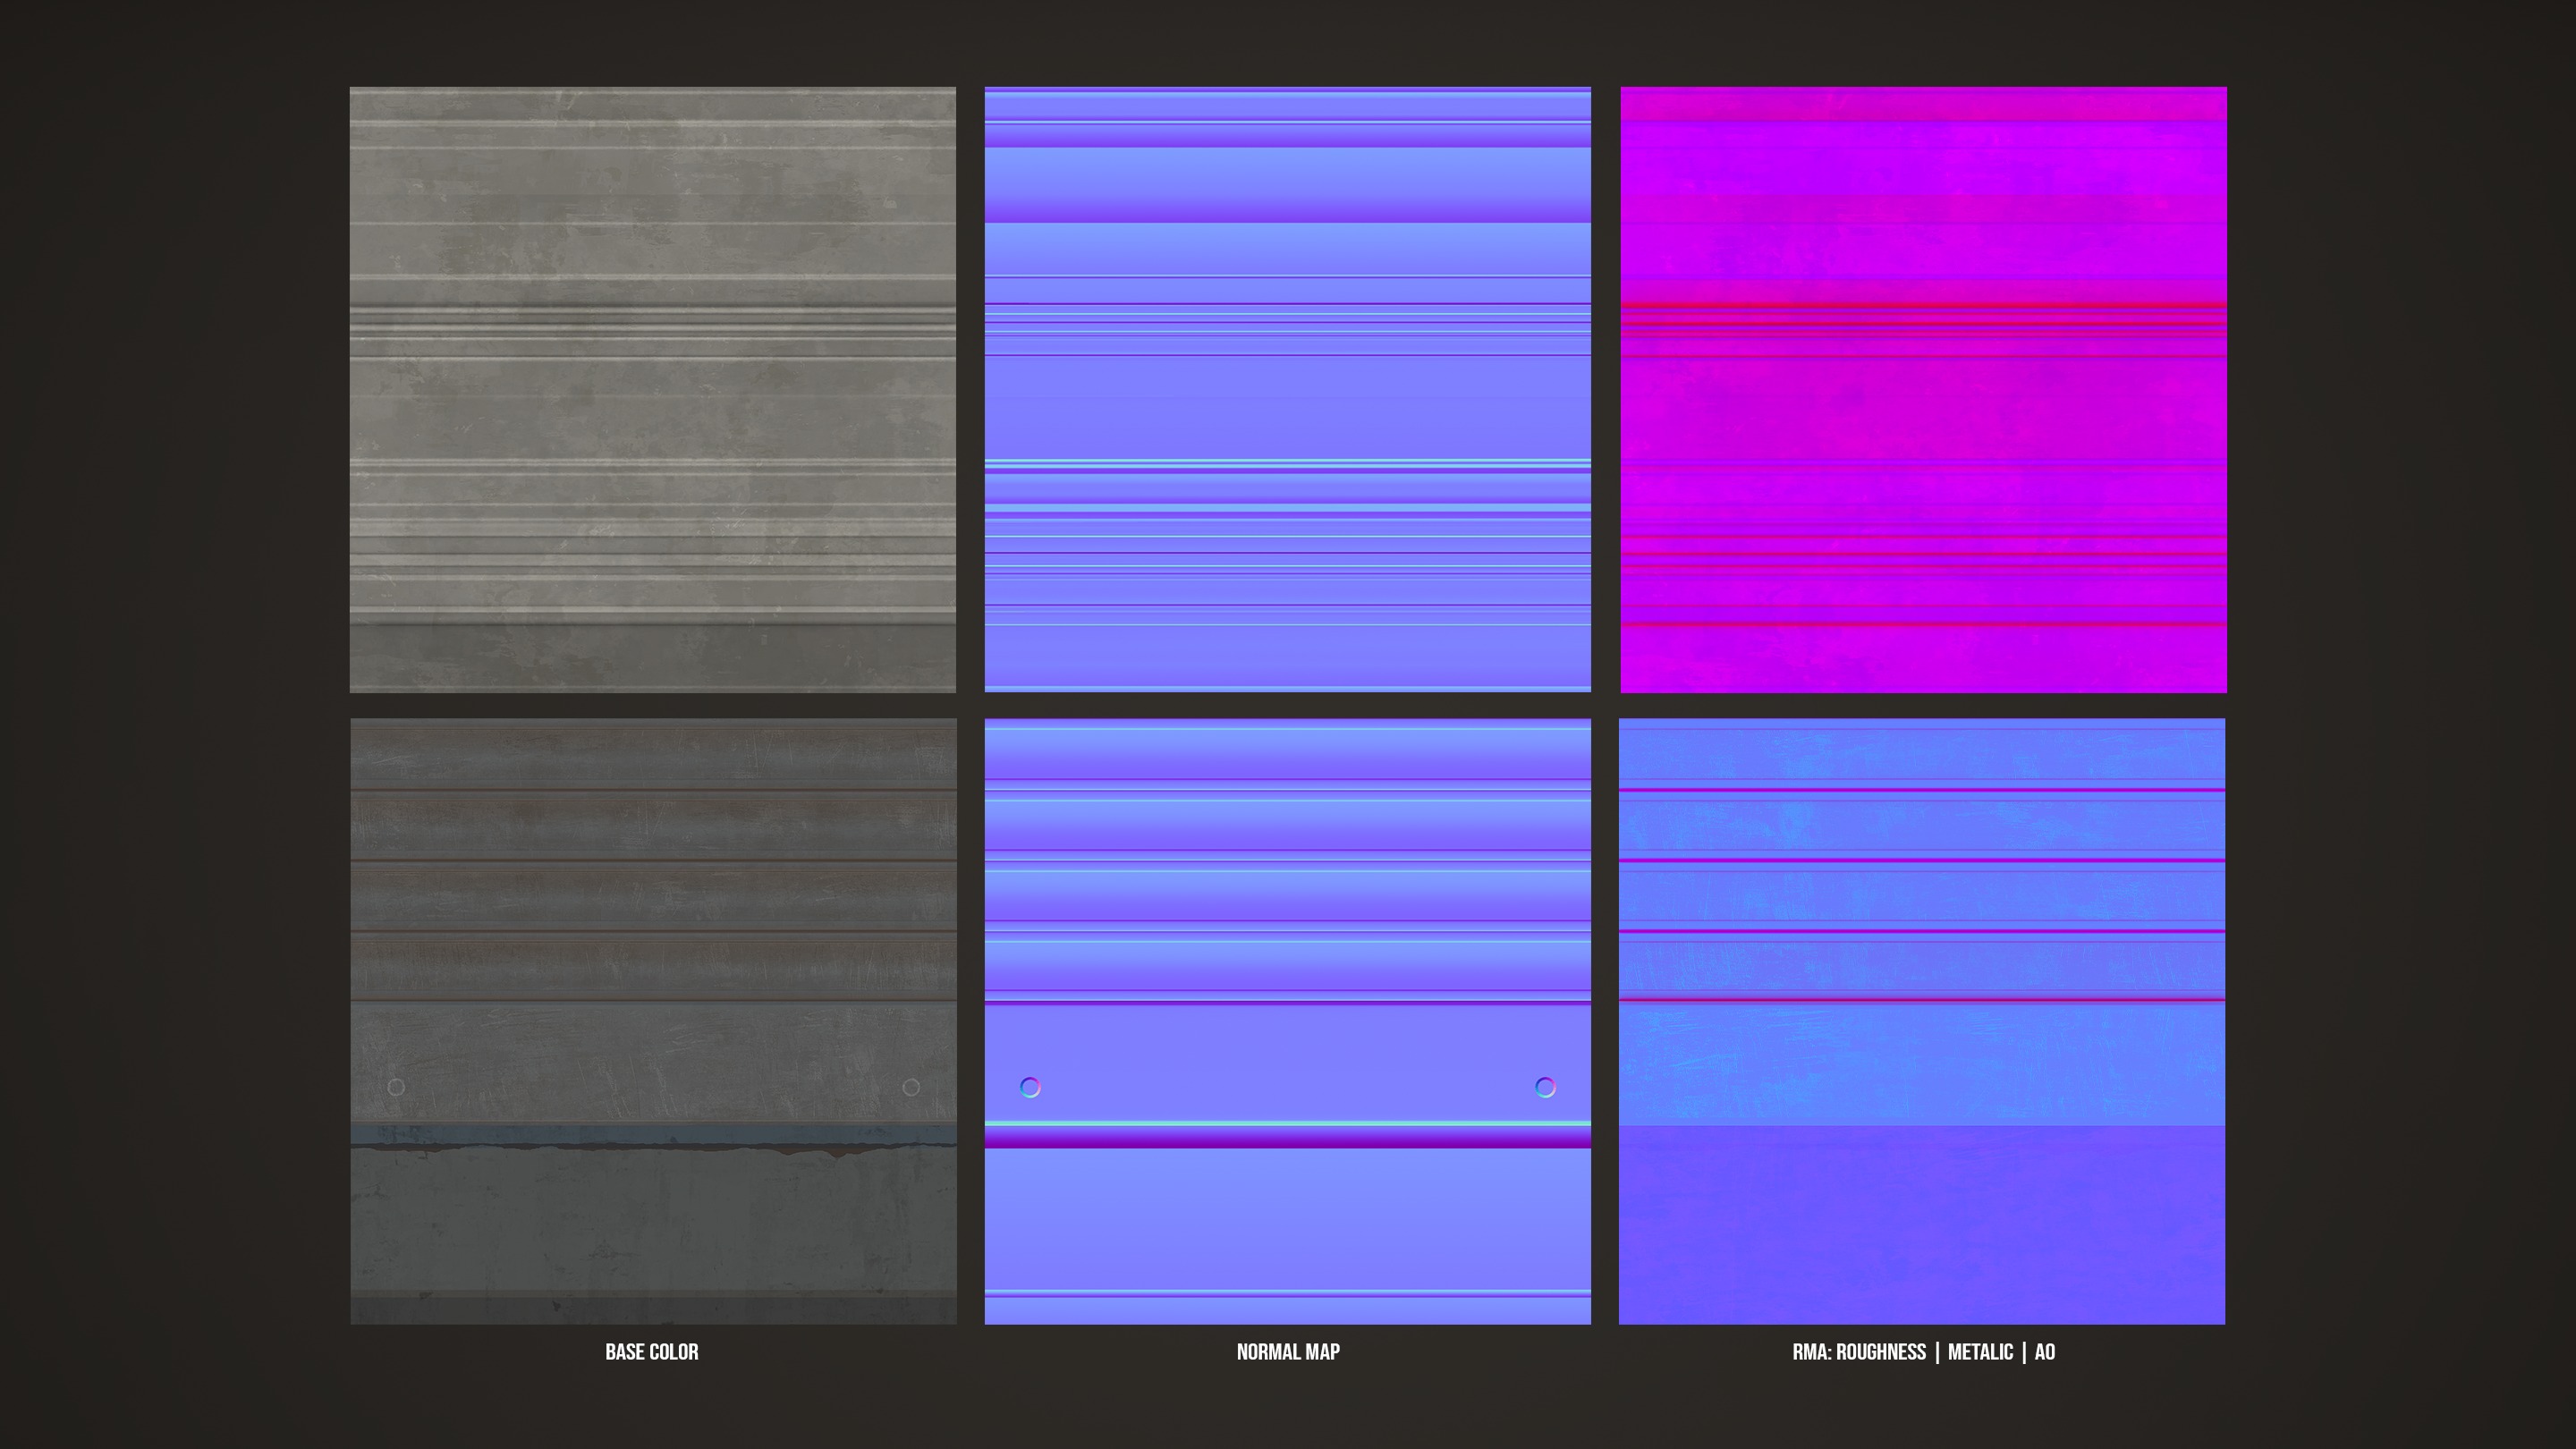
- Trim sheets for repetitive elements
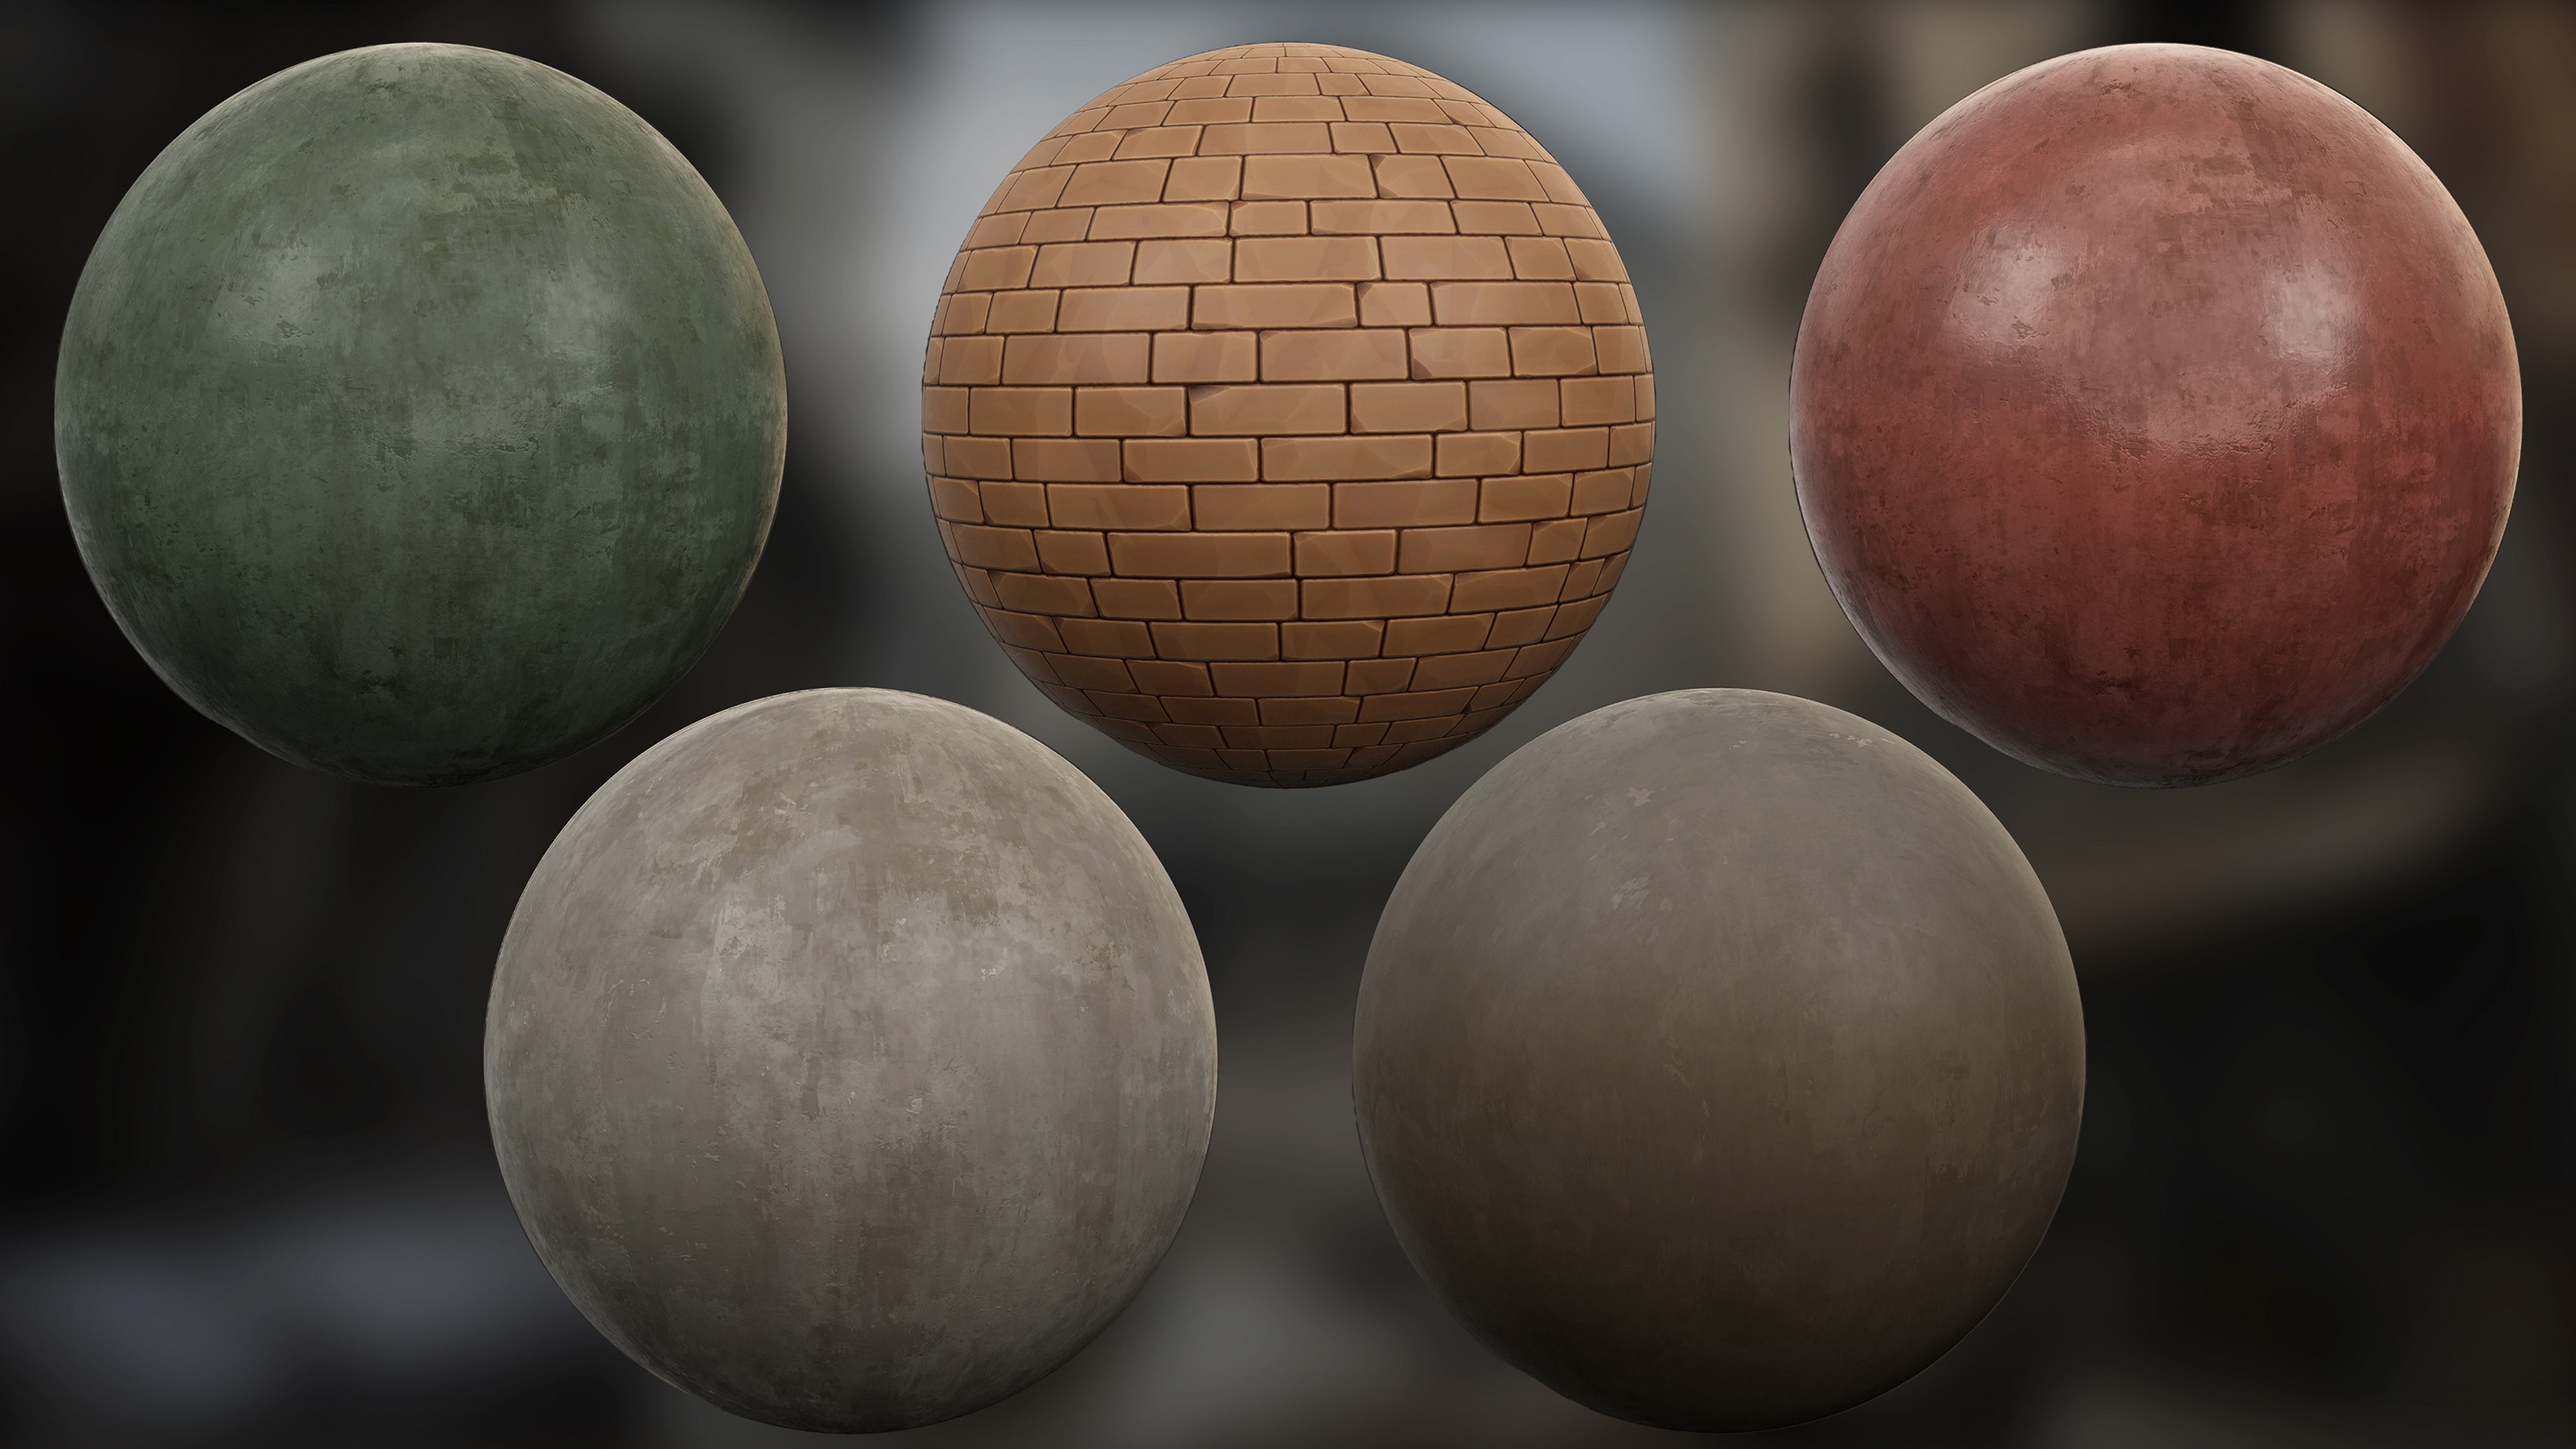
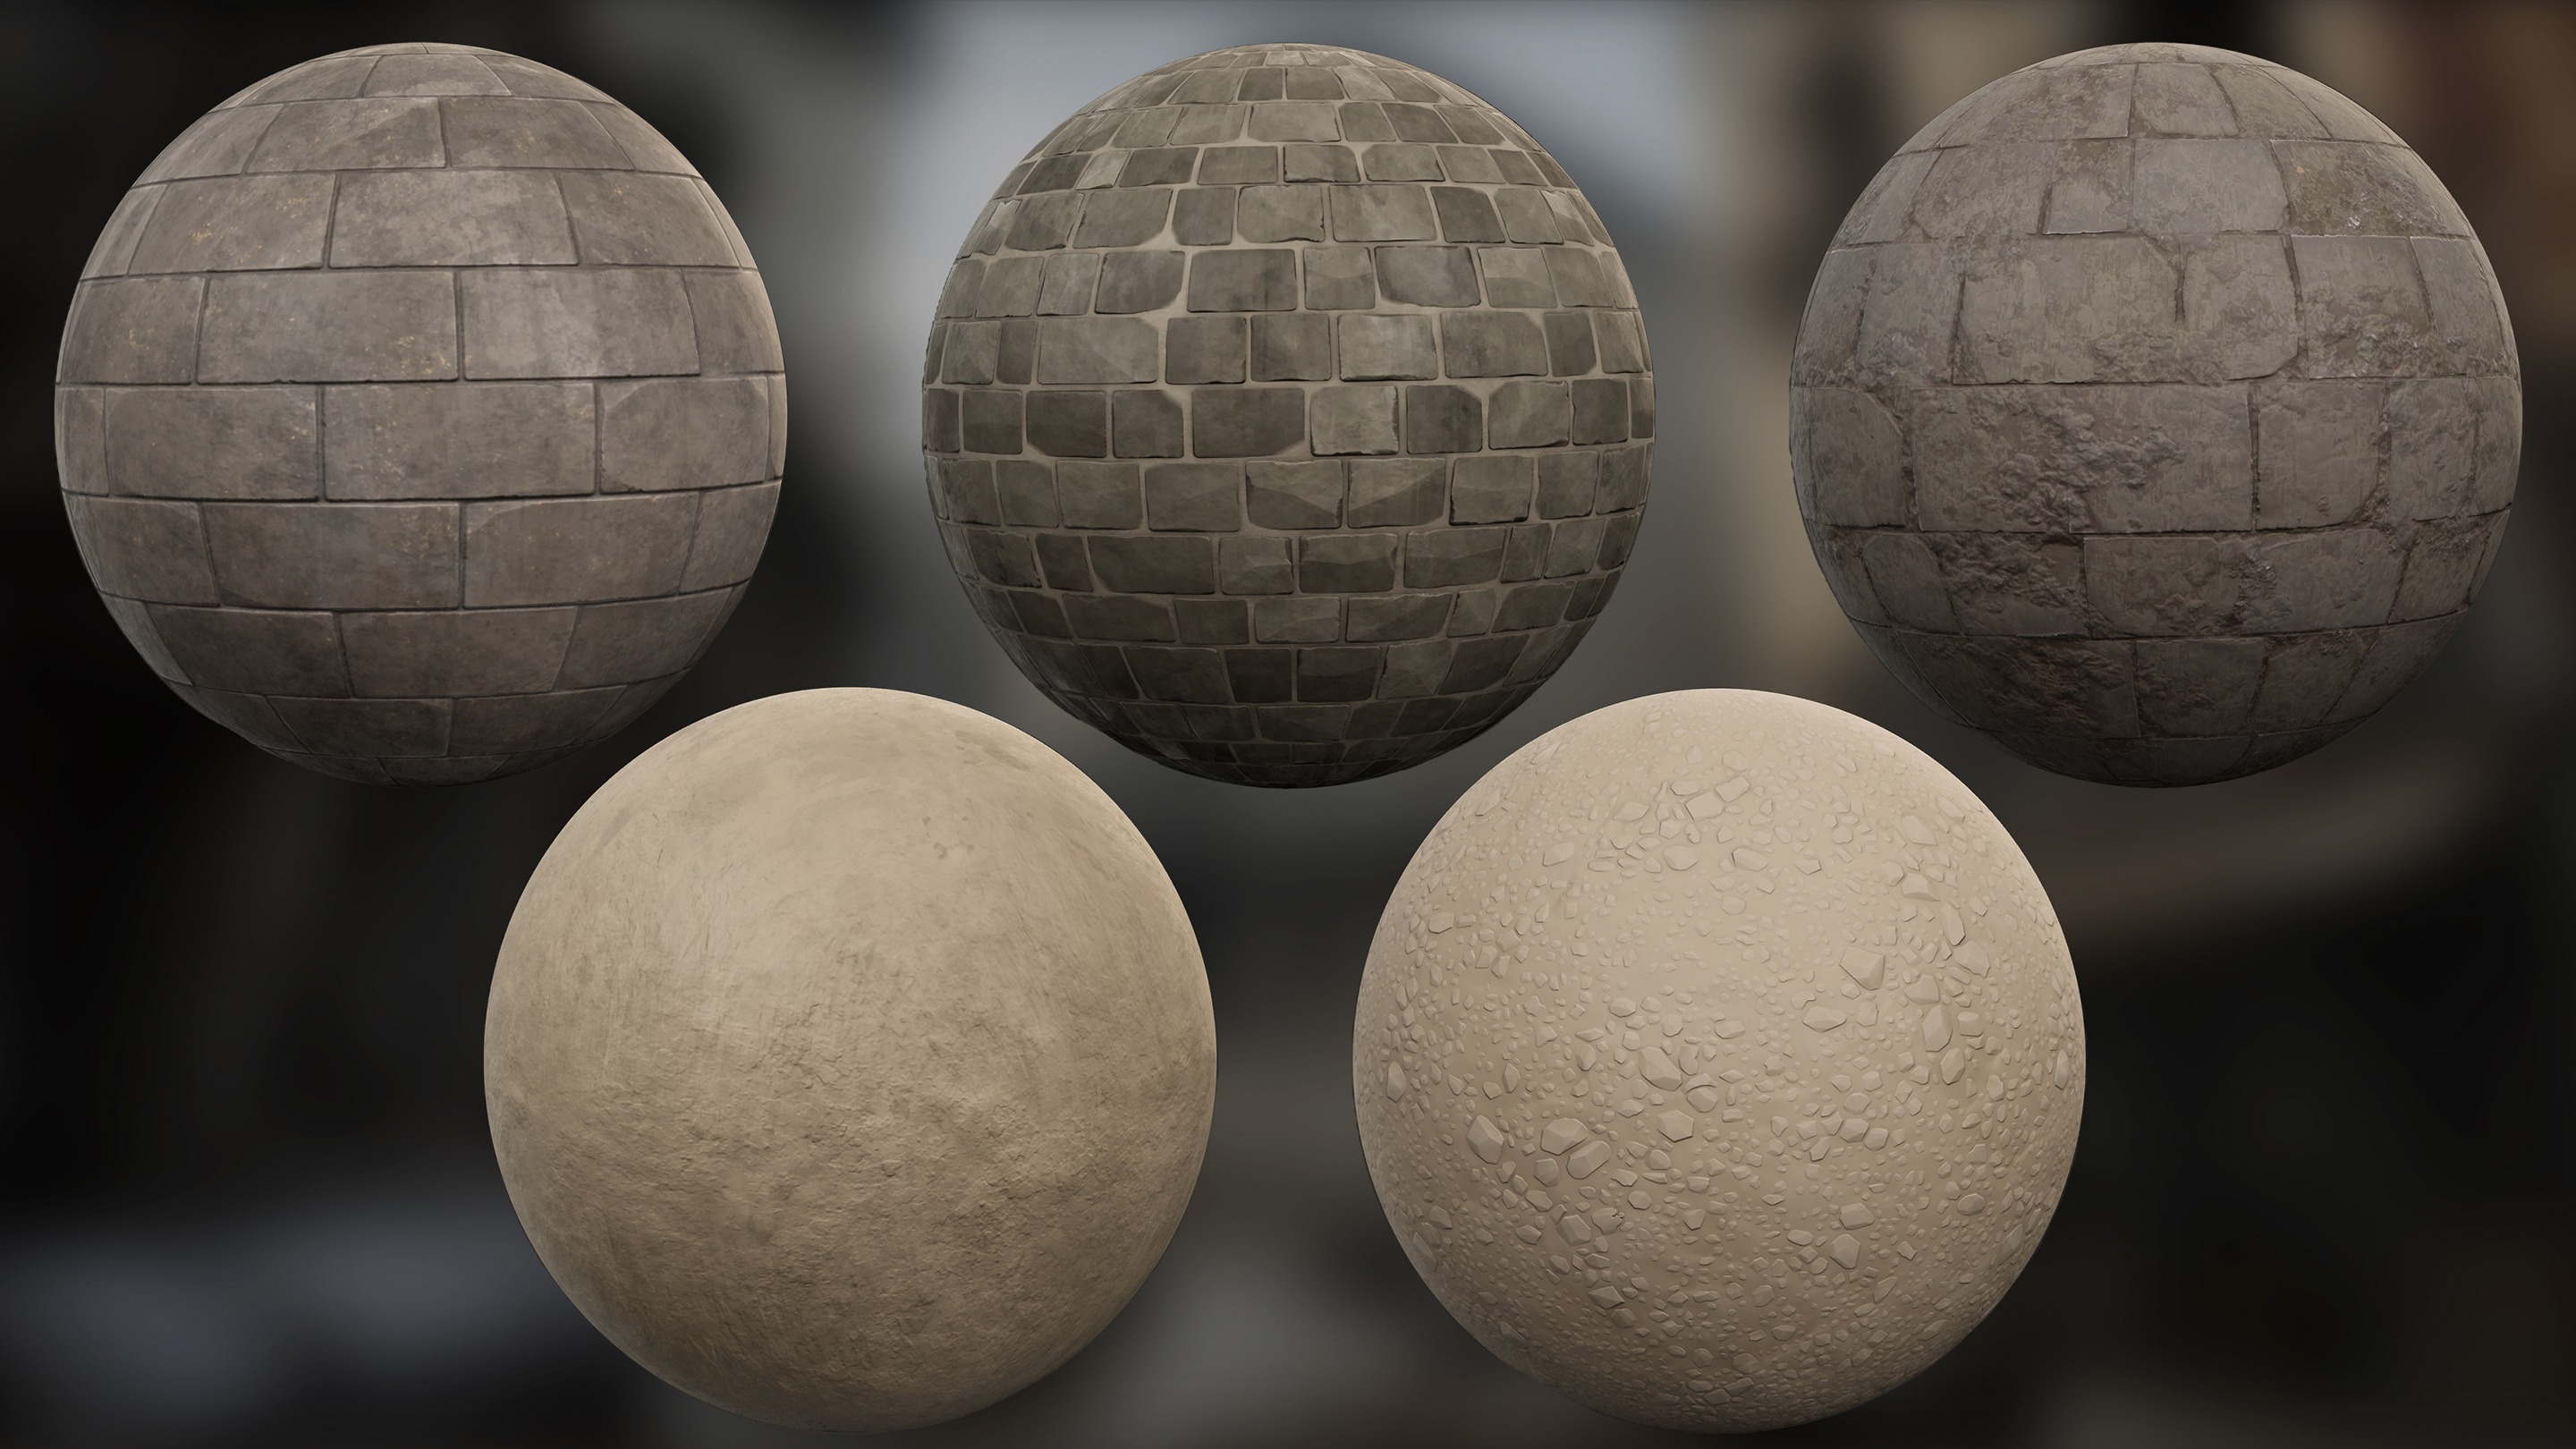
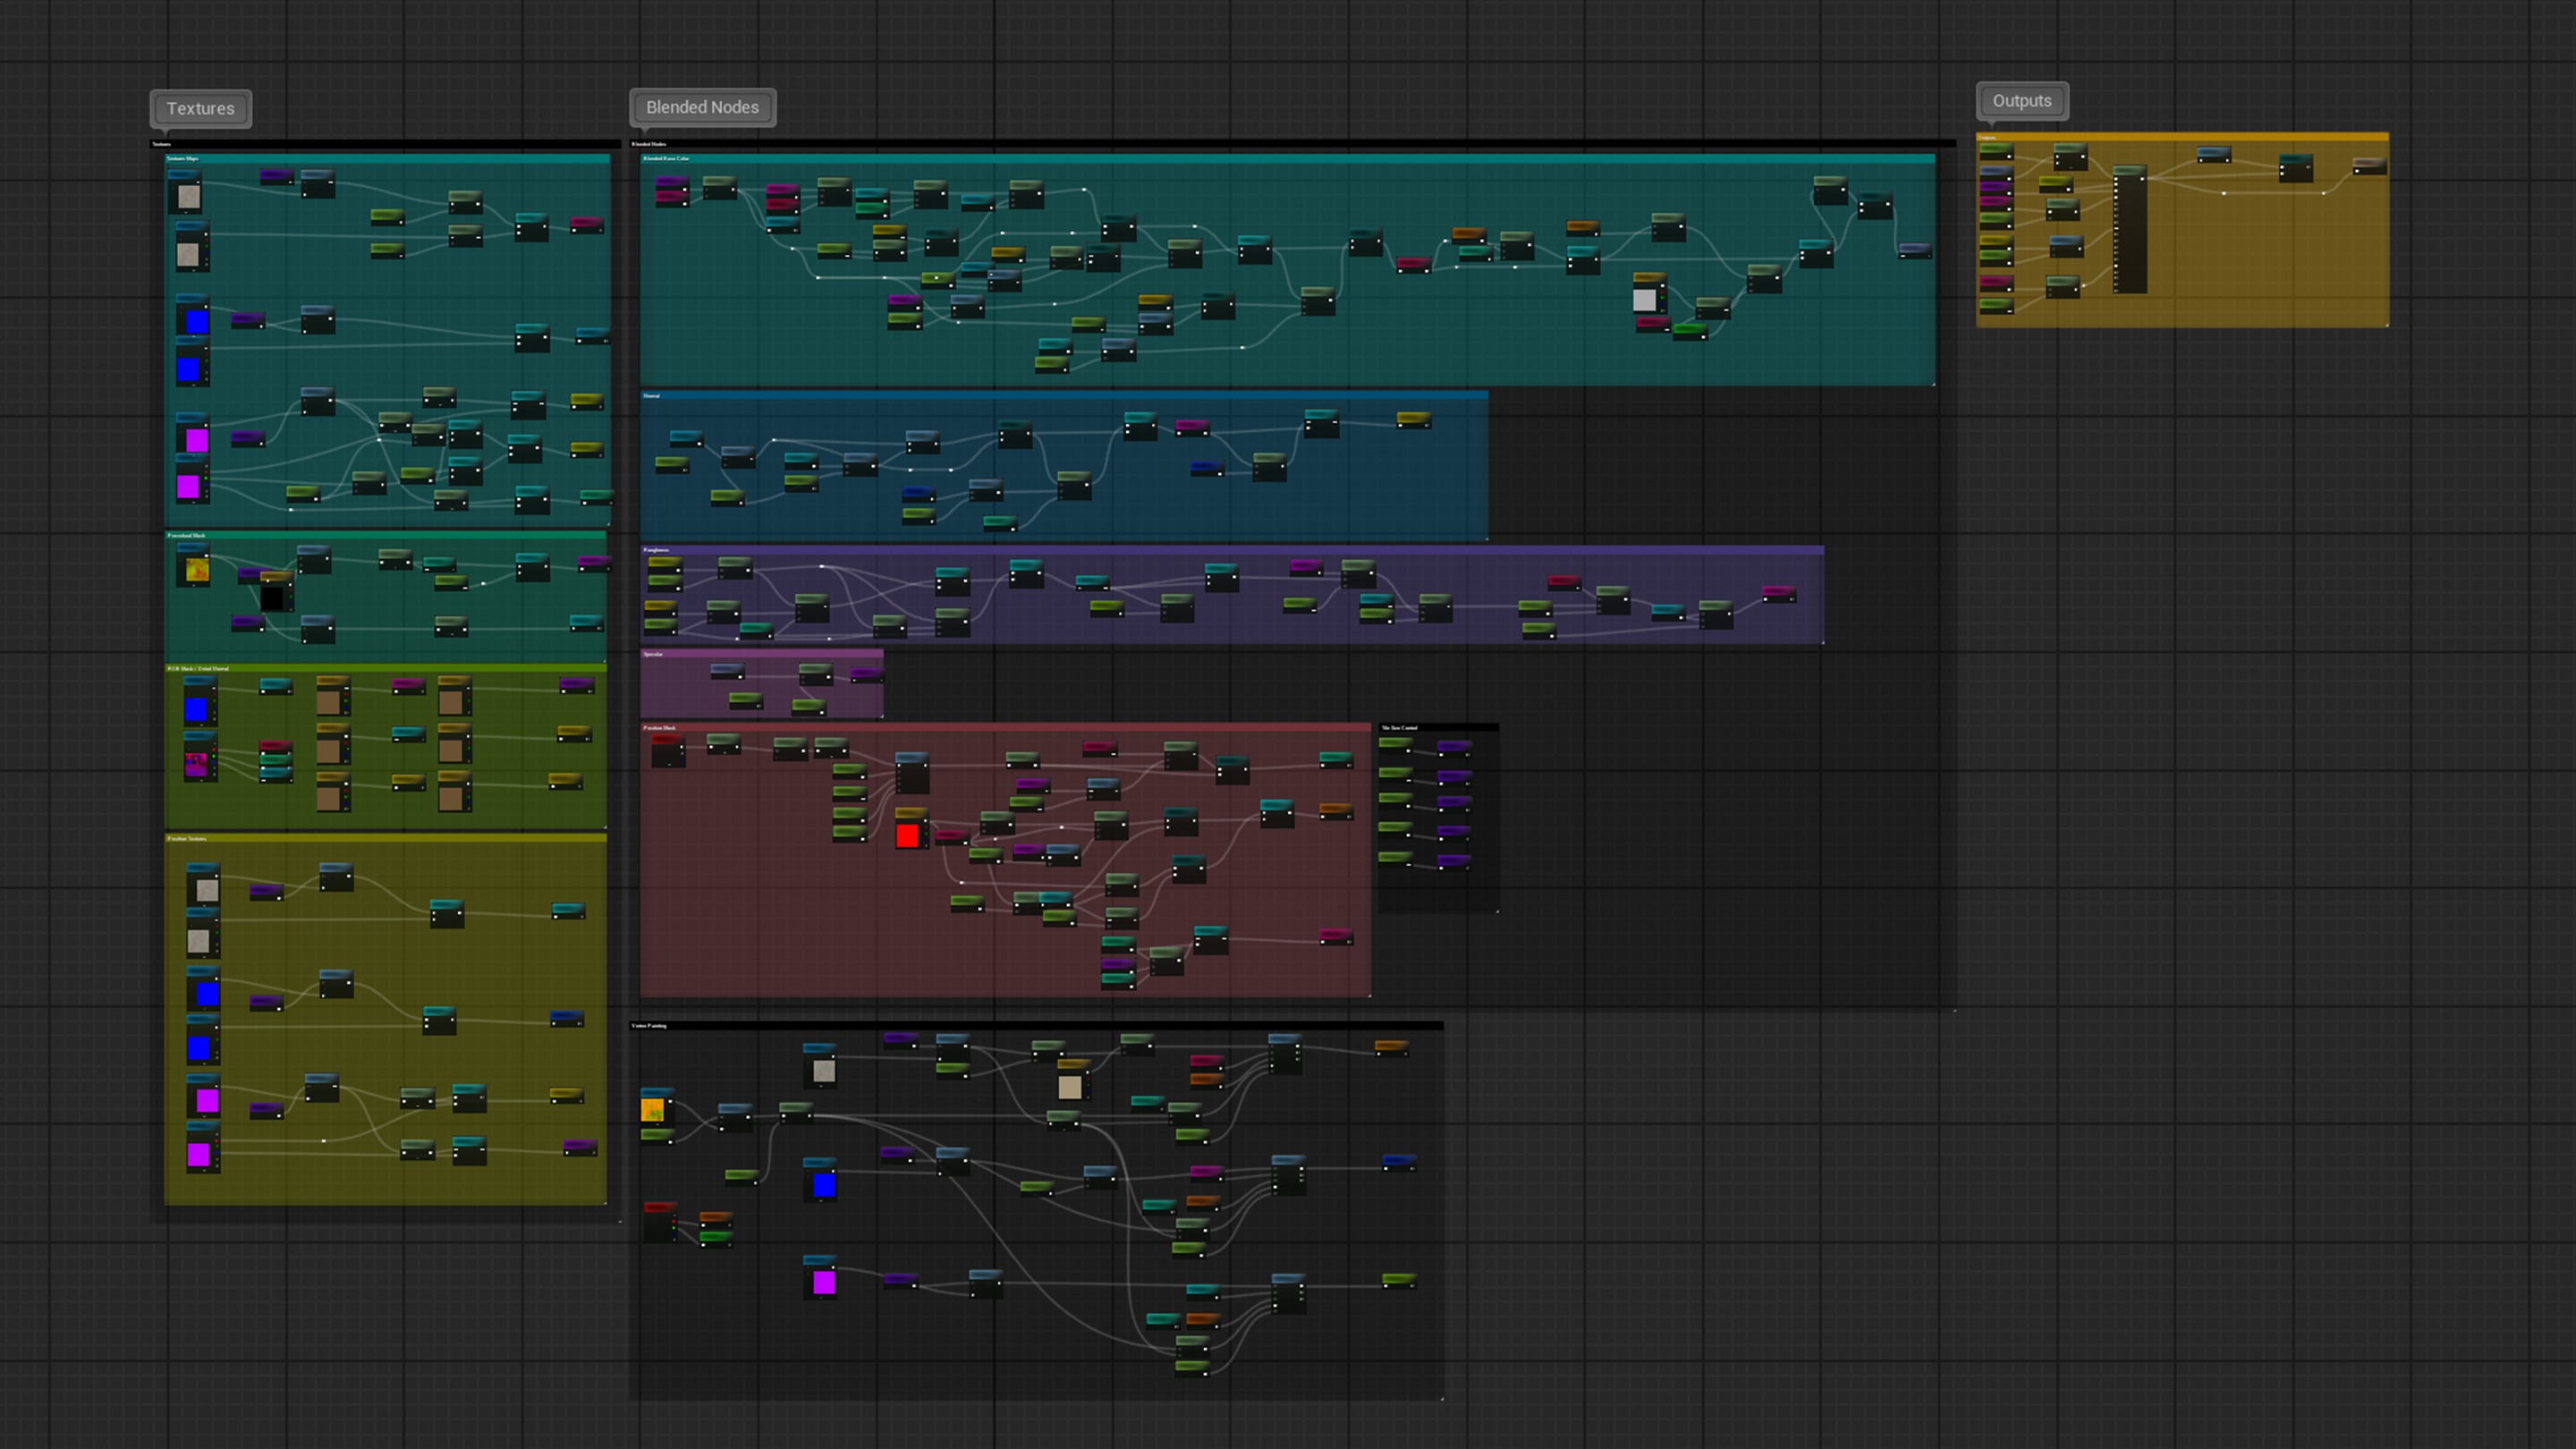
For the materials in the environment modules, I developed a procedural master material in Unreal that allowed me to adjust:
- Base color
- Roughness
- Procedural masks
- Variations between instances
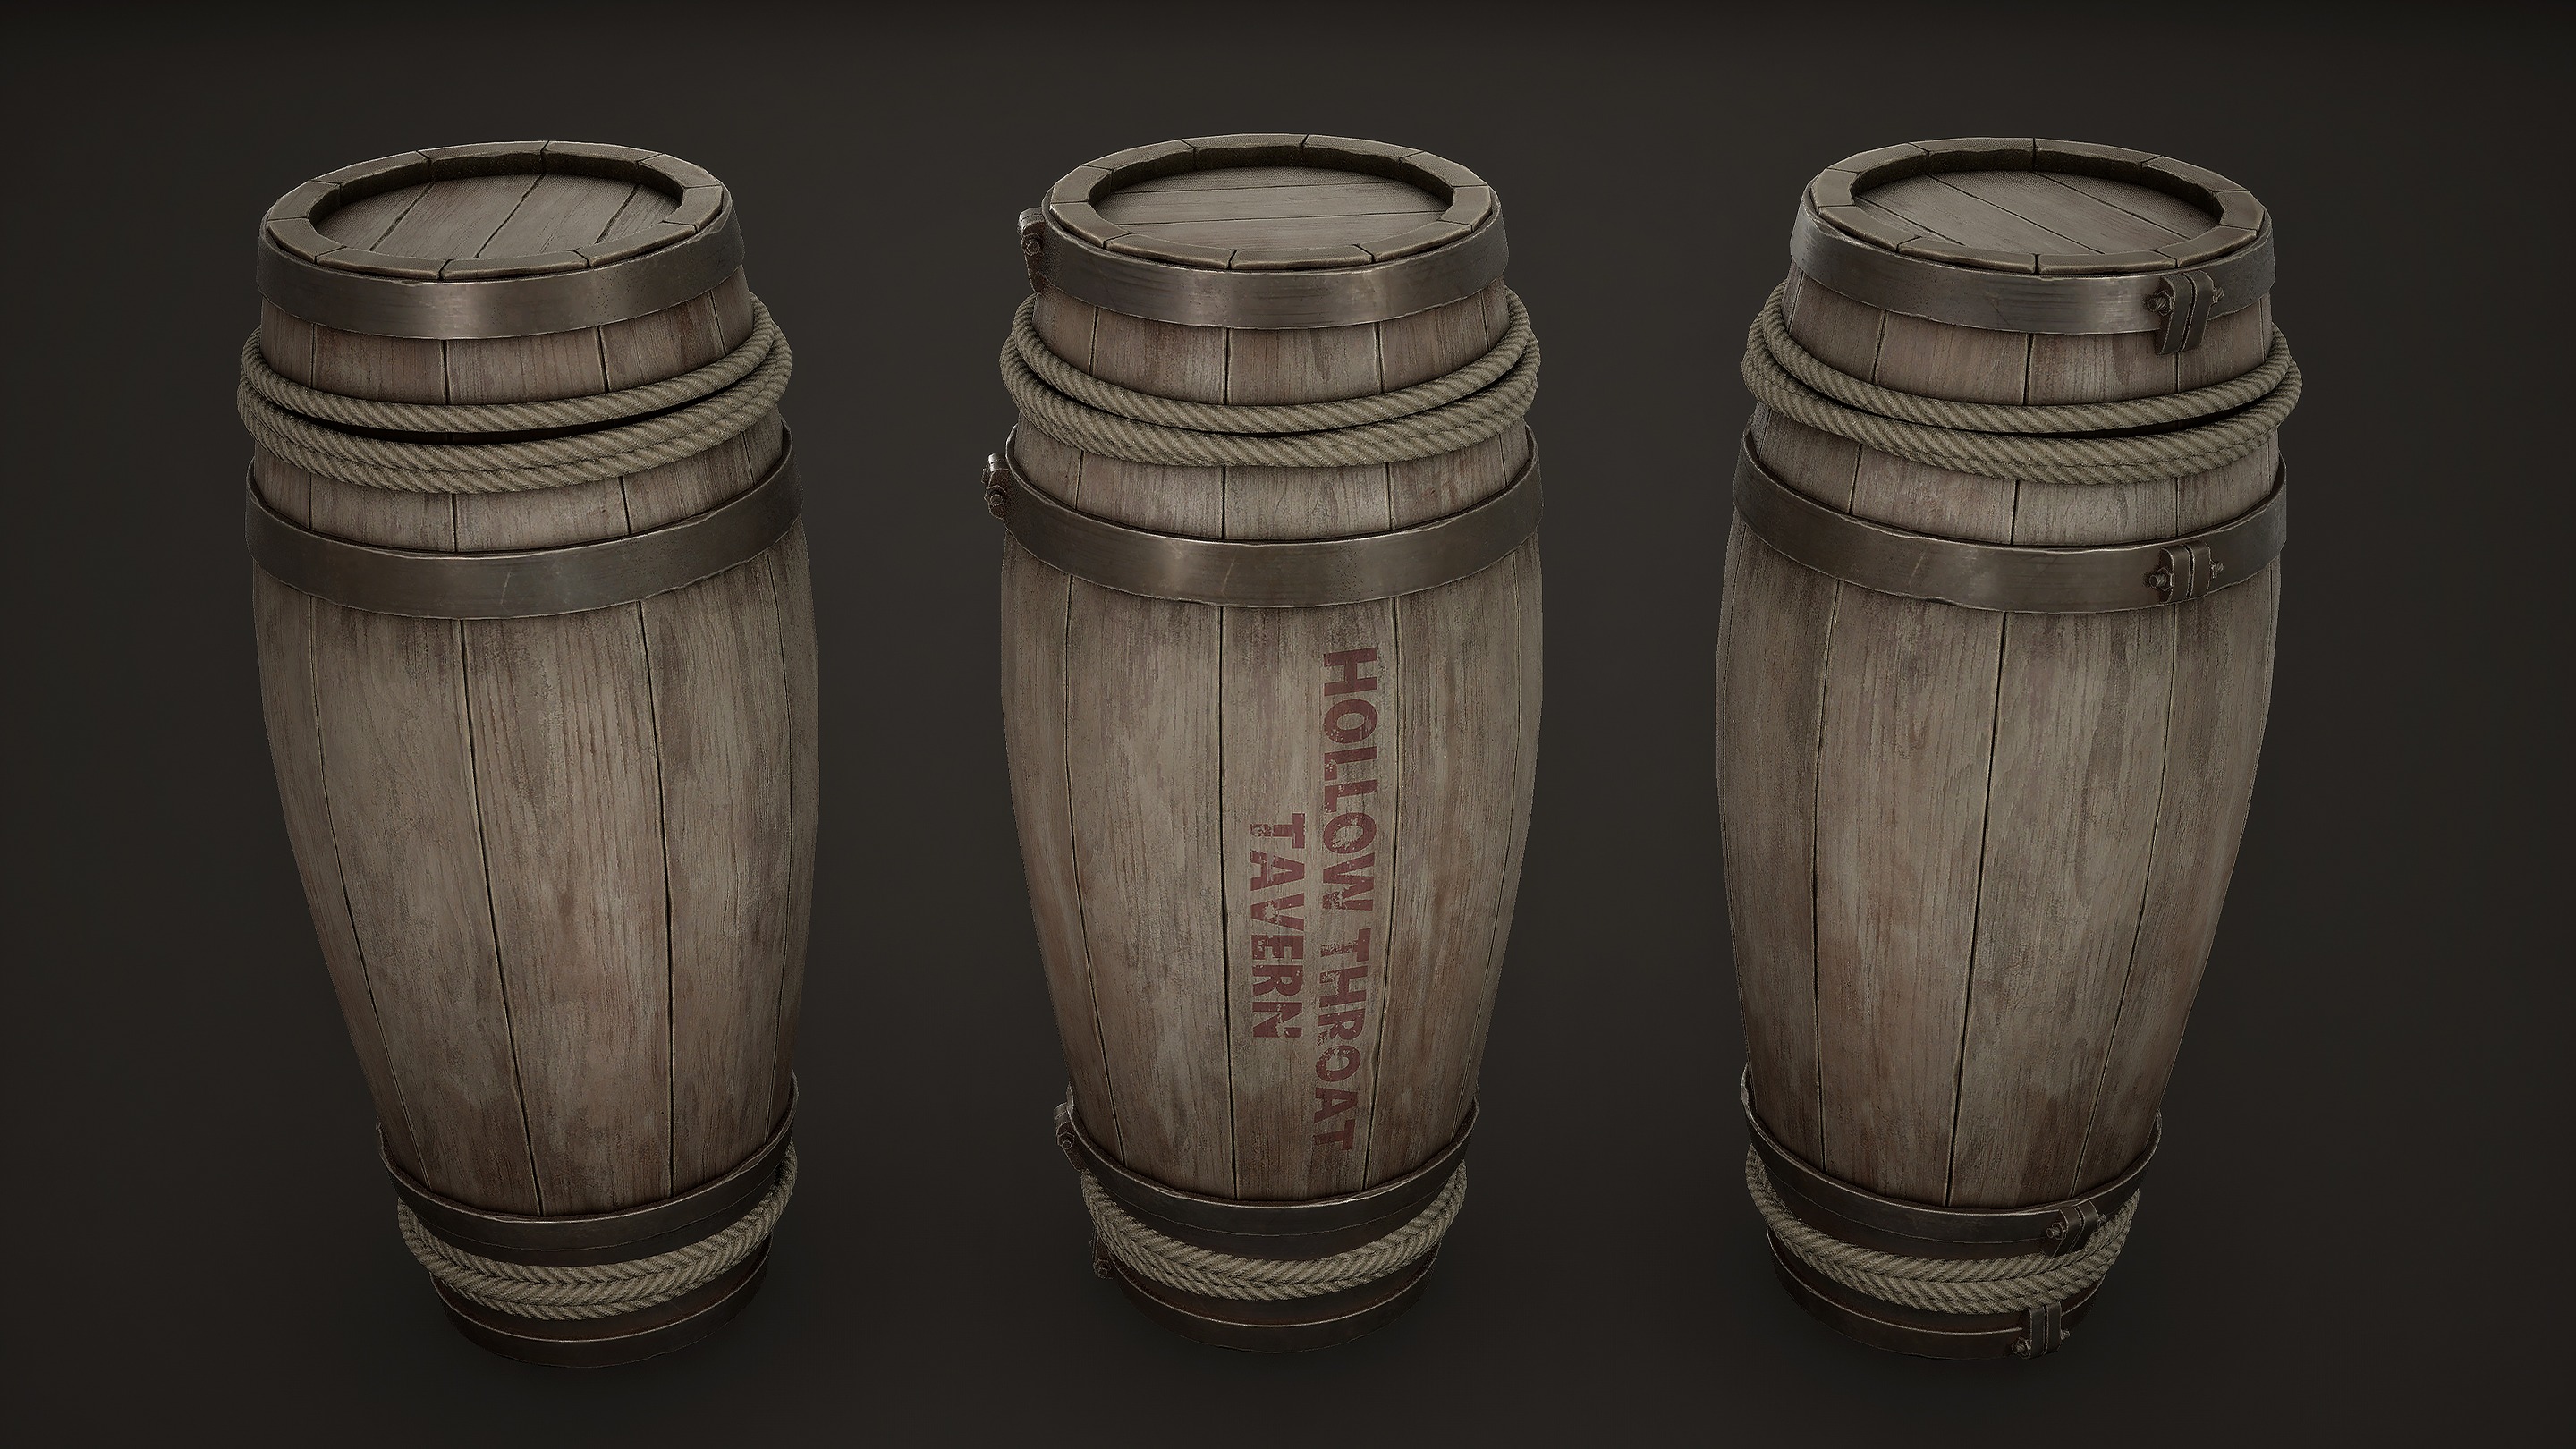
On the other hand, for the main props, I used unique textures with a texel size of 10.24 px/cm and 2048×2048 resolutions.
I also used trim sheets to streamline the texturing process for elements that appear repeatedly throughout the environment. This allowed me to reduce production time while maintaining visual consistency across the assets.
I used Maya for modelling and Substance 3D Painter for texturing.
Lighting & Atmosphere
This part of the project was probably the most challenging for me. My main reference was the atmospheric lighting used in Dishonored.
The initial setup consisted of:
- HDRI and skylight to avoid overly dark areas
- Directional light as the main light source
- Subtle volumetric fog
- Spotlights to fill in the gaps
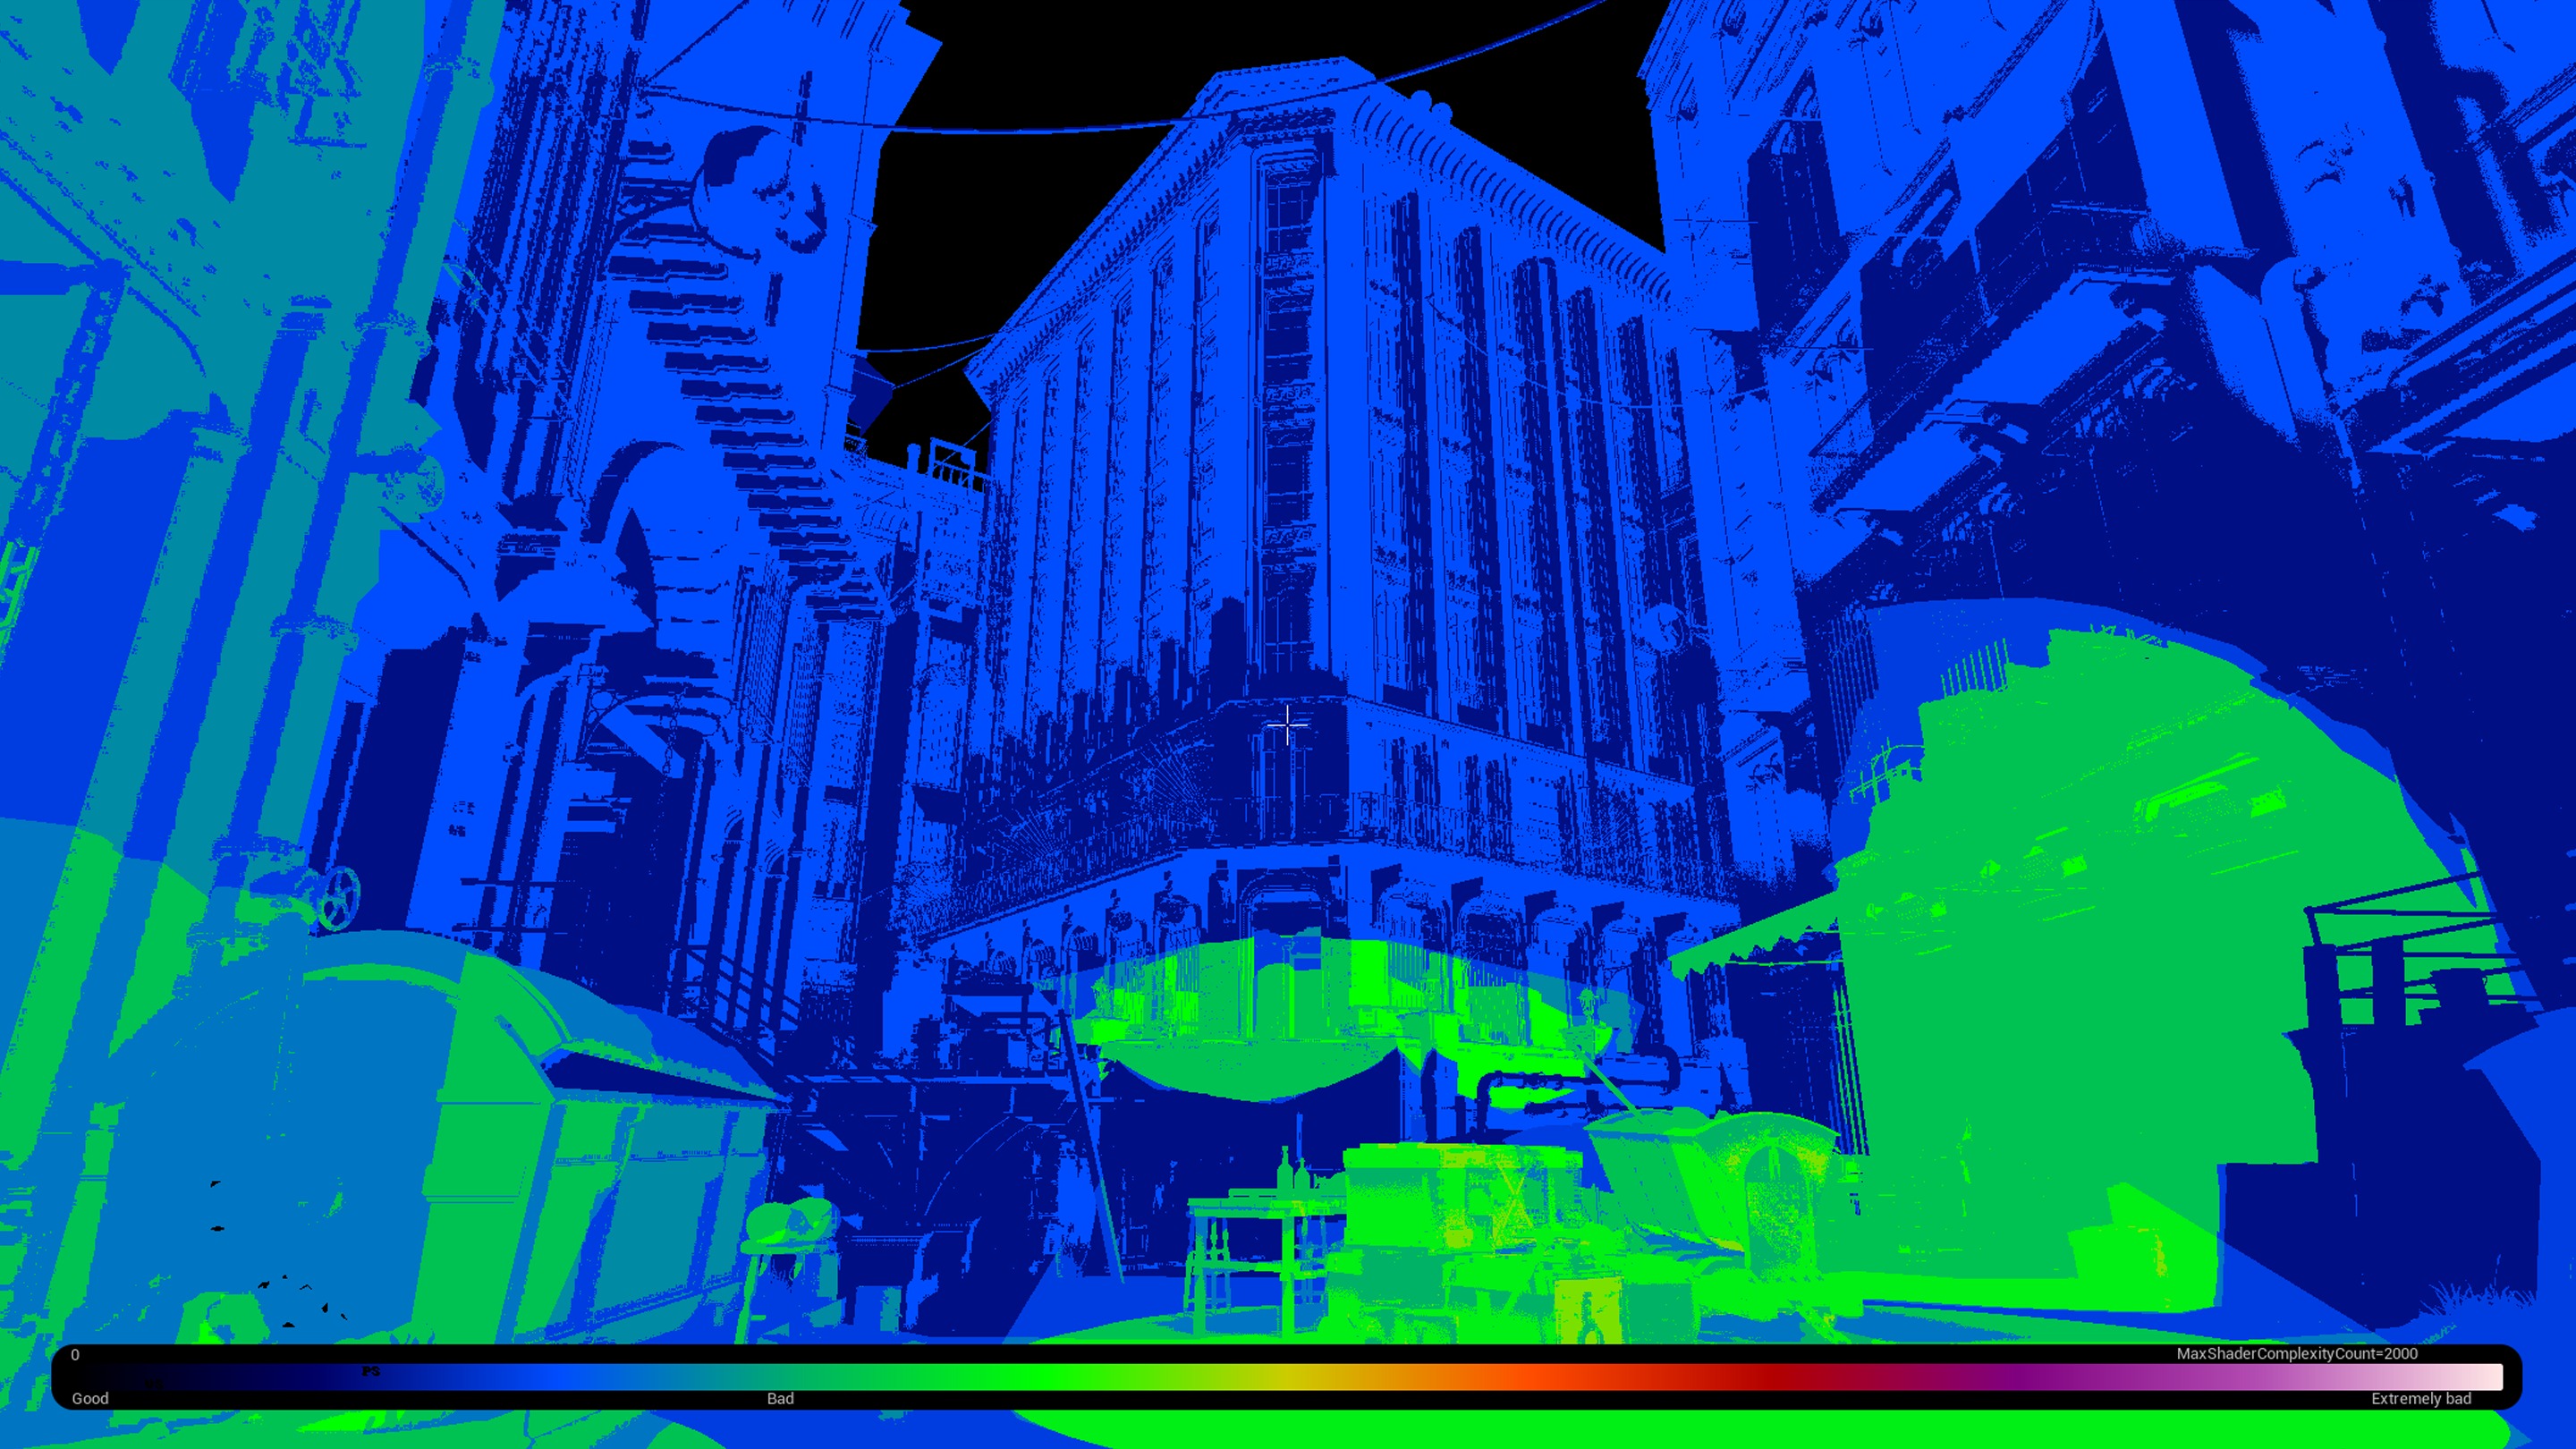
At the same time, I paid special attention to performance, carefully managing the use of lights to maintain a reasonable level of lighting complexity and avoid overloading the scene. The ultimate goal was for everything to run within Unreal in real time without relying on any kind of post-production, so all the images shown were captured directly from the engine.
Conclusion
The project took me about 8 months of my free time. I was able to work on the project for about 1-2 hours a day, which amounts to roughly 2 months of actual work.
Beyond the final result, the most valuable aspect was everything I learned:
- A better understanding of lighting in complex environments
- A more efficient workflow
- A more effective use of modularity and materials
- Greater control over the environmental narrative
One of the biggest challenges has been managing my time effectively, since I worked on this while holding down a full-time job, which left me with very little time each day to make progress.
Personally, this has been a very important project for me because it forced me to tackle problems I hadn’t encountered in smaller projects.
Something I’d like to highlight is that an Environment Artist doesn’t just create pretty scenes – they build coherent, functional worlds with a clear purpose.
Every decision within the environment matters: from modularity to the way the story is told through the space and its elements.
Finally, I want to thank Games Artist for giving visibility to the project and sharing the process. I believe that creating spaces where artists share their work methods helps us all improve.
If anyone has questions or wants to comment on the process, feel free to message me on ArtStation. I’d be happy to respond and help in any way I can!
Read more articles
You might also like these articles.