
Traffic Light



Introduction
Hi! My name is Slava Izvekov. I’m a 3D Artist specializing in creating props and environments. Currently, I work as a 3D Environment Artist at EVEGOPLAYON Studio.
In my free time, I’m working on developing myself as a seller on Fab.
Project
At the moment, I’m working on creating new props for my Fab store, and one of the models in my upcoming pack is a portable traffic light.


Main tools
- PureRef – Reference images
- 3ds Max – LP/HP Sub-D Modelling
- ZBrush – For additional HP details
- RizomUV – UV
- Blender and UVPackmaster – UV Packing
- Substance Painter – Texturing
- Marmoset Toolbag – Baking textures / Final rendering
References
For reference gathering, I used Google Images, various online marketplaces, and manufacturers’ websites for similar traffic lights.
In addition to photos, I was also able to find its dimensions, which helped me understand the overall proportions.

Modelling
With a good selection of reference images, I set them up in the scene and then moved on to modelling. I started with simpler forms to get the proportions right, since the photos weren’t perfectly straight and had some perspective distortion.
Once I had the basic shape modelled, I moved on to subdivision modelling, adding support loops and gradually introducing more detail.

For some of the smaller details, I decided to use ZBrush to speed up the workflow, even though it wasn’t really necessary for this particular project.

For some elements, I decided to avoid adding additional geometry and instead bake the bevel information directly onto the mesh using a Bevel Shader.

I implemented all of these details as floating geometry, avoiding the need to create sub-d topology or sculpt them in ZBrush.

For the low-poly version, I simply cleaned up the subdivision mesh by removing unnecessary edge loops and optimising the topology.


UV& Baking
For UV unwrapping and packing, I used RizomUV and the UVPackmaster add-on for Blender, respectively.

I split the high-poly and low-poly meshes into corresponding bake groups to have more precise control over the baking process and achieve cleaner textures.
I bake the model in two passes: first with Smooth Cage enabled, and then without it, with the cage slightly adjusted manually. The next step is combining the two texture sets in Substance Painter.
This isn’t strictly necessary, as you can bake everything into a single texture set, but doing so requires extensive use of the Paint Skew tool to fix all the problematic areas.

Texturing
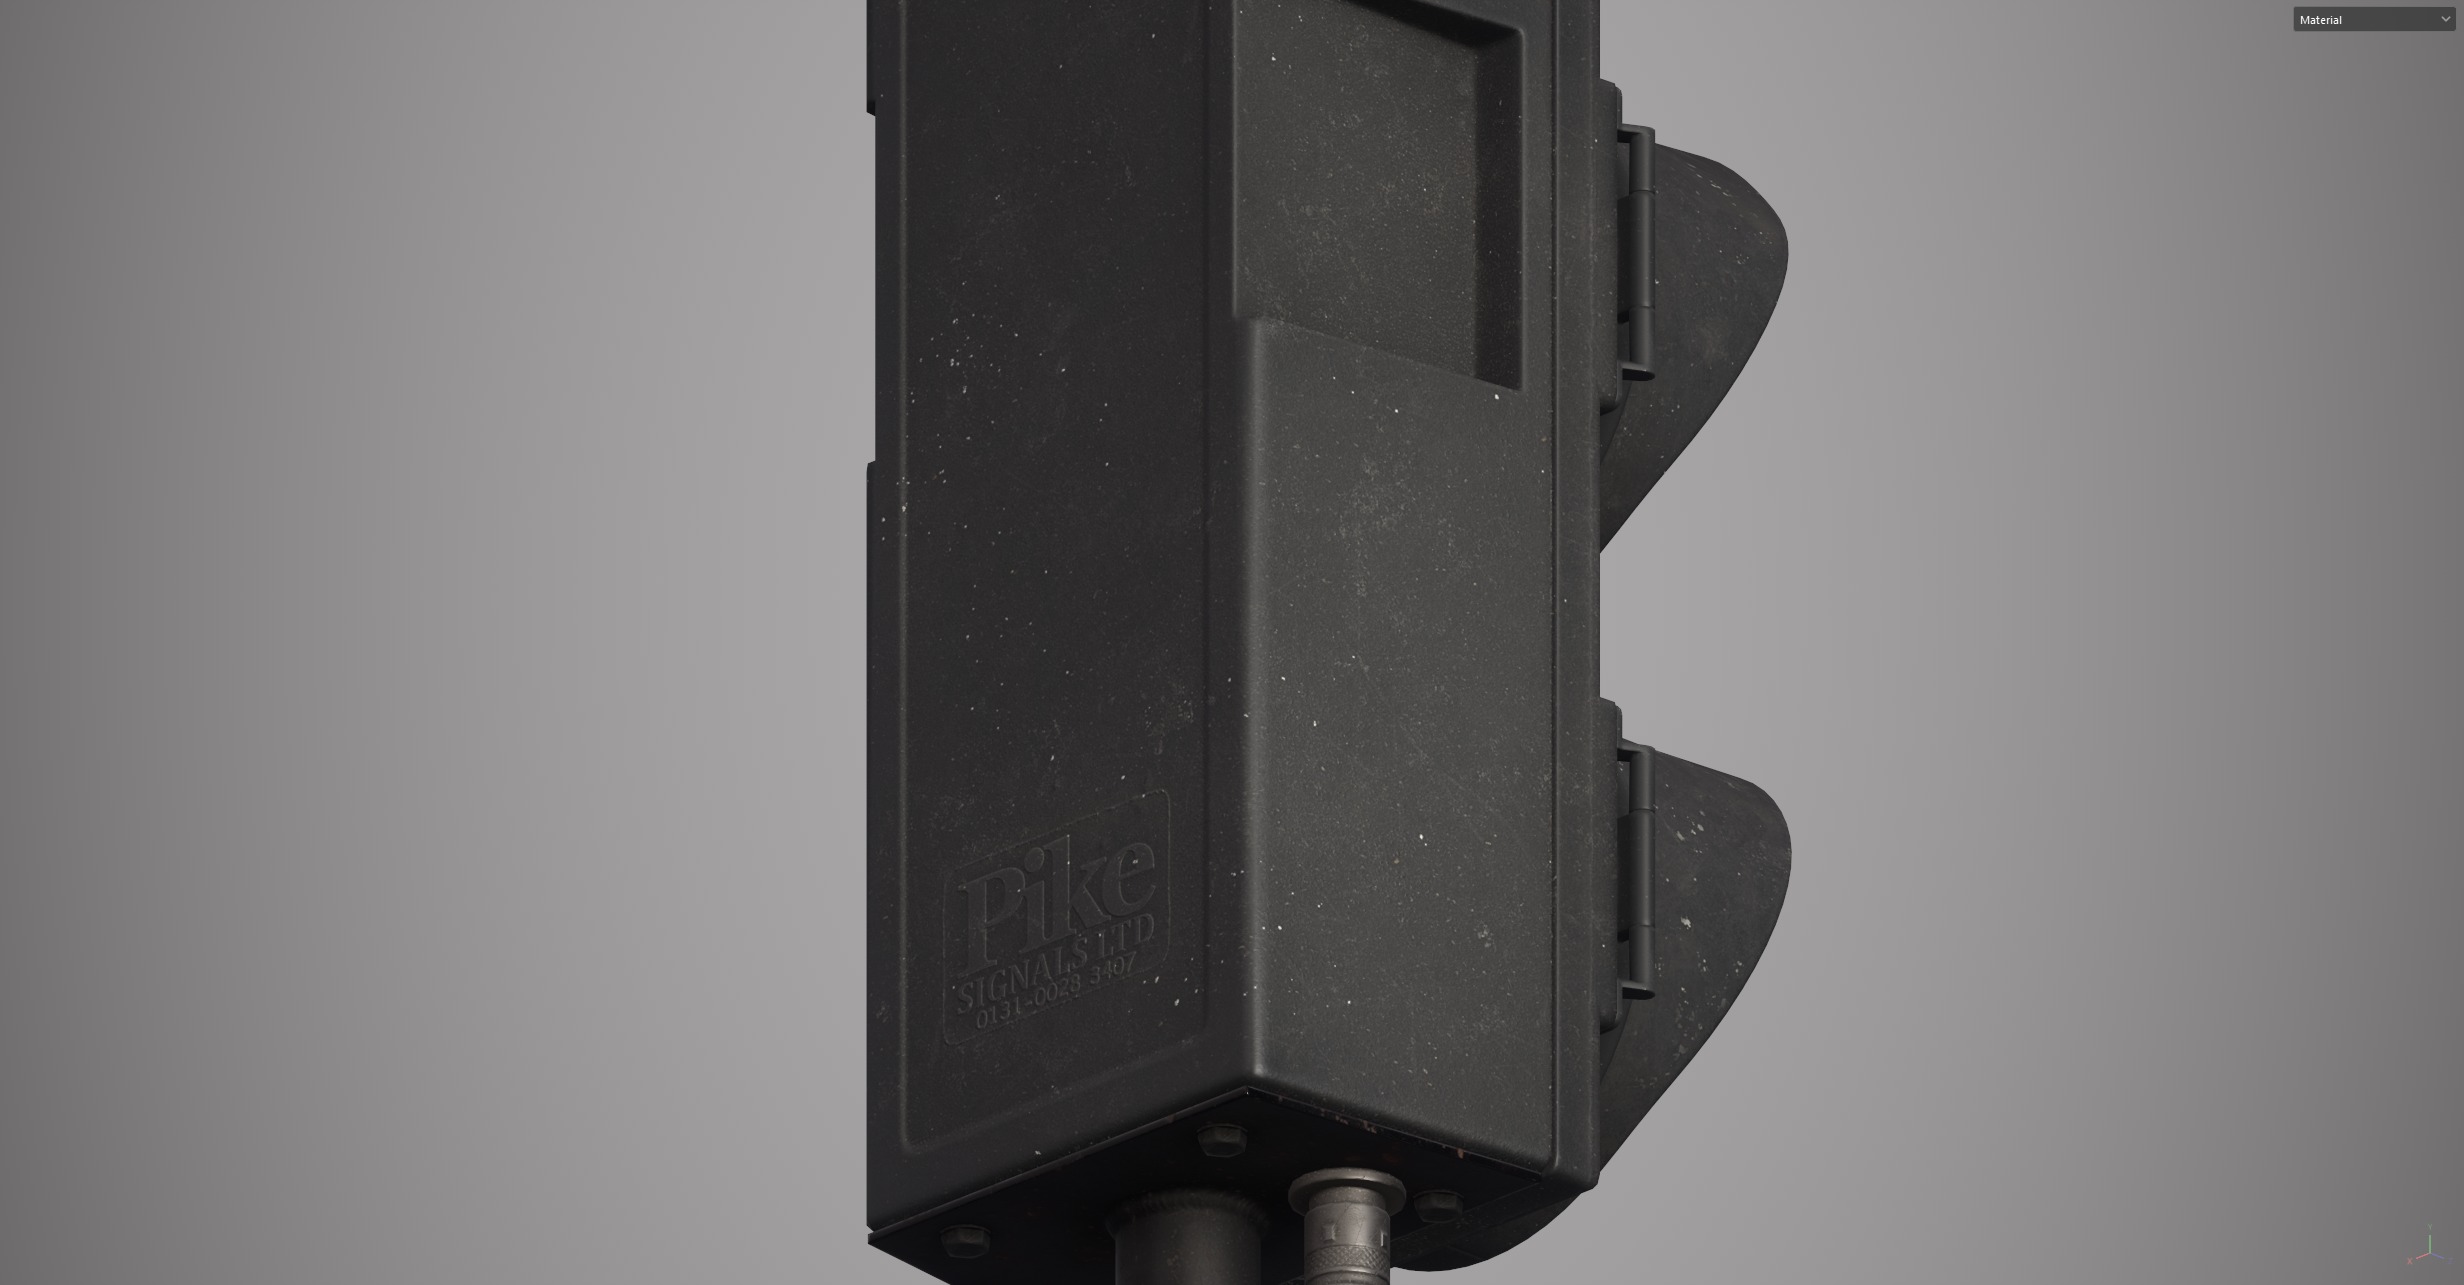
There are two main materials here: painted metal with rust and plastic. I’ll break down each of these materials below.
Painted Metal


Junction box


Damaged wire


Plastic




Conclusion
I’d like to thank the “Games Artist” team for the opportunity to share the process behind this asset.
Thank you for taking the time to read this article.
You can find this and more of my work on my ArtStation profile:
https://www.artstation.com/oneprogram
You can also visit my Fab page, where you can find some of my models that aren’t available on ArtStation, as well as purchase them:
Read more articles
You might also like these articles.


