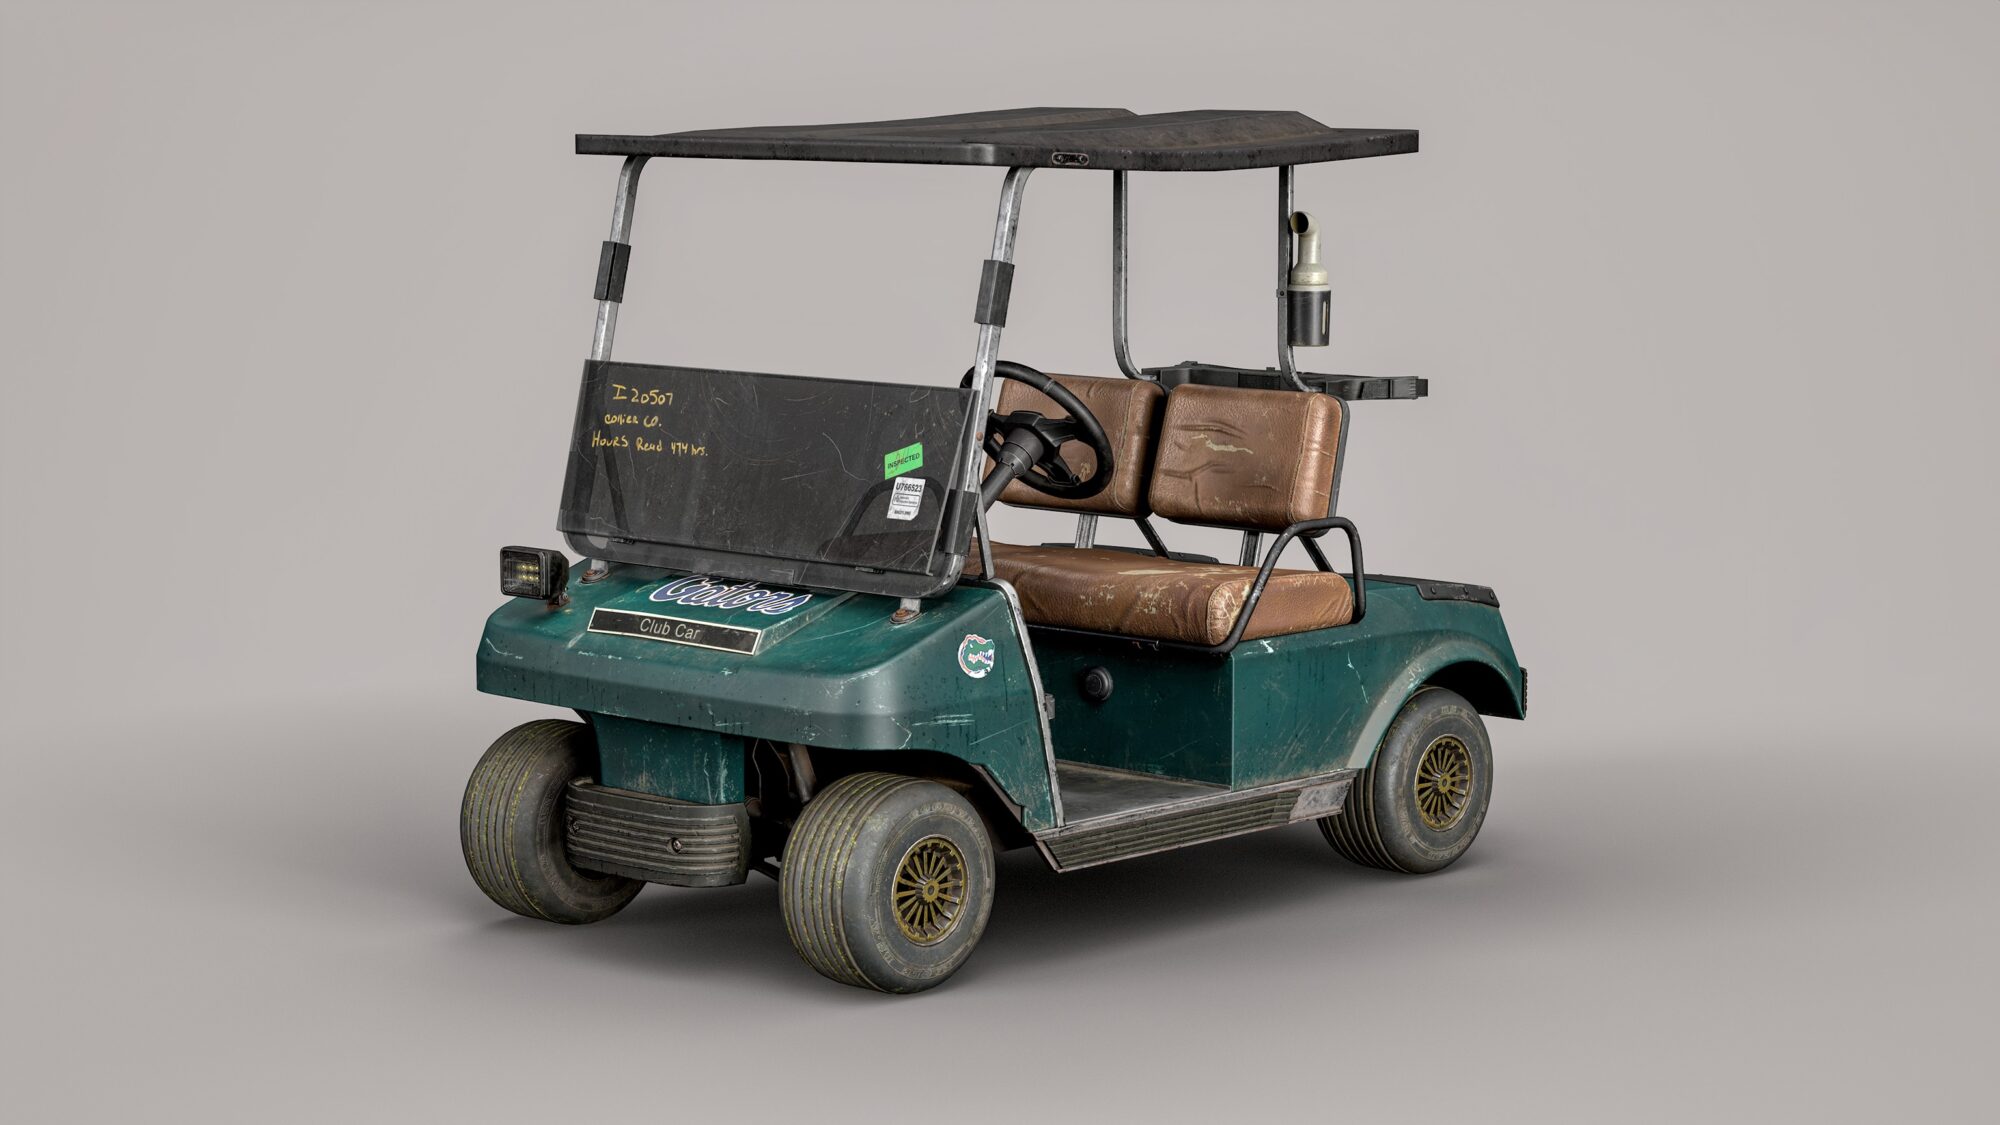
Golf Cart

Introduction
Hi everyone! My name is Ihor Cherepashenko, and I’m originally from Ukraine, though I currently live in Europe.
I’ve been passionate about 3D graphics for a long time, but it was in 2023 that I took the leap and decided to make it my career. I began with a six-month course that provided a solid foundation, but to go further, I worked one-on-one with a professional mentor (Ivan Kenc – ArtStation).
Now, I’m focused on building a strong portfolio and finding my first game development studio to collaborate with.


Goal
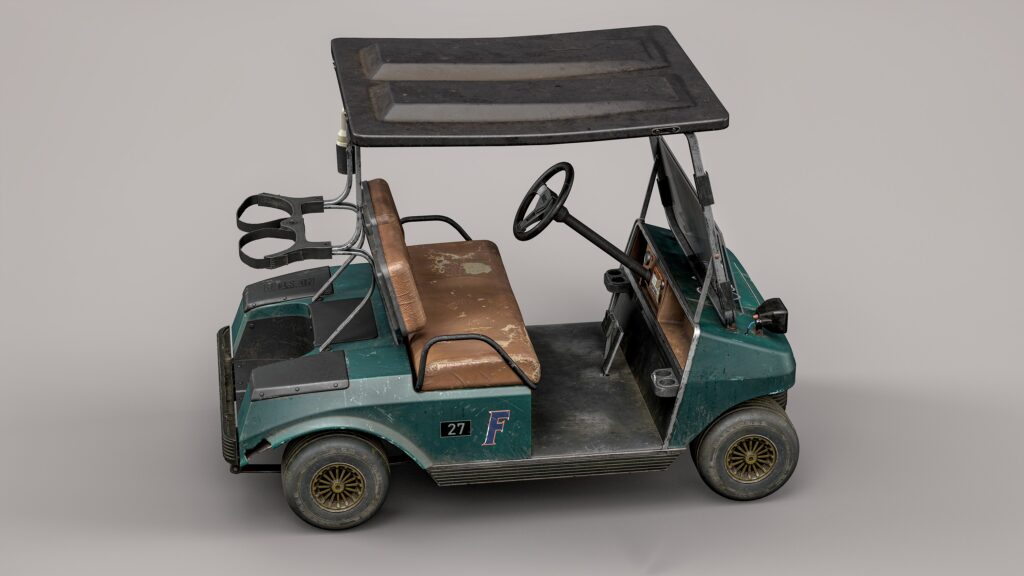
My main goal was to create a more complex and detailed model compared to my previous works and to practice texturing a wider variety of materials.
A vehicle was a perfect choice for this. Plus, golf carts are quite rare on ArtStation.
Software
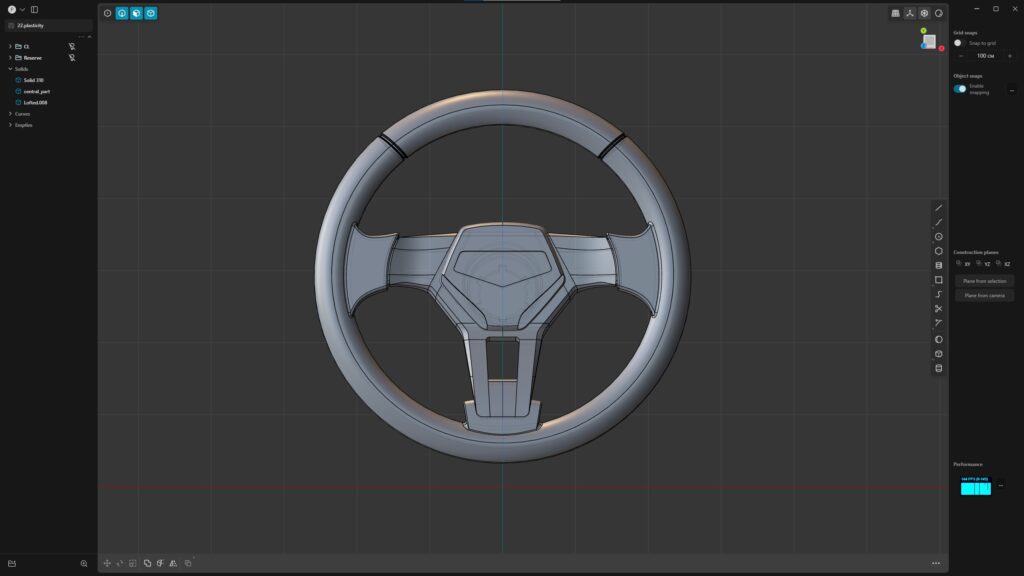
- Plasticity – CAD modeling.
- Blender – Modeling.
- ZBrush – Detailing high-poly models.
- RizomUV – UV mapping.
- Marmoset Toolbag 4 – Baking and rendering.
- Substance Painter – Texturing.
- Photoshop – Creating alphas.
- Luminar Neo – Render post-processing.
References & Inspiration
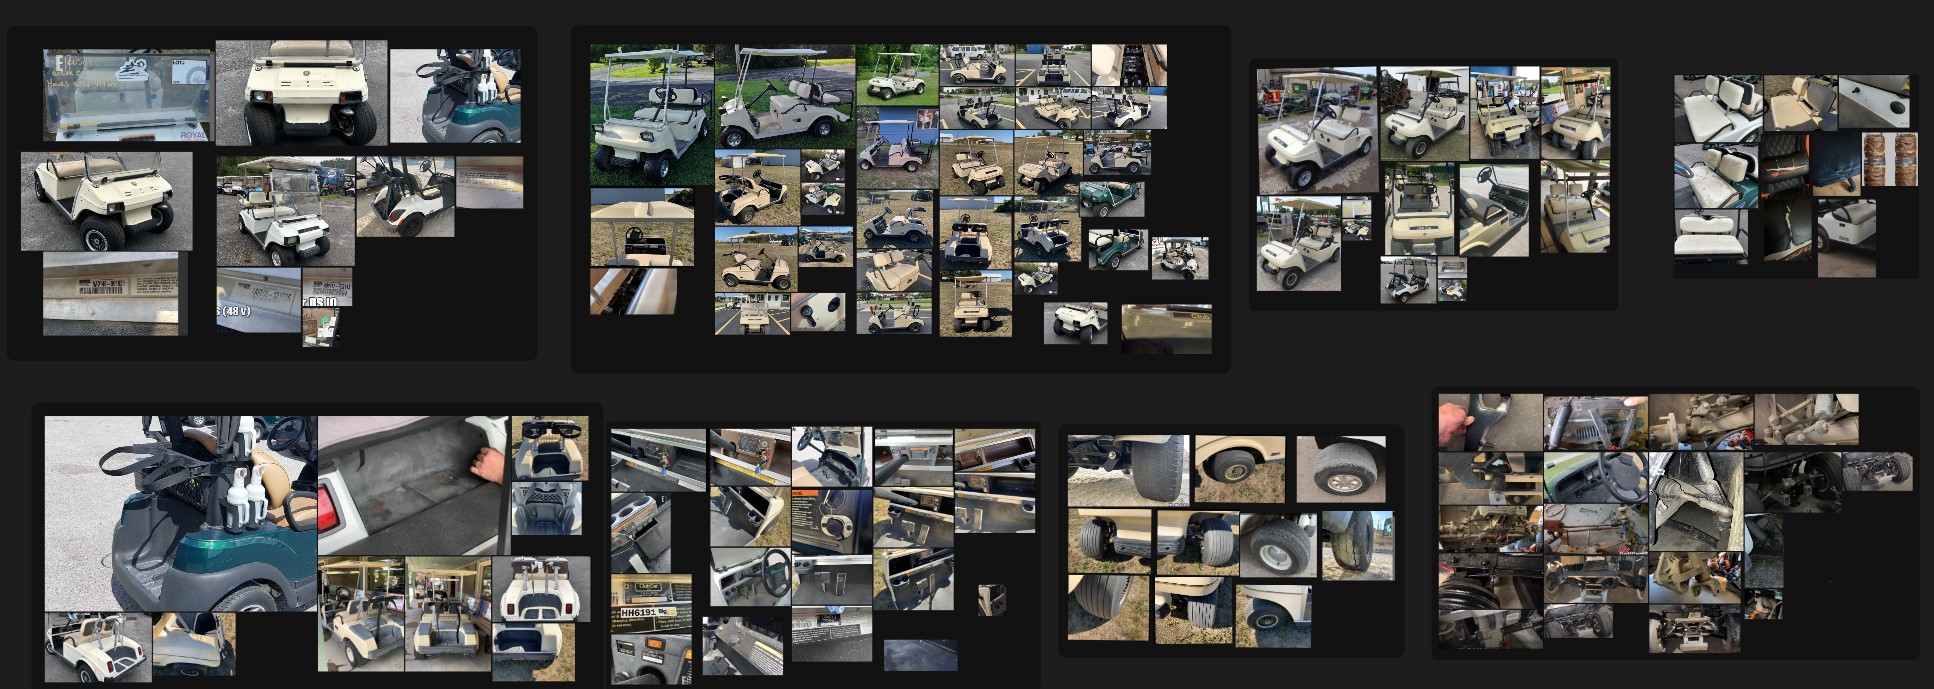
Searching for references is one of the most important stages of the process—take it seriously. Yes, it might feel tedious, and yes, it can take a while. But it’s better to spend an entire day searching for references than to keep going back to it throughout the project.
For my model, I found a lot of photos in classified ads, especially on American auction sites. These were perfect for my work since they already showed plenty of wear and tear, adding character and a sense of history to the object.
For many of the vehicle’s details, especially the undercarriage, I looked at references on Amazon, eBay, and even car repair videos on YouTube.
Modelling
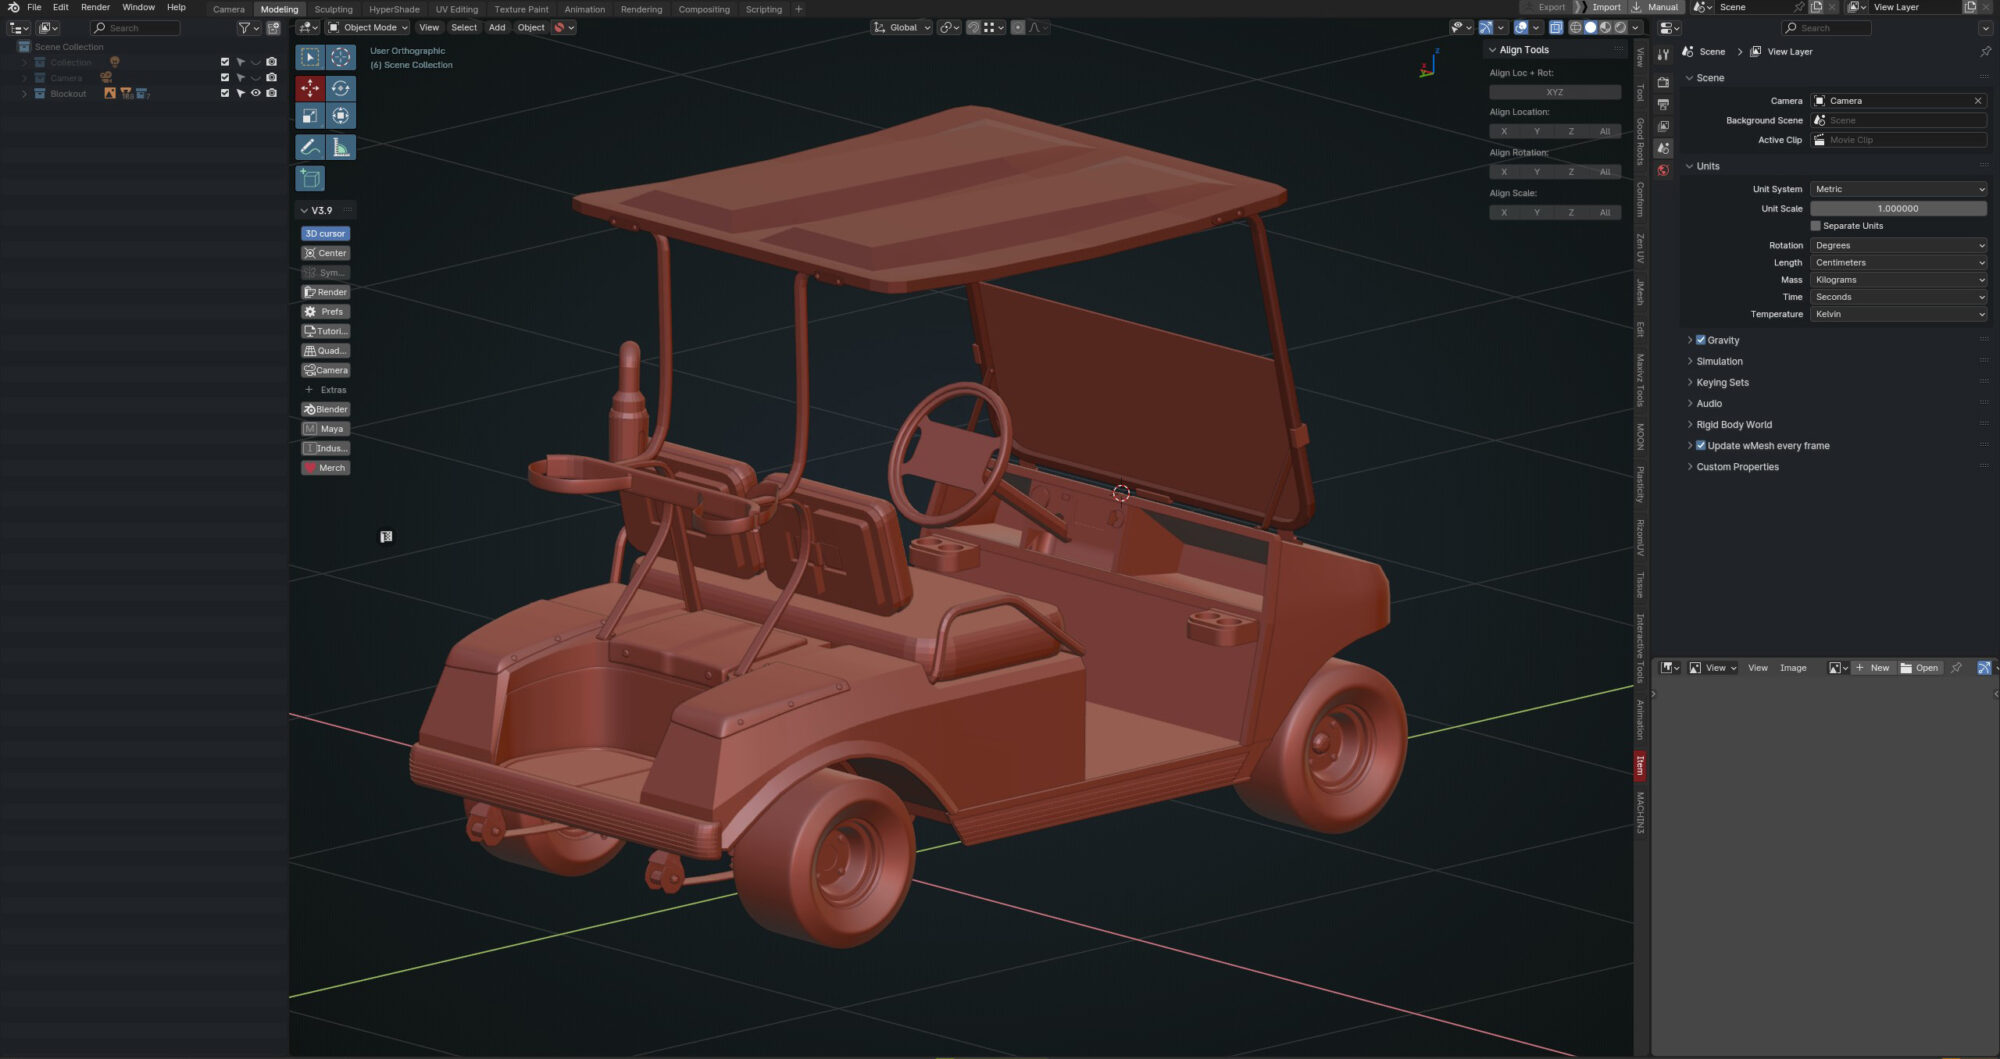
For a complex object like this, the blockout stage is also one of the most critical.
You’ll need to spend considerable time getting the dimensions and proportions of the vehicle right and aligning all the parts properly. This will help avoid issues later in the workflow.
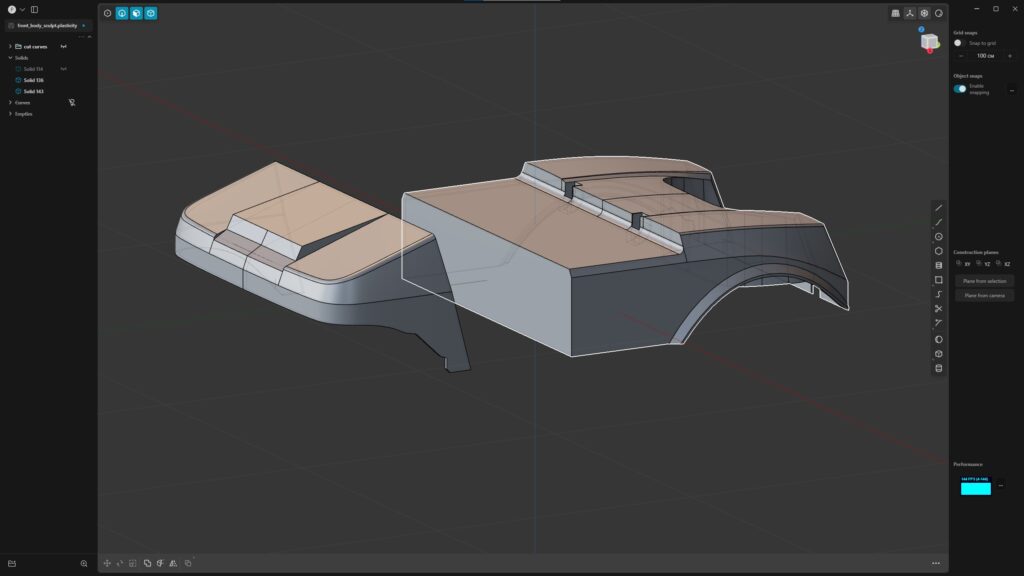
In my previous project, Old Wrench, I used Plasticity for the entire process and was so impressed by the program’s capabilities that I didn’t want to part with it for long.
For this project, I used Plasticity to model some parts of the vehicle, like the body. This saved me time and ensured good shading on the car’s surface.
The main modeling work was done in Blender. The car’s geometry and its parts are simple in form, so there was no need for advanced techniques. Subdivision modeling was the foundation of my workflow.
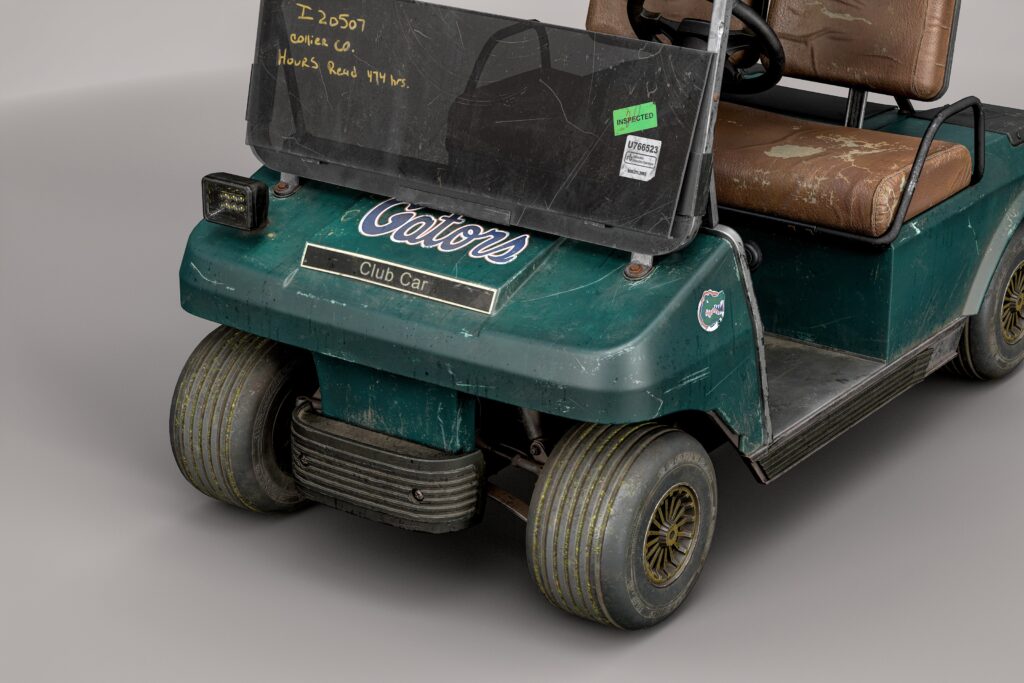
I also decided to model the underside of the vehicle to include it in the render and showcase it as part of the final presentation.
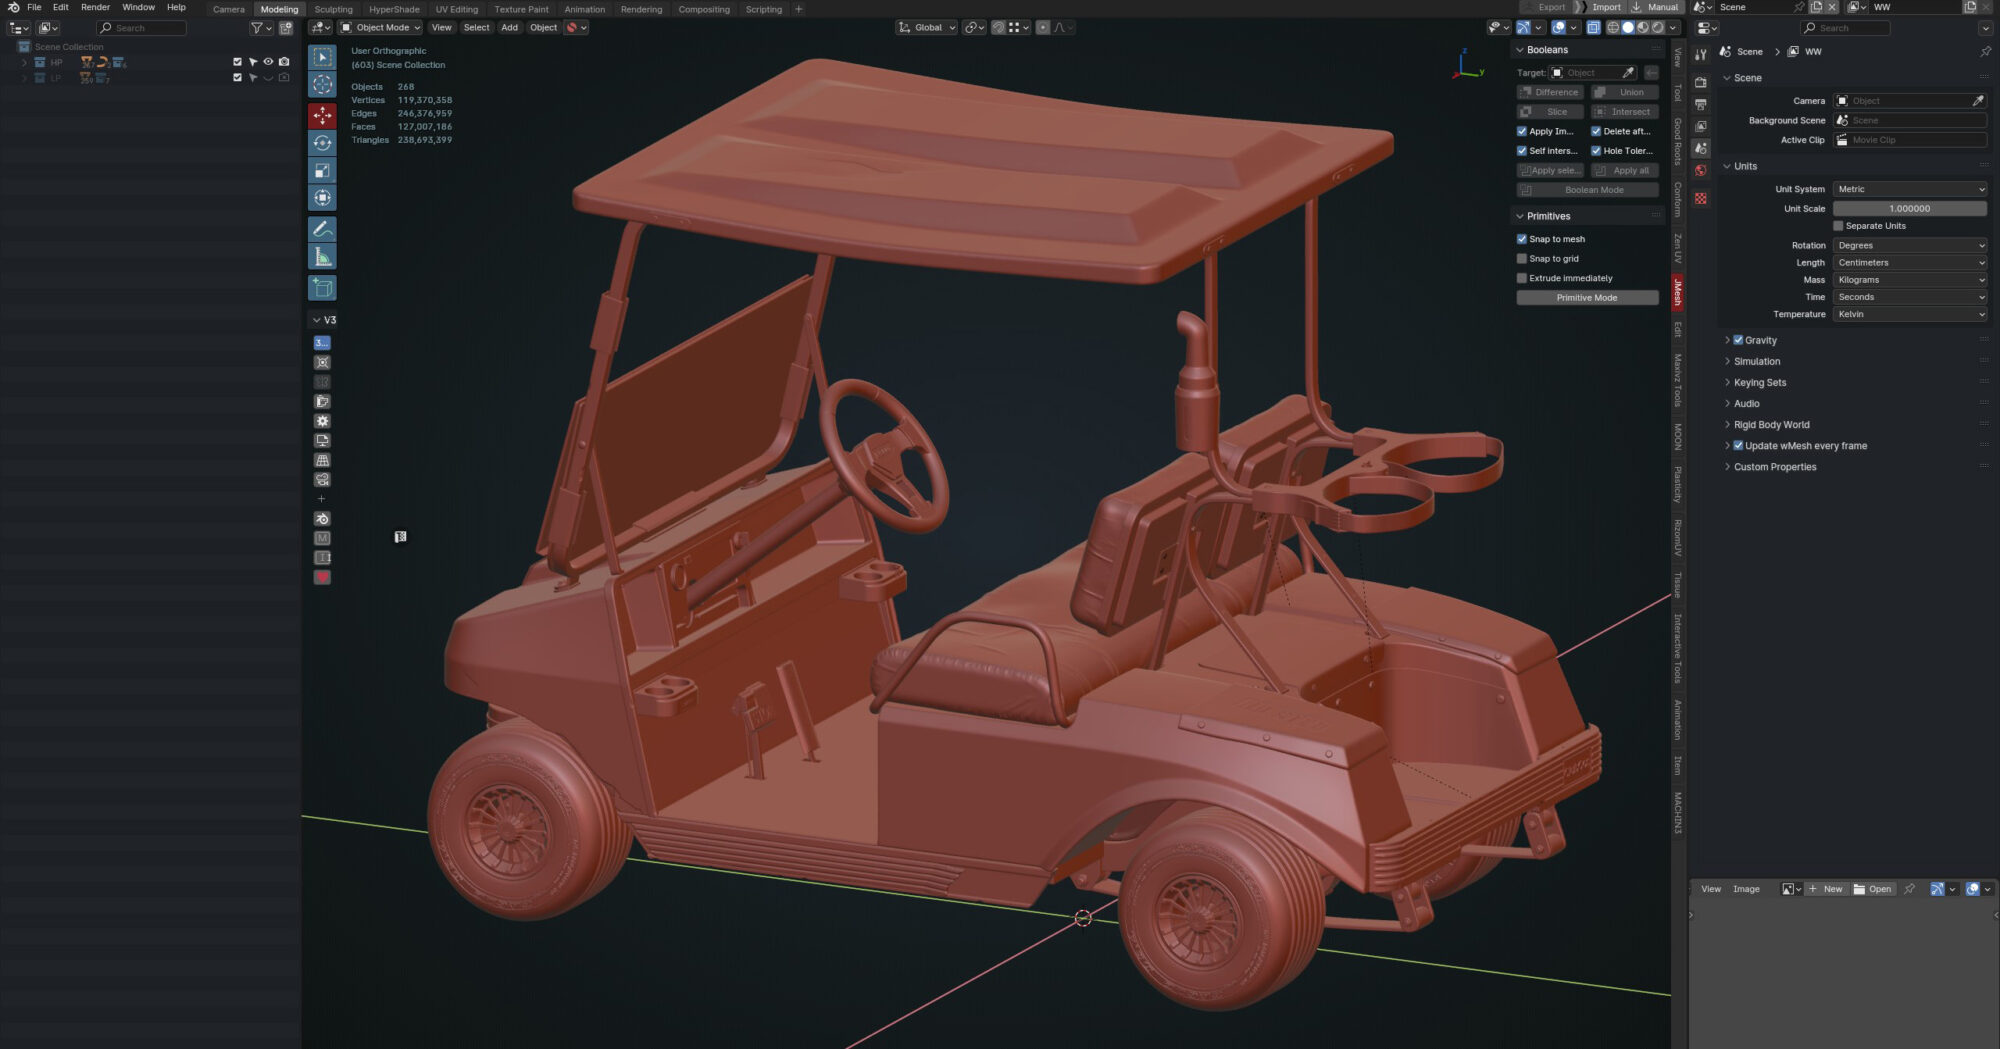
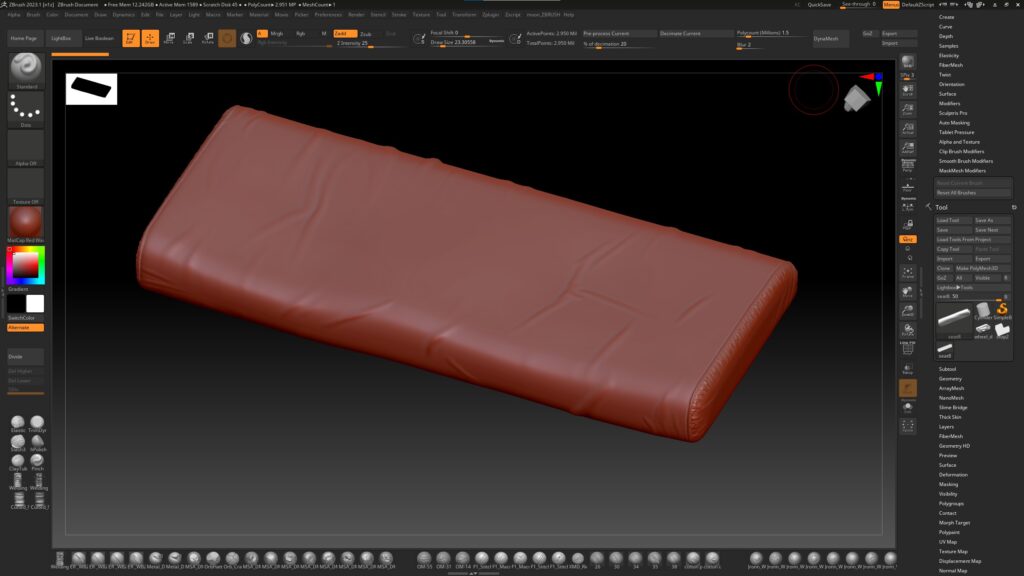
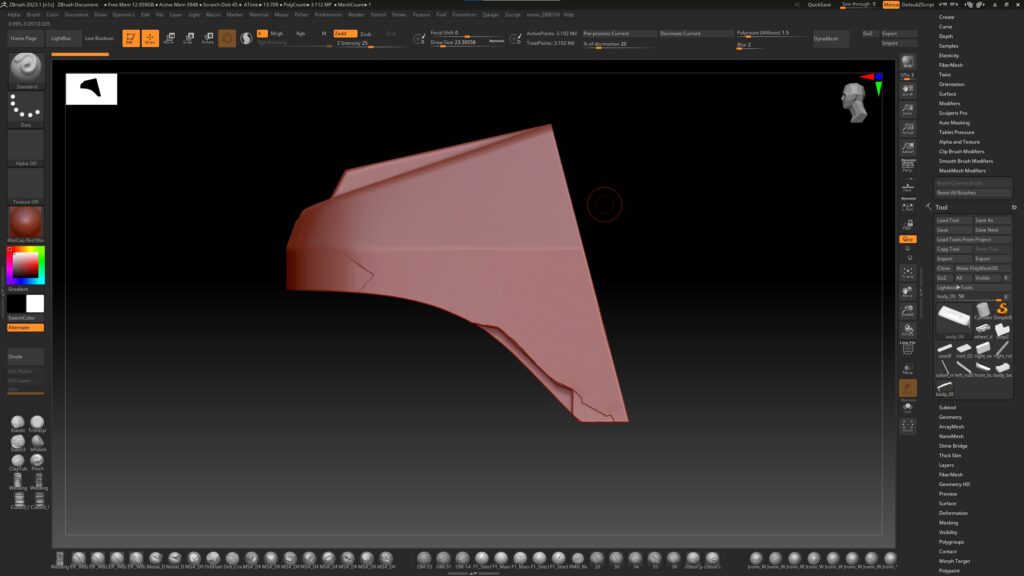
ZBrush
Some parts of the car were detailed in ZBrush. For the plastic and folds on the seats, I used custom brushes that you can either buy on ArtStation or sometimes get as gifts from other artists.
All other damage detailing was done using standard brushes like Clay and Trim Dynamic.
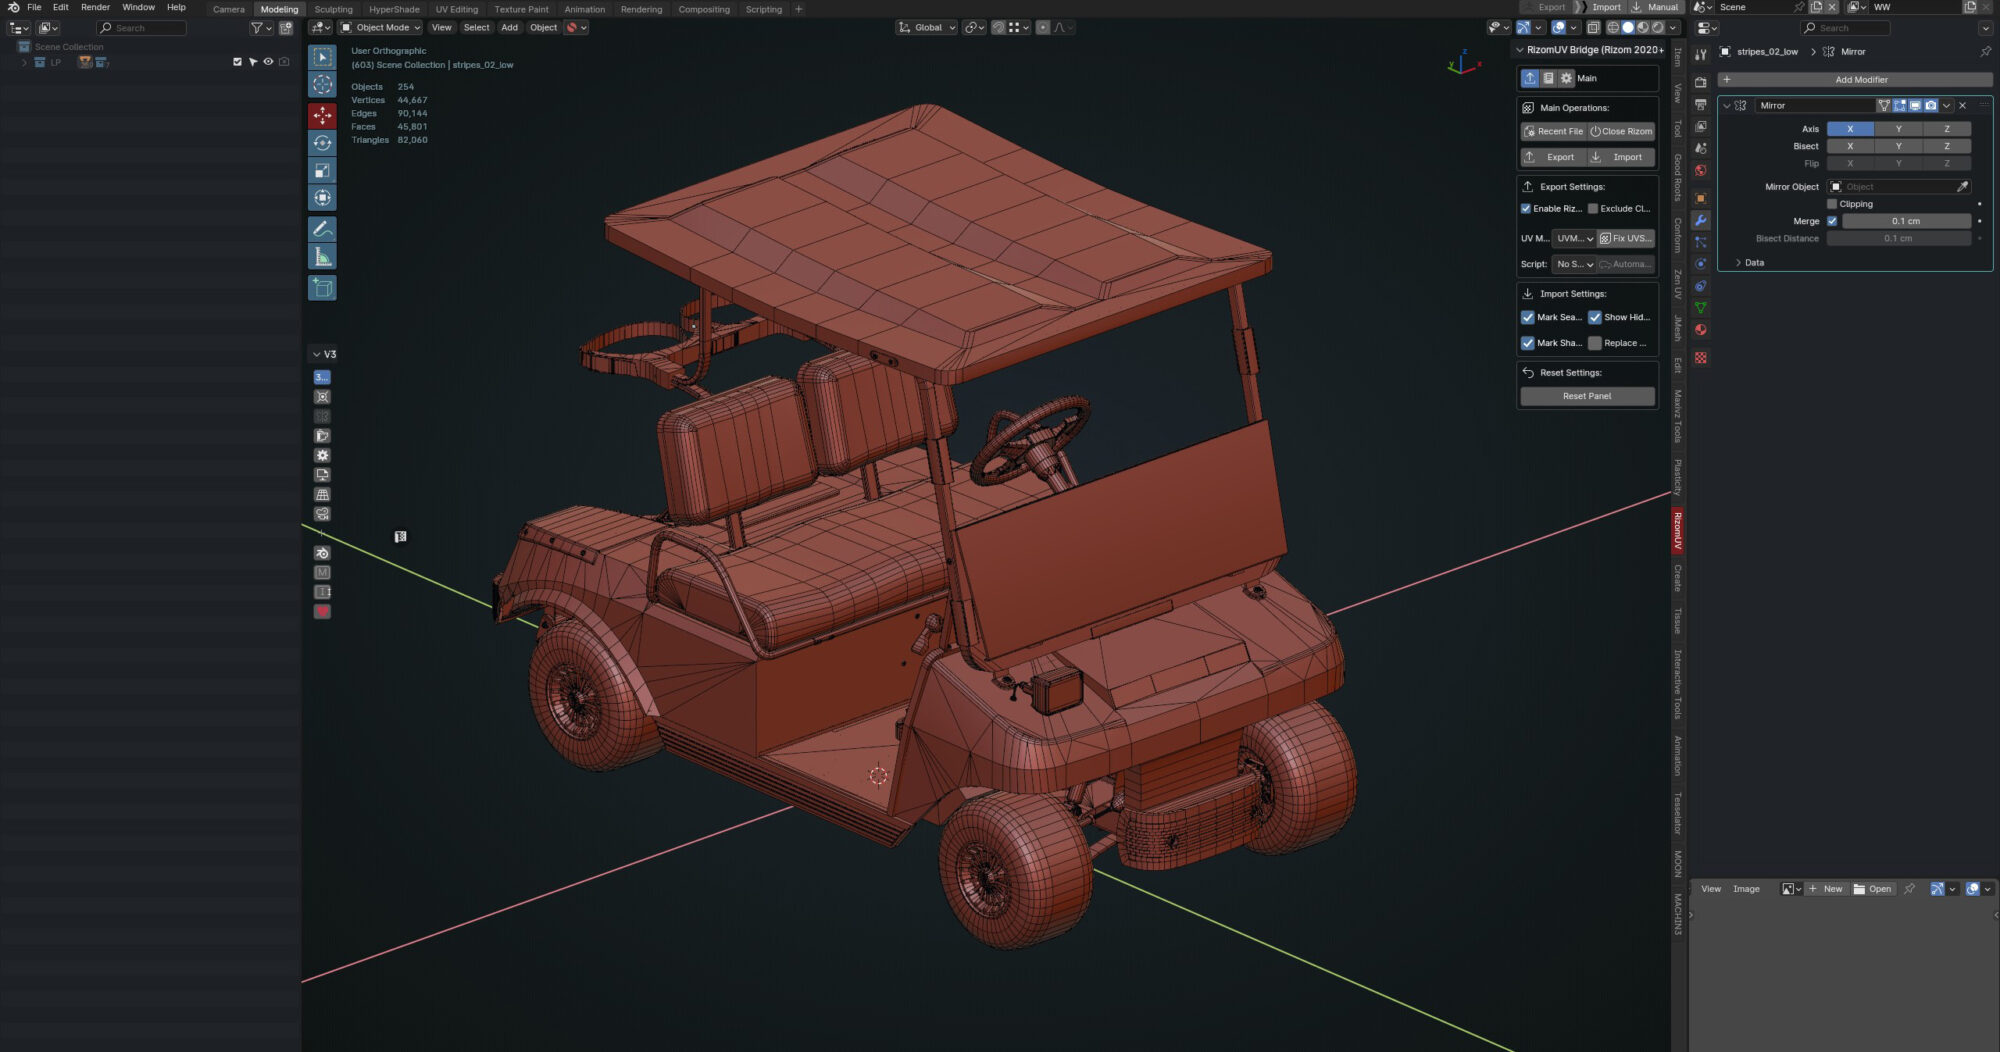
Low Poly
Since I used Plasticity in my workflow, the downside of its convenience is that creating a low-poly model becomes more difficult. Fixing the mesh often requires external tools like PiXYZ Studio.
Overall, I worked to maintain a good balance and focused on keeping the model as optimized as possible.
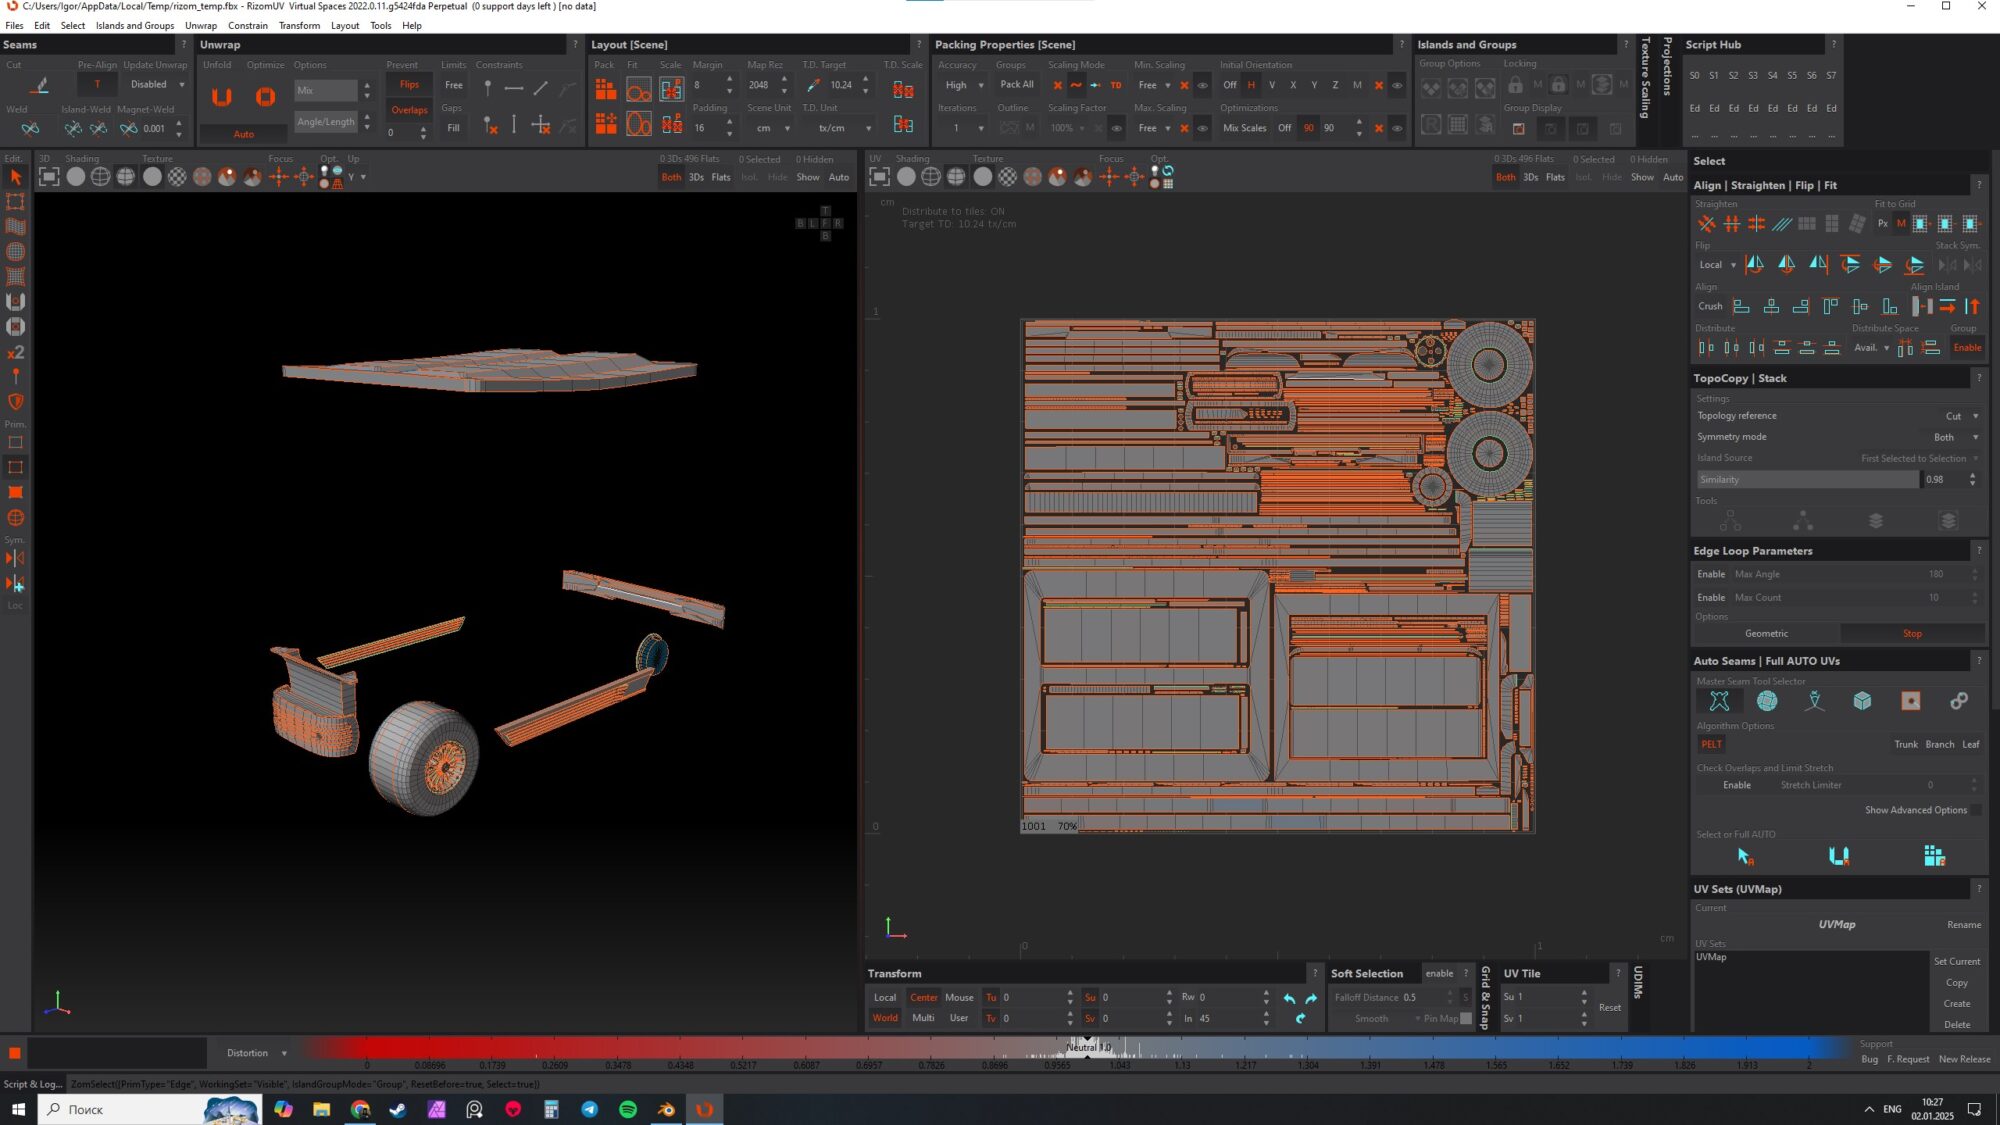
UV
I used five UV sets for the car and one UV set for the glass. The final UV layout was done in RizomUV, while larger parts were manually packed in Autodesk Maya. In my opinion, plugins like Ninja UV make this process much more convenient.
The texel density is 1500 px/m for a 4096 x 4096 texture resolution.
For interior details, the texel density was increased to 2000 px/m to ensure sharper close-up renders.
For UV optimization, I reused UVs for certain elements like wheels, metal profiles, bolts, and nuts, especially for parts located underneath the vehicle.
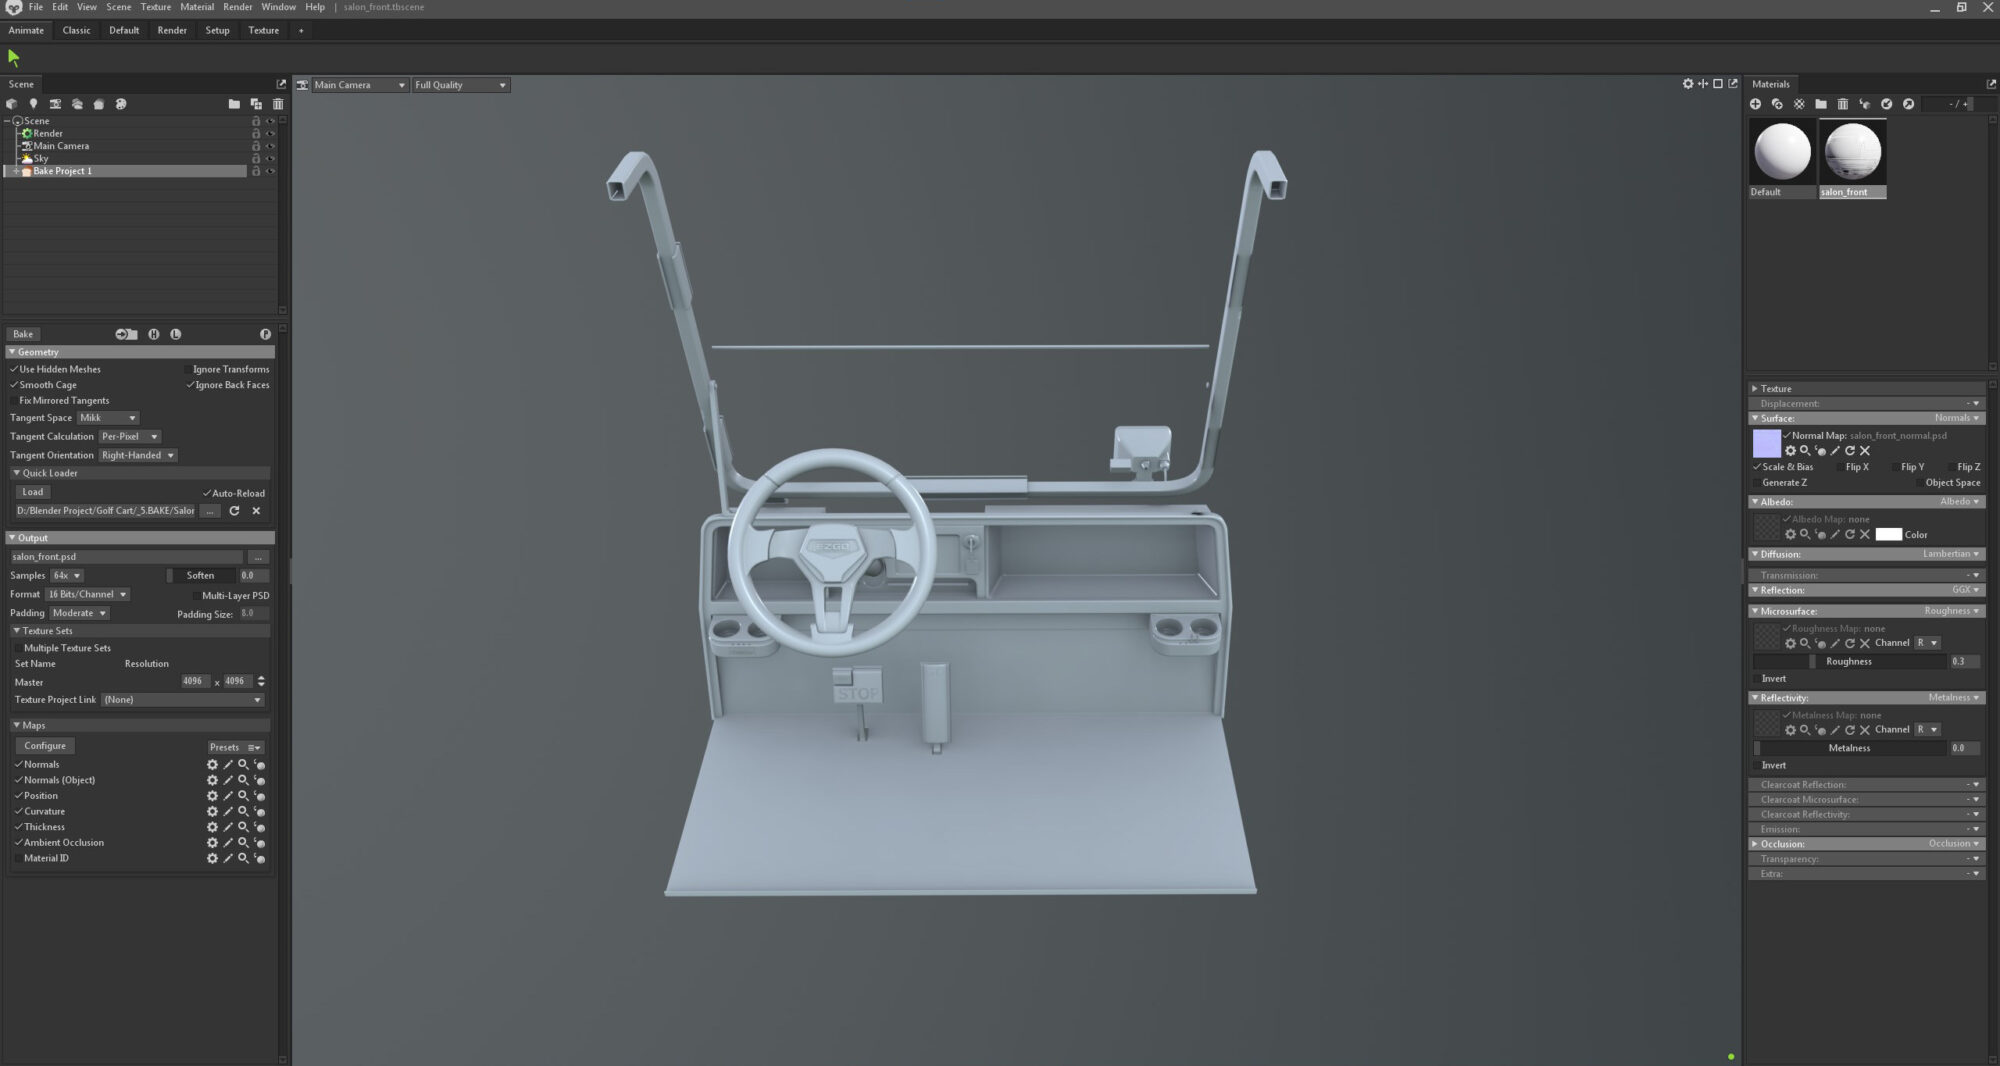
Baking
I baked all UV sets separately. To ensure proper shadow transitions between them, I baked a separate Ambient Occlusion (AO) map in Substance Painter. These AO maps were then used in generators, such as for dirt effects.
I also baked World Space Normal and Position maps in Substance Painter—this can sometimes help generators work more accurately.
Baking a complex asset like this doesn’t always go perfectly on the first try, but the most common issues usually come down to:
- Mismatch between high-poly and low-poly models.
- Incorrect naming conventions.
- Missing hard edges where they should be.
Substance Painter—this can sometimes help generators work more accurately.
Texturing
Here are the main rules I followed when working with textures:
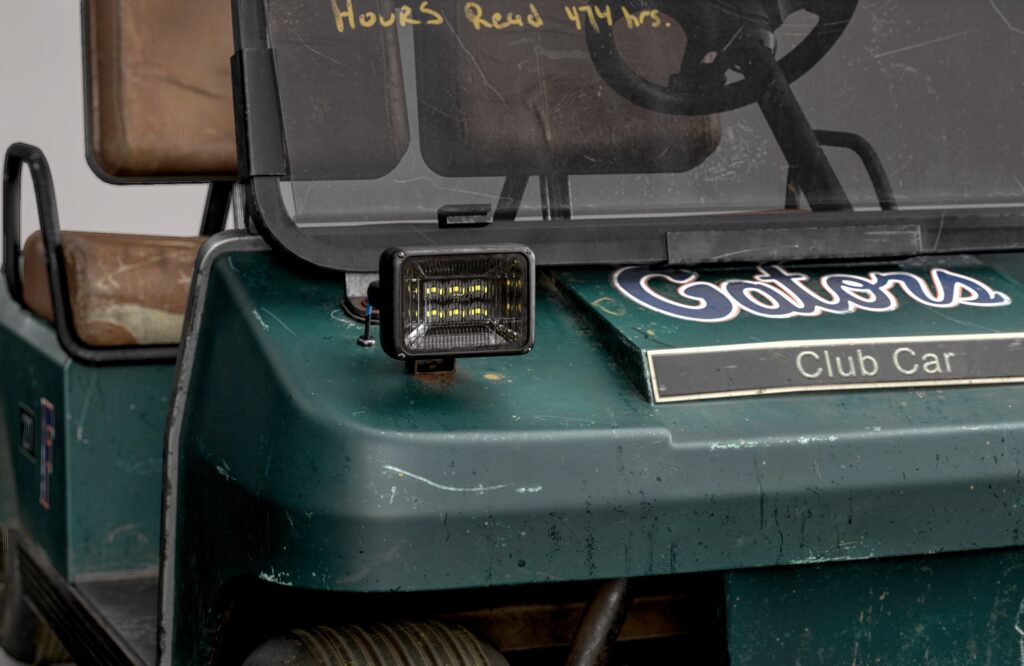
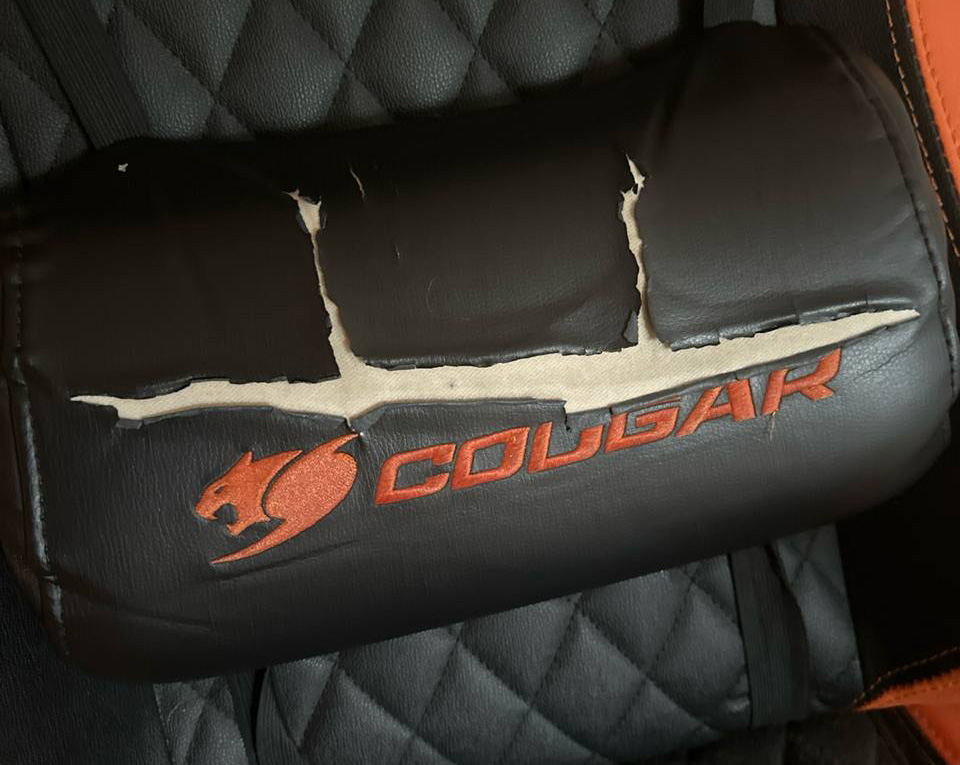
- Work from references, not imagination. For an artist without much experience like me, this is essential. Don’t invent details for your textures. Every stain, crack, and scratch can be found in your references—use them as a guide.
- Limit generators, use more custom alphas. Try to rely less on generators and more on alphas sourced from the internet or created yourself based on real-world objects. Overusing generators can make your work look generic and lack uniqueness.
In this project, I used the metal/roughness pipeline.
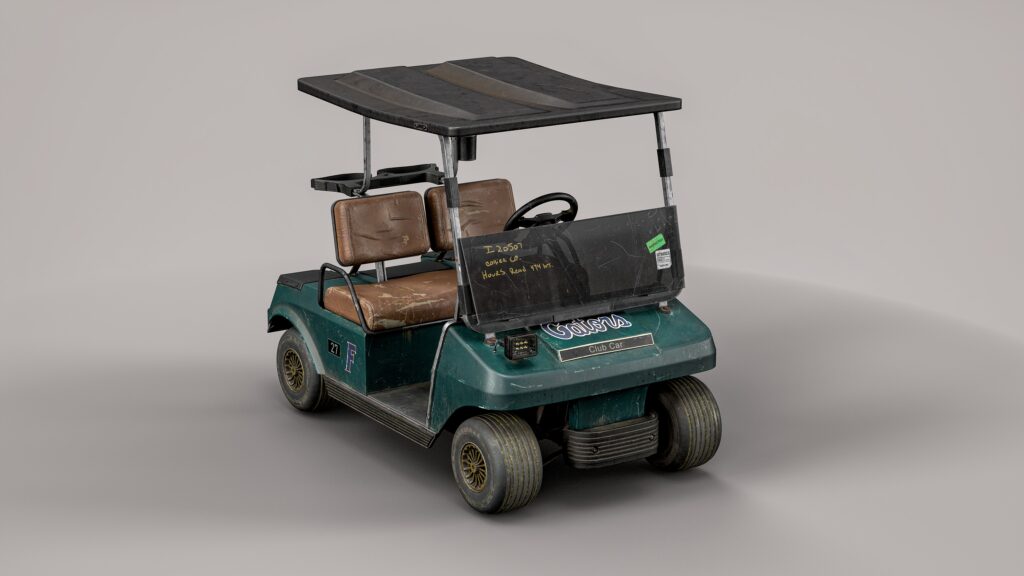
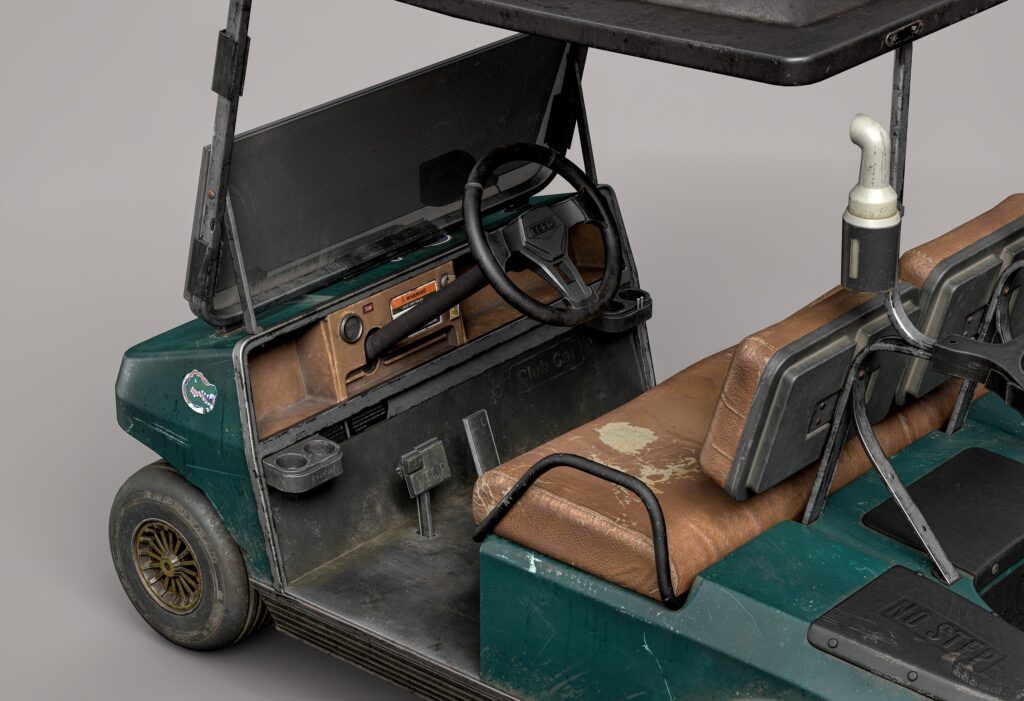
Story of the object: This is an old car being sold at auction, so every part of it shows significant wear and tear.
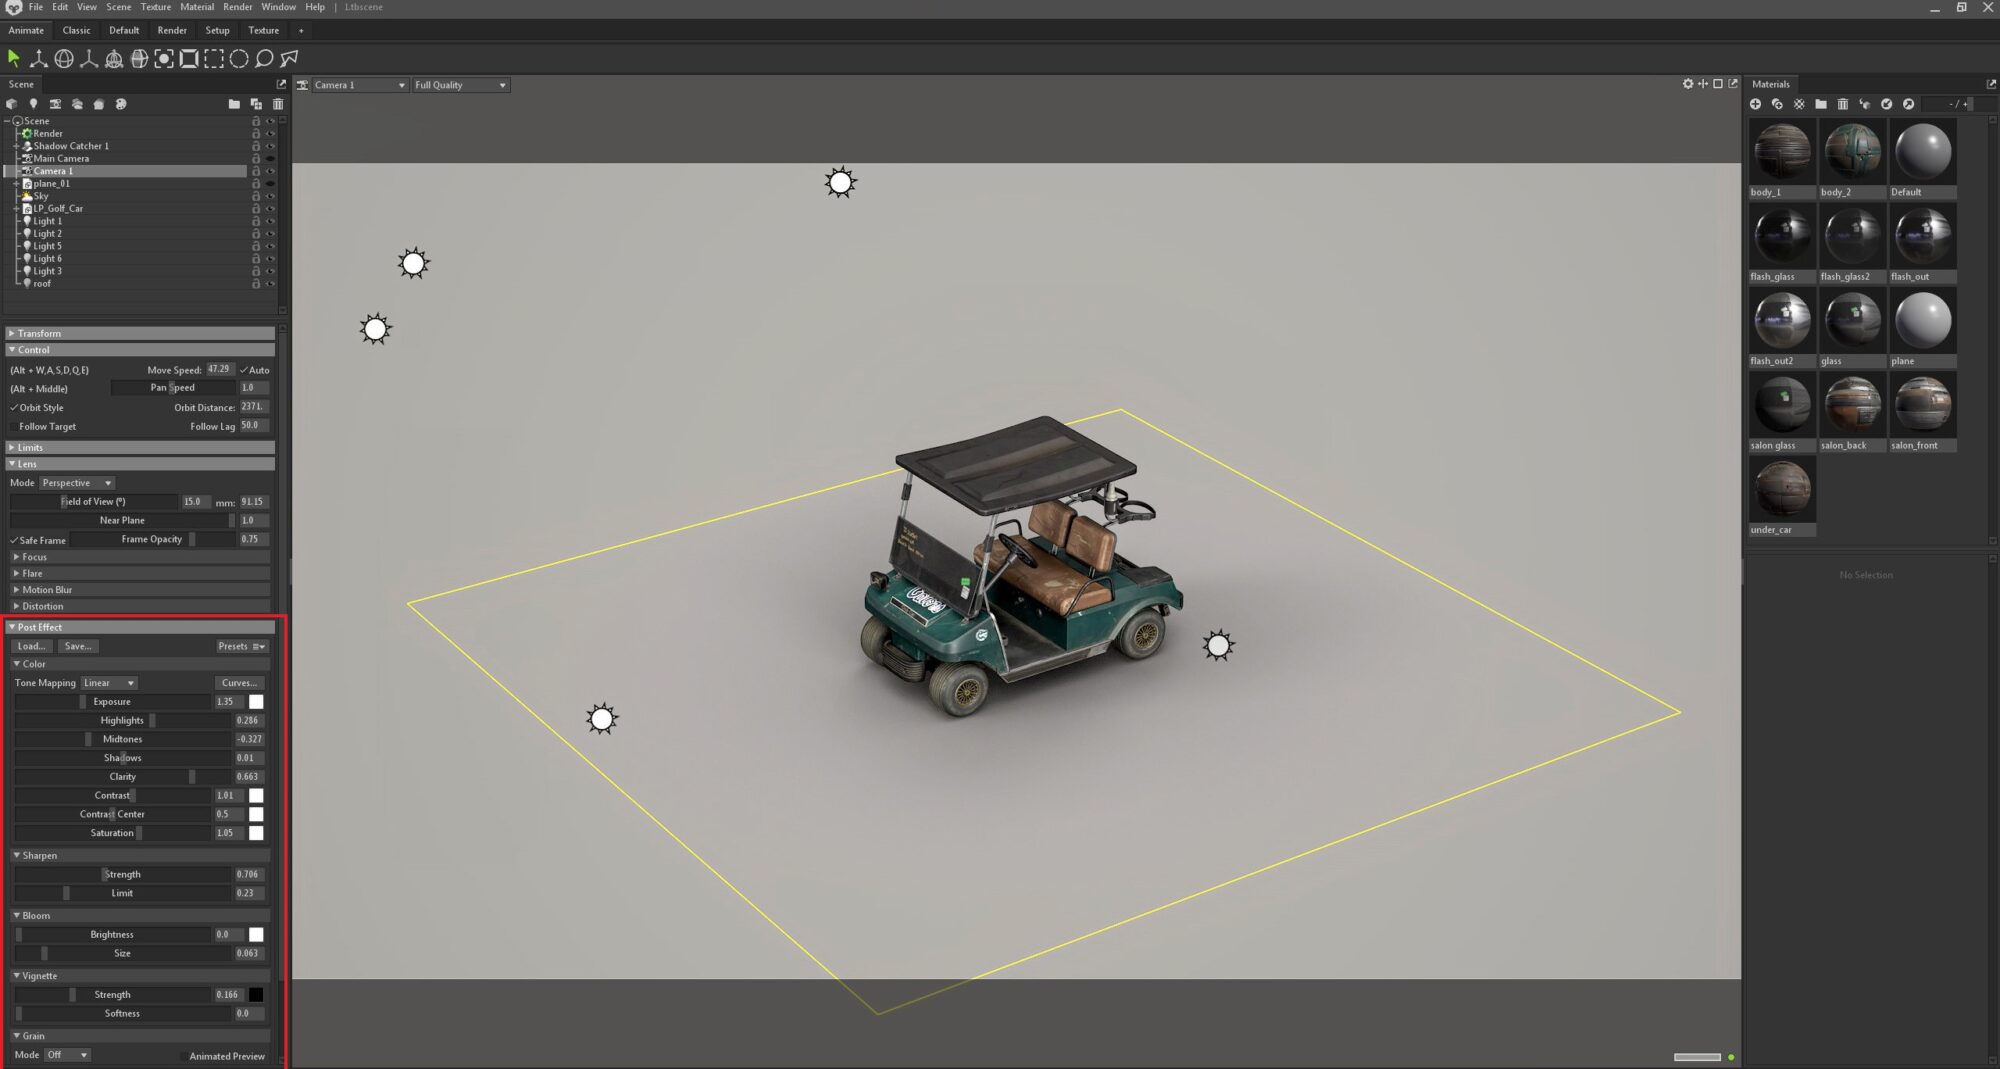
Before starting texturing, I set up my scene in Marmoset. During the process, I frequently exported textures to Marmoset to check how they looked in the final render environment. This gave me a clearer sense of the end result.
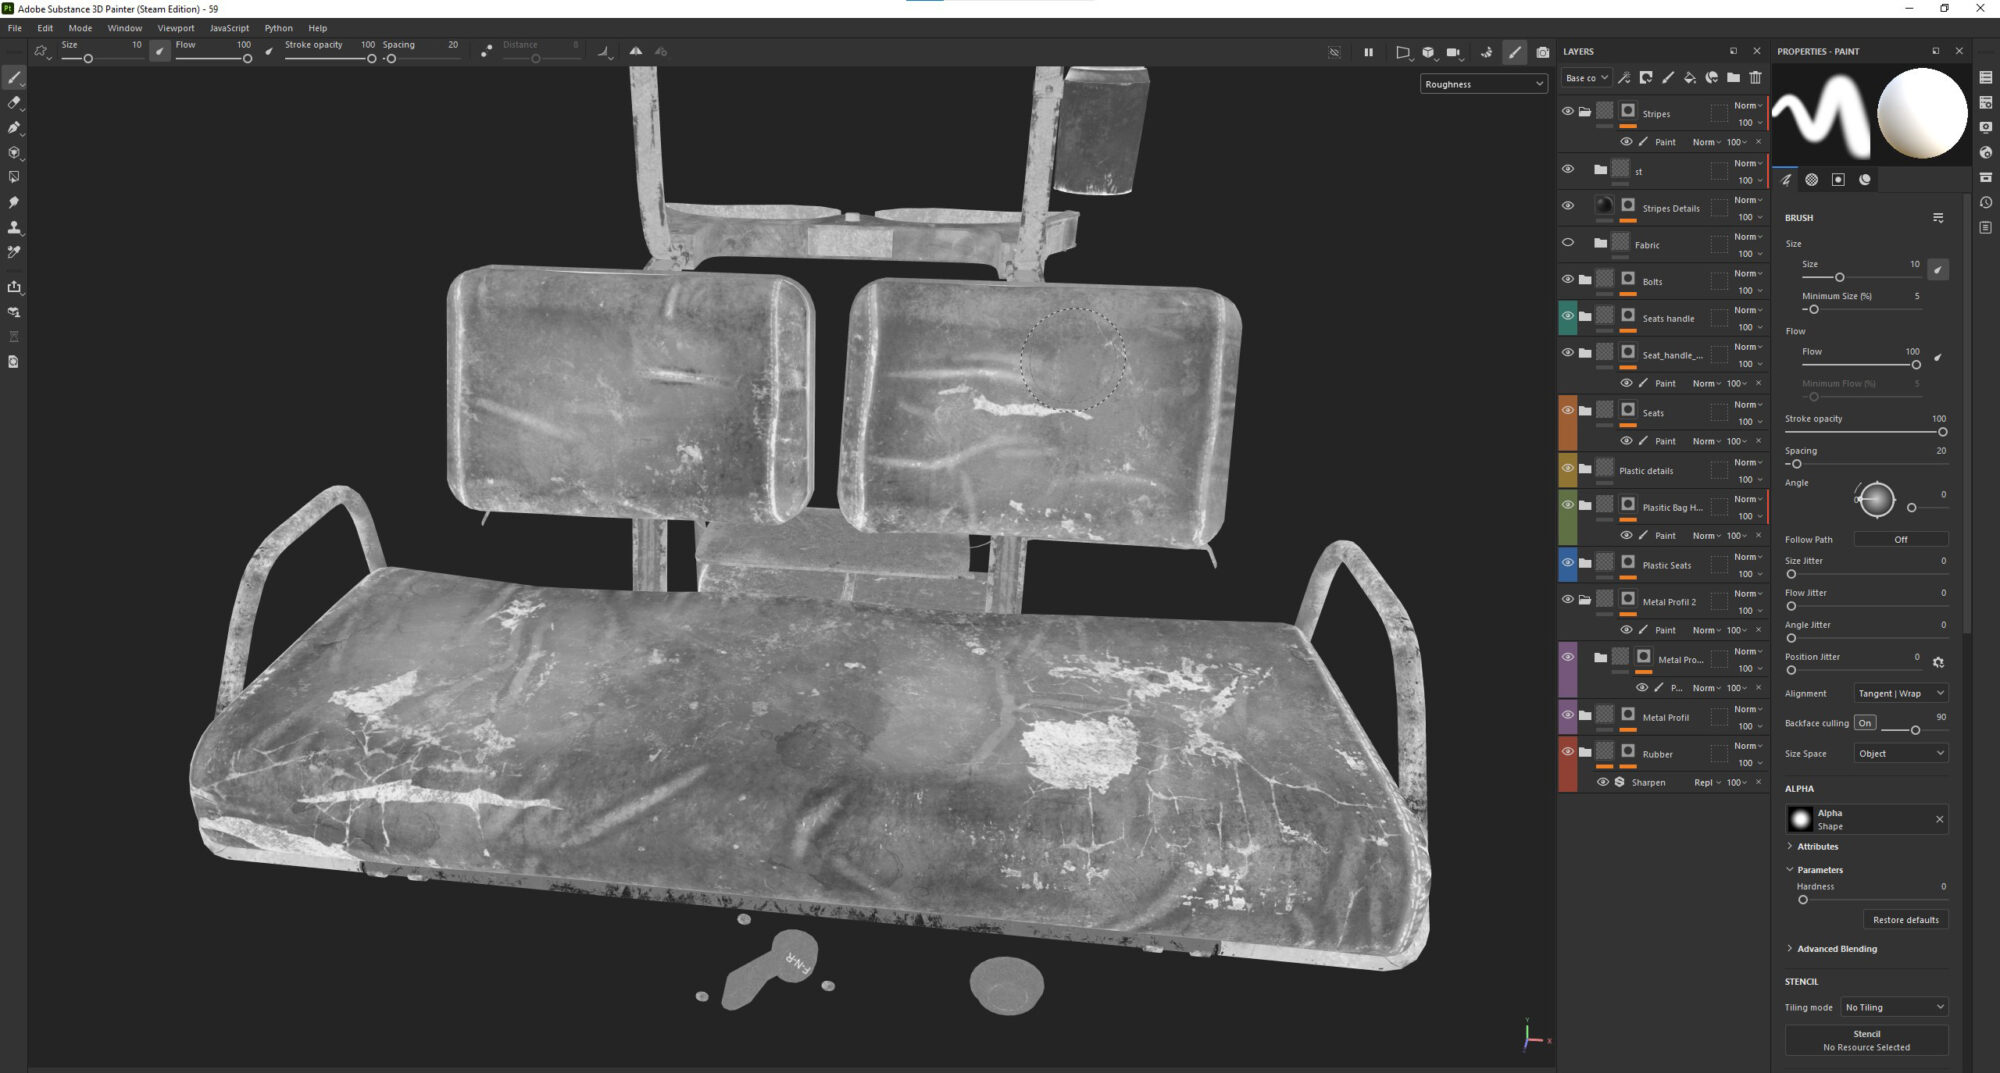
All parts of the car were textured using the same approach:
- Start by adjusting the material properties, selecting a base color, and adding variations.
- Work on the roughness map, gradually adding wear, dirt layers, and other details.
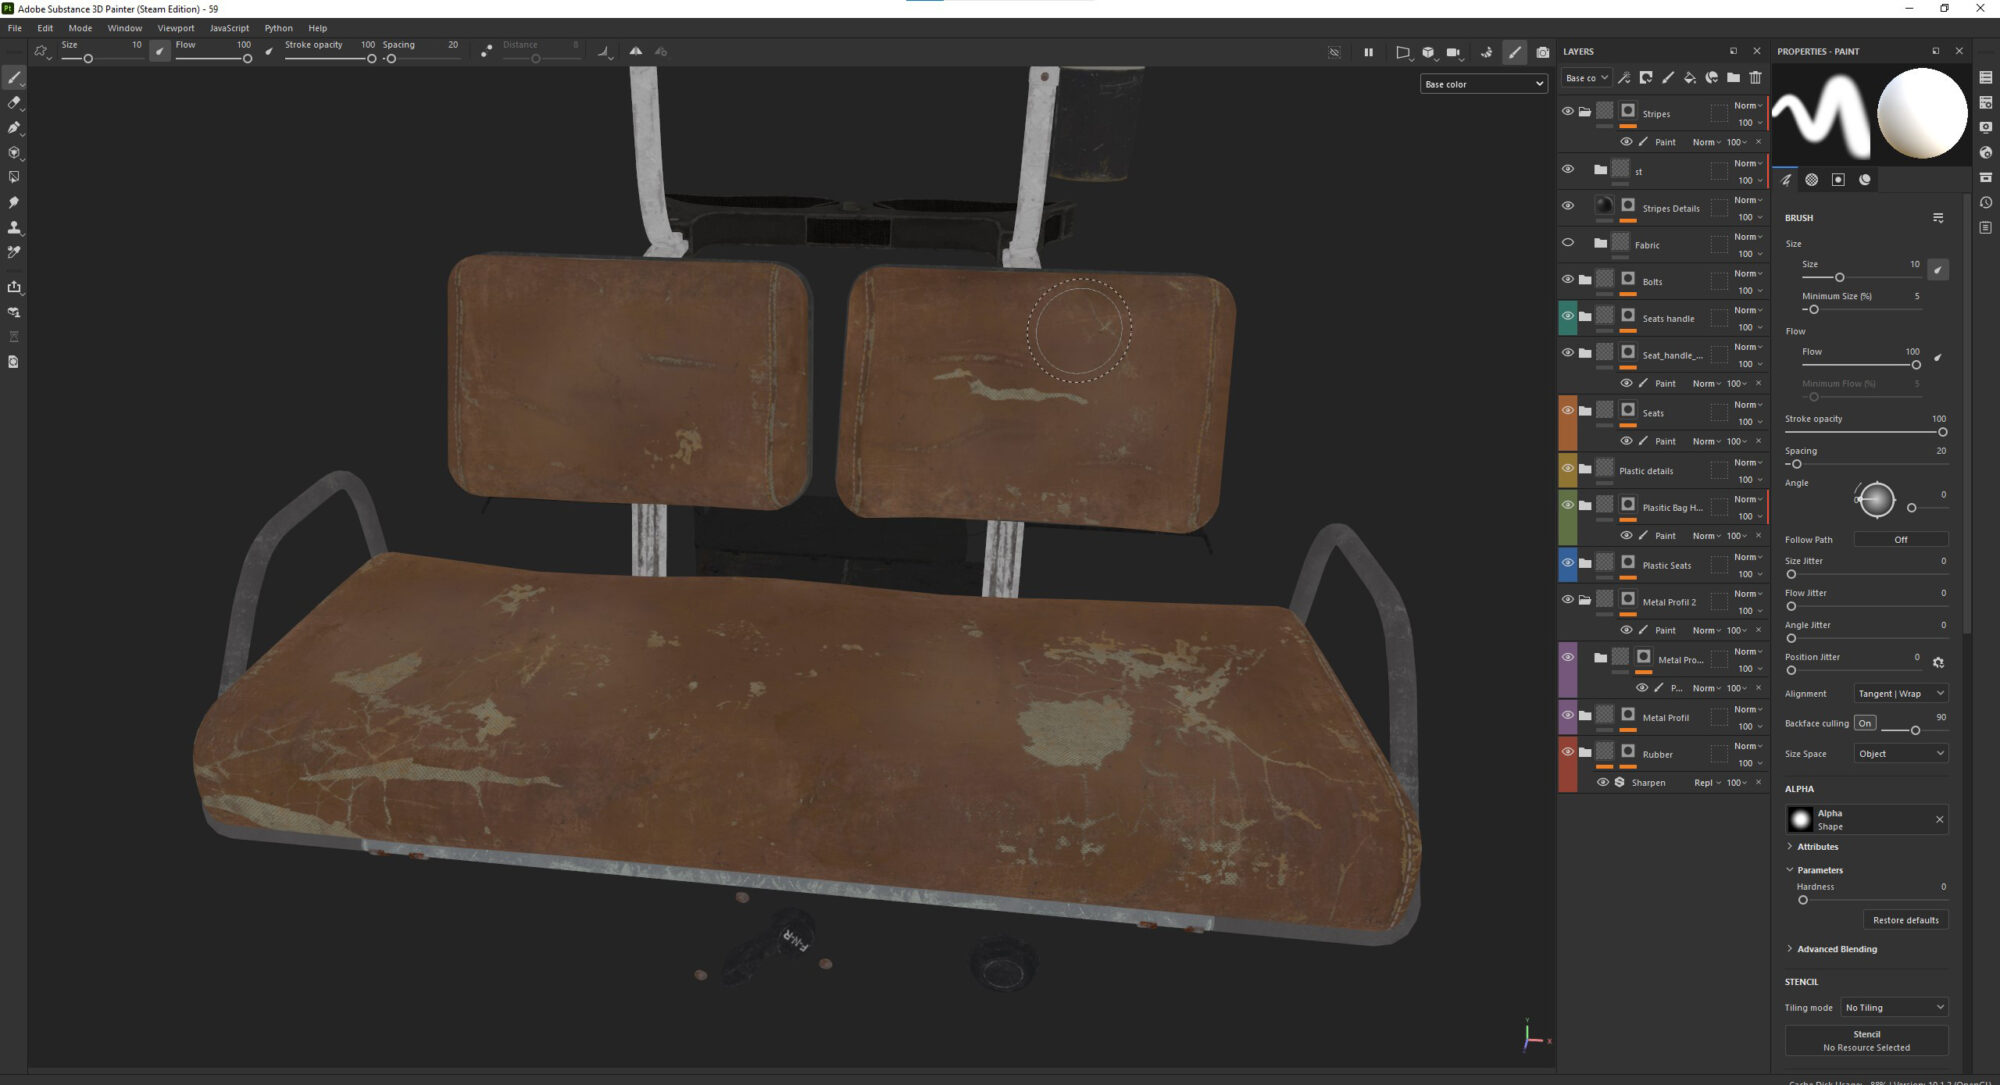
Roughness is the most important part of your texture—it’s what makes your object feel alive and real.
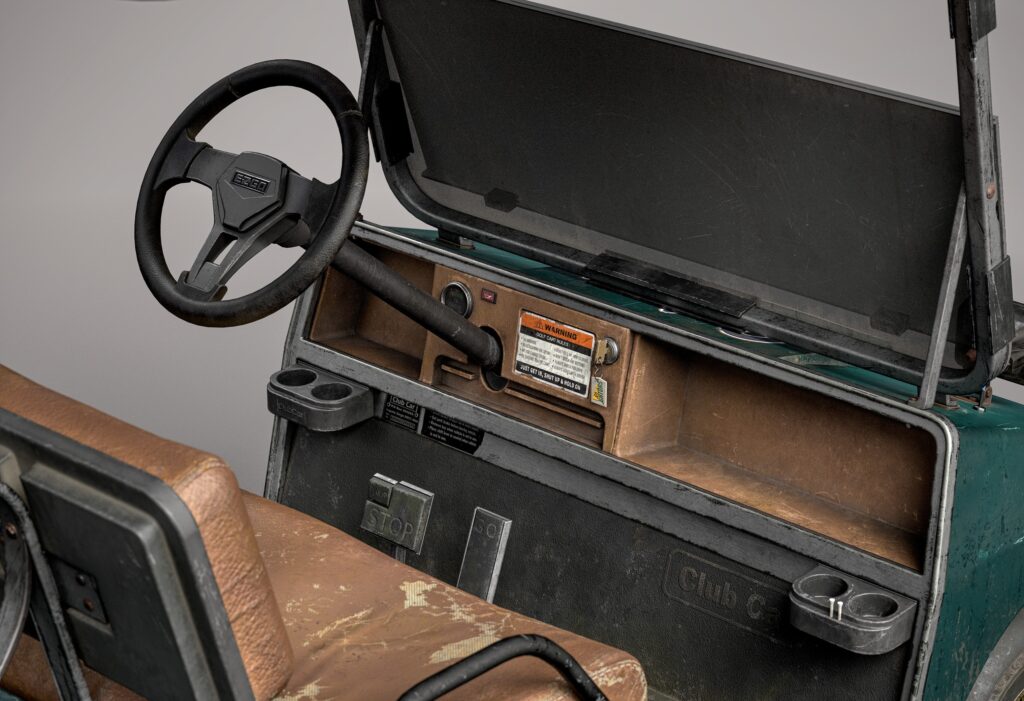
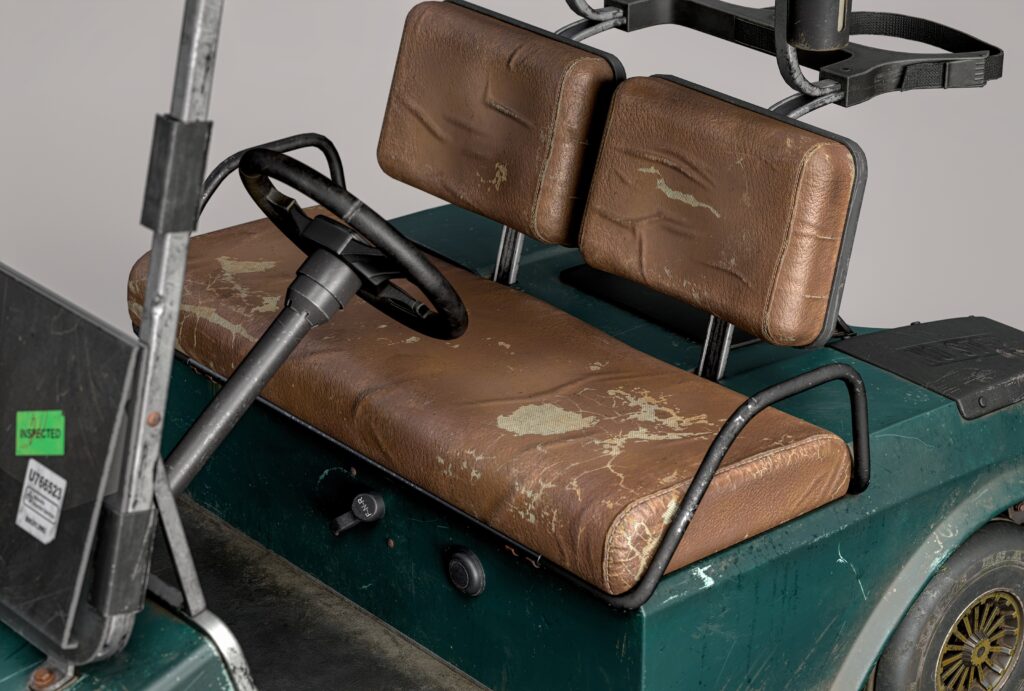
Some parts of the car, like the body, seats, and interior elements, required extra attention, especially for the wear and tear.
I used many custom alphas that I created myself. If you still have an old chair lying around, now’s the perfect time to use it as a reference—it’s worth it!
One of the most useful features in Substance Painter is anchors. If you’re not using them yet, I recommend checking out some tutorials (on Adobe’s site, for example) and incorporating them into your workflow.
They’ll instantly improve the quality of your work.
Lastly, let’s talk about glass. In addition to texturing it in Substance Painter, use the glass shader in Marmoset. Enable its advanced parameters to add stunning and realistic effects to your glass surfaces.

Rendering
Rendering turned out to be a very challenging step for me. Once you’ve finished texturing, there’s a strong temptation to show off your work quickly. But this is where the biggest mistake can happen. Poor rendering can completely ruin even the most flawless textures and all your hard work.
The best thing you can do is share your renders with someone who knows what they’re doing and get their feedback.
“Seriously? You call this rendering? Turn left, turn slightly—right?”
“What spotlight? Where are the shadows? Where’s the depth? Why does everything look so depressing?”
In my scene, I used the HDR map Alley Trees from the Marmoset library, along with direct light sources. Take your time to set up the scene properly—it’s absolutely worth the effort.
Conclusion
Working on this project was a real challenge for me, but I’m happy with the result.
What advice can I give to those just starting out, like I did? Throughout the process, you’ll inevitably make mistakes—many mistakes. There will be times when you feel like giving up, but don’t. It’s all part of the journey.
Seek the support of a mentor or more experienced artists, share your work-in-progress in online communities, and be open to feedback. Take criticism calmly, learn from it, and keep moving forward.
Before long, you’ll start noticing your growth every day.
If you have passion and motivation, you’ll definitely reach your goals.
Thank you to everyone who took the time to read this article. I hope you found something useful here. A huge thanks to my mentor and my buddy Anatolii for supporting me throughout the entire process.
And a big thank you to Games Artist for giving me the opportunity to share my experience!
Read more articles
You might also like these articles.