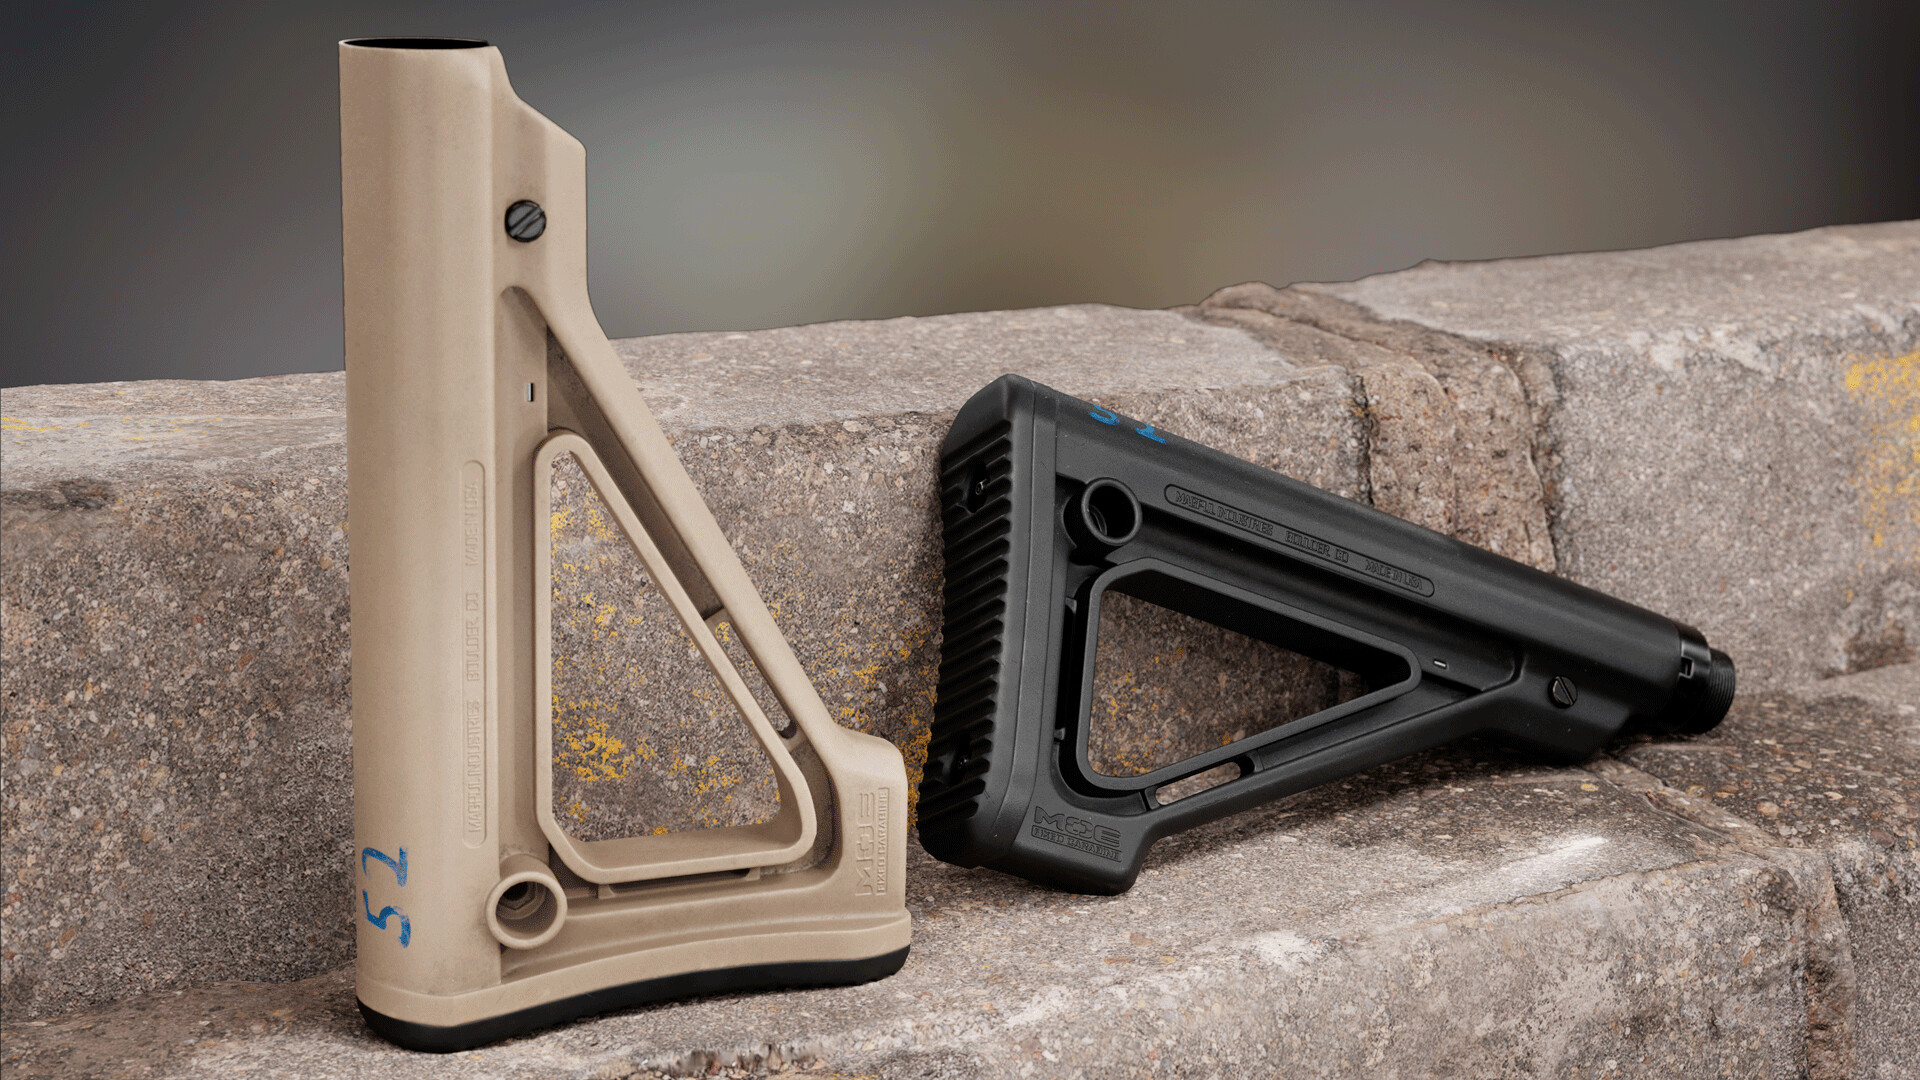
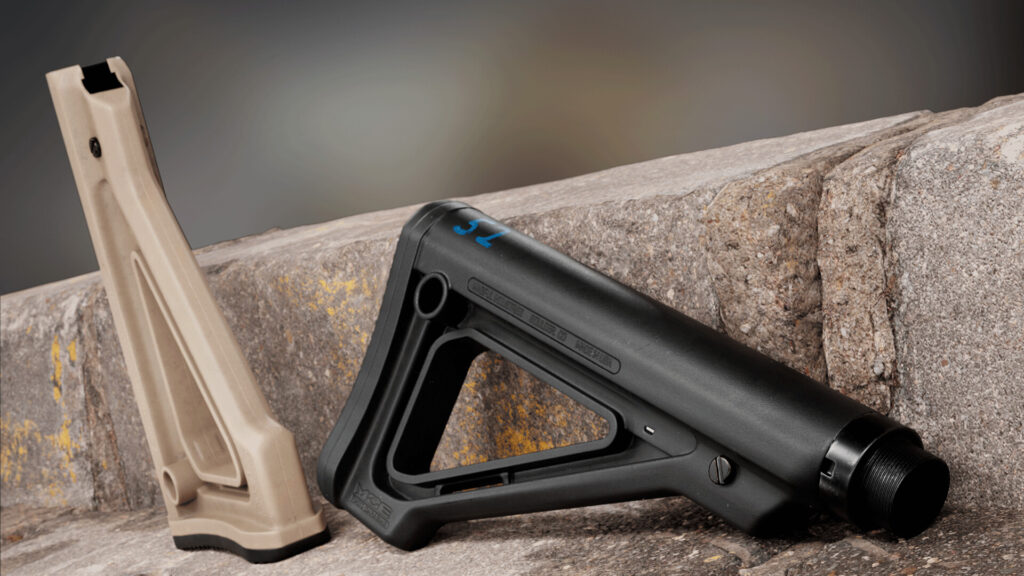
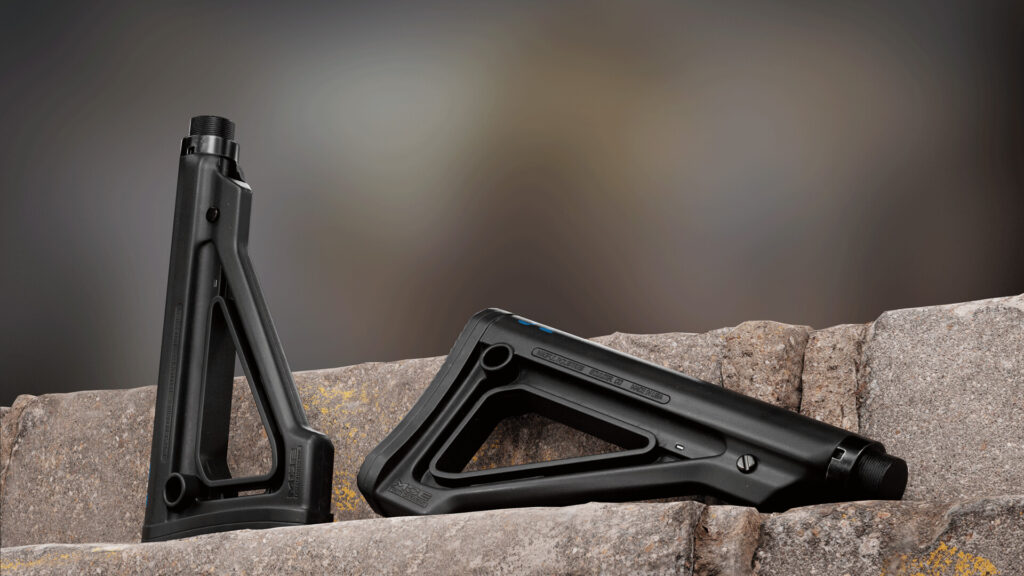
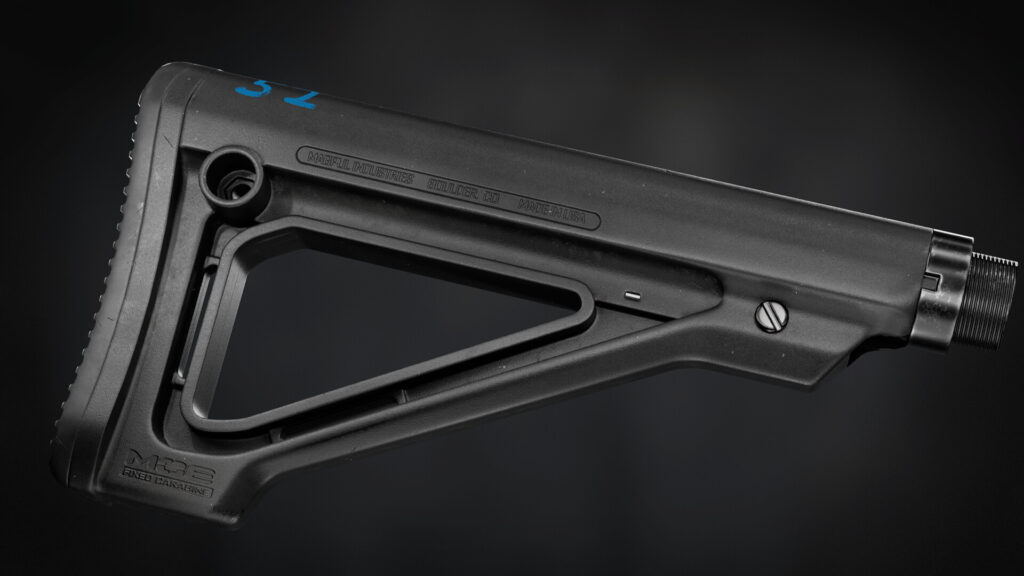
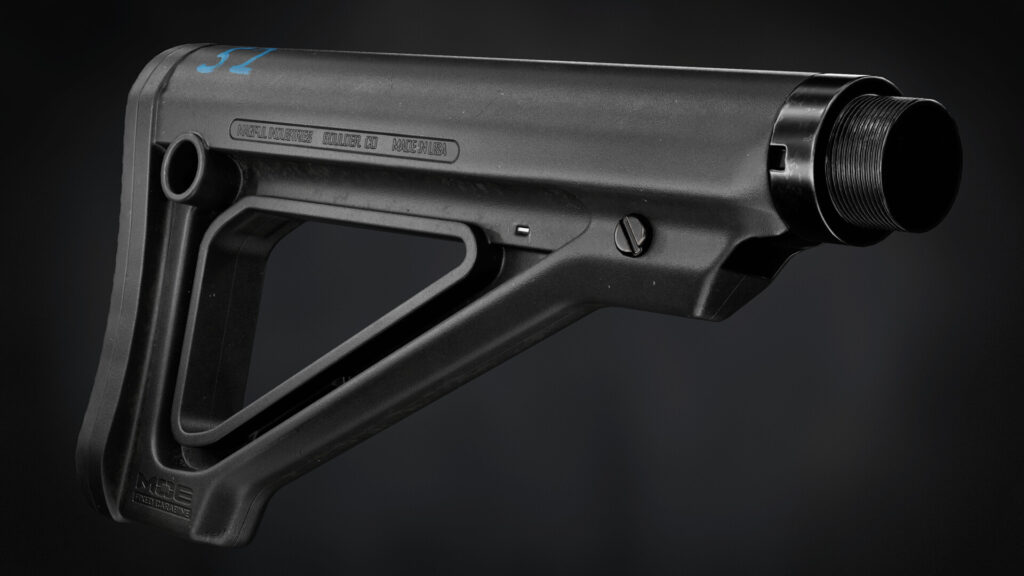
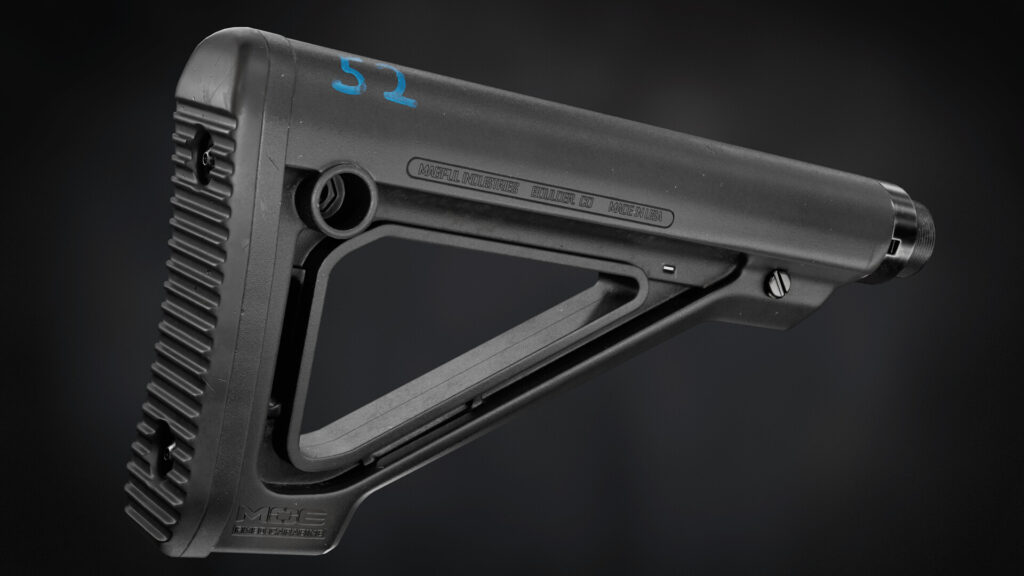
Fixed Carbine Stock

Introduction
Hi all! My name is Bogdan Potikha, I am 20 years old, I live in Ukraine, and I'm a student.
In 2018 I started getting interested in 3D and in 2022 I started actively studying 3D modeling. I love to model weapons.
Goals
The purpose of this project is to work out the mistakes in modeling and try a new, in my opinion, simplified way of creating a high poly model.
Software
- PureRef: A collection of references.
- Blender: Blocking, mid poly for further work in Zbrush and turntable rendering.
- ZBrush: Creating highpoly.
- Substance Painter: Texture creation.
- Marmoset Toolbag: Baking and rendering.
- Photoshop: Final color correction and adding a background.
Introduction and idea
It all started with the idea that I wanted to model something that wouldn’t take too long to test new tricks that I learned.
After thinking for a while, I decided to make this stock, because it is not so complicated in shapes and I have not seen the same on the Artstation.
I used a slightly modified “boolean to dynamesh” pipeline from Eugene Petrov.
In “boolean to dynamesh” we usually model the main mesh and objects with which we will cut our model in a 3d software, such as Blender or Maya, and then throw them into Zbrush for live boolean. I used the GoB addon to transfer meshes in one click between Blender and Zbrush, I recommend it to you too!
Personally, I don’t like when you have to be in a few software at once and switch between them all the time, things get complicated and hard to control. I decided that I would do all the boolean operations in Blender and put the mid-poly model in Zbrush to edit it.
This method has at least one significant disadvantage – booleans in Blender are not very productive as in Zbrush, you need to either apply some booleans or turn off those that do not affect the area where you are working. I hope in new Blender updates they will improve performance
References
Once I decided what I am gonna model, I begin to collect references, but I didn’t have as many of them as I should have, It is always hard to find when I really need them.

Modeling
Blocking
After searching for references, I open Blender and load the main image into the scene by which I navigate and start building a basic shape to determine the width.
I used all possible reference points such as the diameter of the cylinder from the stock to the AR-15, the width of the holes for tactical belts, and so on.
Midpoly
At this point, I ended up with a workpiece like this. I used boolean operations and SubD for small parts.
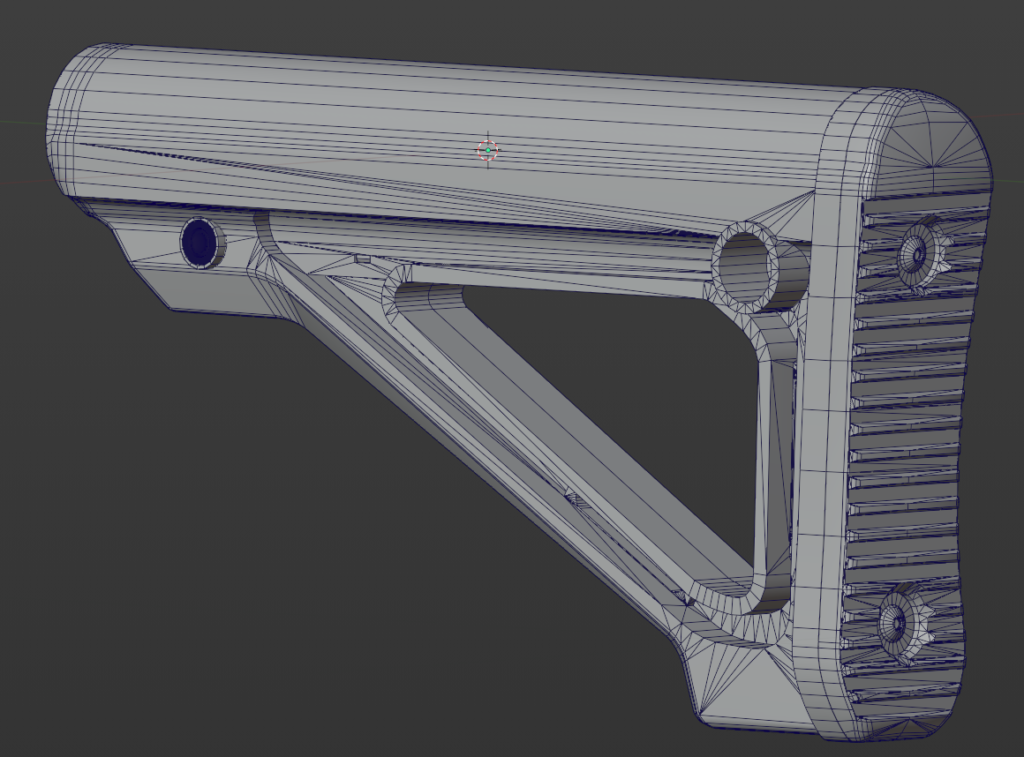
I strongly recommend that you have more sections on objects, as at the next stage, the shape may become very soft and distorted, and we will be using Polish by features. I learned about this method after realizing that optimizing the mesh by subdividing it is very time consuming, so I started looking for an alternative solution.
In general, I found a way out of this situation, namely how to avoid strong deformations when smoothing the model. I will talk about this in the next stage, but for now, let me tell you how I prepared the model for work in Zbrush.
I actively used add-ons such as HardOps, Machine tools, Jmesh, Looptools (built-in), and Baking Namepair Creator. They helped to save a lot of time in creating objects.
I created a backup with active booleans so that I could roll back if necessary. After that, I confidently applied all the booleans and started editing the mesh. Once all double vertices and other standard errors were fixed, I started preparing for Zbrush.
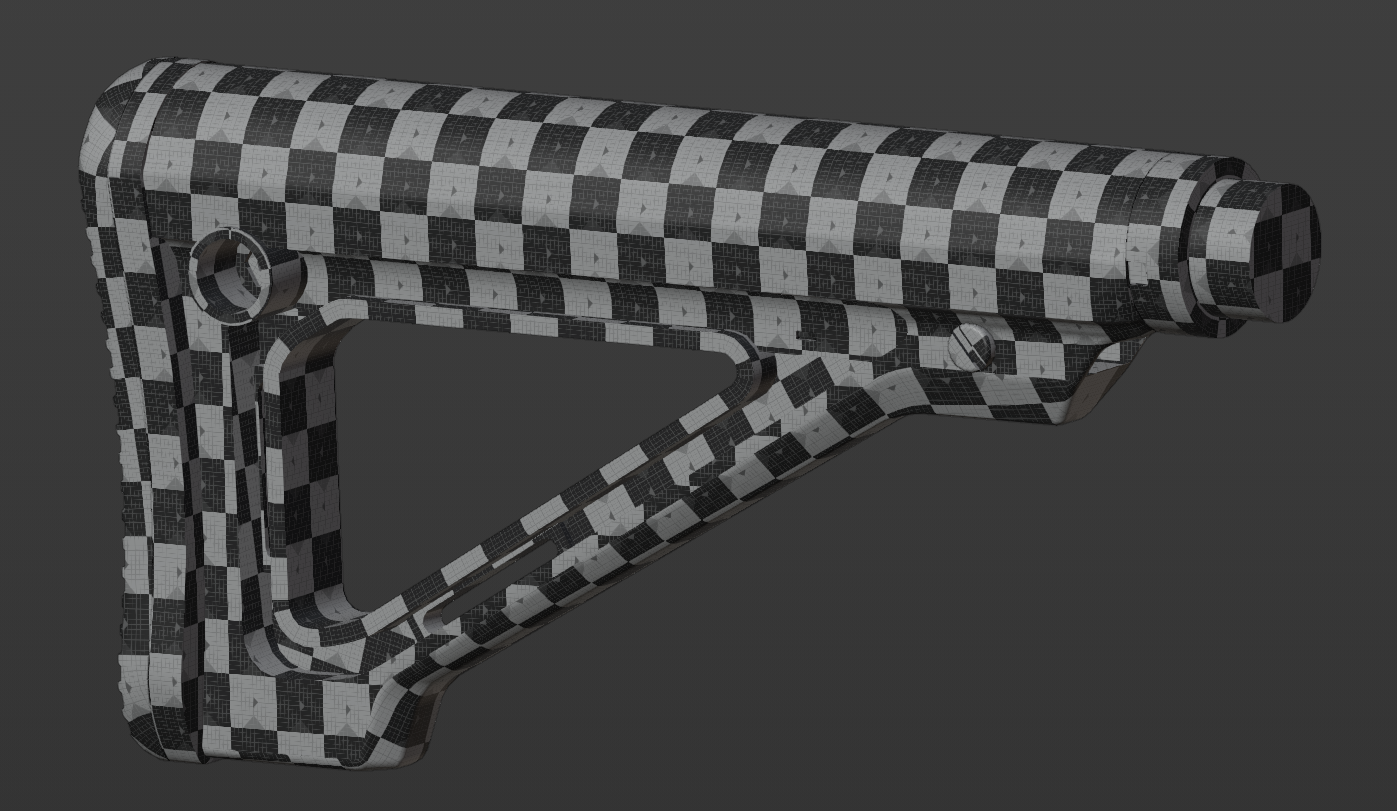
I selected all the faces that needed to be sharp and assigned seams to them, then I unwrapped them. In my case, I used HardOps, which automatically marked the edges I needed as sharp during the modeling process, and I just selected them and assigned seams to them.
I also assigned the Triangulate modifier with the following parameters to ensure that the model was displayed correctly in ZBrush.
With the GoB addon, I imported objects into Zbrush.
Highpoly
Now the most interesting part!
I recorded gifs, it’s easier to show than to explain, I had to show the main process in a hurry because for some reason the program didn’t want to record a clip longer than that.
There is a nuance here that some cylindrical objects may require a higher Polish value than small chamfers.
A mask can come to your aid – just mask the necessary area, blur the boundaries, and add smoothness through Polish. I also added a gif to demonstrate this process.
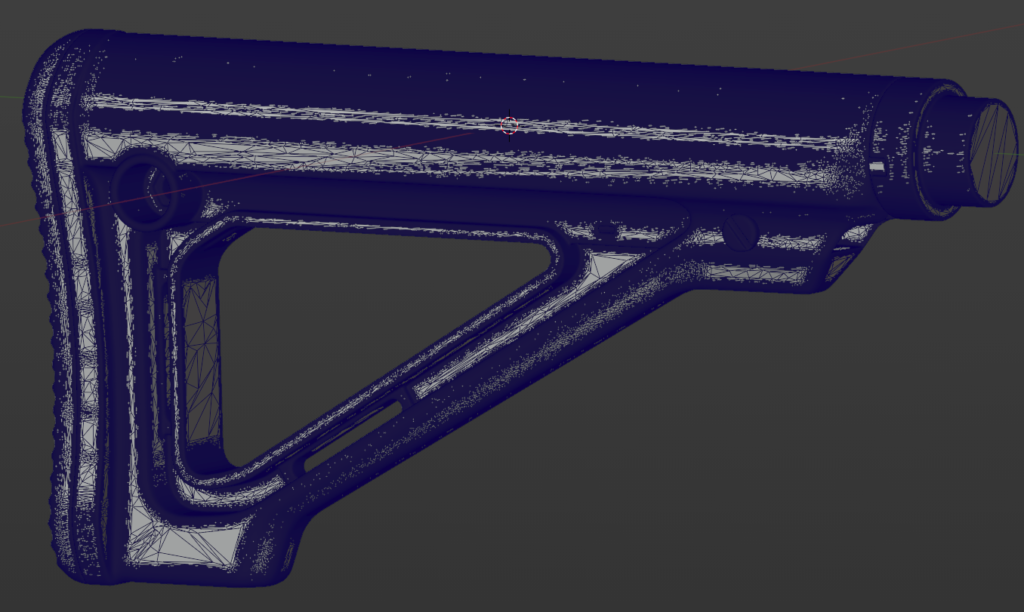
Then, when the high-poly is ready, I decimate it and import it back into Blender through the GoB addon.

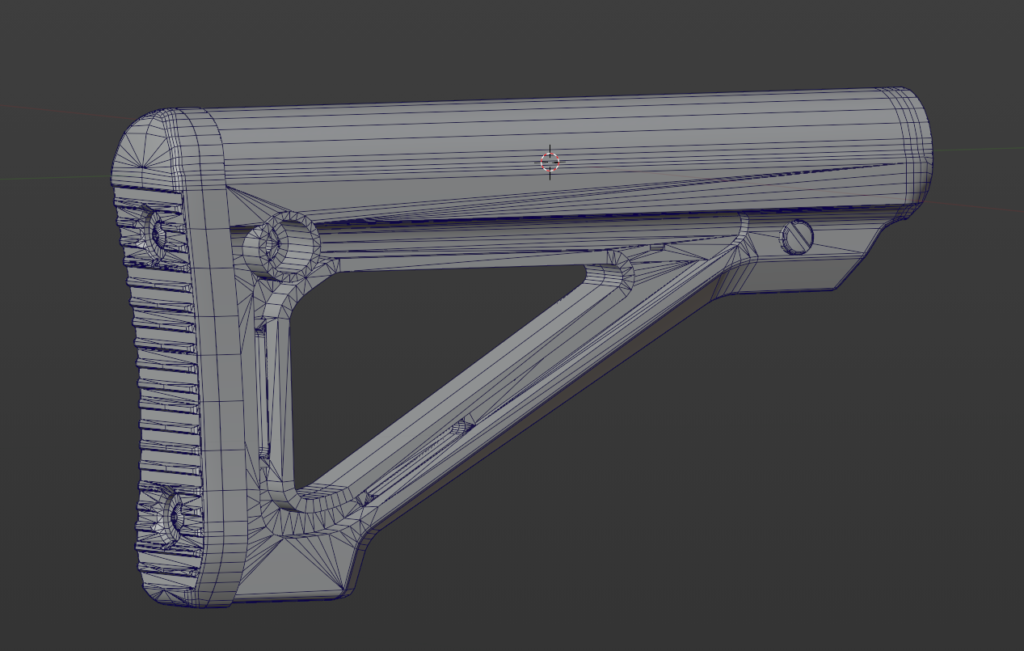
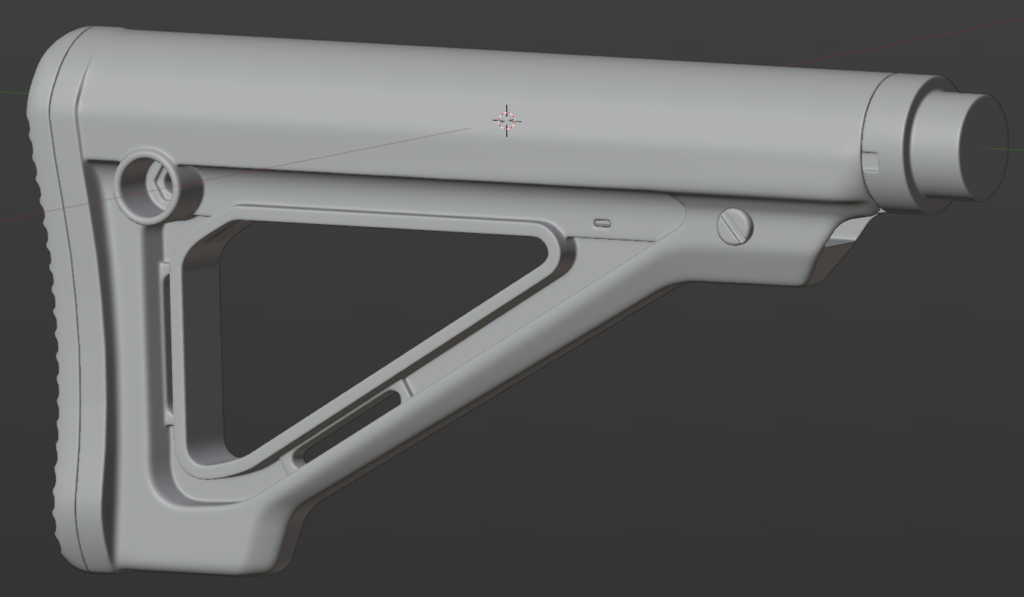
This is what the final highpoly looks like in the Blender.
Lowpoly
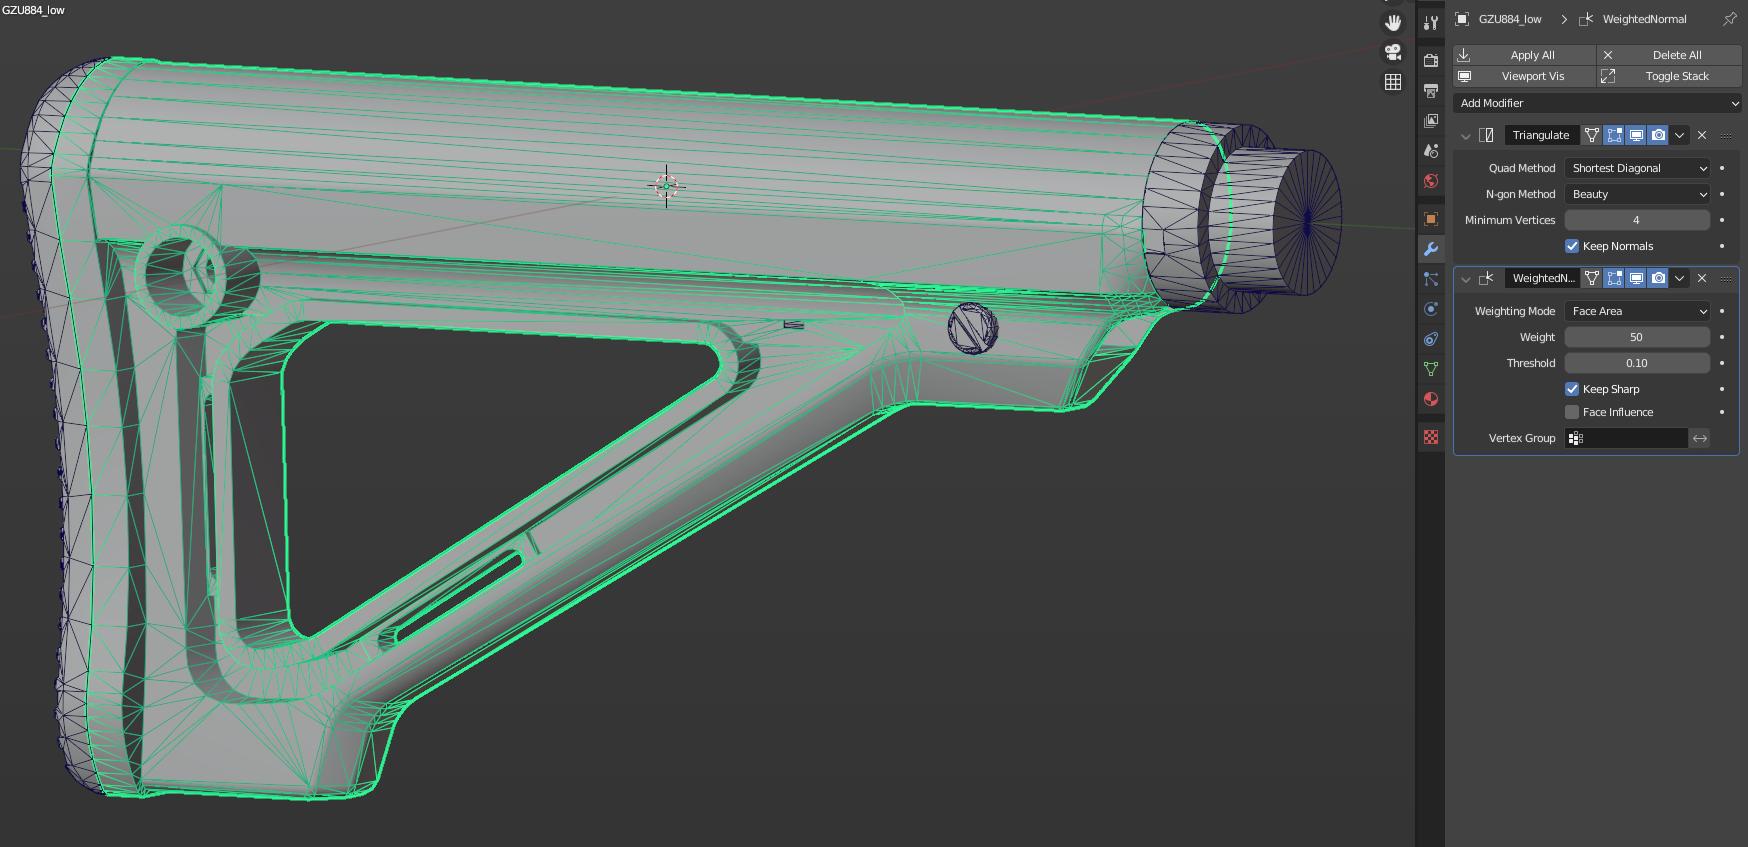
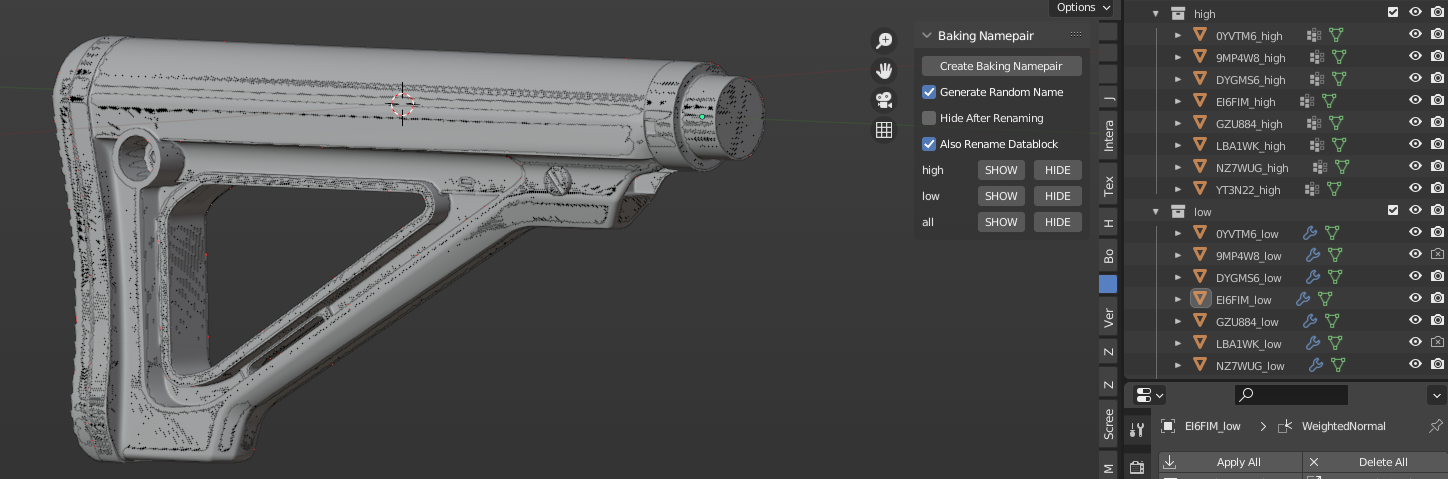
To create the low poly model, I simply clean up the mid poly model by removing hidden geometry, unnecessary geometry that can be baked into a normal map. I apply the WeightedNormal and Triangulate modifiers with these parameters for better shading and correct display in other 3D packages.
UV
I used ZenUv and Packmaster 3 for unwrapping and packing. Texel Density Checker for checking the texel density.
To save texture space, I reused geometry, straightened UV islands, removed geometry that is not visible, and reduced the size of UV islands that are not visible. However, I forgot about some areas and noticed it only halfway through the texturing.
In the end, my UV looked like this:
Baking
For baking, I used the Baking Namepair Creator addon – it allows you to quickly create collections and rename objects with the necessary prefix.
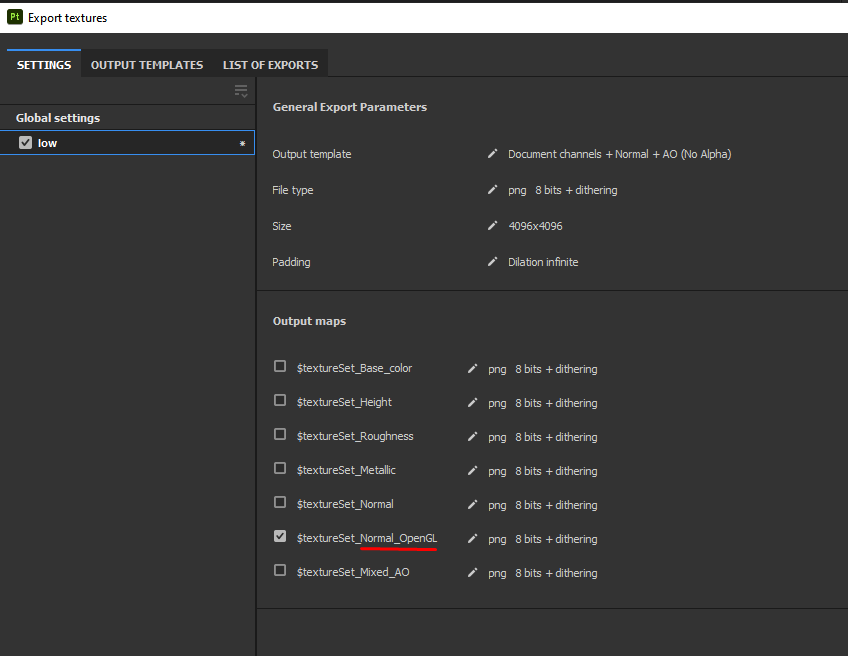
Next, I loaded it into Marmoset and baked several maps. Then I switch to Substance Painter and add the remaining details that should be in the Normal map.
I learned this method from Eugene Petrov’s course.
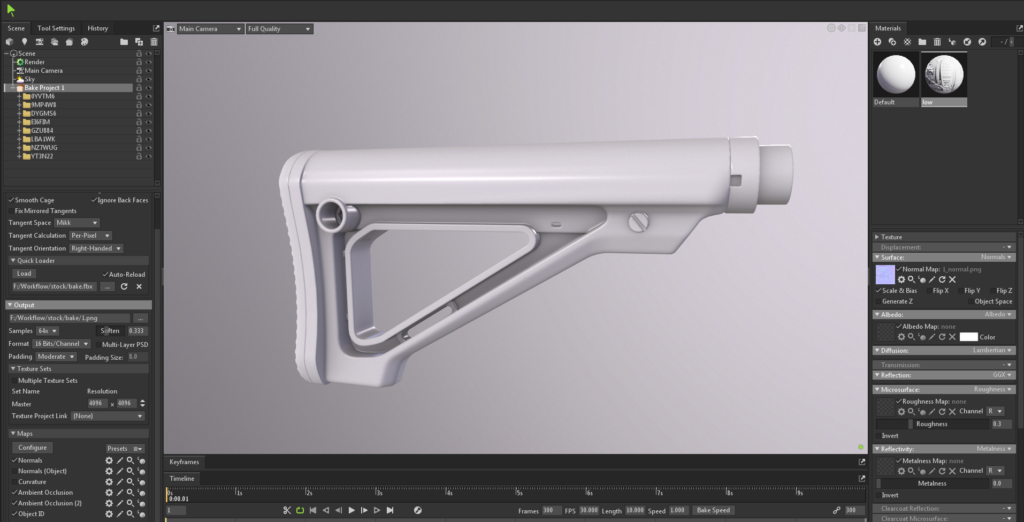

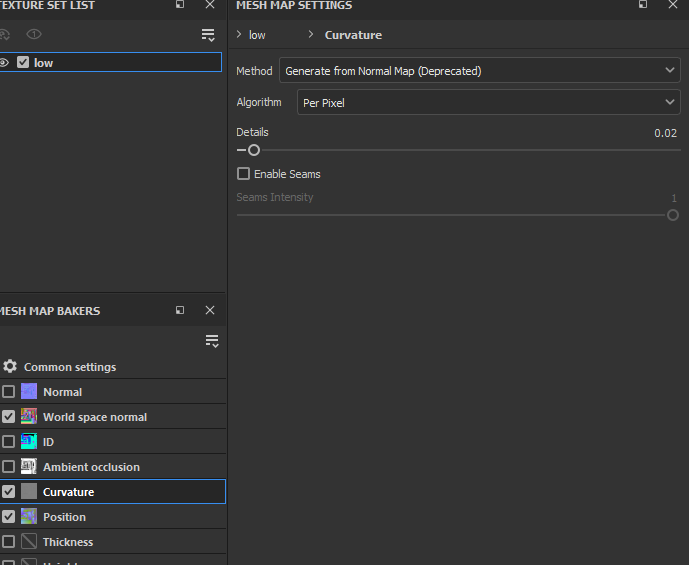
Finally, I baked the remaining maps, and there were specific settings only in one texture – Curvature.
The bake is ready!
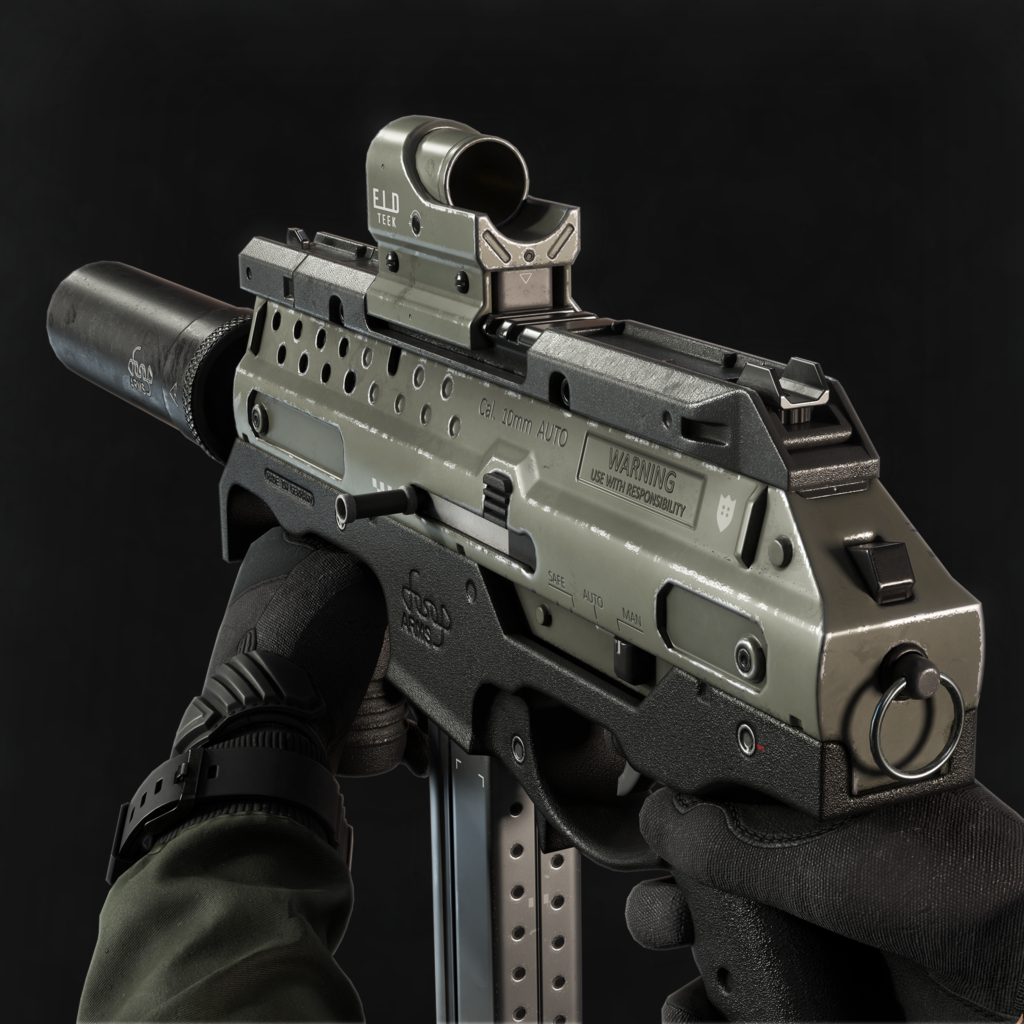
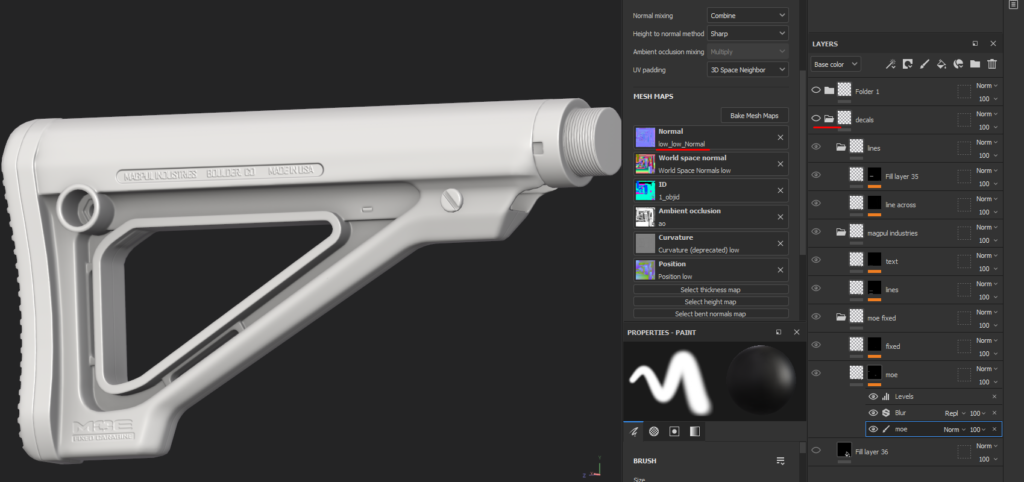
Texturing
I relied on the texture creation method of Eugene Petrov.
Texturing took up a large part of my time. It’s difficult for me to describe the texturing process, but the general idea is to start with basics, such as creating a base with procedural materials that allow for easy parameter changes, and then adding various details such as dirt and wear individually. I recorded a gif of what this process looked like for me.
It’s also very useful to set up the scene in Marmoset to see what the material looks like in another package.
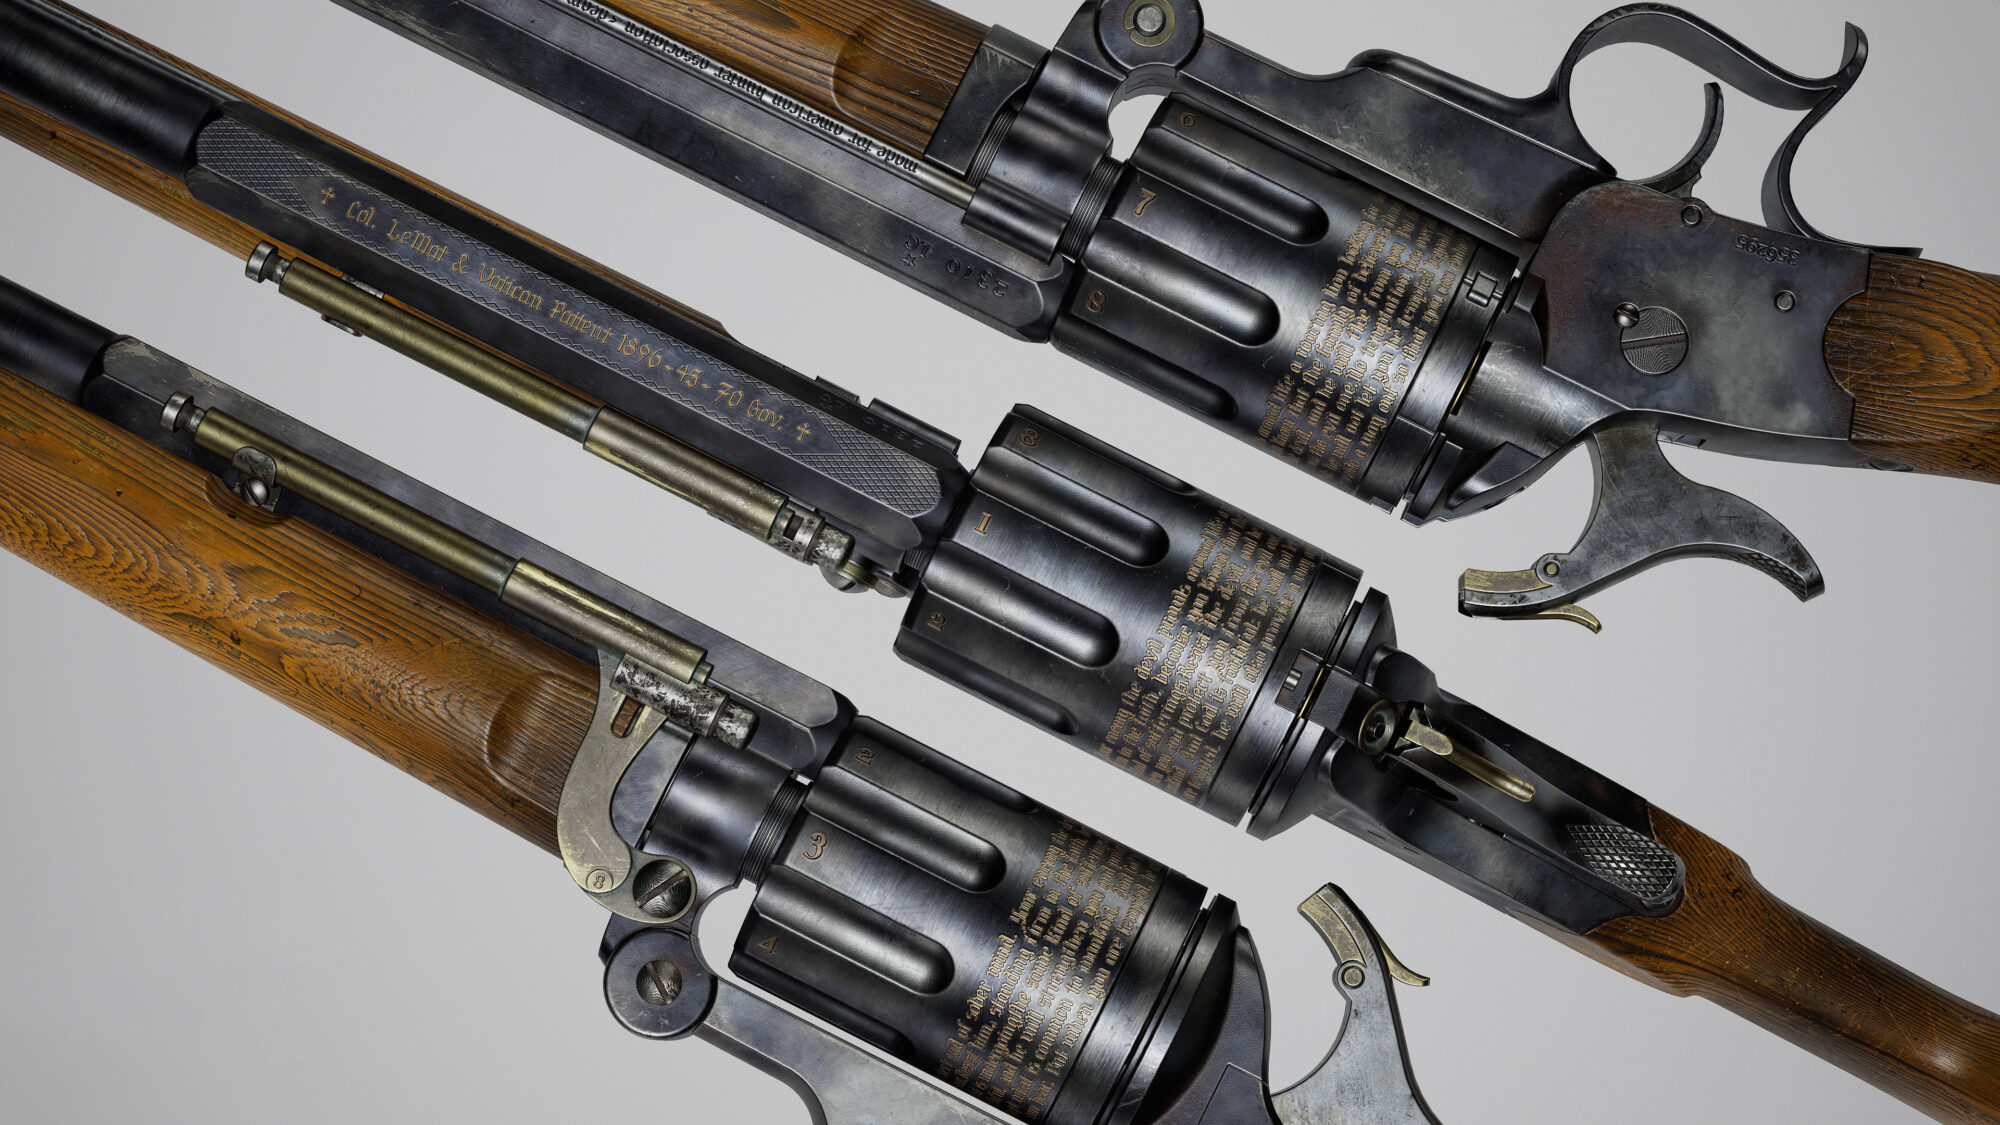
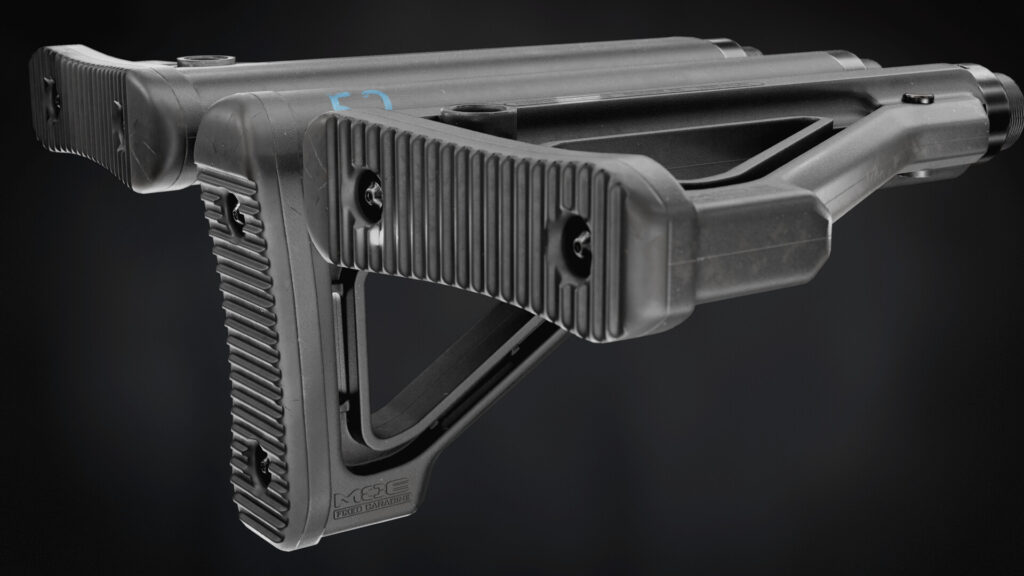
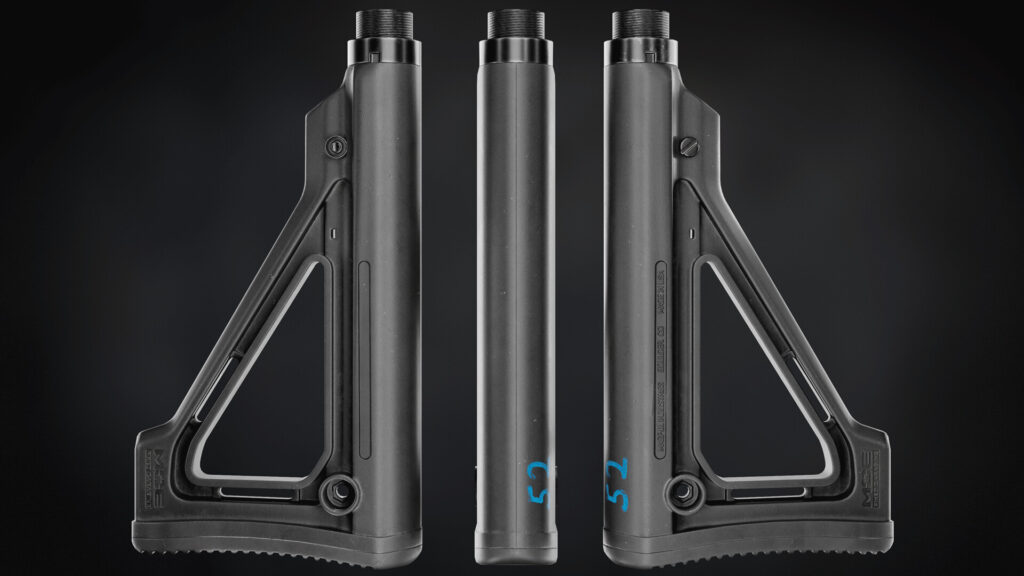
Rendering
Once the textures were ready, I set about rendering. This part is very important as well as the creation of the textures and the rendering took me a couple of days as well.
I spent a lot of time experimenting with the lighting to get the lay of the land in the best possible light.
While rendering it occurred to me to use Quixel assets for presentation.
After the textures were ready, I started rendering. This part is just as important as creating textures, and rendering also took me a couple of days. I experimented with lighting for a long time to show the asset in the best light. Additionally, during the rendering process, I came up with the idea to use Quixel assets for presentation. I recommend grouping it into folders for maximum flexibility.

Conclusion
Thanks to GamesArtist for the sudden opportunity to tell me about the making of this stock!
Of the tips I can offer the following:
- Find as many references as you can.
- Take a break for a day or two during texturing and rendering to refresh your look.
- Ask for feedback – it makes you better!
Thank you for reading!
Read more articles
You might also like these articles.