Faust


Introduction
Hello! My name’s Sean Ferreira, and I’m a 3D Character Artist working in the video games industry.
I’m also a 2D traditional artist, which used to be one of my professional activities along with language education, but that has become more of a personal one since I got into working with 3D.


Project
Faust – Supreme Leader of The New Redemption Order is my most recent personal project, through which I wanted to improve my skills in real-time character creation and learn new techniques and tools.
Software
For this project, I used:
- ZBrush
- Marvelous Designer
- Maya
- Substance 3D Painter
- Unreal Engine 5
The Calling of The New Redemption Order
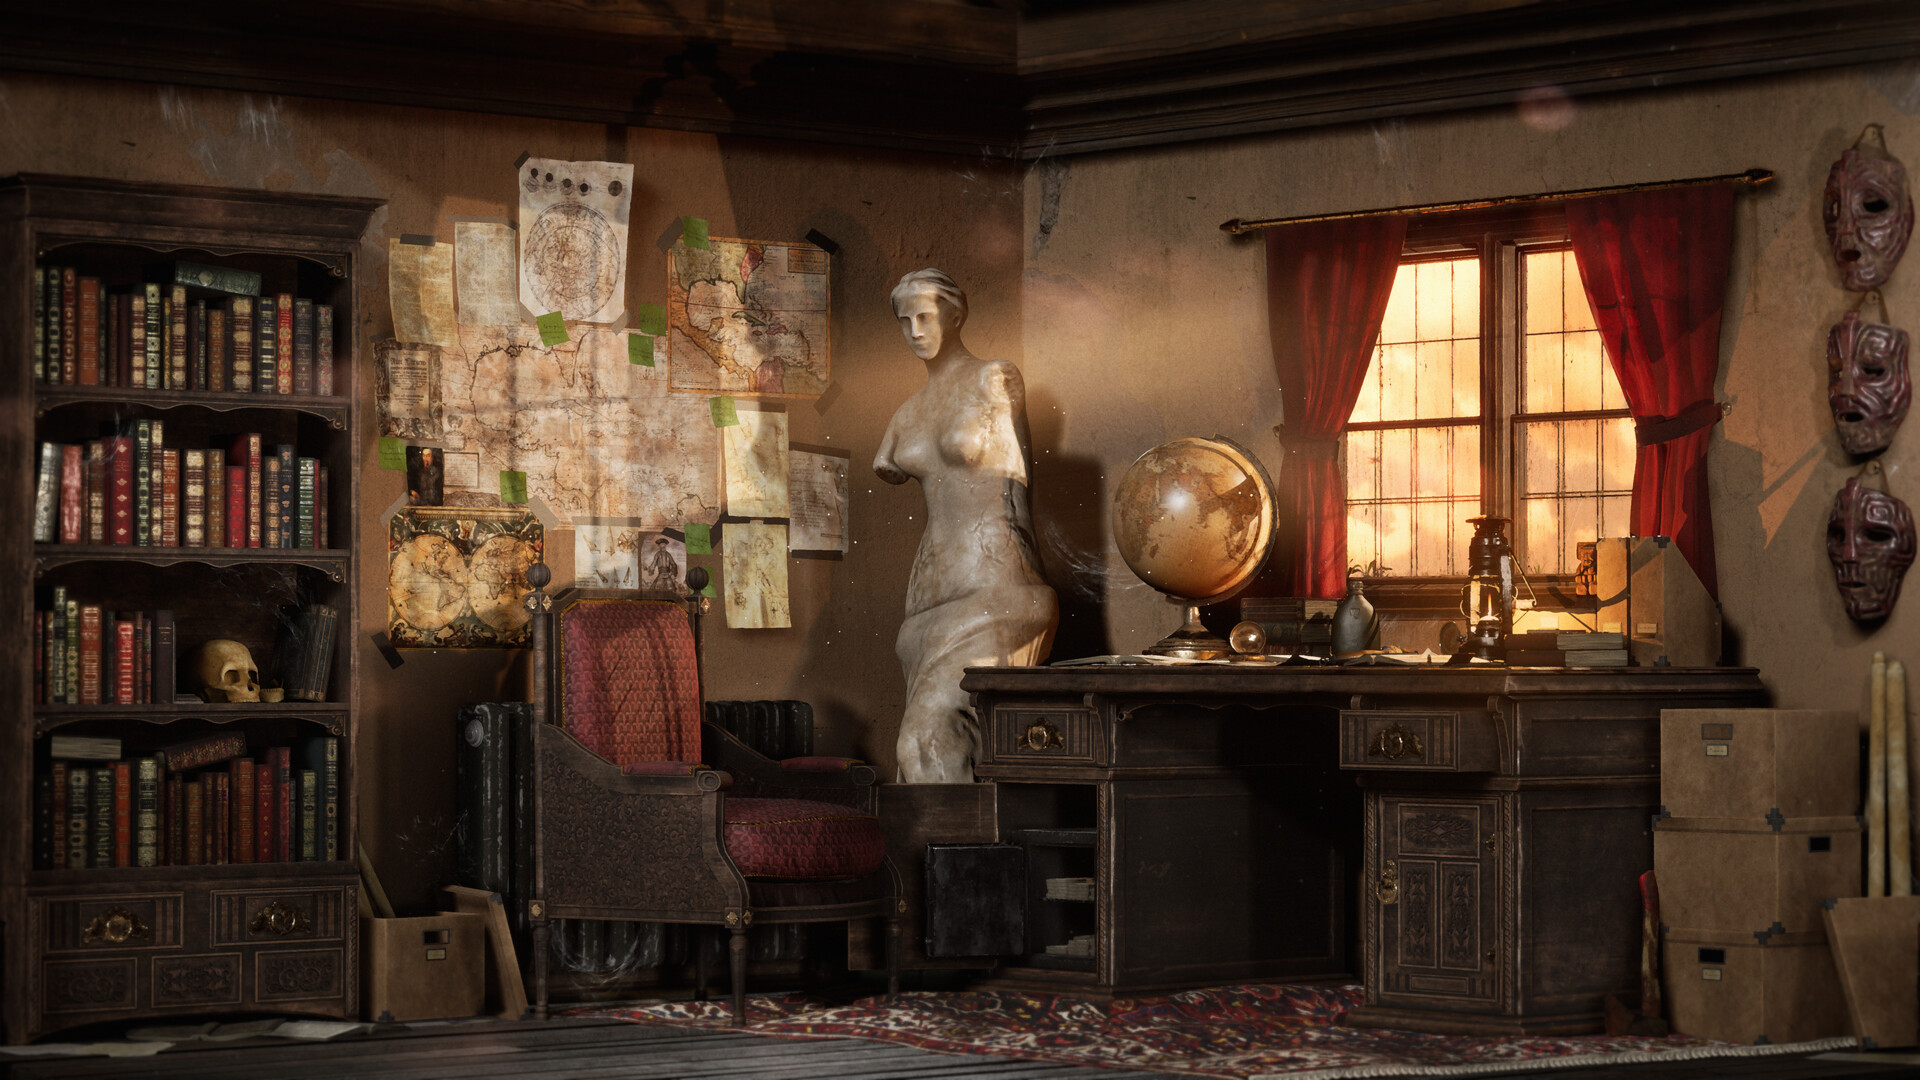
Faust is the “final solution” to a personal myriad of references and thoughts, accumulated throughout years of reading, playing video games, watching movies and listening to music. Some of them come and go as the project evolves, of course.
However, there was this one reference that drove the entire concept of Faust from day 1.
That is Pope Pius XII, born Eugenio Pacelli, who was a very controversial figure during World War II.
Clearly, I was also deeply inspired by the world of Star Wars, Dune, Wolfenstein and others. But I always rely on a multitude of styles and aesthetics, because I think diversity goes hand in hand with creativity and originality.
Here’s a snapshot of all the visual references I’ve gathered:

Design & Blockout
The longest step in the creation of this model was certainly the design development.
So the very first move I made was to sketch a few variants of what could potentially become a convincing version.

I then started blocking some rough shapes in ZBrush just so I had something to work with.
As you can see, lots of things ended up being changed during the creation process. Here’s a bit of the evolution of this step.

Some parts of this asset were created in Zbrush for the initial sketch, while many others were initiated in Maya, like the mechanical half of Faust’s head, his cross and its attachment and the metal loop over his chest and shoulders.
I like using the subdivision modeling method, which allows me to have clean topology from the start, which can then be subdivided for details, and reduced for the retopology afterward.
Also, for this project, I didn’t want to add crazy details to the high poly in Zbrush, as I wanted to do that with texturing.


I didn’t spend much time in Marvelous Designer, as I just needed to have some simple sleeves and some sort of leathery fabric to cover some of the pipes of Faust’s head.

Regarding the concept of his head, I wanted to come up with a balance of the sacred and the sinister, organic and hard-surface elements, and both a sci-fi and retro look.
The face sculpting wasn’t really a big deal. All I did was grab a base mesh, find the main shapes that drove the mood of the character, sculpt some important secondary forms and then apply some scanned data using ZWrap, which is something I hadn’t done before and wanted to learn how to.

The back of his head was a kind of lab experiment to me. It was definitely the most daring part of this model and I absolutely loved creating it!
I wanted to make it feel like human brains made out of pipes, cables, gears and other bits and pieces as if Faust’s thoughts and actions were all coldly calculated—no remorse, no feelings, no humanity whatsoever.
No secrets regarding the modeling of this asset. Just a bunch of curve nodes turned into tubes. In order to get the shapes and design I wanted, I would constantly tweak the curves so that every bit had its own place, while being in sync with all the others.
Building this part of the model was primarily a design exercise, so there were lots of ideas that didn’t make it to the final render.
Retopology & UVs
Alright. Since this was a personal project, I could decide how light/heavy this asset could be. Faust’s got a total of 307k tris, which for a AAA main character nowadays is not a problem.
Also, I wanted to preserve the silhouette and roundness of the essential parts of my model, so I tried to go as low as possible on the less visible areas while going denser from the arms up.
With that being said, it’s essential for a Character Artist to be able to produce lighter models, even with today’s technology allowing for higher and higher polycount budgets.


UVs are a key preparation for Texturing, so I spend a good deal of time trying to unfold them in a way that will make my job easier in Substance Painter.
It’s all about resolution and alignment. Also, retopology plays a big role here. I add edge loops where I know there should be a UV cut, based on my highpoly sculpt.

Texturing
Now this is definitely super fun! I absolutely love texturing, especially given my 2D background. For this character I spent a great deal of time trying a multitude of materials, colors and roughness breakups, firstly because I think it’s important to brainstorm possibilities, and secondly because I wanted to be sure I made the right choices for the mood I thought of initially.
Starting with the eyes, as I was already familiar with making realistic 3D eyes from scratch, this time I wanted to try the MetaHuman eye shader, and it’s absolutely phenomenal!
So for that, I just used a simple sphere with a protruding volume for the cornea/iris.
I then unfolded its UVs well centered in the UV grid. Once in UE5, I downloaded the free MetaHuman content and applied their shader to the eye geometry. I then tweaked the shader to get the look I wanted for the eyes. Done!


Texturing the face was pretty straightforward. Lots of color layers on top of color layers.
I usually work with Ambient Occlusion and Curvature masks, as well as grunge maps to add breakups.
It’s super important to use anatomy references for this step, as they help us better understand what human skins are made of, where there’s more or less blood flow, what types of vessels there are and where they usually are located.
And, of course, let us not forget the roughness map! This can definitely make the skin texture look great or absolutely ruin it.
I used the curvature map for this character to have roughness breakup between peaks and valleys. Usually, the concave areas are rougher than the convex ones.

I’ve been asked about the shader of the glass on Faust’s head, and how I textured it.
Well, it’s pretty simple. Once I got the geometry and its uv done, all I did was create a roughness imperfection breakup in Substance Painter.
Then, in UE5, I created a master material for the glass itself, that consists basically of a base color, metallic (yes, it worked better this way), roughness (on to which I imported my breakup map), fresnel and refraction.
You can see the details of those channels in the image below.

I always create textures while updating them onto the model in my render view.
That’s the only way to ensure that the choices I make in Substance Painter are the right ones, so there’s lots and lots of tweaking back and forth.
The color palette is always a big deal to me. I usually go with 3 primary colors and 1 breakup. I think about them as on a pyramid.
The tip breakup isn’t essential, but for this project, I felt like Faust’s skin should have a colder tone to it. Also, the choice of those colors is based on the background story of the character, of course.
What does Faust’s colors make you think of? It shouldn’t be a coincidence.

Posing and Rendering
I firmly believe that presenting our characters posing in context really helps make them more convincing and believable, rather than showing them in a T pose only. I usually pose my characters in Zbrush.
For Faust, I felt like he demanded a rather imposing environment that portrayed how dominating, fearful and absolute he is. That’s why I came up with the background you see below. I modeled it in Maya and applied some of the free Megascans from Quixel along with an emissive material in UE5 for the deep areas of the circle.
As far as lighting goes, it all depends on what you’re looking for, and there are lots of possibilities and ways of approaching this, of course. I usually work with 1-4 lights. I believe less is better, especially when creating dramatic shots.
A balance between key, fill and rim lights works pretty well for most compositions, and sometimes a skylight may also help avoid those pure blacks.


Conclusion
So I guess this is it. I’d like to thank Games Artist for inviting me to create this breakdown for the 3D community, and thank you, the reader, for your time and interest in my work.
I sincerely hope the information I’ve shared here helps you somehow.
See you next time!
Read more articles
You might also like these articles.