Zeiram Grenade

Introduction
Hello everyone, my name is Branton and I’m a 3D Modeler with a background in design engineering.
After graduating and spending a few years in limbo due to Covid, I found myself inspired to pursue a career in 3D art. That inspiration came from the things I enjoyed watching and learning about in my free time.
Tools
I originally built my understanding of 3D through SolidWorks and a little bit of Fusion 360. In truth, certain ideas of 3D are universal, so the transition to software like Blender was far easier than I thought.
- Blender
- ZBrush
- RizomUV
- Substance 3D Painter
- Photoshop
- Marmoset Toolbag


Inspiration, Reference & Goals
I use Pinterest a lot for inspiration and for finding things to model. I prefer modelling an existing object as it’s easier to visualize. While most people find what they like or what they can model, my priorities are as follows:
- Is it unique?
- Is it not boring?
- Is it hard to make, but not impossible?
- Are there curves for difficulty and interest in shape design?
- How much detail will be high poly ZBrush detail and how much will be silhouette detail?
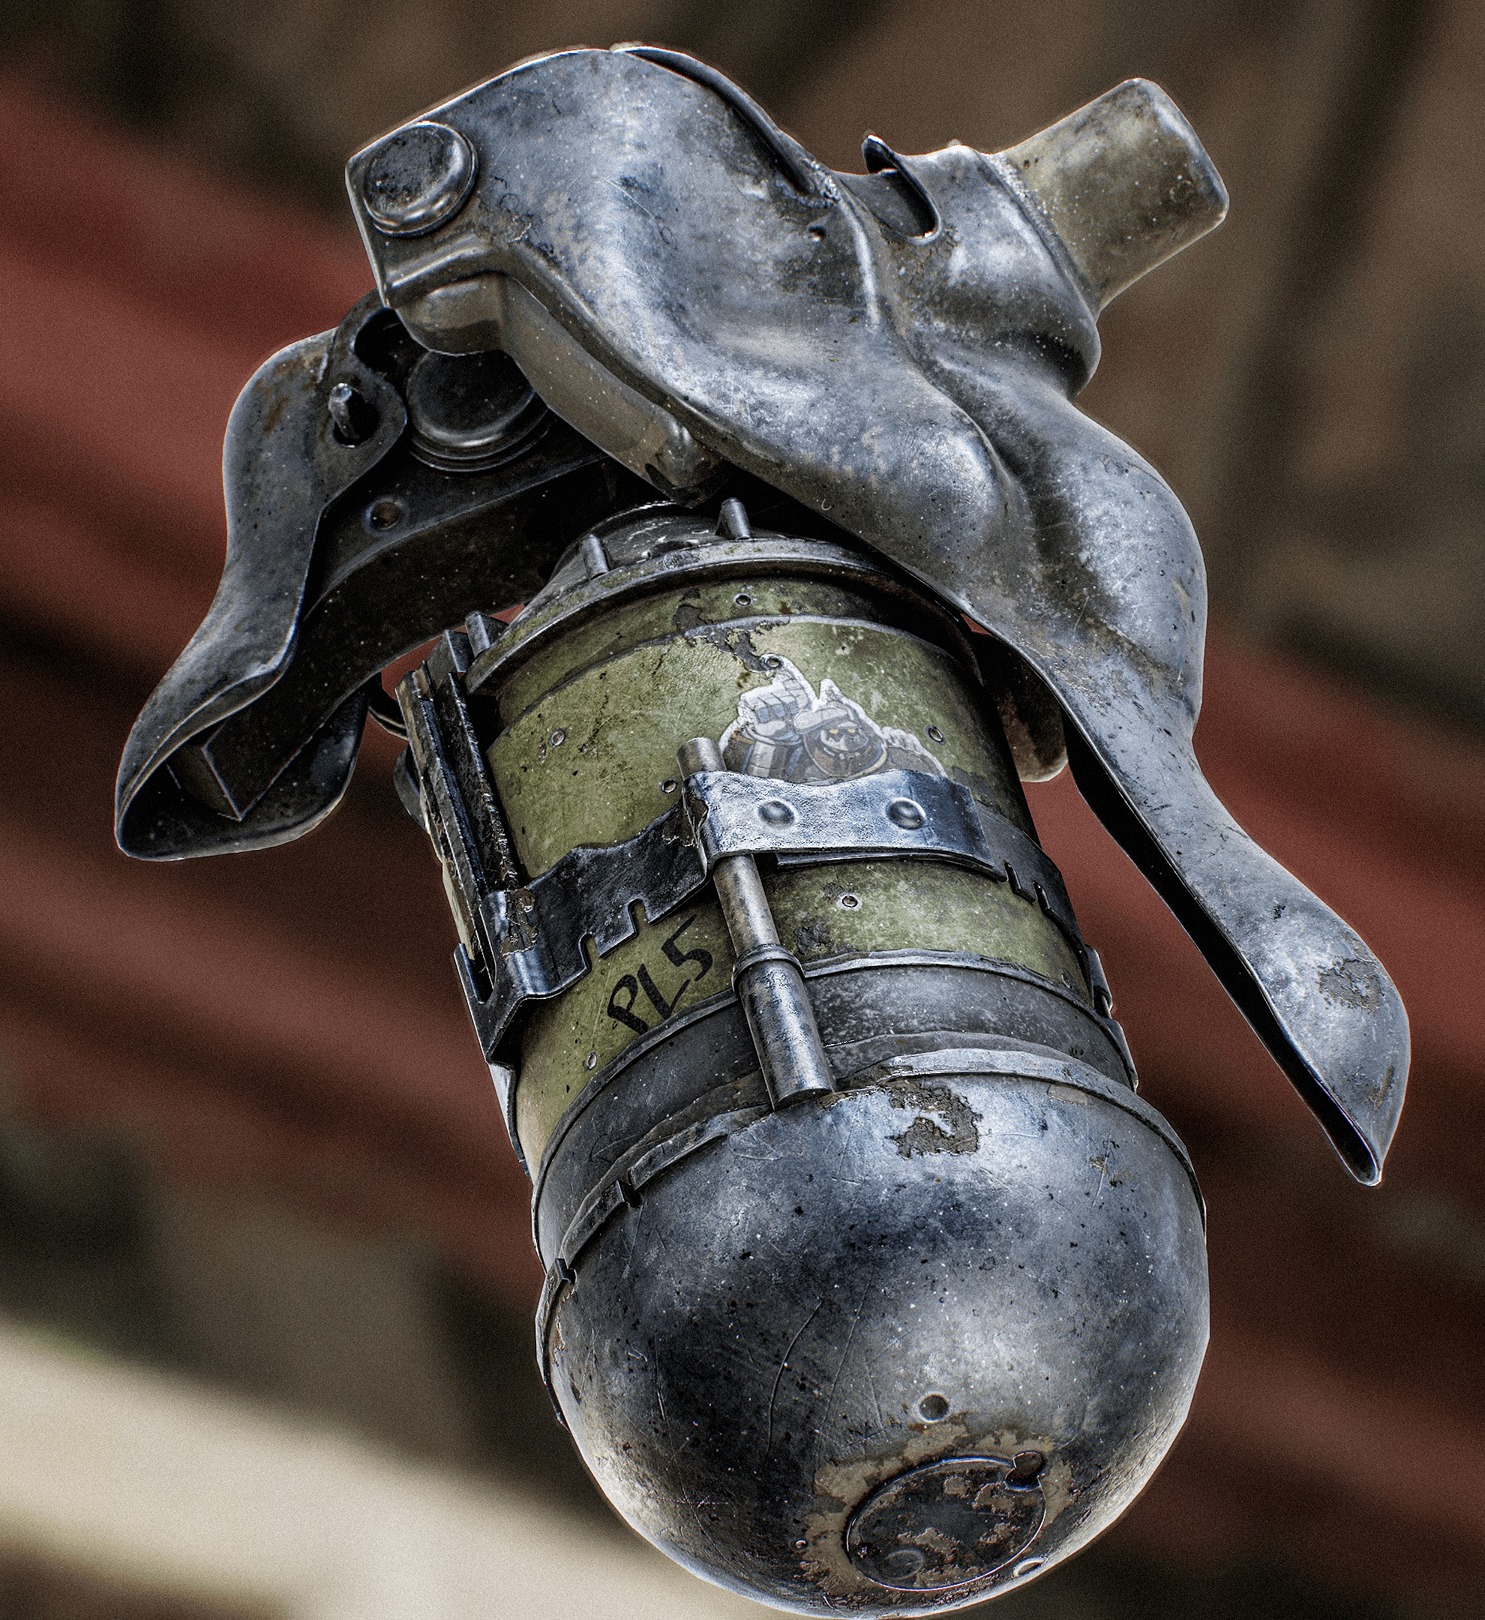
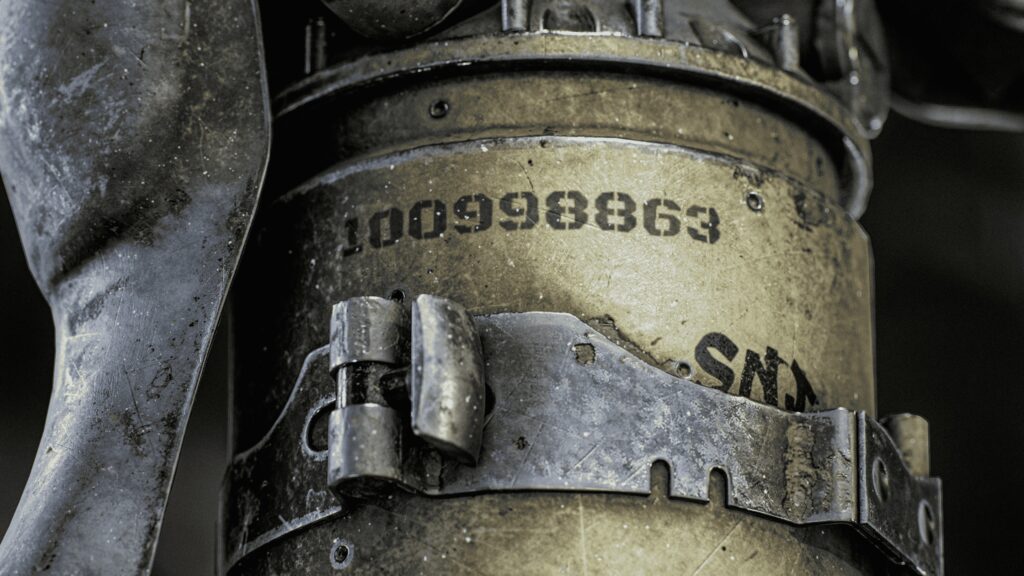
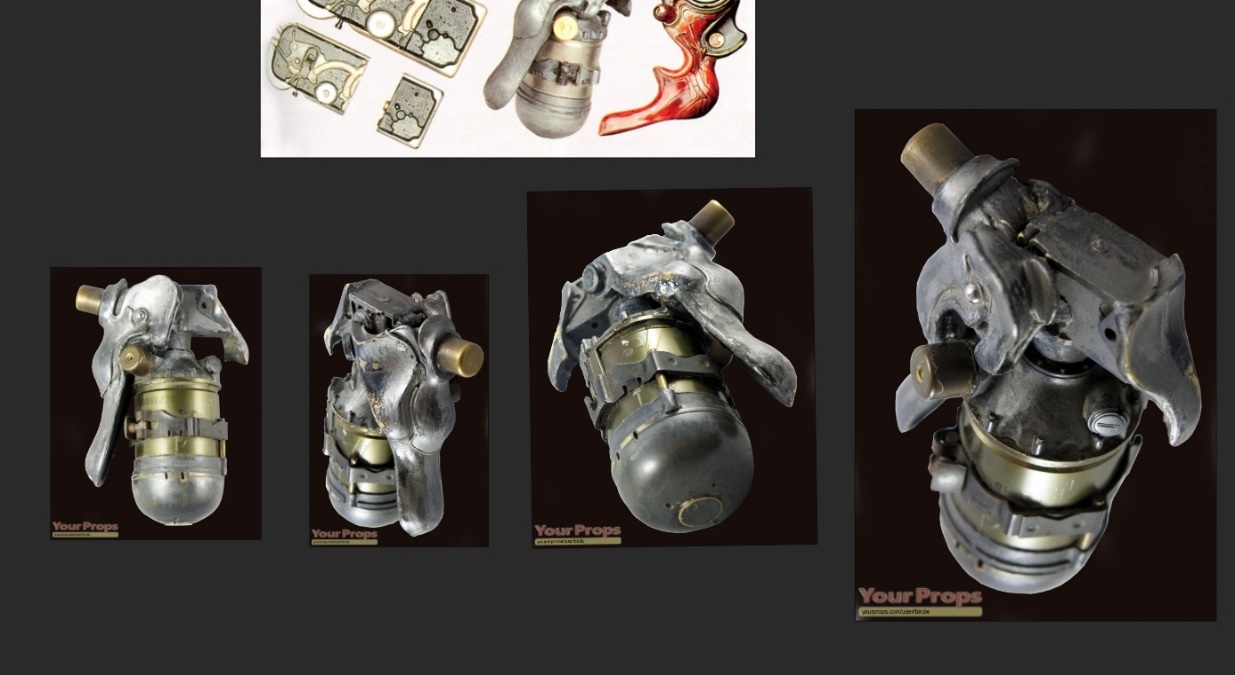
While doing this checklist, I came across the Zeiram grenade, a simple small object that has some interesting details and cool textures. It also had AMAZING references from the movie props company, which made my life so much easier.
Modelling
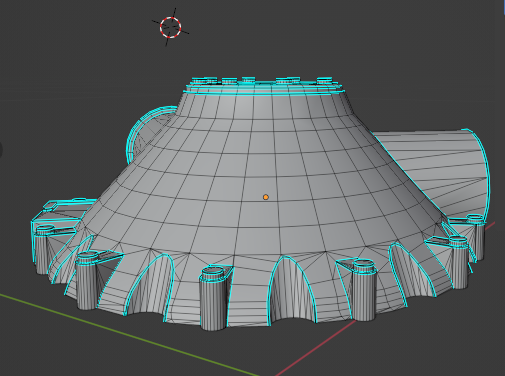
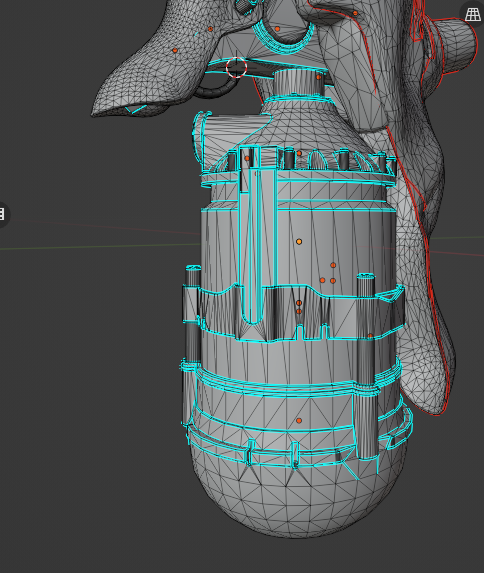
I model mainly the low poly in Blender and then take it into ZBrush to create the high. I like doing it this way as it means I don’t need to retopo as much.
Over time, while I did learn how to create high polys using Normal Groups in ZBrush, I prefer to apply creases in my low, Sub, then dynamesh in ZBrush. This prevents any smoothing errors.
During this process, I delete hidden faces to save texture space, lower tri count, and to make my model more efficient.
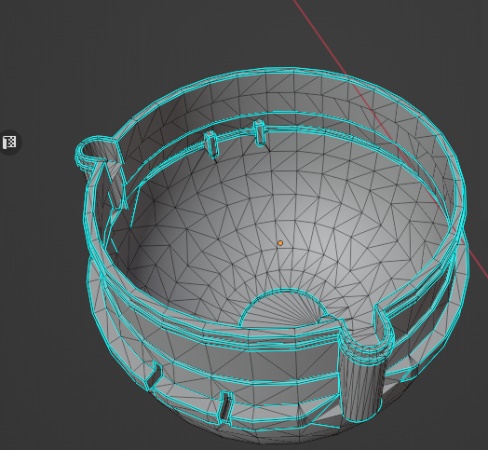
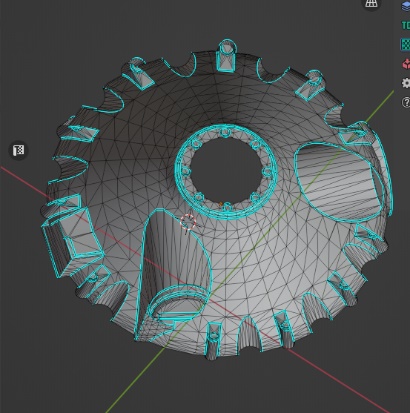
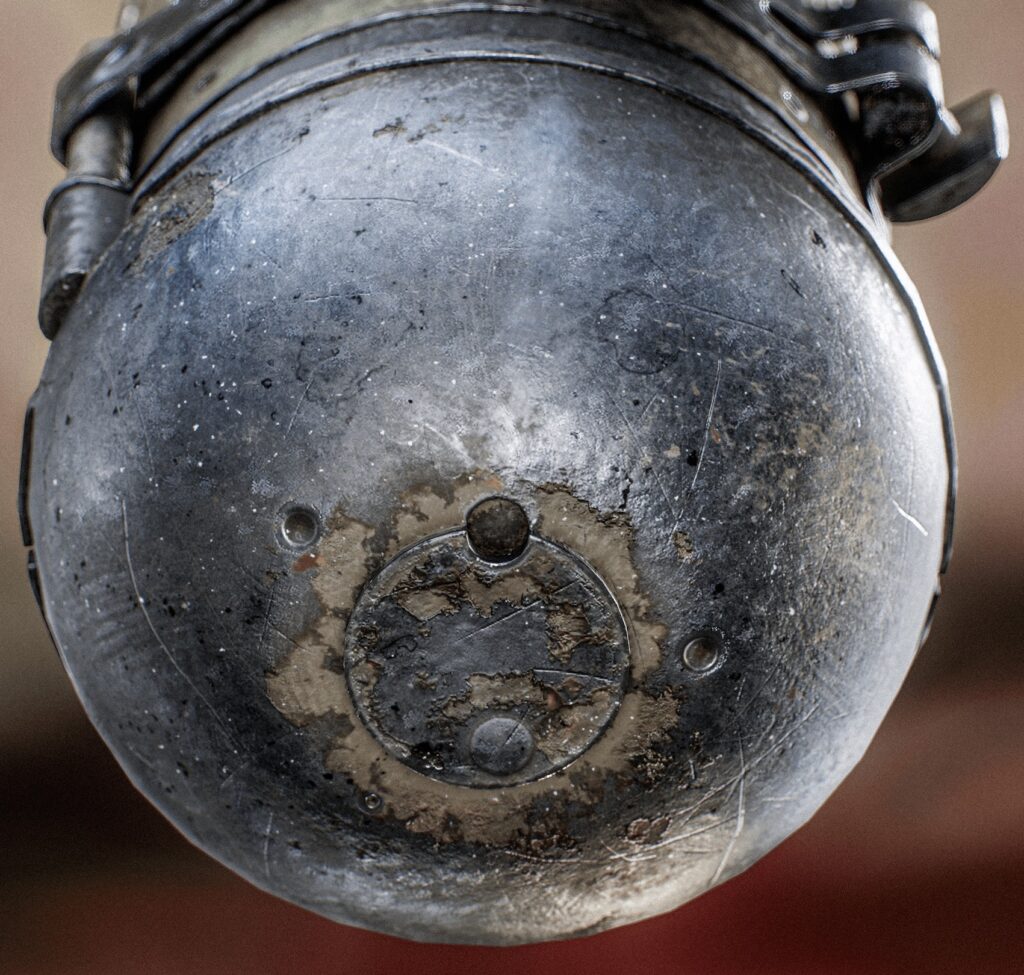
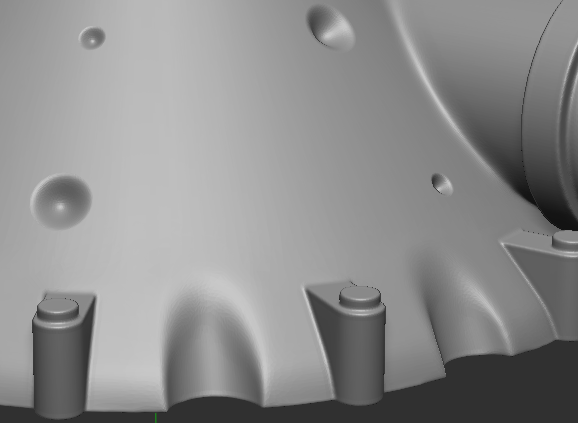
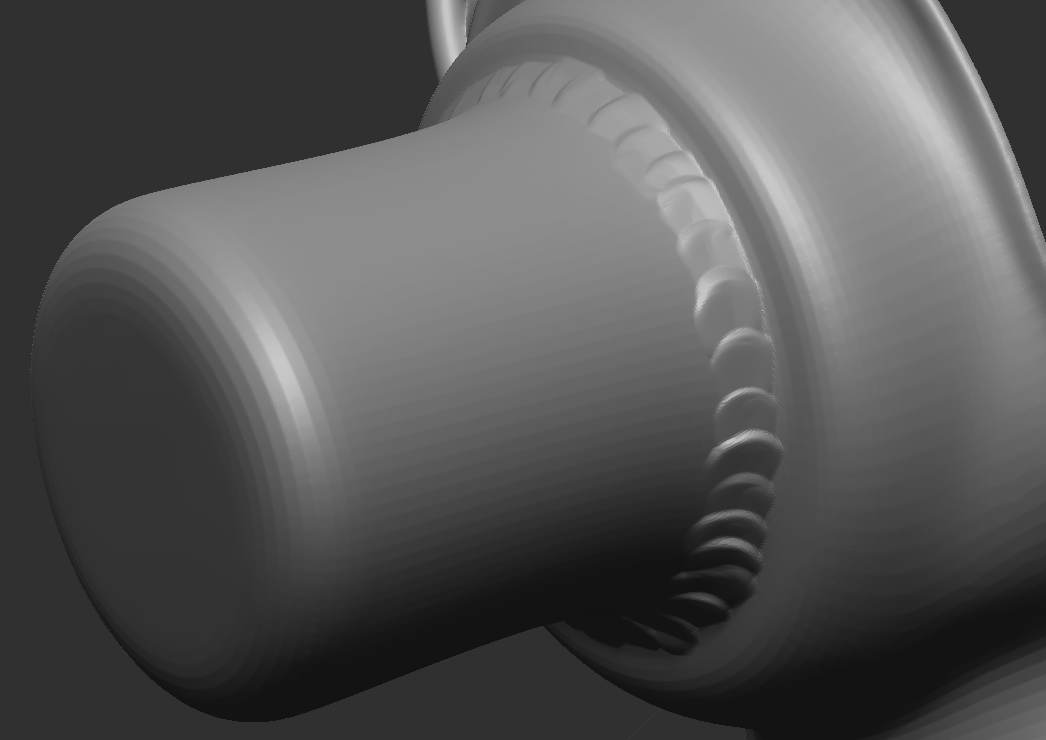
Small hole geo is added as a detail in ZBrush, as the normals come out better than if I were to do it as a texture.
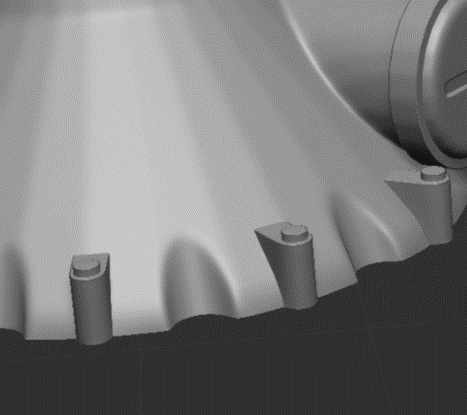
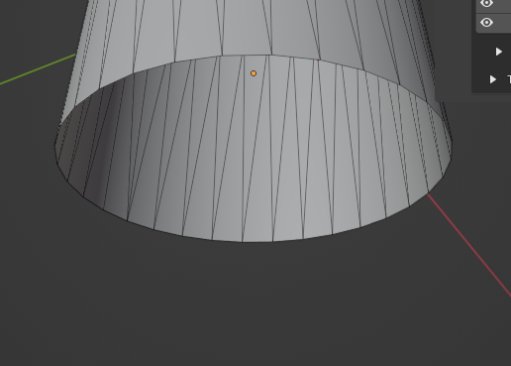
For the curved areas, a SUBD workflow was used with the solidify modifier. This is primarily because I’m limited in my sculpting skills. For these parts, I would retopo in ZBrush.
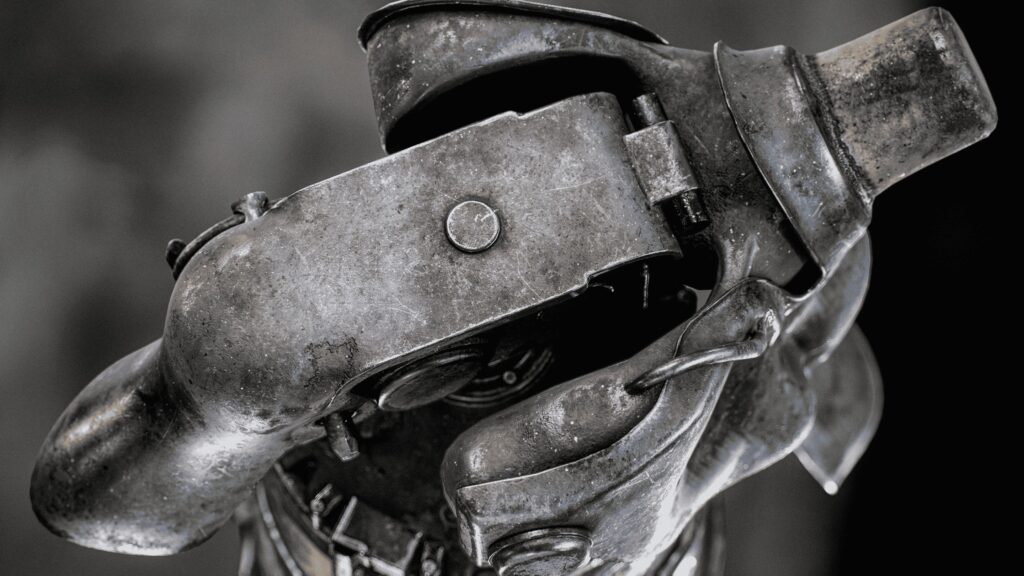
I was also originally meant to have welding baked on using my high-to-low workflow, but chose to use Substance weld tools, as I found baking errors, as well as wanting to learn how to make Substance welds more realistic using heightmaps.
UVs & Baking
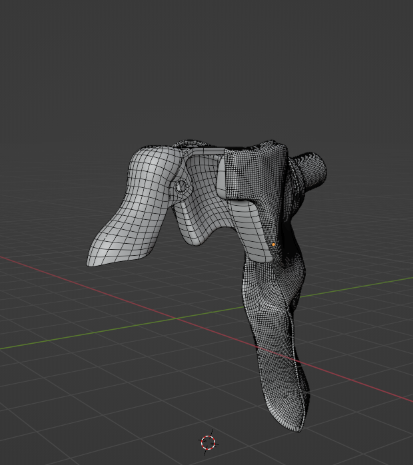
UVs were a very simple process. I decided to use ZRemesher for the SUBD elements, as I wasn’t sure if my low polys would be good enough. In hindsight, I should have retopoed the parts manually to reduce polycount further.
For most of the shapes, a simple sharp edges process was used and splitting the UV seams for most of the hard surface parts.
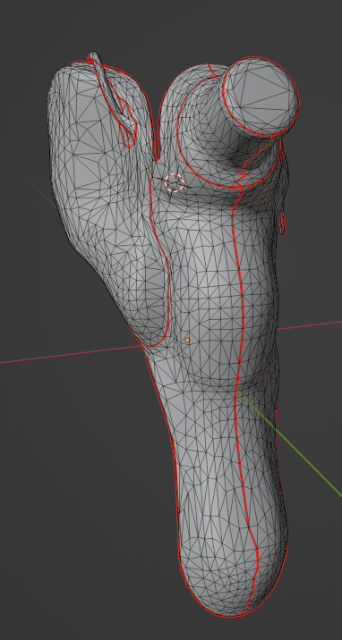
For the curved organic shapes, I used an add-on in Blender that uses an algorithm to determine the best paths, and from there I edited the seams.
When it came to laying out the UVs, I would manually adjust some of the scales in order to reduce waste of space. Some areas would be fully occluded.
These were reduced in scale to save space, while areas such as the red circle were enlarged so there was more detail in texturing.
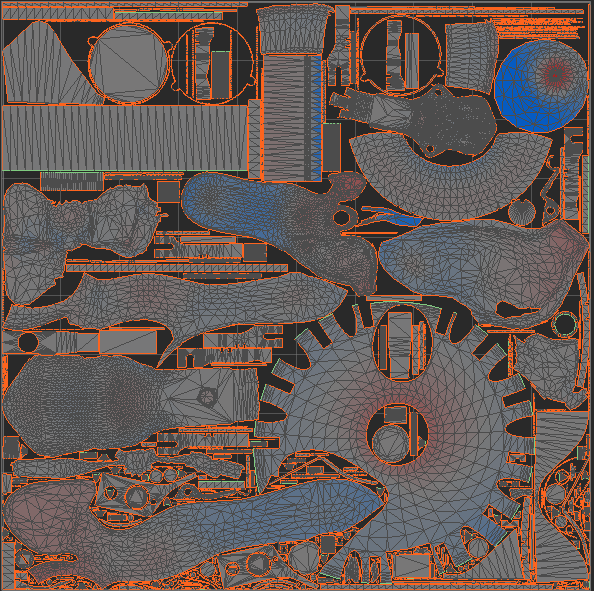
The baking process went very smoothly, with me separating out the parts by what I believe to be important for ambient occlusion. These sections would prevent issues with shadows.
I then had to manually fix parallax errors using the paint skew feature, which is great for high-to-low baking.
Texturing
When texturing, my goal is to add grunge and wear in a realistic manner, while also showcasing it in a way that is noticeable for a player character.
In the video, you can see my layer stack for one of the metals I used.
For a lot of the dirt and grunge, I tend to apply it in one go on top so I can adjust it and change layer stacks as and when it’s needed.
For the peeling metal rust, I used a material made by Jared Chavez. He is a really great artist and technically impressive. I did go out of my way to edit a lot of the values to get a more suitable material for what I wanted.
I also used a brush that allowed for variation in its pressure. This is a better process than simply adjusting the alpha.
While it is simple, I was proud that I was able to get the welding done in a way that looked good while also adding ambient occlusion dirt on the bottom of it.
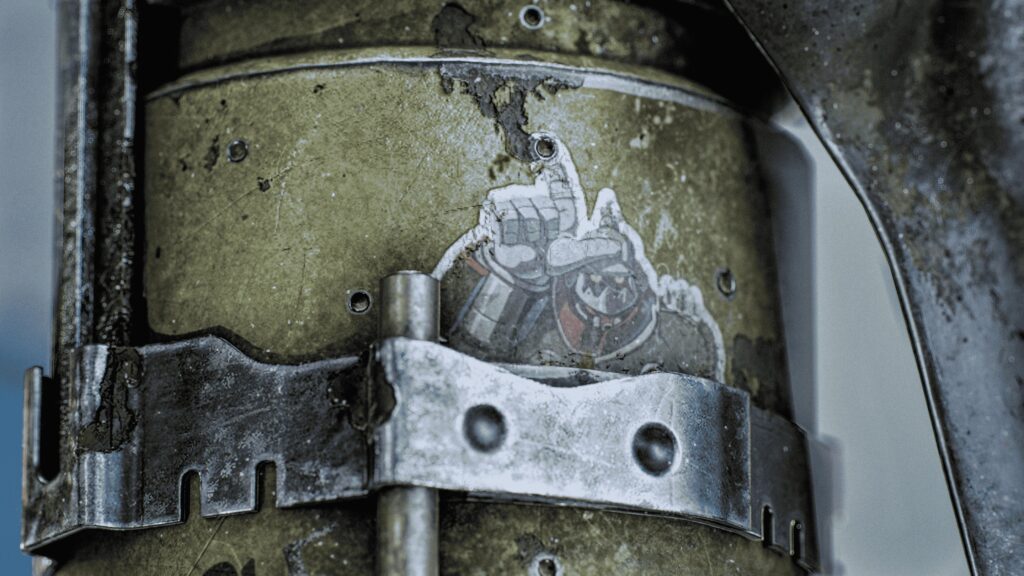
The sticker was created using Sticker Creator, made by Dylan Abernethy.
It’s a very powerful tool that really smooths and streamlines the process of adding custom stickers.
Seam Fix is a new workflow I use where I manually fix any visible seam errors with UVs.
This happens when tri-planar projection doesn’t solve the issue and is most noticeable when tons of layers are added.
To do this, a simple clone tool can be used over the seam with all pass-through options selected to essentially “paint” over the joins.
Rendering
Below are my render settings. I use an HDRI found on Polyhaven and from there, just a lot of adjusting.
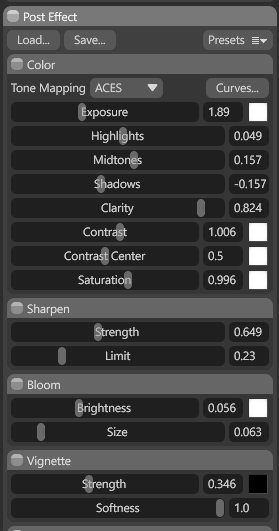
I also use a 3-point light setup, and depending on the angles of the cameras, I will actively add a second 3-point setup for the photos.
Conclusion
This project was fun and a good representation of my skills at this current time. I learned a lot about blemishes, alphas, ZBrush, and baking, which I think showed in the final output.
Rendering comes down to a lot of trial and error, but the outcome can lead to a more realistic and nicer-looking prop.
Thank you for reading and Games Artist for giving me this opportunity! Much love and happy creating!
Read more articles
You might also like these articles.