Worn Stone Walls

Introduction
My name is Nadya Pal, I'm a 3D Artist specialising in realistic Props.
Goals
In this short article, I’ll walk through the process of creating stone sculpts and show how a set of elements can be used to build varied patterns.
The goal of this project was to improve my sculpting skills, particularly working with stone forms for architectural elements. I wanted to better understand how to convey wear and surface character, as well as learn to control the level of detail so that the form remains readable.
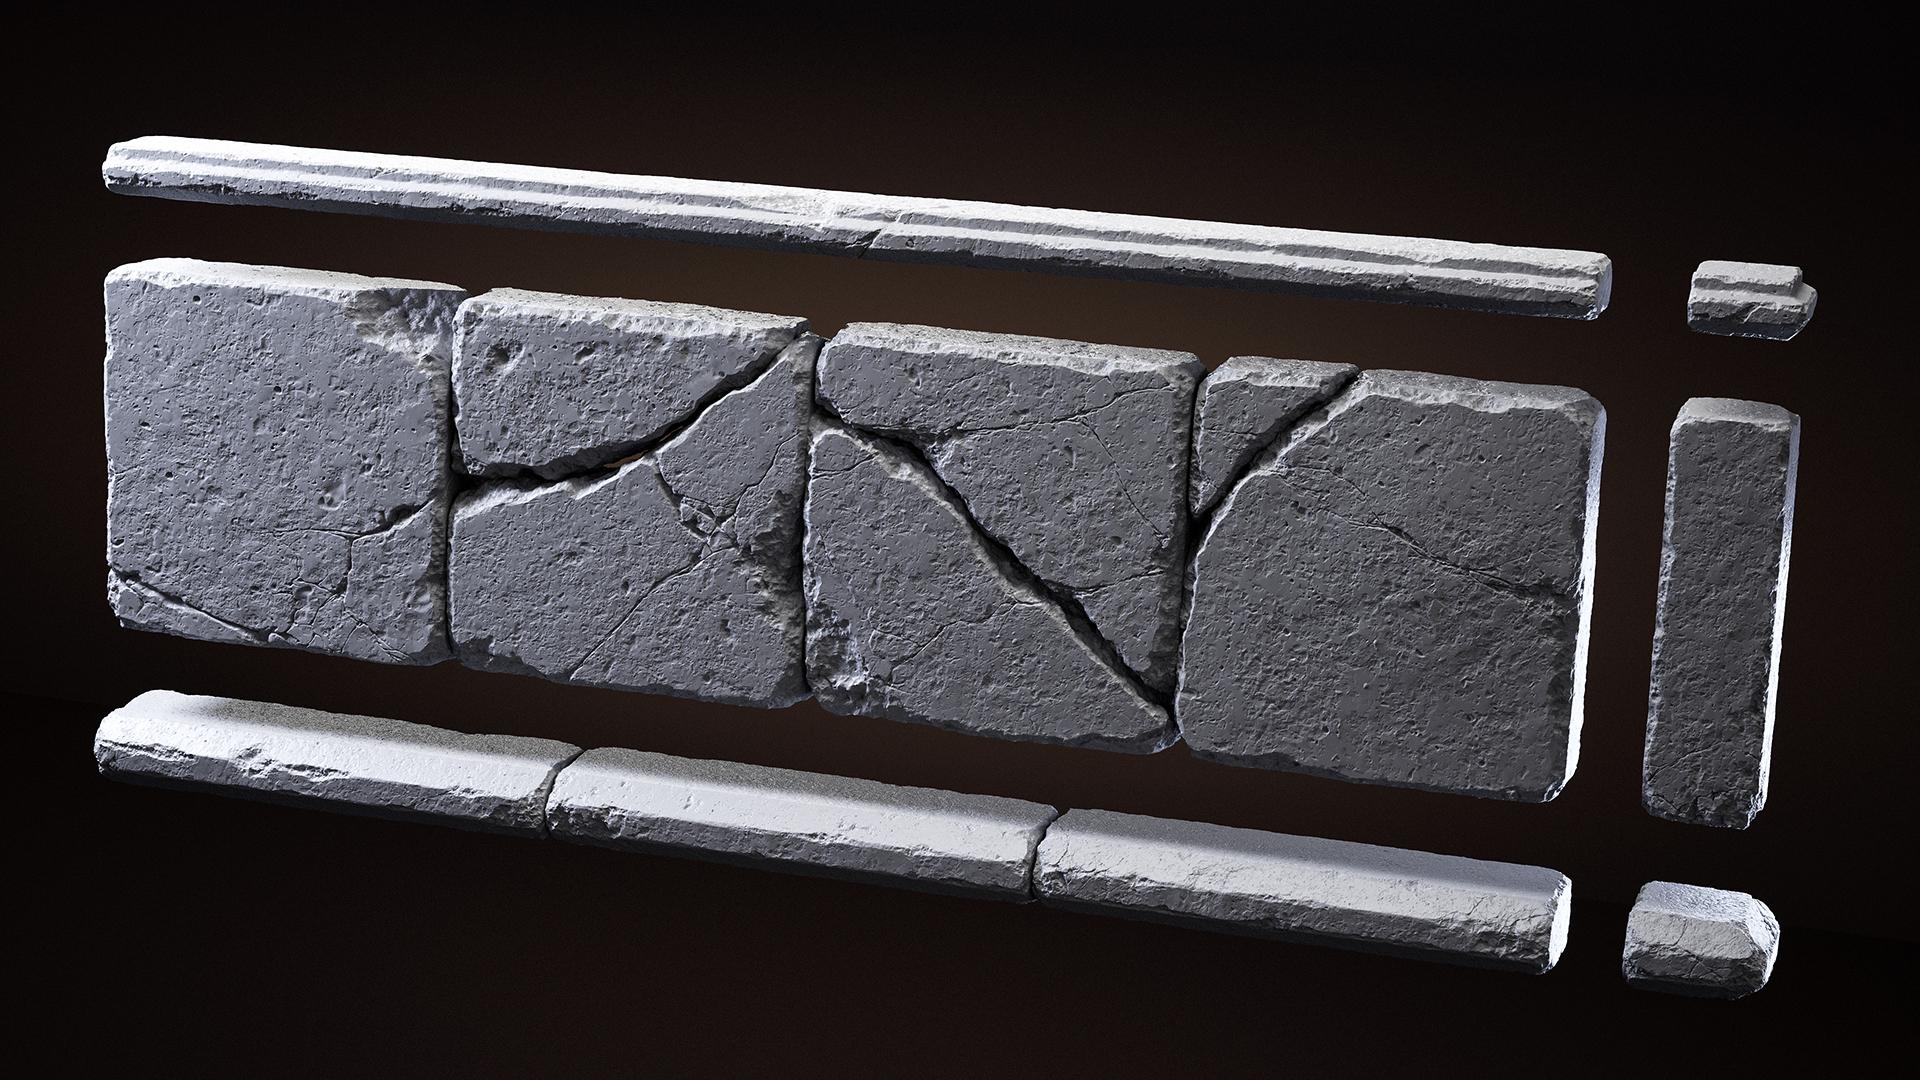
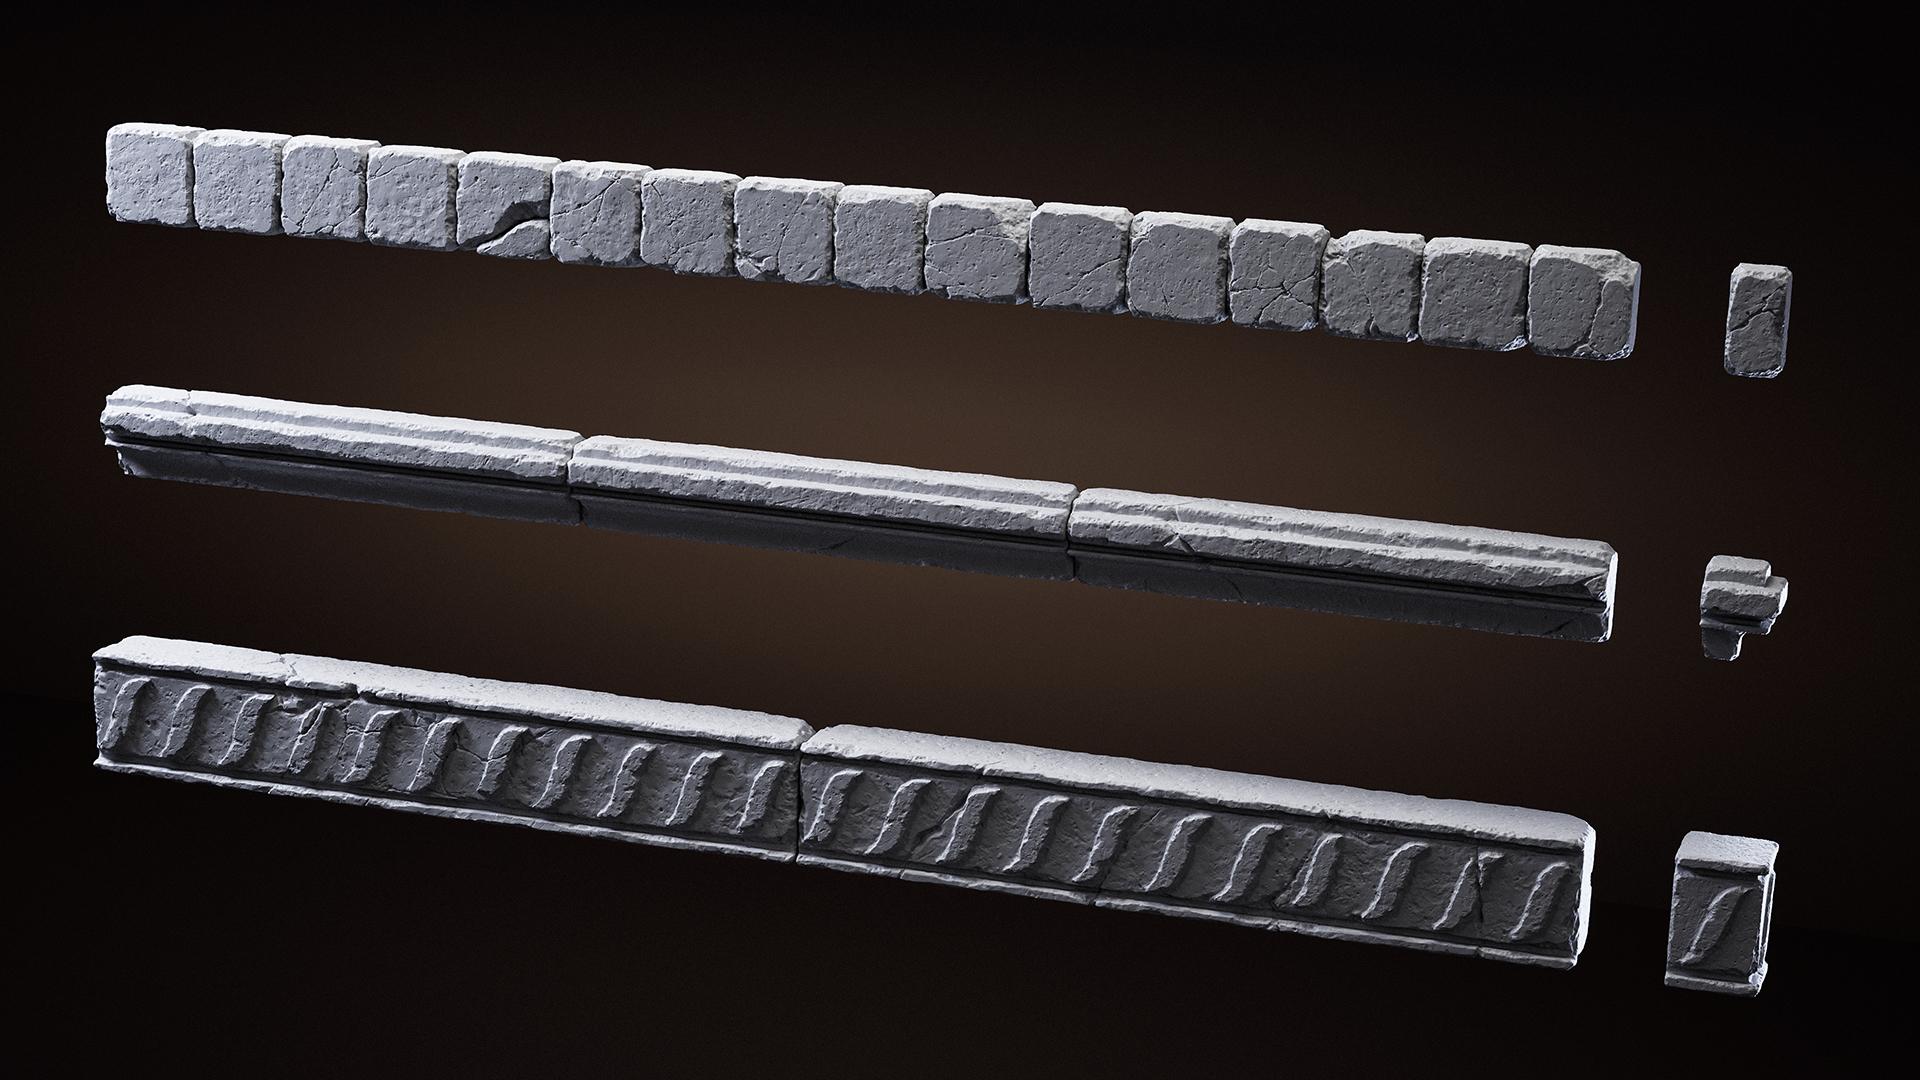
Along the way, I created a set of individual tiles and trims, which I then used to assemble simple, varied wall segments. This allowed me to view the sculpts not just as standalone objects, but as part of a larger scene.
Tools
For this project, I used Blender, ZBrush, Unreal Engine 5 and Adobe Photoshop.
References
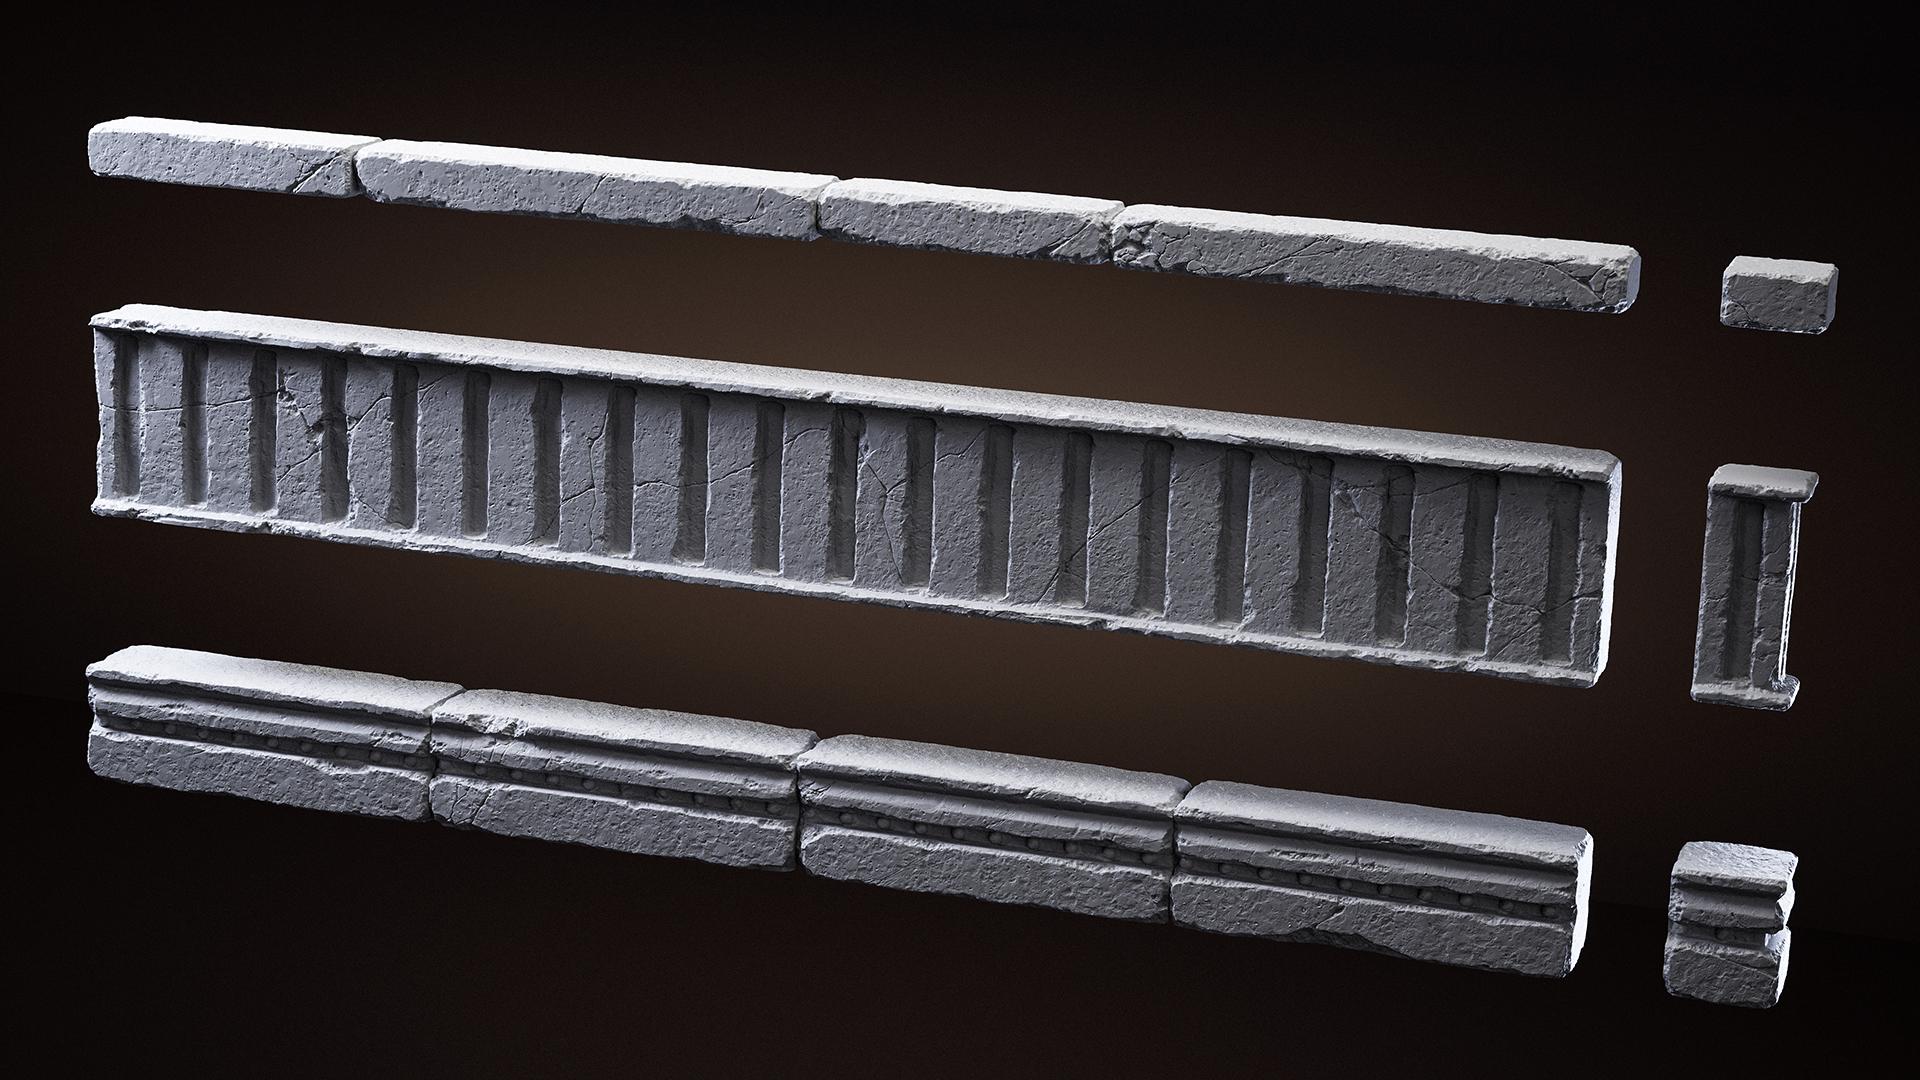
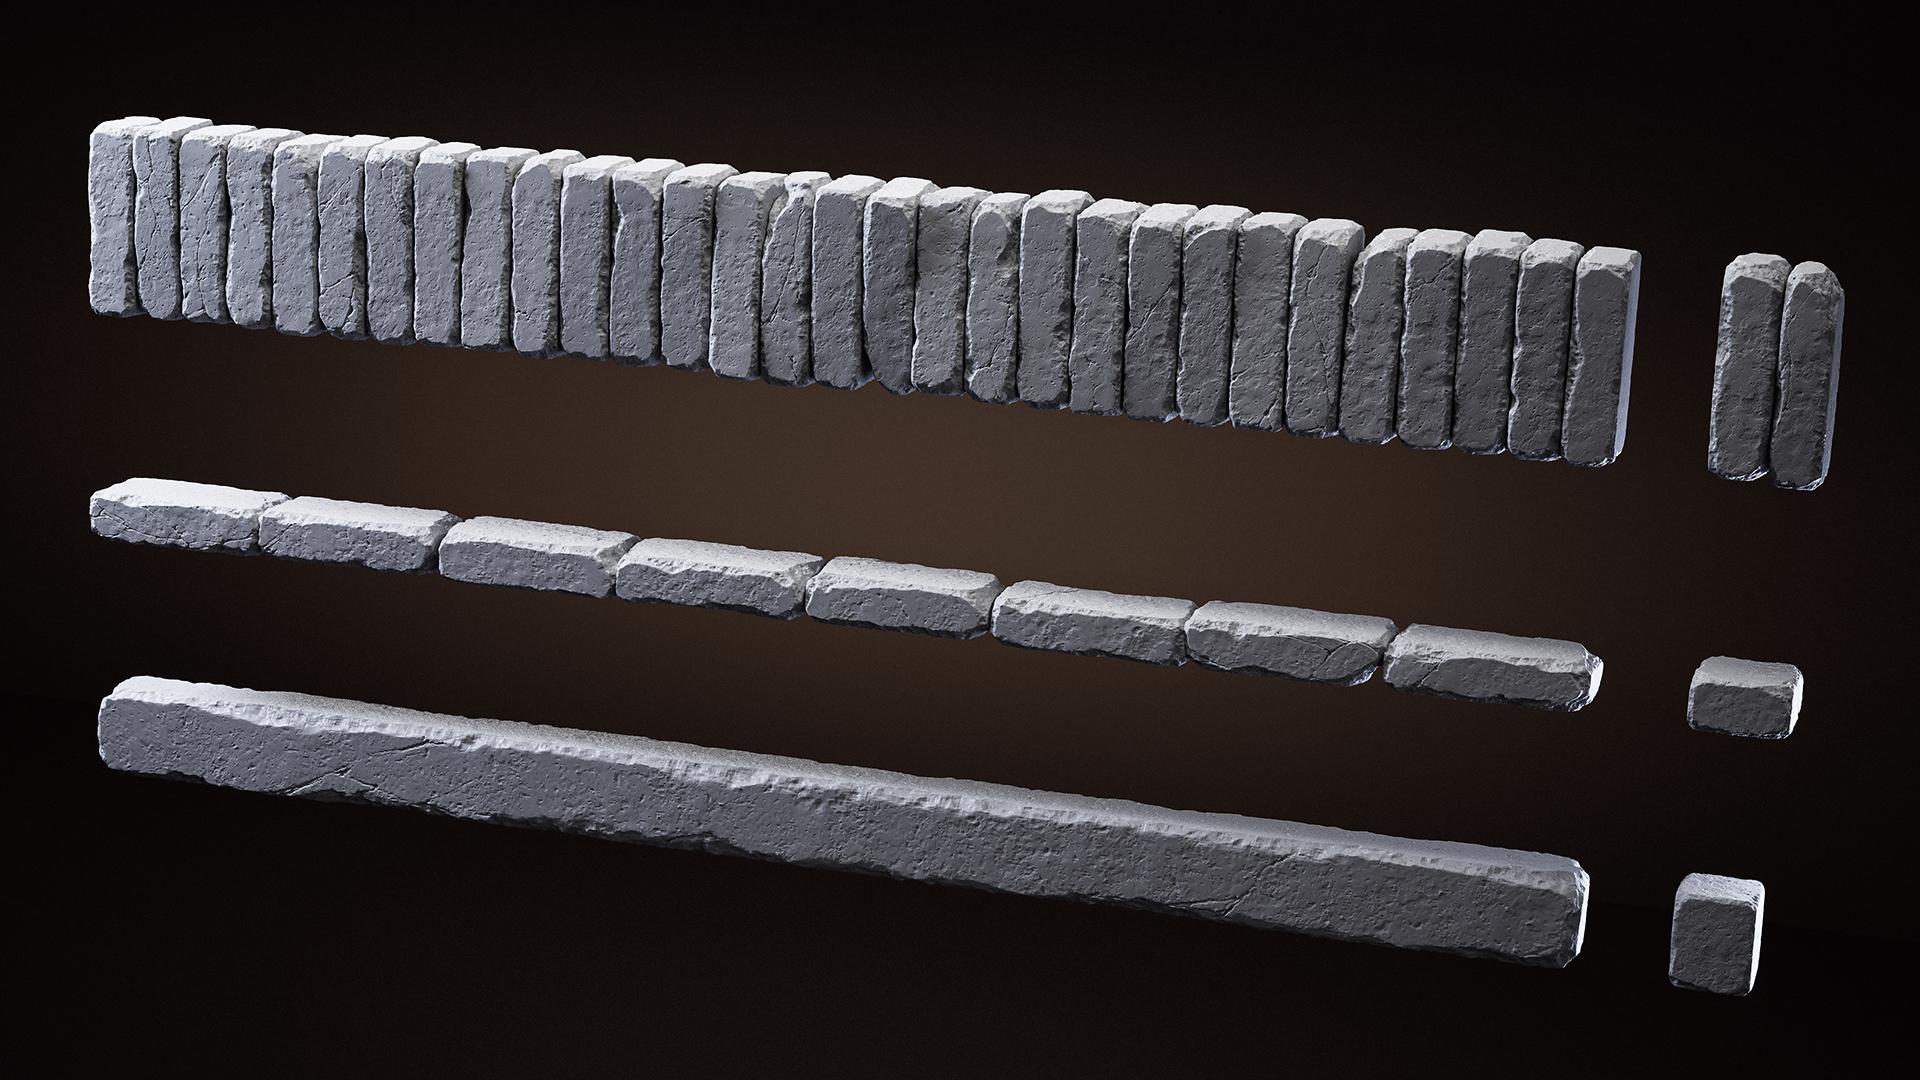
This project wasn’t originally intended as a final piece for publication – it started as a sculpting practice. I began with simple brick forms and gradually expanded the set, adding tiles, larger stone blocks, and various moldings.
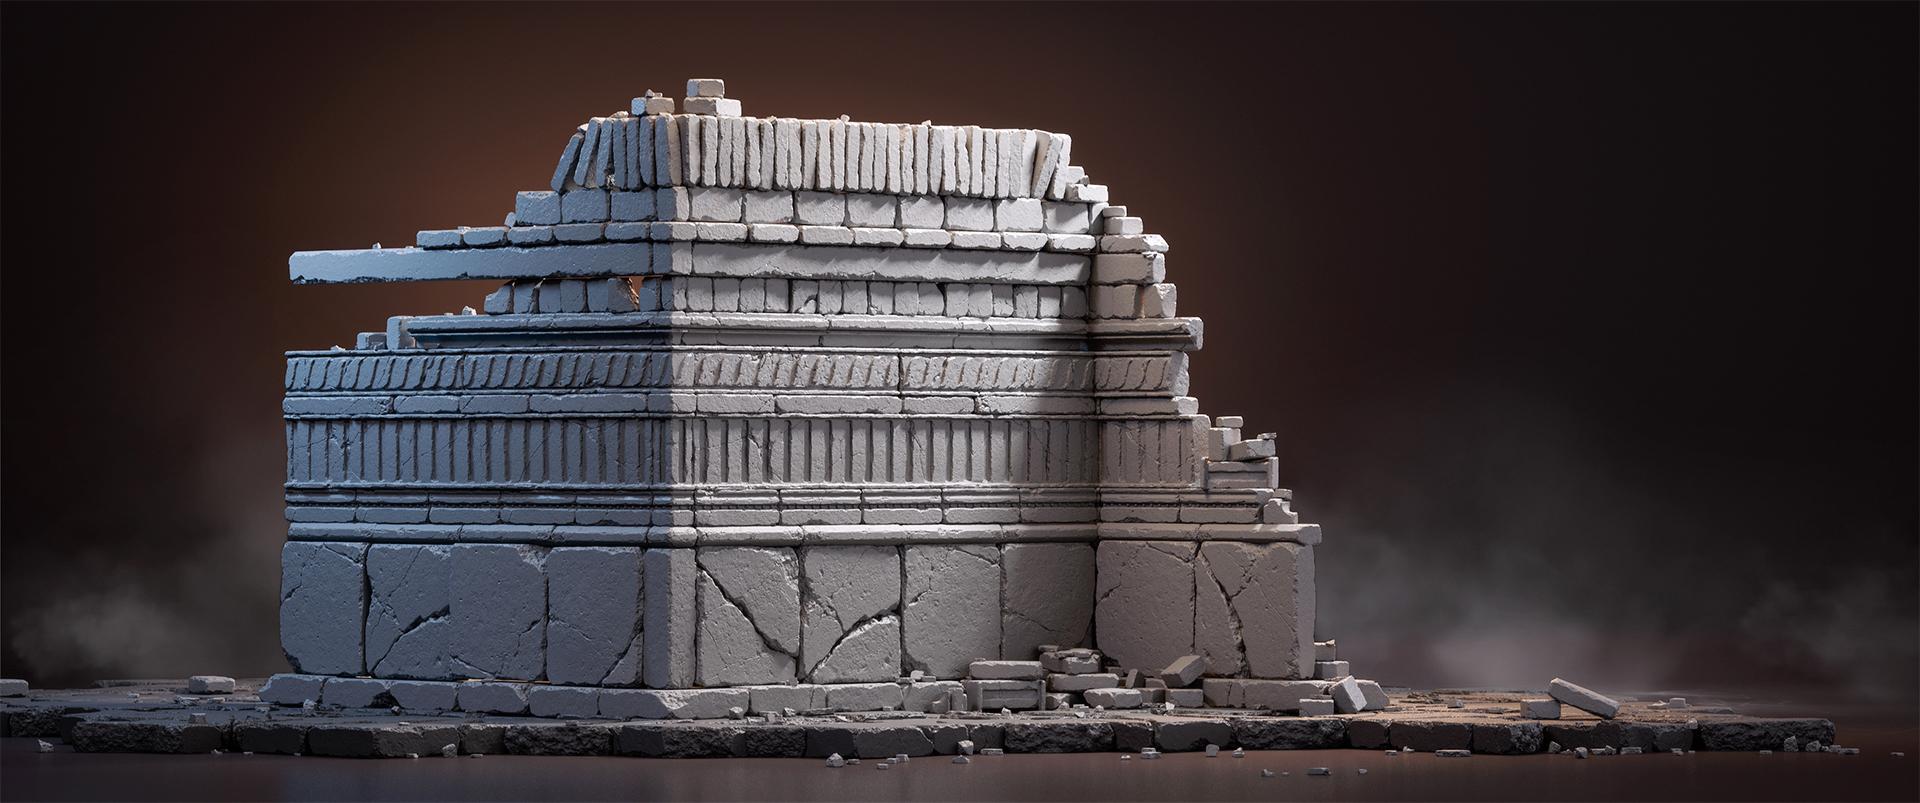
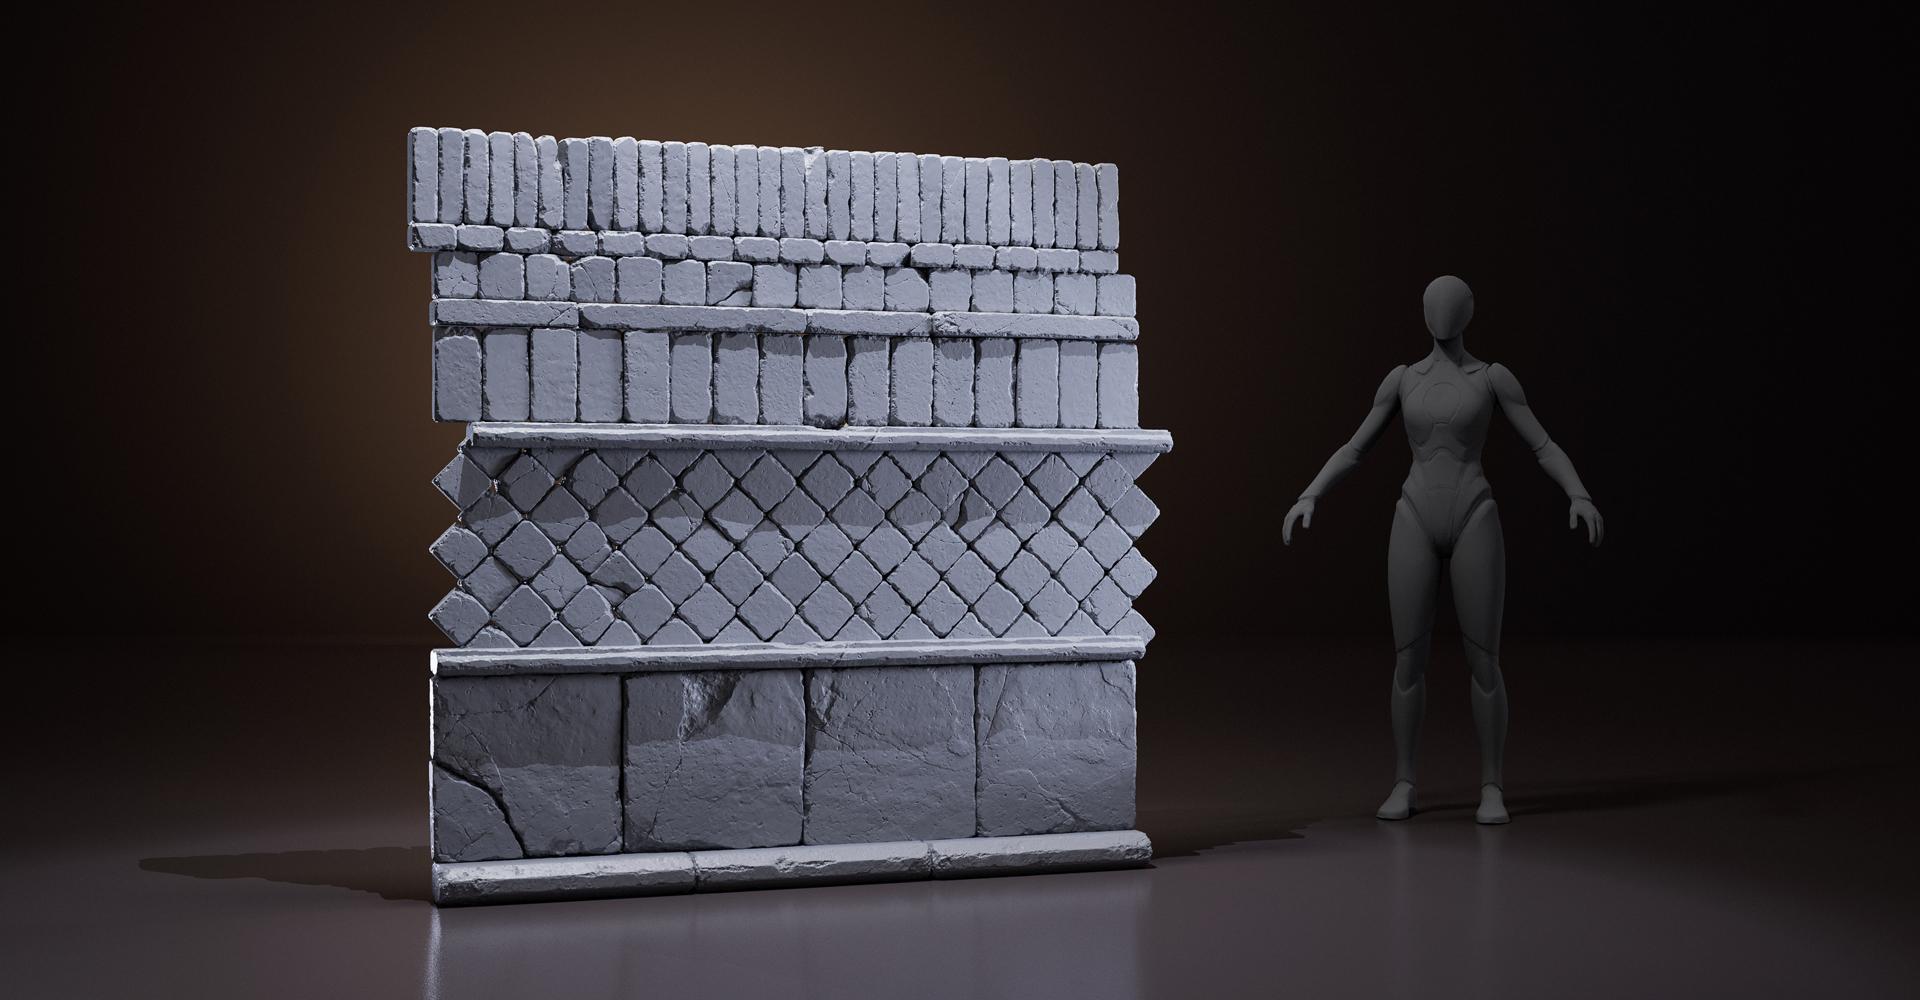
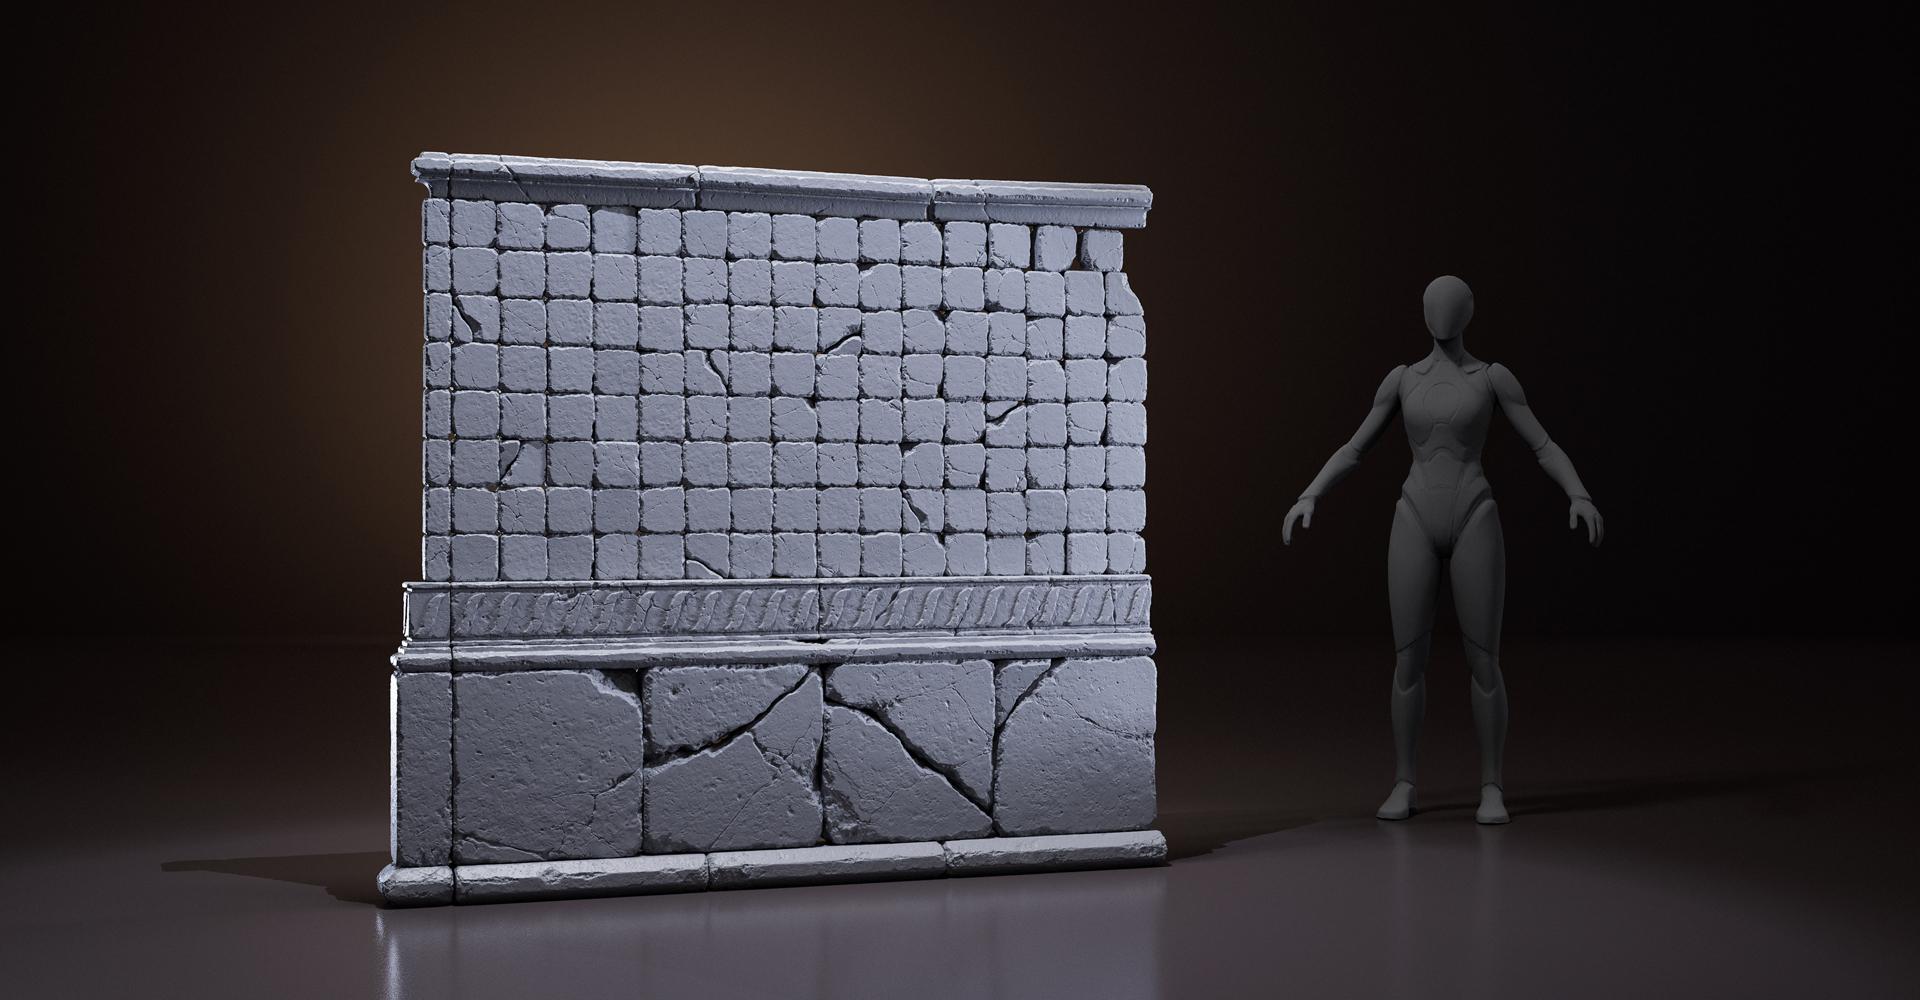
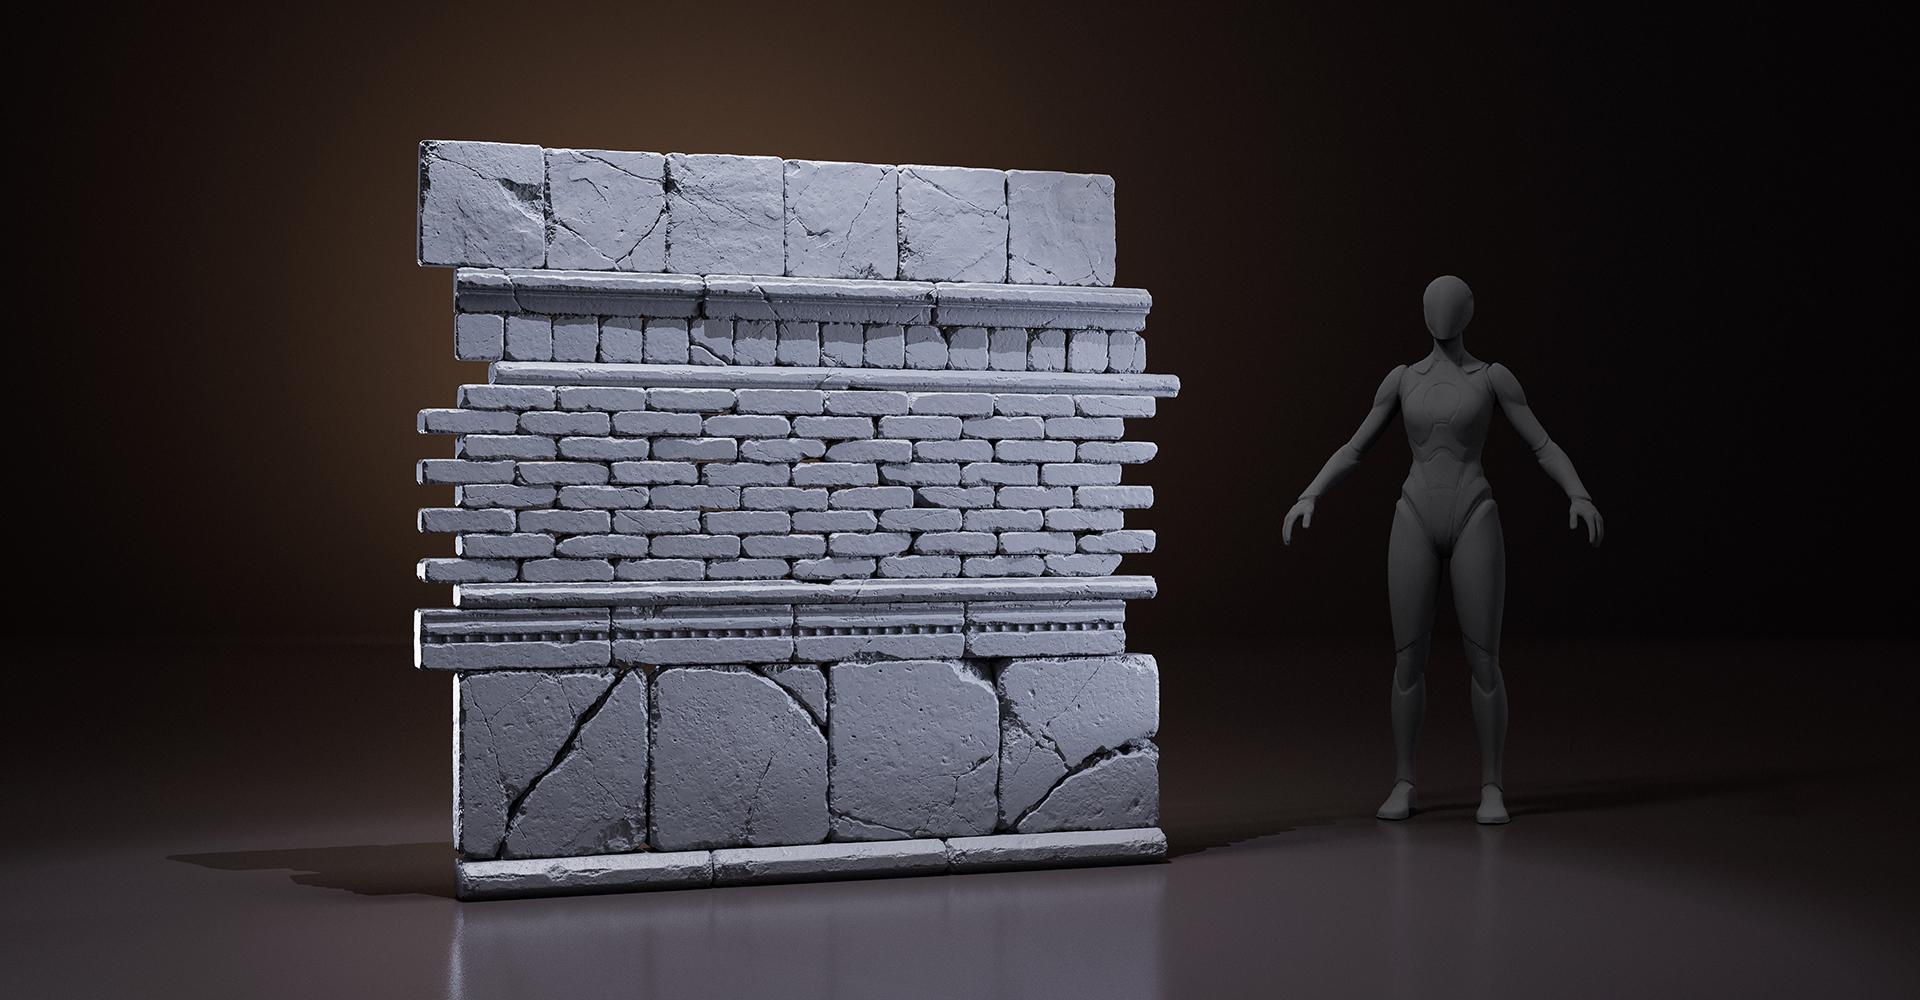
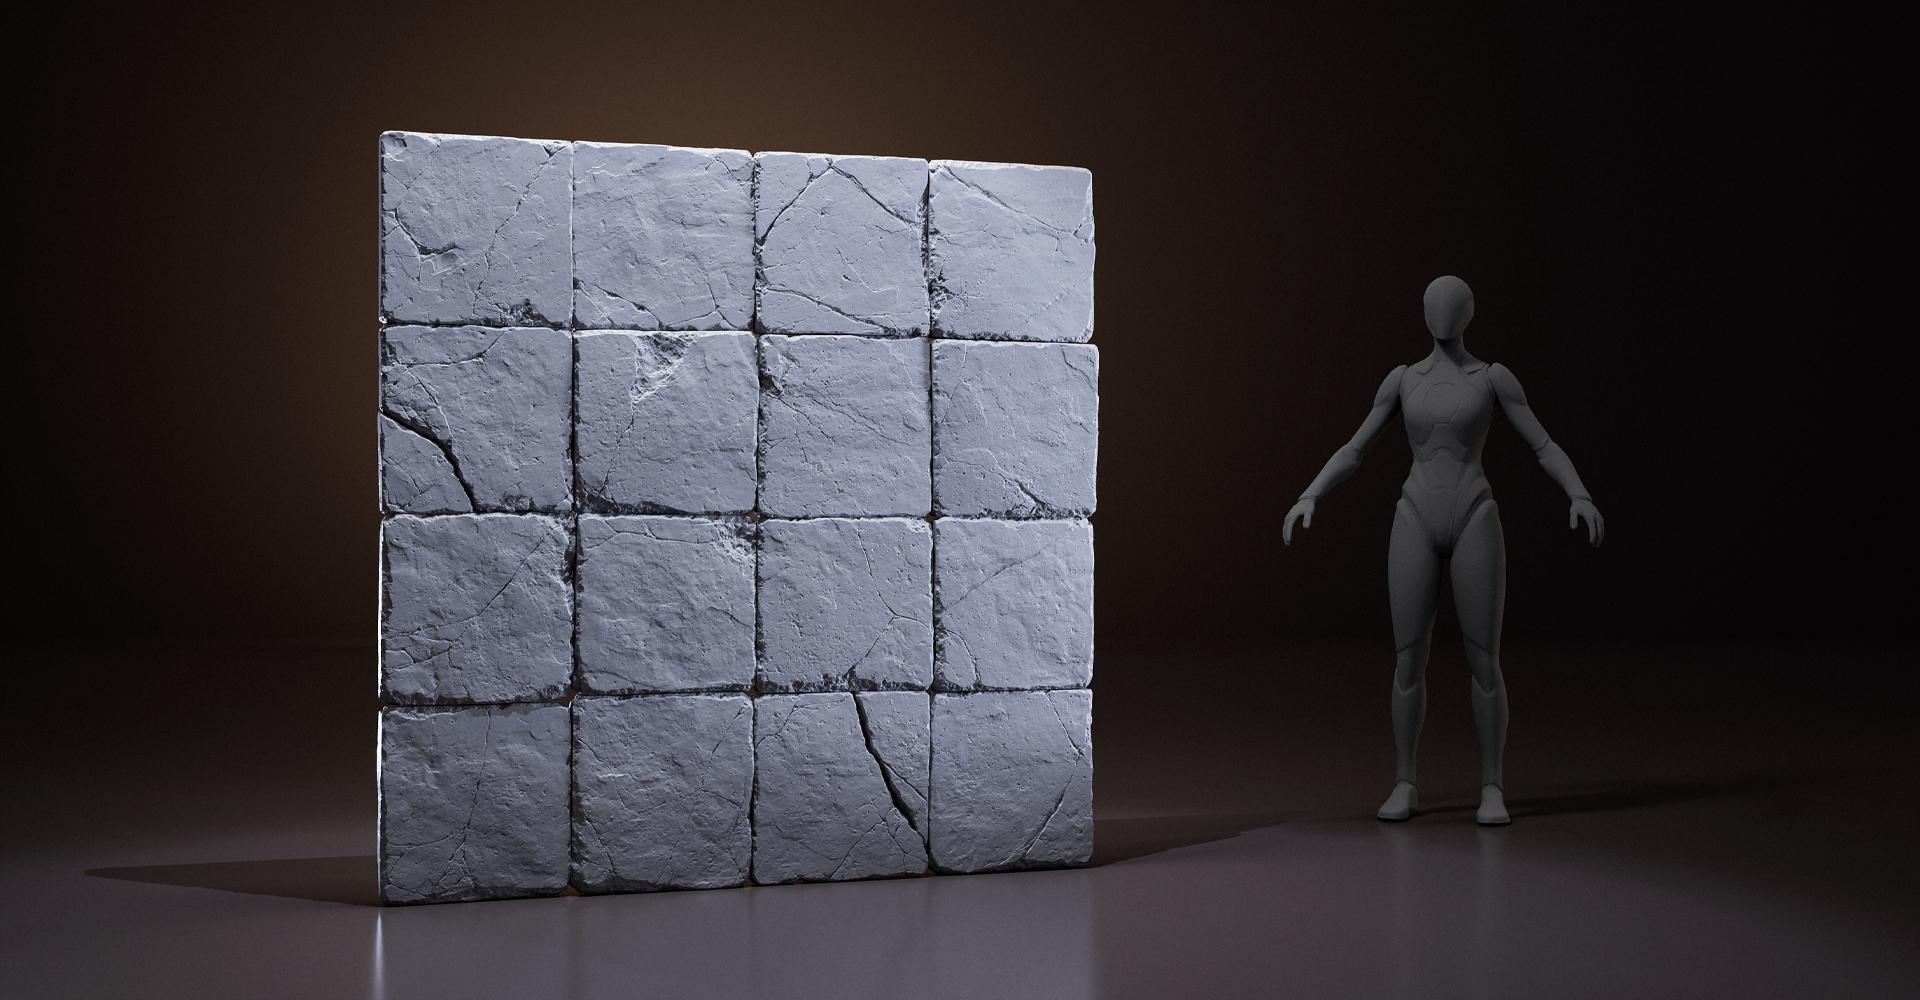
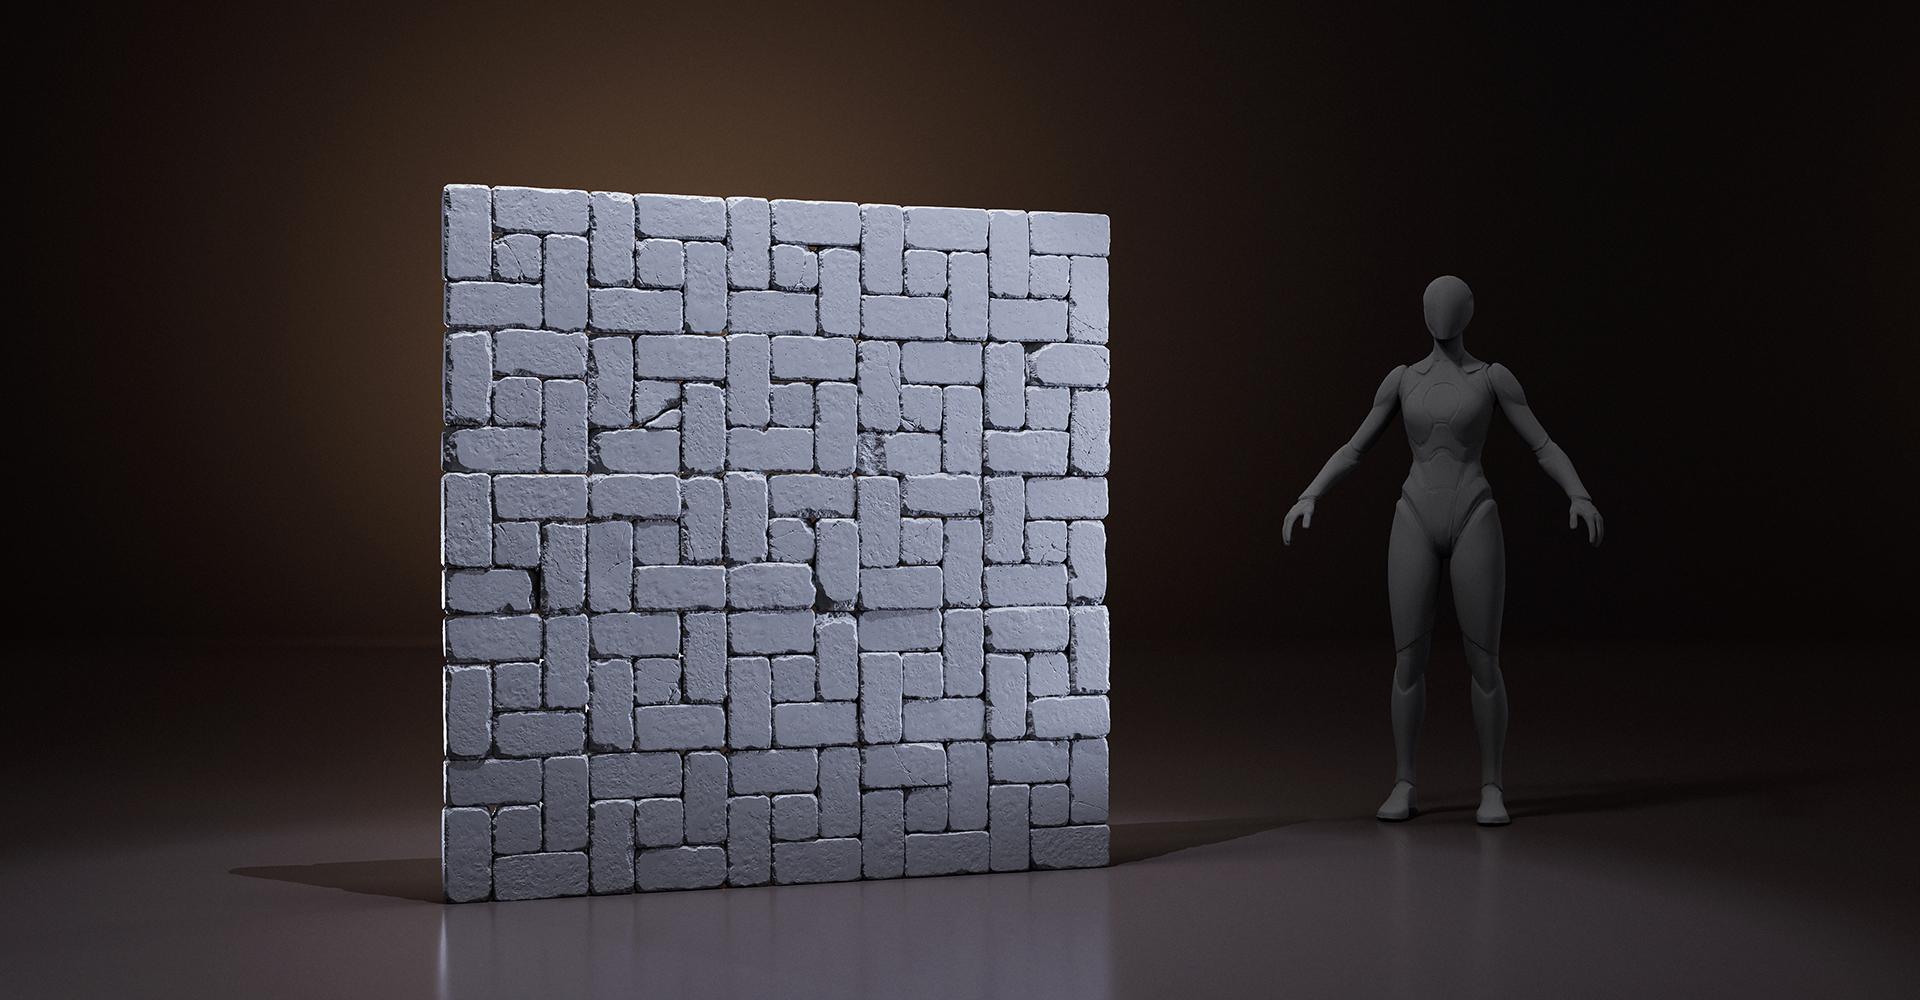
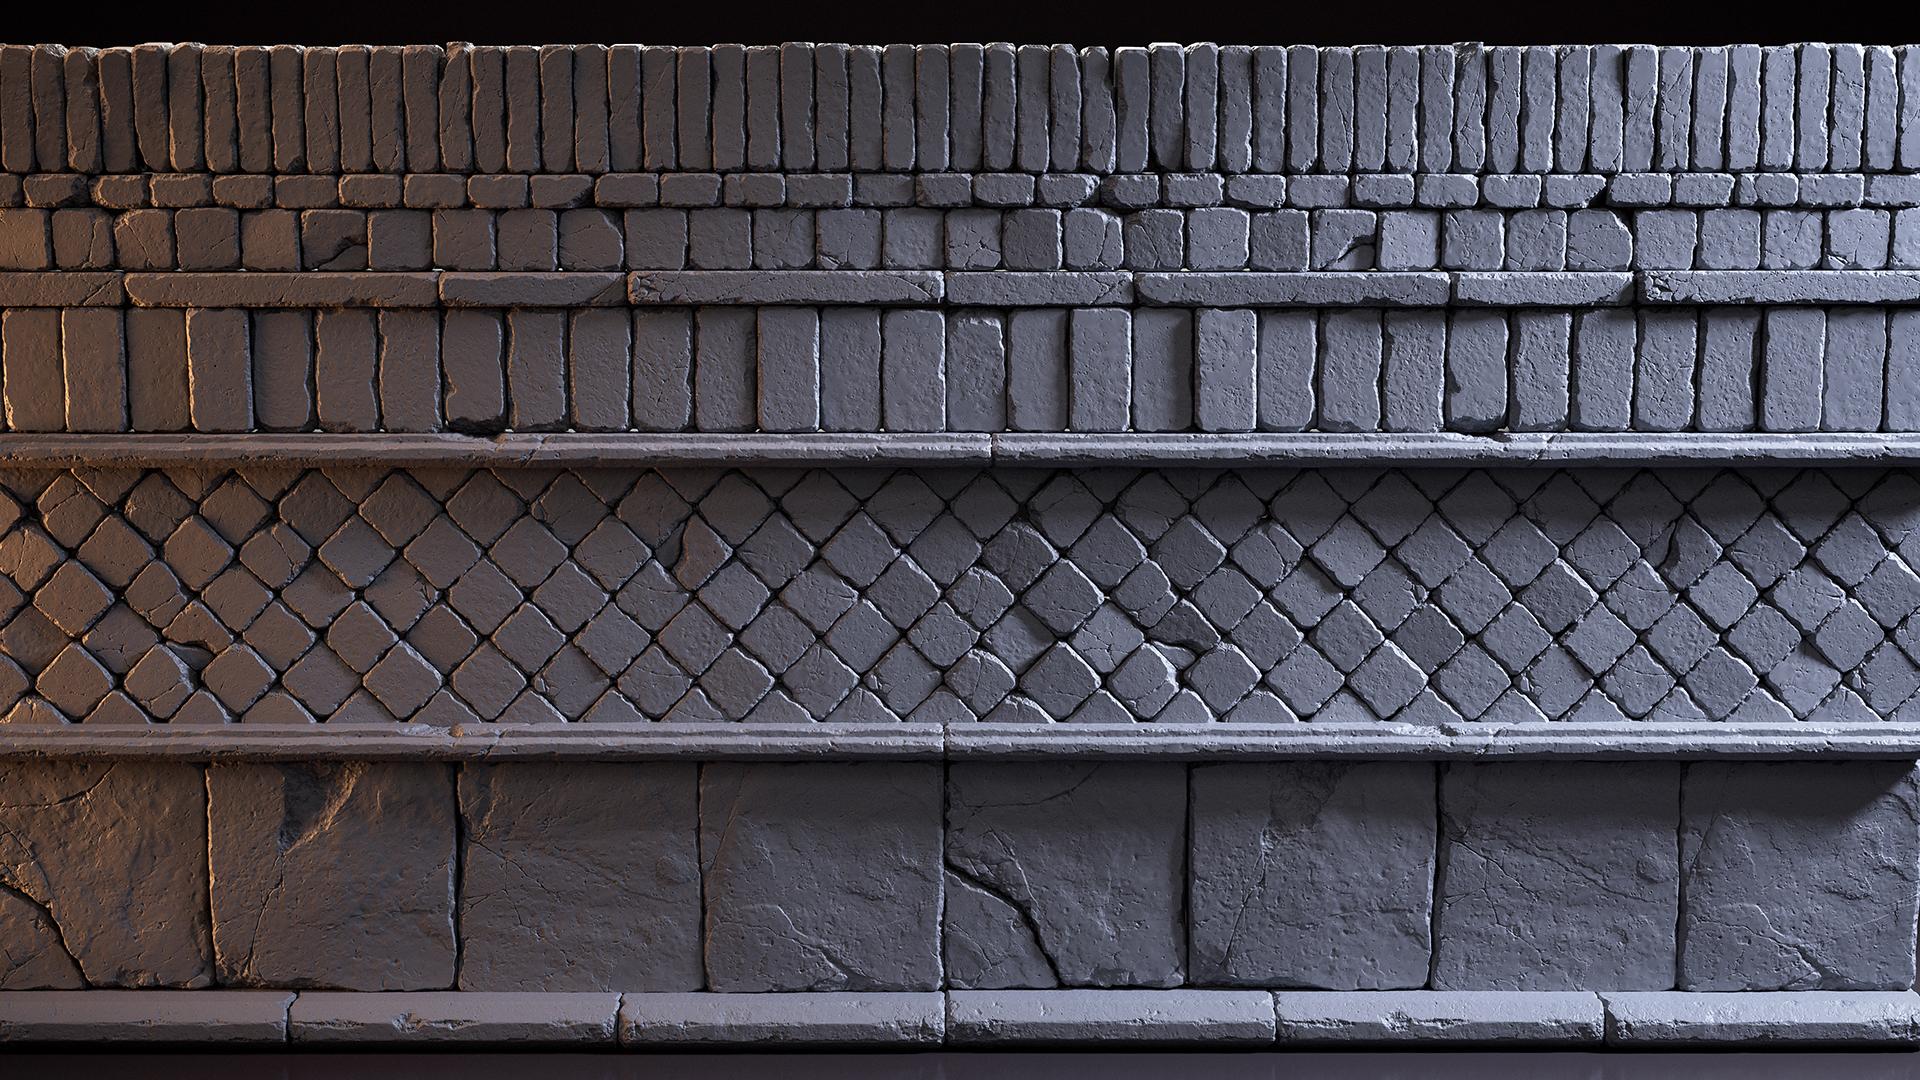
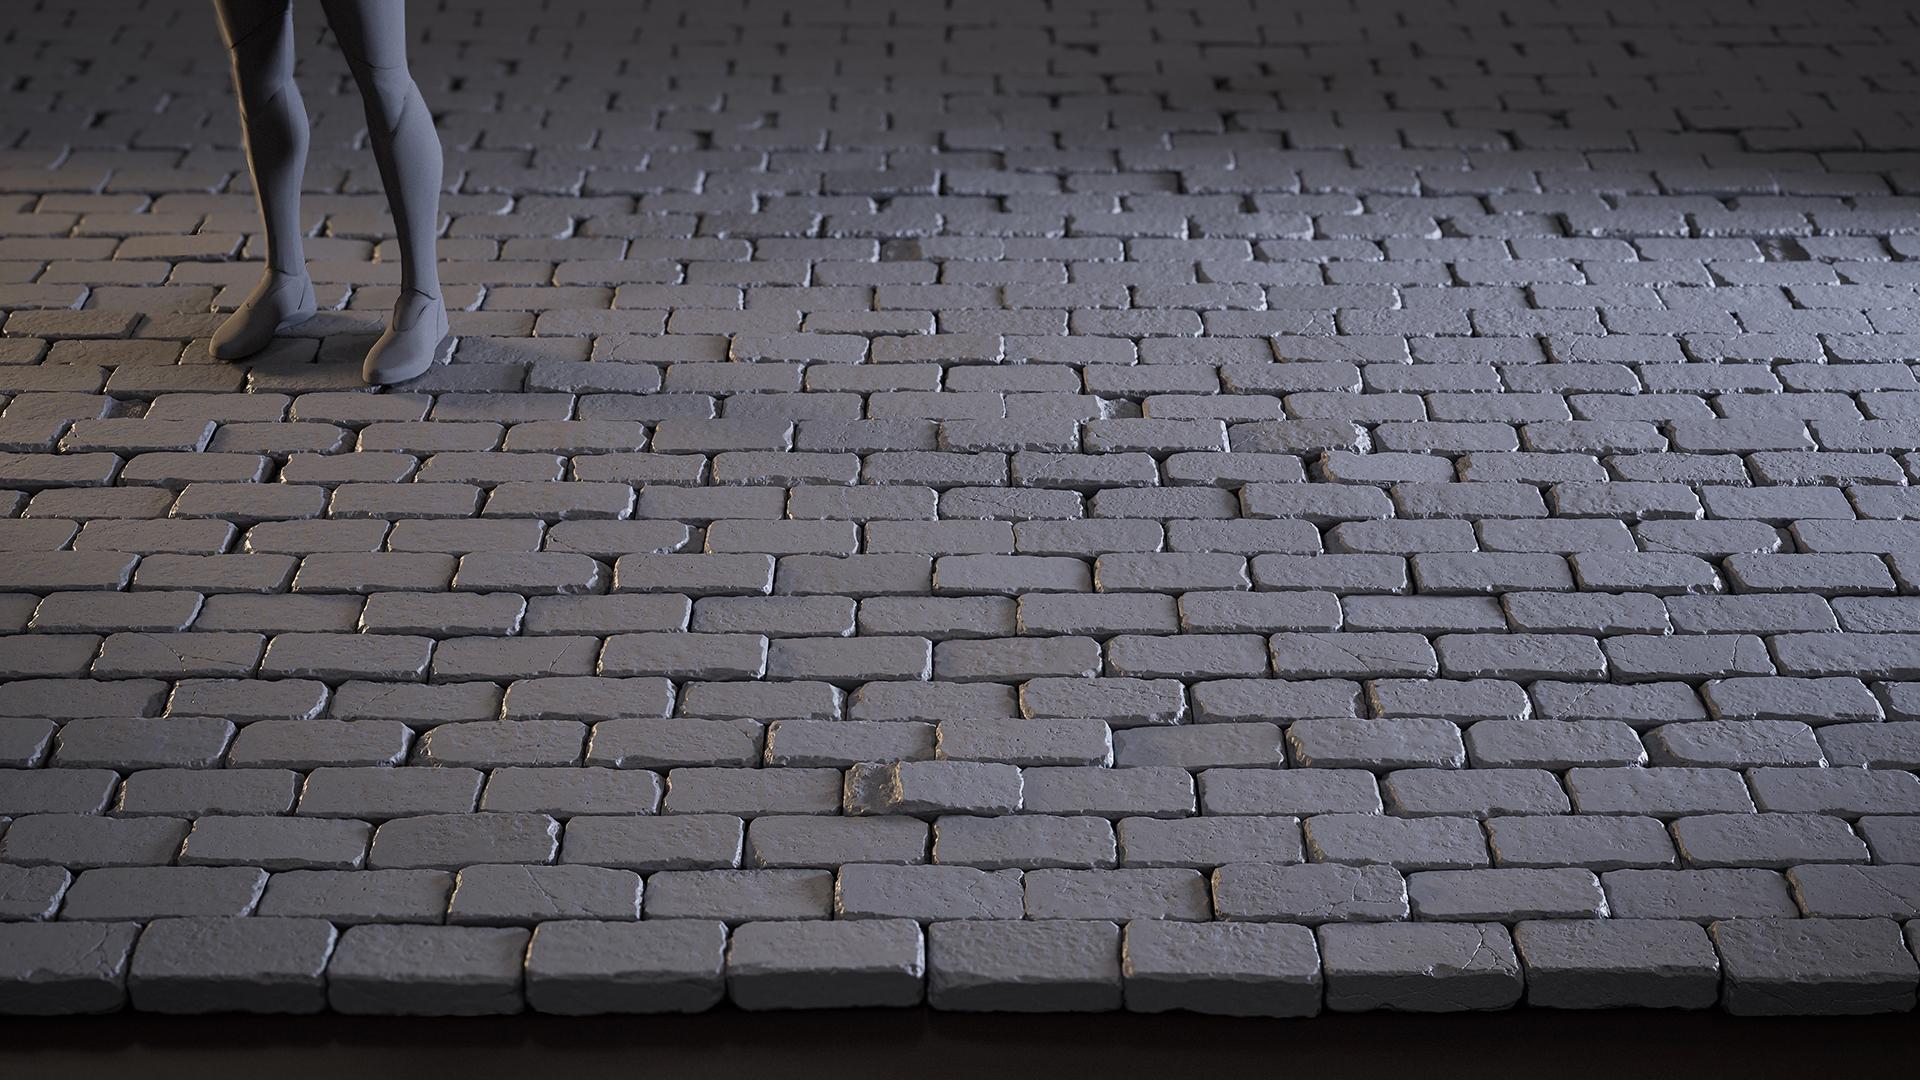
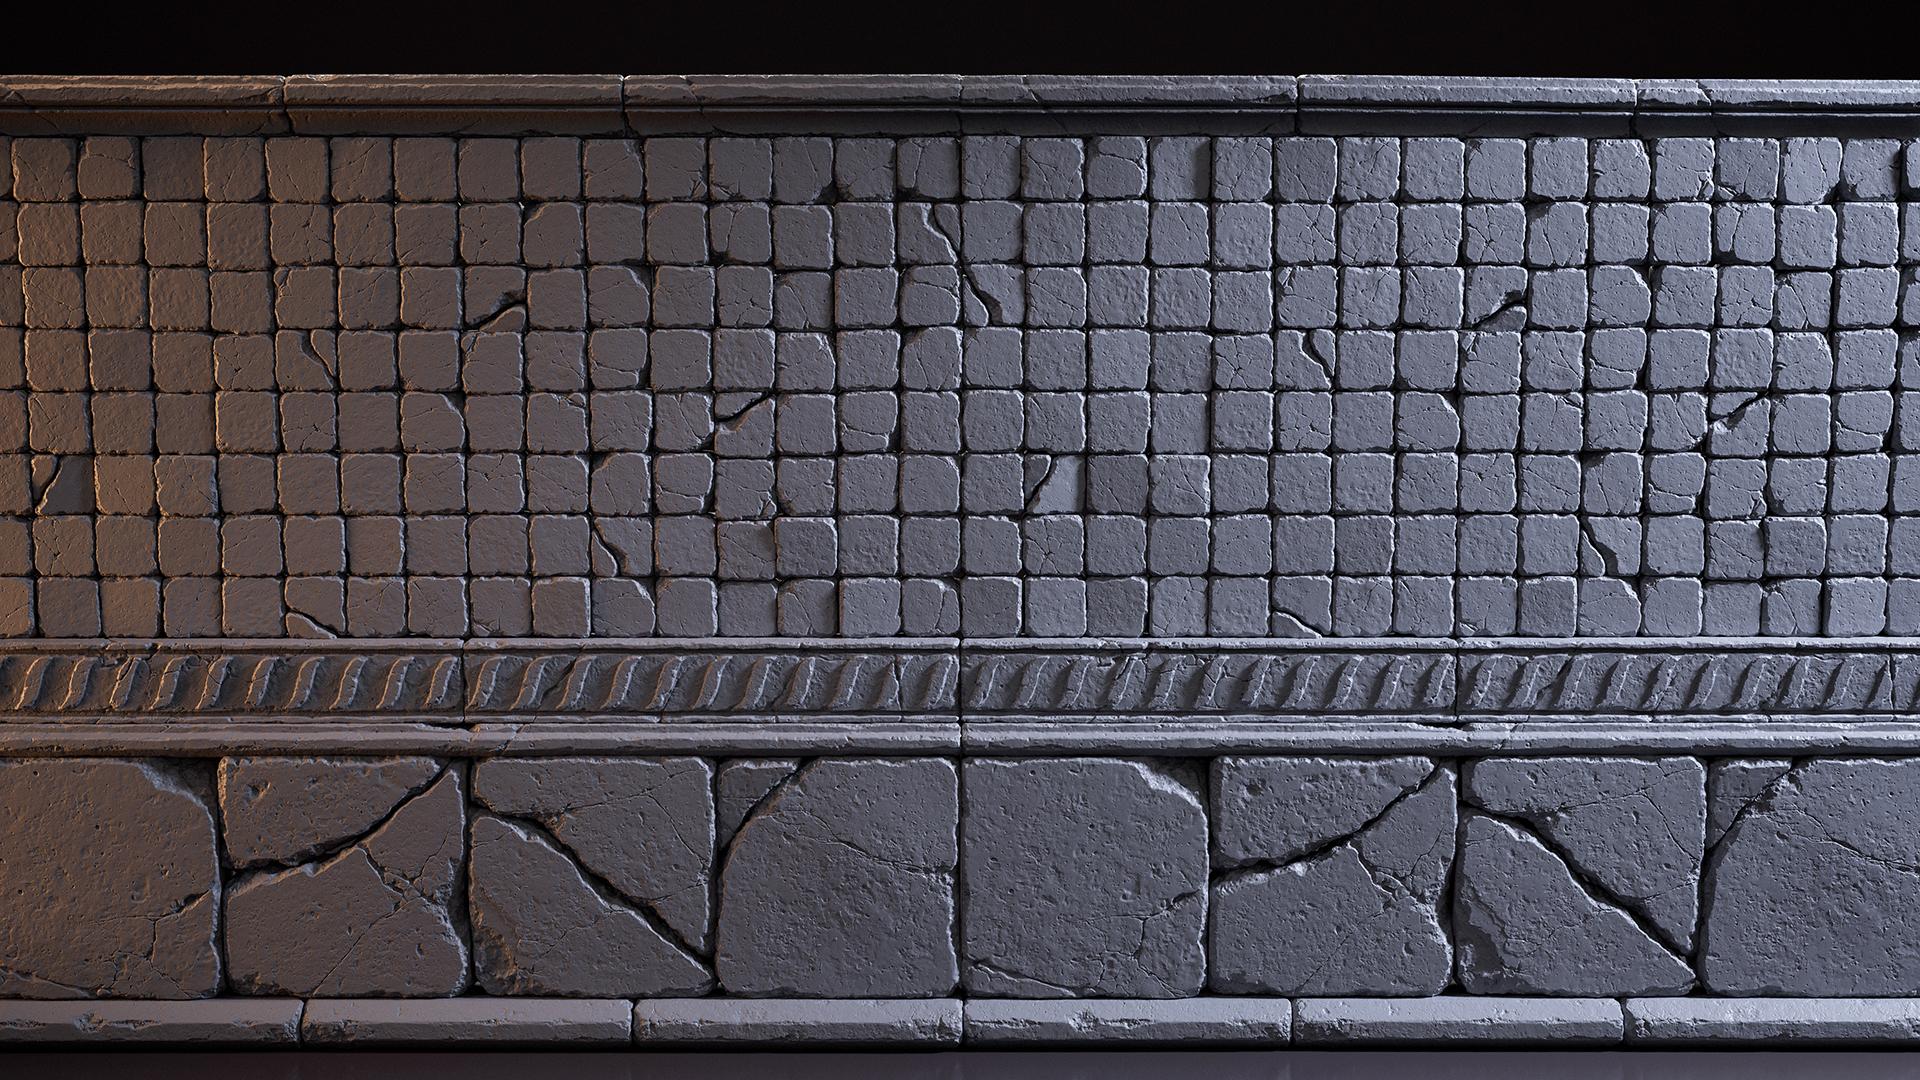
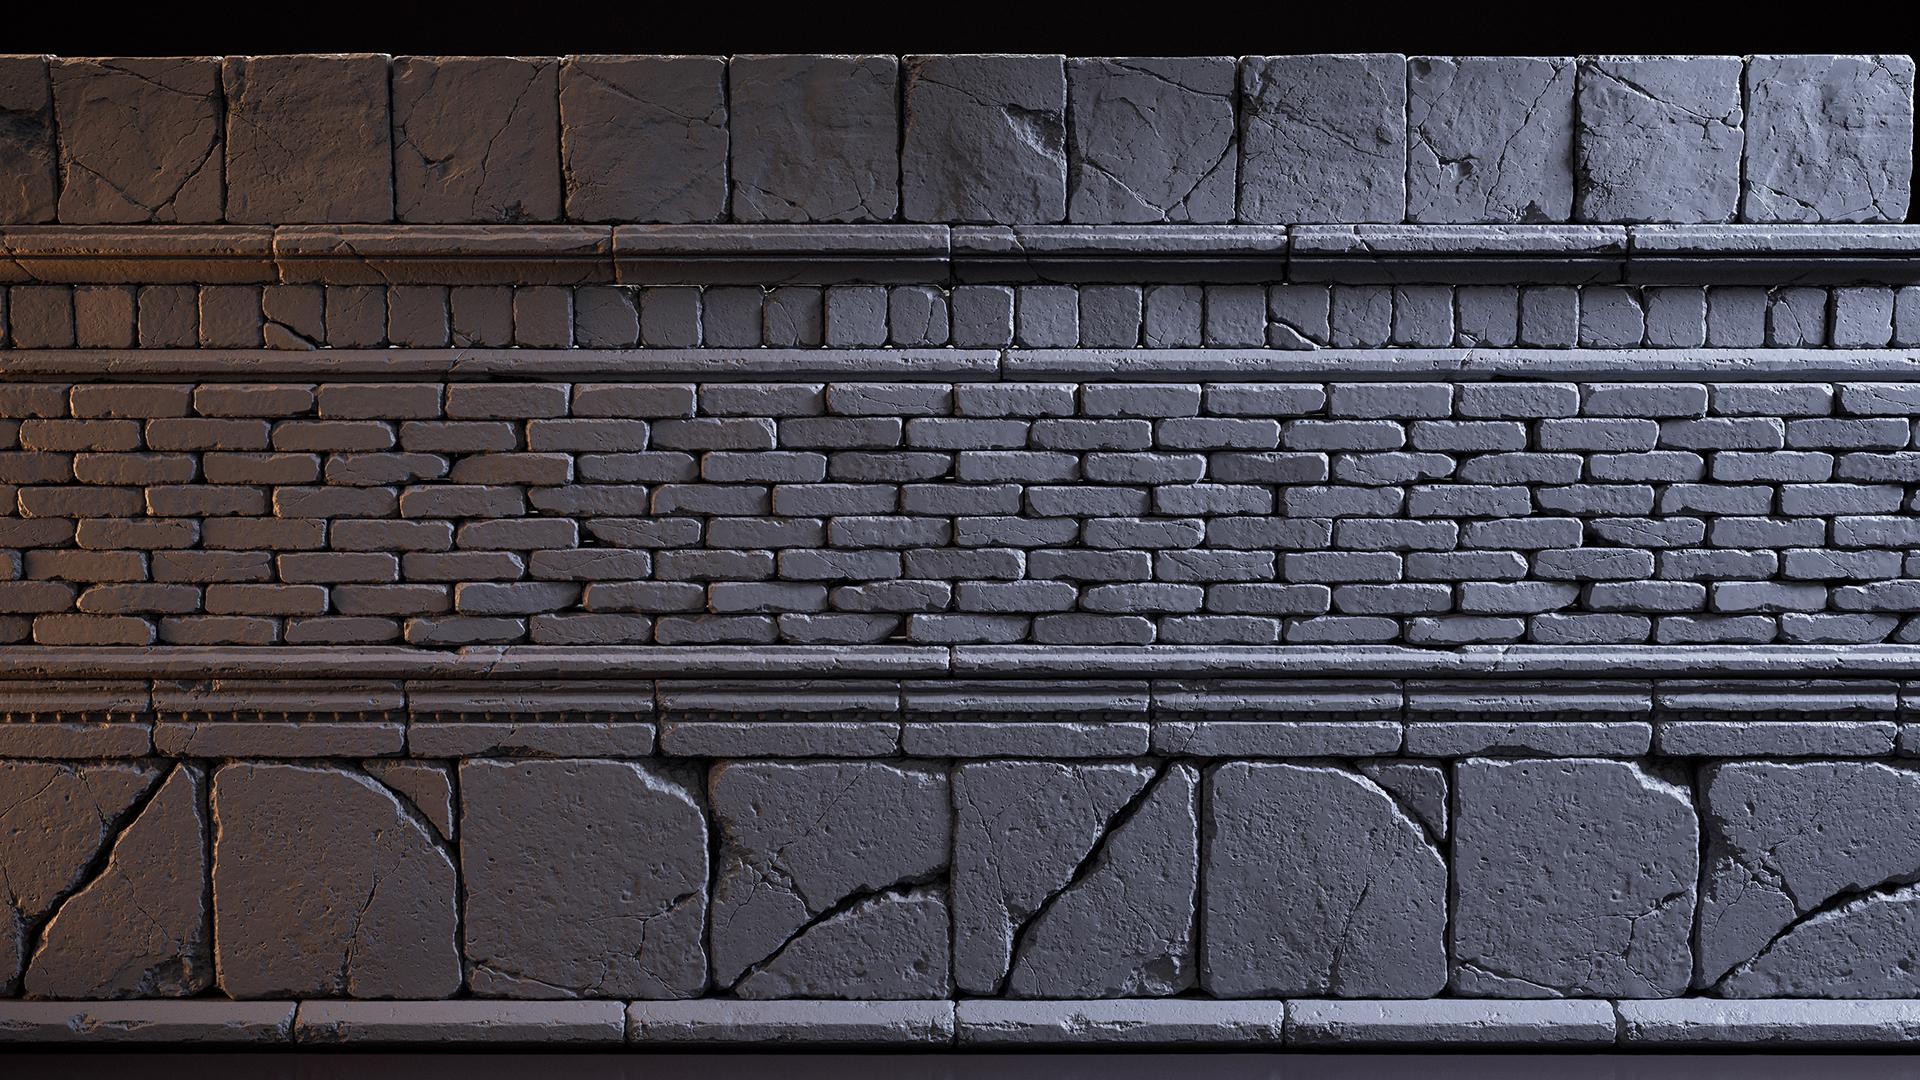
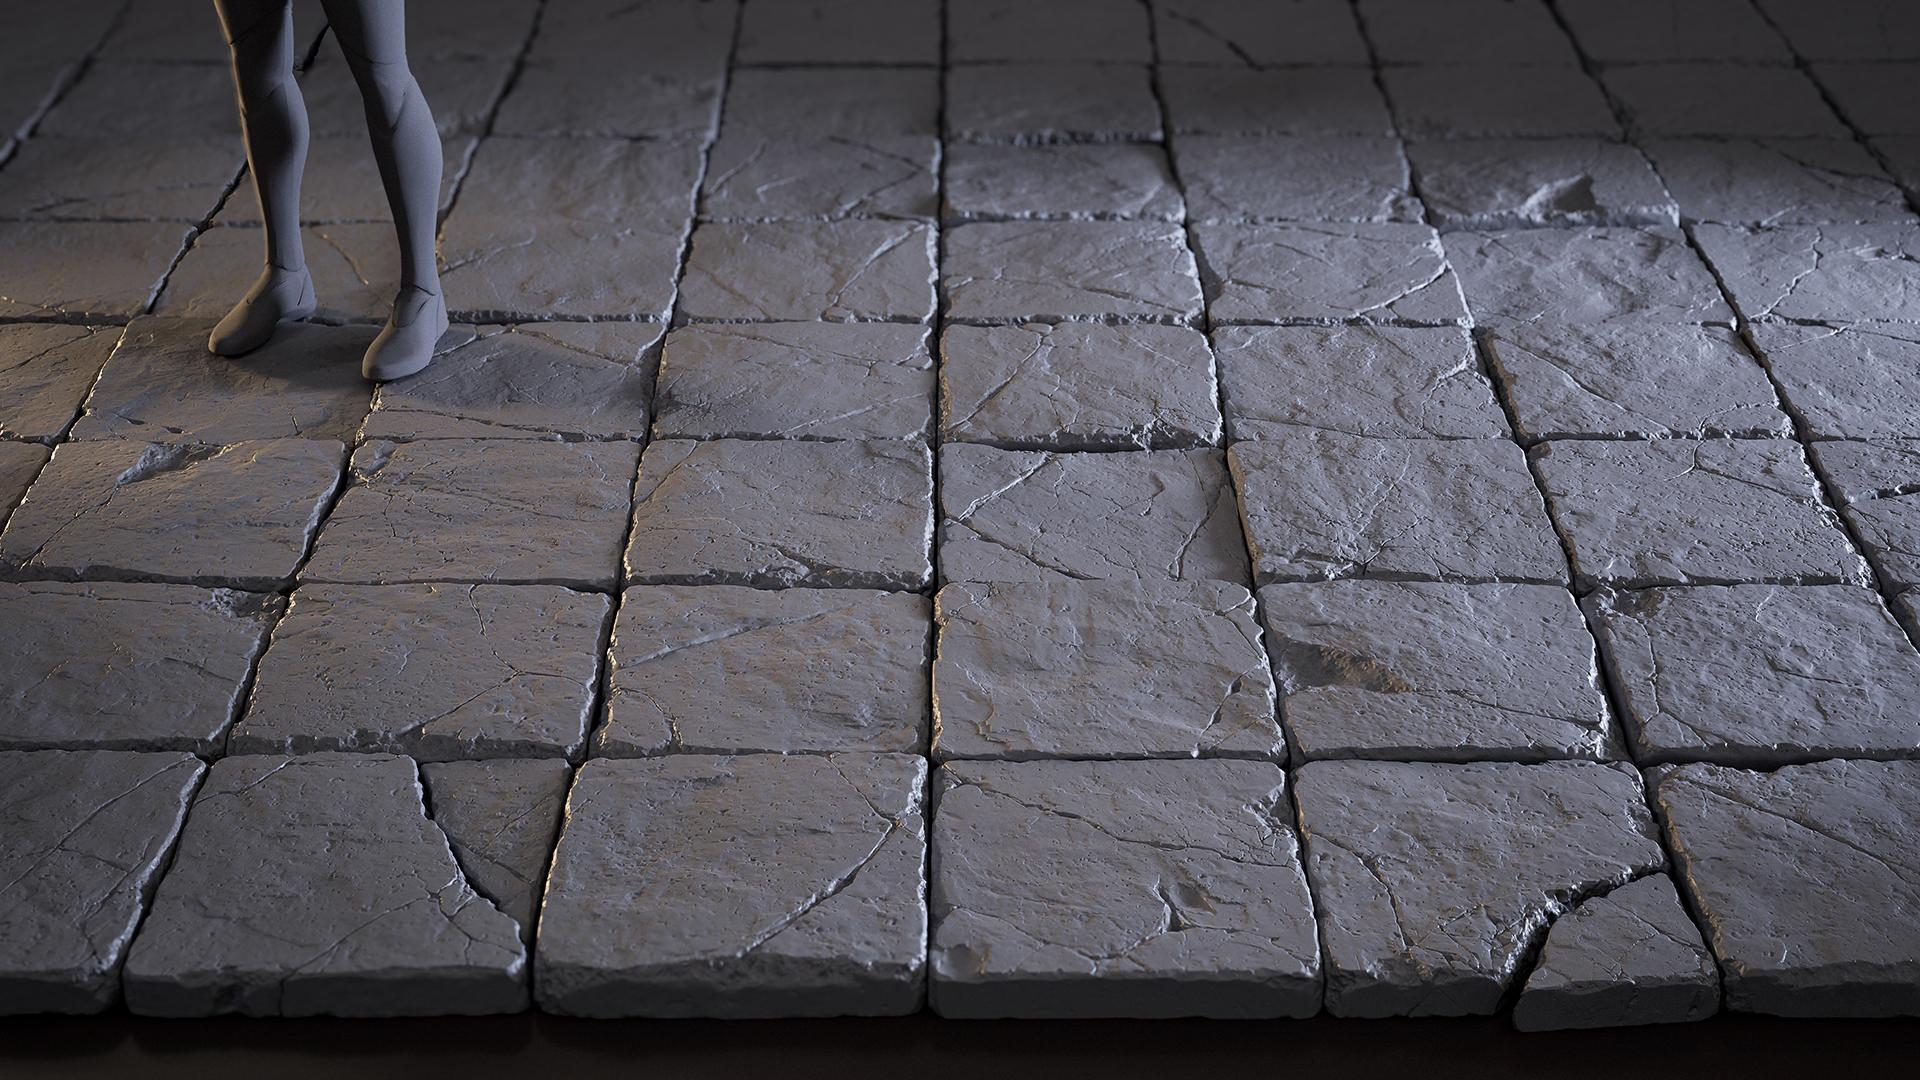
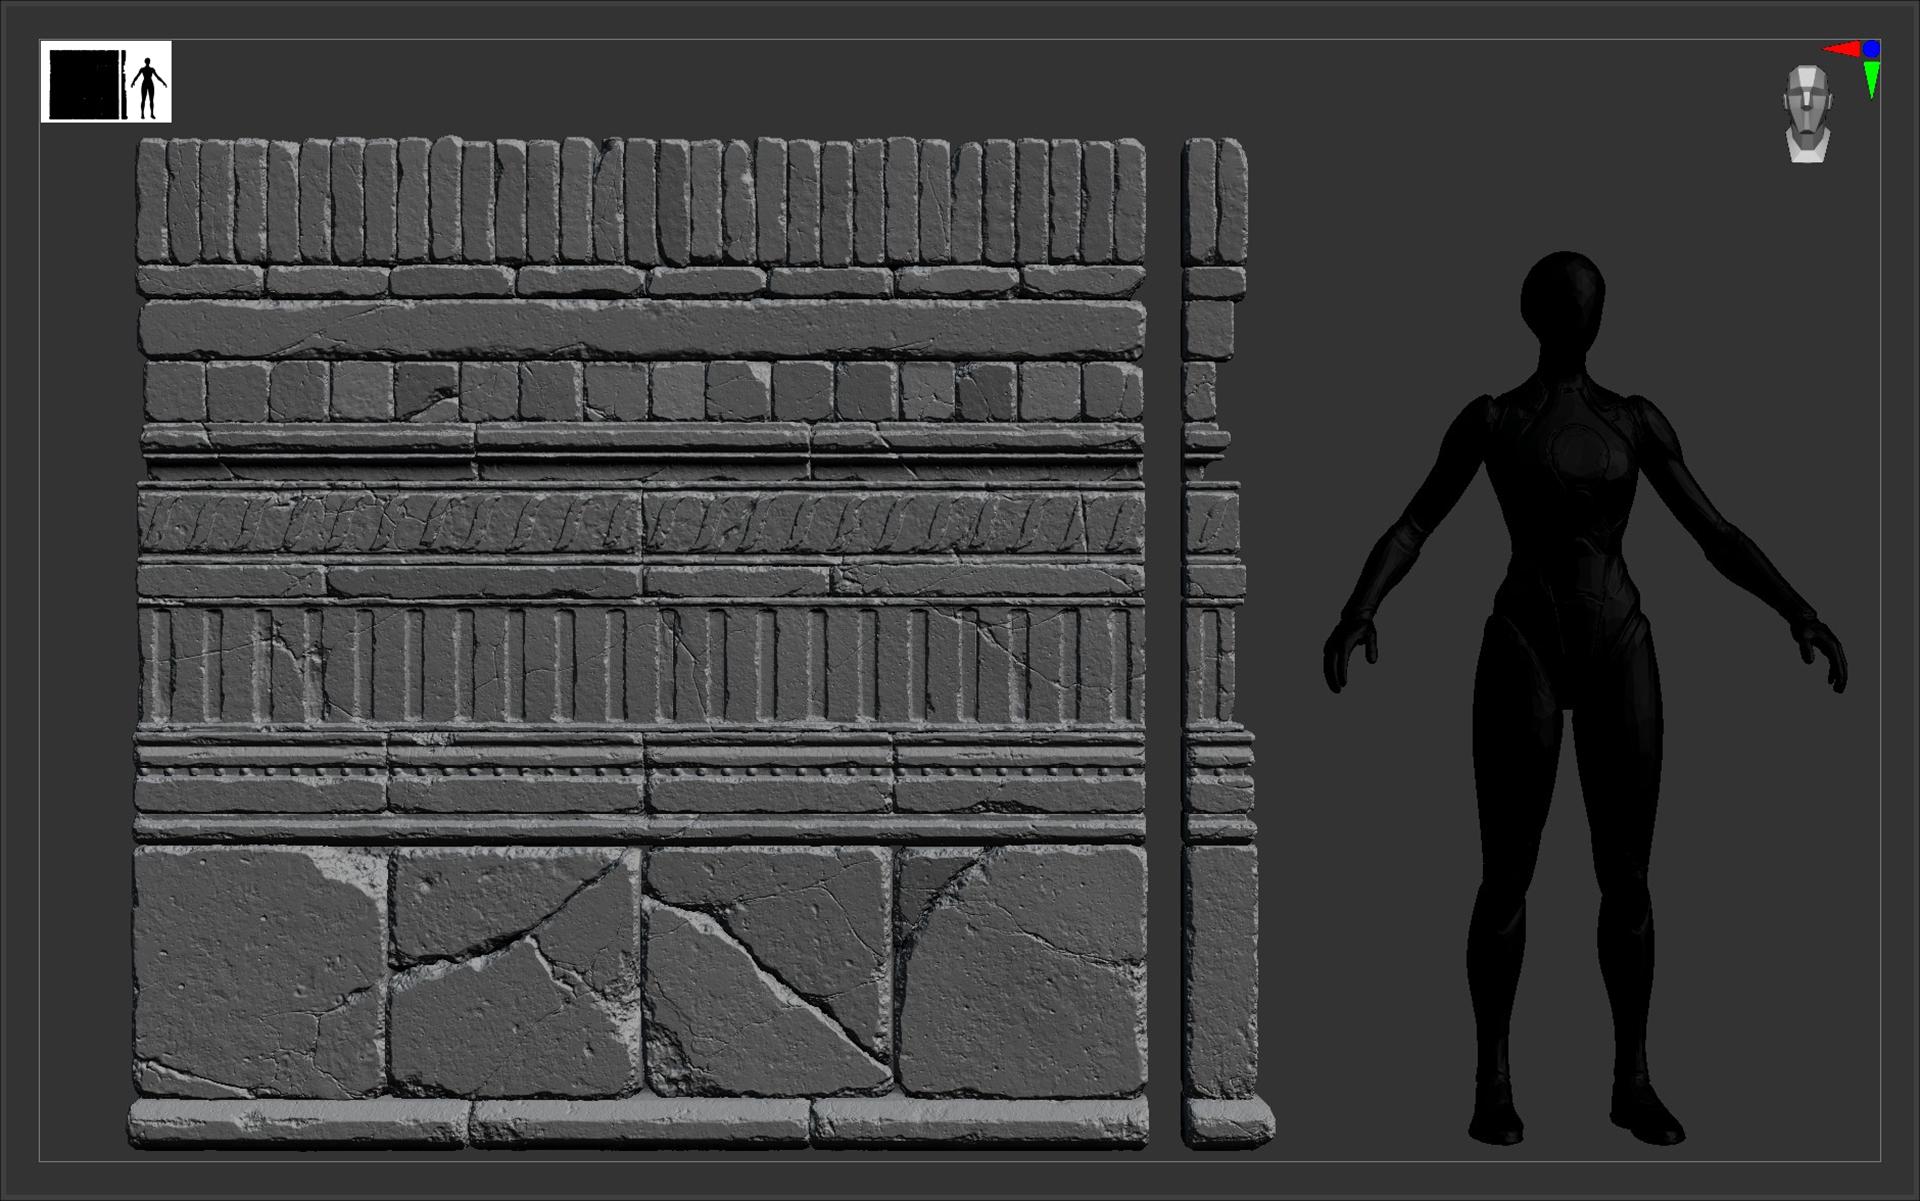
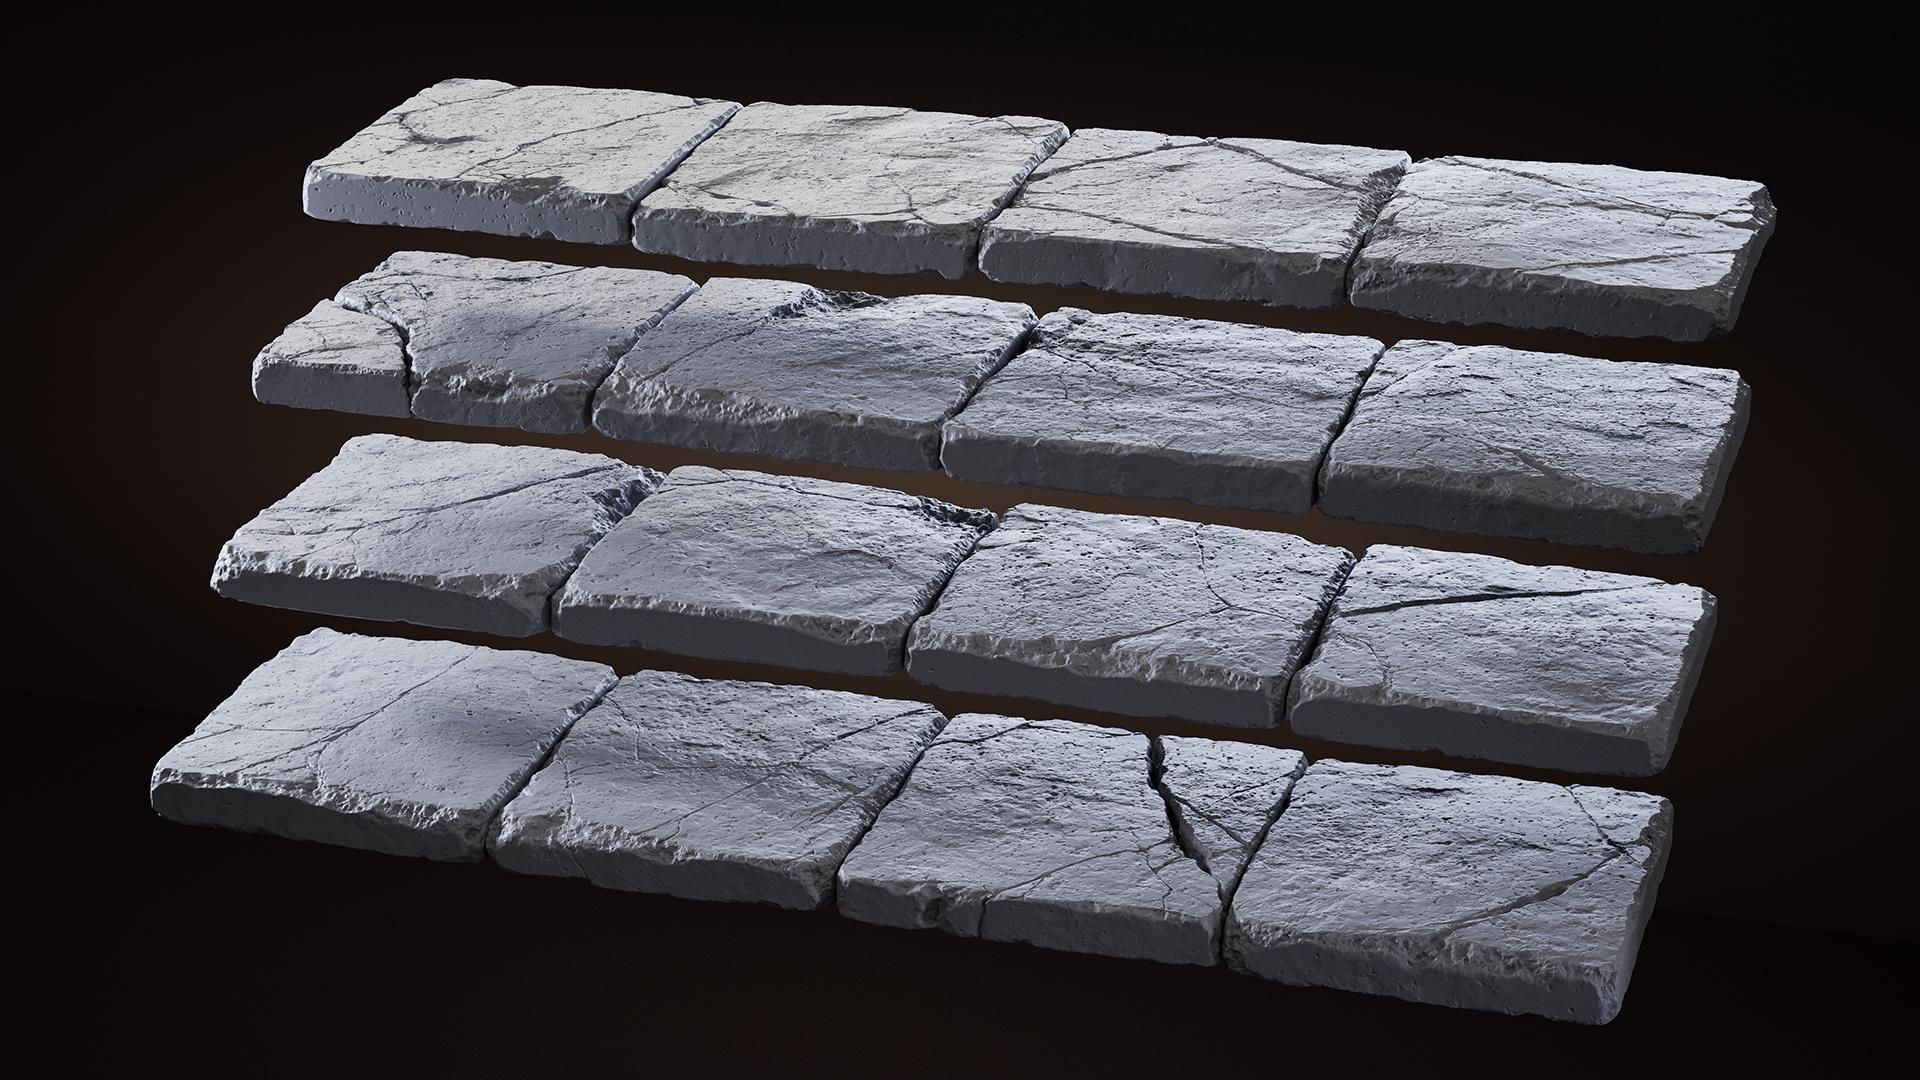
Along the way, I decided to arrange these elements into a structured set – a 2×2 metre wall composed of different trims, along with a separate set of stone tiles of the same size that could be used as a floor. While creating the trims, it was important for me to establish a variety of shapes and scales – from small tiles (~12.5×12.5 cm) to larger elements (~50×50 cm). This allowed for more flexibility when combining them into different wall variations later on.
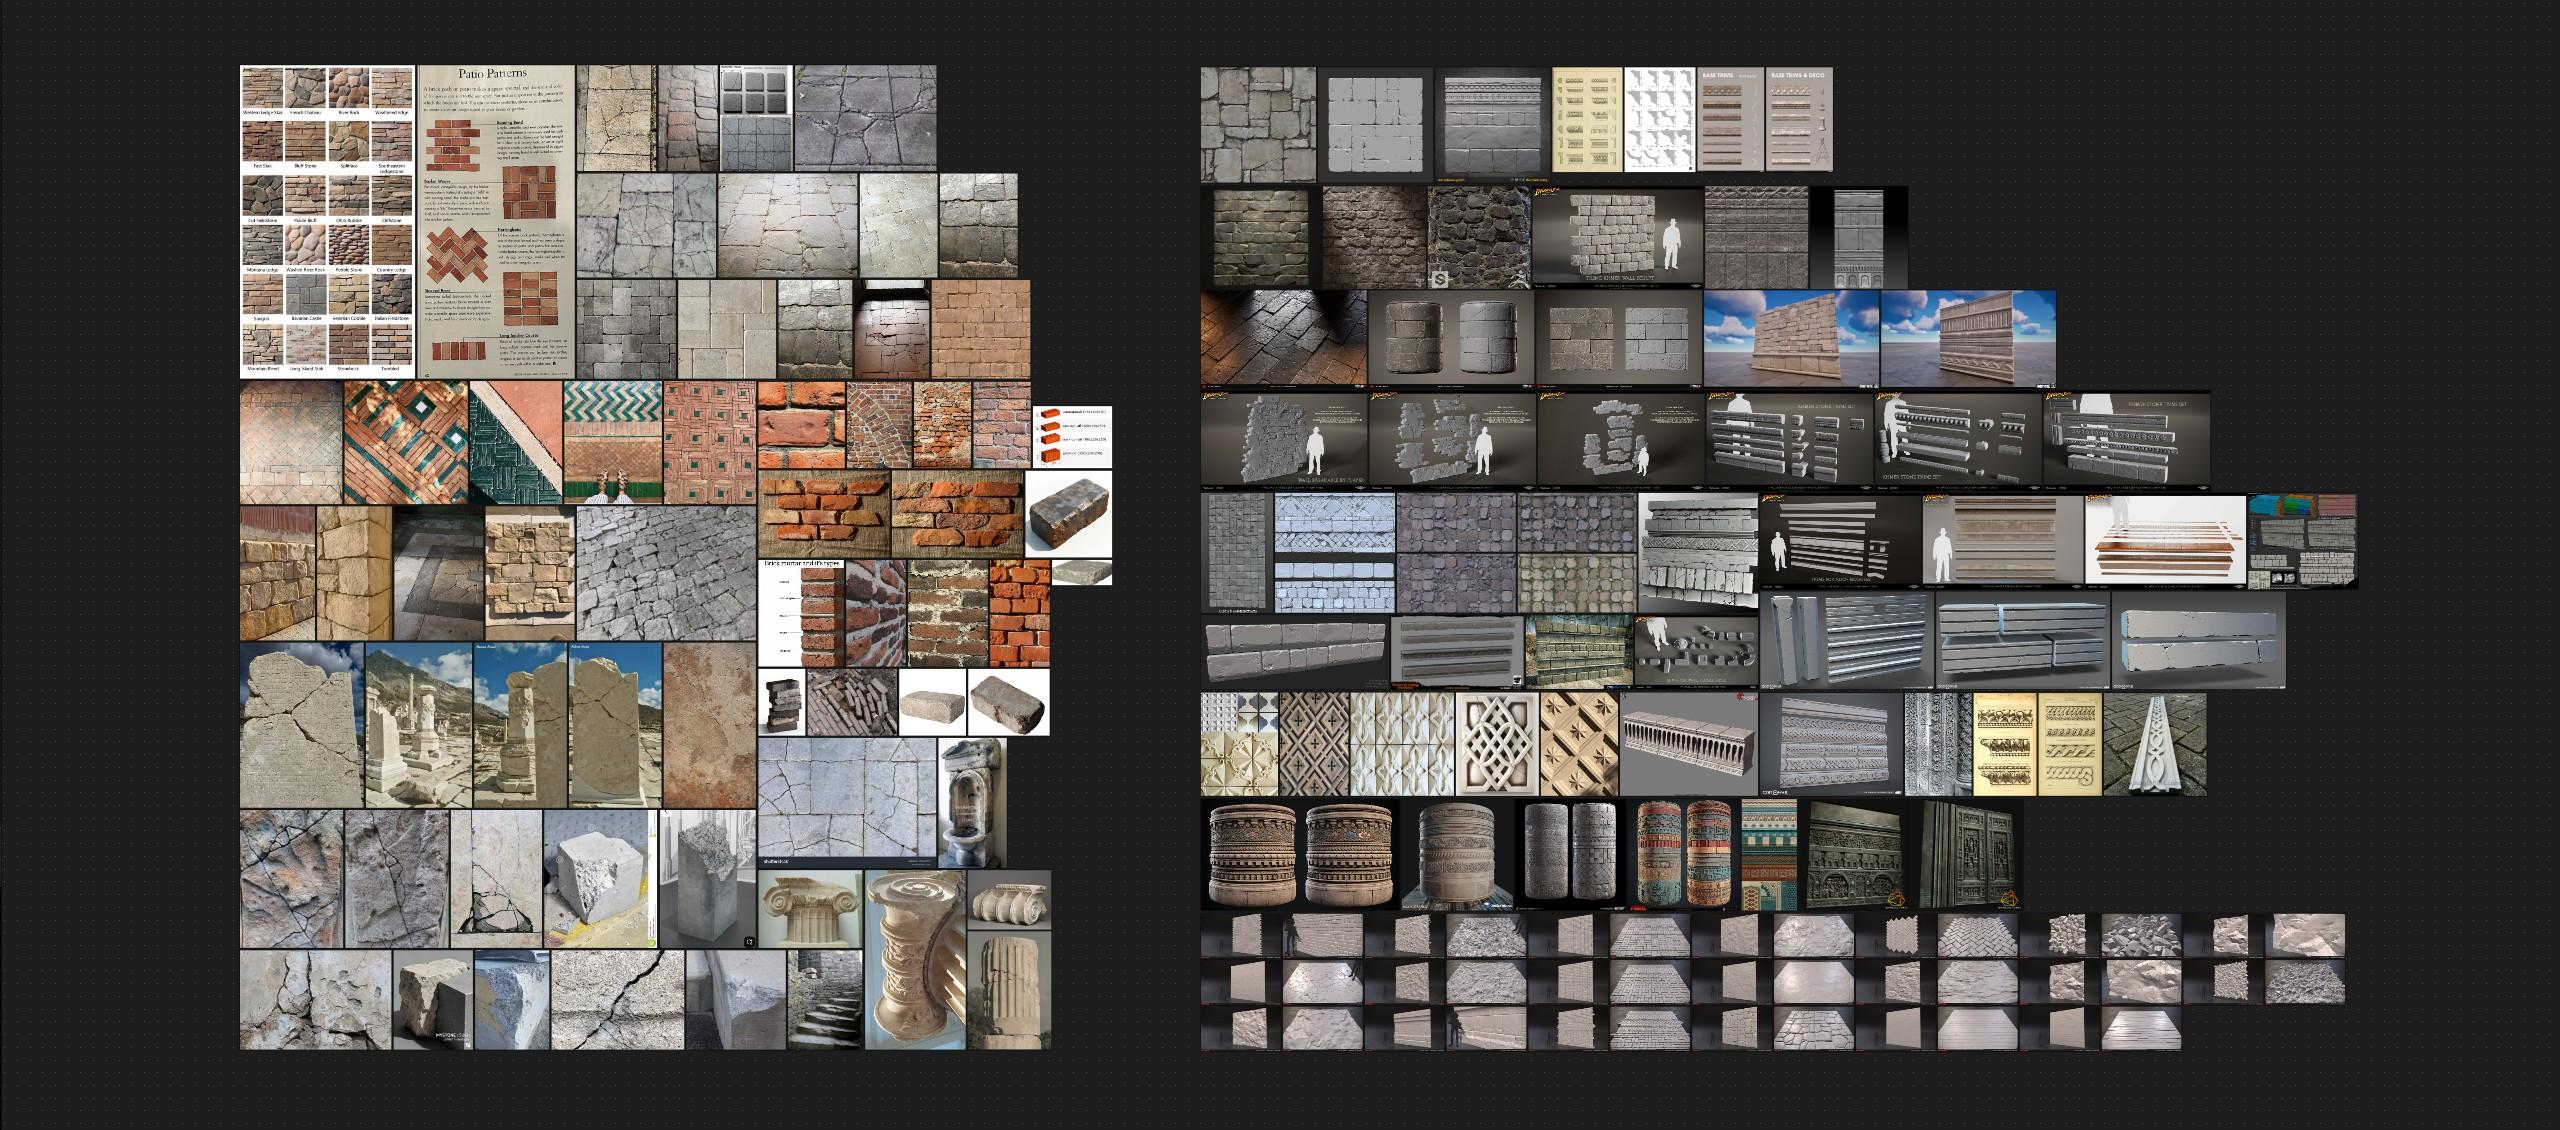
The project didn’t have a specific stylistic direction. I love elegant, detailed architecture, but for this project I deliberately kept the forms simple. I wanted to focus on the material itself: the feel of stone, its weight, and its wear. So I chose my references accordingly.
The foundation was real-world photos of stone surfaces, which I used as the primary source when sculpting. Images from games and other 3D works served more as inspiration for shapes, rather than something to directly copy. For me, it’s important to rely on real materials to avoid secondary references and to better understand how surfaces behave.
Blockout
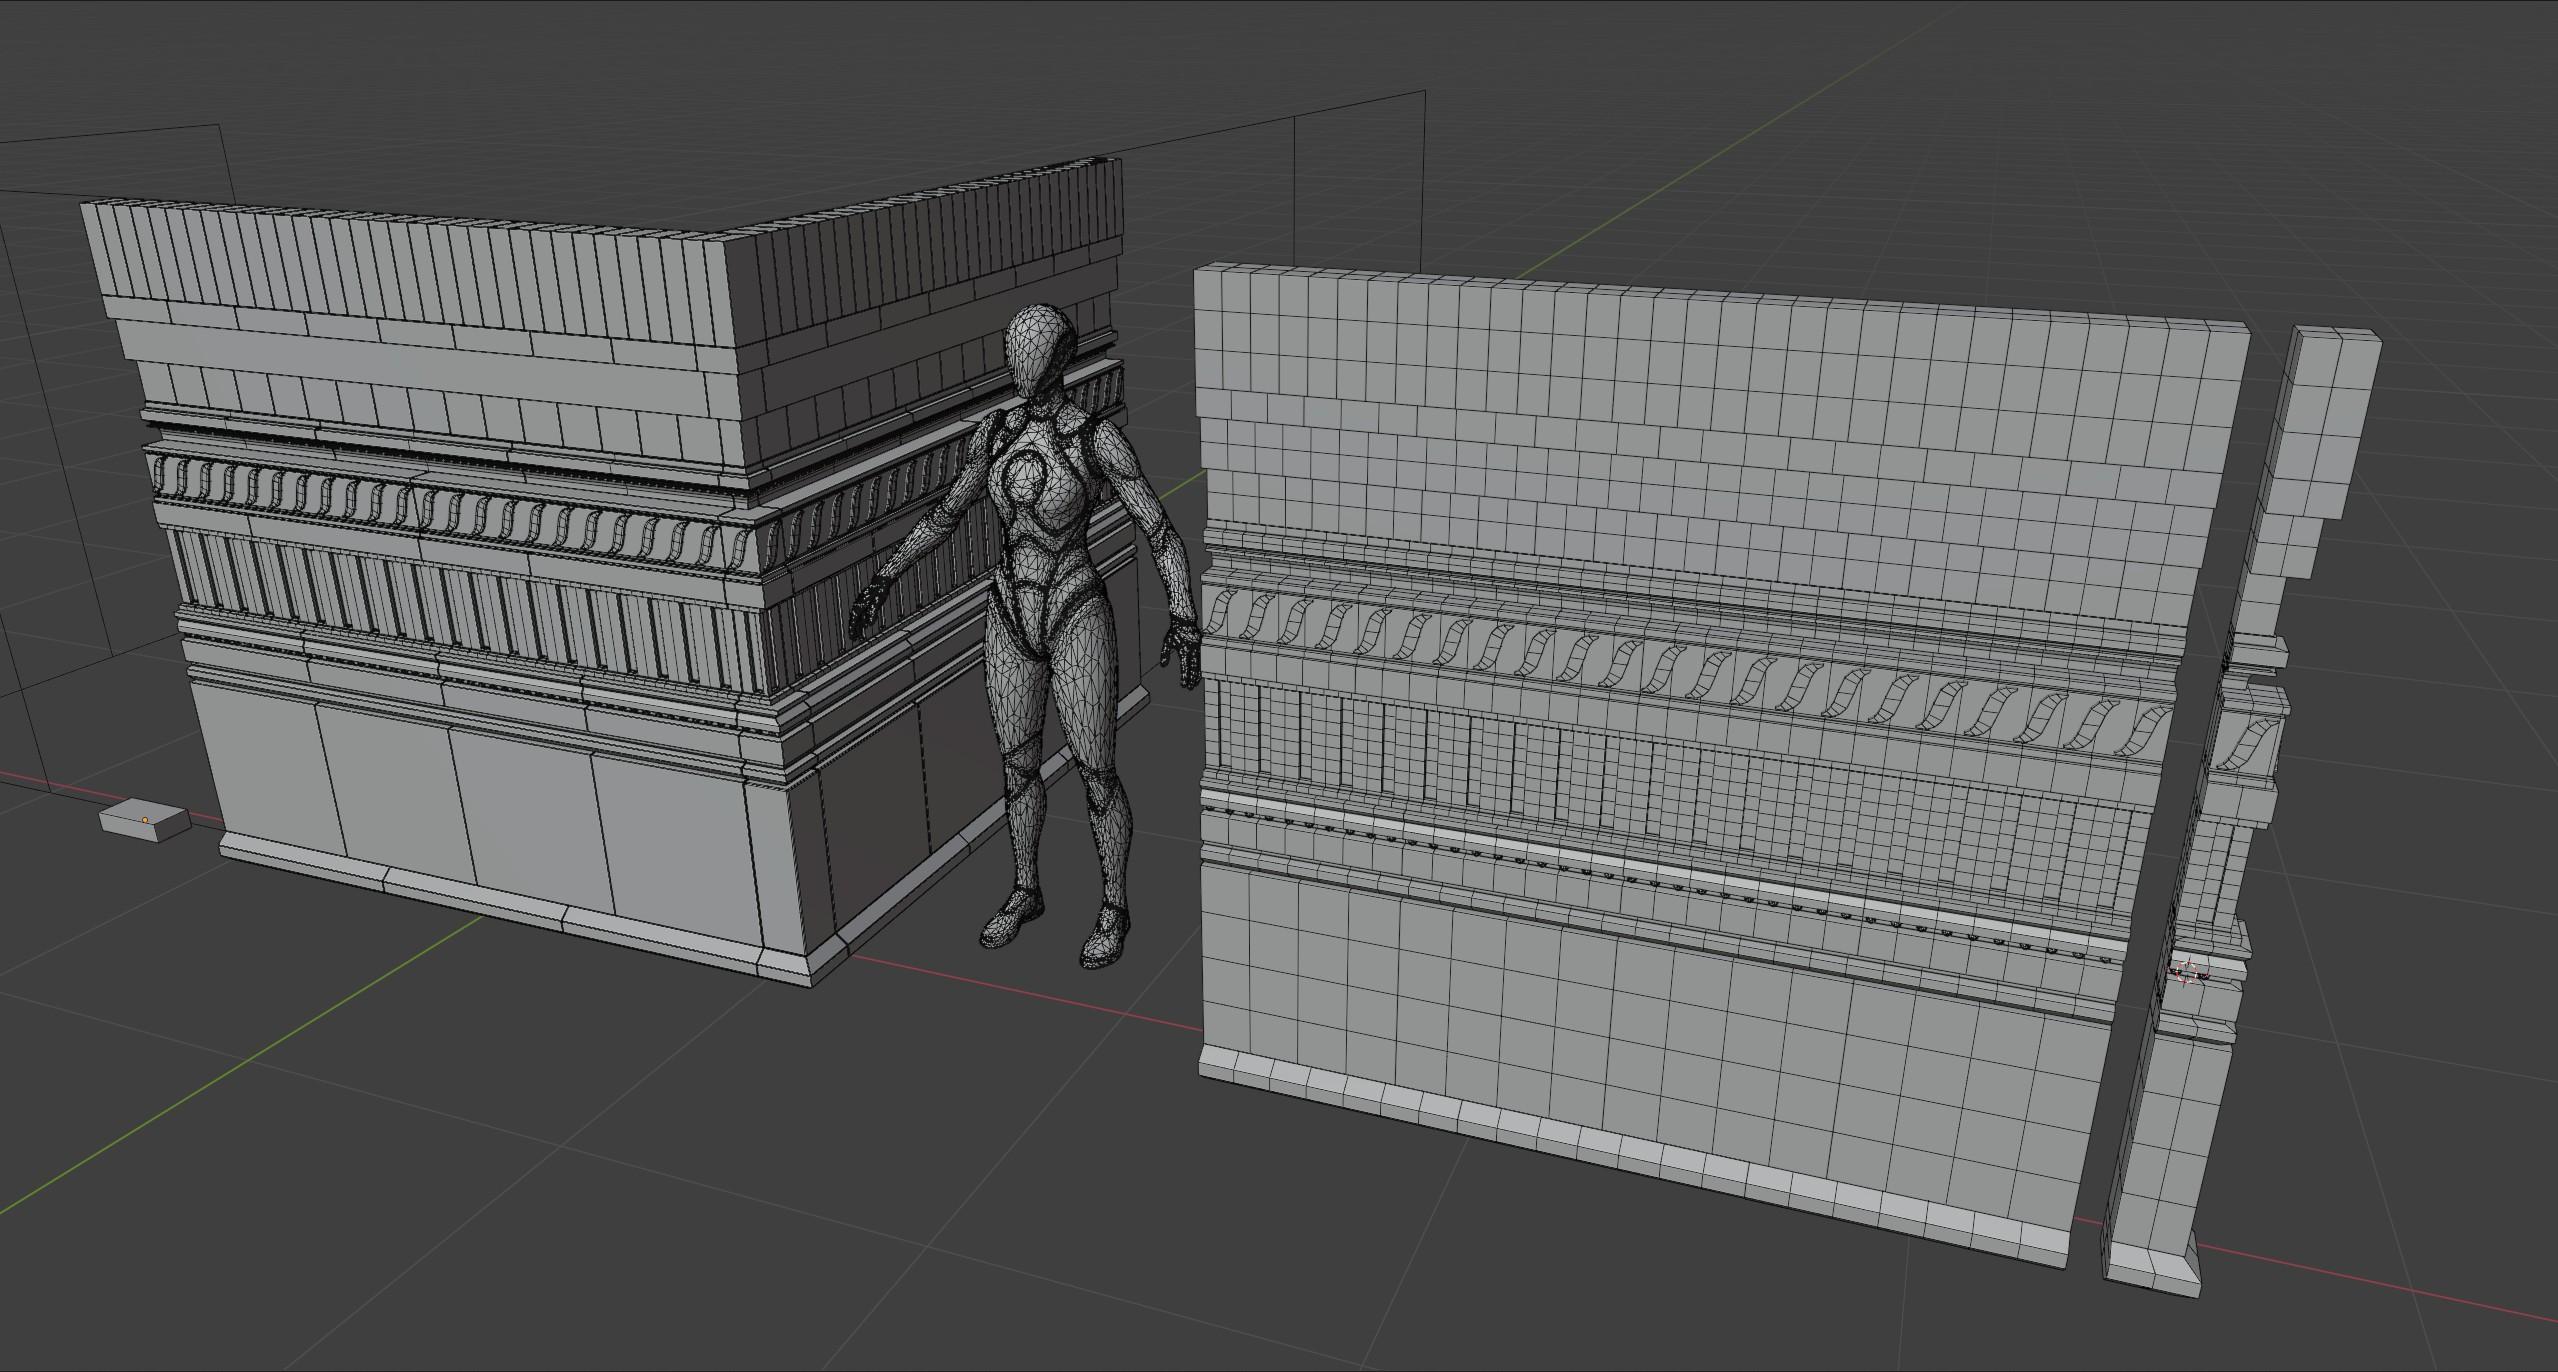
I did the blockout in my usual software – Blender 3D. Along with the trims themselves, I also added corner pieces for each element, so I could fill the gaps at 90-degree wall joints when needed.
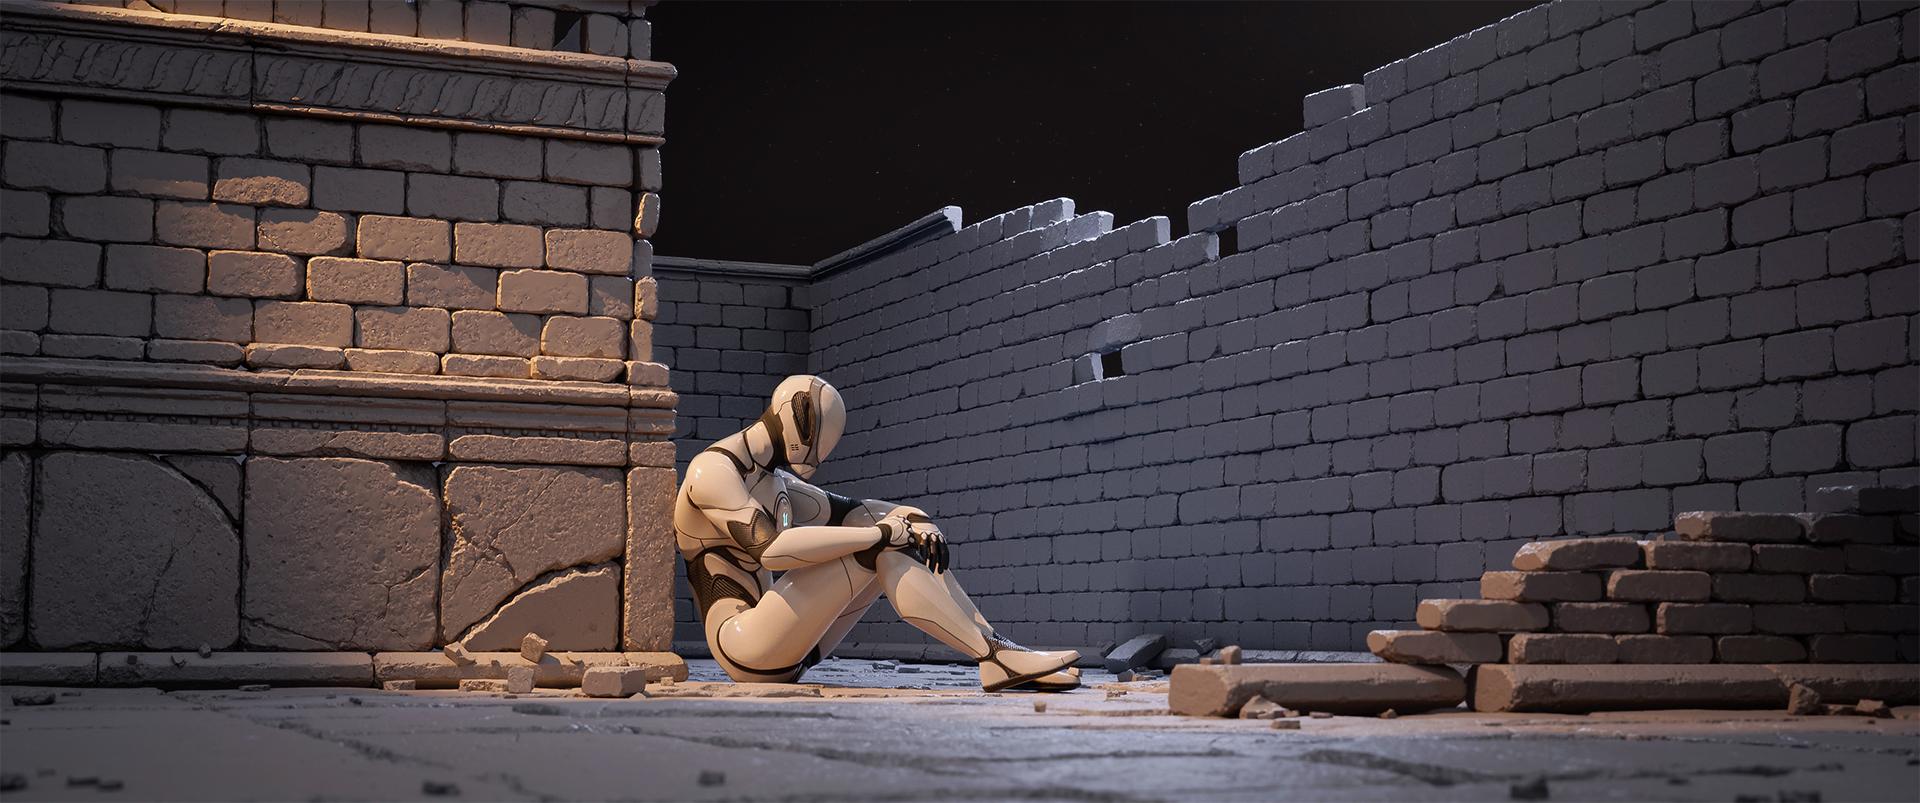
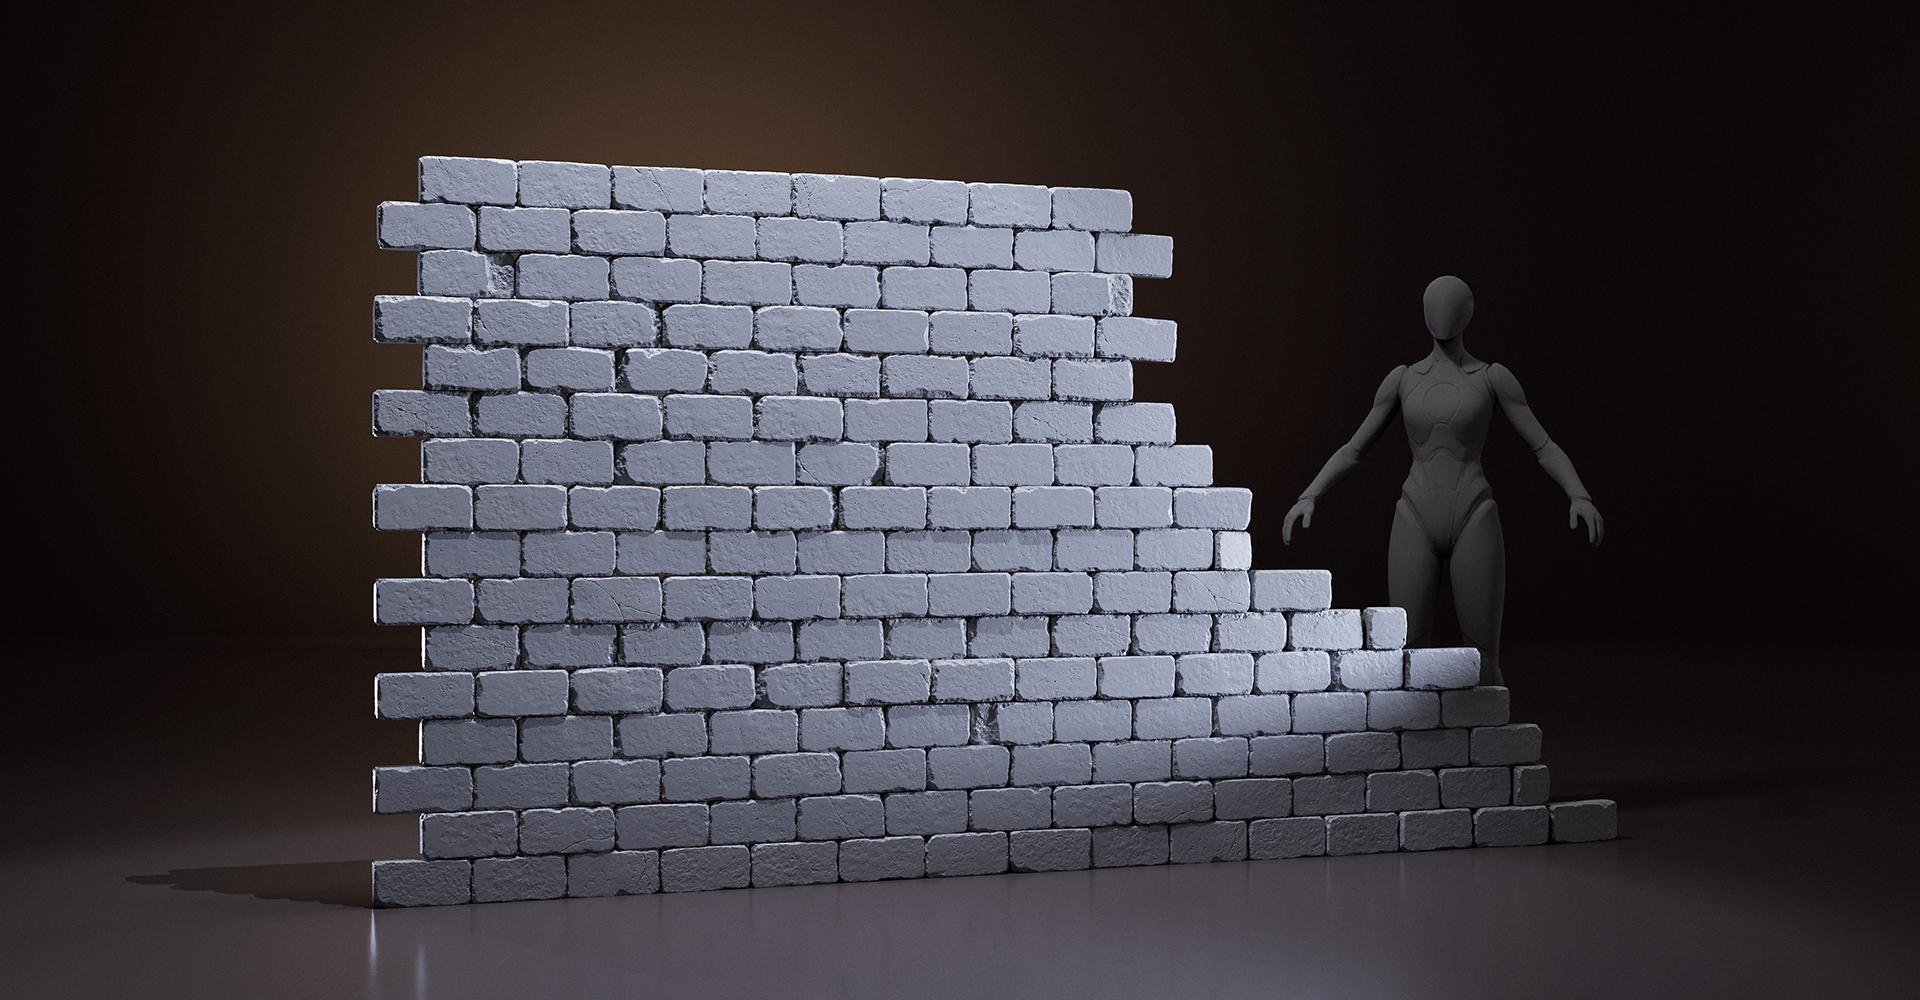
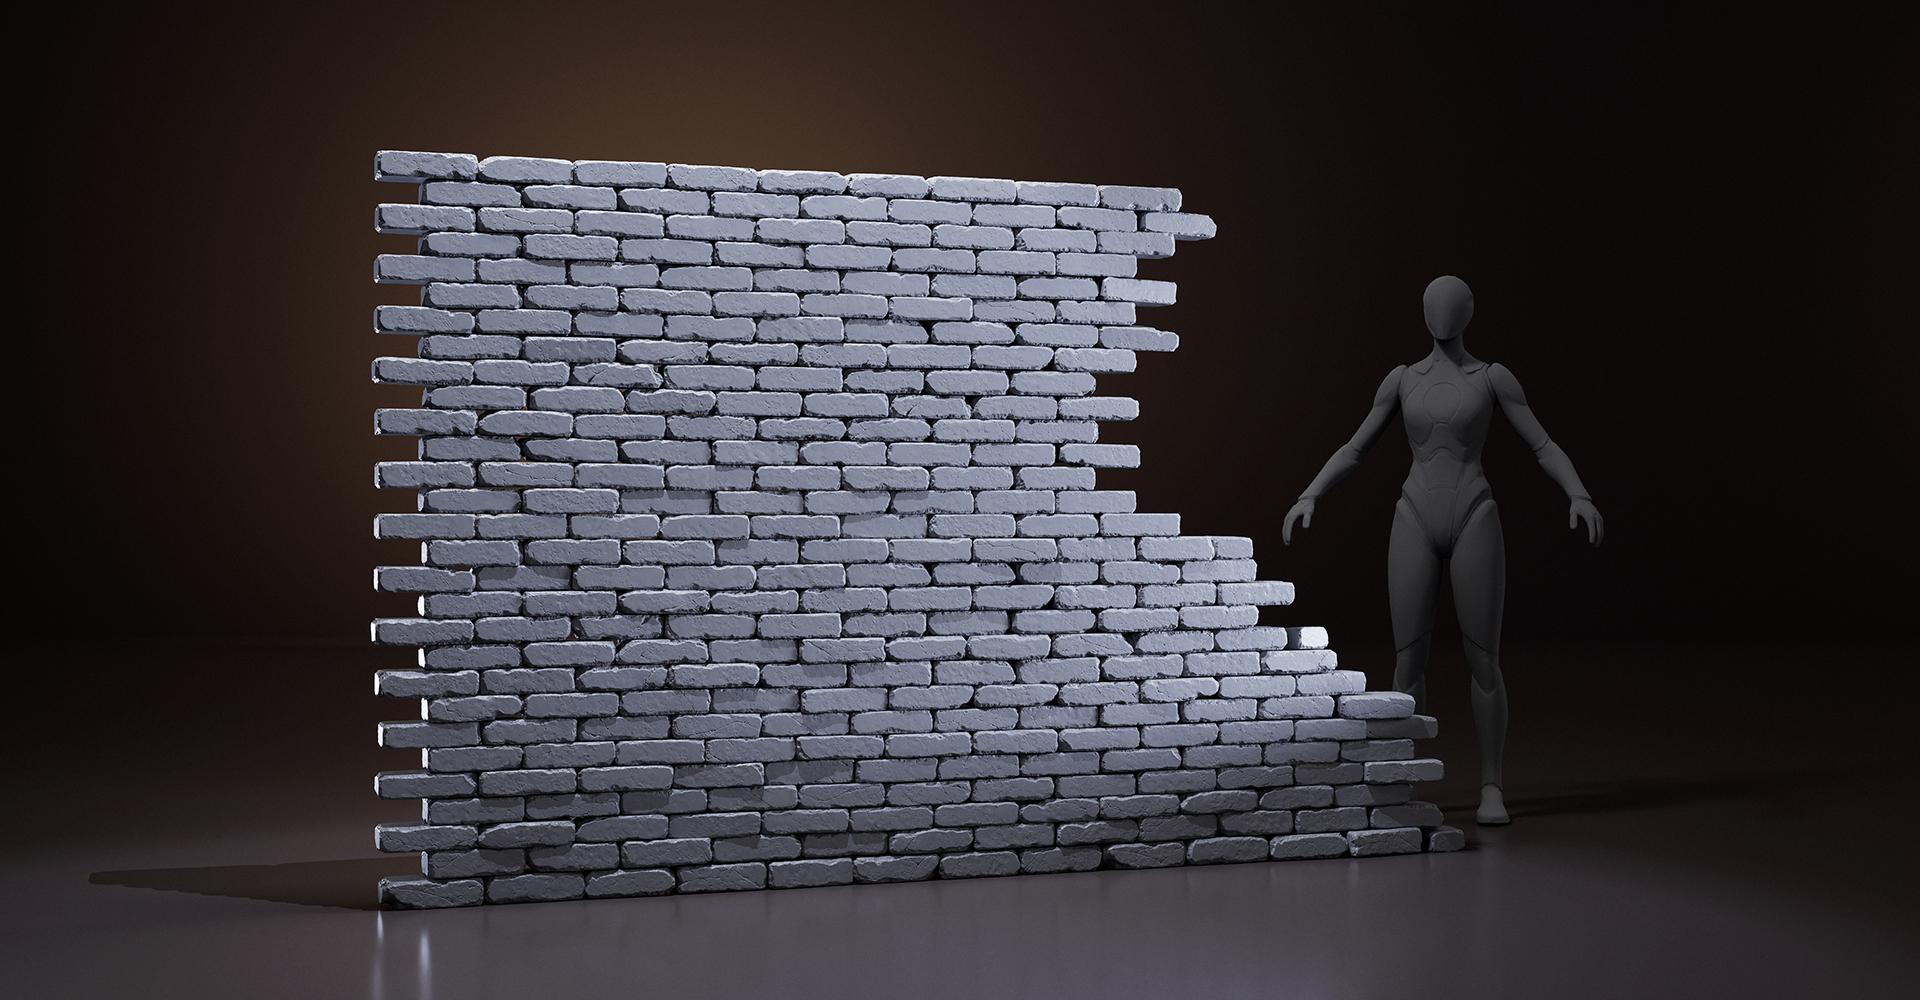
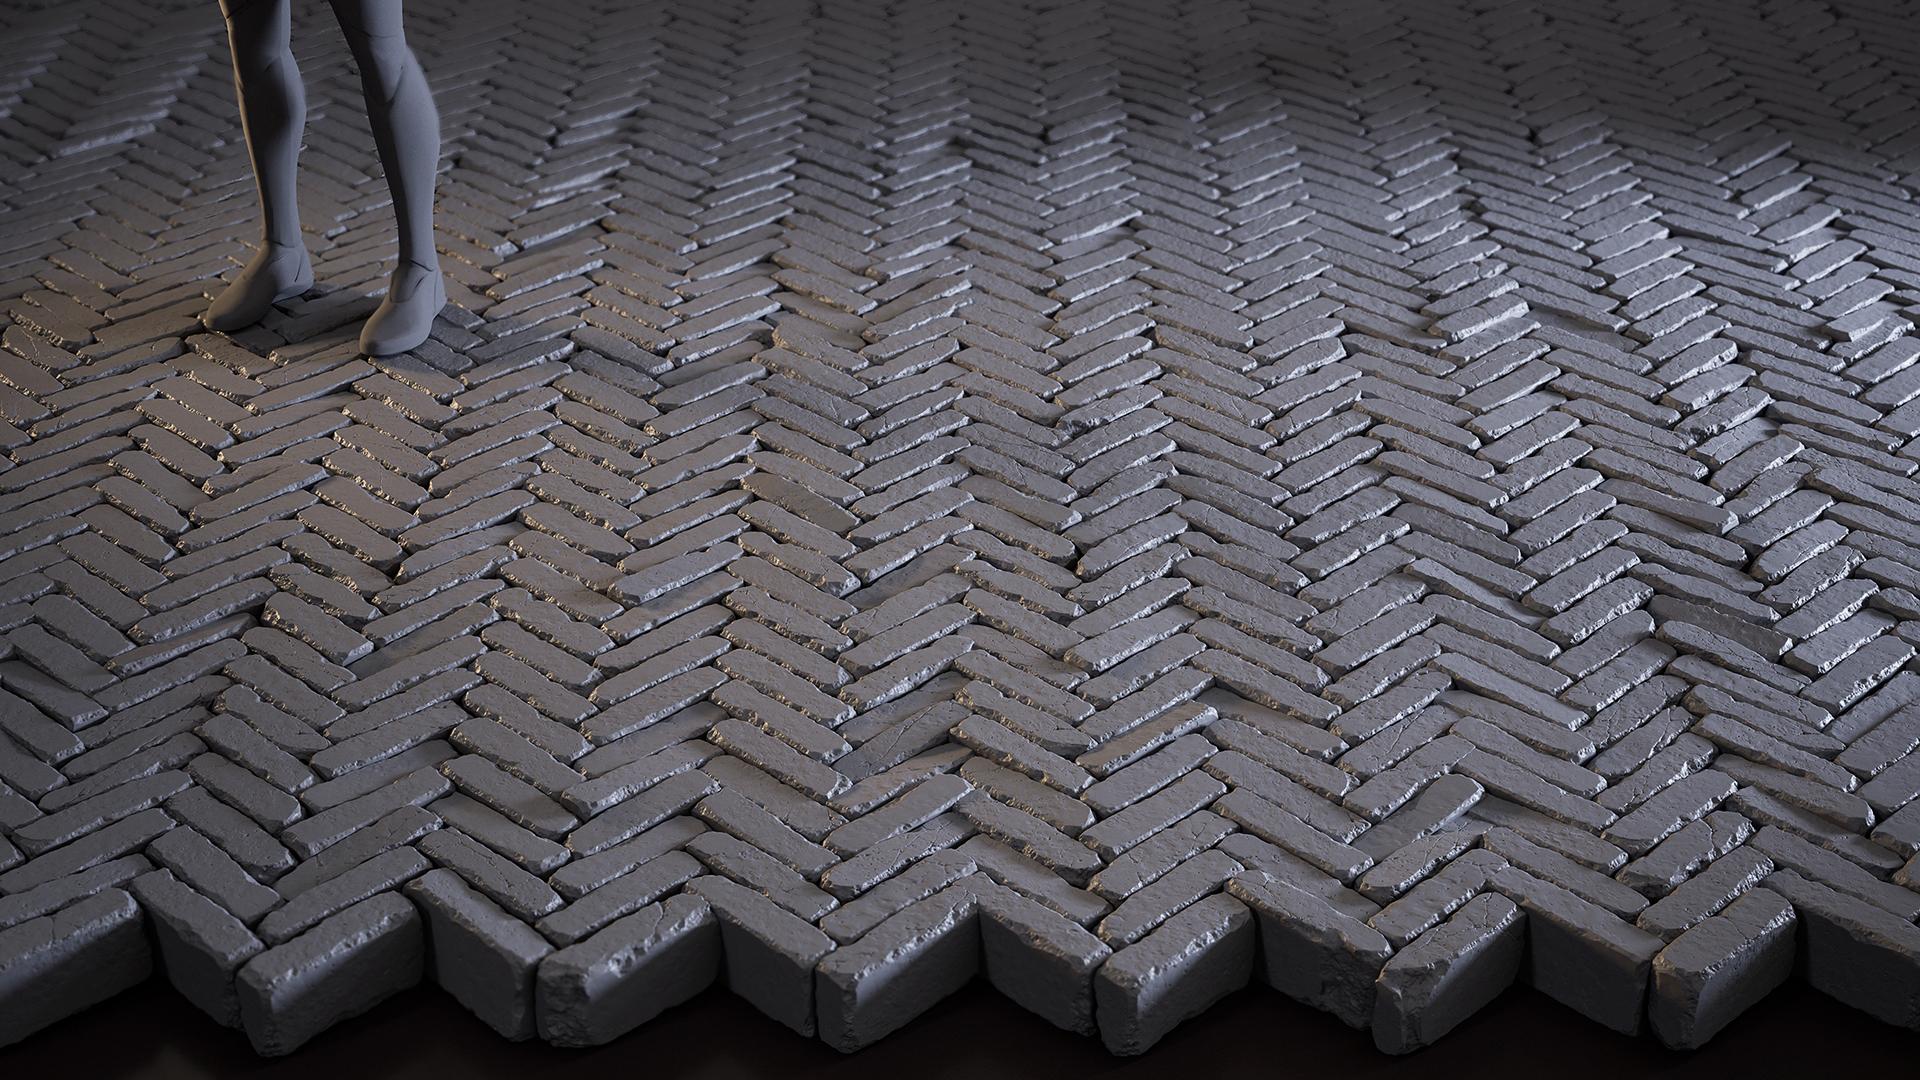
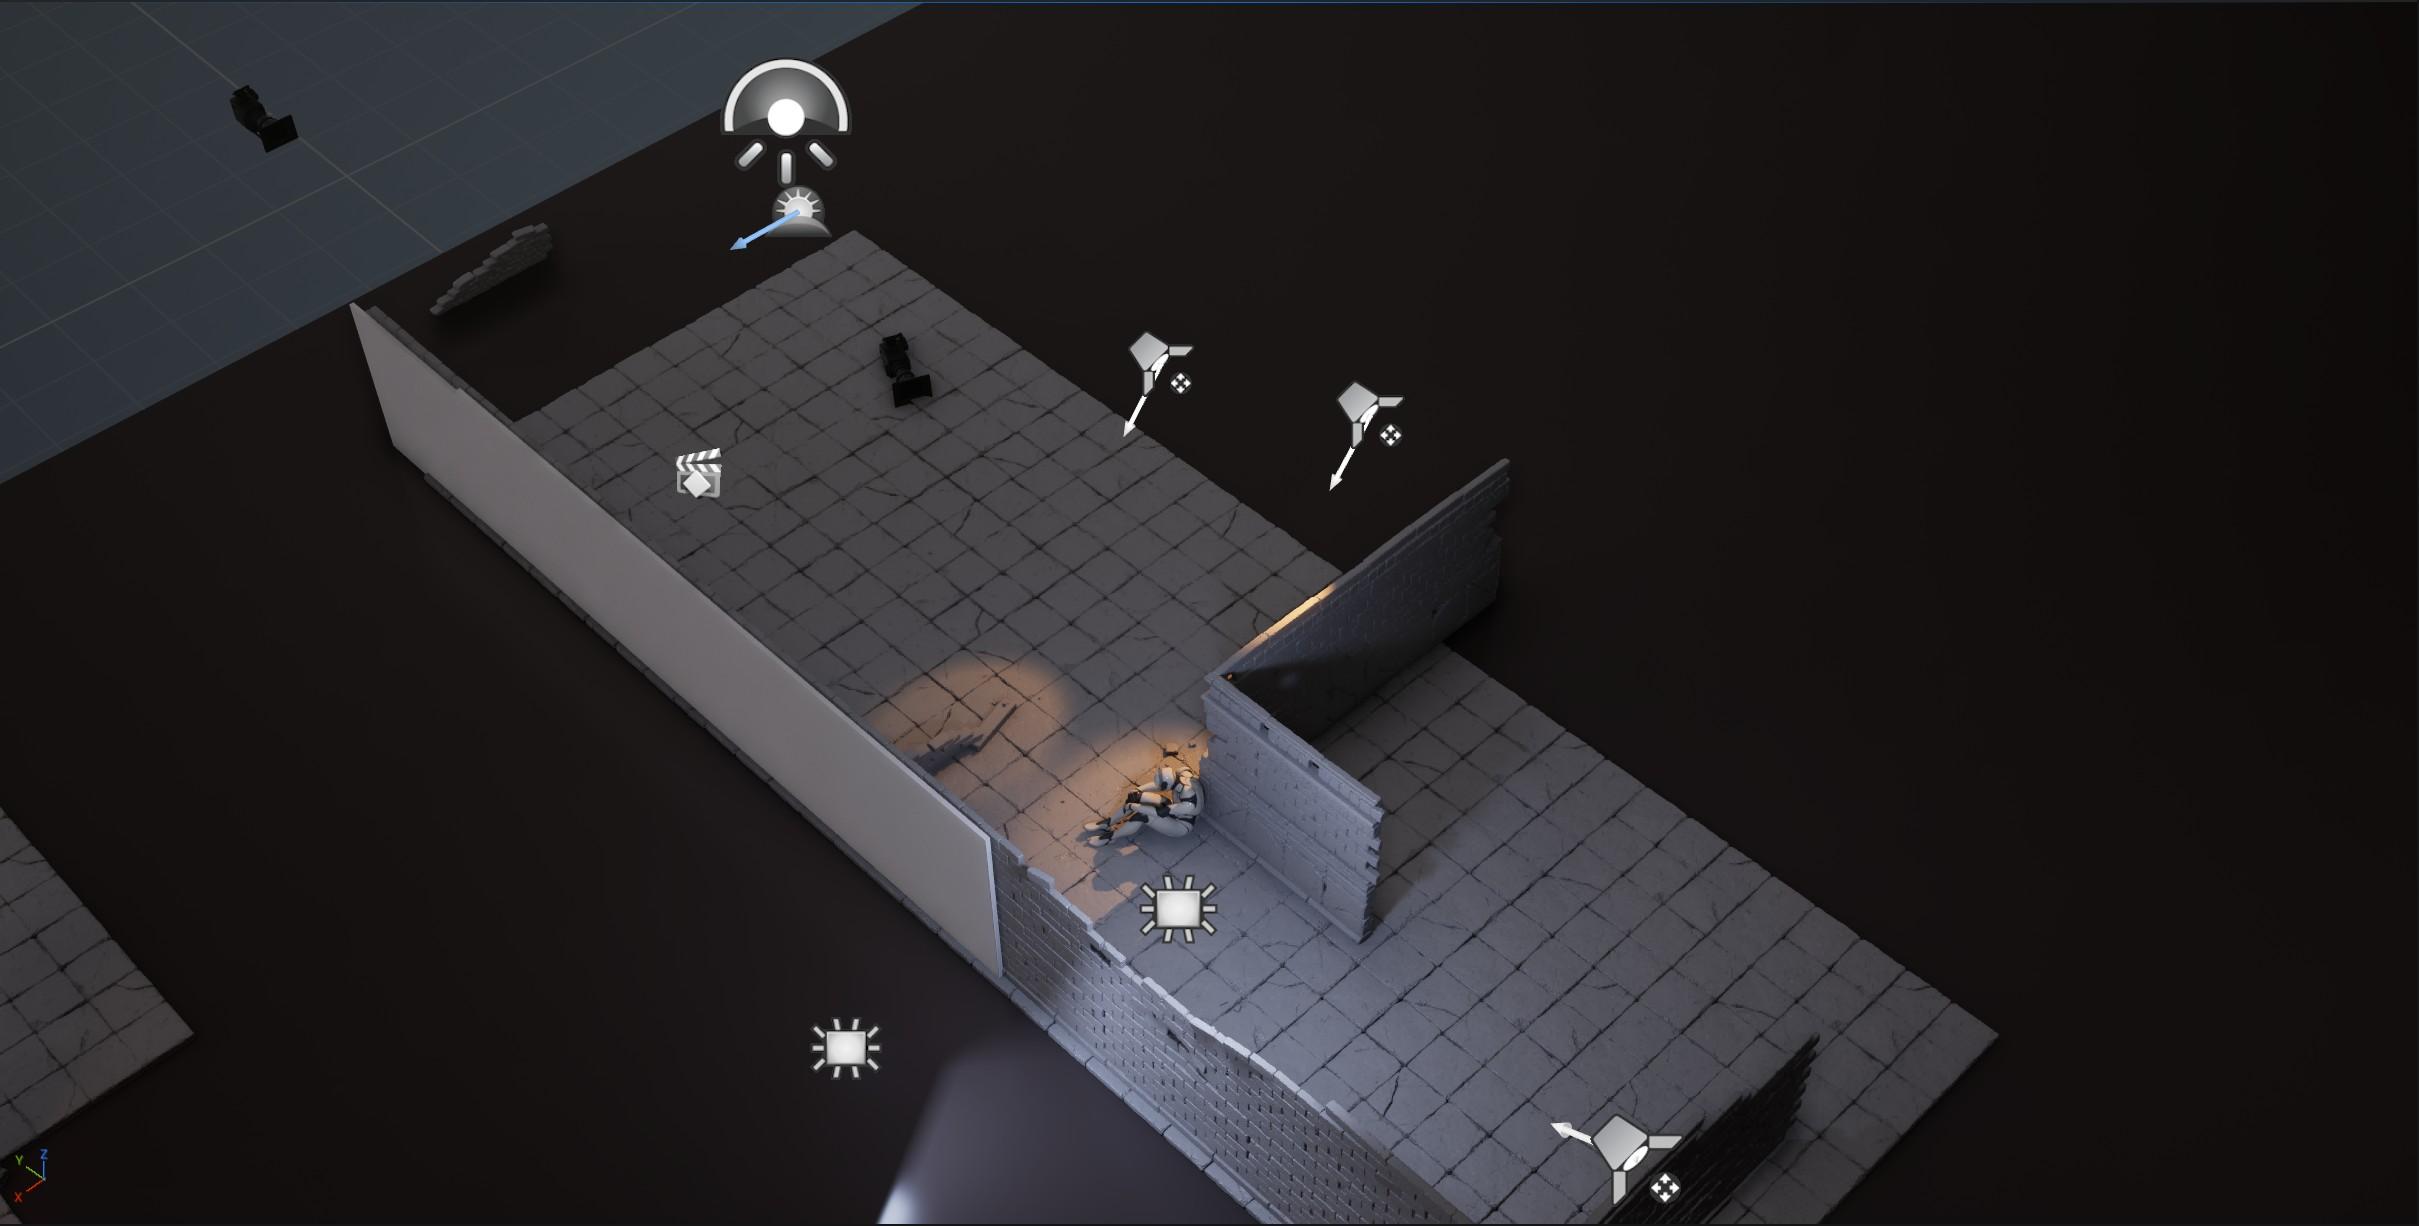
To keep scale in check, I didn’t rely solely on a 2×2 metre plane. In every software I used – Blender, ZBrush, and Unreal Engine – I always kept an Unreal mannequin in the scene. That way, I could instantly judge the size of elements in relation to a human figure, rather than just relying on numerical values in a menu.
This approach helps you immediately feel how objects will look in an actual scene and keeps the forms readable.
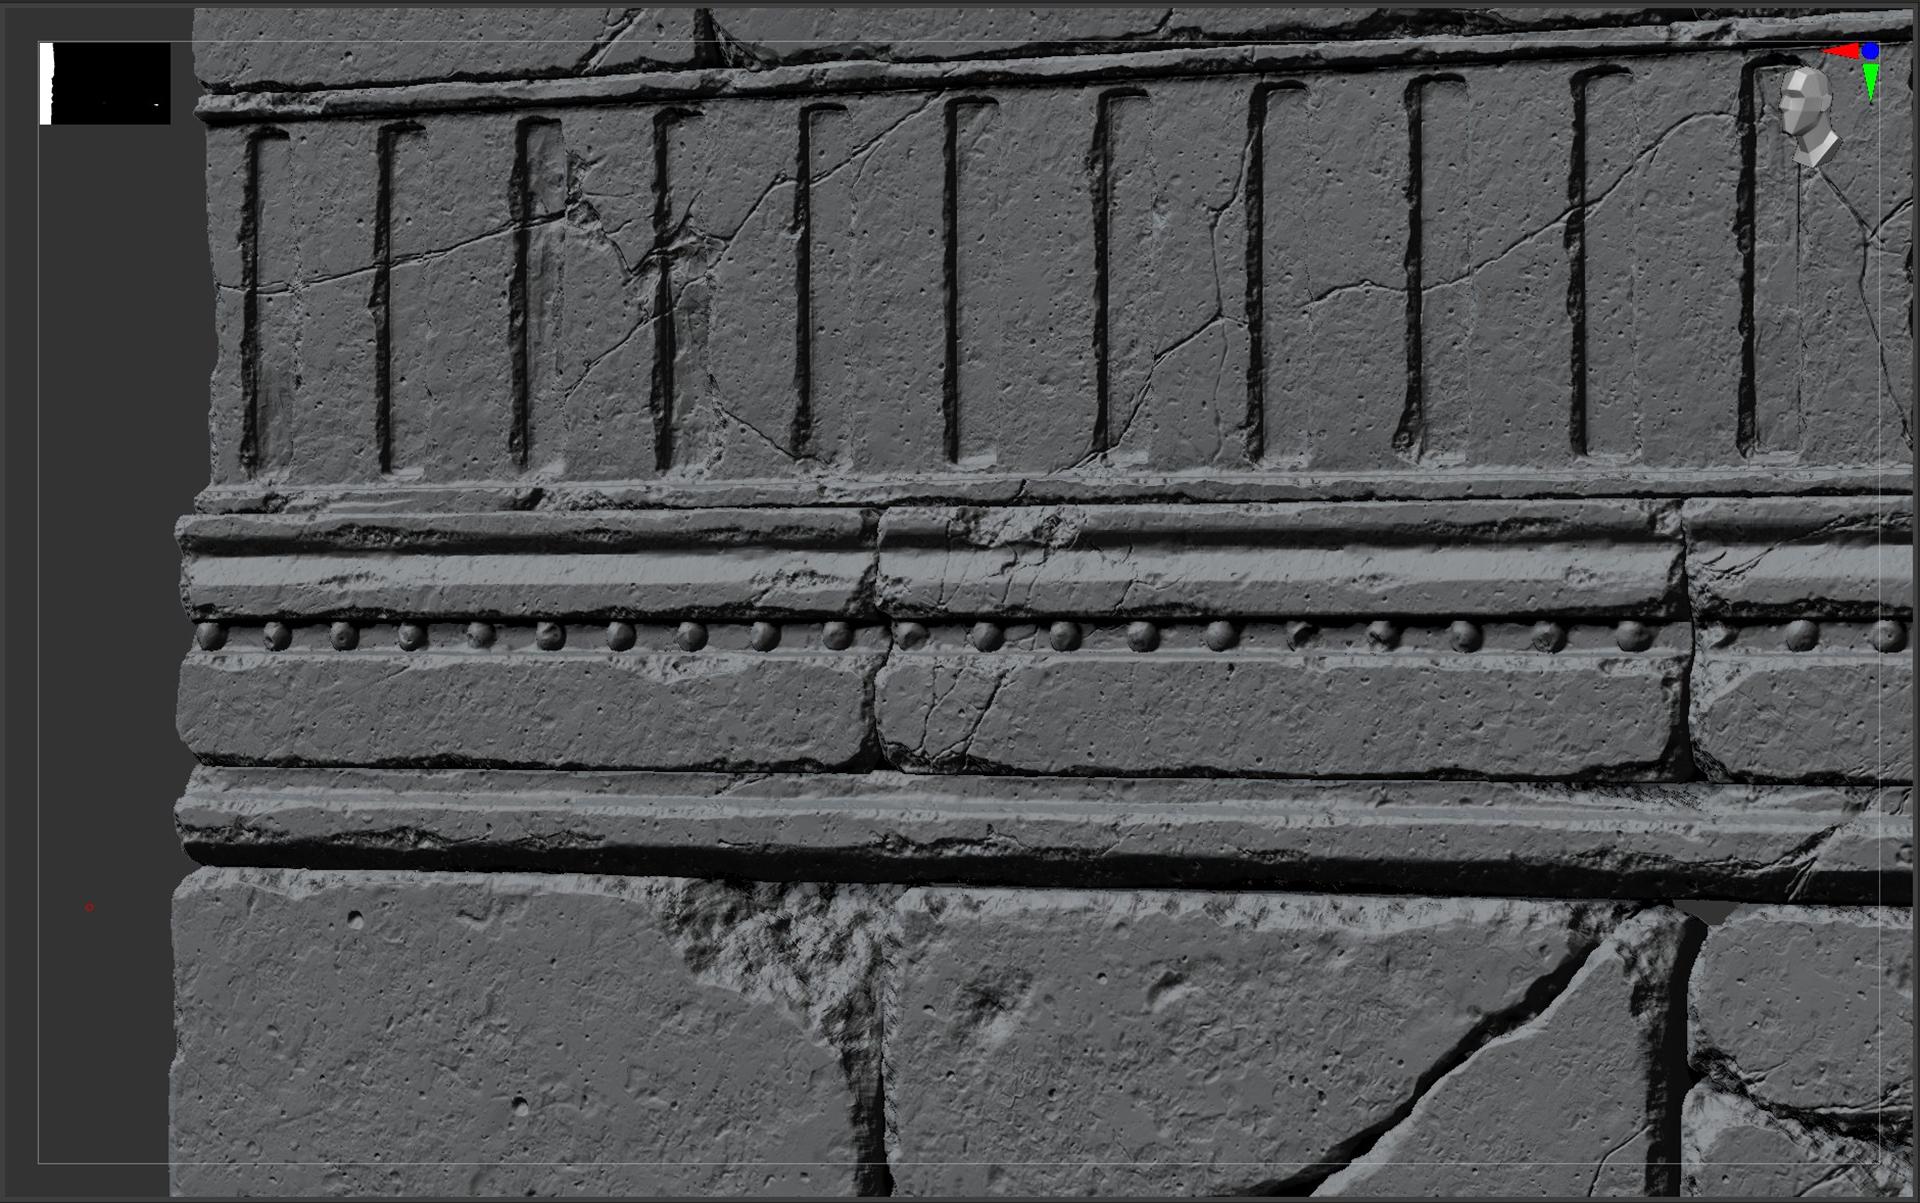
High-Poly/Sculpting
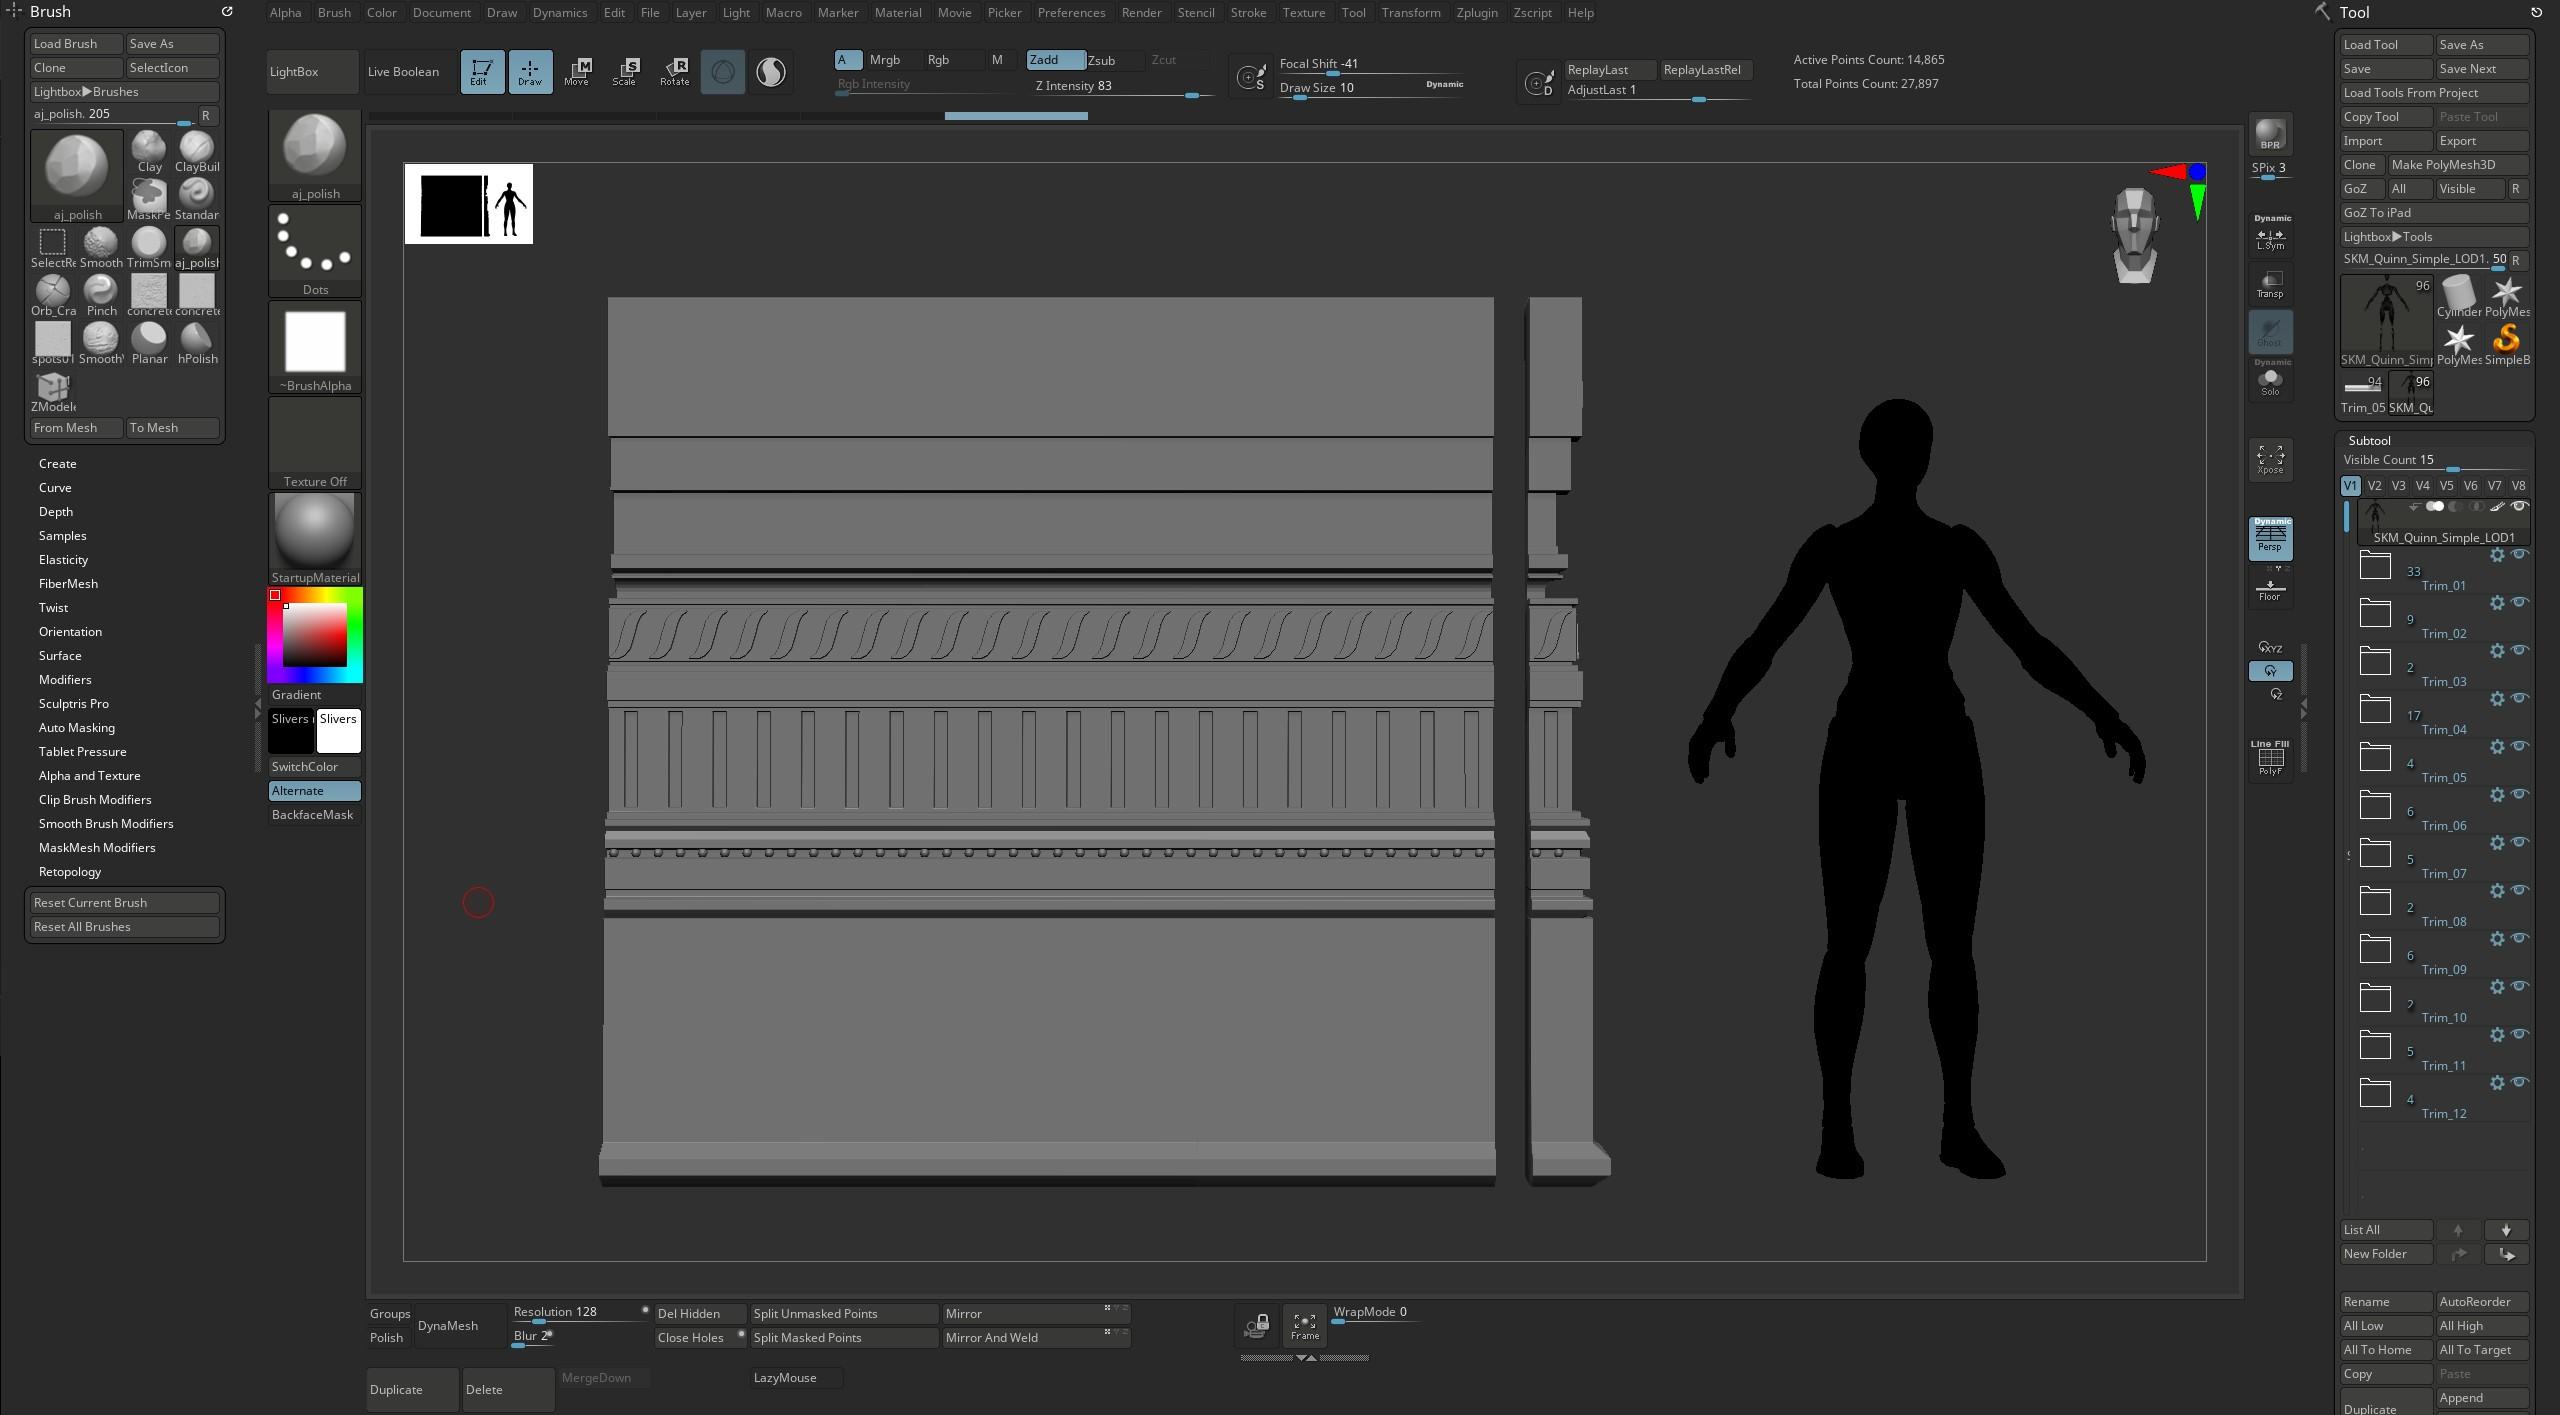
Once the blockout was ready, I exported all the elements into ZBrush. First, I organised the subtools into folders – keeping the scene tidy is important to me. Messy naming or having all the subtools in one pile just throws me off.
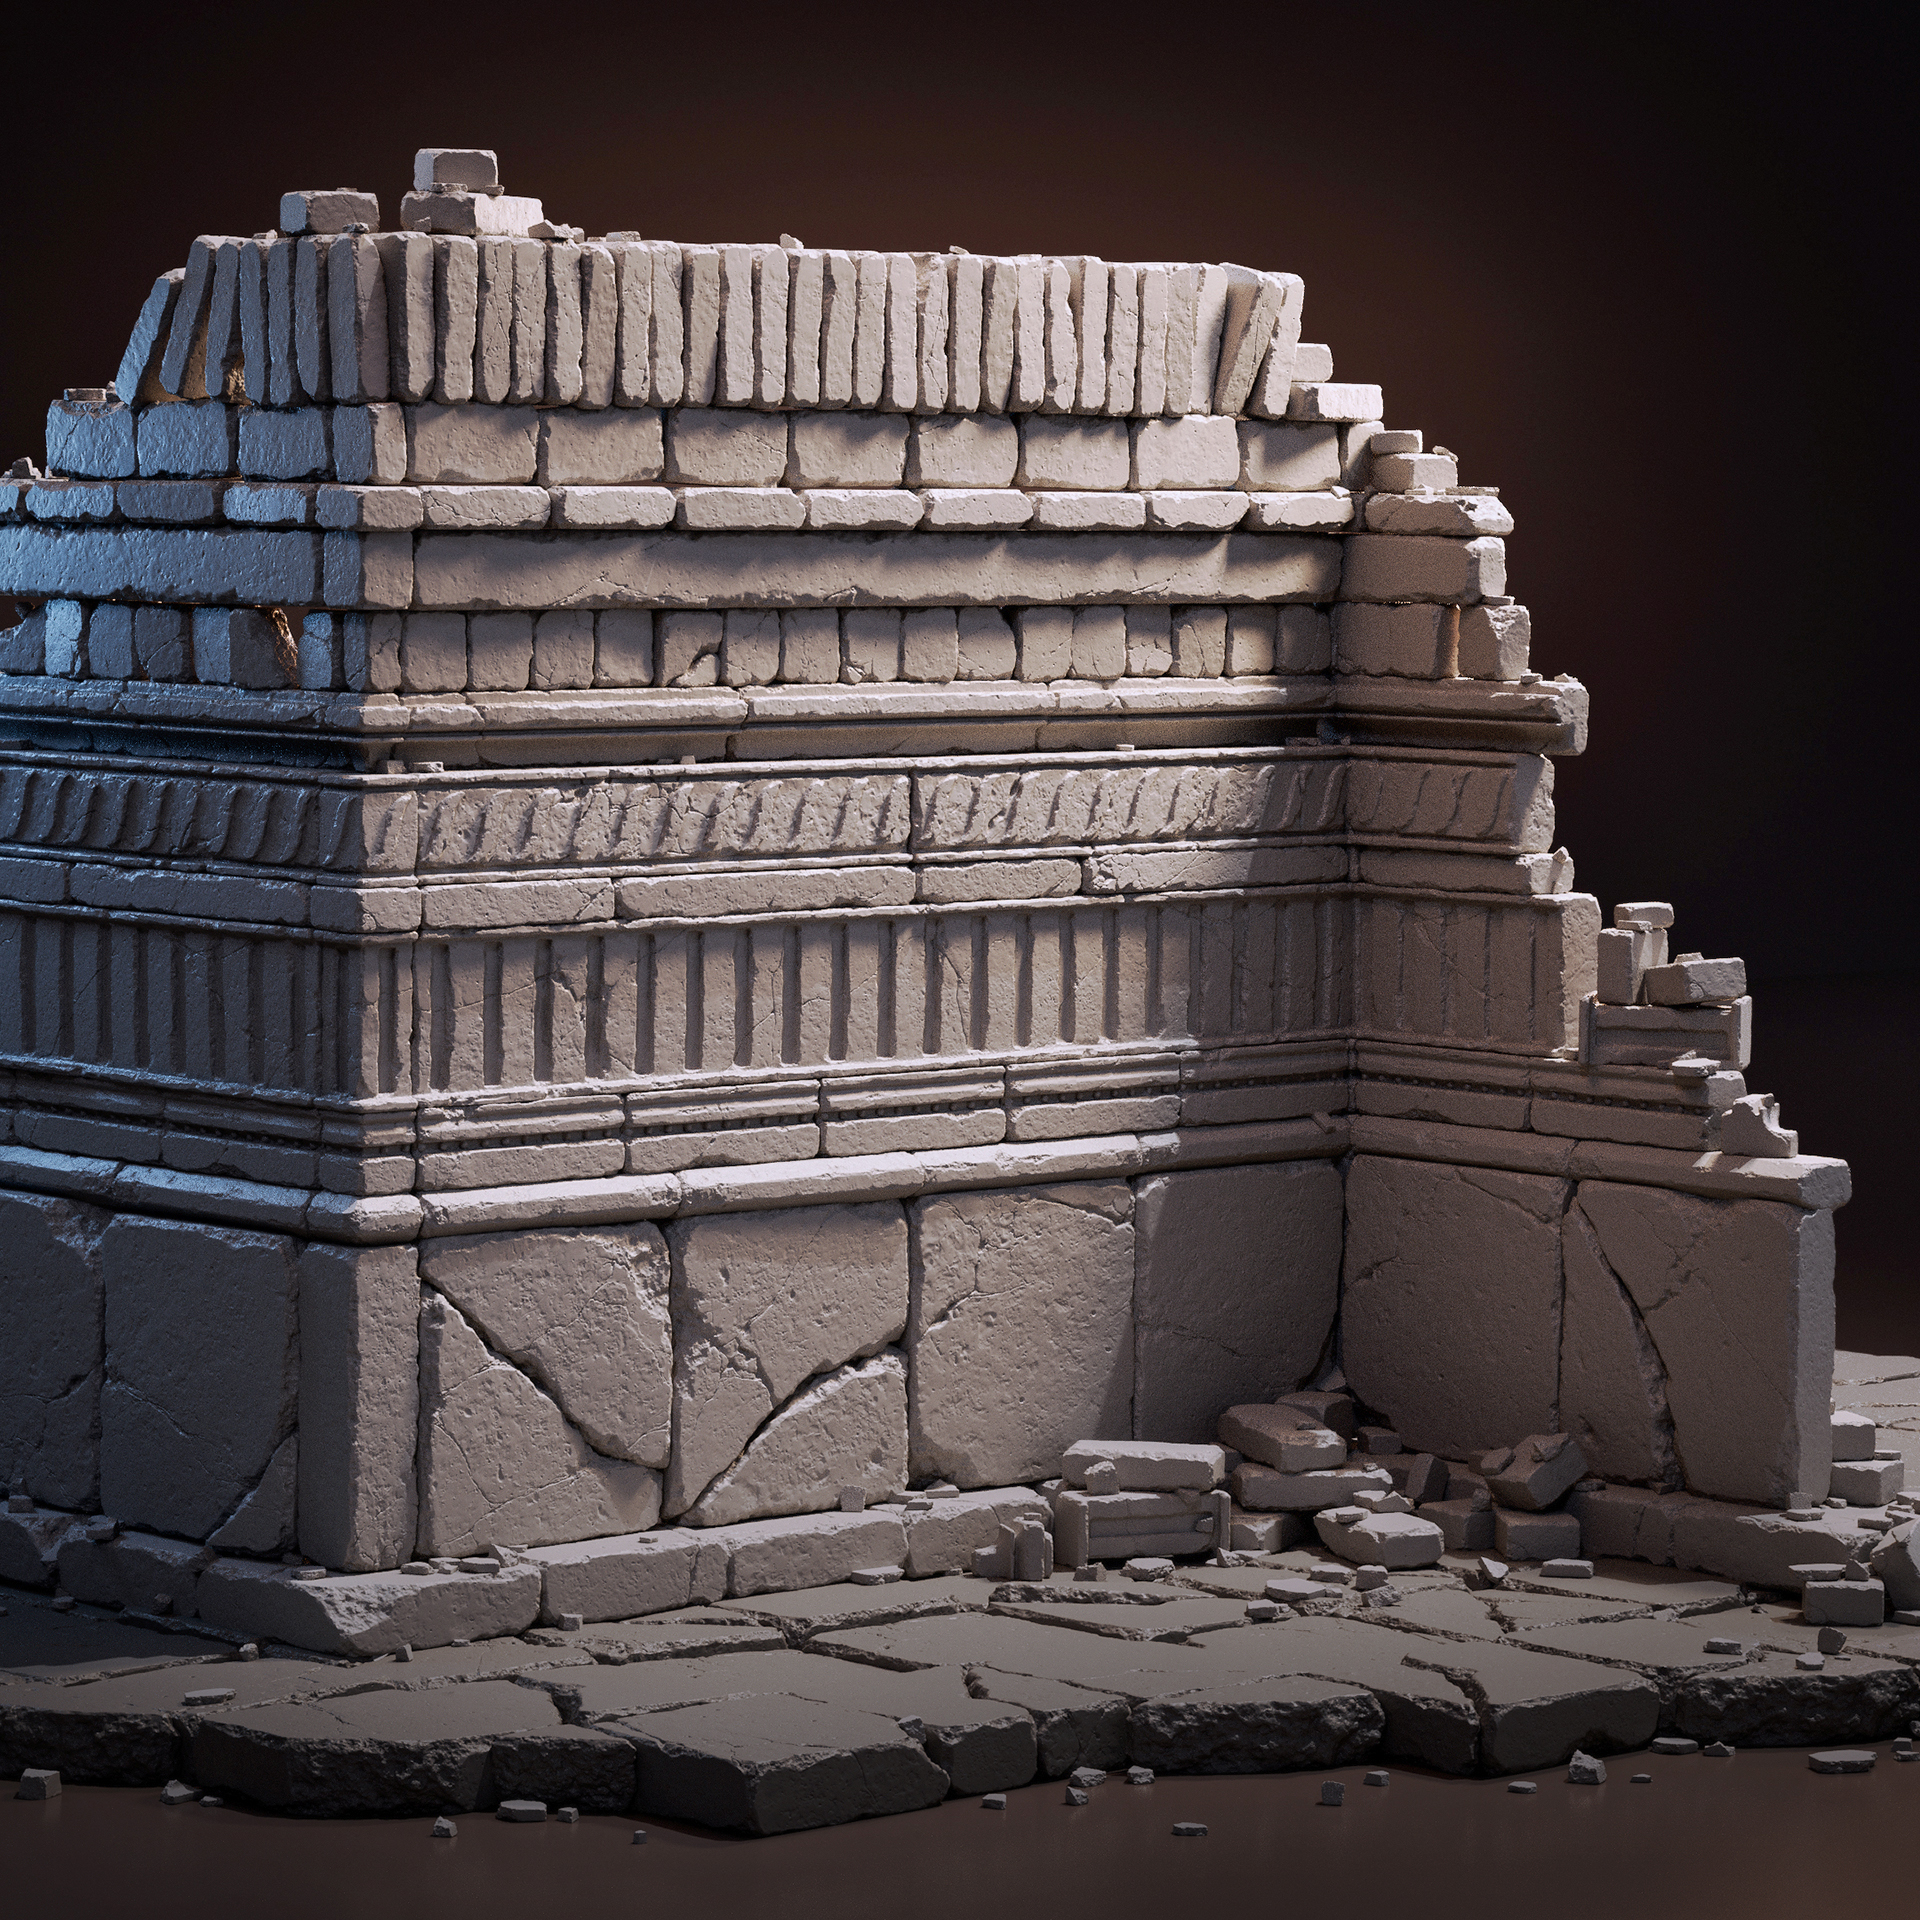
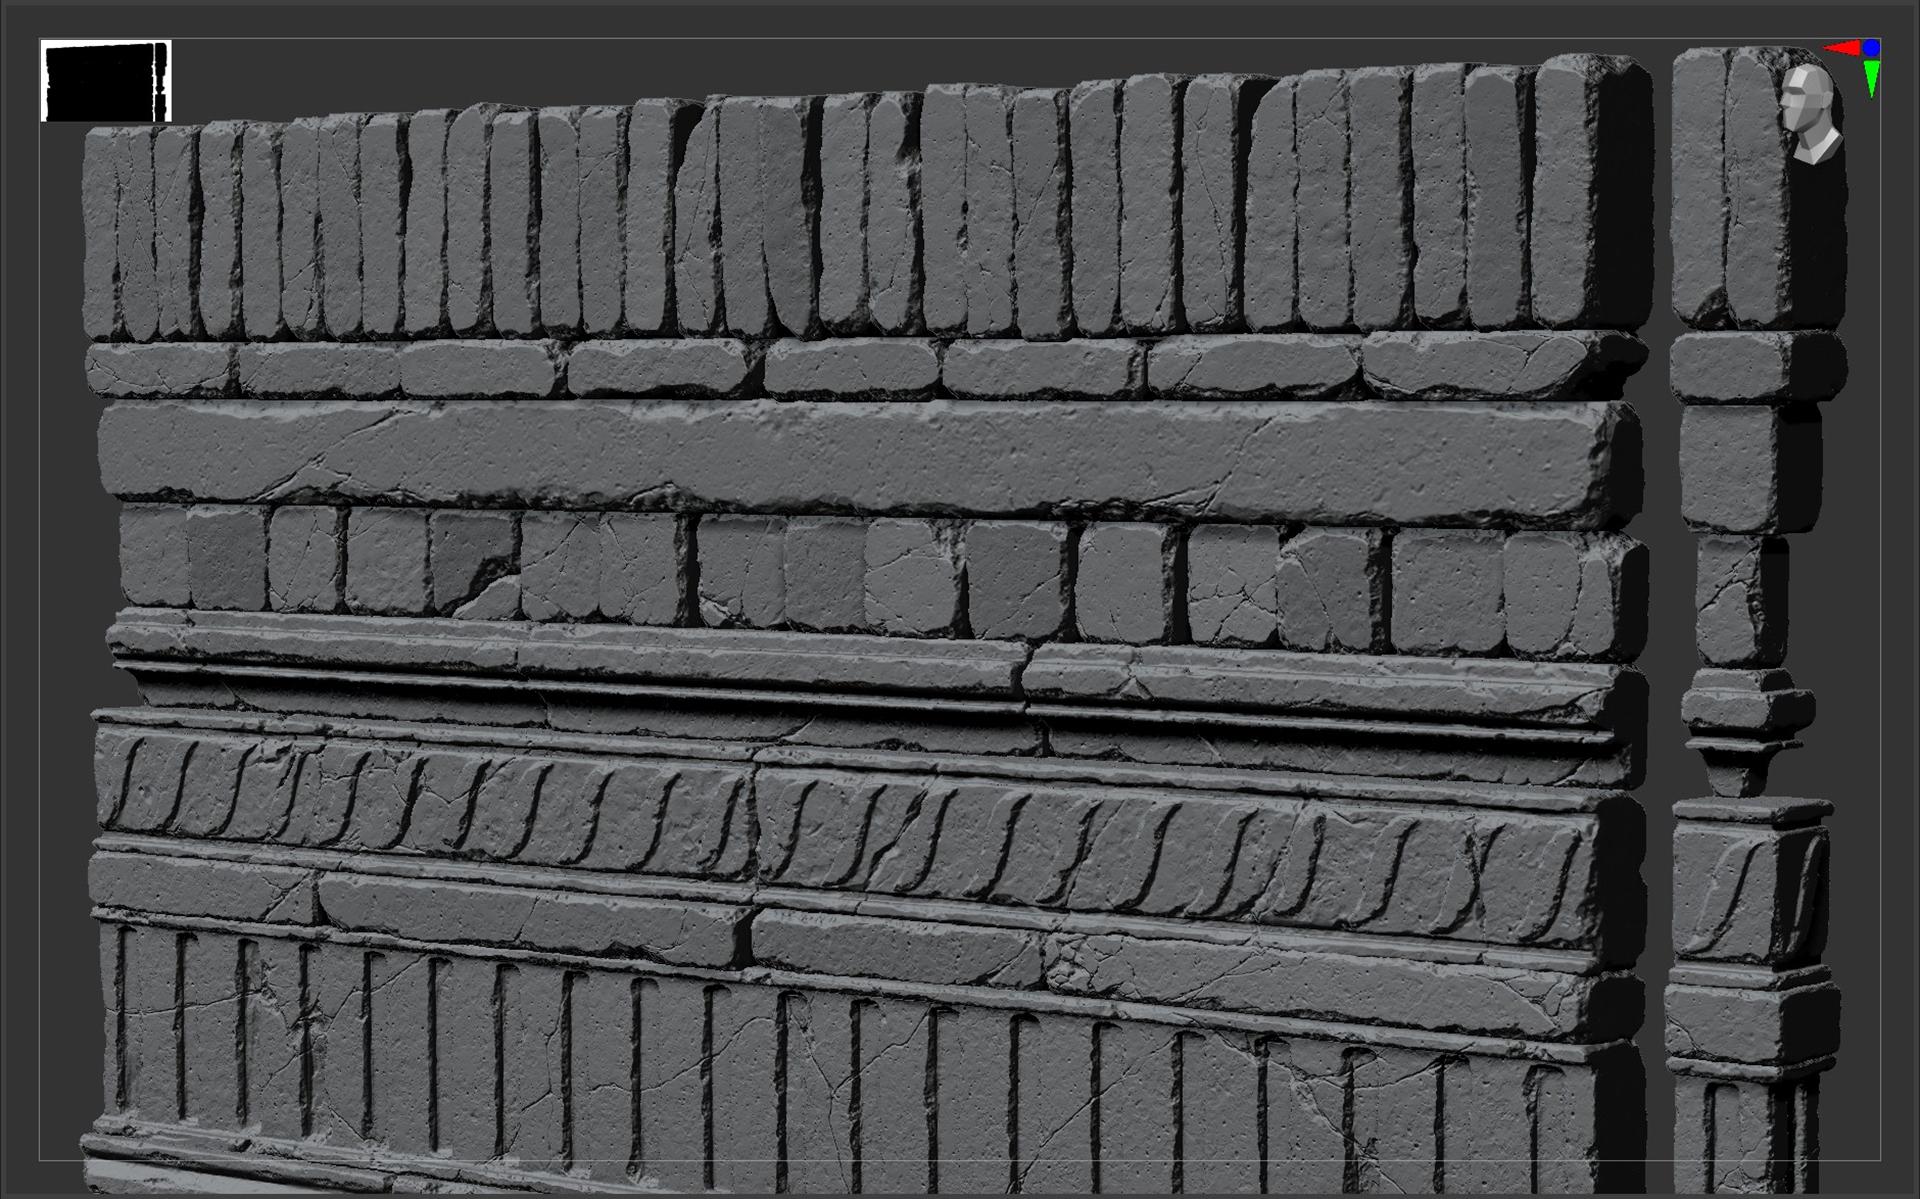
After getting things sorted, I moved on to sculpting. Each wall element was sculpted uniquely and from almost every angle. My goal was to study stone forms, so I didn’t mind repeating the same actions multiple times. If I had to sculpt this many bricks again today, I’d make them even more varied – with more wear and tear – so the differences would be noticeable right away.
My main set of standard brushes included: Clay Buildup, Trim Smooth Border, hPolish, Orb Cracks, Pinch, Planar, and Dam Standard. I also used 2-3 custom brushes with noise patterns that worked well for stone. For chipped corners, I used Clay Buildup with alpha 28 in Color Spray mode, brush intensity set to 30.
I added each type of damage on a separate layer – that way I could make changes at any stage of sculpting without affecting the base form.
I recorded a short timelapse to give you a rough idea of the process – it’s a very raw take, just to show the workflow.

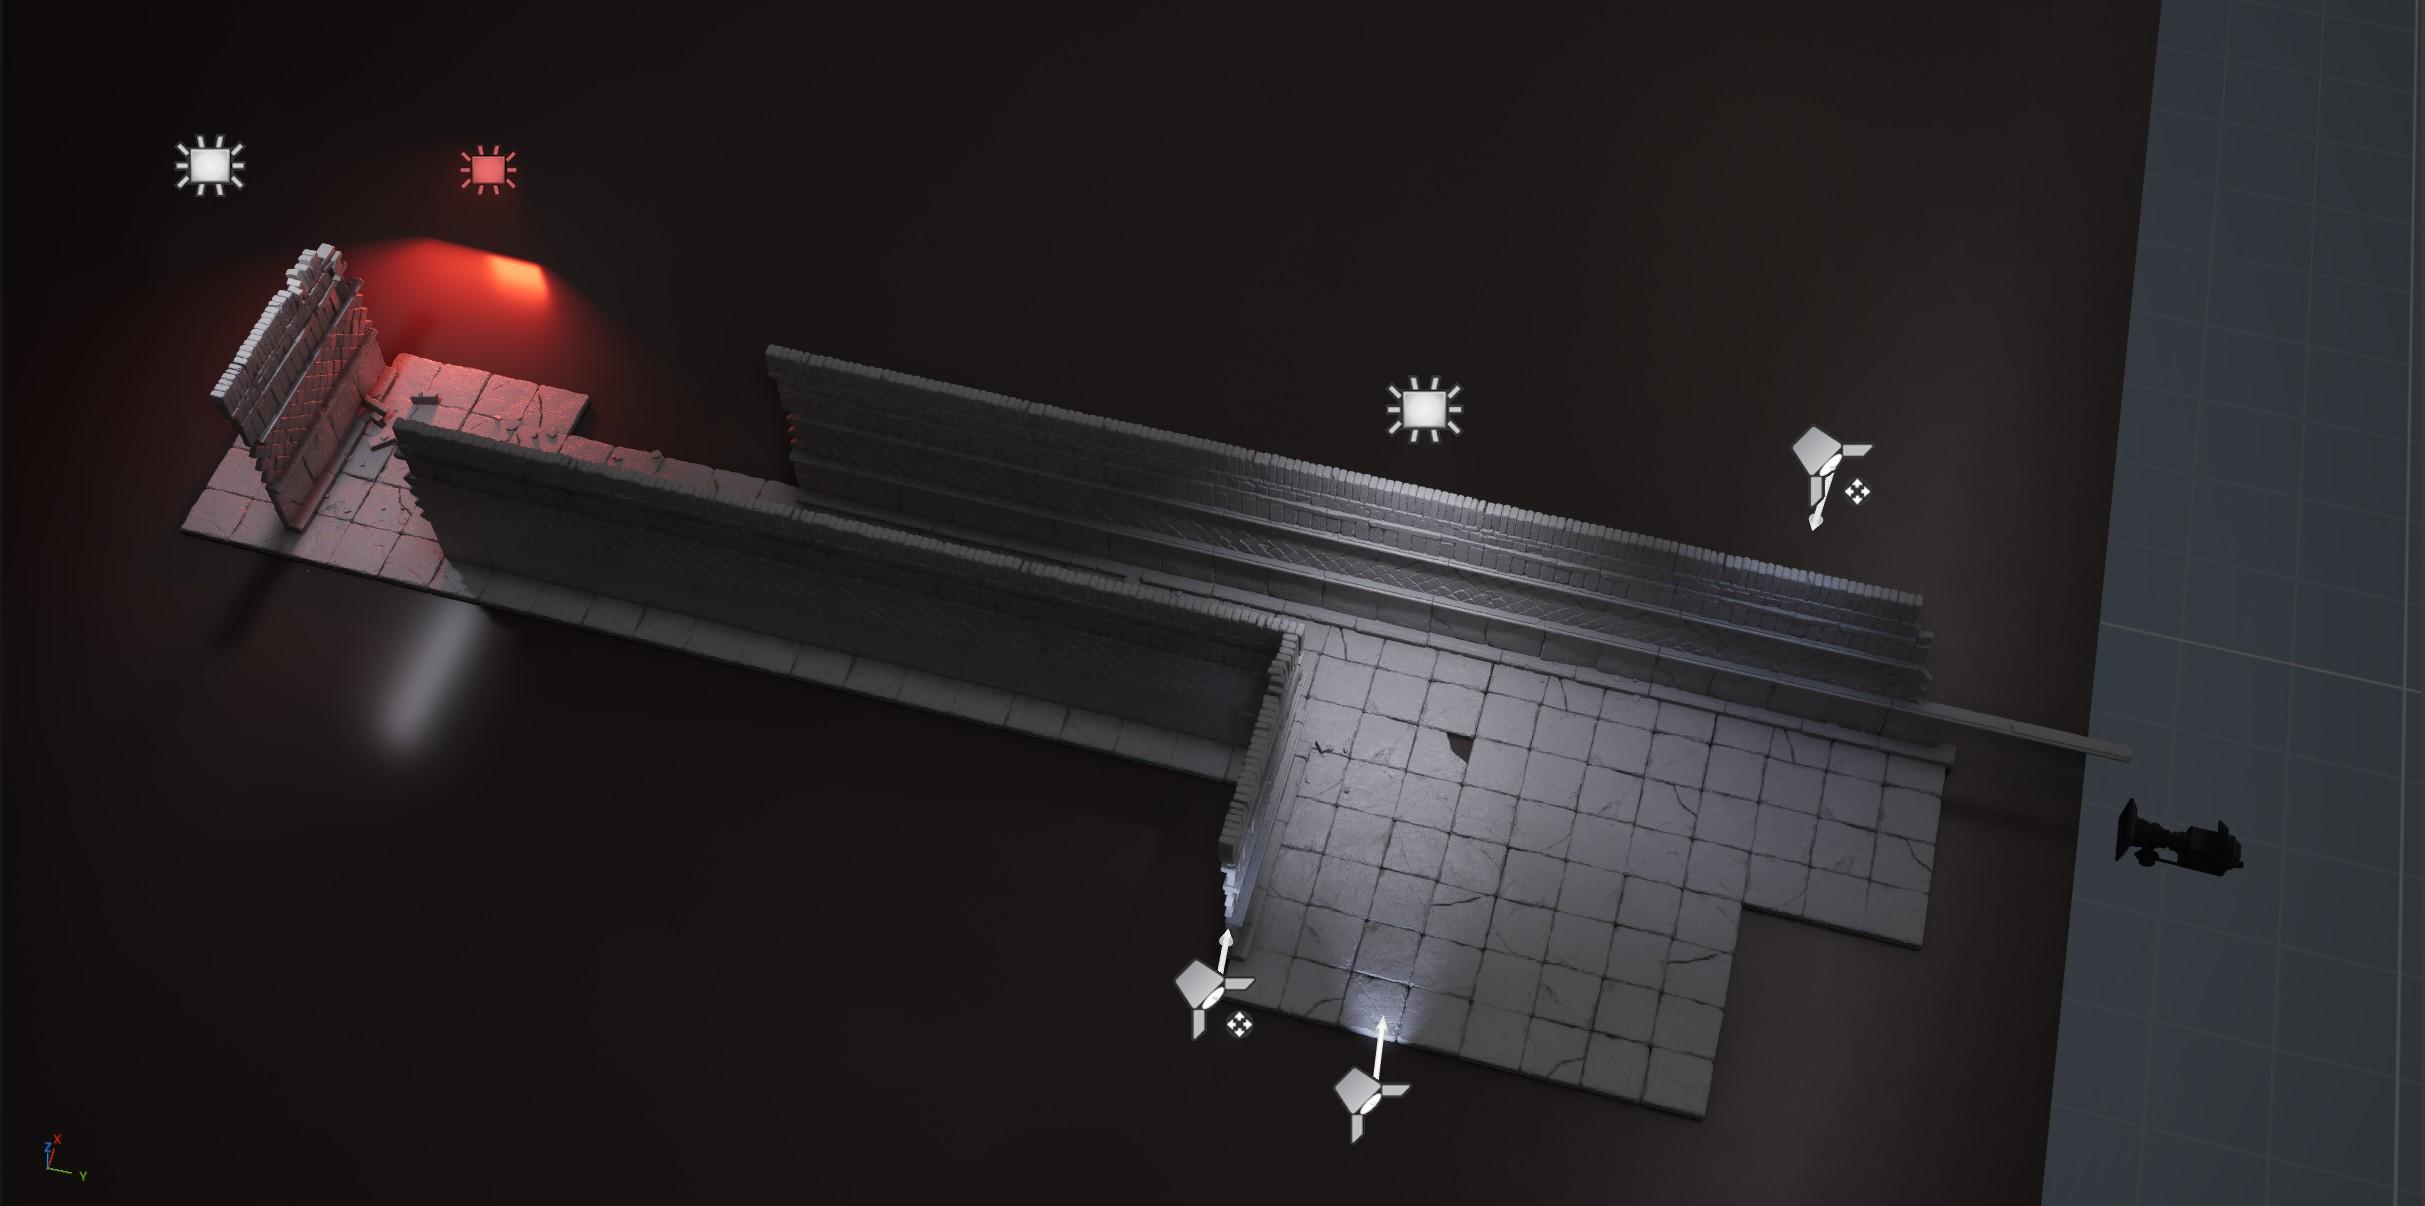
Rendering
After finishing the sculpts, I realised the result was worth adding to my portfolio and sharing with people. As usual, I wasn’t completely satisfied – but I knew for sure that next time I’d do even better.
To prepare the project for my portfolio, I decimated the subtools in ZBrush and exported everything into Unreal Engine 5 using Nanite.
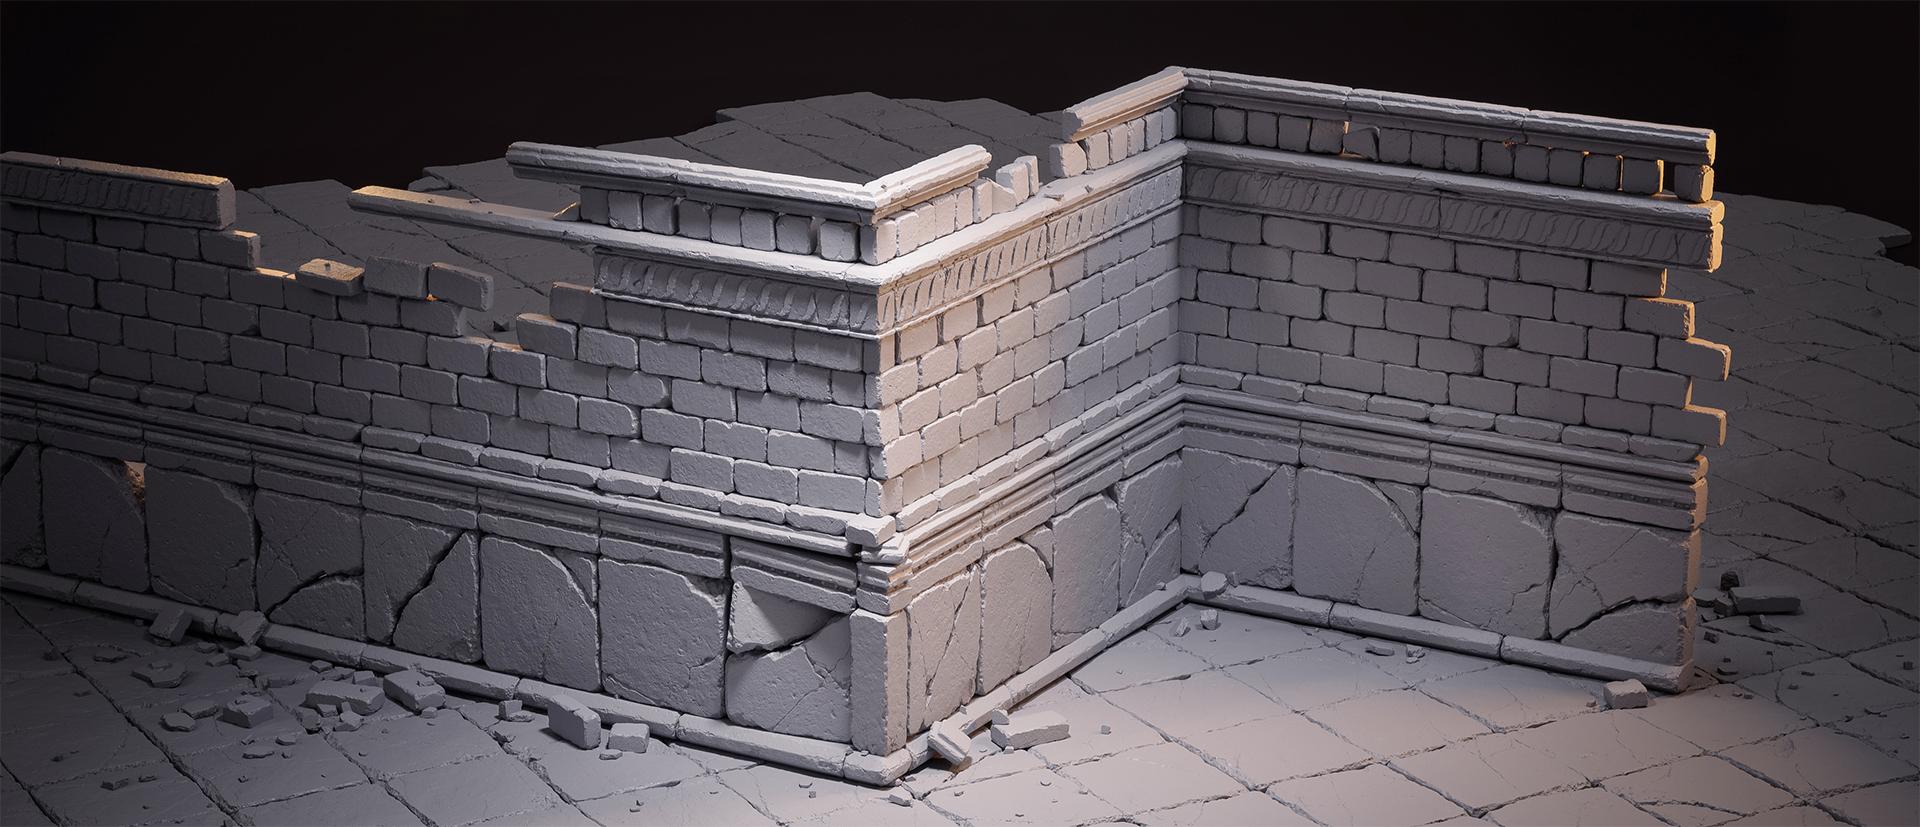
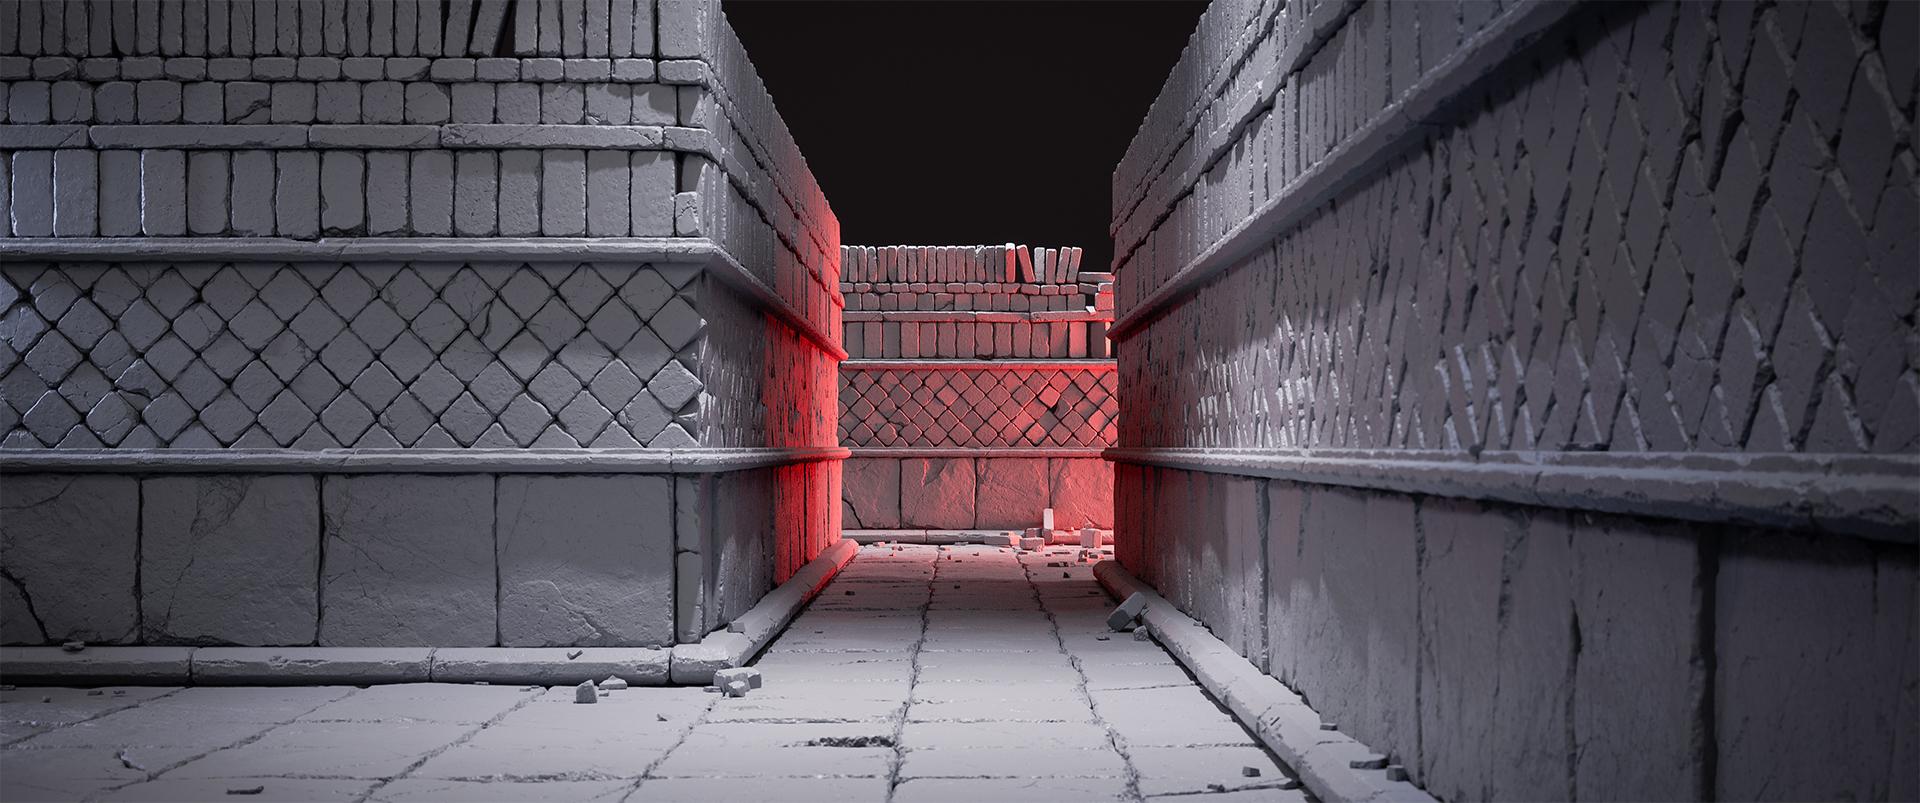
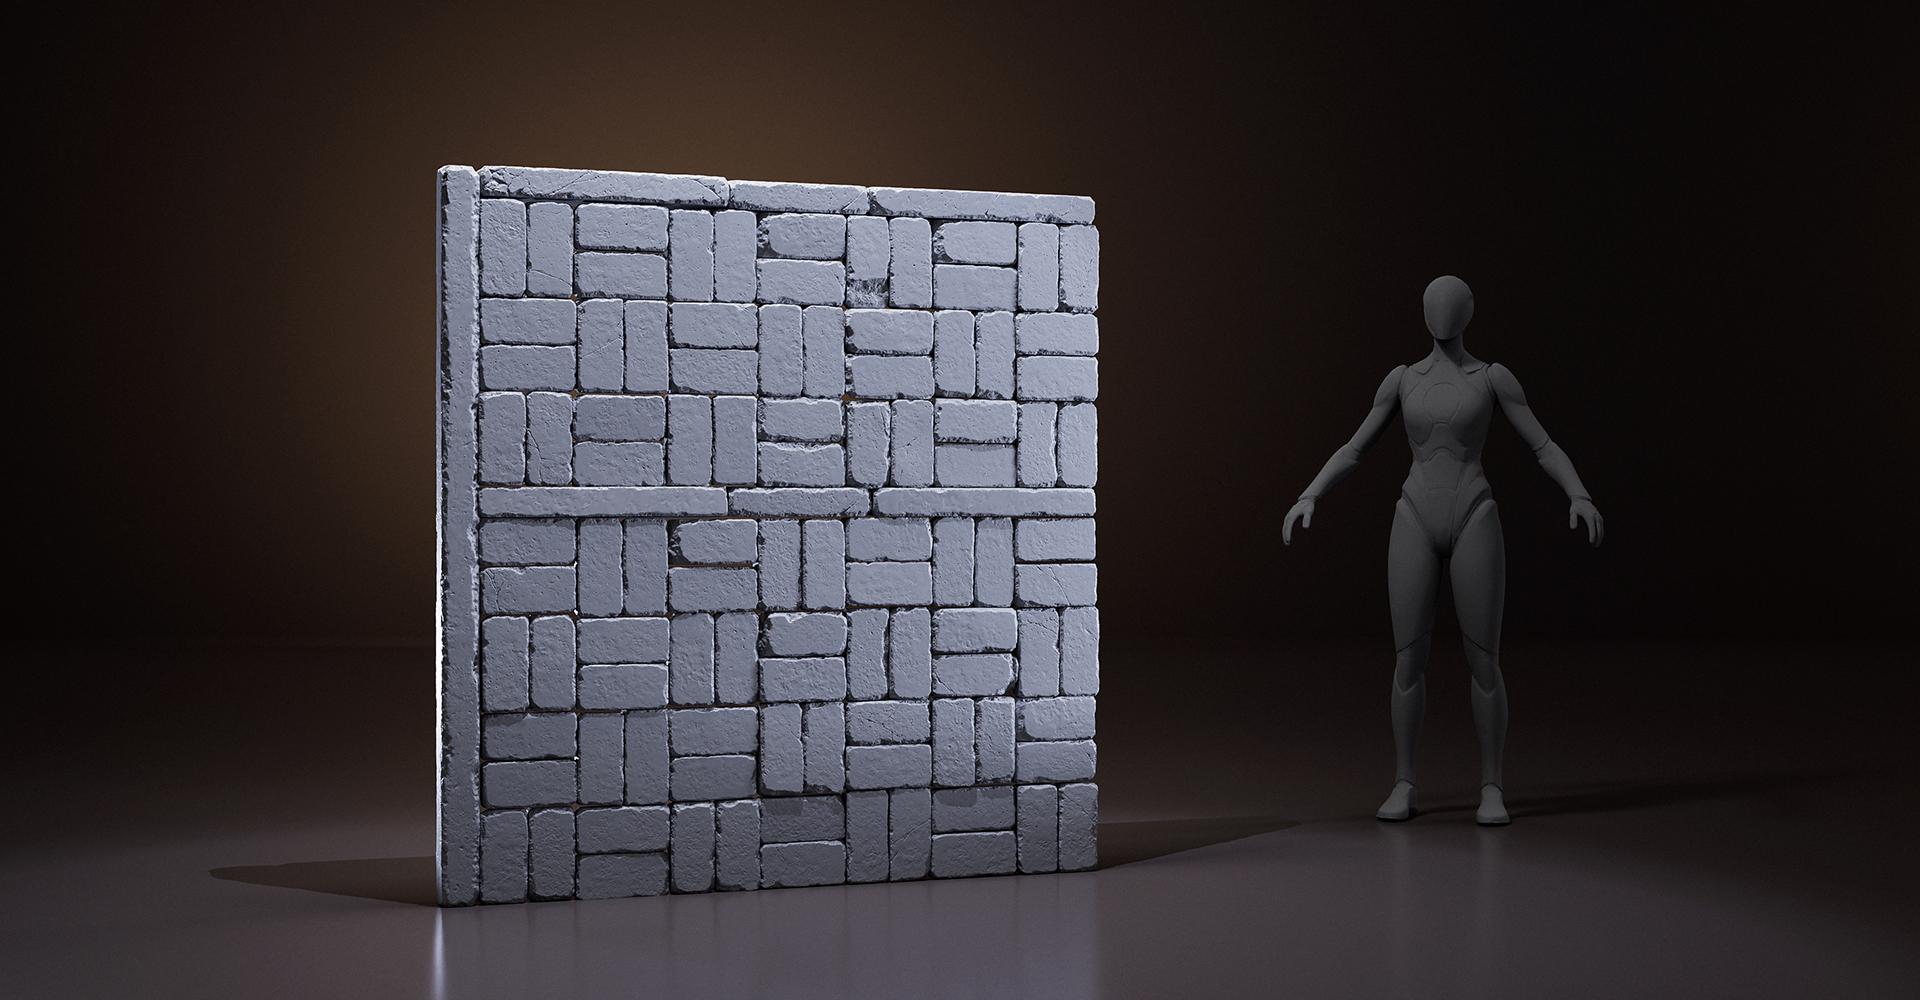
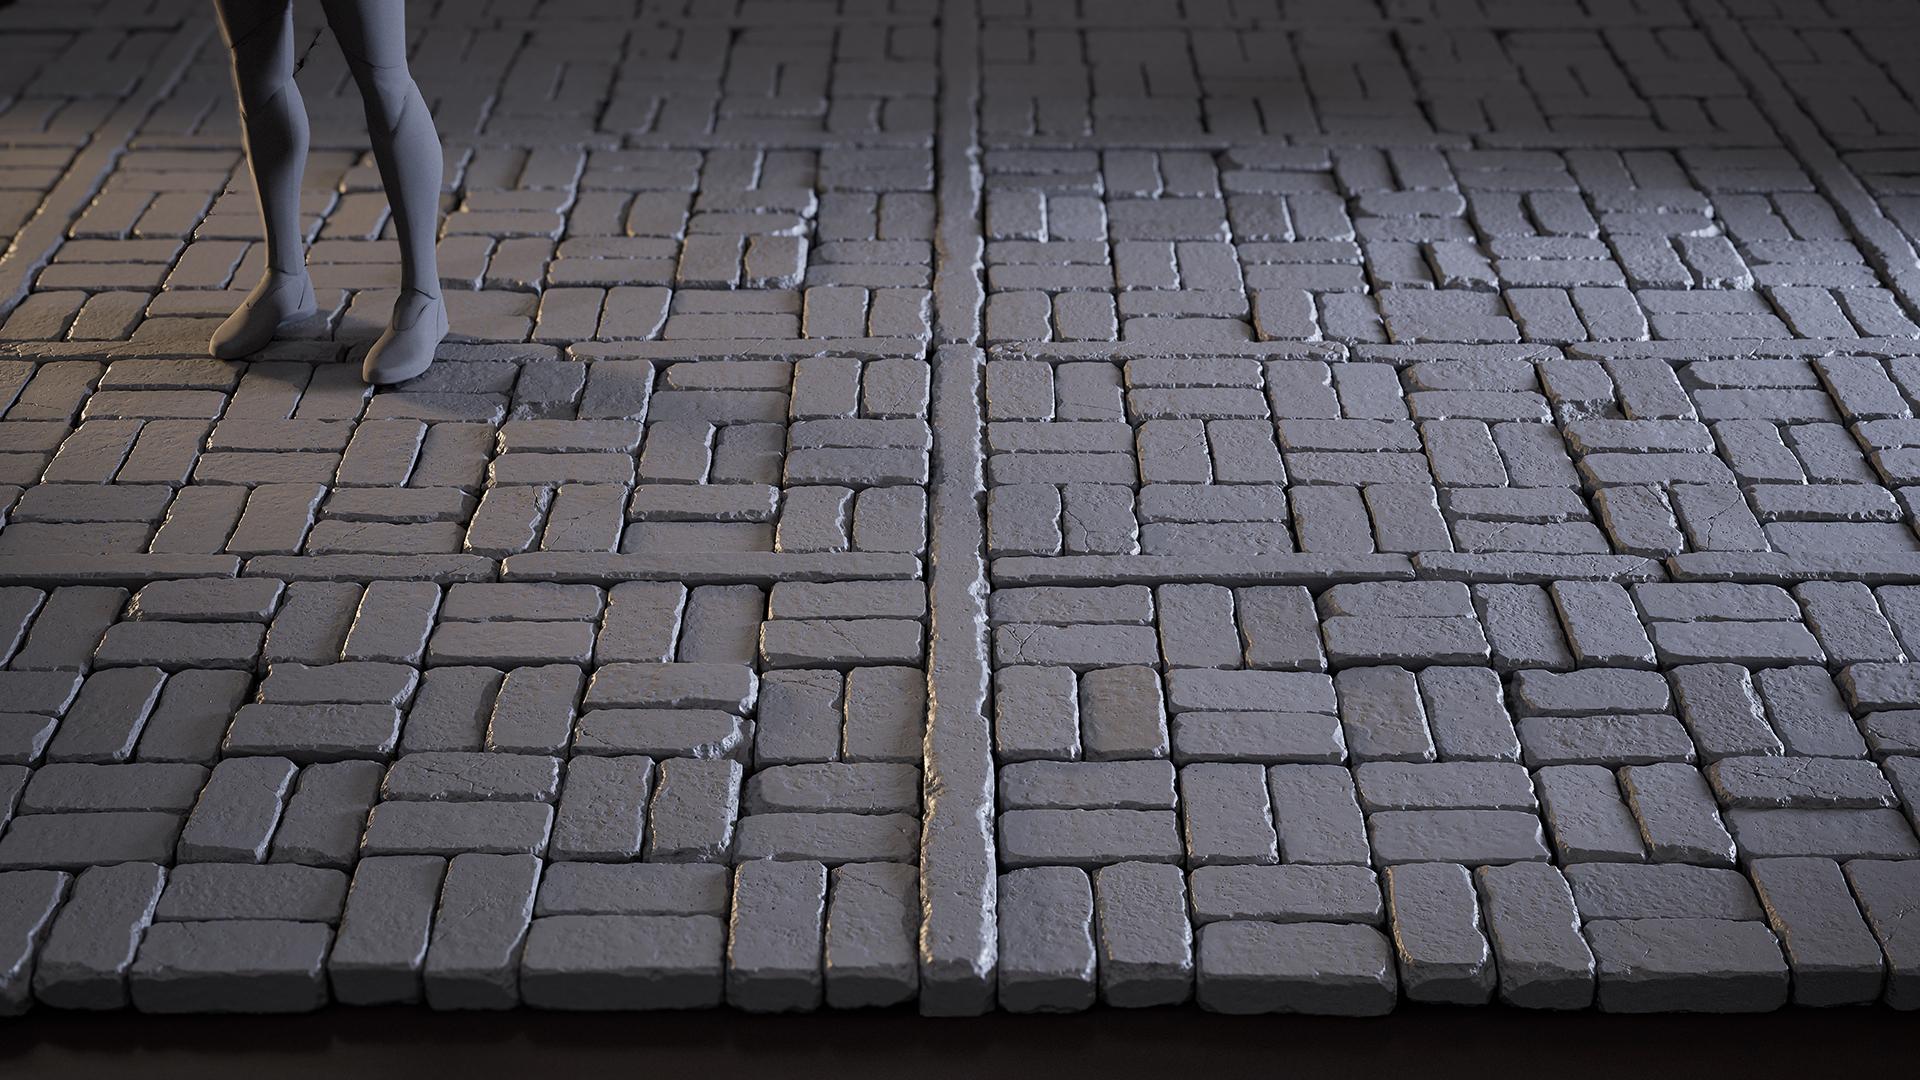
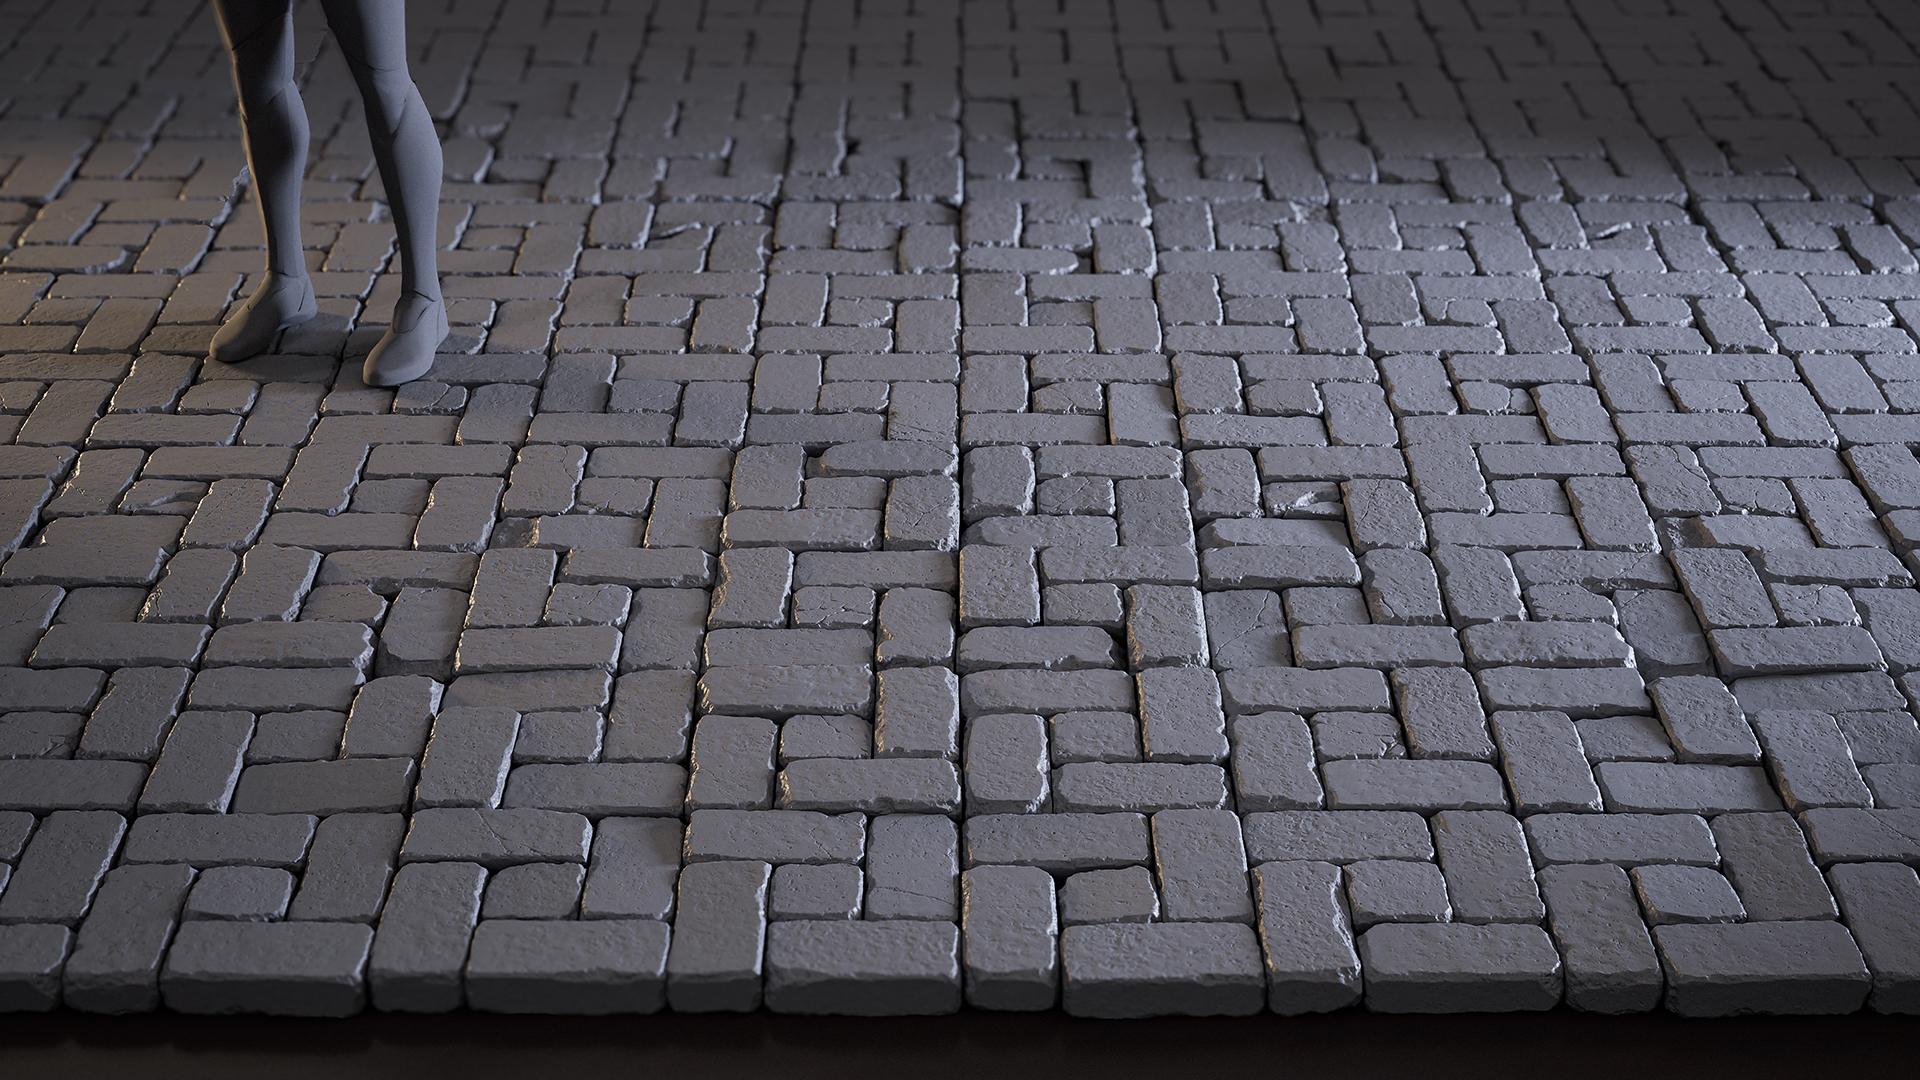
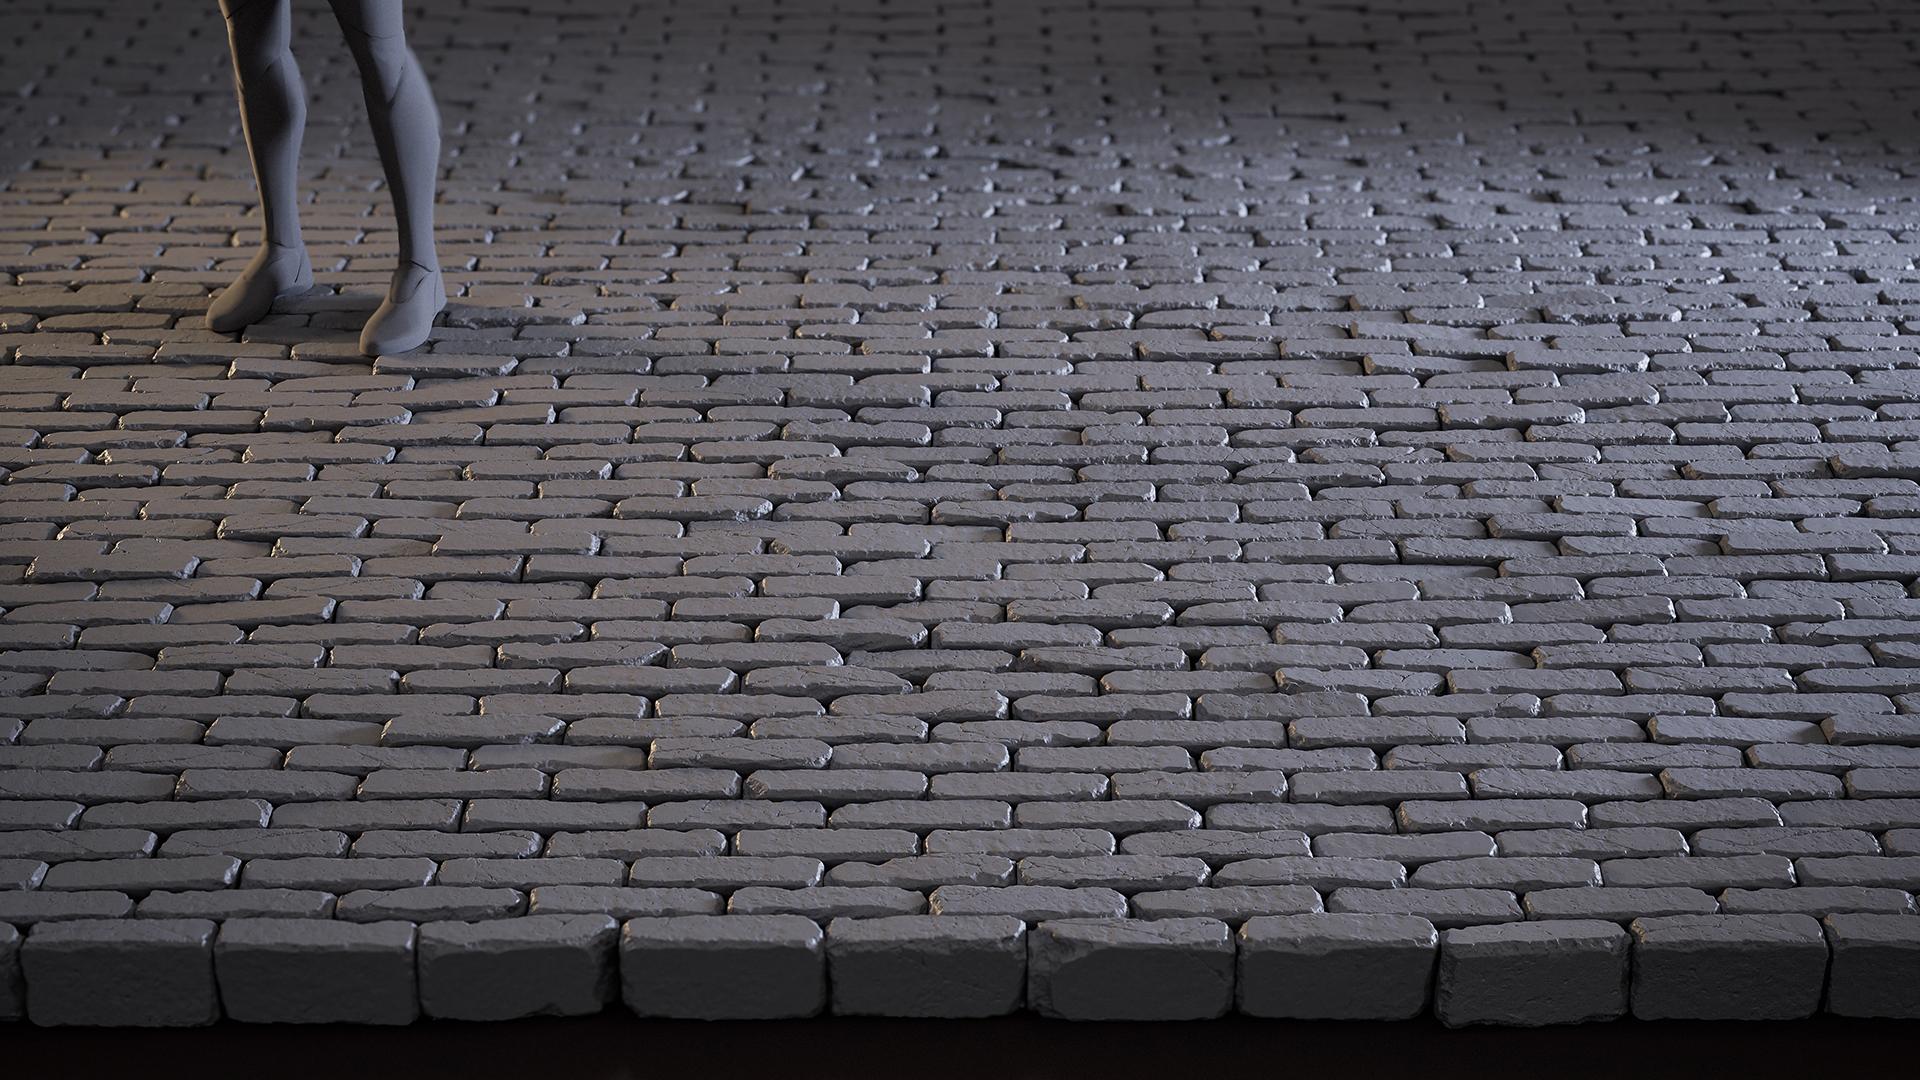
I started simple – placing bricks into basic wall layouts – and gradually made the compositions more complex, forming interesting patterns and small arrangements. I paid special attention to lighting, making sure it brought out the detail in the sculpts.
This project was primarily a practice exercise aimed at improving my sculpting skills and understanding of stone as a material. It also showed how a few simple elements can create a wide variety of combinations, making scenes more visually interesting.
So try new things, do what you love, and practice again and again. I hope this little article was useful and that you found something interesting in it for yourself. Believe in your own strength and as they say in my mentor Sergei Panin’s community: Make it pretty, not sh*tty!
Huge thanks to Games Artist for the opportunity to share my experience, and to my close circle of friends for their support!
Read more articles
You might also like these articles.