Woodshop

Introduction
Hi! My name is Santiago Forero. I am an Environment Artist, currently in my last term at Gnomon School of Visual Effects, Games + Animation.
I have a huge passion for telling stories through environment art, and I am currently based in Los Angeles.
Goals and Project Overview
My goal with this project was to create an environment from scratch that would help me improve my skills in modeling, sculpting, and texturing.
Woodshops are rich, sensory spaces filled with sounds, scents, and textures, and I wanted to take on the challenge of capturing that atmosphere through a visual medium, making it feel immersive.
This project is also a tribute to my grandfather, who was both a carpenter and an artist. Although I never had the chance to visit his woodshop, I’ve always admired his passion for his craft and have always heard many stories from my family about the art he created and his shop.


Tools
For this project, I used:
-
Unreal Engine 5
-
Maya for modeling my modular kit
-
ZBrush for sculpting more organic pieces
-
Substance Designer, Substance Painter for creating my material library and texturing
-
Marmoset Toolbag for baking


References
Usually, the approach I take to gather references is split into two. I first gather a list of shots and concepts that have the feel I am going for, collecting references from ShotDeck or other sites.
As I go through these, I start to refine the direction of the scene and compile a list of key elements that should be included. This helps me identify the necessary props and textures early on. I also gather separate individual references for those elements I want to tackle, like the floor, wood, and different structural components.

Blockout, Modelling & Modularity
I took modularity into account when making the assets that composed my kit. I created repeatable pieces for the walls, floor, and ceiling in Maya.
Other pieces of the kit included wooden beams, wooden pillars and chairs.


Some other props, like the cables and tubes, were composed of one individual mesh and were later assembled inside of the engine utilizing spline mesh blueprints.
Here is the initial blockout I had for the scene:

I also created high-poly models for some of the other pieces using ZBrush, used RizomUV to UV their low-poly versions, and baked the high detail using Marmoset Toolbag.
The Trim Smooth Border brush was key in getting some of the wooden details.

Texturing
I used Substance Designer to create a tileable material library that I then used to texture elements in my scene. I also created a set of two trim sheets that allowed me to add smaller details and patterns along different areas of the space:


For some of the assets, I used material layer blending with RGB masks made in Substance Painter. This allowed me to add variety to tileable materials and create more customizable results inside of the engine.

I also used vertex painting to add material breakup and achieve more realism in areas like the floor and walls.
I also wanted to make sure that the organic wooden edges found in many of the components of my scene were present, like chipped corners and worn borders.
I wanted to implement these edges in the most efficient way possible, so I implemented edge trim decals that used normal information.
I started by sculpting borders in ZBrush that could be used for my wooden elements and then baking the normals onto simple primitive meshes.
I then used the normal map that resulted from that bake as a normal trim sheet.
This normal trim sheet was then scattered around my scene to implement those chipped and worn wooden borders. This method is great because it allows me to efficiently create a more realistic result across my entire scene without having to tweak individual assets.

Here are some stills showcasing some borders with and without the edge normal decals applied.

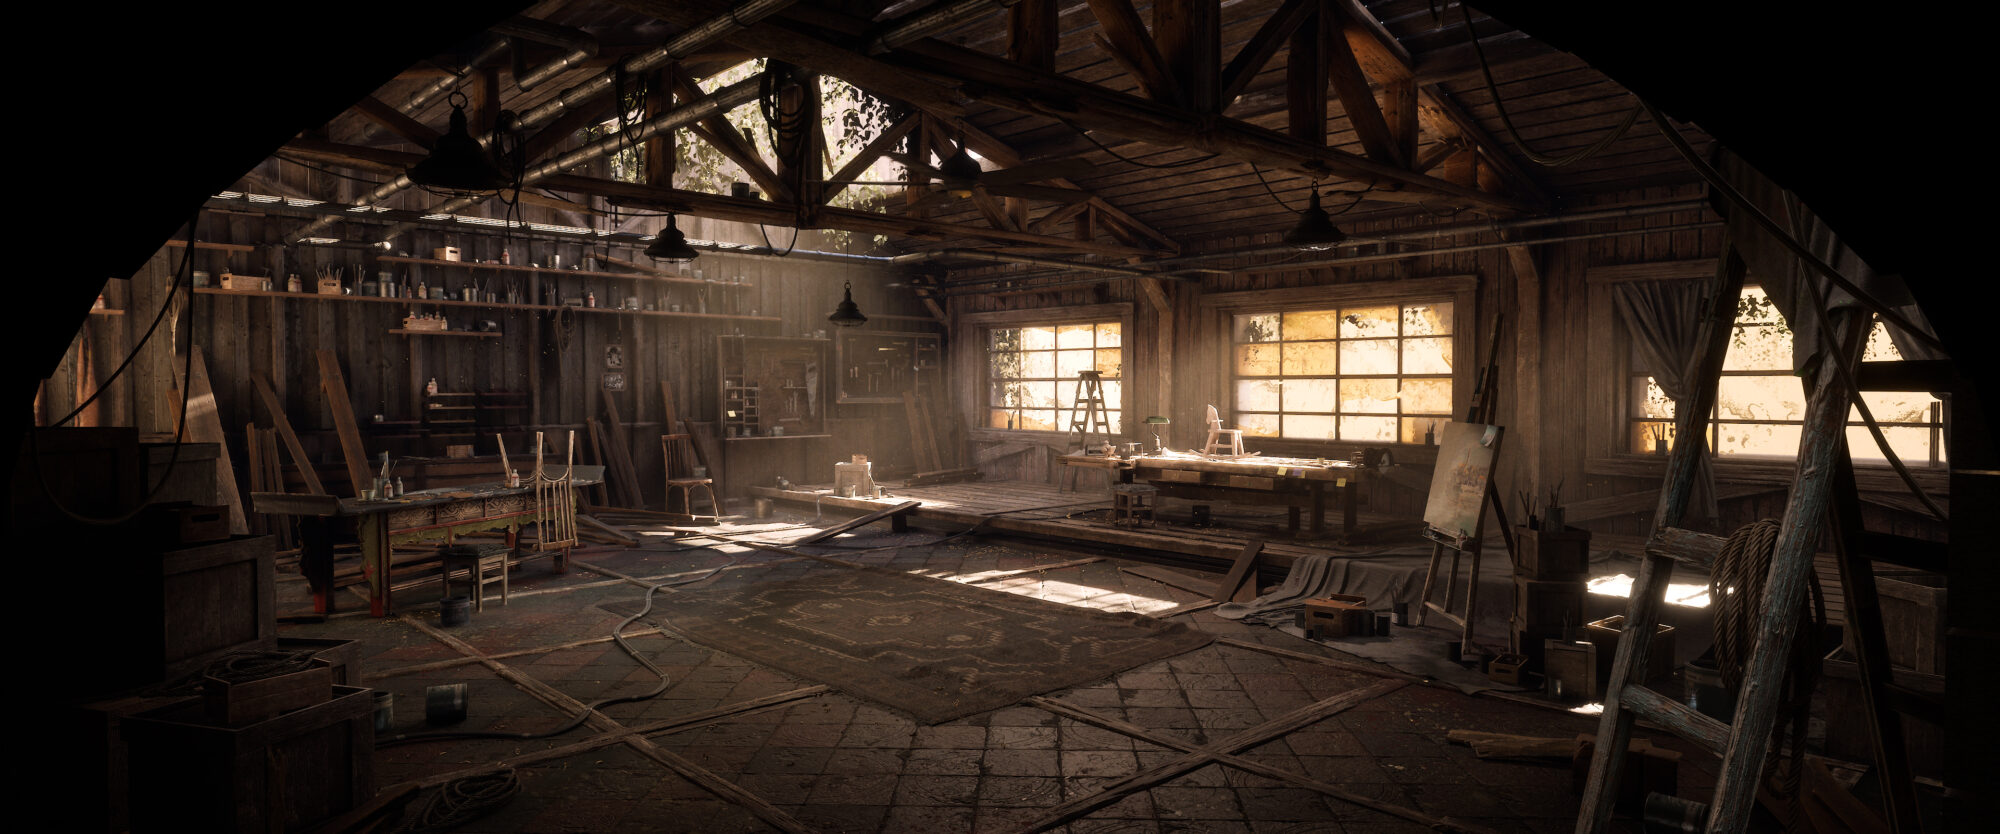
Lighting
For the lighting, since my main source was a directional light coming through the windows, I needed a fill light that softened the shadows and complemented the sunlight.
This was a simple light that came from the interior of the woodshop and brought light to the elements in shadow. I also added fog cards and positioned them in front of the windows to add more depth to my scene. Once I did this, I started to see my scene come to life.
Below, in order, are images of the “Detail Lighting, Isolated Directional Light, No Directional Light & No Fog Cards”.


Conclusion
To conclude, this project was a great opportunity for me to delve deeper into environmental art, get more experience in workflows, and overall was a ton of fun to create. Thank you, Games Artist, for the opportunity to share, and to everyone who offered feedback and advice.
Thank you for reading. I hope you found some of these techniques useful!
Read more articles
You might also like these articles.


