Whispy Medieval House

Introduction
Hello! I'm Josephine Svärd, a 3D Game Environment Artist from Sweden.
Games have always been a part of my life, and later in life I decided to take the leap and turn it into a career goal. Right now I study at PlaygroundSquad in Sweden as a 3D Game Artist with a focus on Environment Art. I also worked over five years as a freelance illustrator and studied Graphic and UI/UX Design for three years.
Project
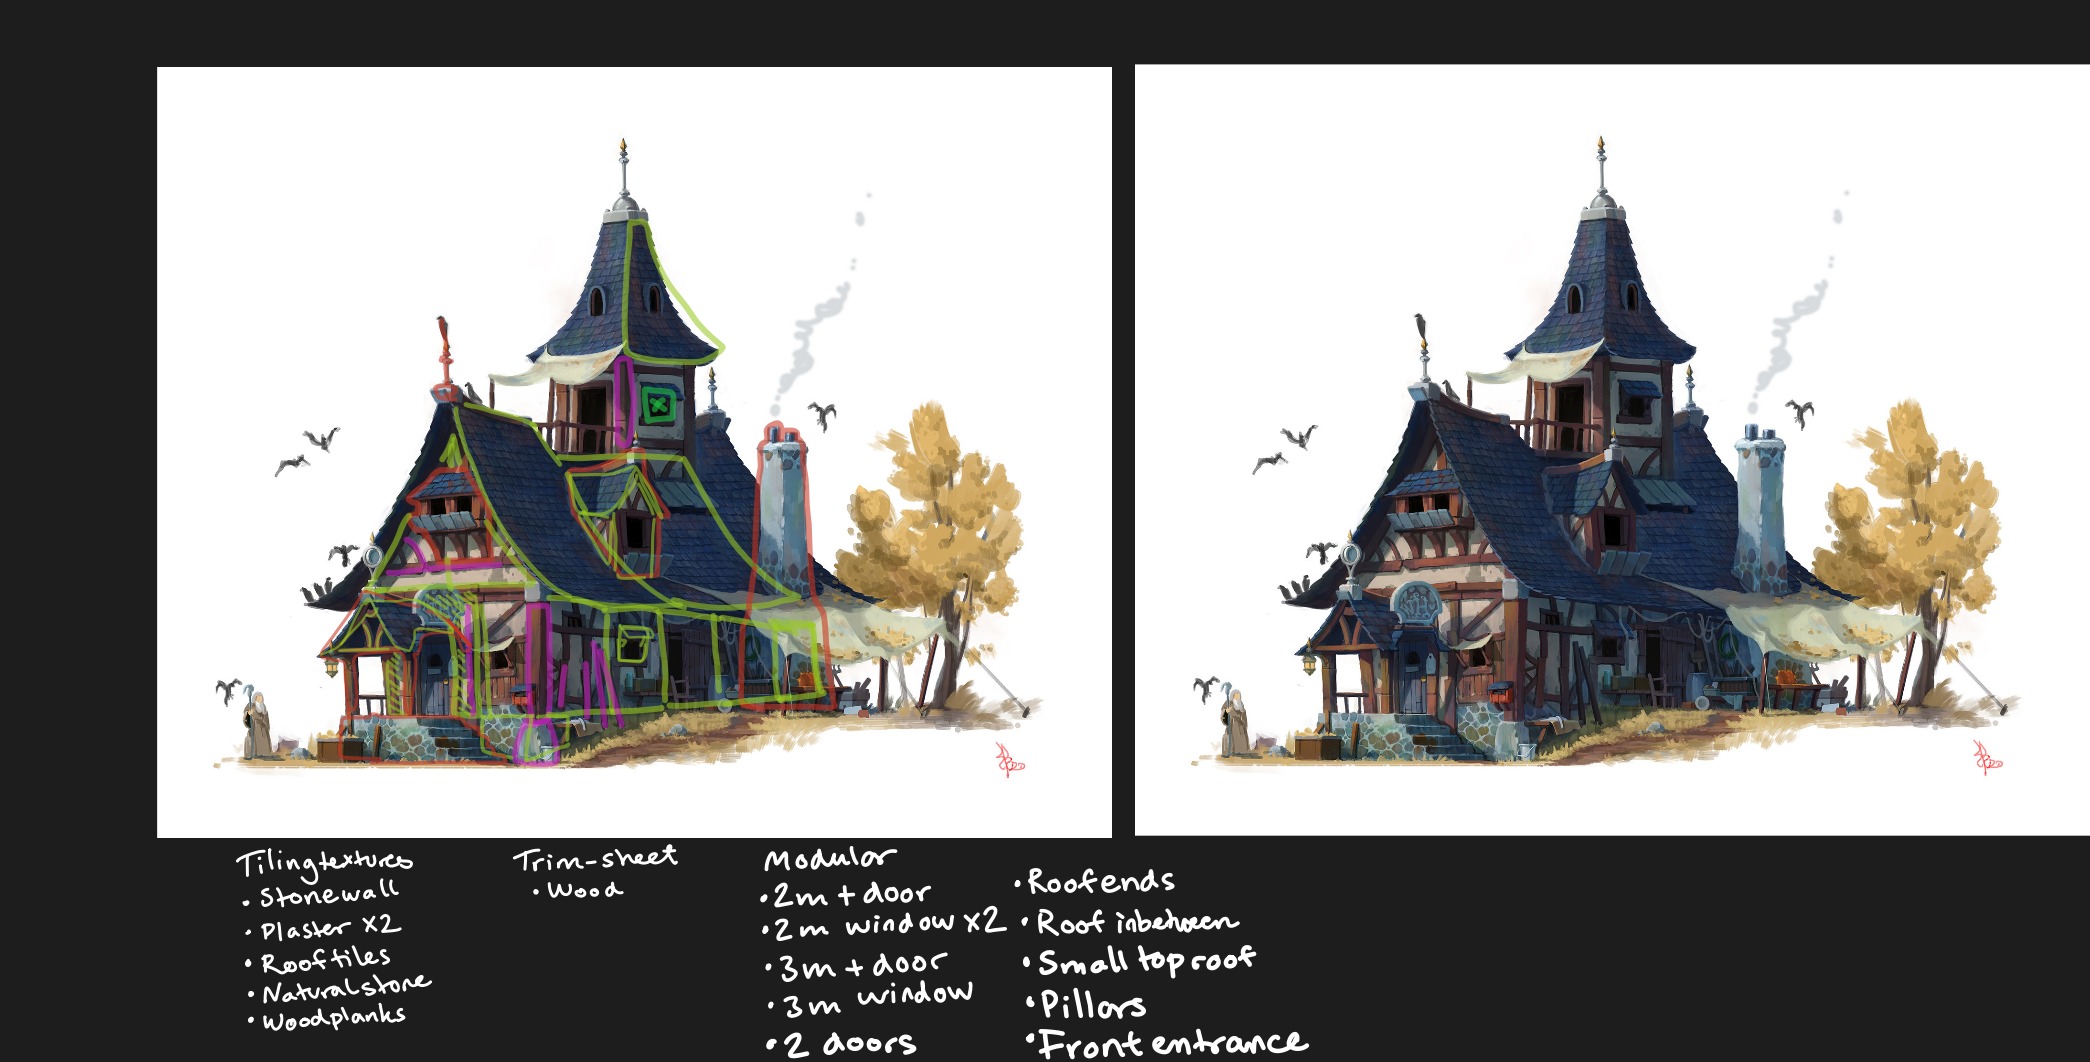
I found this amazing concept art from whinbek [휜백] on Artstation, a medieval house that I could make into modular 3D parts.
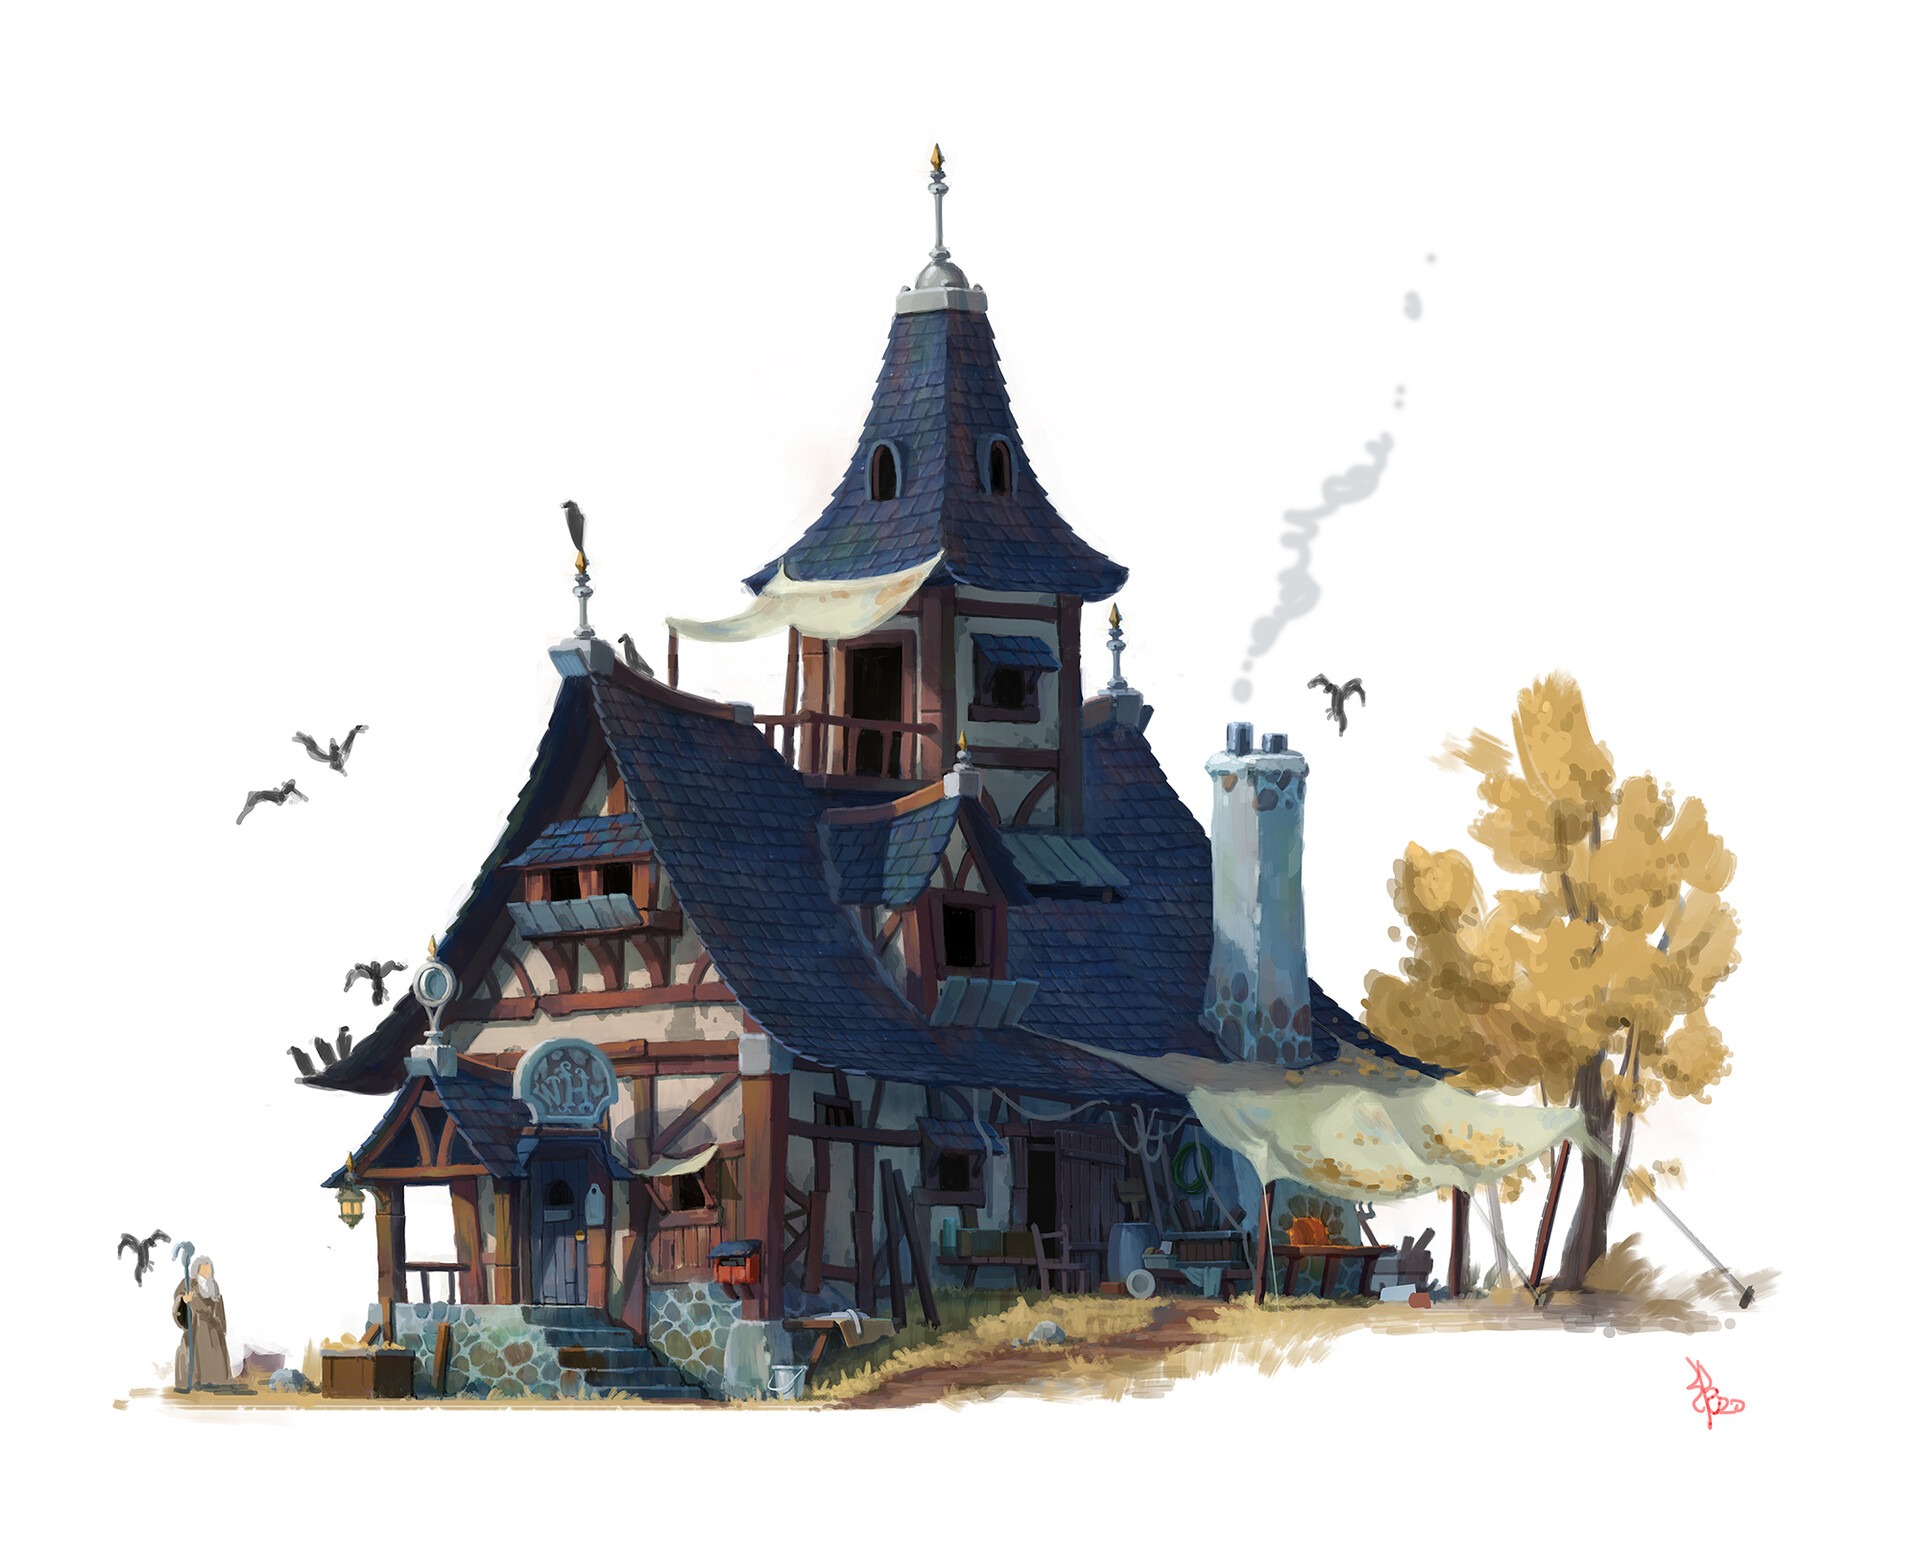
https://www.artstation.com/artwork/0neb1Y
I followed the concept as closely as I could, but due to all the negative white space, I could leave it to my own imagination.
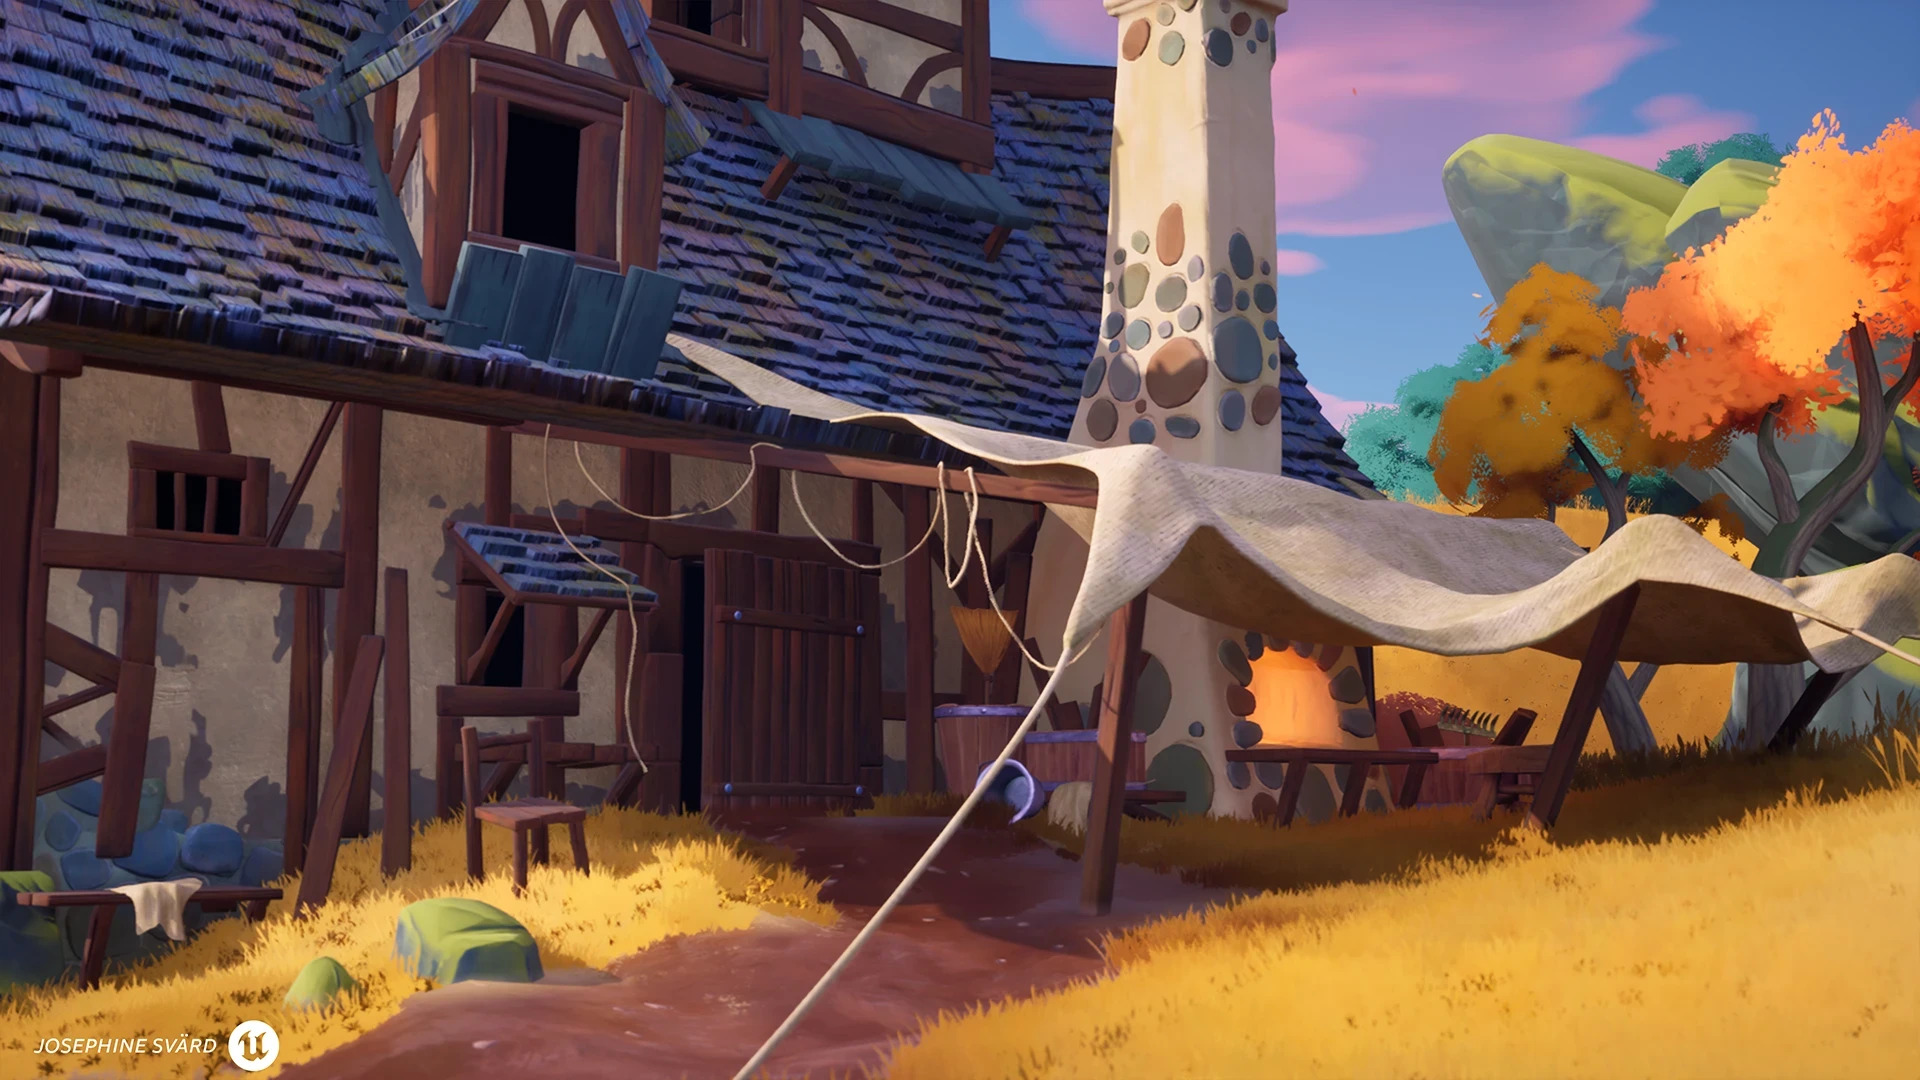
I really felt the creativity flow when I could fill a whole world around this medieval house.
Goals & Planning
I wanted to show all the skills I’ve learnt so far in my education at PlaygroundSquad, and I realised that I didn’t showcase any modular environment parts in my portfolio. Showing off some more foliage, a night scene and RGBA splatmaps is something I also wanted to include in this project.
I focused on:
- Modular Environment parts
- Trimsheet and tiling textures
- Material Layering in Unreal Engine with RGBA splatmap
- Shaders
- Foliage
Blockout
I always start with PureRef, insert the concept, and start writing down how many tiling textures I need, trim-sheets, and also sketching out my modular parts, what types of walls, roof and other modular parts I need to model.
In Unreal, I start with placing a camera, spawning a block, and then changing the FoV settings to match the concept I’m working from.
After that, I use the tools in the engine when I block out, doing it all from scratch inside the engine so I have the composition right and the shape language as close to the concept as I can.
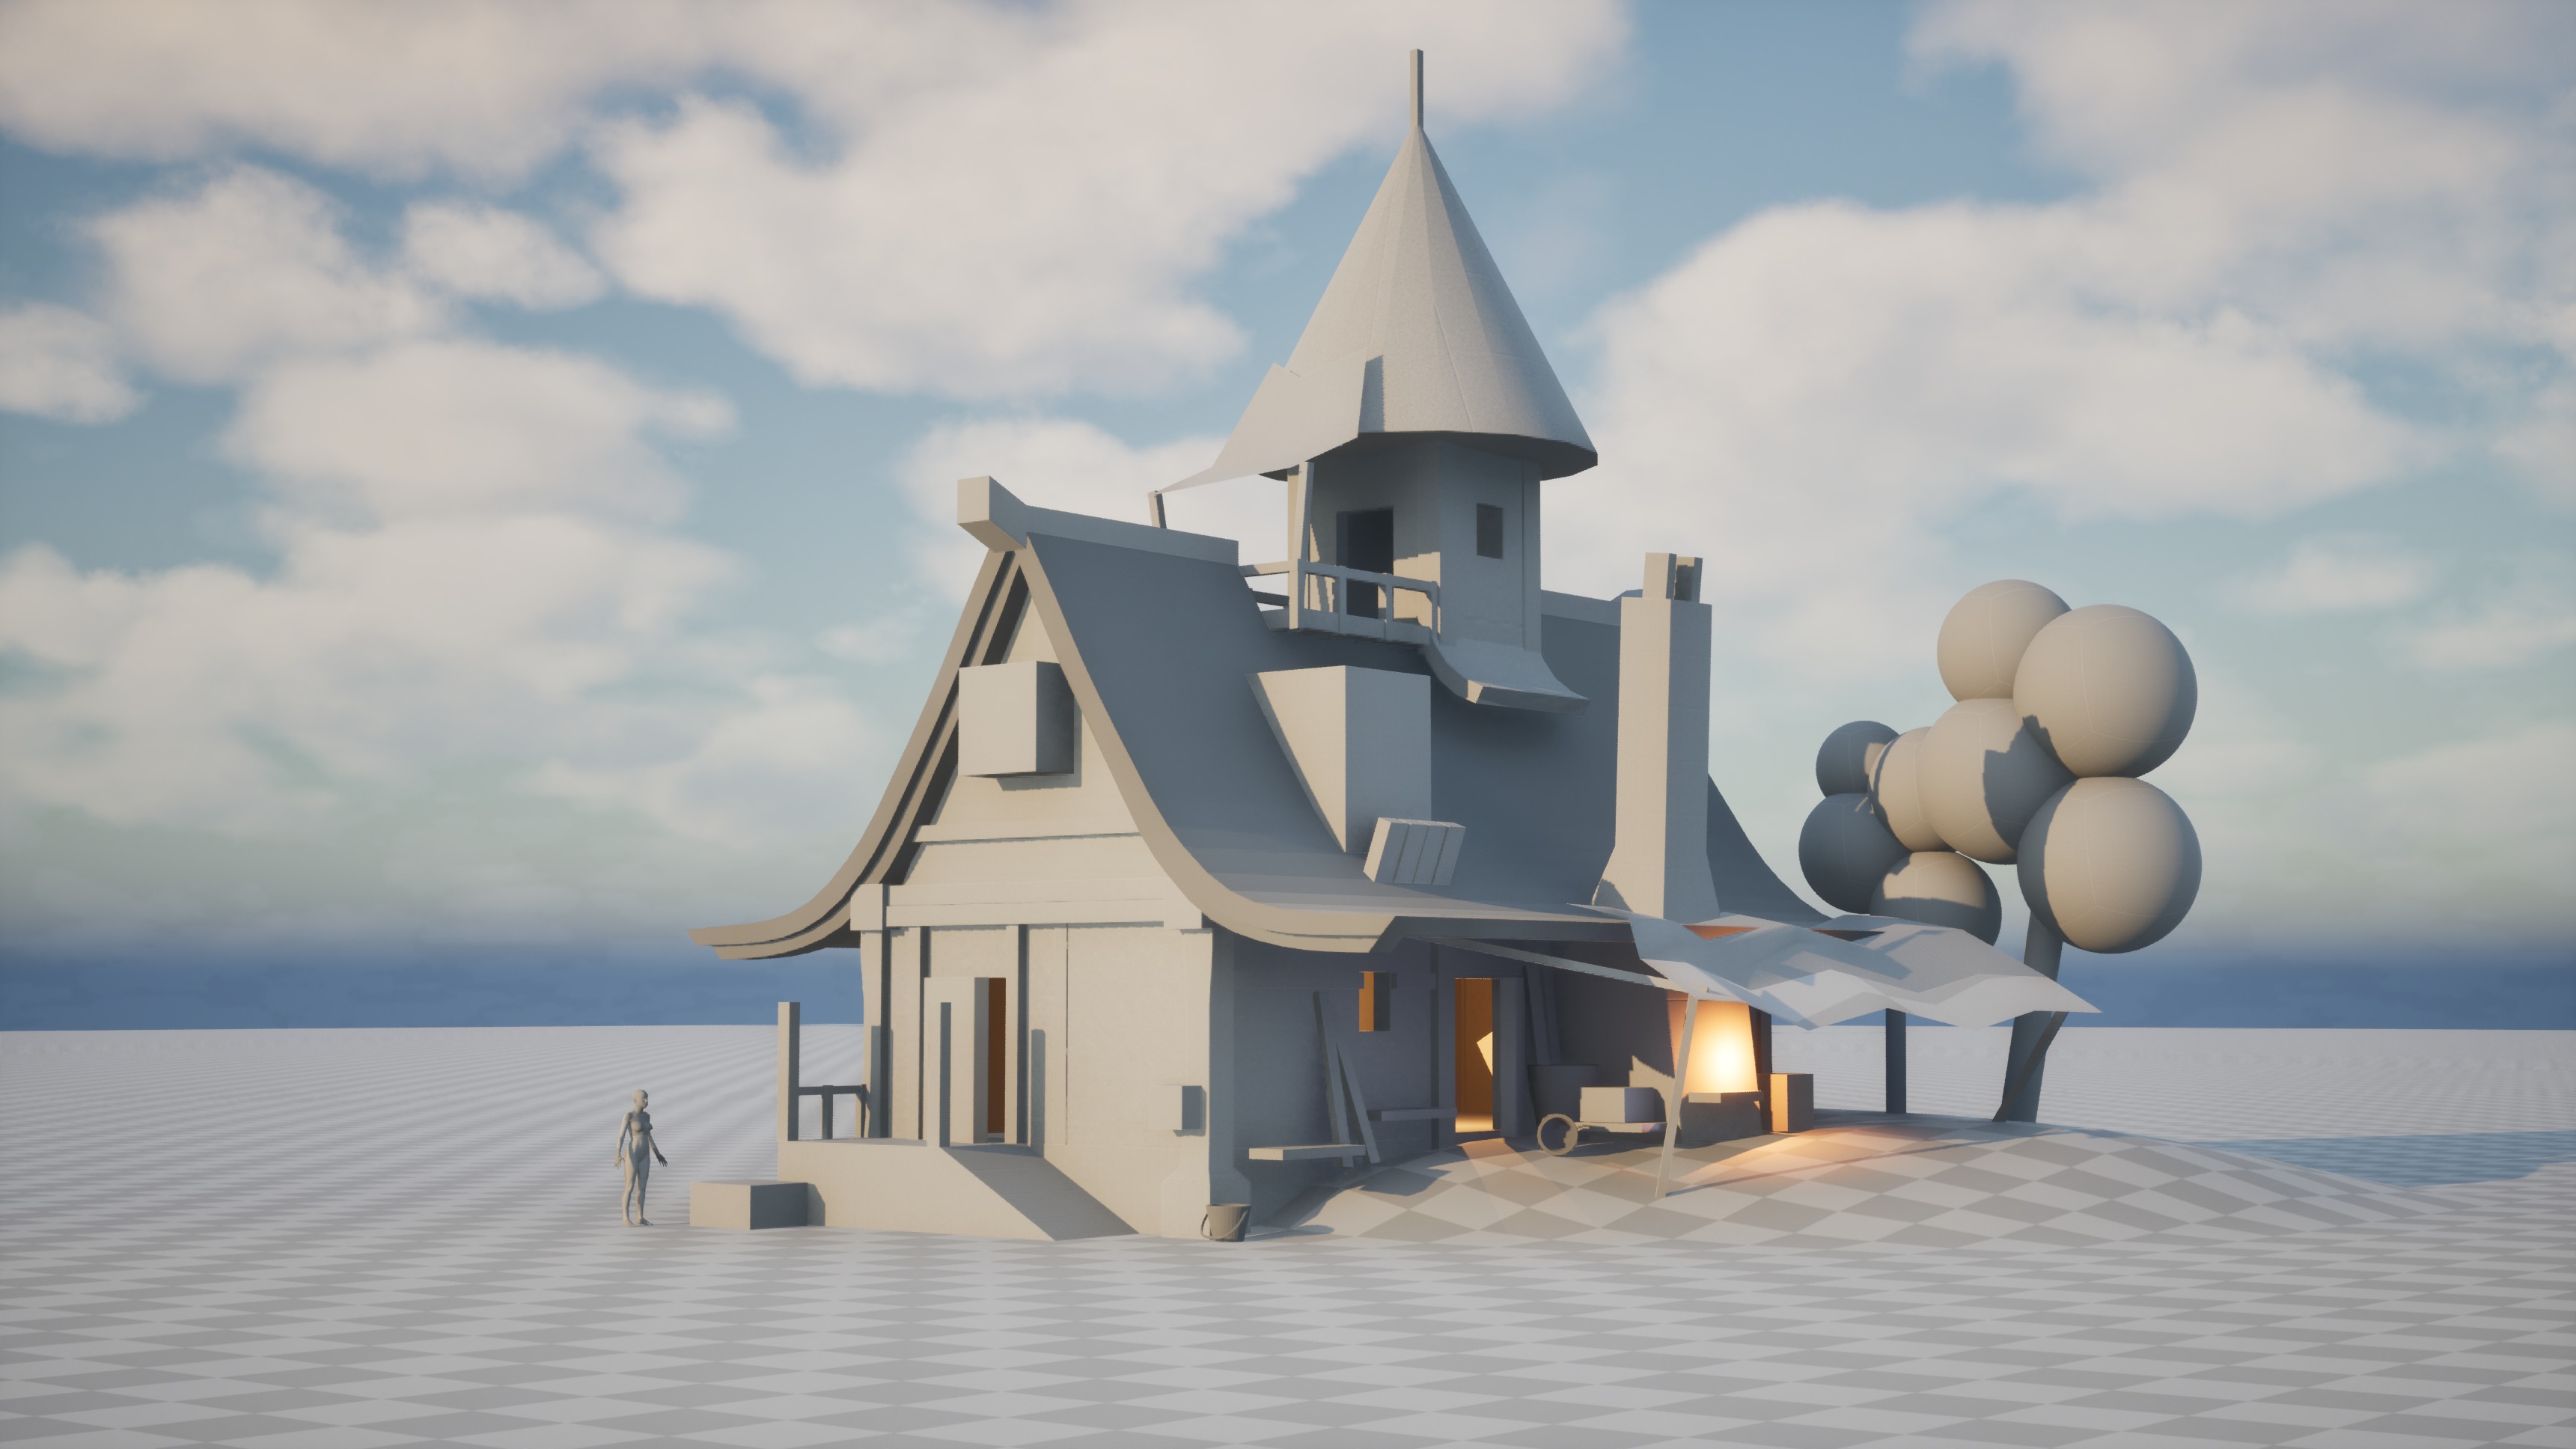
The blockout stage is so important, and it is very common that this part is overlooked when you start working.
Also, you get to show off your work in a nice progress shot from start to finish.
Modular Parts
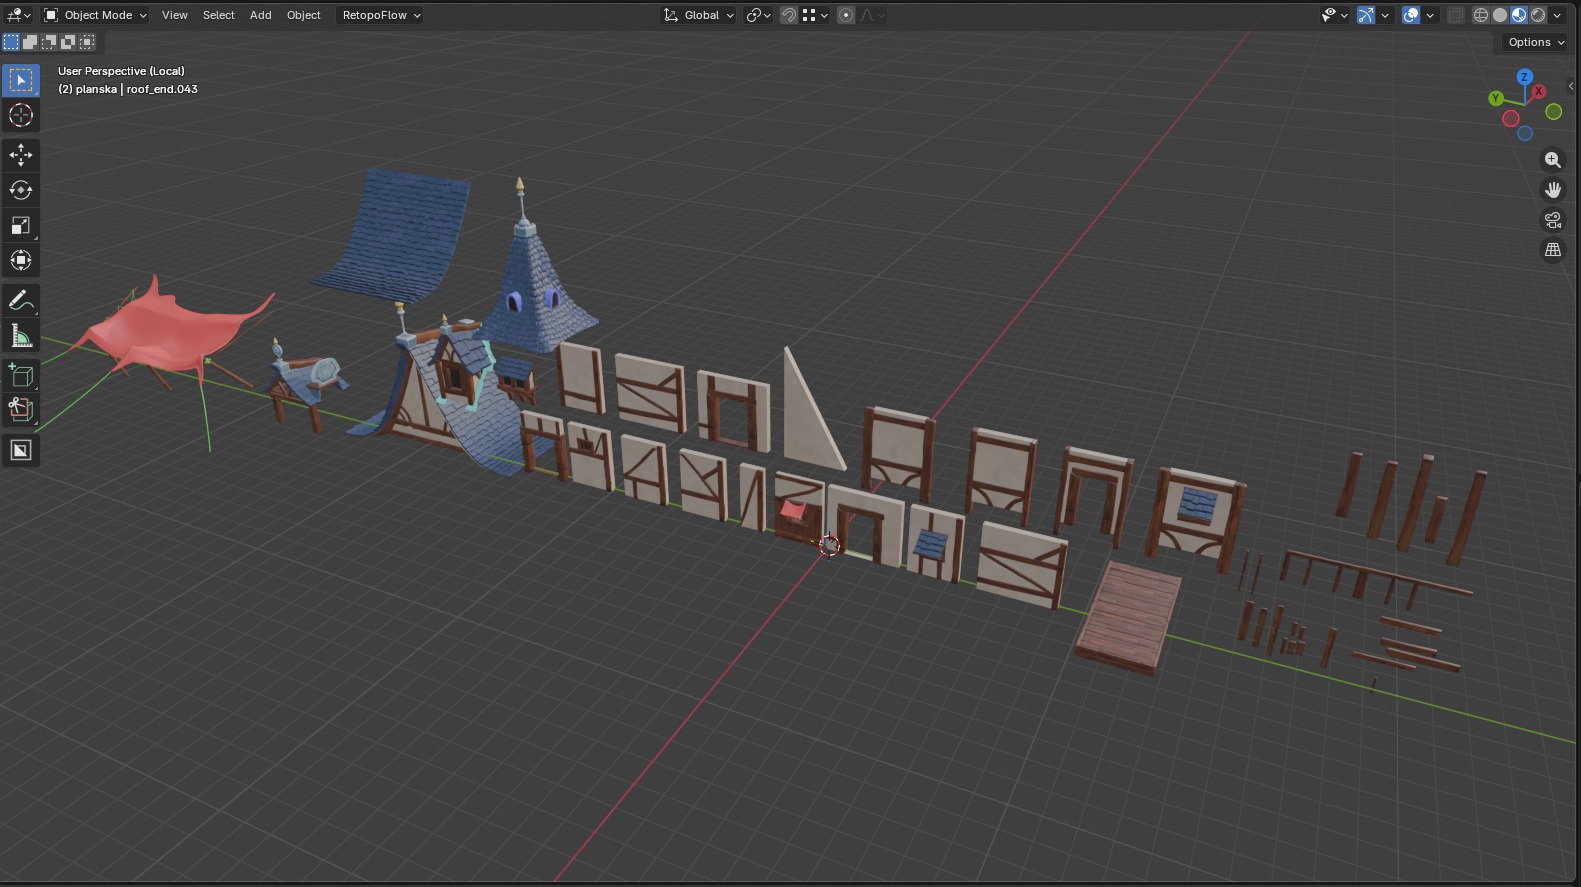
When the blockout is done, I start my modelling in Blender.
There is a really nice feature in Blender where you get real-time calculations of the mesh you are modelling on, so I could keep track of all my modular parts being the same ratio of width, height and depth.
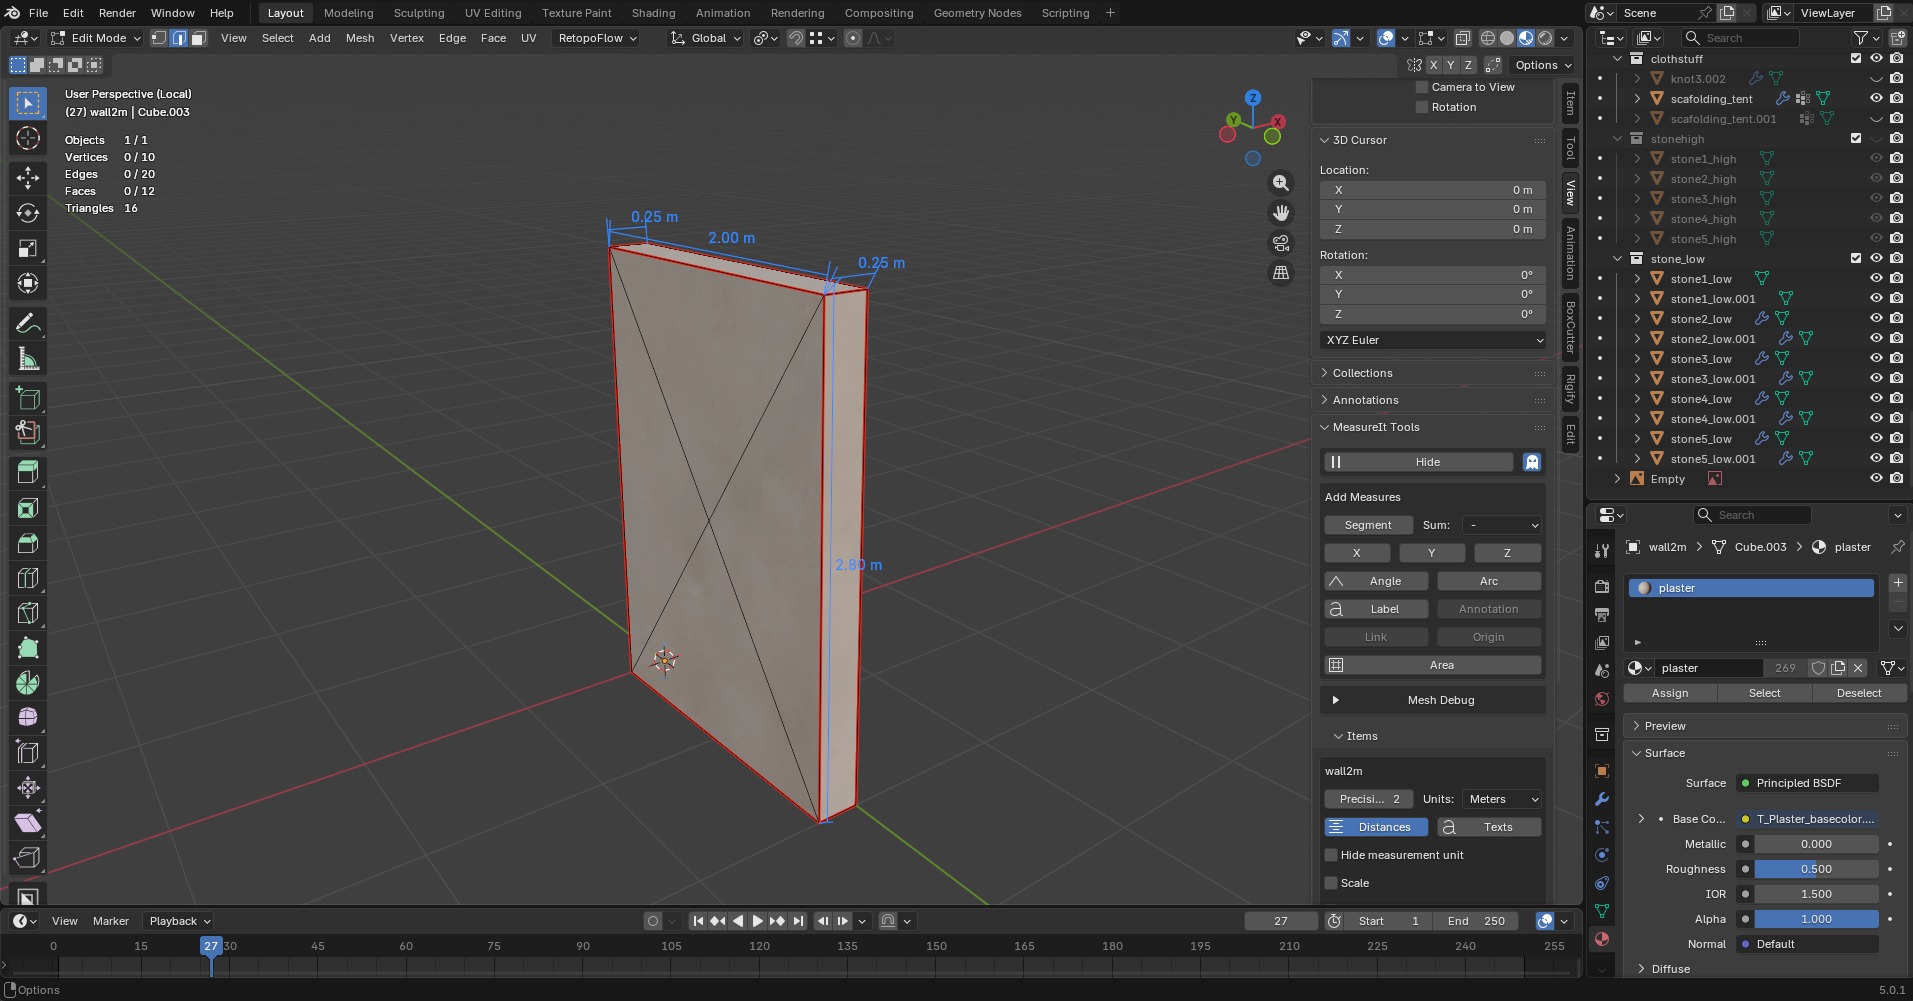
Now I can start modelling for real, making all the basic shapes of the modular parts and importing them into the engine as soon as I can. Deciding where the pivot point is on my mesh is very important. It is based on grid snapping, so it will work in the manner of how it is placed on the grid.
Working iteratively is key for me, which means I need my trim-sheet and some tiling textures before I can finalise my modular parts.
Trim-sheet & Tiling Textures
I knew I had to make the most essential textures first.
They didn’t need to be finalised, but I needed something so I could plan how to UV map my modular parts. I really wanted to capture that sculpted feeling and stylised look throughout my project, so both the trim-sheet, stonewall and the roof tiles are all sculpted in ZBrush.
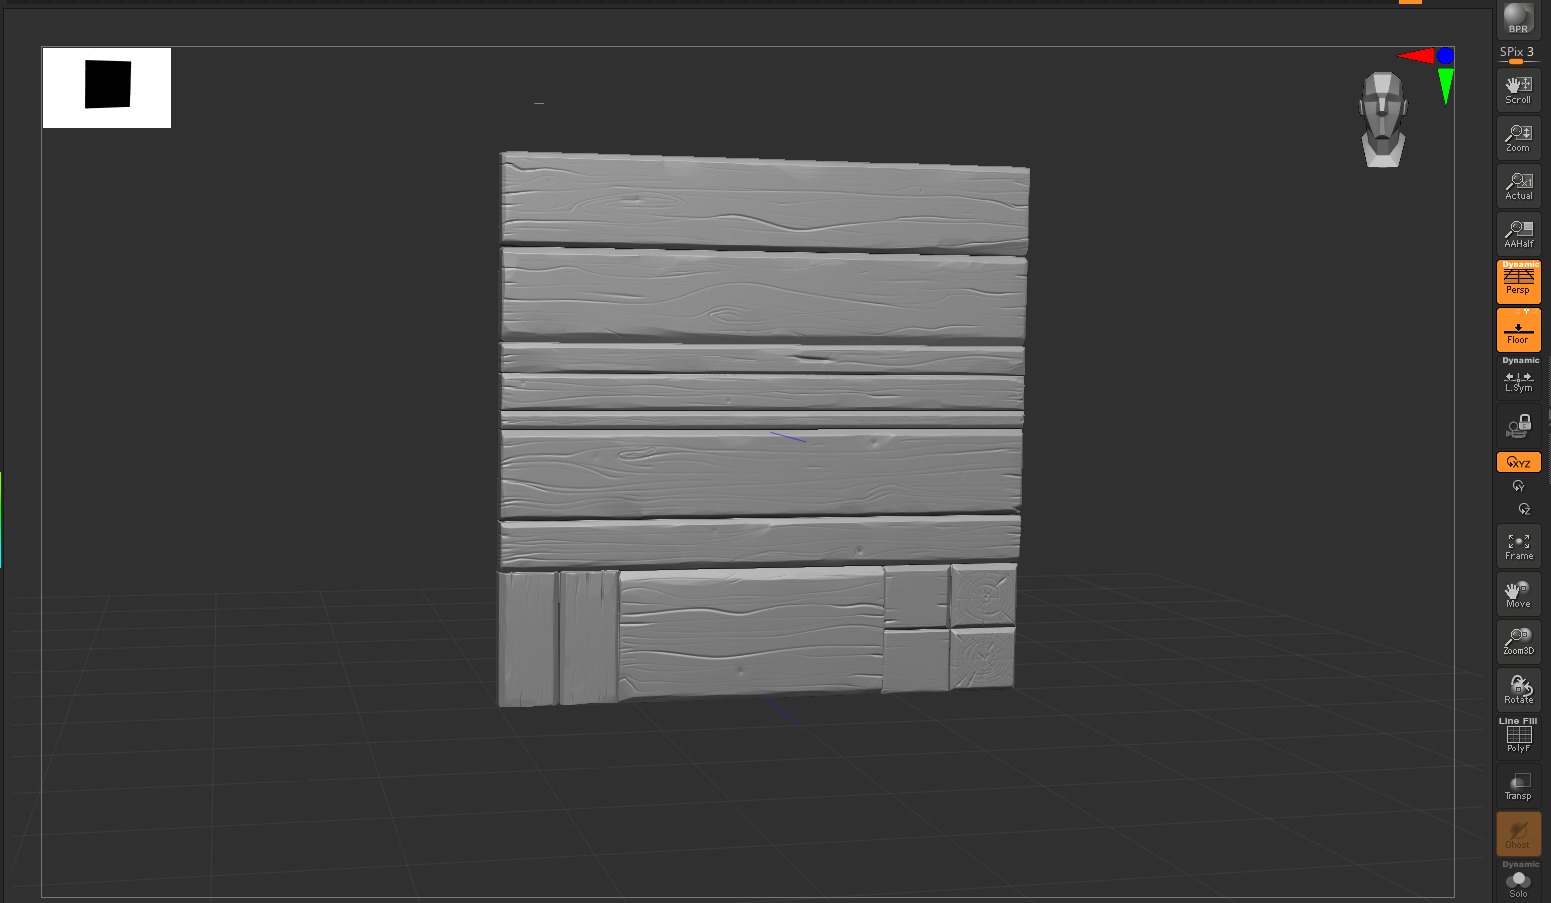
This is the trim-sheet for all the wood in the project.
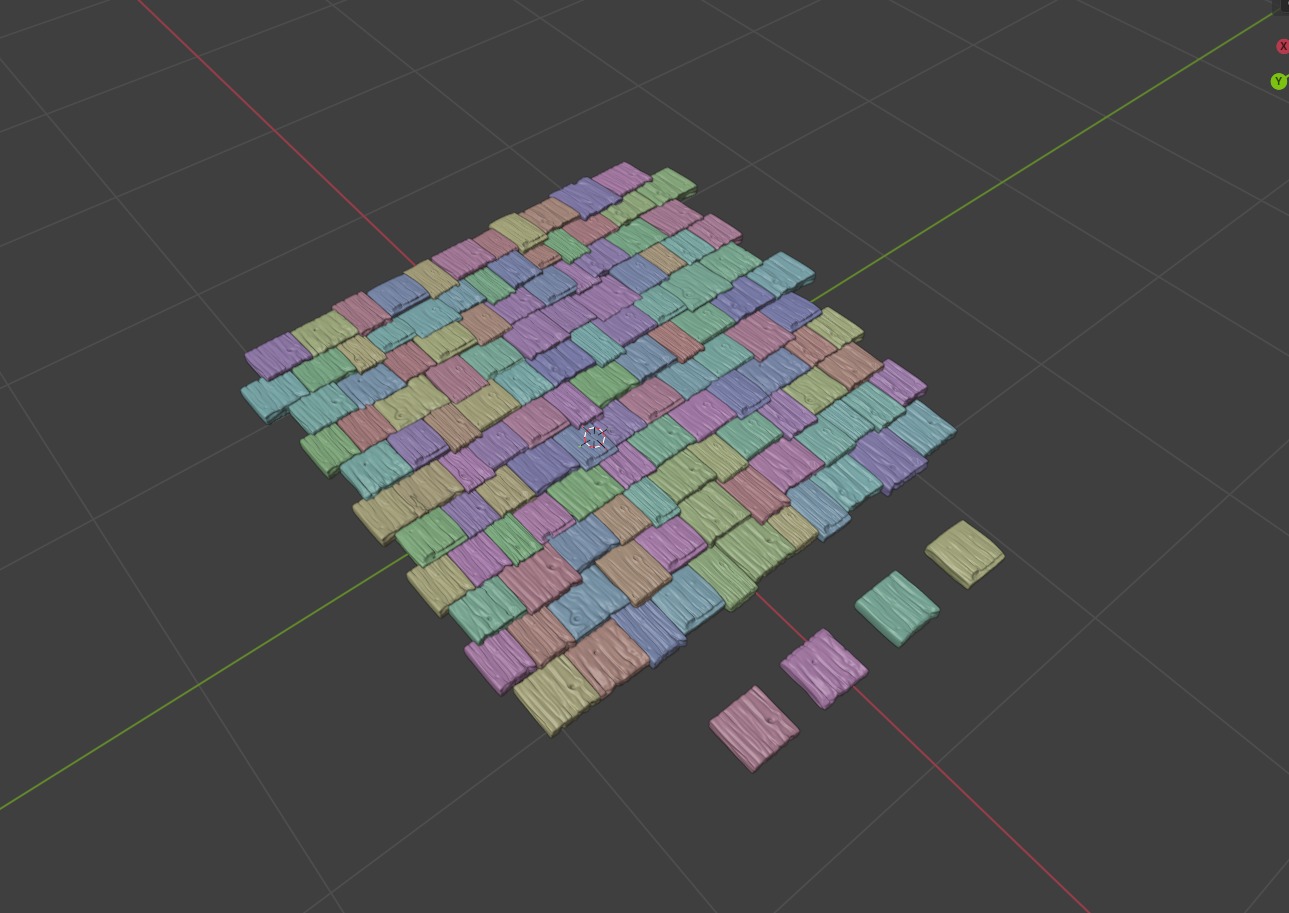
Here, you can see I made four different roof tiles, with different designs on both sides.
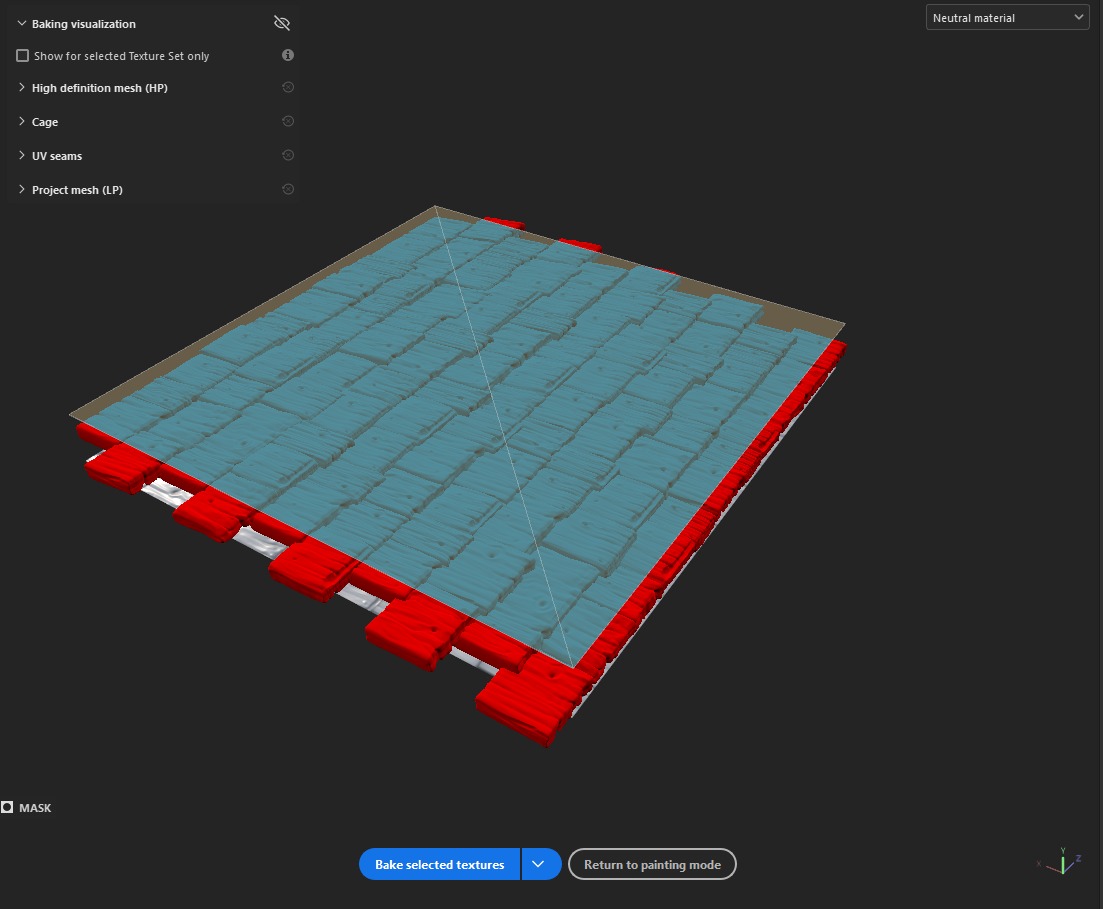
I imported them from ZBrush into Blender so I could place them in a manner to make them tileable for a tiling texture, then baked them in Substance Painter.
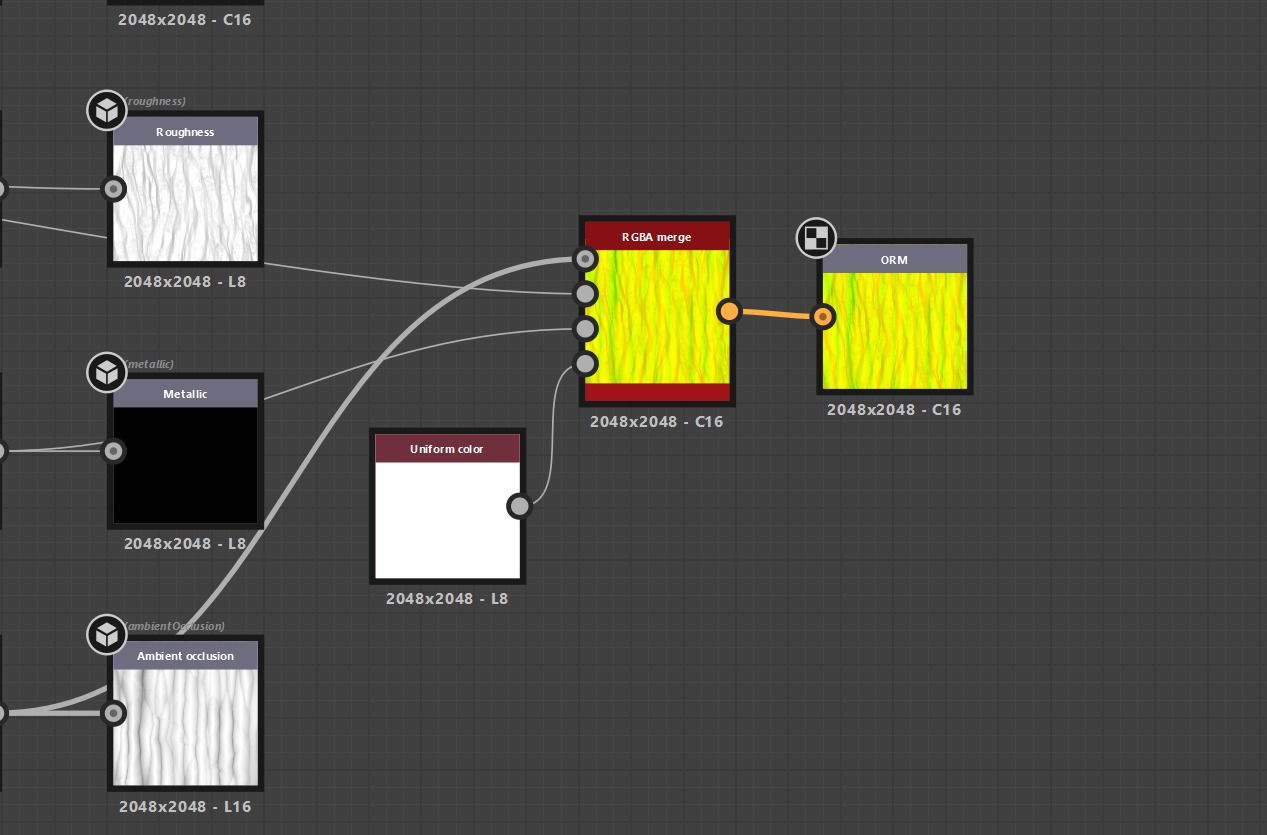
I used Substance Designer for some of my tiling textures and Painter for others.
Then I could start making different modular walls that had their own unique style.
Basically, I looked at the concept and worked out how many different styles of walls and roof parts I needed. Then I UV mapped them, gave them assigned materials in Blender and imported them to Unreal Engine.
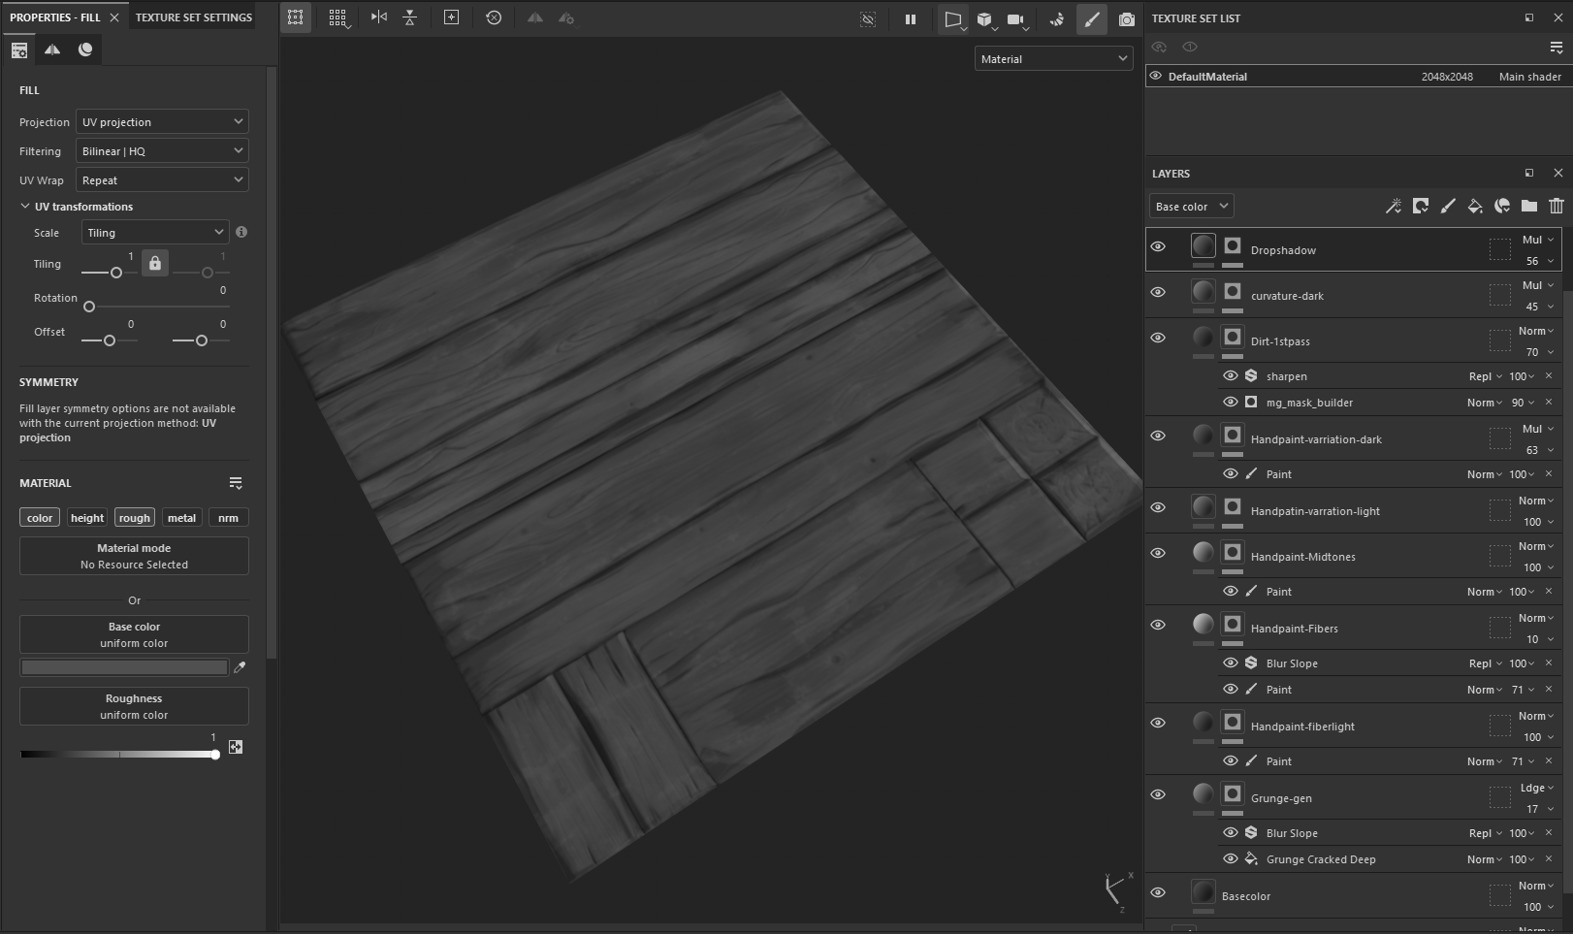
Baking the trim-sheet and two of the tiling textures in Painter is one of my favourite workflows.
I work with some generators when I make my stylised textures, like dirt generators, curvature and position. After I get the base of drop shadows, highlights and values, I start hand painting with a regular fill and black masks with a brush.
My workflow is using the Base Color tab and not getting stuck in the render viewport, so that I really get to see my values. But it all depends on what type of art style I’m aiming for.
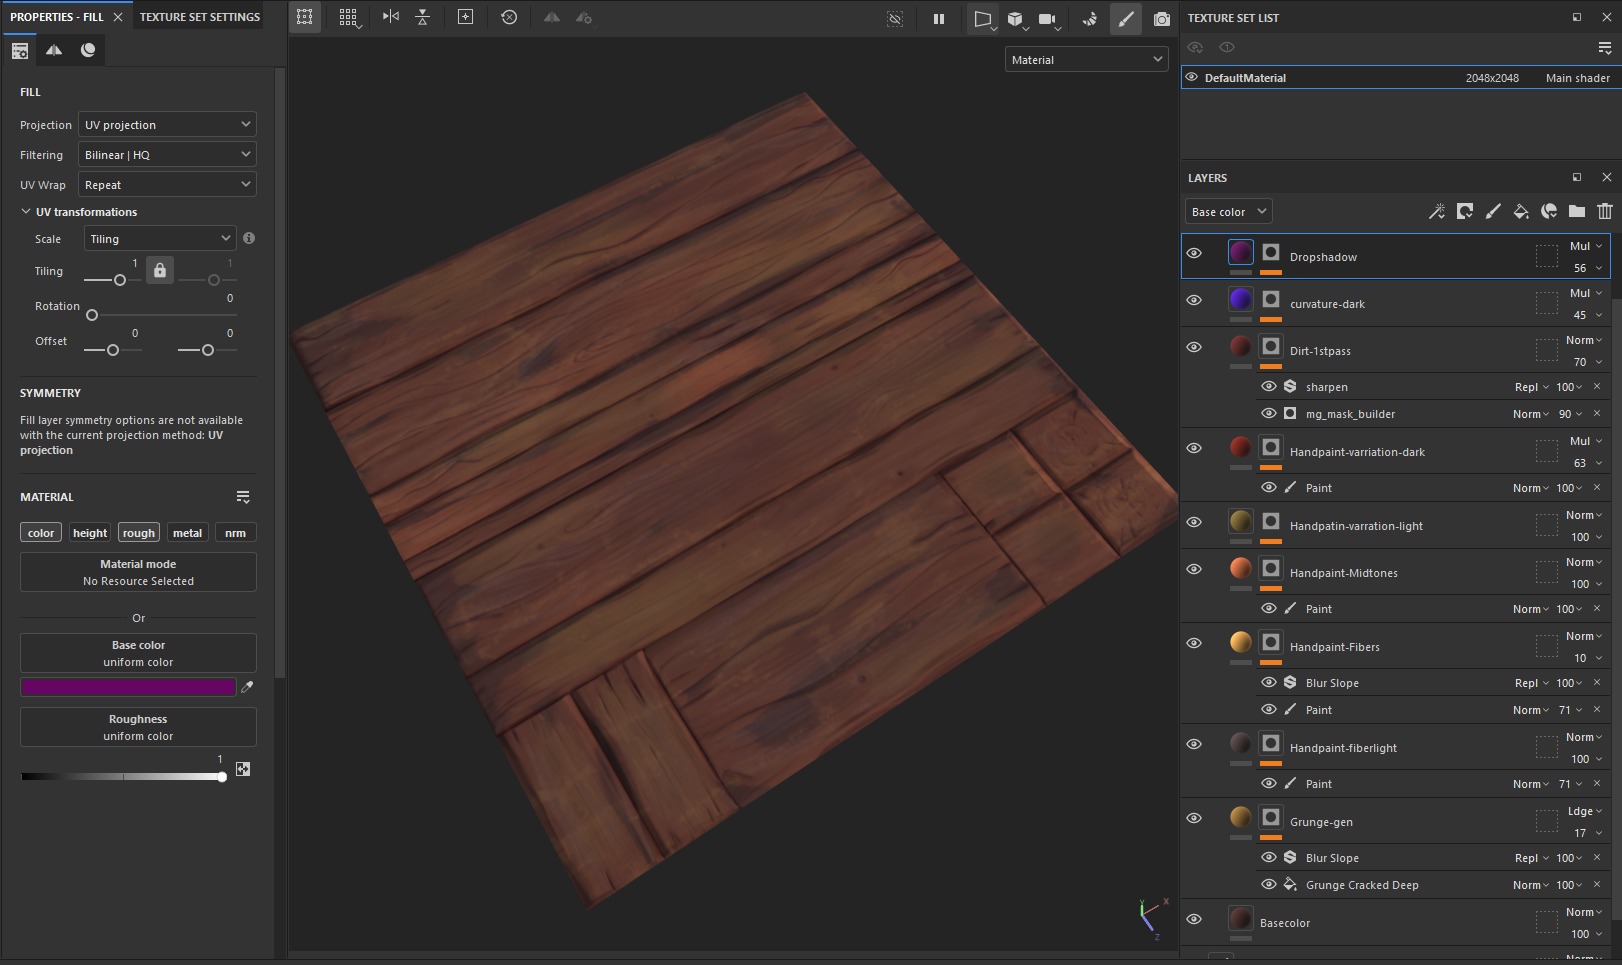
A good tip is to set your colour space on your screen to black and white, or do it in Photoshop with greyscale, just so you can see the values of your textures. Then you know what you might need to push a bit further.
I do enjoy hand painting my textures, but sometimes I need a faster workflow.
For that, I work in Designer for a faster and non-destructive workflow.
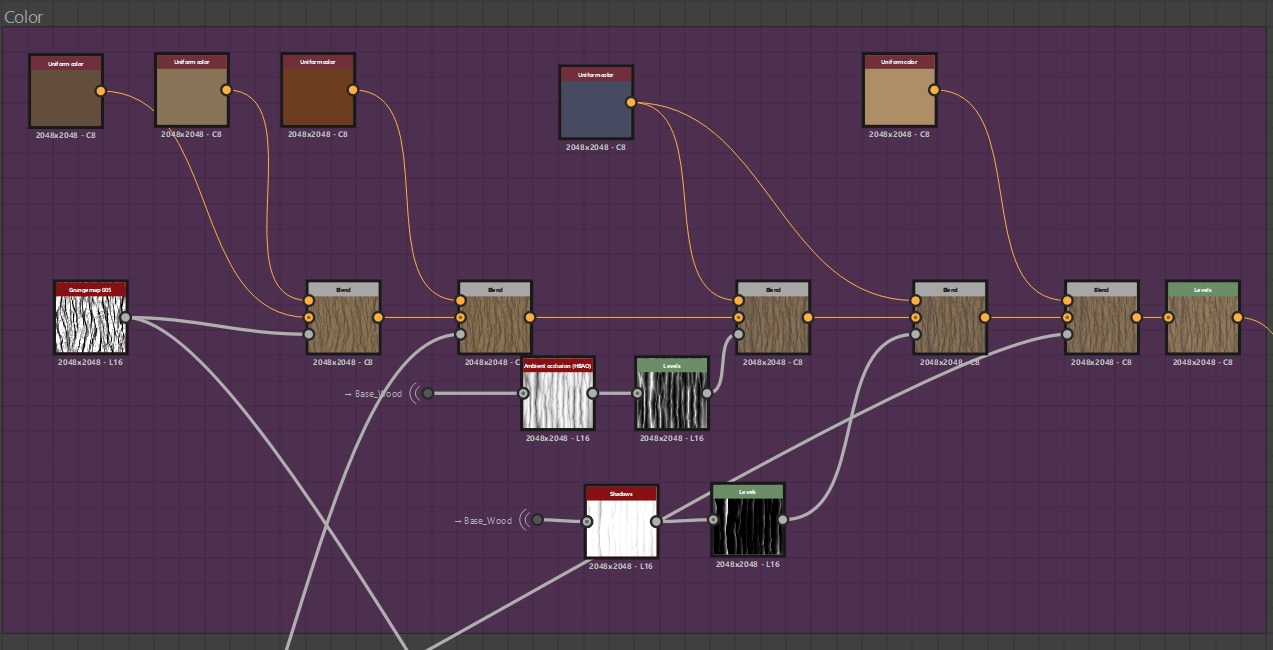
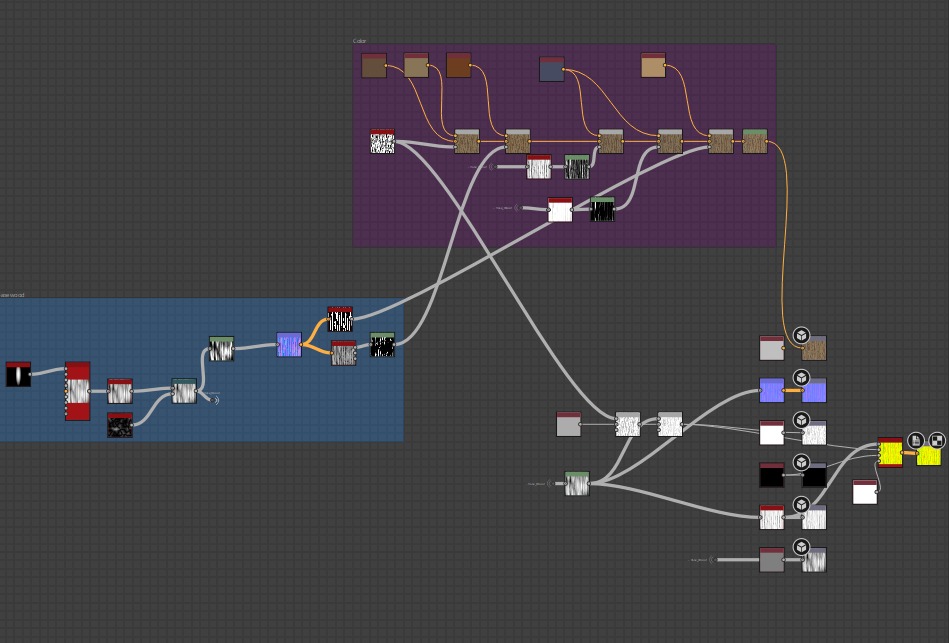
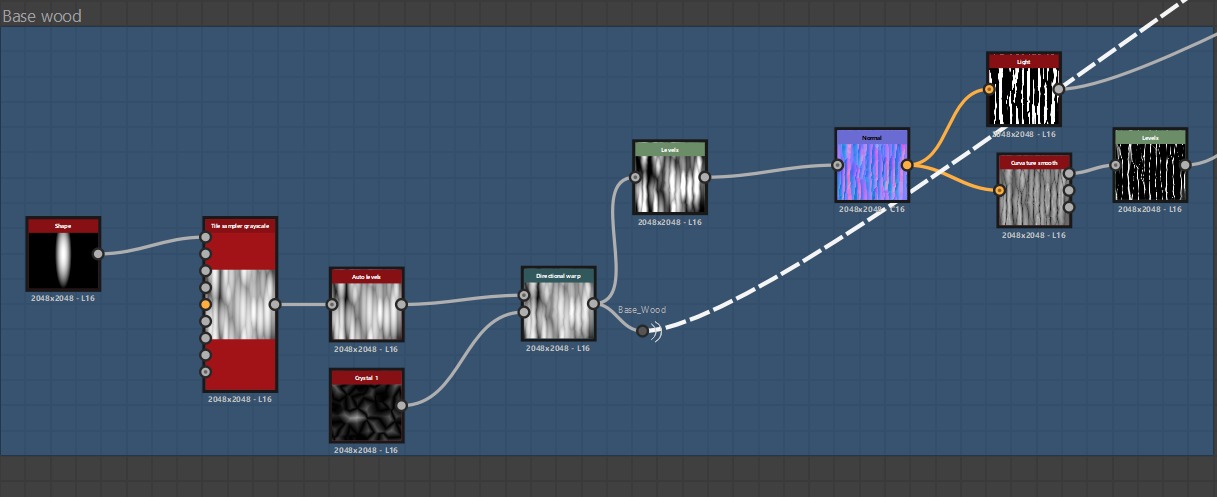
Here, you can see my wood bark texture in Designer. It’s not the most complicated texture, but it is super nice to work with! I really hope to dive deeper into Substance Designer in my next project.
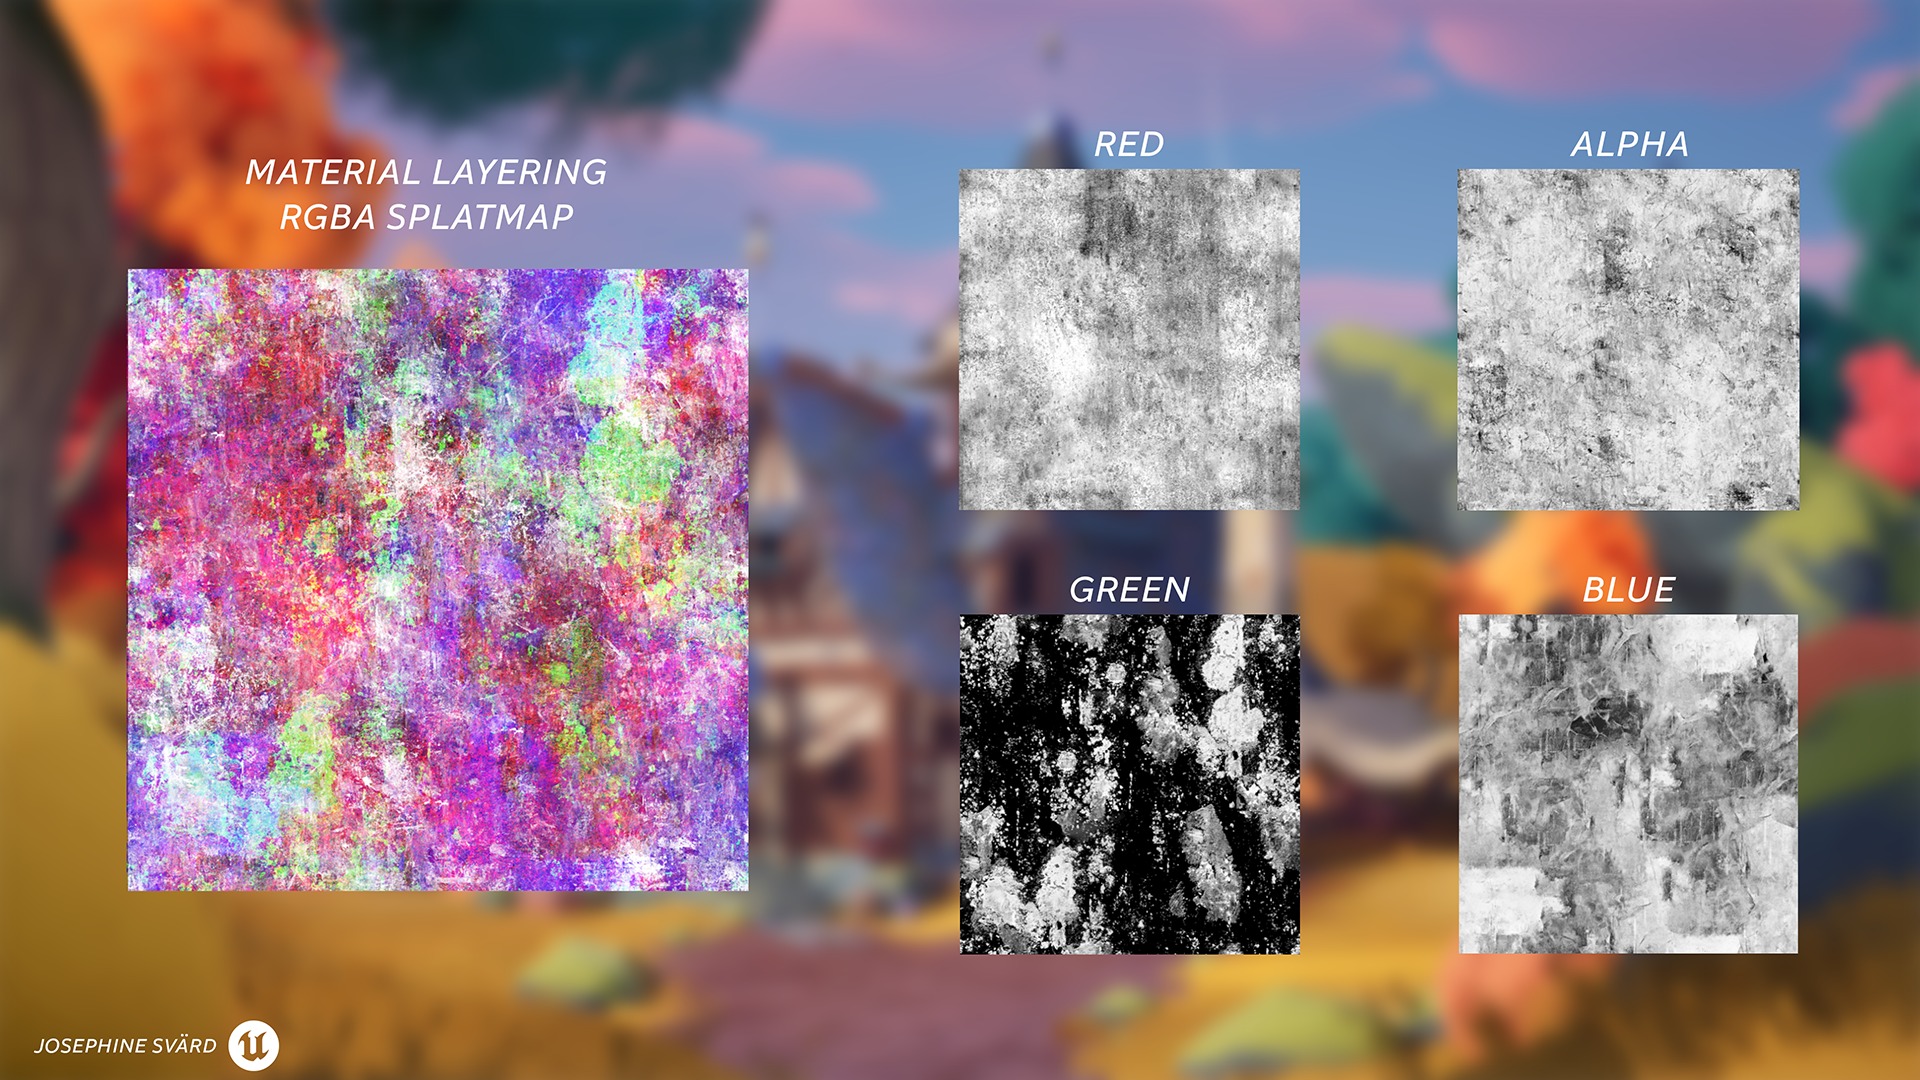
A big part of this project was working with a tiling splatmap. I used all the channels, red, green, blue and alpha, with different masks so I could work in the Material Layers in Unreal.
I followed this tutorial from Hugh Chew: Watch tutorial on YouTube. He explains the pros of using this method to optimise your material workflow.
Here, you can see me using the different channels to mask out how much I want the different textures to blend with my base blue roof tiles. I also include vertex painting with the material layering.
I created the tiling splatmap in Substance Painter, selecting four different textures that I think would fit my material blending.
Foliage
I have worked in previous projects with RVT texture shaders, and I always go back to Viktoriia Zavhorodnia’s YouTube channel, where she has a very good and thorough tutorial on how to make foliage in Unreal Engine.
I start with setting up my landscape shader so I can paint on the landscape what type of colour I would like to have on my grass foliage. After that, I do the setup for my RVT Grass shader.
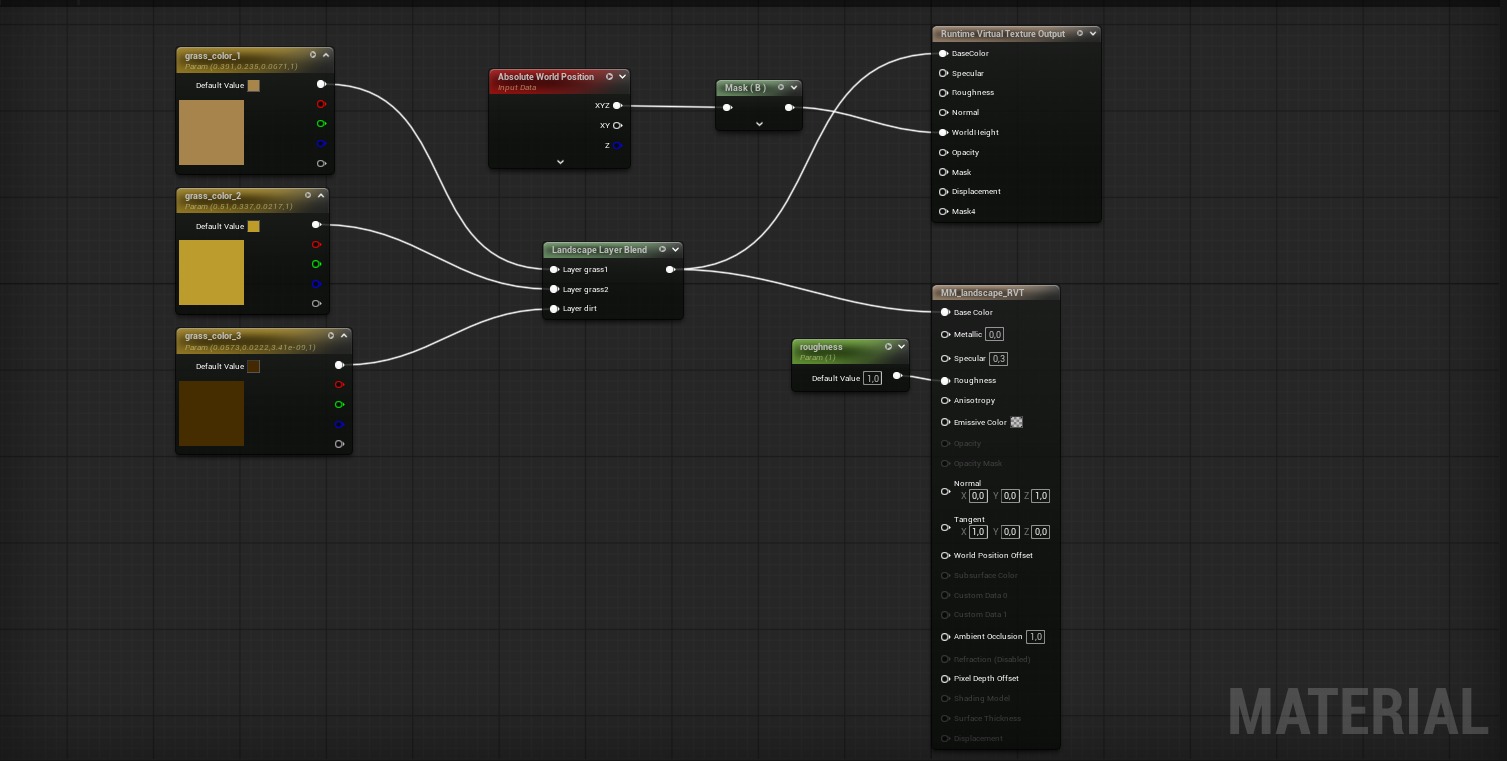
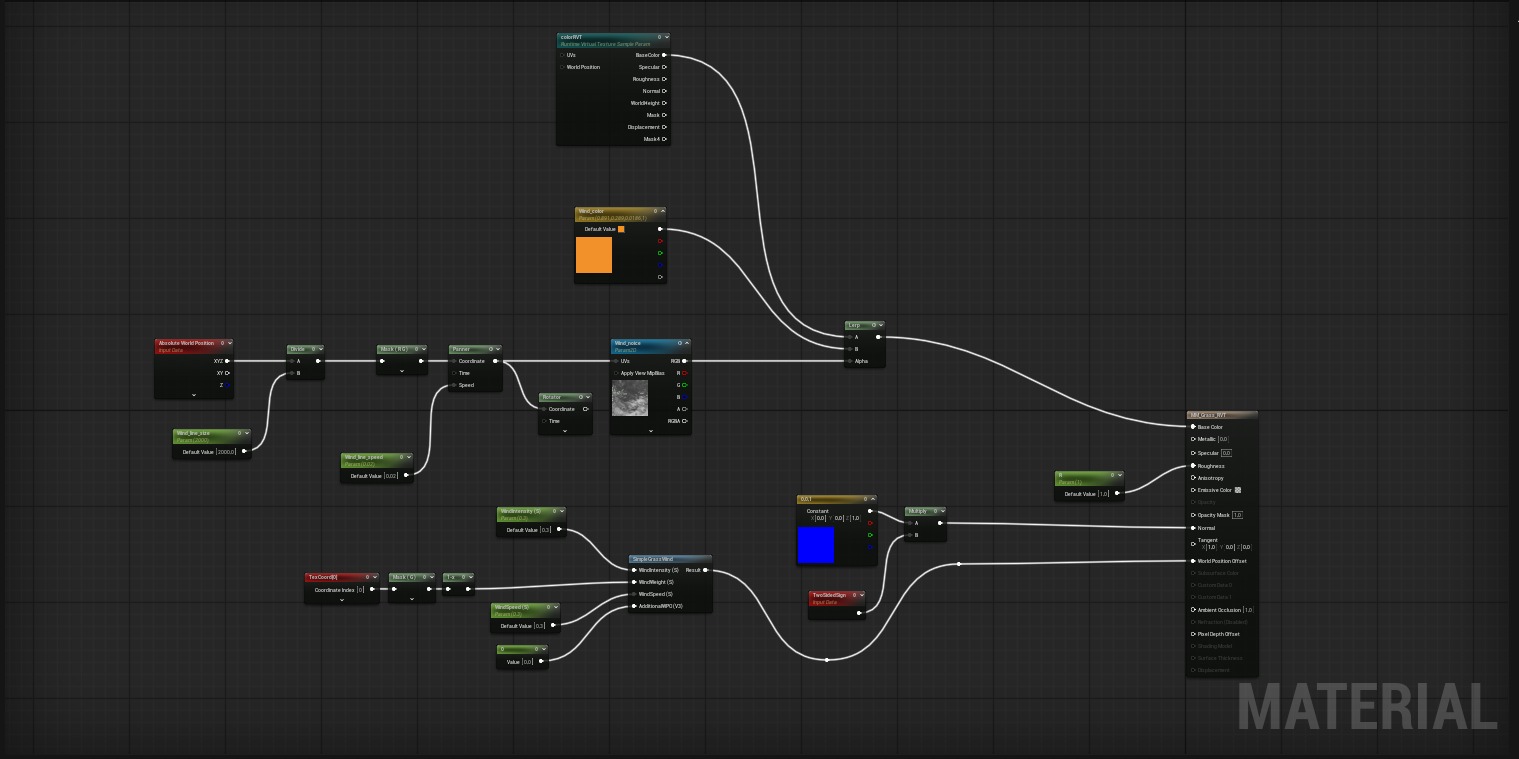
The grass shader has a very nice wind lines feature. It gives the grass a feeling of reflection and motion with only a panning alpha texture.
Here, you can see me using the landscape paint mode in Unreal, and it also affects the grass mesh that I have painted in the foliage mode.
And here are the trees and how I use the parameters that I have set up.
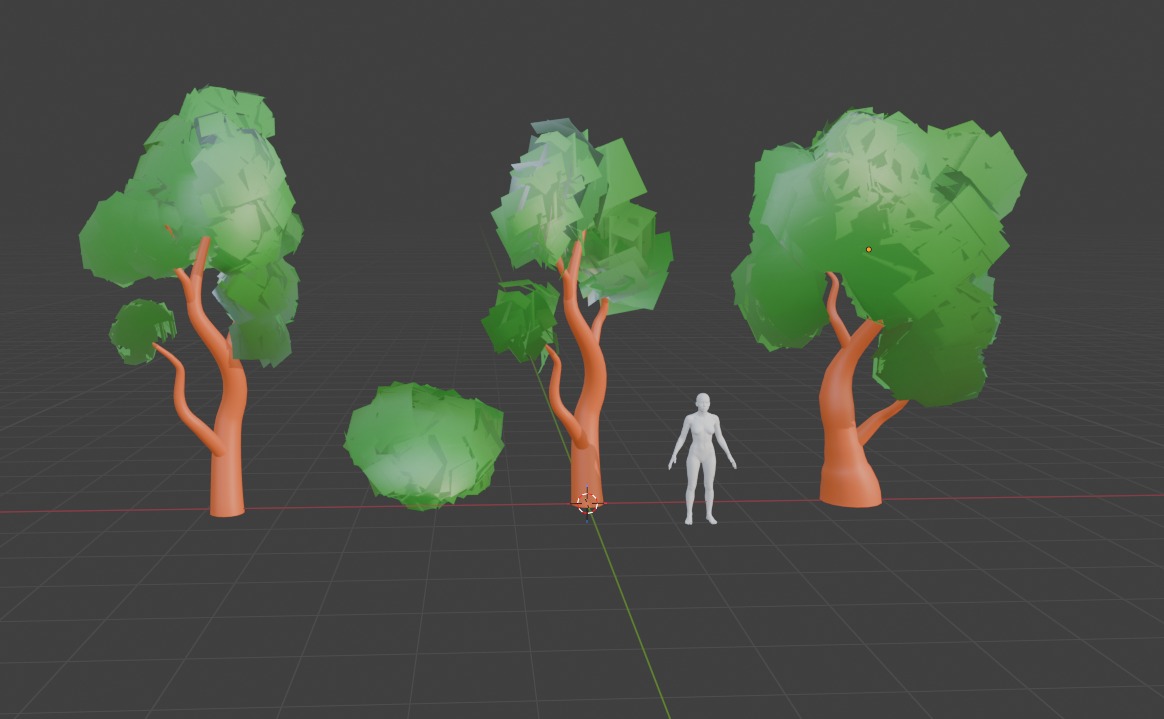
There is an endless number of ways to make different trees, and it is very fun to use the workflow of mashed foliage.
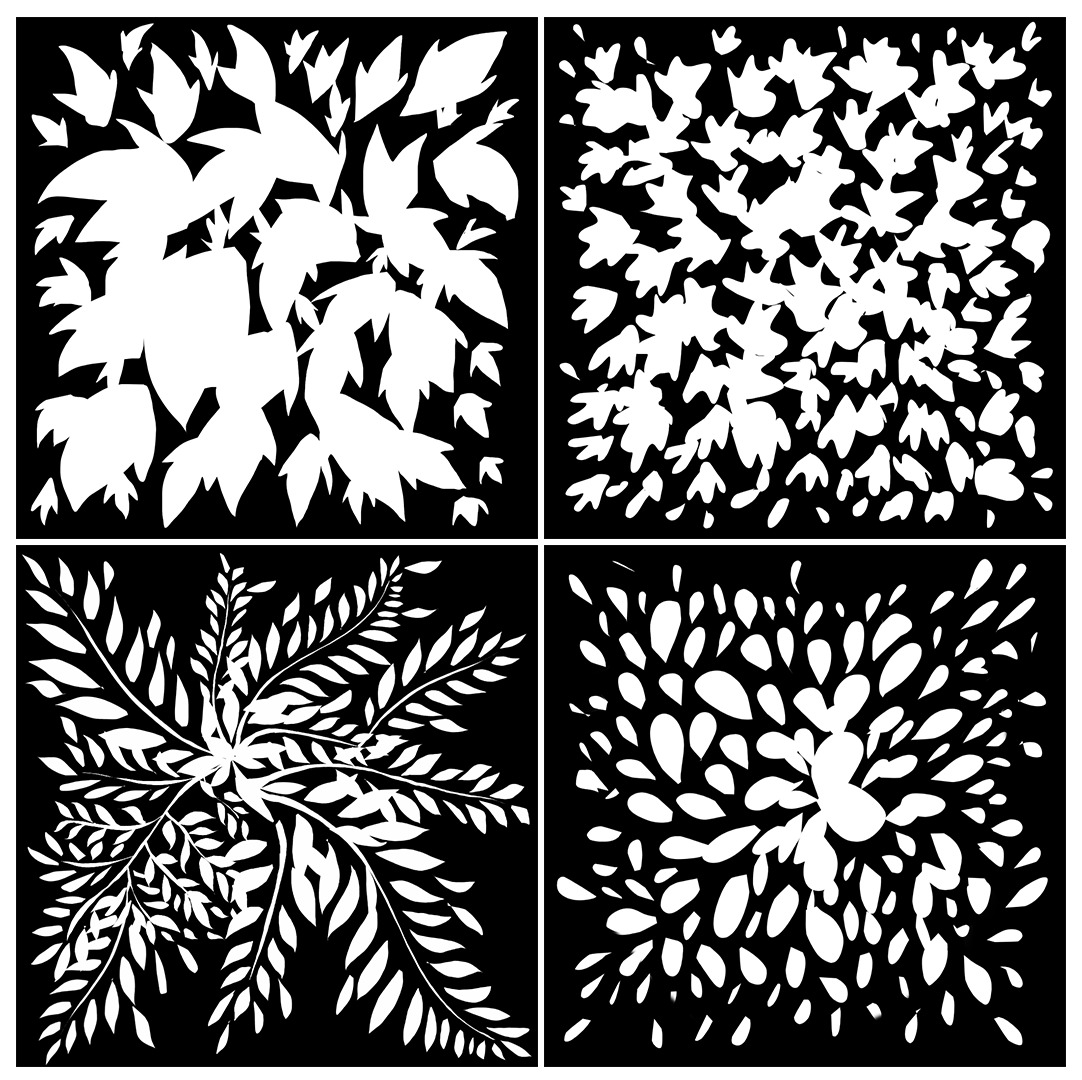
Here are some of the masks I created of the different leaves on my trees.
Polish
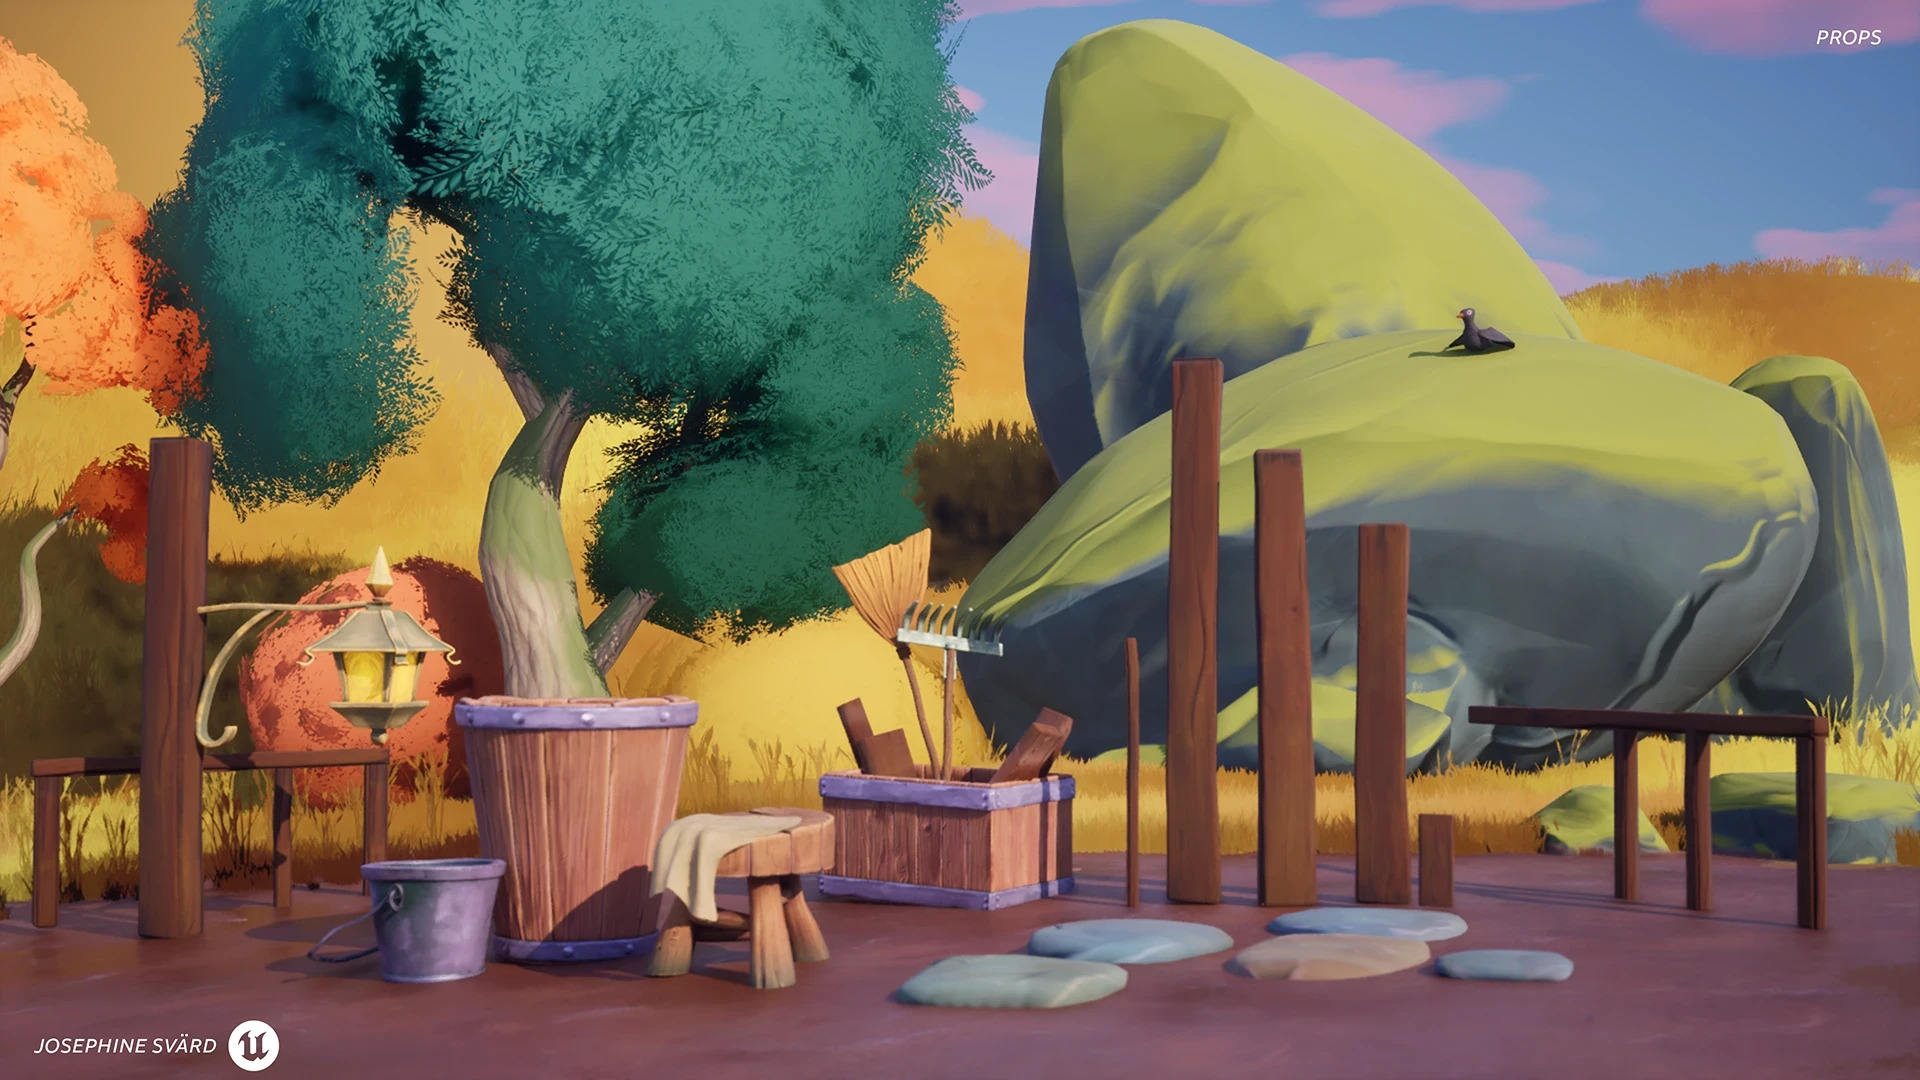
This is the stage where I put in some VFX: leaves, smoke, wind lines and the fireflies for the night scene. They are fairly simple VFX, but they give so much life to the scene and its storytelling.
Storytelling is such a huge part of every project I make. I ask a lot of questions, such as: Why is there a chair here? Did the owner maybe sit here and take their daily break? Why is there wear and tear specifically here, and is there a reason for it? Asking these questions and implementing that storytelling in your scene is going to elevate it. Decals are my best friend. I always have a lot of decals in my scene to break up the repetitiveness of the tiling materials, in combination with the material layering and vertex painting.
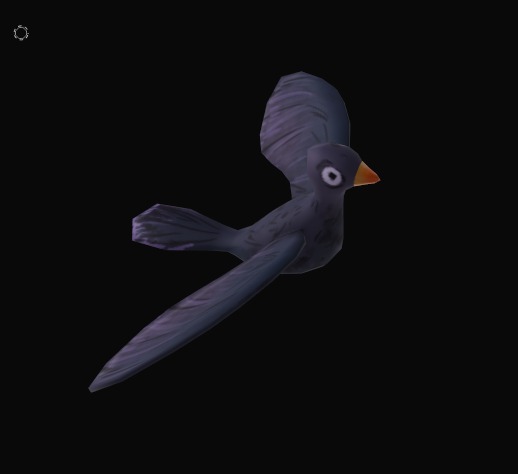
And for extra flair, I modelled, rigged and animated a little raven to give even more to the feel of the environment.
Lighting and Rendering
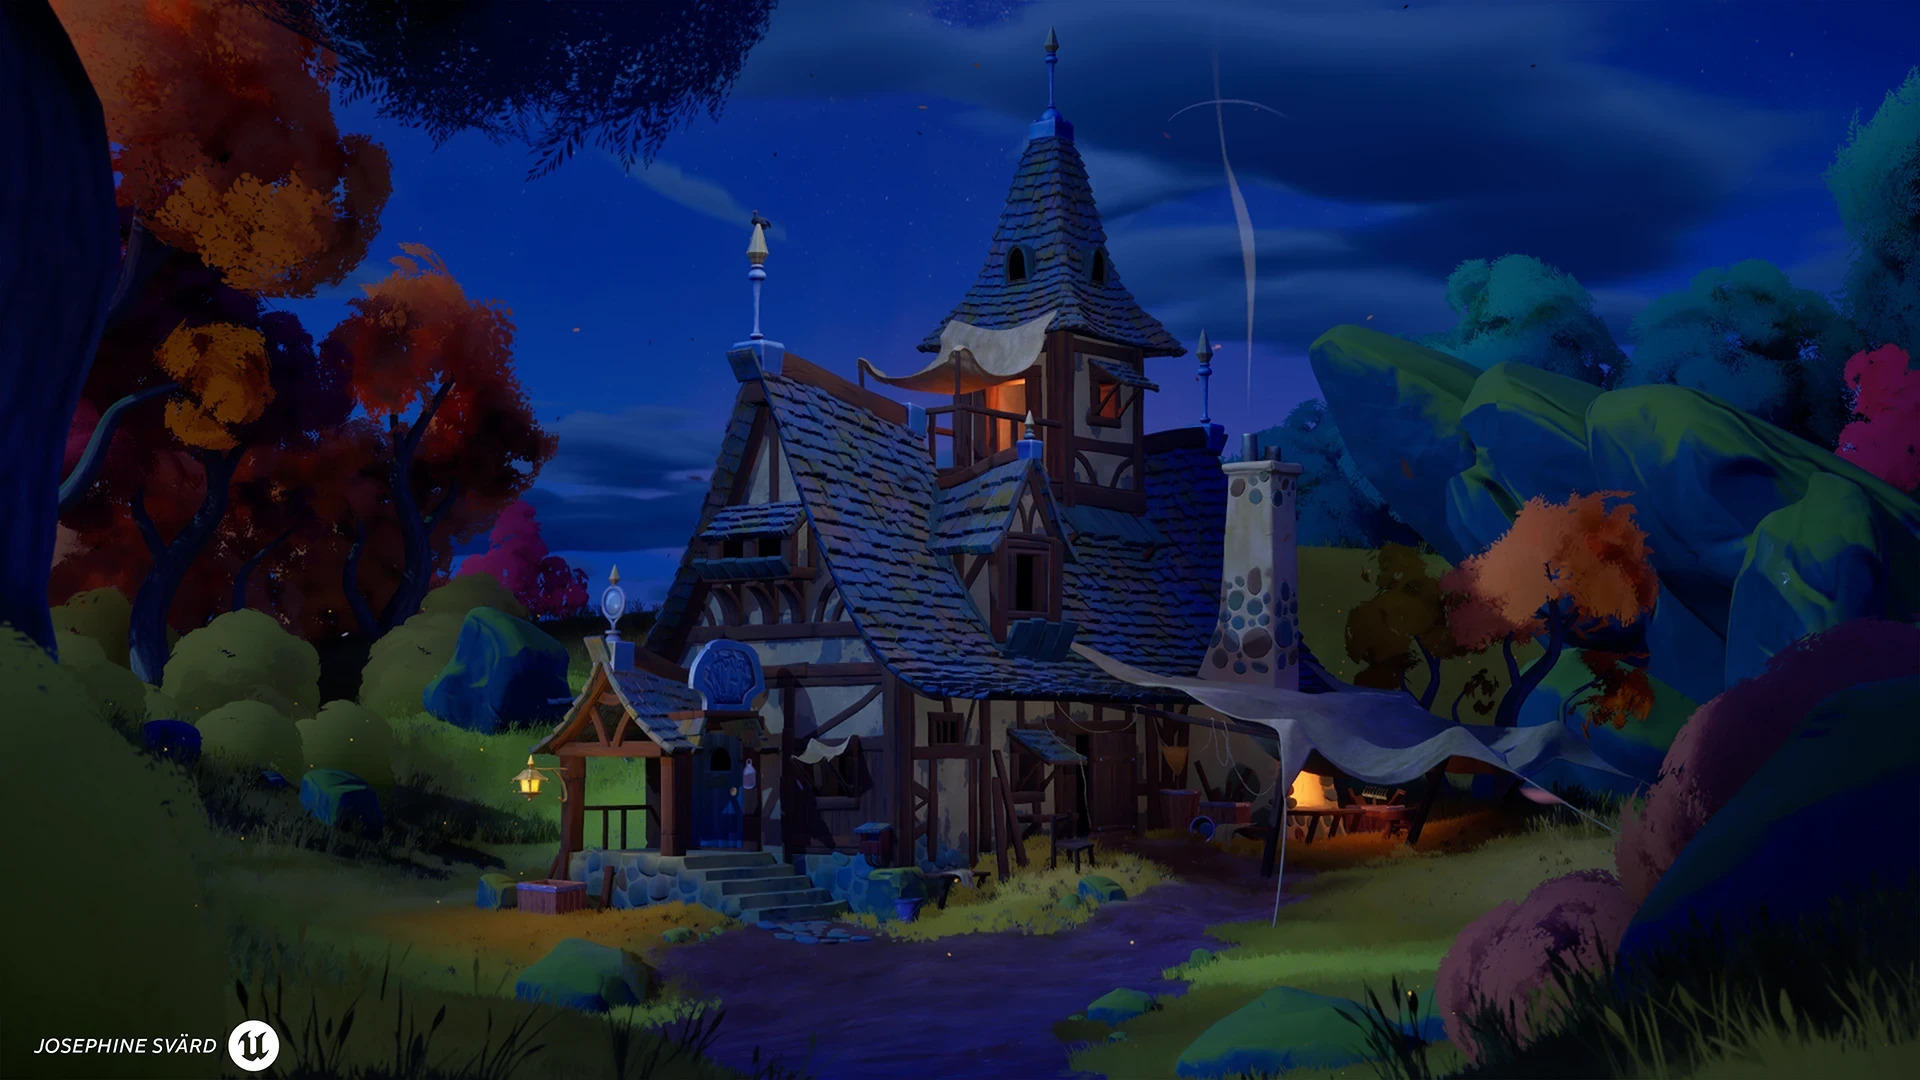
The lighting is not that advanced. I have some more exposure in my shadows to get that stylised look of shadows having more colour than just darkness. I wanted to include a night and day scene in my project, so I set up two different levels with different lighting.
This way, I could easily work in levels instead of having to change the settings in the surrounding level that my project is in.
Here, you can see both my lighting levels, which I can switch between when I work in Unreal.
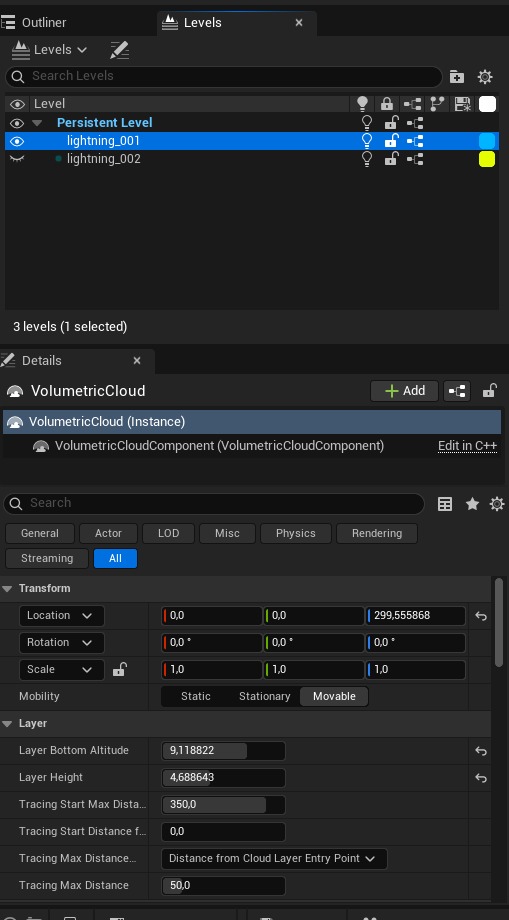
I also tweaked the in-engine clouds with an instanced material, so I could get a more stylised look to them.
Usually, I make my own VFX clouds to get the look, but this time I just tried using the in-engine volumetric clouds.
Conclusion
This project is the largest and most demanding when it comes to shaders, and I really learnt a lot from it. I made a few mistakes along the way that made me more determined to really nail this project. I have had a lot of struggles in other projects before, so this is the one where I succeeded on a larger scale. Trial and error will give results.
I learnt a lot when it comes to material layering using tiling splatmaps, and I really want to work more with splatmaps in the future.
Thank you to all my friends and teachers here at PlaygroundSquad, and also to the people who have given me feedback. It really helped me with motivation and also to polish the project to the state it is in right now.
And a huge thank you to Game Artists for the opportunity to write this article and show my breakdown of this project! ♥
Read more articles
You might also like these articles.