Sci-Fi Hallway


Introduction
Hi everyone! My name is Antoine Déjean, I am a material artist from France, with a focus on materials creation.
During my studies, I realized that I liked to create realistic materials, and today I want to make it my job.


Project
After seeing The Callisto Protocol art blast on Artstation, I bought the game and wanted to do a little fan art scene!
I haven’t produced hard-surface work inside Substance Designer for a while so it was a good challenge and allowed me to showcase other skills I have in my portfolio.
References
I took the primary references for this project on Artstation from Aasim Zubair (https://www.artstation.com/aasimzubair), Stephanie Wang (https://www.artstation.com/stephwang) and Mark Sheppard (https://www.artstation.com/markbsheppard).
I also took many screenshots while playing, to have a library of images corresponding to the mood I wanted for my final scene.

Materials – Substance Designer
Hard surface is all about shapes. It would help if you spent much time on the height before working on other maps.
When I am doing hard surfaces, there are nodes that will repeat many times in my graph. Here are the nodes I used the most:


Sometimes I wanted to have rounded edges and there is an easy way of doing it by plugging your shape in a Blur and then in a Levels node.
In the Levels you can play with the values. The more you blur it, the rounder your edges will be.

When I wanted to add detail quickly, I used the Curve node. You can get lots of different shapes in a short period of time.

Cables were made using a Gradient Linear 2 that I warped. I then blended multiple cables together with different placement and warp angles.

For placing the bolt easily on frames, I used the MV Follow Me node from Marco Vitale.
It really is easy to use and affordable.

For the glass, I used the method of my good friend Daniel J. Robichon to make glass cracks.
I did this in a different graph with a few settings to make it simple to use.

Input Values can be useful if you need to put the same value in different nodes.
To do this, go to the node for which you want to set the value and at the very bottom add a new Input Value slot. This will add a new green entry to your node.
You can then bind it to the value you want to be modified.
Finally, add an Input Value node and set the value.

To make leaks, I used a Non-Uniform Blur Grayscale with Samples at maximum (16) and Blades at minimum (1).
Be careful to have your Anisotropy at 1 so that your leaks are straight. I plugged in my mask and reversed it for the Blur Map. I then added a little warp to make it look more organic.

Adding storytelling to your materials is always a good idea and adds a lot of realism to your scenes.
For this I always take some time to reflect on what is happening in the environment I create. Here for example I added traces of wear to the ground with the passage of the stretchers.

Assets
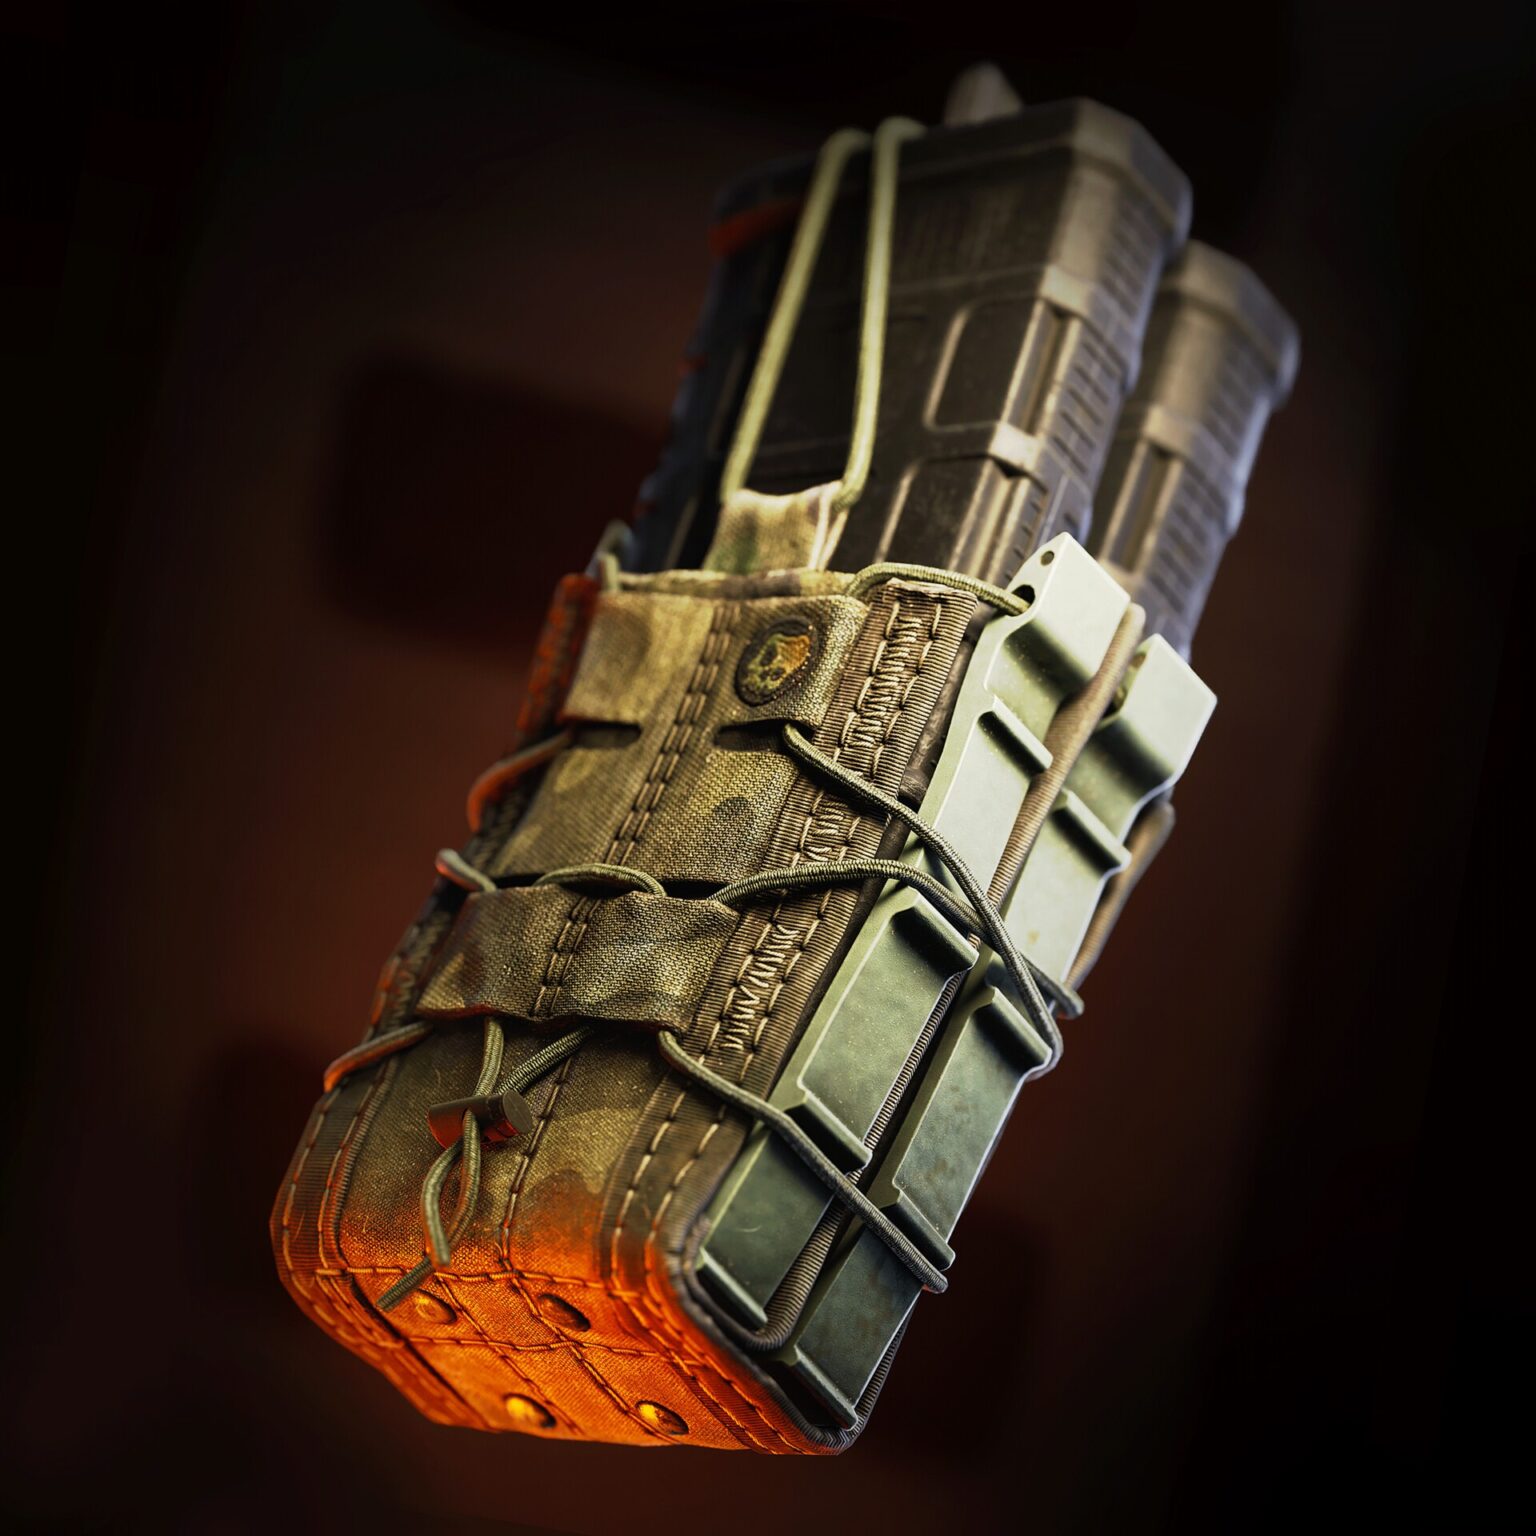
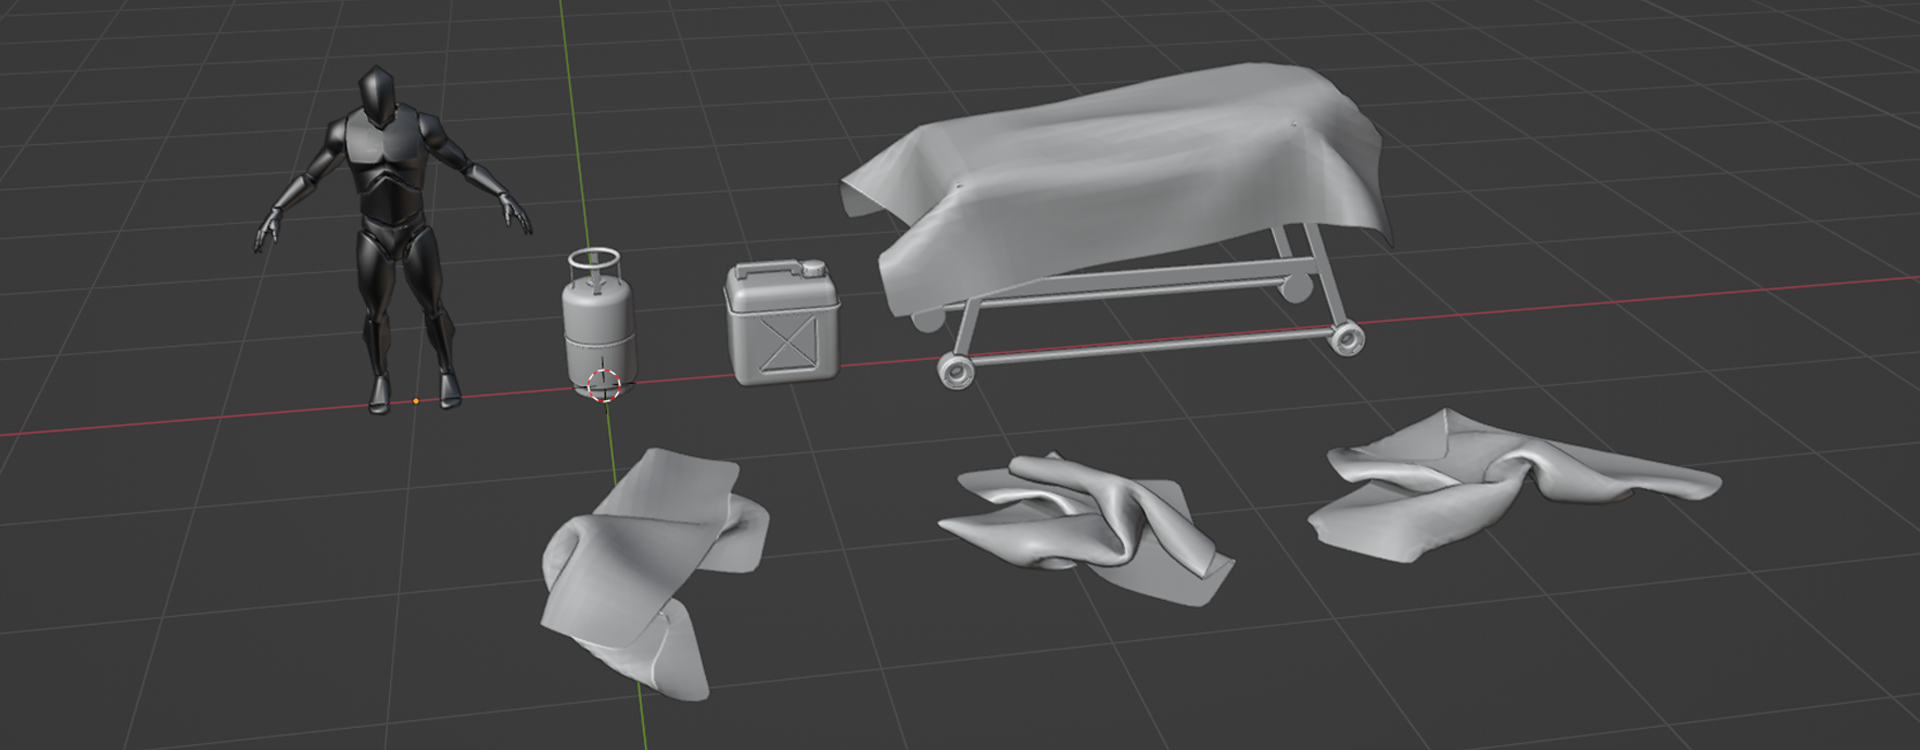
The first step was to walk around the game and spot assets that came up often like gas canisters, sheets or jerry cans. Then, I wanted an asset that would be unique and that stands out in my final image so I chose to make a stretcher that went perfectly with the atmosphere of the morgue.
The assets are pretty basic so they were easy to model. They weren’t at the center of the scene so I just needed something that looked good from afar.

The cables were made with the help of the GeoCables addon which gave amazing results and is really easy to use.
I also wanted to do orange pants we see a lot in the game and that adds storytelling to my scene.
For this, I used Marvelous Designer and made simple pants on a mannequin that I exported from Daz Studio. I then removed the mannequin to simulate the pants directly on the ground.

For the textures, I used Substance Painter with simple grunge to add color and roughness variations.
For the blood on my assets, I used Karim Abou Shousha – blood smart material. It looks nice and has great parameters in it.
Creating the Scene – Marmoset Toolbag 4
At first, I wanted to make my scene in Unreal Engine, but I quickly gave up because I was not convinced by the result I had with the tessellation and the rendering would not have been that great.
I switched to Marmoset and started to make my composition with my materials and assets. Here is a look at my scene without textures.


To add storytelling, I took decals from Quixel Bridge and incorporated them into my scene.
The main ones I used were for blood and debris on the ground. I also created some fire decals with the help of a Fire & Flame pack I got on photo bash.

This time, I took a soldier from the post-apocalypse collection of Big Medium Small as a mannequin for the scale.
If you use this technique, don’t forget to check the ID map in your Marmoset rendering settings, you will need it in Photoshop.
With the addition of fire, I wanted to introduce dynamism to my scene.
Adding sparks in photoshop helps a lot with this. This also adds edge lighting and contrast with the cold blue tones of the scene.

Rendering – Photoshop
Once the Marmoset renders are done, I import them into photoshop to improve them. I adjust the curves, the contrast and the light of my rendering. For the character, I get the ID map, select its color of it, and then fill the selection with gray.
To gain some detail and add some more realism, I duplicate my render and turn it into a high pass (Filter, Other, High Pass) with a value of 4. I then put the layer in overlay mode and adjust its opacity. For hard-surface stuff, I noticed that it was better to have a high opacity (between 50% and 80%).
When I’m happy with my settings, I move on to the final step, which is to add chromatic aberration, blur, and noise. For the chromatic aberration, I use Romain Jouandeau’s awesome script which allows you to add it in one click super easily. I then add the diaphragm blur and noise to the finish.

Conclusion
It may take a long time to do a whole scene, but it’s worth it! Focus on your materials first and take the time to make them shine with good lighting and staging.
Many thanks to my friends for their feedback and help on this project.
I hope you learned new things by reading this article!
If you have any questions, feel free to contact me on any of my social media, I will be happy to help you!

Read more articles
You might also like these articles.