Ticket Machine

Introduction
I'm Ilya Igoshev, a 3D Artist passionate about technology and antique machinery.
I enjoy creating detailed 3D models using tools like Blender and ZBrush, blending historical elements with digital artistry.
Project & Goals
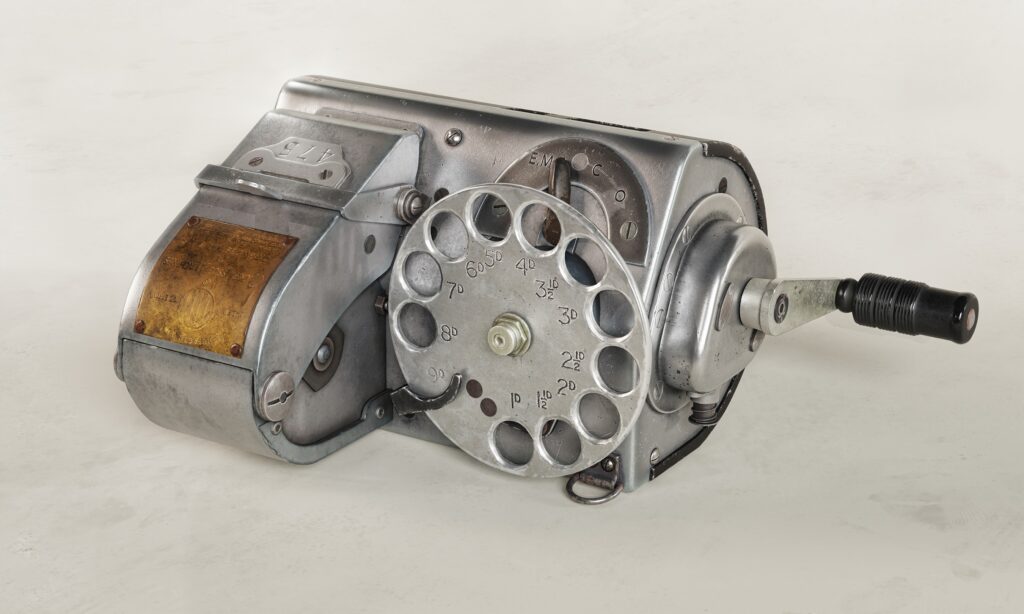
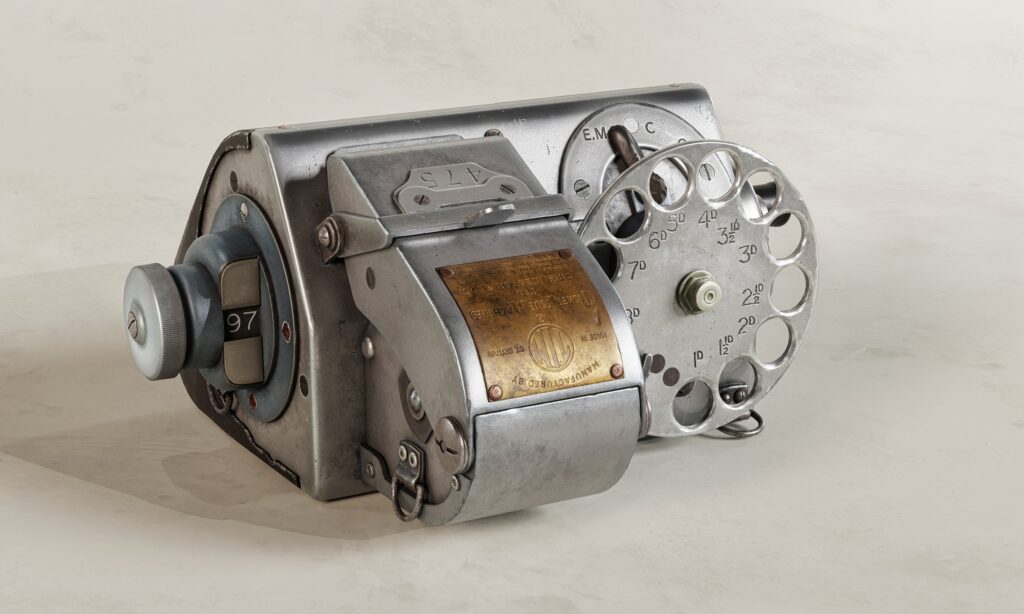
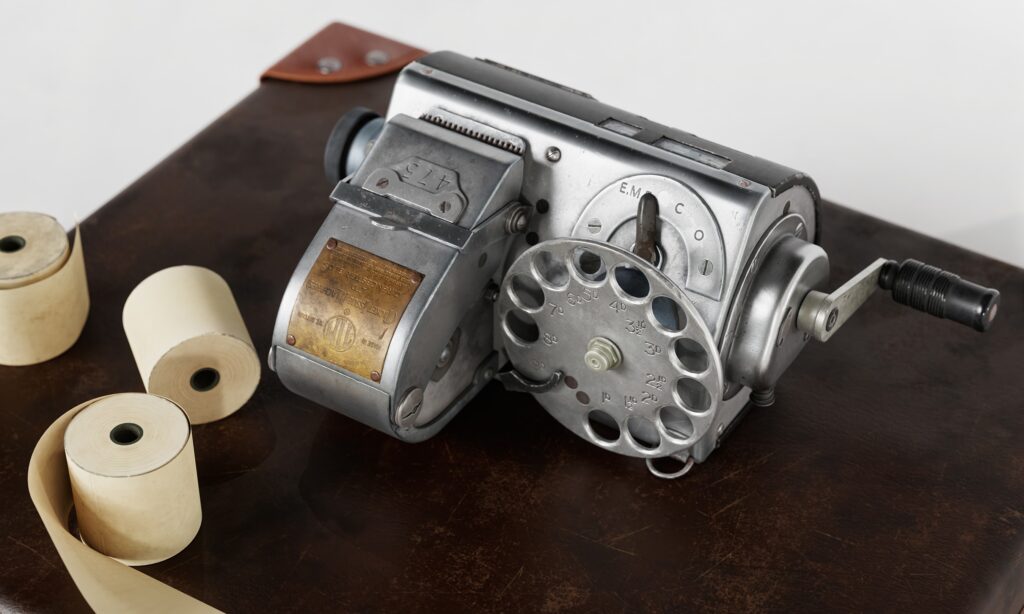
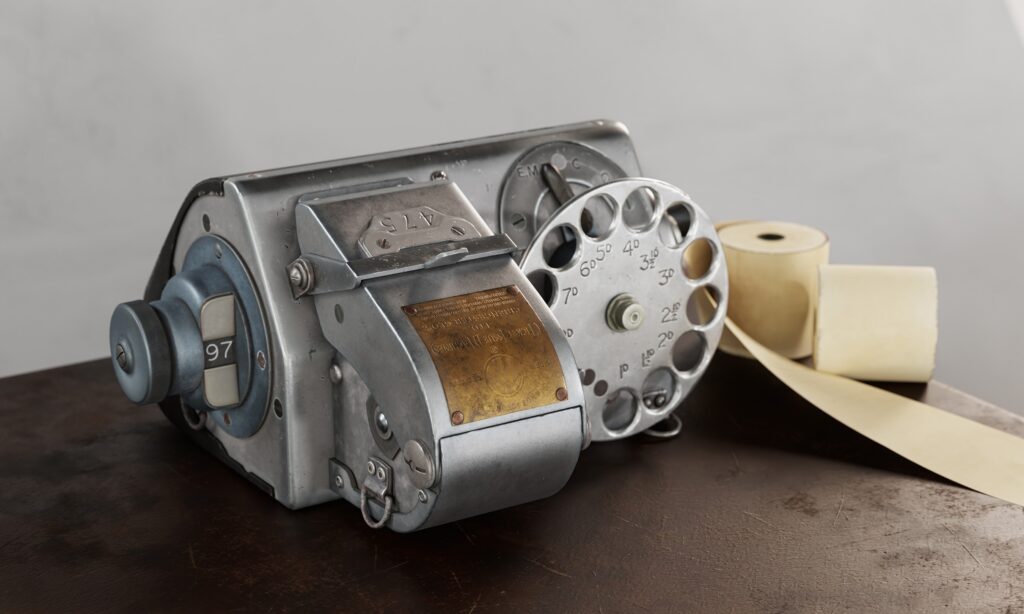
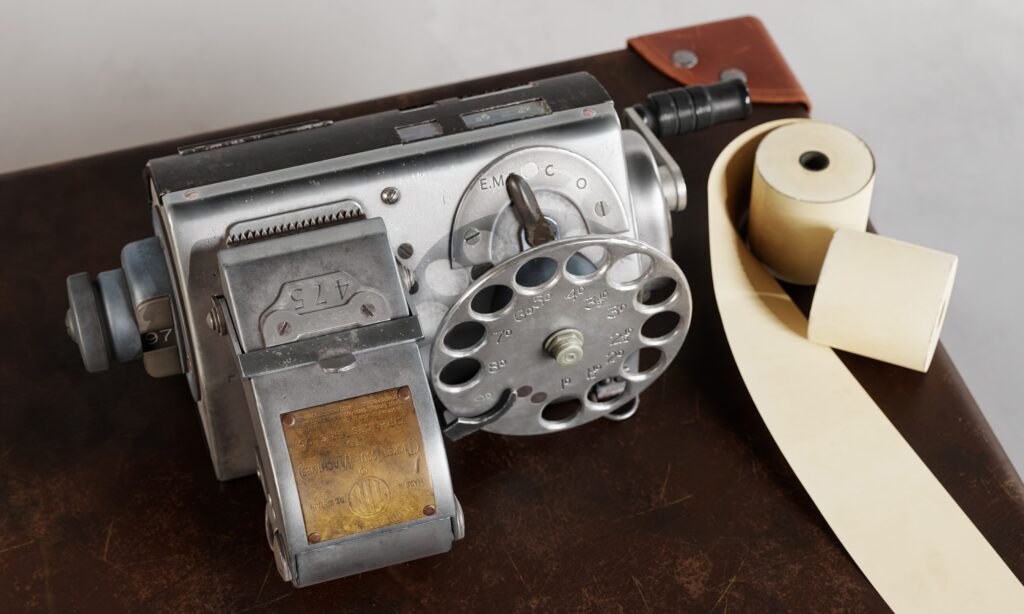
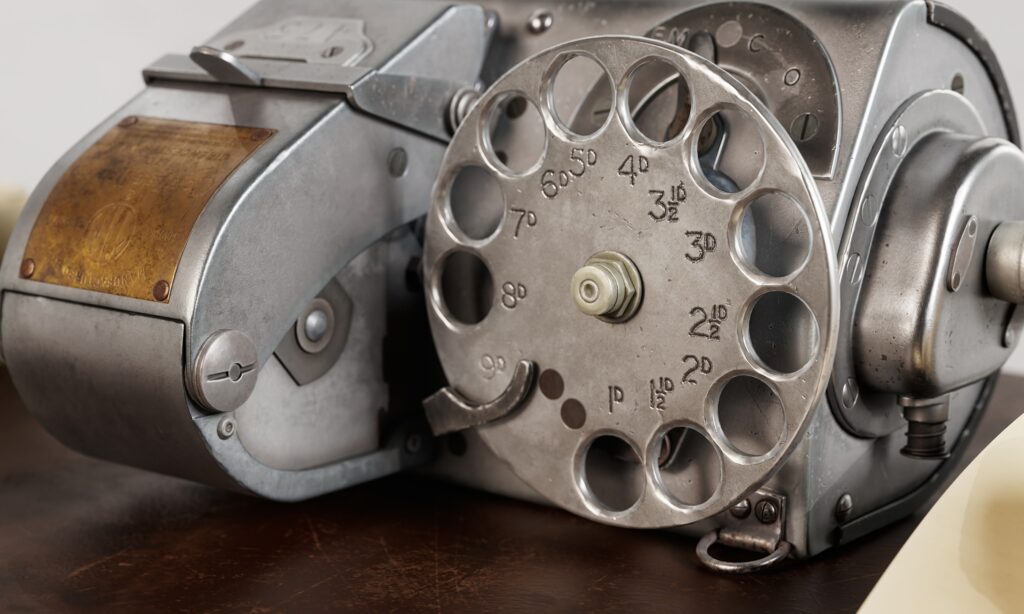
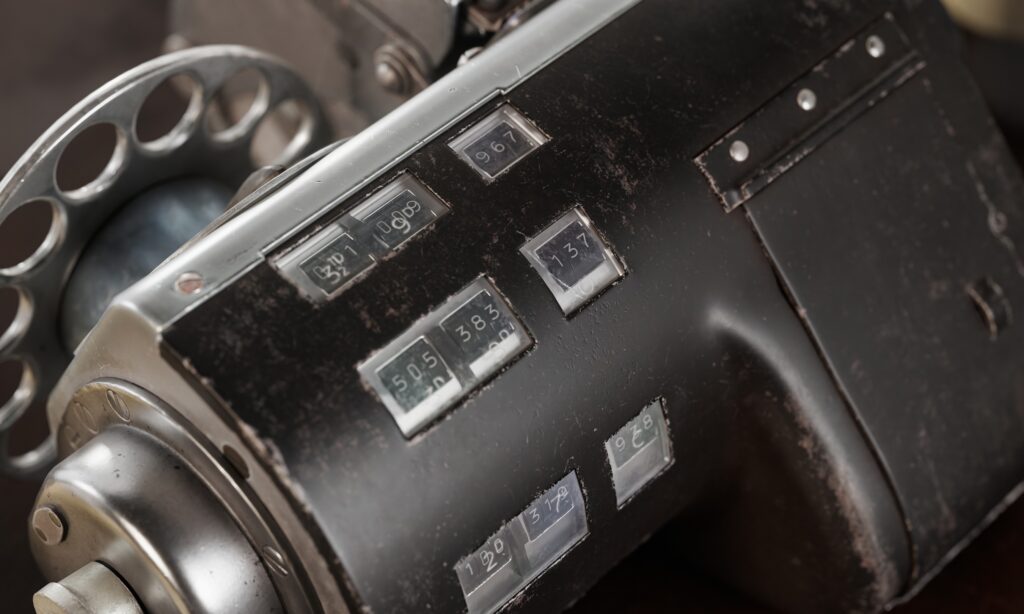
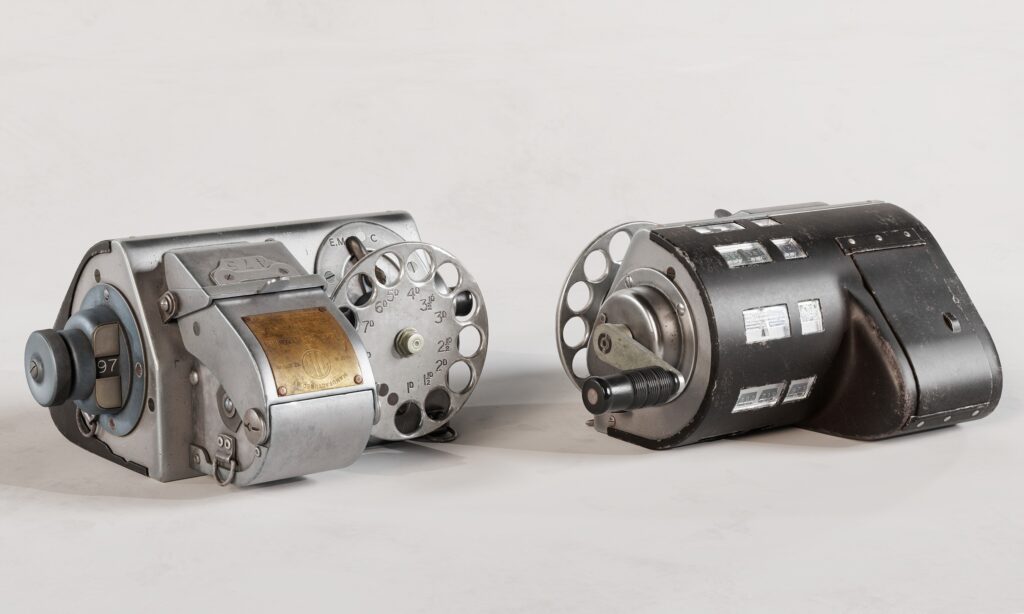
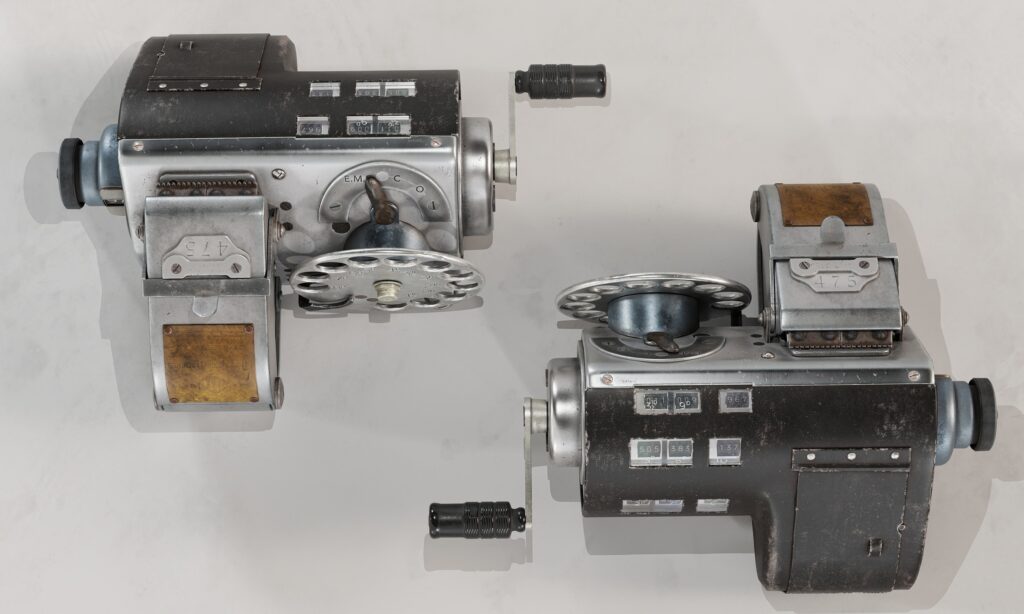
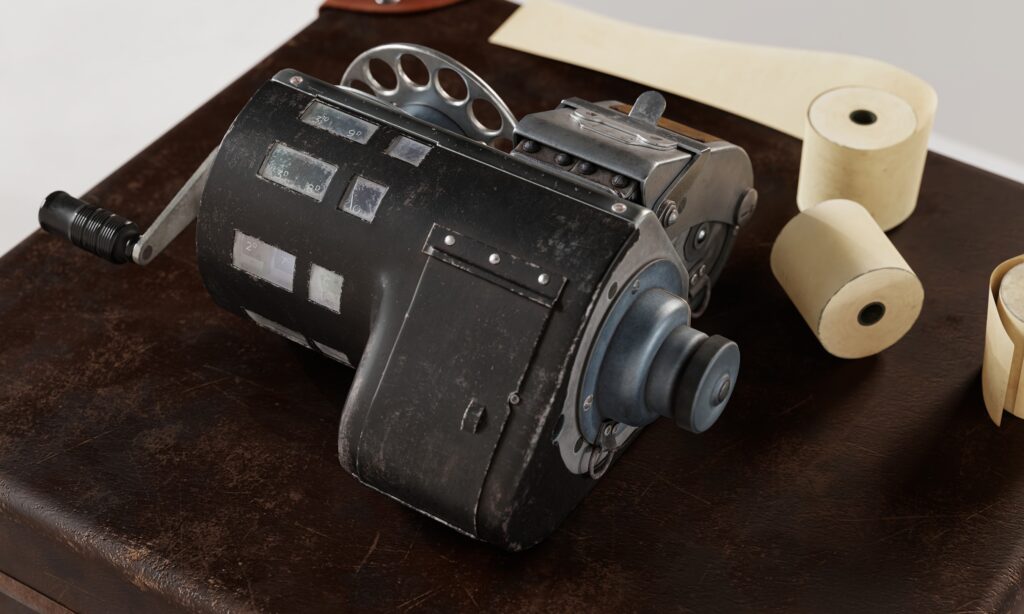
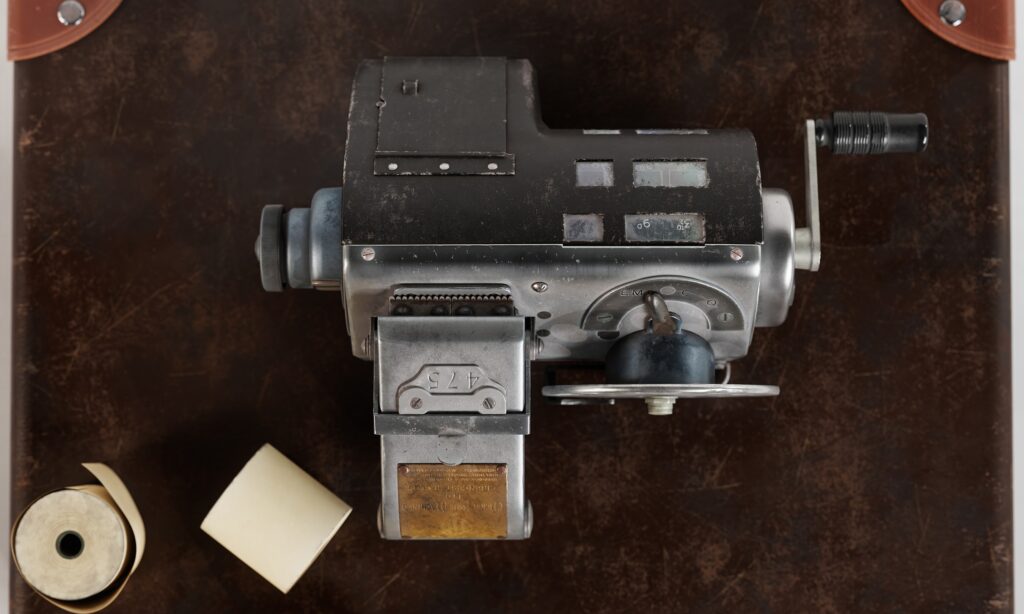
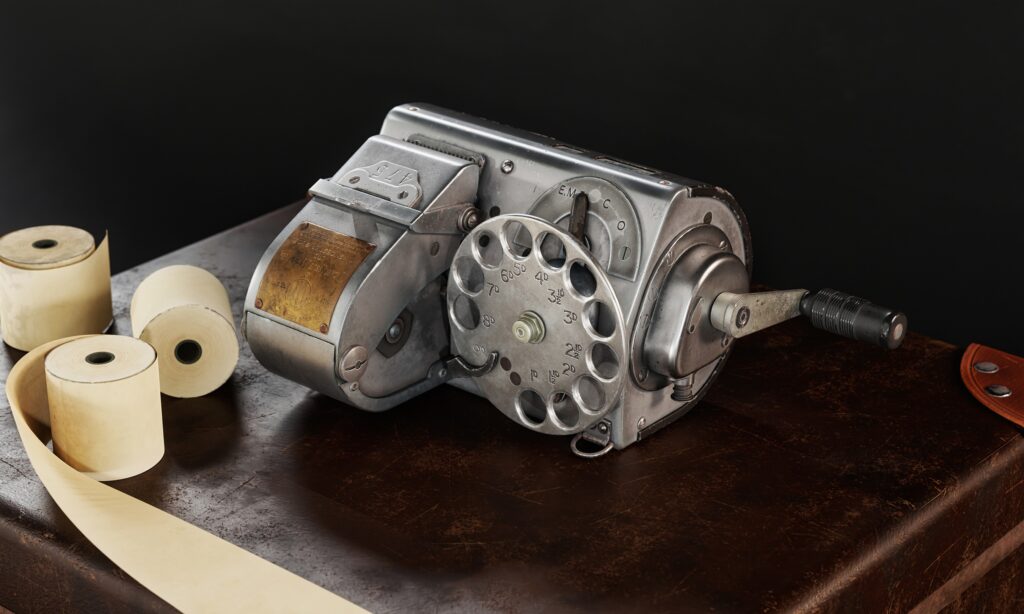
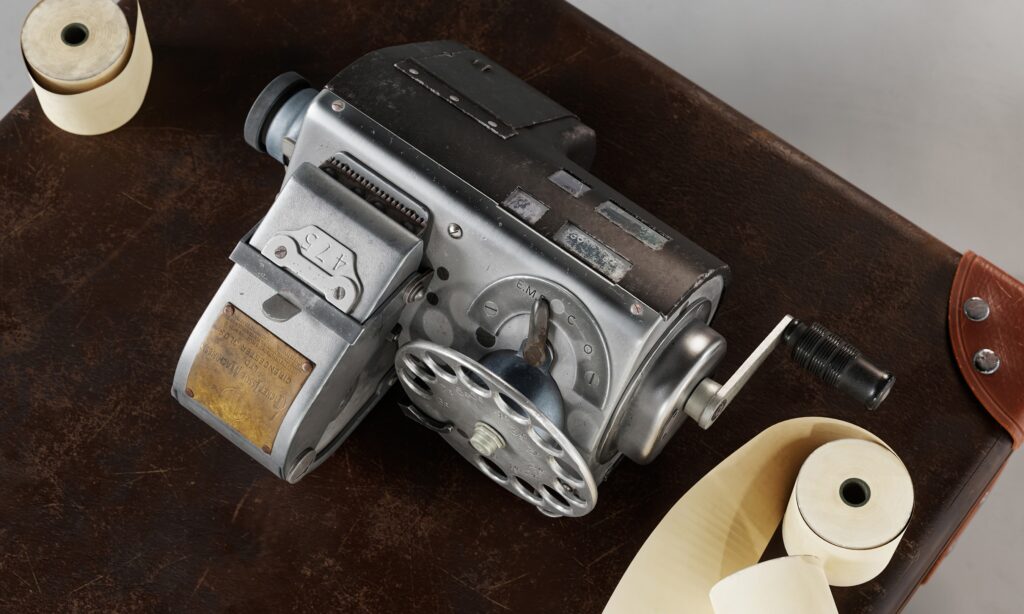
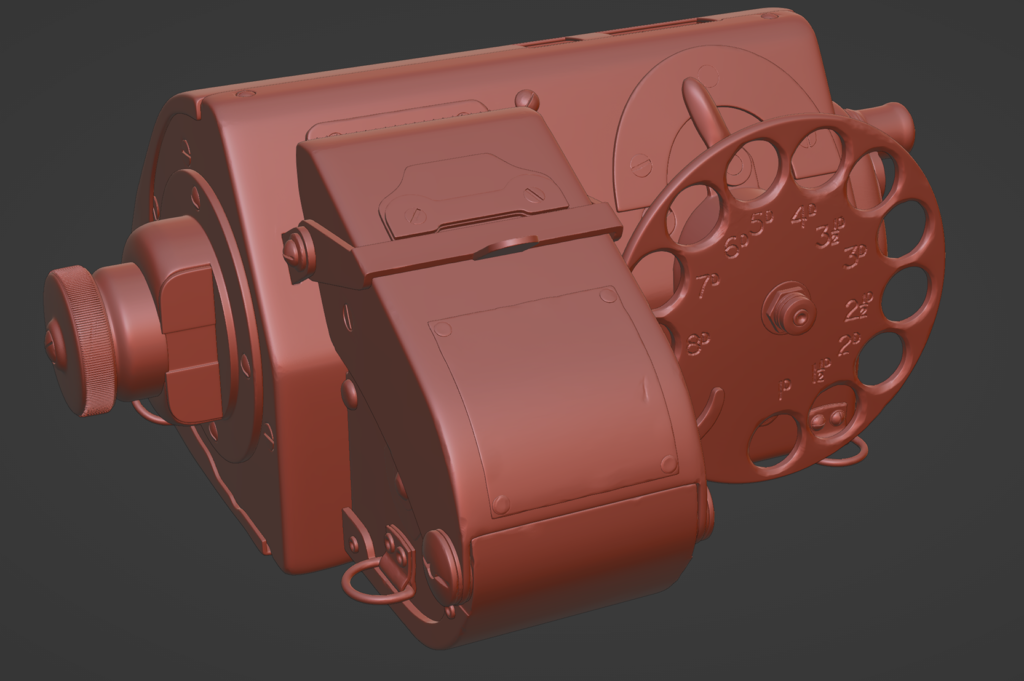
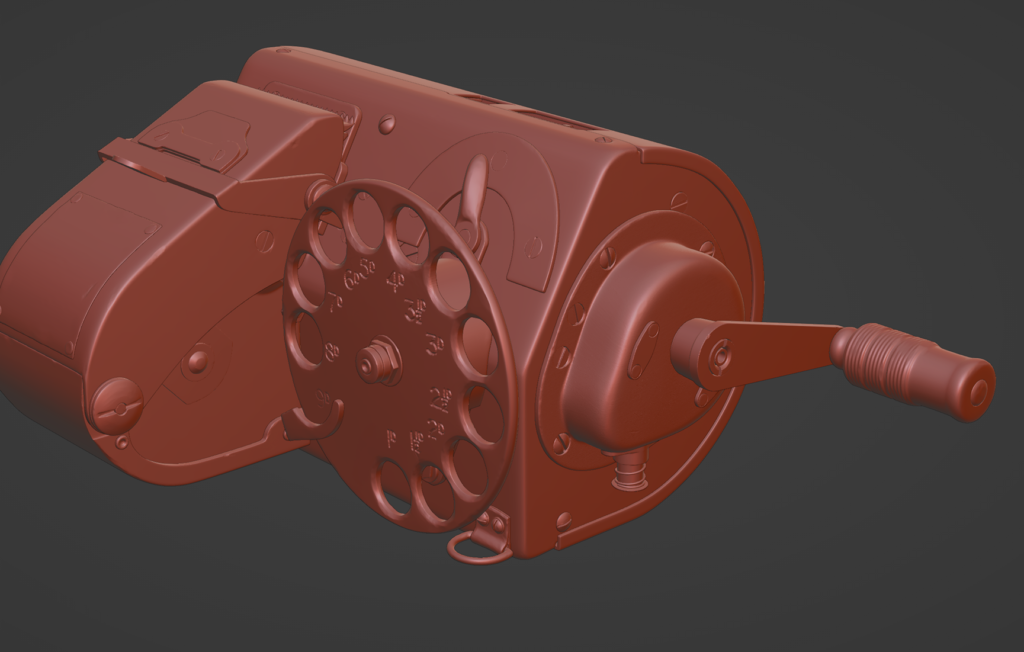
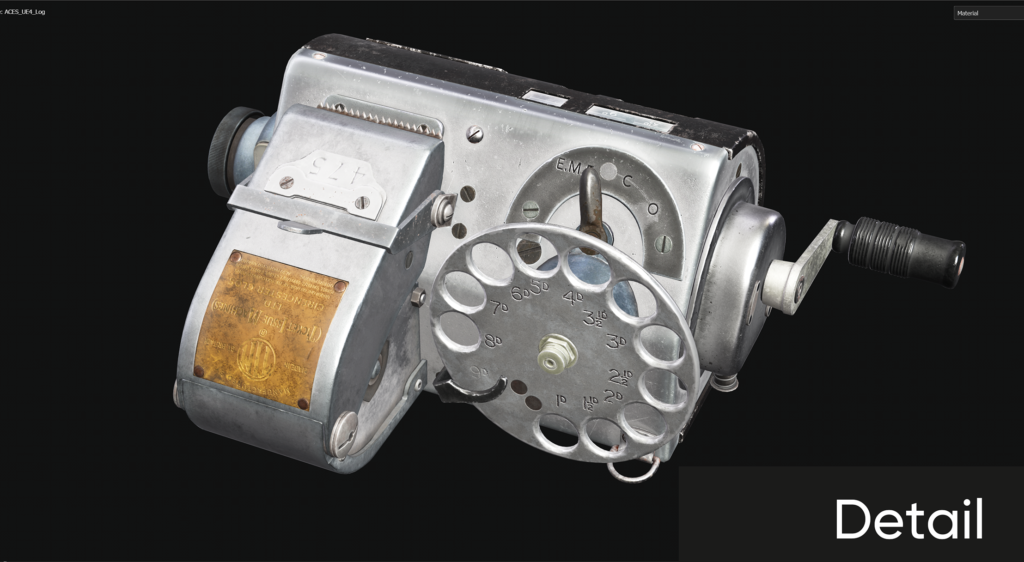
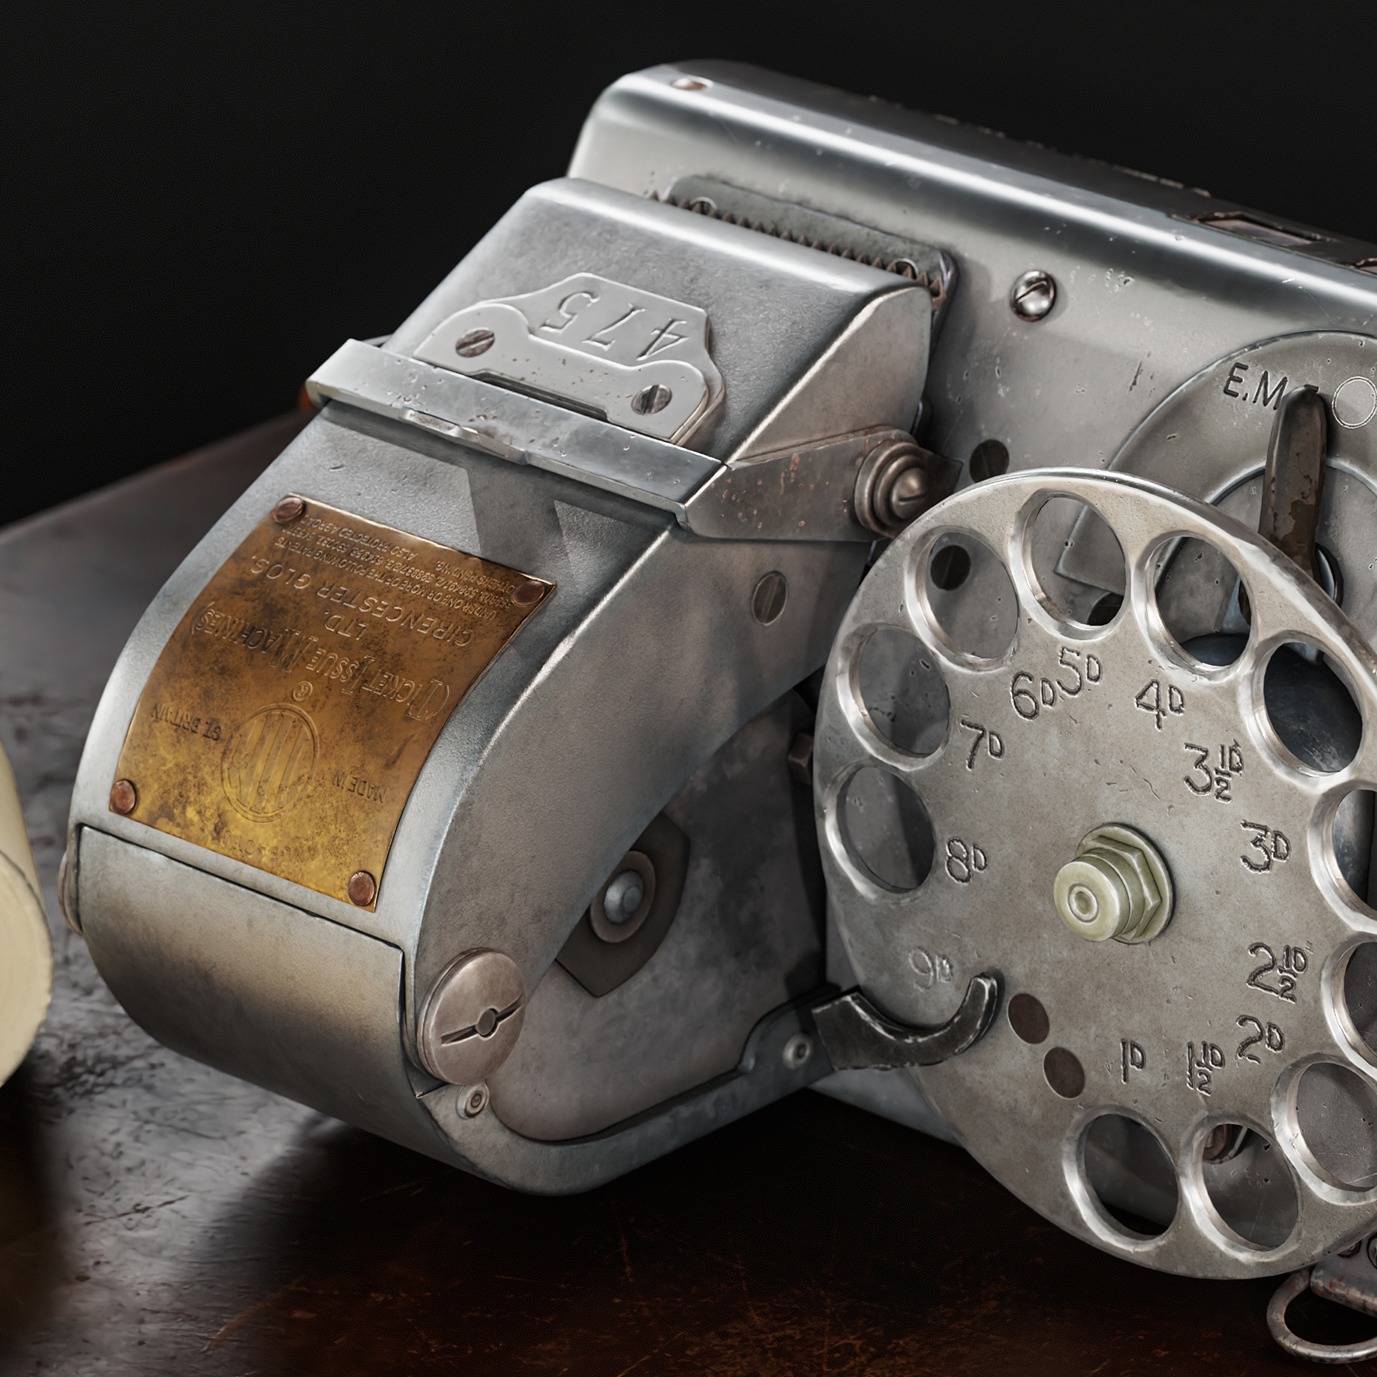
This is my personal work, created in my free time. I really like various technologies, so I often browse different technology sites for new ideas. I saw this ticket issuing machine on an antique website and immediately wanted to recreate it in 3D. This ticket machine for a bus conductor was made by TIM (Ticket Issue Machines) in the UK during the 1940s-50s. Numbers are entered using a dial, similar to a telephone.
The purpose of this project was to practice modeling and texturing. I was drawn to the variety of metals and interesting shapes in this model.
Software
- PureRef (references)
- Blender (modeling and UV)
- RizomUV (unwrap, optimize)
- ZBrush (adding dents, bends)
- Photoshop (creating alphas)
- Marmoset (baking, rendering)
- Substance Painter (texturing)
References
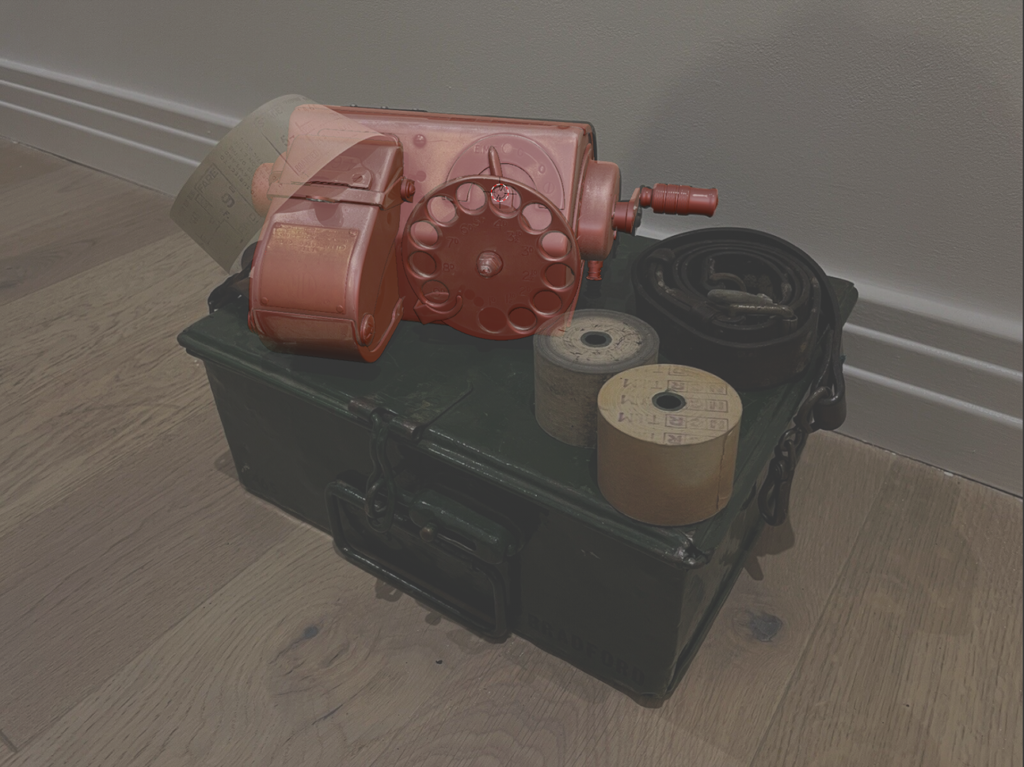
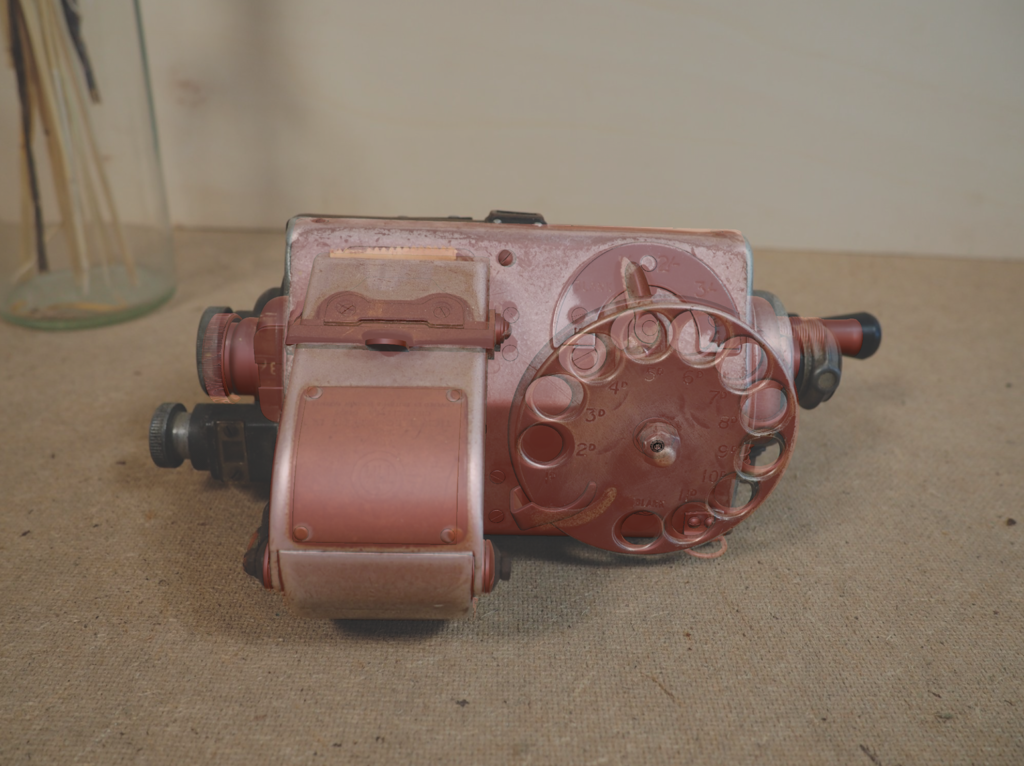
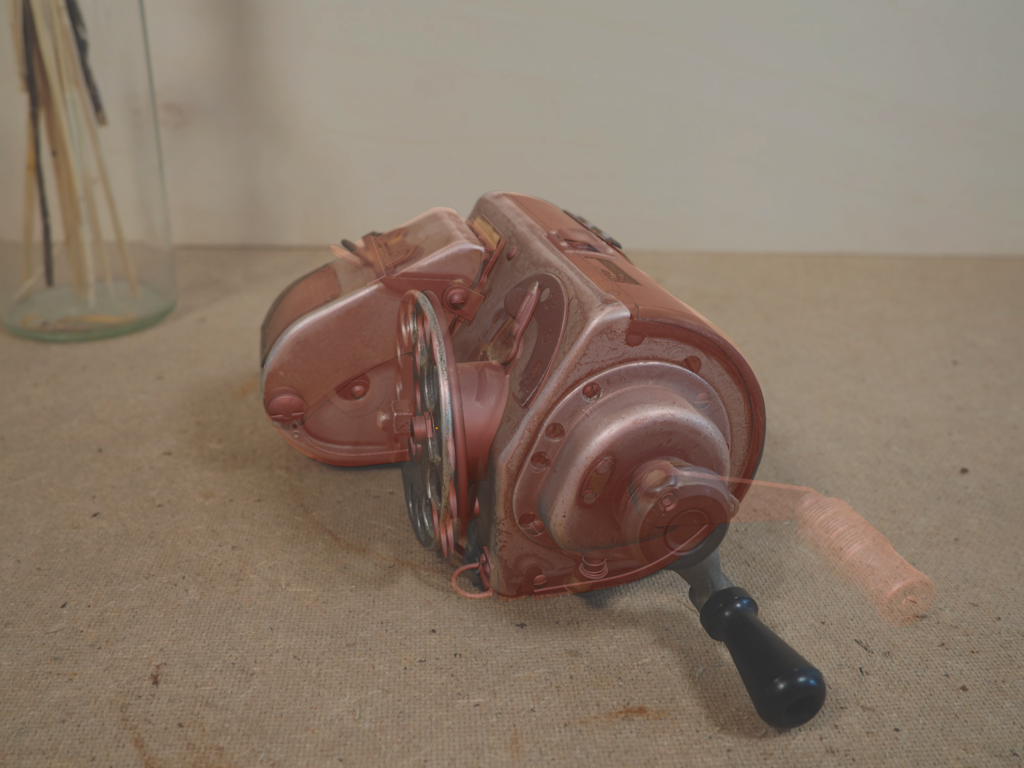
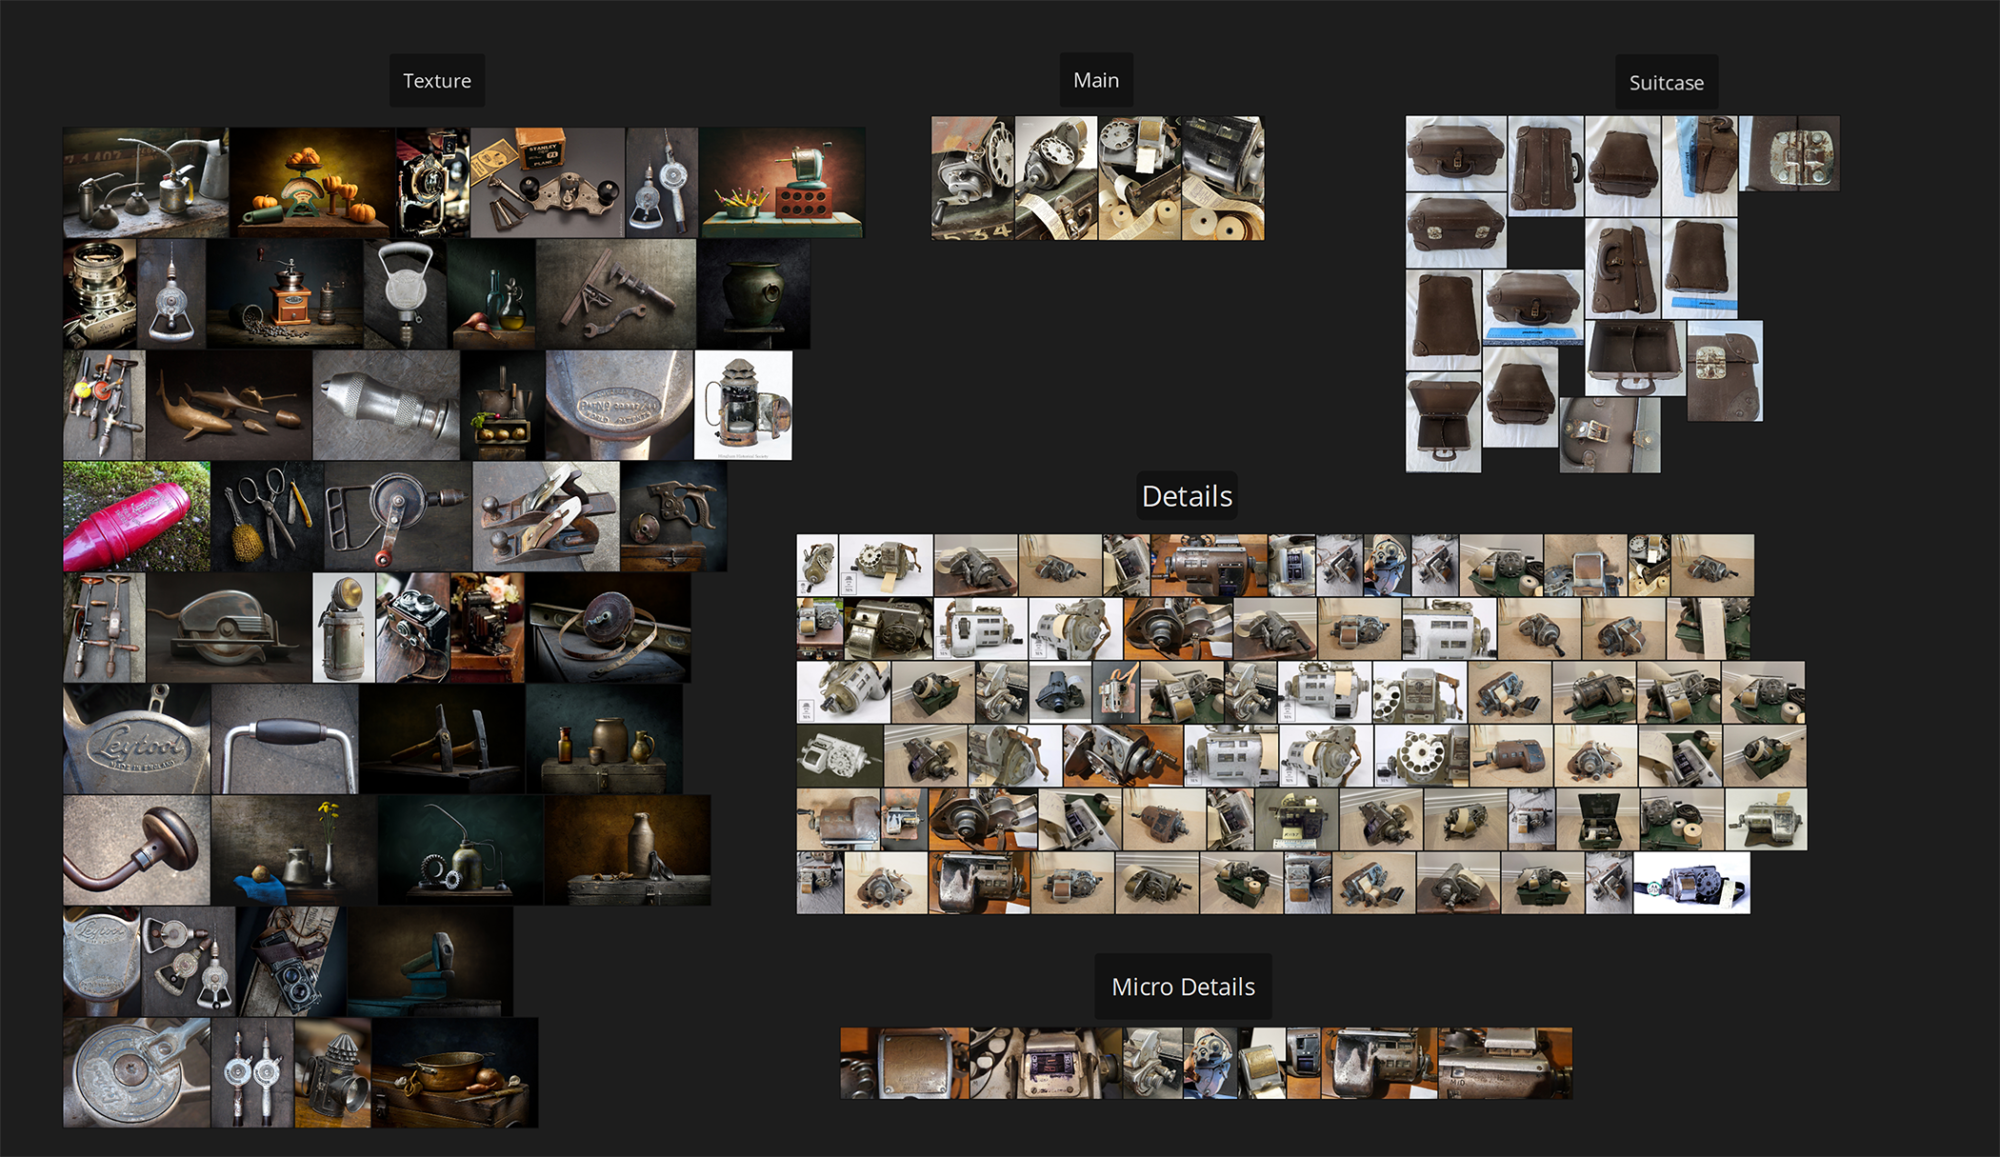
When working with references, I use PureRef. I tried to find enough photos because I couldn’t locate a blueprint for this item, so I needed many photos from different angles. Many of the photos are from antique sites found on Pinterest and eBay.
Blockout
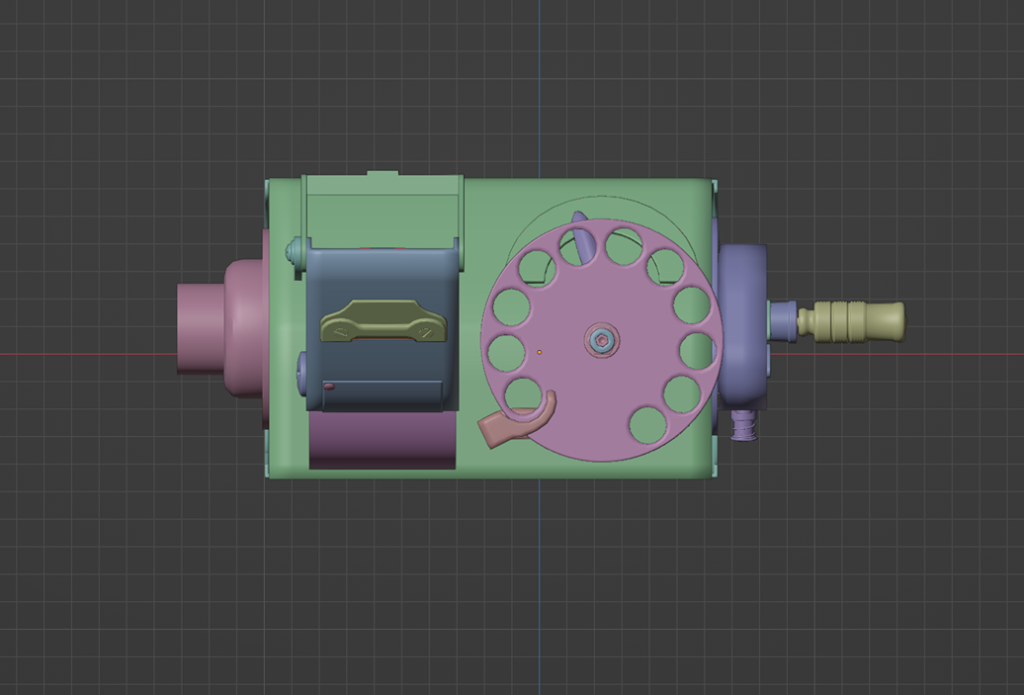
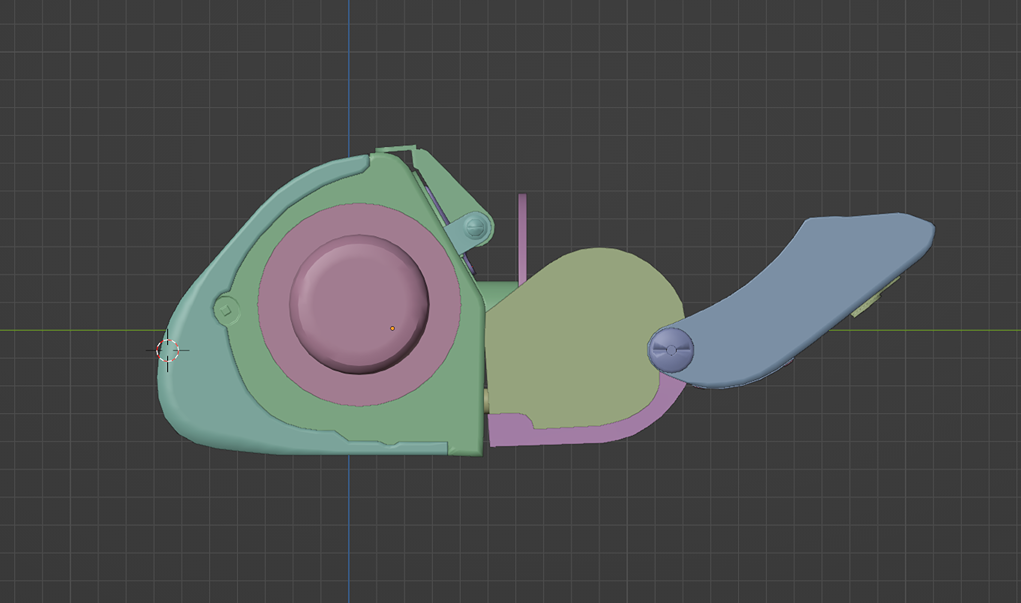
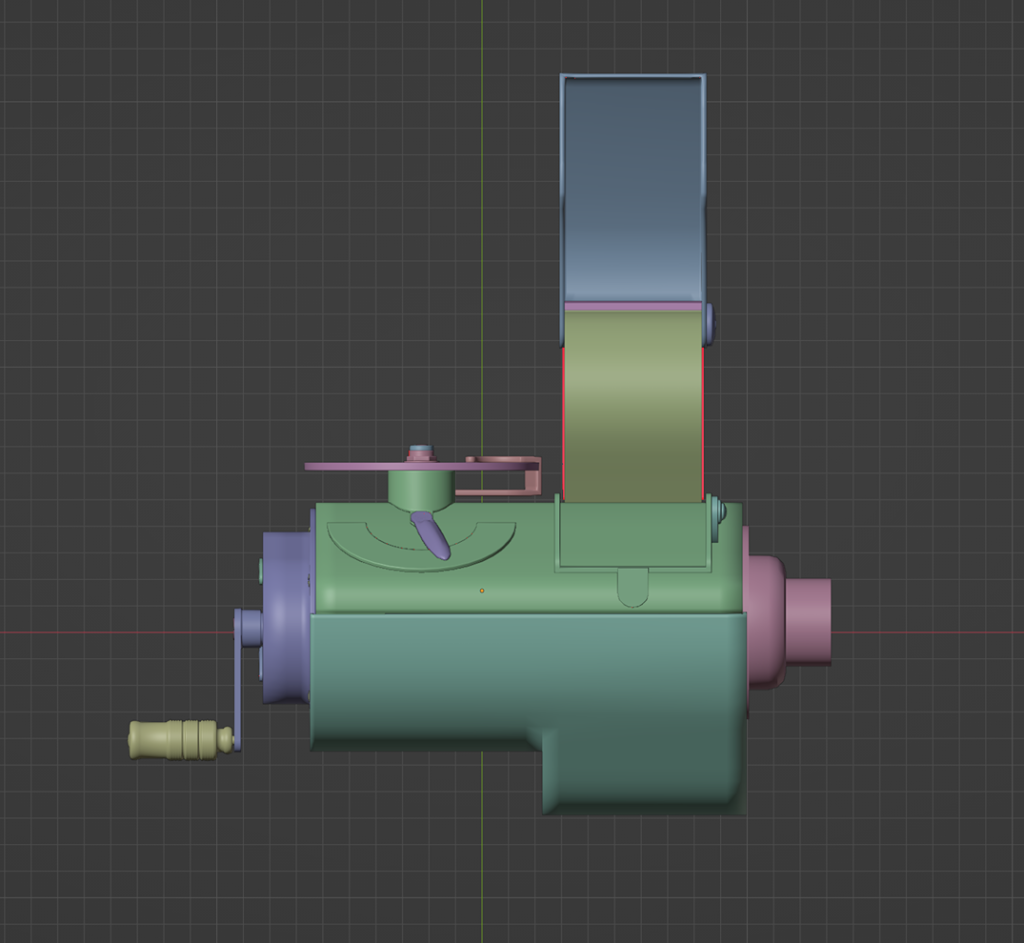
At the beginning of working on any model, I try to determine its actual dimensions. This time, I managed to find the sizes on the Internet. Next, I begin to create a model from simple shapes based on these dimensions.
The next step is to set up the cameras for detail work. For this, I use the Camera PnPoint addon. I always use multiple cameras for different angles. When all the basic forms are set up, I start working on the medium and small forms.
Modelling
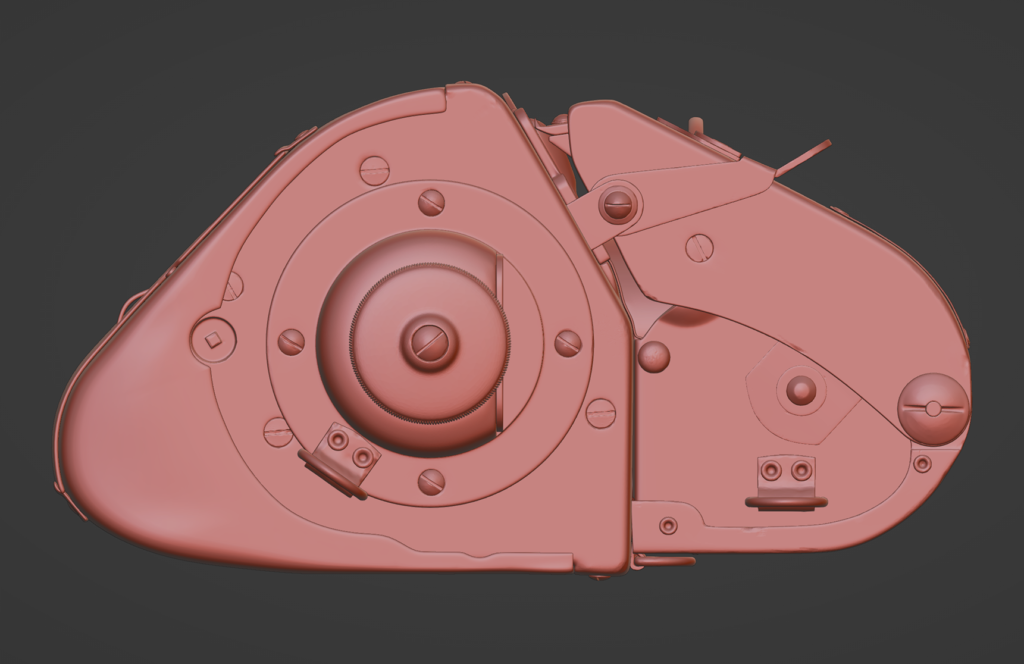
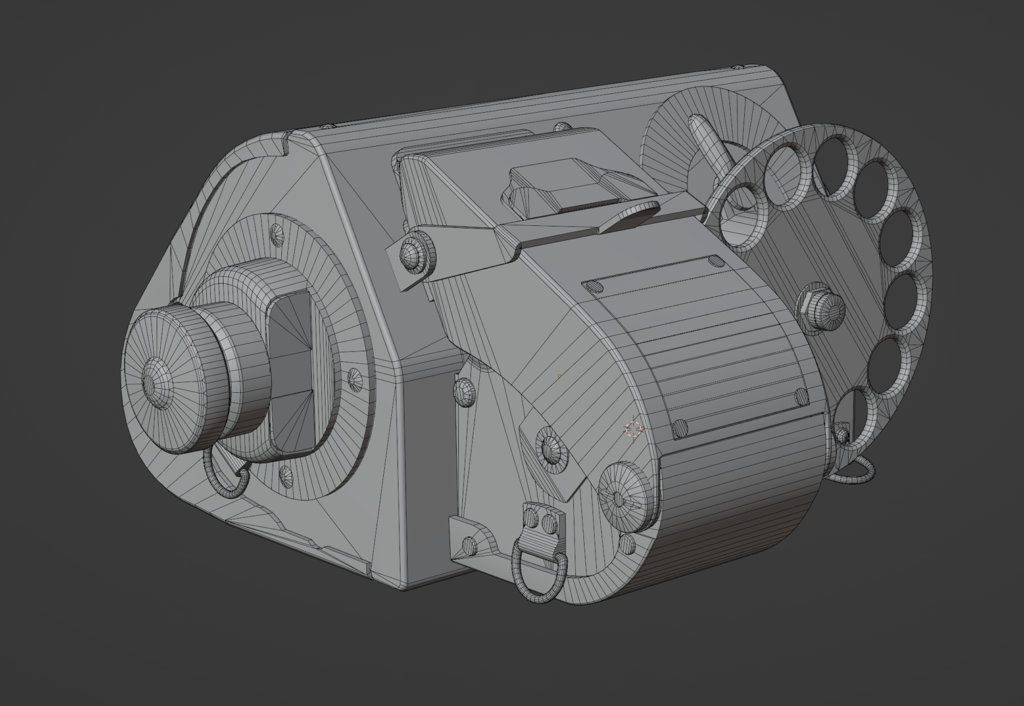
For the high-poly in this model, I chose the Subdiv approach. First, I set up all the bevels in Blender. Next, using the GoB plugin, I transferred all the geometry into ZBrush to apply scuffs, dents, and other damage.
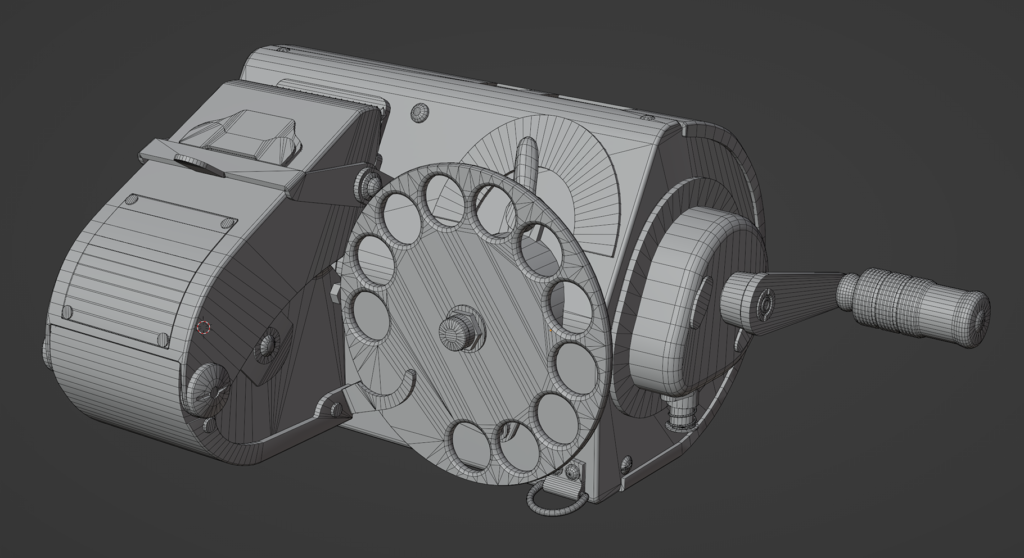
After completing the high-poly, I moved on to creating the low-poly. Since I had detailed blocking, I used it as a basis and optimized the model to get a low-poly version. Because the project was personal and I wanted a detailed model, I did not impose restrictions on the polycount.
UV
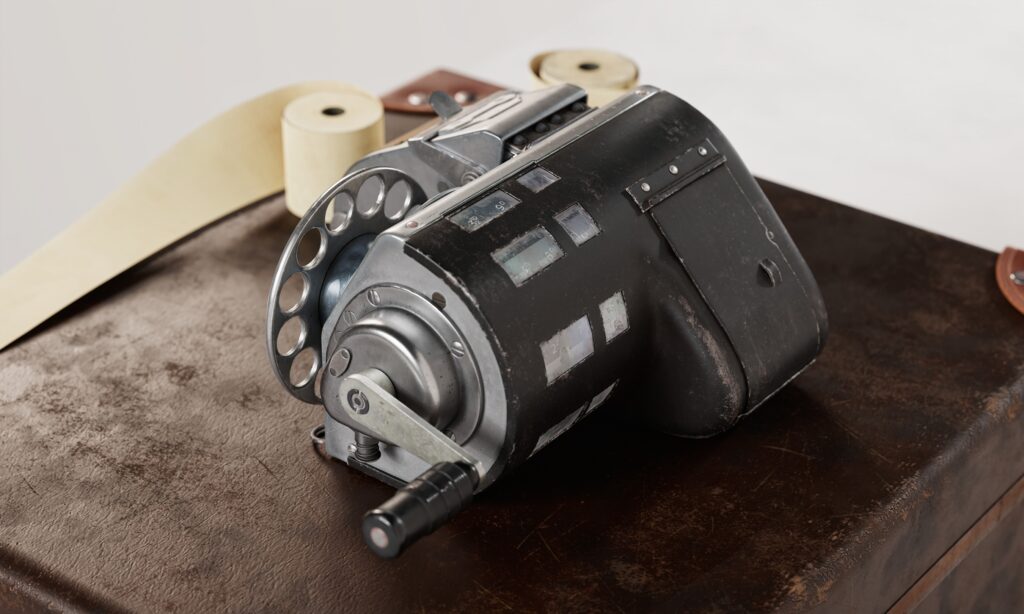
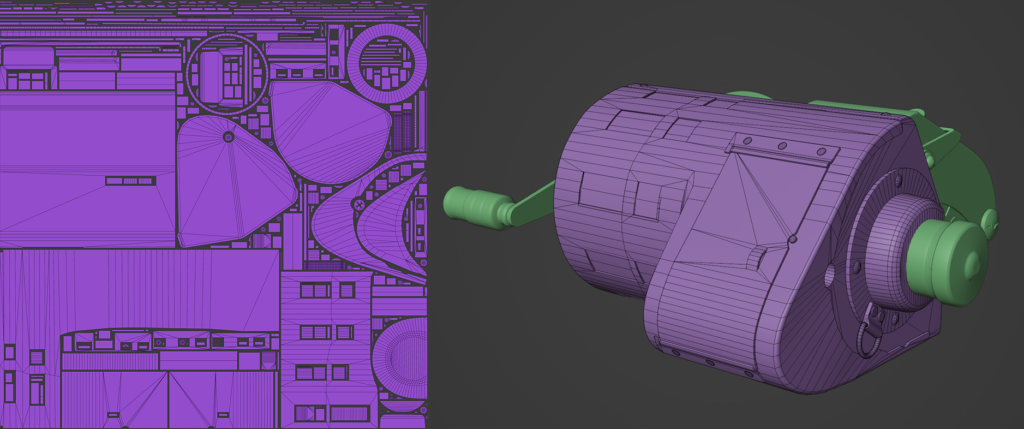
I divided the object into two materials and, accordingly, into two UV sets. After all the shells are unwrapped, straightened, and scaled, I go to Blender and pack them into texture sets using the UVPackmaster3 addon. The overall texel density is 100 pixels per cm at a 4096 texture set resolution.
Baking
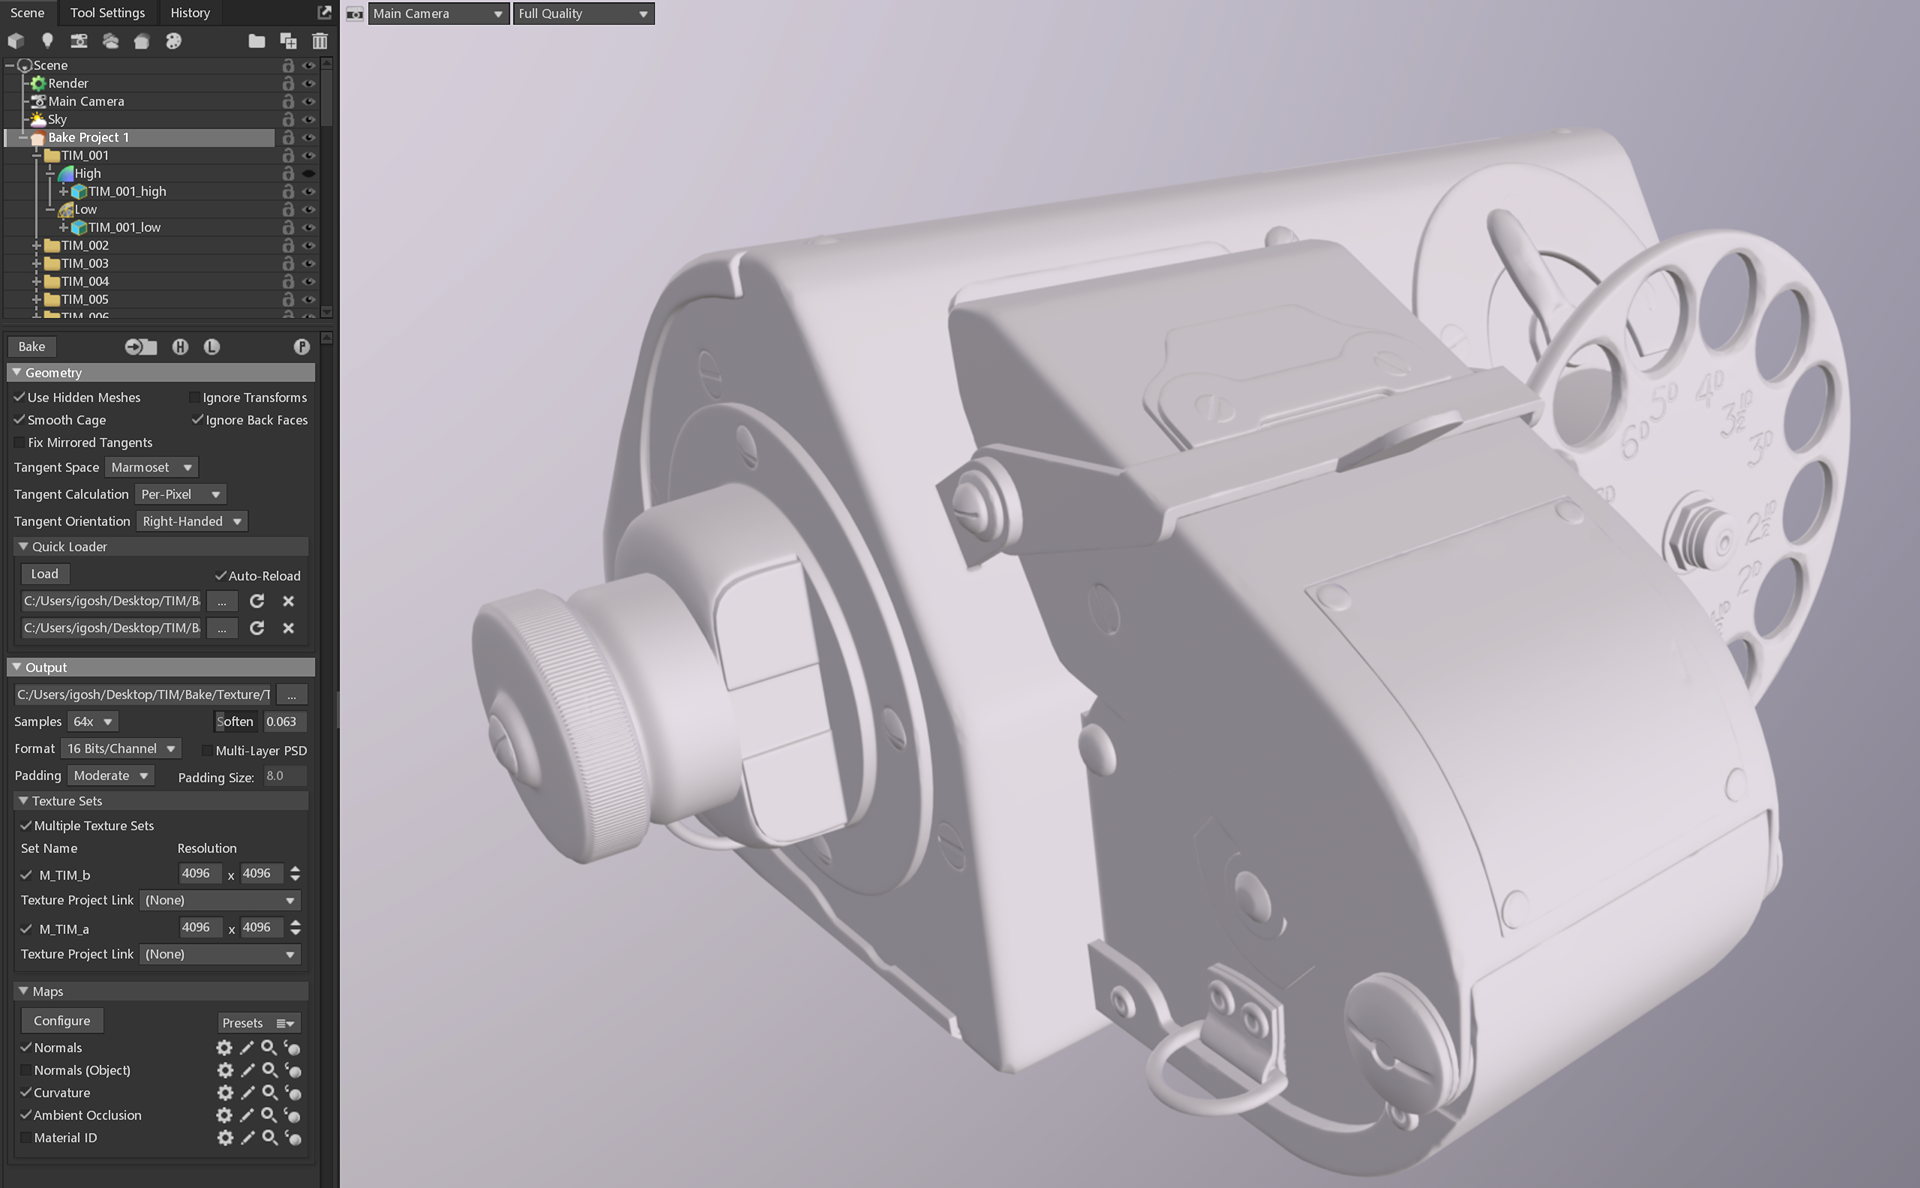
For baking, I used Marmoset Toolbag because it offers additional features such as pan adjustment, offset, and color-to-shape. To avoid projection problems, I set up a scene with naming (HighPoly suffix “_high”; LowPoly suffix “_low”) to create groups in Marmoset. Once I’ve baked all the maps, I check them again for artifacts and remove them in Photoshop.
Texturing
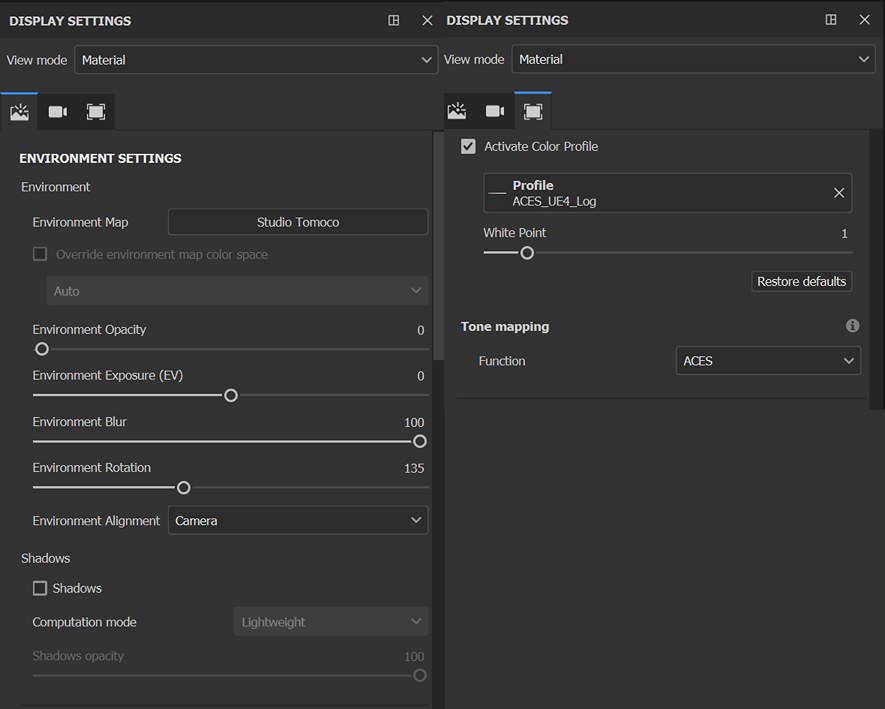
For texturing, I used Substance 3D Painter. I start with the usual display settings, change the environment map to Studio Tomoco, and set the color profile to ACES_UE4_log.
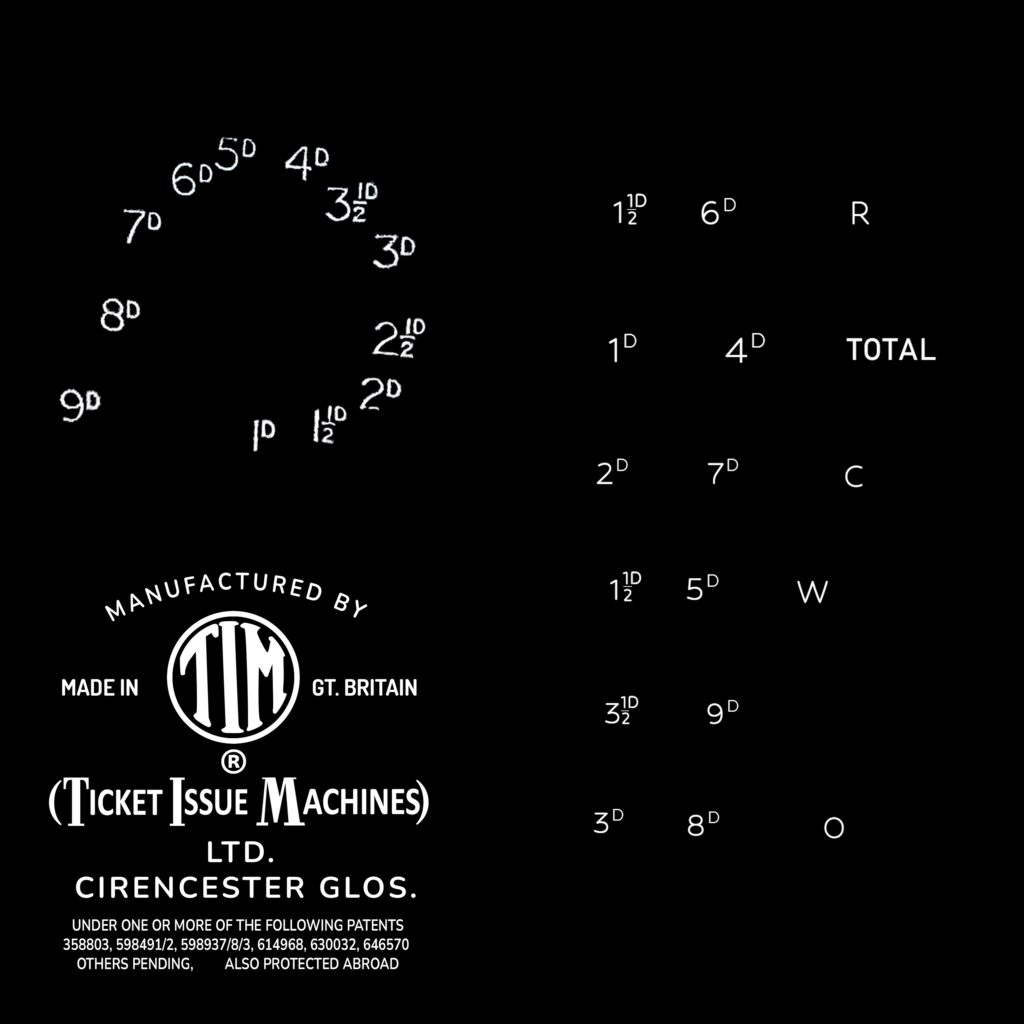
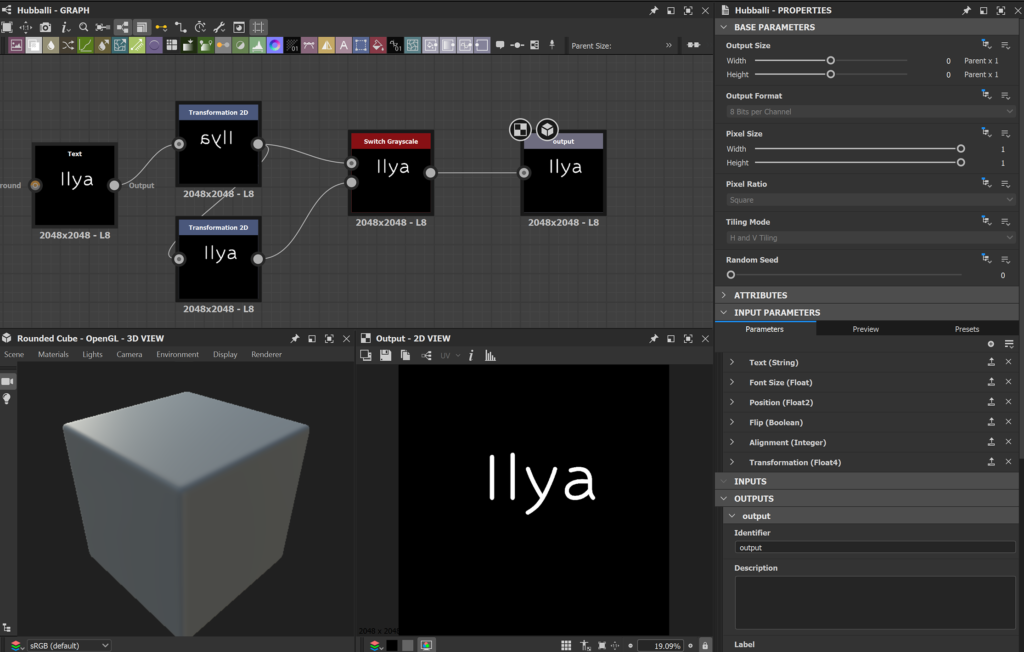
After all the settings and importing the baked maps, I started making alphas and creating a custom font in Substance Designer.
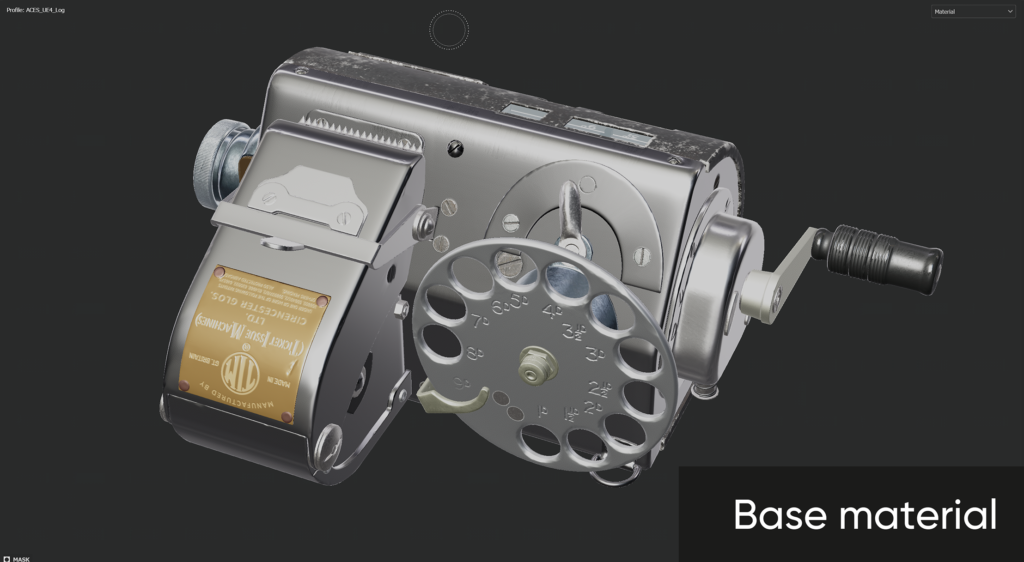
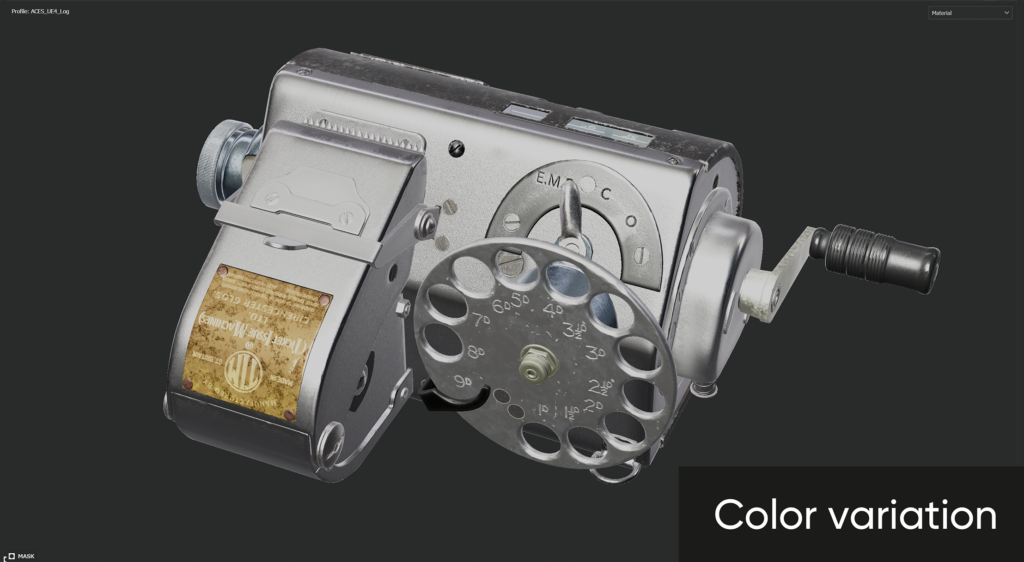
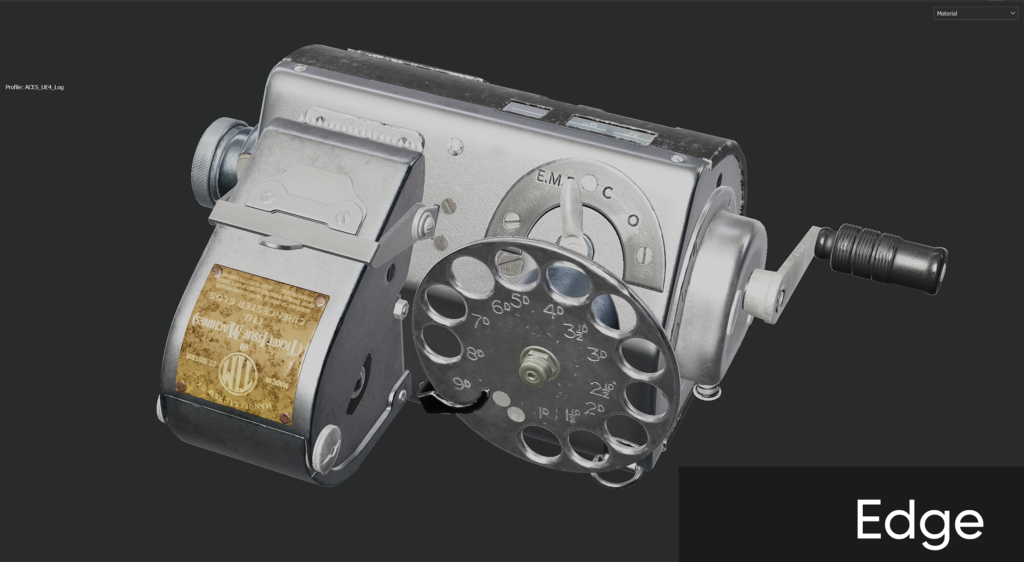
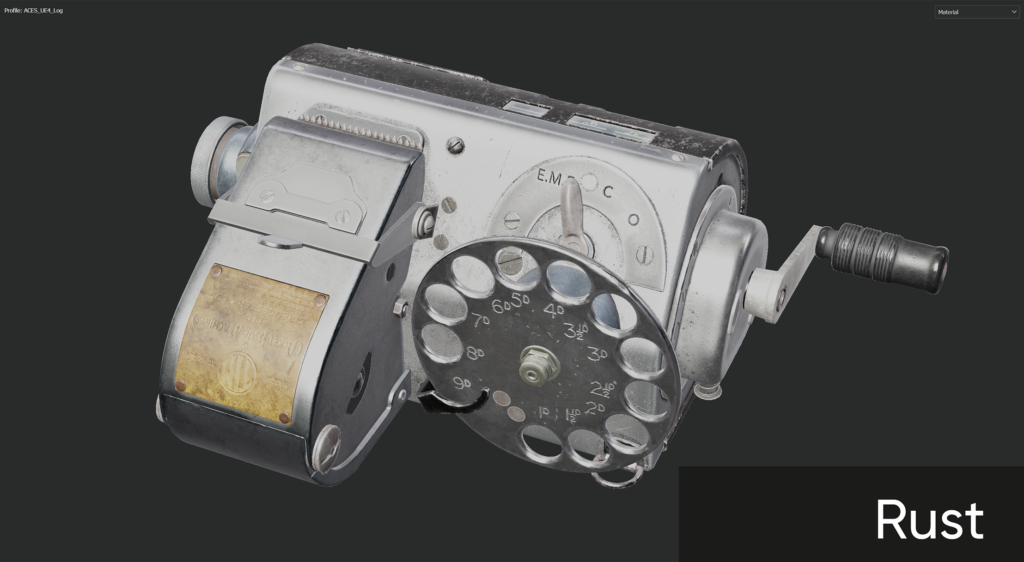
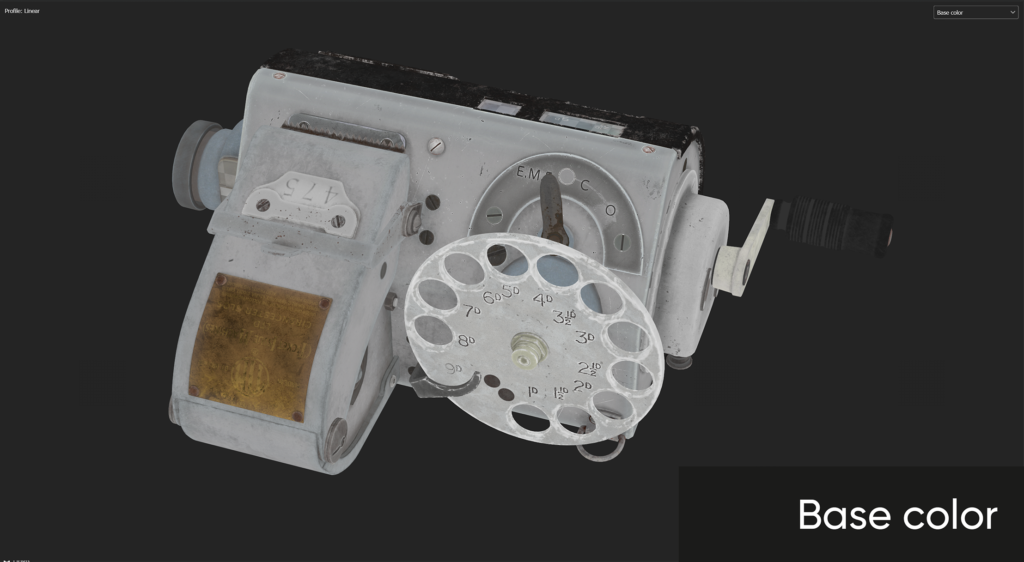
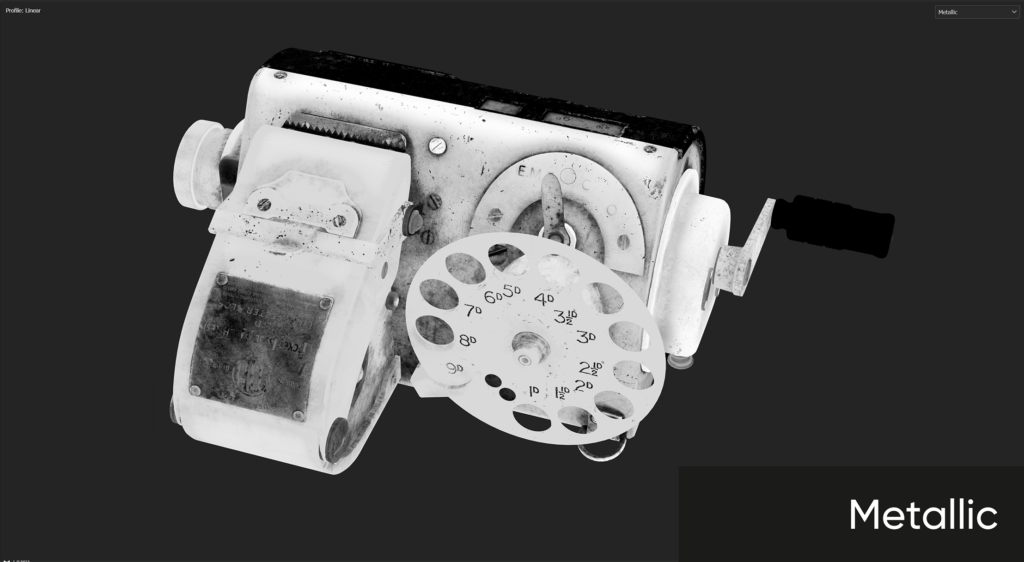
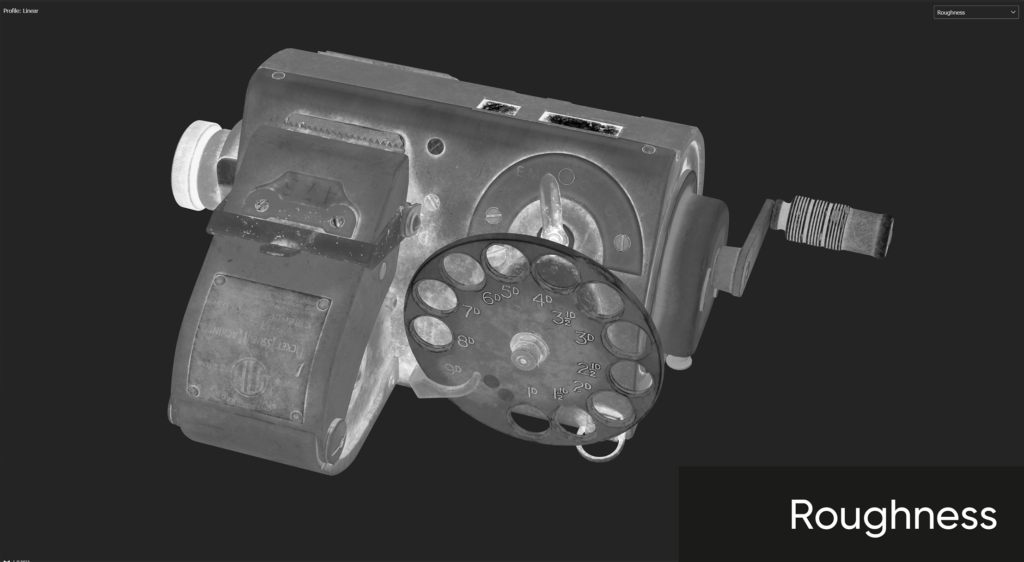
Next, I set up the base materials. After the base materials are set up, I work on each material, adding color variations, rust, abrasions, dirt, dust, etc. I then enhance the accent areas, transferring interesting details from the references. I work on the overall contrast and combination of colors and materials with each other. I spend most of my time working with masks to create more realistic textures. I tend to work with fill layers and masks rather than paint layers because it allows for more flexibility.
Rendering
After exporting the textures from Substance 3D Painter, I import my model into a new scene in Marmoset Toolbag and adjust the material and lighting. After selecting the desired HDRI, I adjust its brightness and the brightness of its child elements. Then I start adding additional lights if needed. After that, I make some changes to the camera settings. I use ACES tone mapping and adjust saturation, exposure, and sharpening. I can also use Depth of Field. Here’s a preview window of my ready-to-render image.

Thank you for reading this article. I hope you found some useful information here. I express my deep gratitude to the Games Artist team for the opportunity to share my experience in creating the model.
Ilya Igoshev
- LinkedIn – Ilya Igoshev
- Email – [email protected]
- Artstation – Ilya Igoshev

