Thunder Bluff


Idea and references
I spent a lot of time in WOW and one of my favorite locations is Thunder Bluff, so I decided to rework this location in a realistic style.
I had several goals in mind with this project:
⦁ Do a full development cycle starting from idea to final picture;
⦁ Study and development of master materials;
⦁ Creating props and environment elements.
Since I didn`t set the goal to create textures myself, I decided to use textures from megascans to save time.
In addition to improving my technical skills, I also wanted to improve my understanding of composition and storytelling.
For references, I went to WOW and started taking screenshots in the game. In addition to materials from the game itself, I tried to collect extra references with similar characteristics from other sources. In my search, I was looking for typical Indian Teepee housing, various elements of the environment, and of course references from other games.


Blockout
To begin with, I made a blockout in Maya.

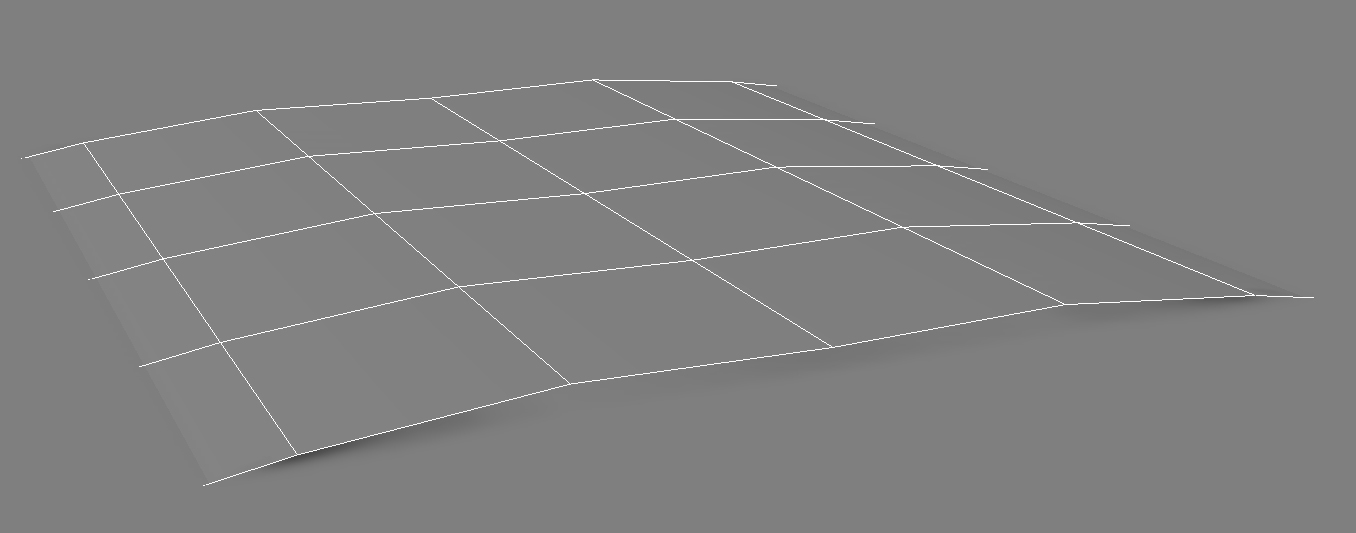
With the help of references, I created a terrain topology with similar size to that from the game.
I inherited the buildings` original dimensions and added simple details to understand the general shapes better. I also blocked out the main props.
Having created the basic elements, I started exporting everything to UE4. This allowed me to see how they work together. Before exporting, I edited certain elements to correct proportions. Then I created a basic lighting setup. After finishing the blockout, I broke it up by tone.

Buildings
At this stage, I had to decide whether the buildings should be modular or unique. Unfortunately, the modular approach did not work. Therefore, I decided to make all the buildings unique.
Based on the reference the site has 6 buildings.
The hardest thing was to decide on the design of the buildings, because since in the source material the proportions are more abstract, I had to make them less so. This stage was the most time-consuming.

The main elements of the buildings were modeled in Maya. After creating the carcass, I used Marvelous to make a simple shape for the fabric, then I exported it back to Maya, improved the topology and created UVs.
For texturing, I used tiled materials: I made a standard set of textures which consisted to of Albedo, Normal and ARM texture (A-ambient occlusion, R-roughness, M-metalness ) and when necessary added an Alpha or a Height map too.
Then I made a master material where I combined the main fabric material with a dirty version of the same material. In the green channel of the vertex paint I put a version of the main fabric material with different brightness settings to use it to paint over the edges to give them a different shade. I also added a custom detail normal for variety. Besides, I added a gradient for dirt going from bottom to top and I used world coordinates to apply a texture for a subtle break up by roughness and color. In some parts of the tent, I used the second UV channel where an alpha map was used to create a ragged tissue effect.

To add more detail to the building, I made mesh decals, which I turned into a trimsheet. I made several presets and broke them into 3 colors. After that I sent it to Marmoset where I baked it to a plane, and generated two maps: Alpha and RGB Mask.

In UE4, I made a simple master material using these textures. You can change the color in real time, which allows you to add variation, plus I used alpha to create varying degrees of damage.
For the final detail, I added some ropes around the building, and also made some props to add more interest.

Props
To save time, I only made basic props like signs, fire poles, dream catchers, and totems.
I used Maya to create Hi-poly and Low-poly models, and if necessary I used Zbrush for additional detail. Then I exported everything to Marmoset where I baked Normal and AO. I used Substance Painter to texture the props and to create the remaining maps.


Terrain
Standard UE4 tools were best suited for creating the terrain because it is very convenient and allows you to edit its topology at any time.
For paths, I made a simple module in Maya, with a number of sections that would be enough for smooth bends and vertex paint.
Then I just used a terrain spline, which I loaded my module into, and laid down the spline to create paths in the places I needed.

I used several materials which I combined via vertex paint and added the ability to blend it with the terrain to make a smooth transition between the path and the ground.
Megascans
The reason I decided to use Megascans are the huge time savings it provides: I used props for storytelling, different textures for terrain and various types of vegetation, which thanks to the large library allows for a great variation.
An example of using different types of foliage for additional detailing and decals for the final pass.

Conclusion
It turned out to be a very interesting and complex project, a lot of time was spent on it, and perhaps in some places it affected the quality. It was challenging because I had to learn a lot of new things. Nevertheless, All the goals that were set have been achieved. A lot of things were cut, but in the end, I was pleased with the result.
Read more articles
You might also like these articles.