The Truck


Introduction
My name is Enrico, an Environment Artist from Italy, currently living and working in Austria.
Project
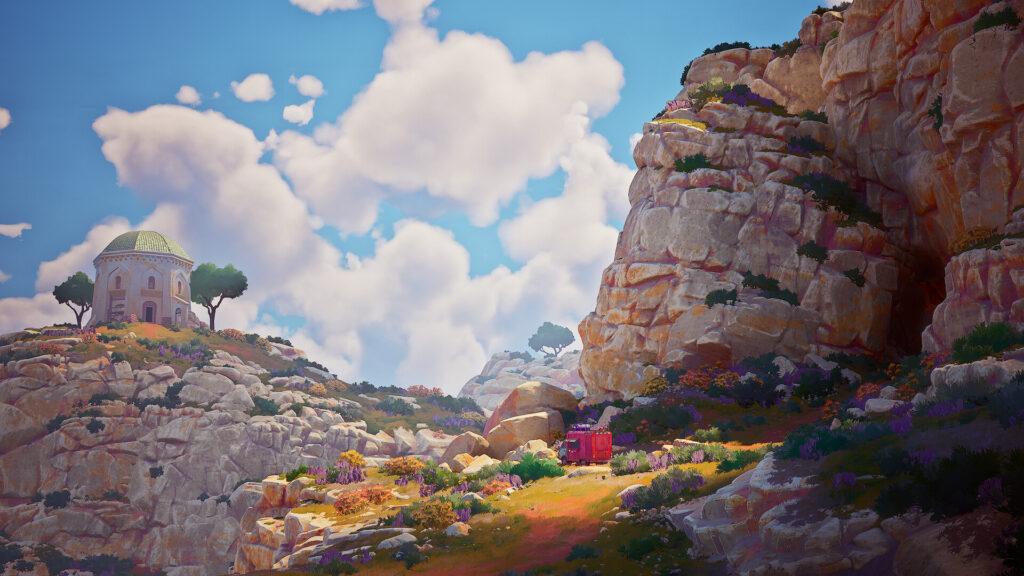
“The Truck” is the second chapter of a personal project about an island in the Mediterranean Sea. I am trying to build my own universe and create projects that are intertwined. In this breakdown, I will analyze my work and highlight useful information that I discovered along the way.
However, please keep in mind that some of the workflows used in this project aren’t necessarily the most optimized way of doing things. If I had to redo this in the context of a video game production environment, I would probably do a lot of things differently.
In a nutshell, my rule of thumb was: If it looks good enough, saves me time, and doesn’t completely tank performance, then it’s probably okay for the project.


Idea & Storytelling
While the previous project, “The Tower,” worked well enough visually, I hadn’t had the foresight to properly plan the storytelling behind it. I just wanted to make something that felt cool.
You can see the whole cinematic here.
With this new project, I decided to start with storytelling in mind from the beginning.
Like in any well-structured story, I needed a protagonist, an objective, and an antagonist.
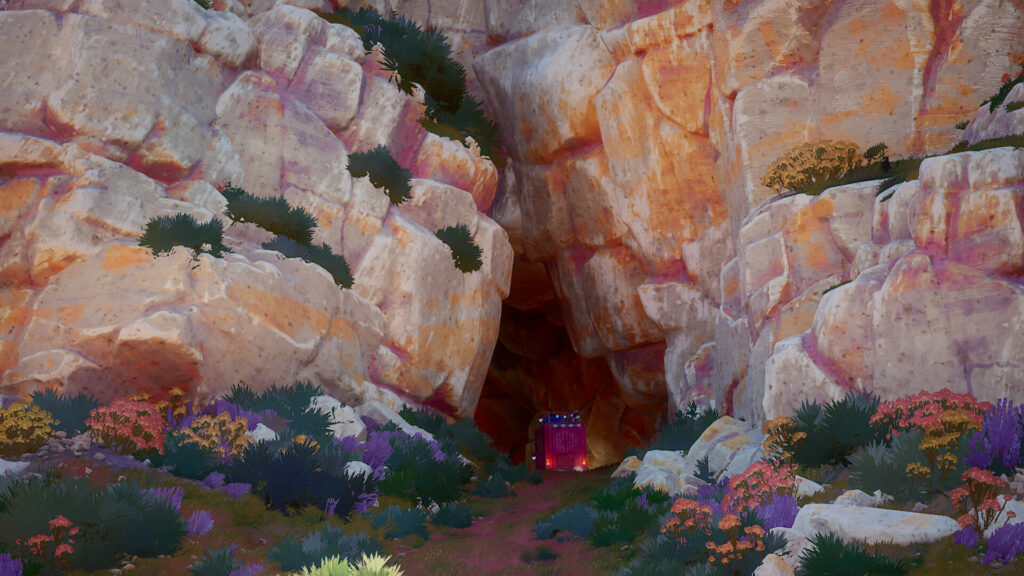
The core idea behind the project comes from a real phenomenon that occurs in the rural areas of Southern Italy, although it is becoming rarer in modern times. Since many small towns have aging populations, some vendors drive around the region with trucks loaded with household goods—a real market on wheels.
The Truck
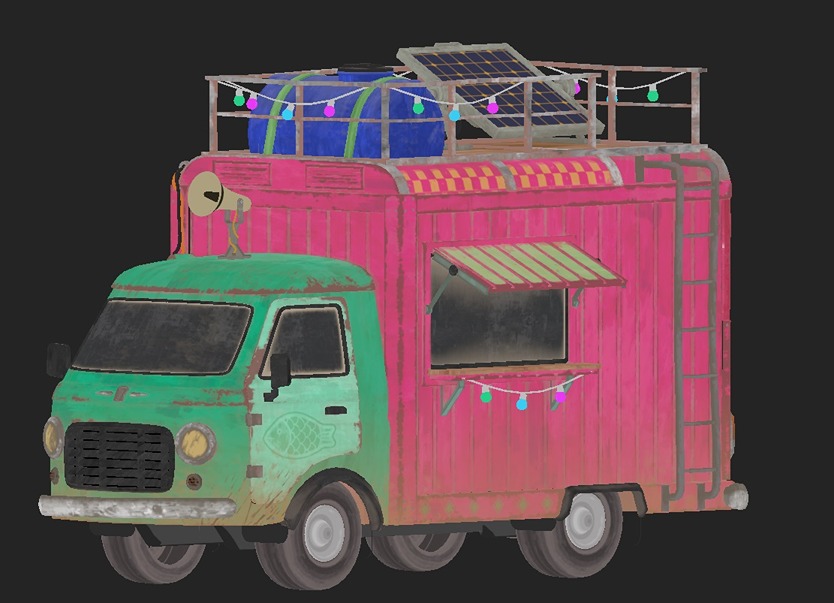
The modeling of the truck was actually the first step I took in the project, even before I had an environment in mind. It was meant to be a fun summertime project with no real expectations.
Instead of stressing out about unfinished projects, I’ve learned to accept that sometimes I want to start something and leave it unpolished, like a sketch. This way, I can keep the idea in my library for future use.
However, after making the blockout, I got pretty excited about it and decided to take some time to do proper reference searches and project planning.
Here is a screenshot of the reference board for the truck.
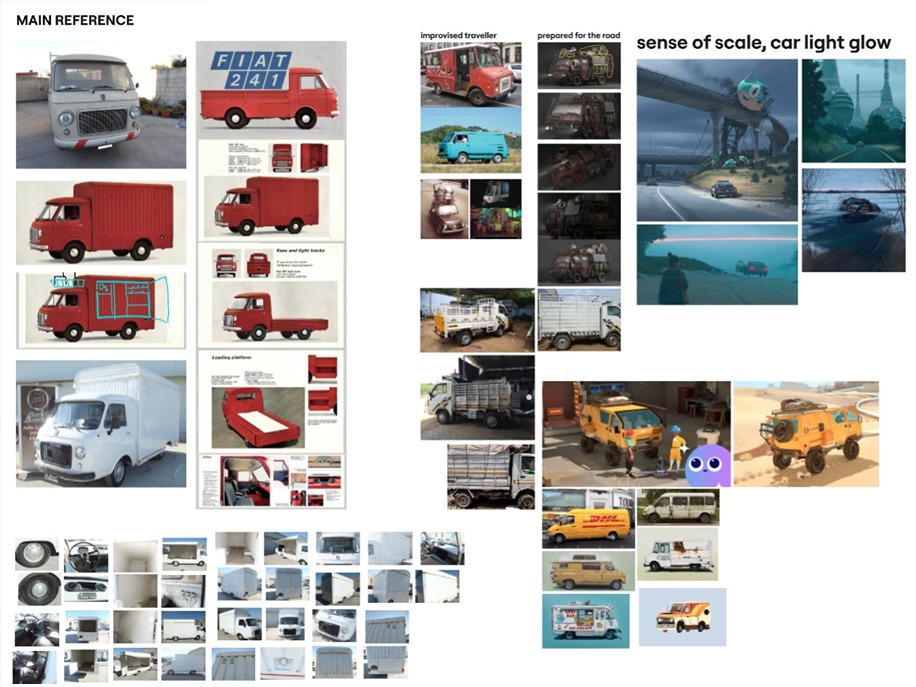
If you are looking to model a specific type of vehicle, online marketplaces can be ideal for gathering references, as sellers usually post a lot of pictures, especially for used products.
When I decided I was ready to expand the project into a full environment, I started asking myself how the truck should relate to its surroundings.
I found a lot of inspiration in Simon Stålenhag, who has painted several scenes featuring vehicles as protagonists, but in a way that makes them feel small and powerless compared to the vast environment.
The development of the truck happened in three phases:
- First, the basic blockout.
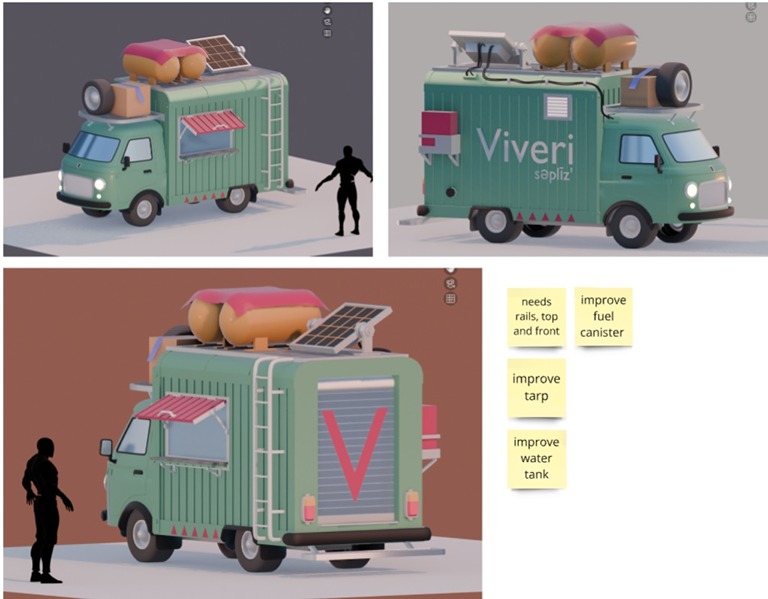
- The second pass was meant to flesh out the main features and start adding further details, like the roof props and the speaker on top of the driver cabin.
In this phase, I also started properly texturing the asset by defining the core color palette, as well as creating a shader to make the truck “wiggle”.

The shader uses the bounding box node to raise and lower alternatively the left and the right side of the truck, as well as pushing the whole truck up and down.
You can find the material function file on my gumroad, for free.
The final pass was aimed at polishing the textures up-close, using my stylized noises to give a personal touch to the look of the truck.
This is where I also adjusted roughness and metallic maps.
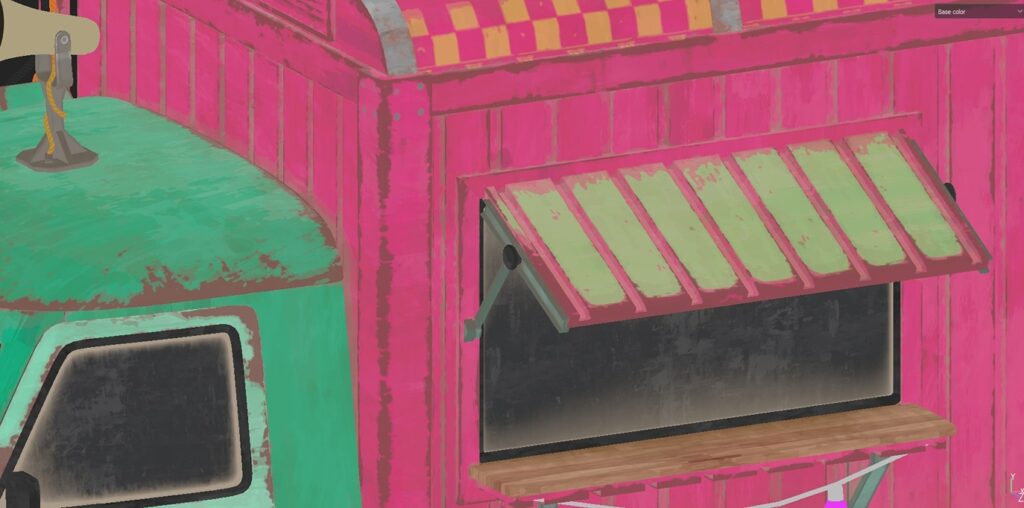
During the texturing phase, I made extensive use of a tileable that I created in Substance Designer.
I generally use it to break down edge wear maps, or use it as a base to get some mild luiminosity variation wherever I have solid tints.
It is also used extensively in the Unreal Engine scene: Cliffs, water and landscape all use this mask in different forms. Reusing the same texture for many things means sparing resources and achieving a more consistent result.

Planning & References
This project was, by all means, a way to improve on all the things that didn’t work out in the last project. One of such things was project planning and reference gathering.
In a pre-production phase, filtering references is as important (if not more) as collecting it. Having too many and too broad references will guarantee you to get stuck, paralyzed by choice.
It’s okay to collect many references as long as you cut the numbers later on when you start asset production.
To improve my efficiency, I also started to use a software called TickTick to write down tasks and measure my work time. I usually start with generic tasks like: First Iteration Truck Blockout, Landscape Shader Setup, Water Shader Setup, etc.
Additionally, the app lets me record the time spent on each specific task. This might seem tedious, but if you get used to it, it helps keeping track of the time you spend on a topic, as well as reminding you to take frequent breaks.
Give or take, it took me 300 work hours to complete the project. This includes all sorts of experimentation that didn’t make it into the final scene.
When it comes to references, I like to lay out my material in Miro and divide it by topic.
I also use Miro to post screenshots of my progress so that I can take notes that will be useful to improve the work and keep track of what needs to be done at any given time.
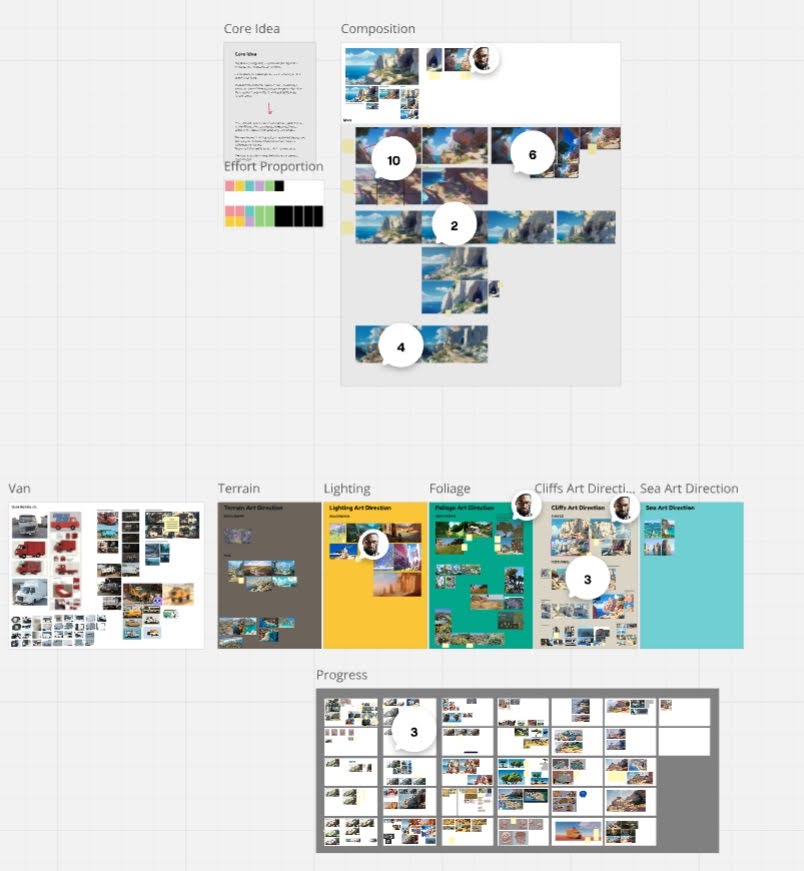
When I collect references, I put particular care in labeling why I am using that specific image. More often than not, I am interested in one specific feature of a reference (composition, lighting, mood) rather than the whole picture.
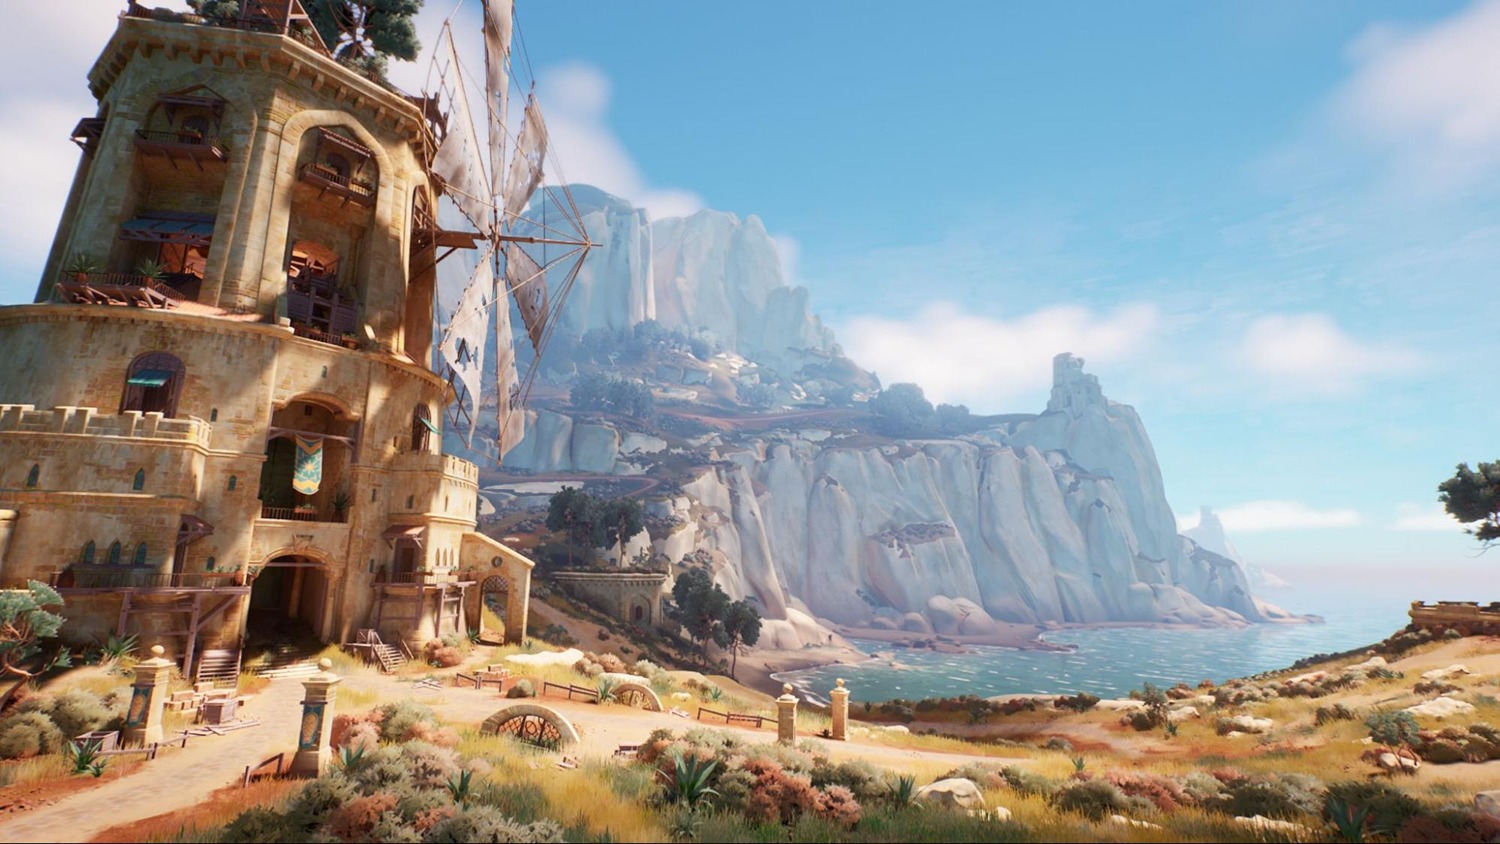
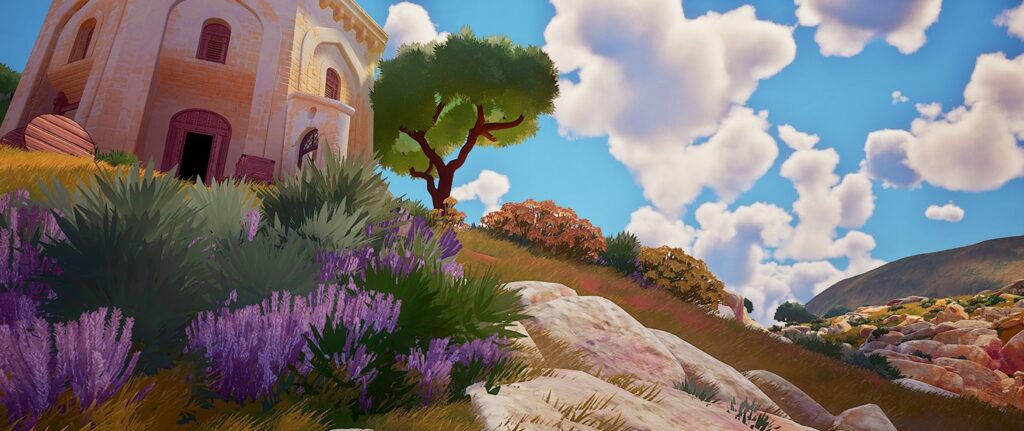
Art-wise a big inspiration came from this very old Italian painter, Antonino Leto, who painted a beautiful vista of Capri.

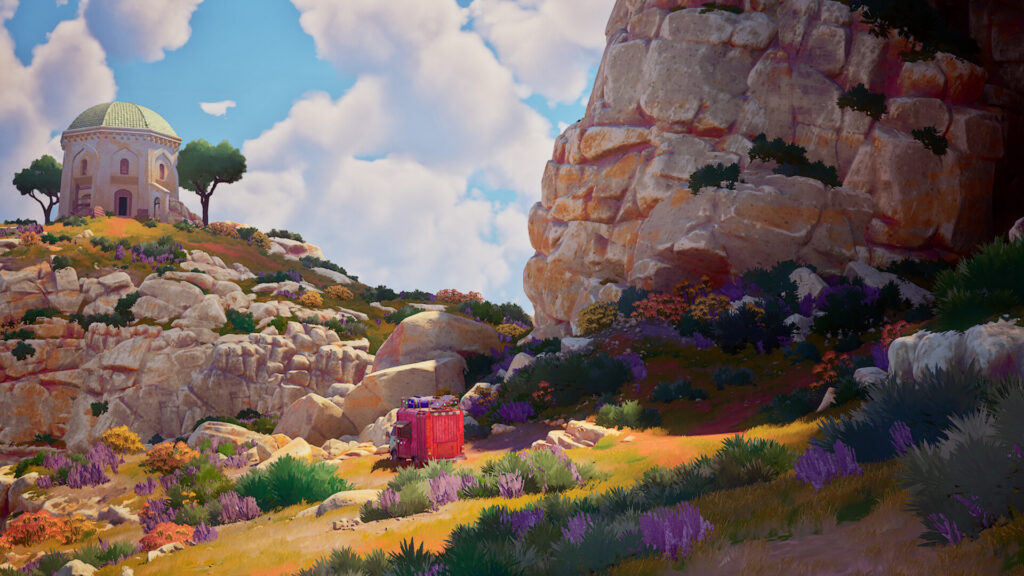
I wasn’t planning to go all the way with a painterly look, but I tried to keep in mind the vibrance of colors, especially regarding rocks and vegetation.
Another big influence was pretty much any painting by Simon Stålenhag, particularly from the book “The Electric State”. The project often features cars driving through a vista, usually appearing small in the composition.
This was exactly what I was looking for.
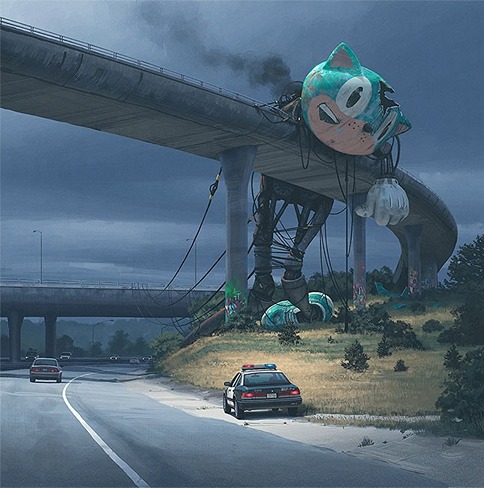
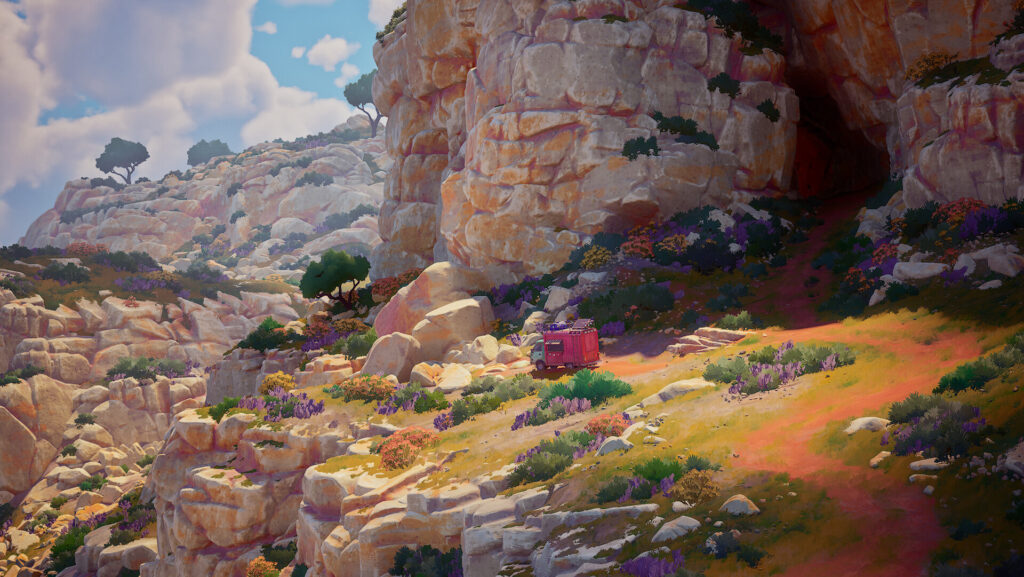
These vistas helped me flesh out the composition of the image in the pre-production, involving a cliffside path leading to some building in the distance.
Once I started working on the cliff assets, however, I pretty much put aside all these references, as I wanted to create something from scratch.

Modelling the cliffs
In my opinion, a good rule of thumb in environment art is to tackle big assets first, as those will impact the look of your environment the most. In this phase, I am not looking to have a final asset yet. I just need the cliffs to look good enough to be a solid ground for the rest of the assets to work with.
This project was an opportunity to start experimenting with a plugin for Blender called BoxCutter. It is usually associated with hard surface modeling, but I found it super useful to quickly carve down a cliff module.
Most of the modeling involved using a lasso tool to slice the core mesh into smaller and smaller elements. Then, I would use the cut mode to carve away the chunks and make the shapes flow better.
Once
Once I had a first batch of cliff modules, I started playing with them in Unreal Engine, to see what shapes worked and which didn’t. In this phase, I didn’t have a specific scene in mind, yet.
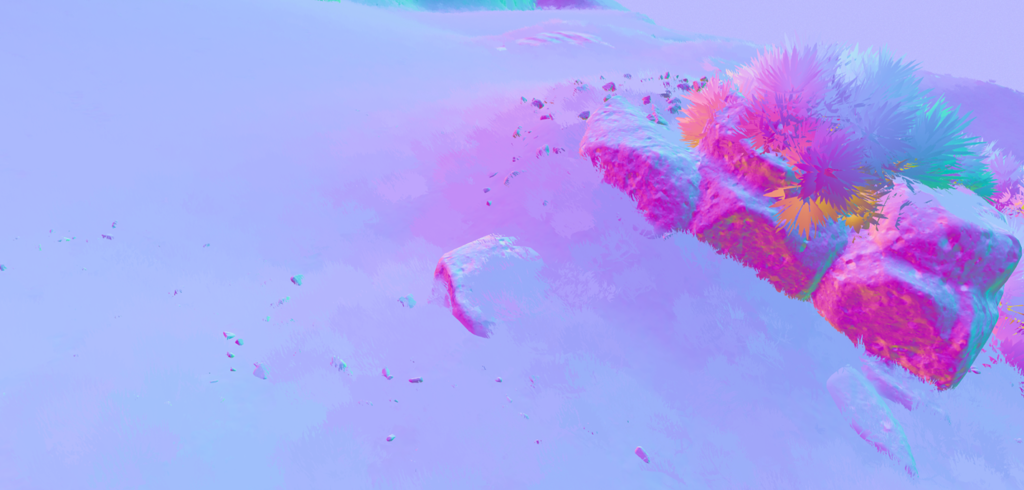
Texturing
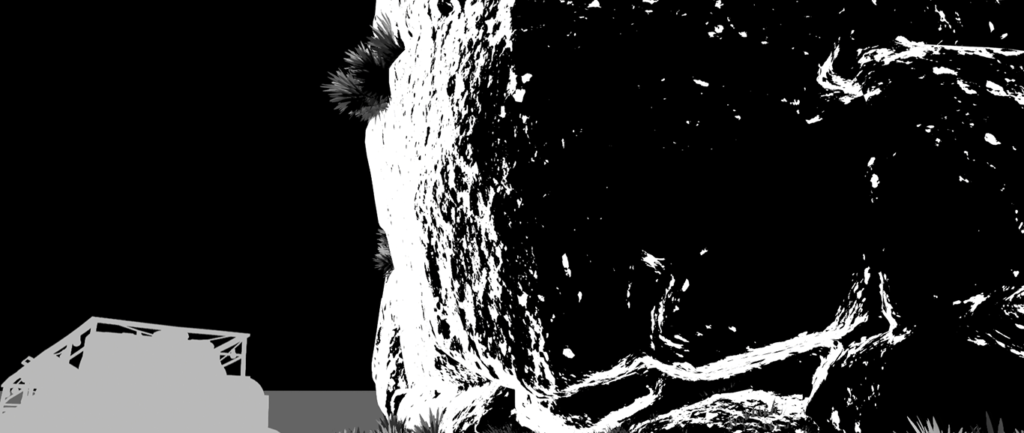
Speaking of texturing, I usually create a series of grayscale textures (Ambient Occlusion, Curvature, Custom Noise) combined into a single RGB texture to use in Unreal (texture type Masks in the details panel of the asset). Combining the three textures in one is a common practice in game production to optimize assets.
However, due to time restrictions, I had to simplify things.
Instead of having the three masks combined into an RGB texture, I simply combined them in one gray scale (aka a single-channel texture), in which each mesh map (occlusion, curvatures, etc ) occupies a distinct luminosity range.
In this example, you can see how the darkest values define the cavities, while the brightest define the edges of the mesh.
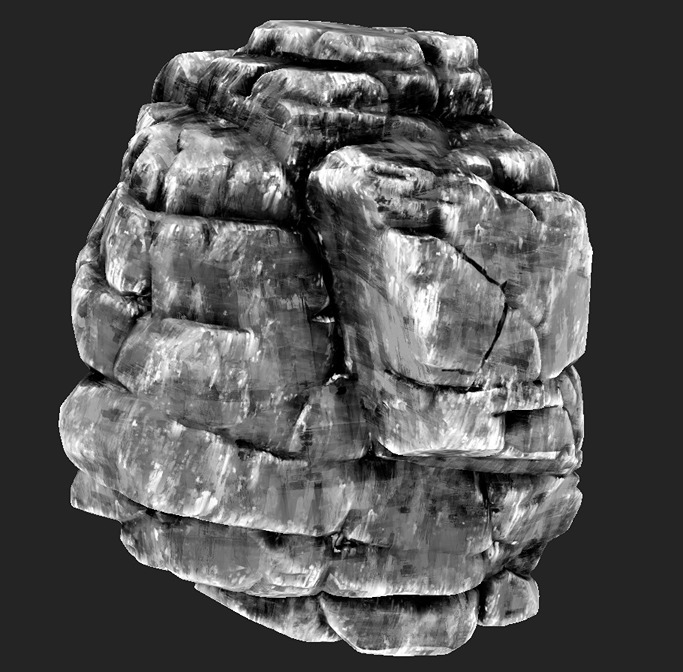
This grayscale texture can then be fed into a shader that maps a series of colors to it.
You can get the color-mapper material function for free on my Gumroad.
To further improve the look of the cliffs and make them more versatile, I also added a world space noise.
(Can you guess which texture I used?)
Considering these grayscales have a resolution of 2k each, I would say performance wise this is not too bad. It could have been way higher quality though, that’s for sure.
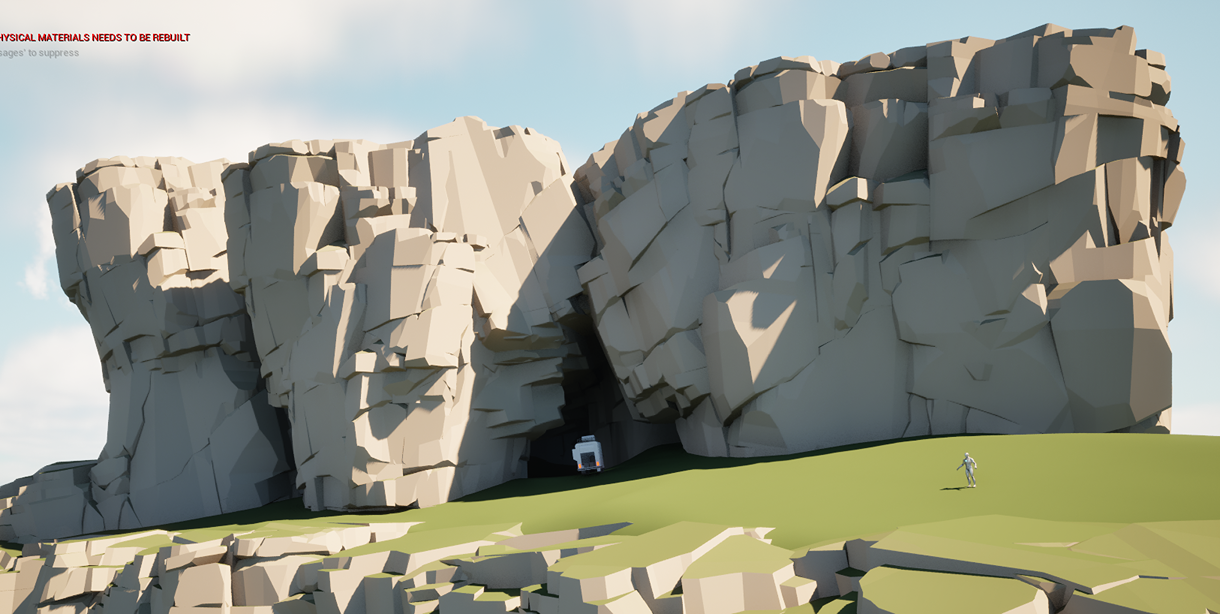
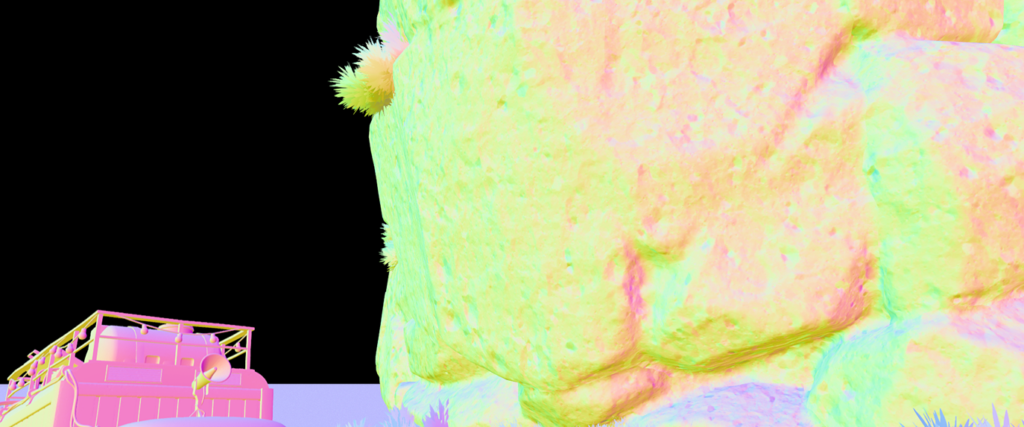
Another component of the shader that contributes to the final look is the specular channel. Rather than using a constant value, I plugged in a Fresnel node (with a “smooth step” node to control values).
This, in combination with a simple painterly normal makes the rocks appear vibrant on the rim of the mesh (reacting more to the skylight) and flatter on the player facing polygons, leaving the heavy lifting to base color, normal and AO.
In a nutshell, this creates a sharper contrast that makes the shapes standout more. Note however, that this effect will work nicely with organic shapes, but will easily brake on hard surfaces (like the truck).
Cliff Feedback
While modeling and texturing cliffs is a big topic, the real deal is laying them nicely in your environment.
The more you work on cliffs, the more you realize it is similar to creating brushes for a painting in Photoshop. It doesn’t matter only how they look individually, but also how they interact with each other, when placed in an environment.
In nature, rocks are the visible part of a much larger geological structure, partially hidden by soil. Therefore, the way these rocks interact with the terrain is fundamental. The most common issue is to over-use your cliffs and end up with a very vertical, gamey look.
Which is exactly what I had in my project for quite a while. While there are some cliffs in the real world that look and behave like a giant vertical wall, this was not the intended use for this type of rock.
Additionally, I felt like many of the modules I made were not versatile enough, so several of them ended up being under-used, or straight-up trashed. One of them looked pretty good and was very diverse, so I ended up reusing it a lot.
Be mindful, though, that this is not a positive thing. Ideally, you want to have a rich asset pack of rocks, some large, some small. If you end up overusing one, there is clearly an issue with the asset pack you made.
In my case, however, I didn’t have much time to rethink the logic of the asset pack, so I had to get creative with the pieces I was happy with.
What helped me reshape the layout was to think about the cliffs as a flowing structure, as I said, each module you place is part of a bigger structure and that should show in your scene, especially when the camera is so far away from the ground.
While I am happy enough with the result, I will definitely come up with a more functional asset pack in the future.
Foliage
When working on foliage my plan was to not overthink it.
Since I already knew this environment had to work on a large scale, fixating on foliage details would have slowed me down, without gaining much out of it.
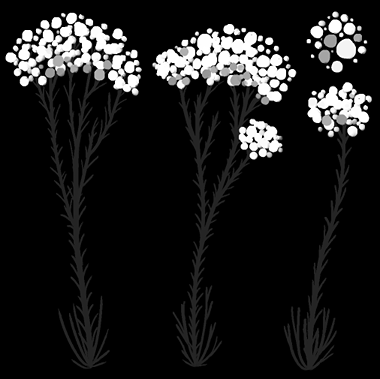
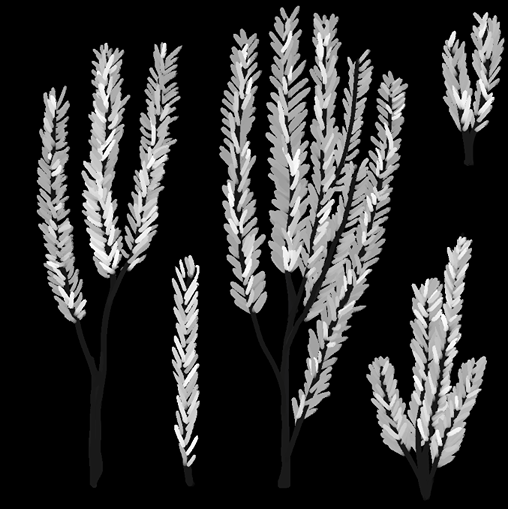
Similarly to other assets in the scene, all the plant types in the scene rely on one simple grayscale texture, this time made in Krita, rather than Substance Painter.
Such Grayscale texture was then used with my Color Mapper Material Function in Unreal to get a simple color pass. The same texture is also used for the opacity mask of the asset.

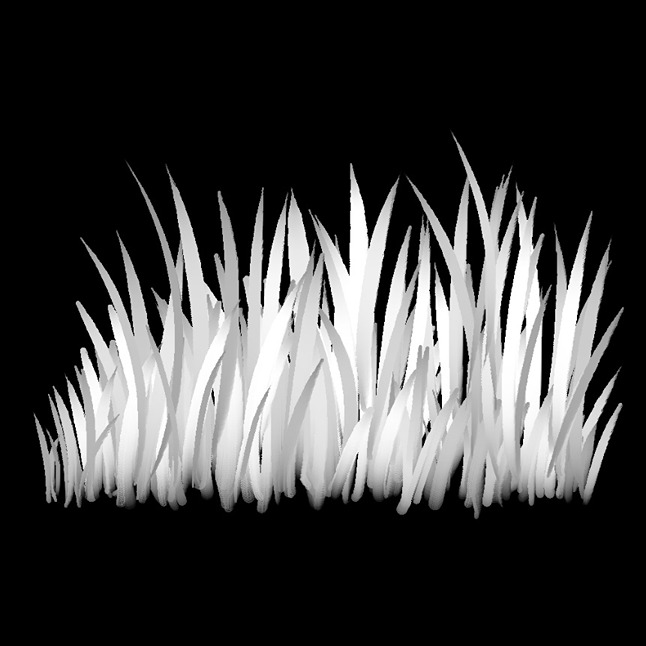
Note: The top-left image is the texture for the fronds of the pine. In this specific case I didn’t hand paint it, but rather I created the asset in Substance Designer, mostly using a radial node and a tile sampler node to distribute the needles.
In the case of the grass assets, I also made sure each blade would have a slightly different luminosity, so that I could use that difference to have a better sense of depth only with colors and distract from the fact that they are only old-school clumps of planes, not exactly the latest tech.
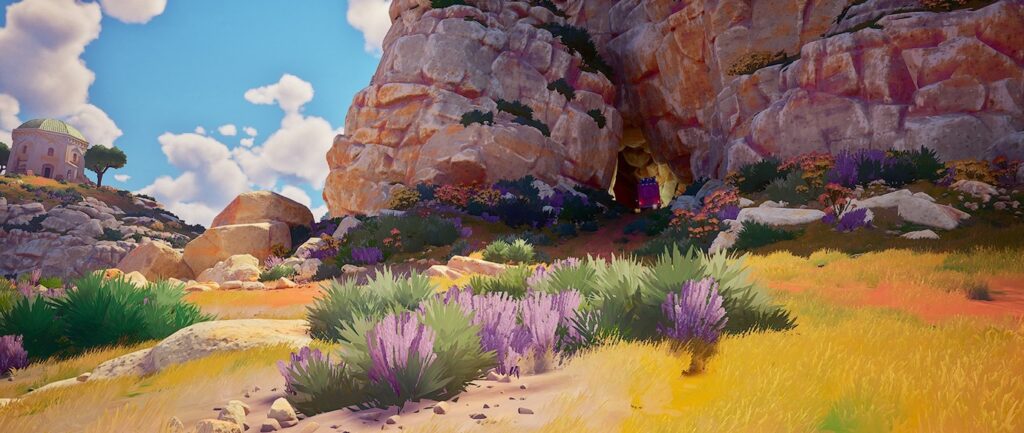
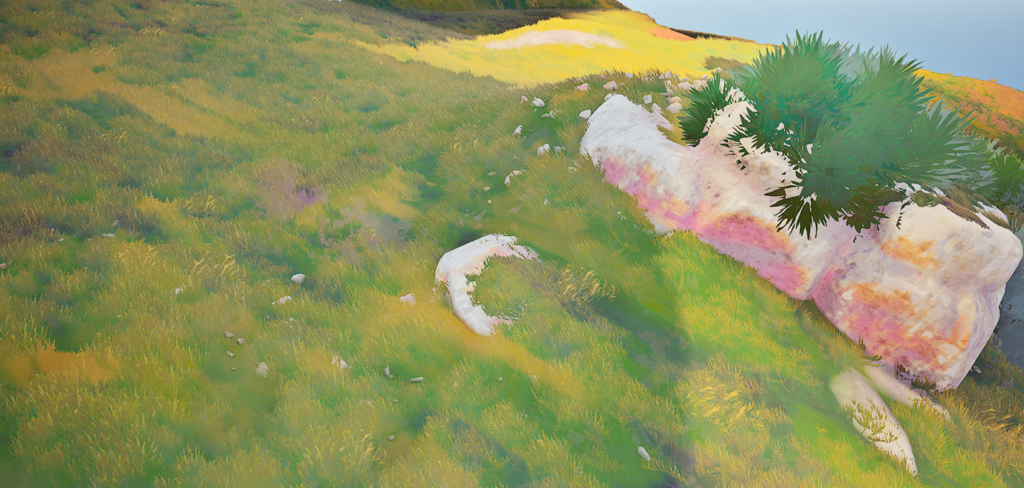
When it comes to the color of the grass, I made a shader that masks out the bottom part of the grass cards and gradually blends in the color and specular values of the terrain shader, using a Runtime Virtual Texture Volume.
Like the grass cards, the terrain shader also uses the aforementioned tileable painterly texture and maps it to three colors in a gradient that goes from blue-green to a fairly acid yellow. These colors are transferred to the grass cards through RVT and create a cohesive painterly look.
Can you guess which grayscale texture mask I used for the color variation of the grass?
Correct! Still this one:
On a different topic, I used transfer normals in Blender to make sure the grass blades would blend nicely with the landscape.
Then, I used a Two Sided Sign node to avoid shadow artifacts.
This way, both the front and the back face of the grass planes will point upwards (matching the landscape vertex normal). Nothing fancy; it’s pretty much a common practice in modern stylized grass workflow.
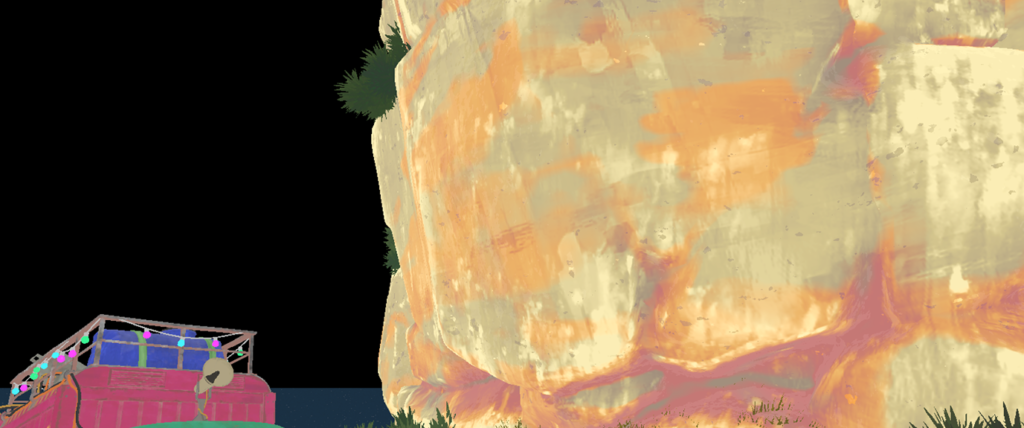
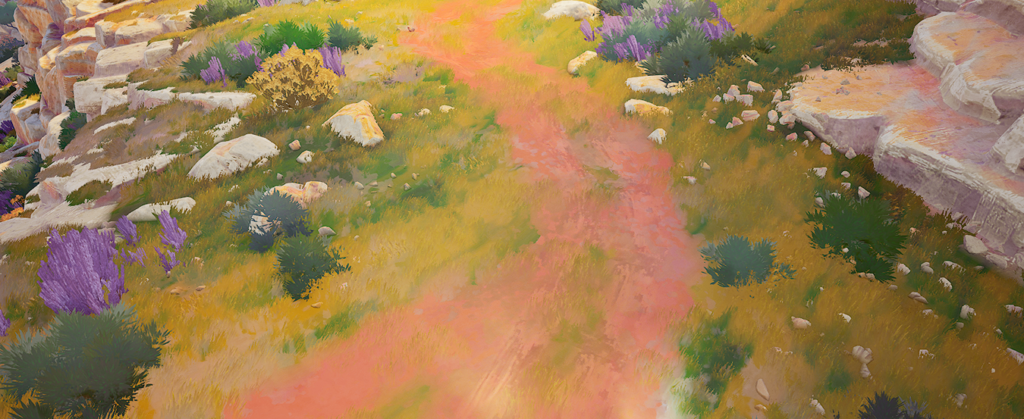
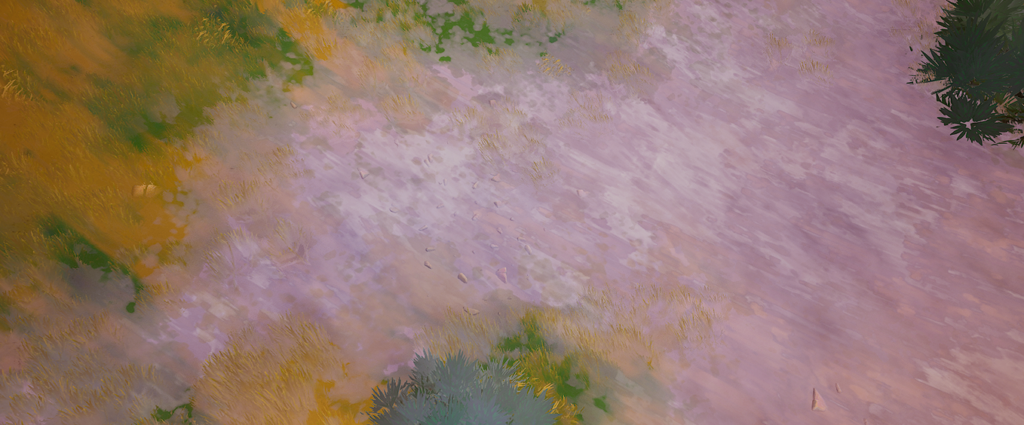
Landscape
As you might have noticed, the landscape shader is not particularly complex. There are three layers: grass, soil & sand. All three of them rely on a grayscale texture fed into my Gradient Mapper Material Function.
The blending between layers is handled through height blending, but rather than using a heightmap, I used one of my painterly textures. In this context, the Smooth Step Node was essential as it allowed me to play around with the values of the texture to find the right look.
Cinematic
The project was always meant to culminate into a cinematic experience.
I like making cinematics because they usually push me to have precise storytelling in mind, as well as a few still shots that I know will need to look good enough.
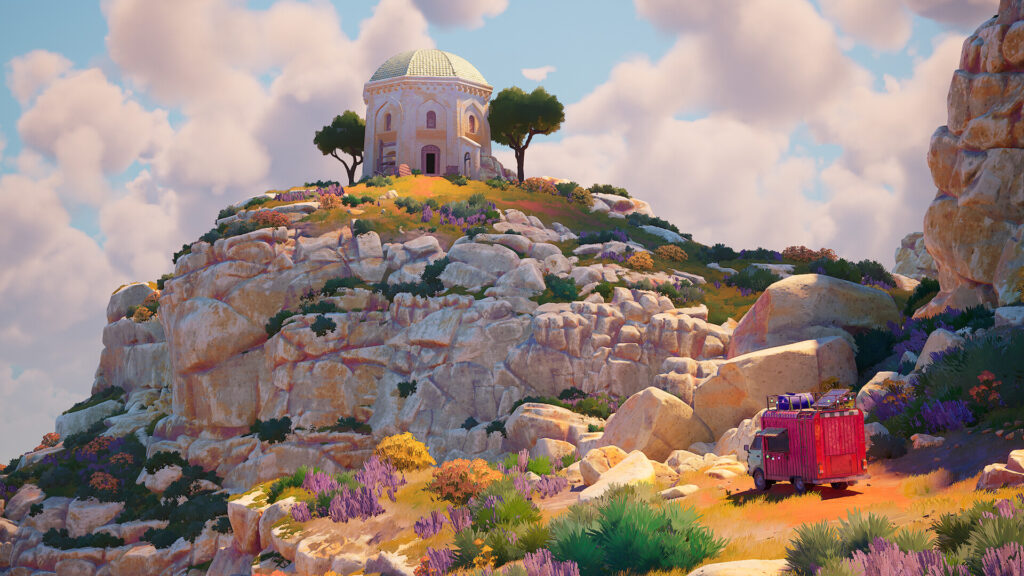
The scenery has changed quite a bit throughout the process, but it was clear from the beginning that I wanted a camera with a very tight FOV, placed far away from the scene, to make the perspective flatter and achieve a feeling closer to that of an illustration.
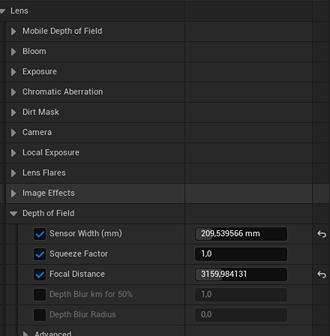
Also, as you might have noticed, several shots have a very strong depth of field, similar to a tilt shift effect. As this is not a realistic camera behaviour, but an exaggeration, it was necessary to use a non-cinematic camera, as in real life this phenomenon happens mostly on a smaller scale.
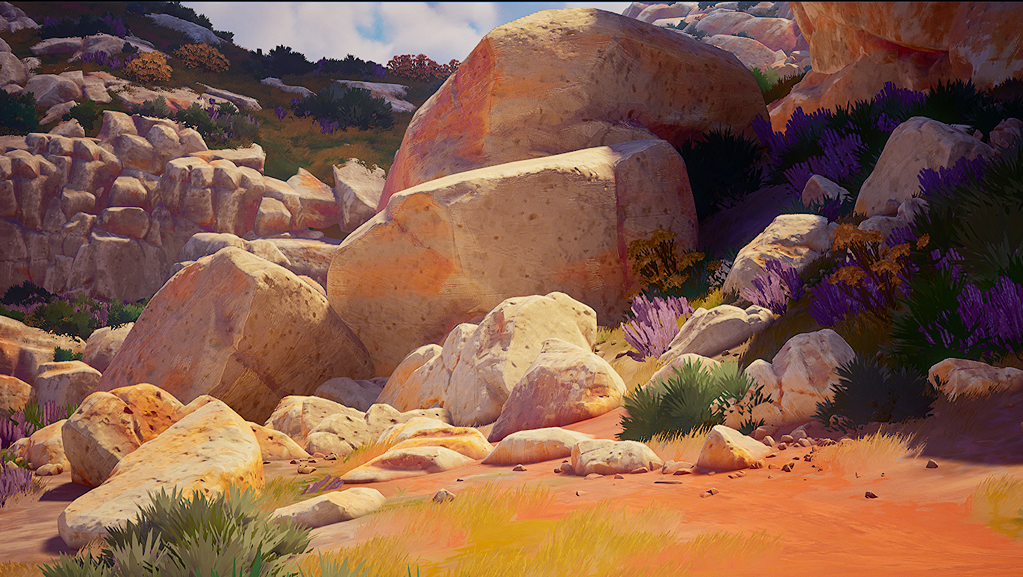
Below is an image of the Default Depth of Field values:
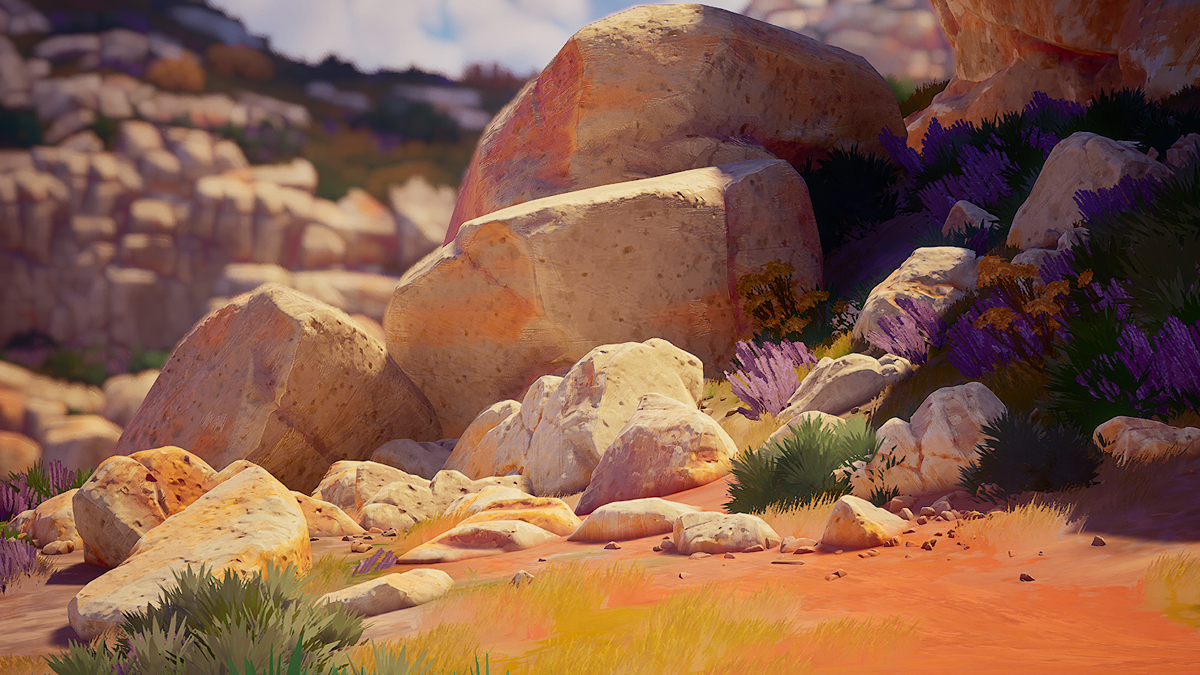
Below is an image of the Shallow Depth of Field values:
Below is an image of the lens values (non cinematic camera):
Let’s finally discuss the cinematic itself.
I usually make a sequence of shots in Unreal (Sequencer tool) and do a final pass in adobe premiere rush, a simple and free software that is perfect for what I am trying to achieve.
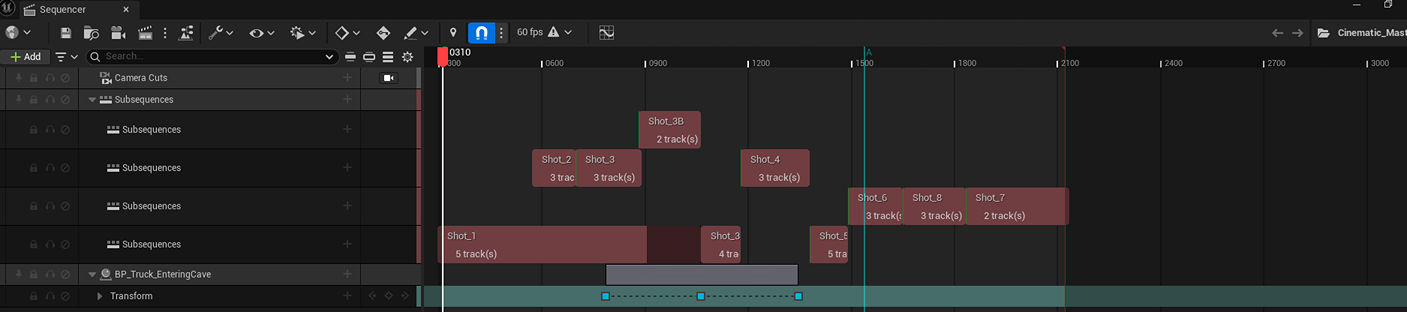
The shots are very simple:
Both the cameras and the truck are animated through the camera rig rail, which works for stuff other than cameras.
I had no idea until recently. Very useful!
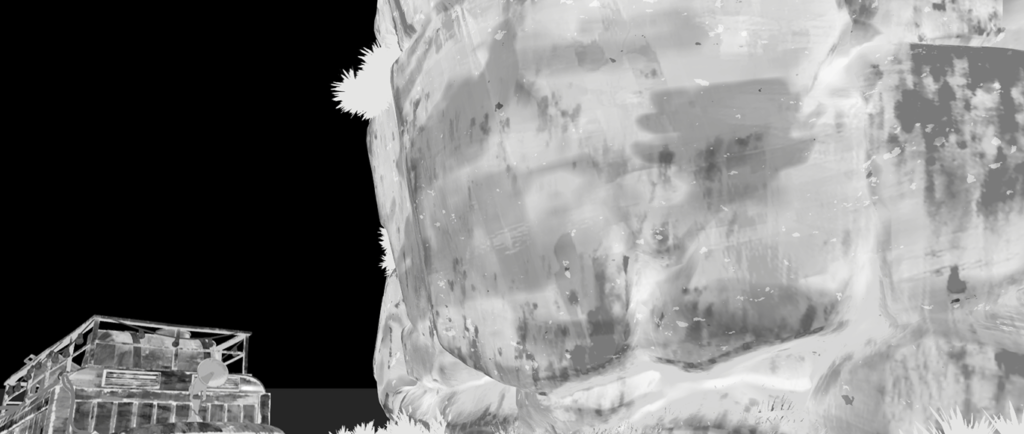
Lighting & Rendering
A feature that I found very useful is the Sharpness value in the post process settings. Raising this value to 2, really helps make the details sharp, even at low resolutions.
You can see an example below:
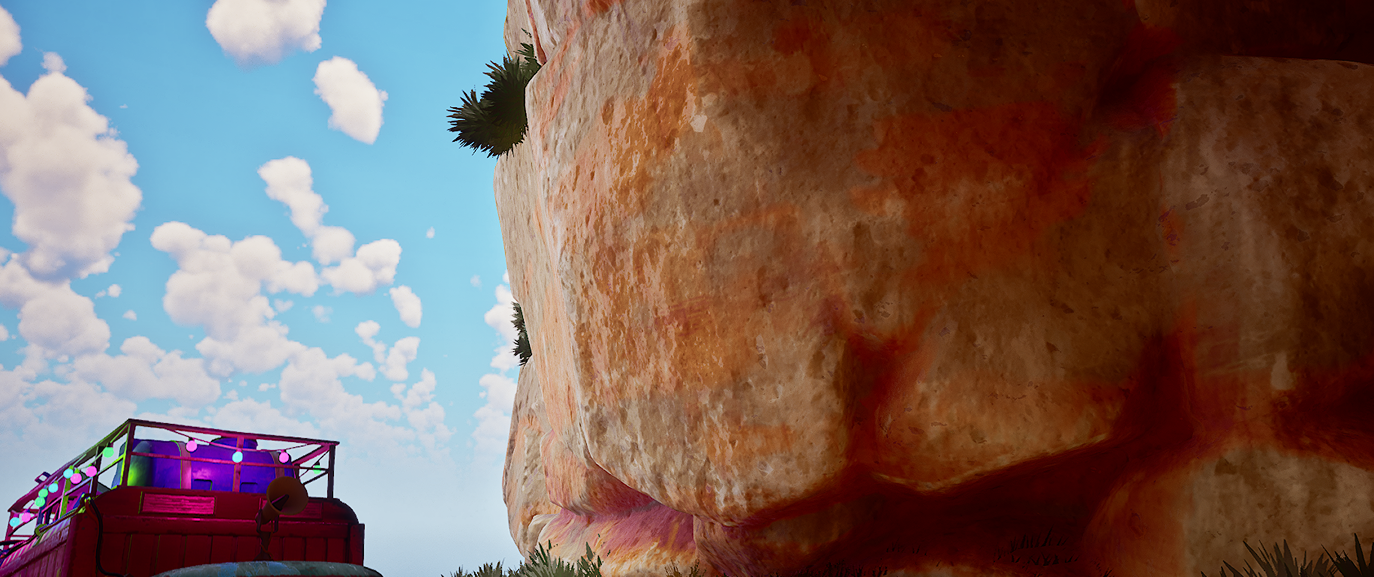
To achieve a bright and colorful lighting, I saturated the main colors in actors like directional light, skylight and atmosphere.
The default values for the skylight are a bit bleak, so I like to push the saturation a bit.
This will create a nice tonal contrast with the warm sunlit areas.
To improve the lighting further, I added a special material function to the directional light to fake cloud shadows. Aside from a generic perlin noise, I added a distance-based gradient that makes the far areas of the landscape appear darker.
This helps keep the focus on the mid range, where the action is happening.
Conclusion
During the production of this environment, I learnt the importance of planning. Breaking down my environment into tasks that I can quantify helps tremendously with choice paralysis.
It is also okay to think big and have lots of ideas, especially in the first stages of the project.
What matters is being aware that you will have to cut some content towards the end, as it is ultimately more important to focus on quality over quantity.
There will be more projects in the future and you will be able to achieve better and better results each time.
Happy world-building!
Read more articles
You might also like these articles.