
Introduction
Hi, my name is Roman Panteleev. I'm 17 years old and I’ve been an Artist for 2 years now.
During this time I have tried many different directions of graphics, I found that creating props was my forte because I like to think through the history of an object and display it on textures.
Goals & Software
The goal of this work was to create the most photorealistic object so that it looks good in Marmoset Toolbag. During the creation of the asset, I used the following software packages:
- Blender
- Substance Painter
- Marmoset Toolbag
- Adobe Photoshop
- ZBrush
- PureRef
Preparation
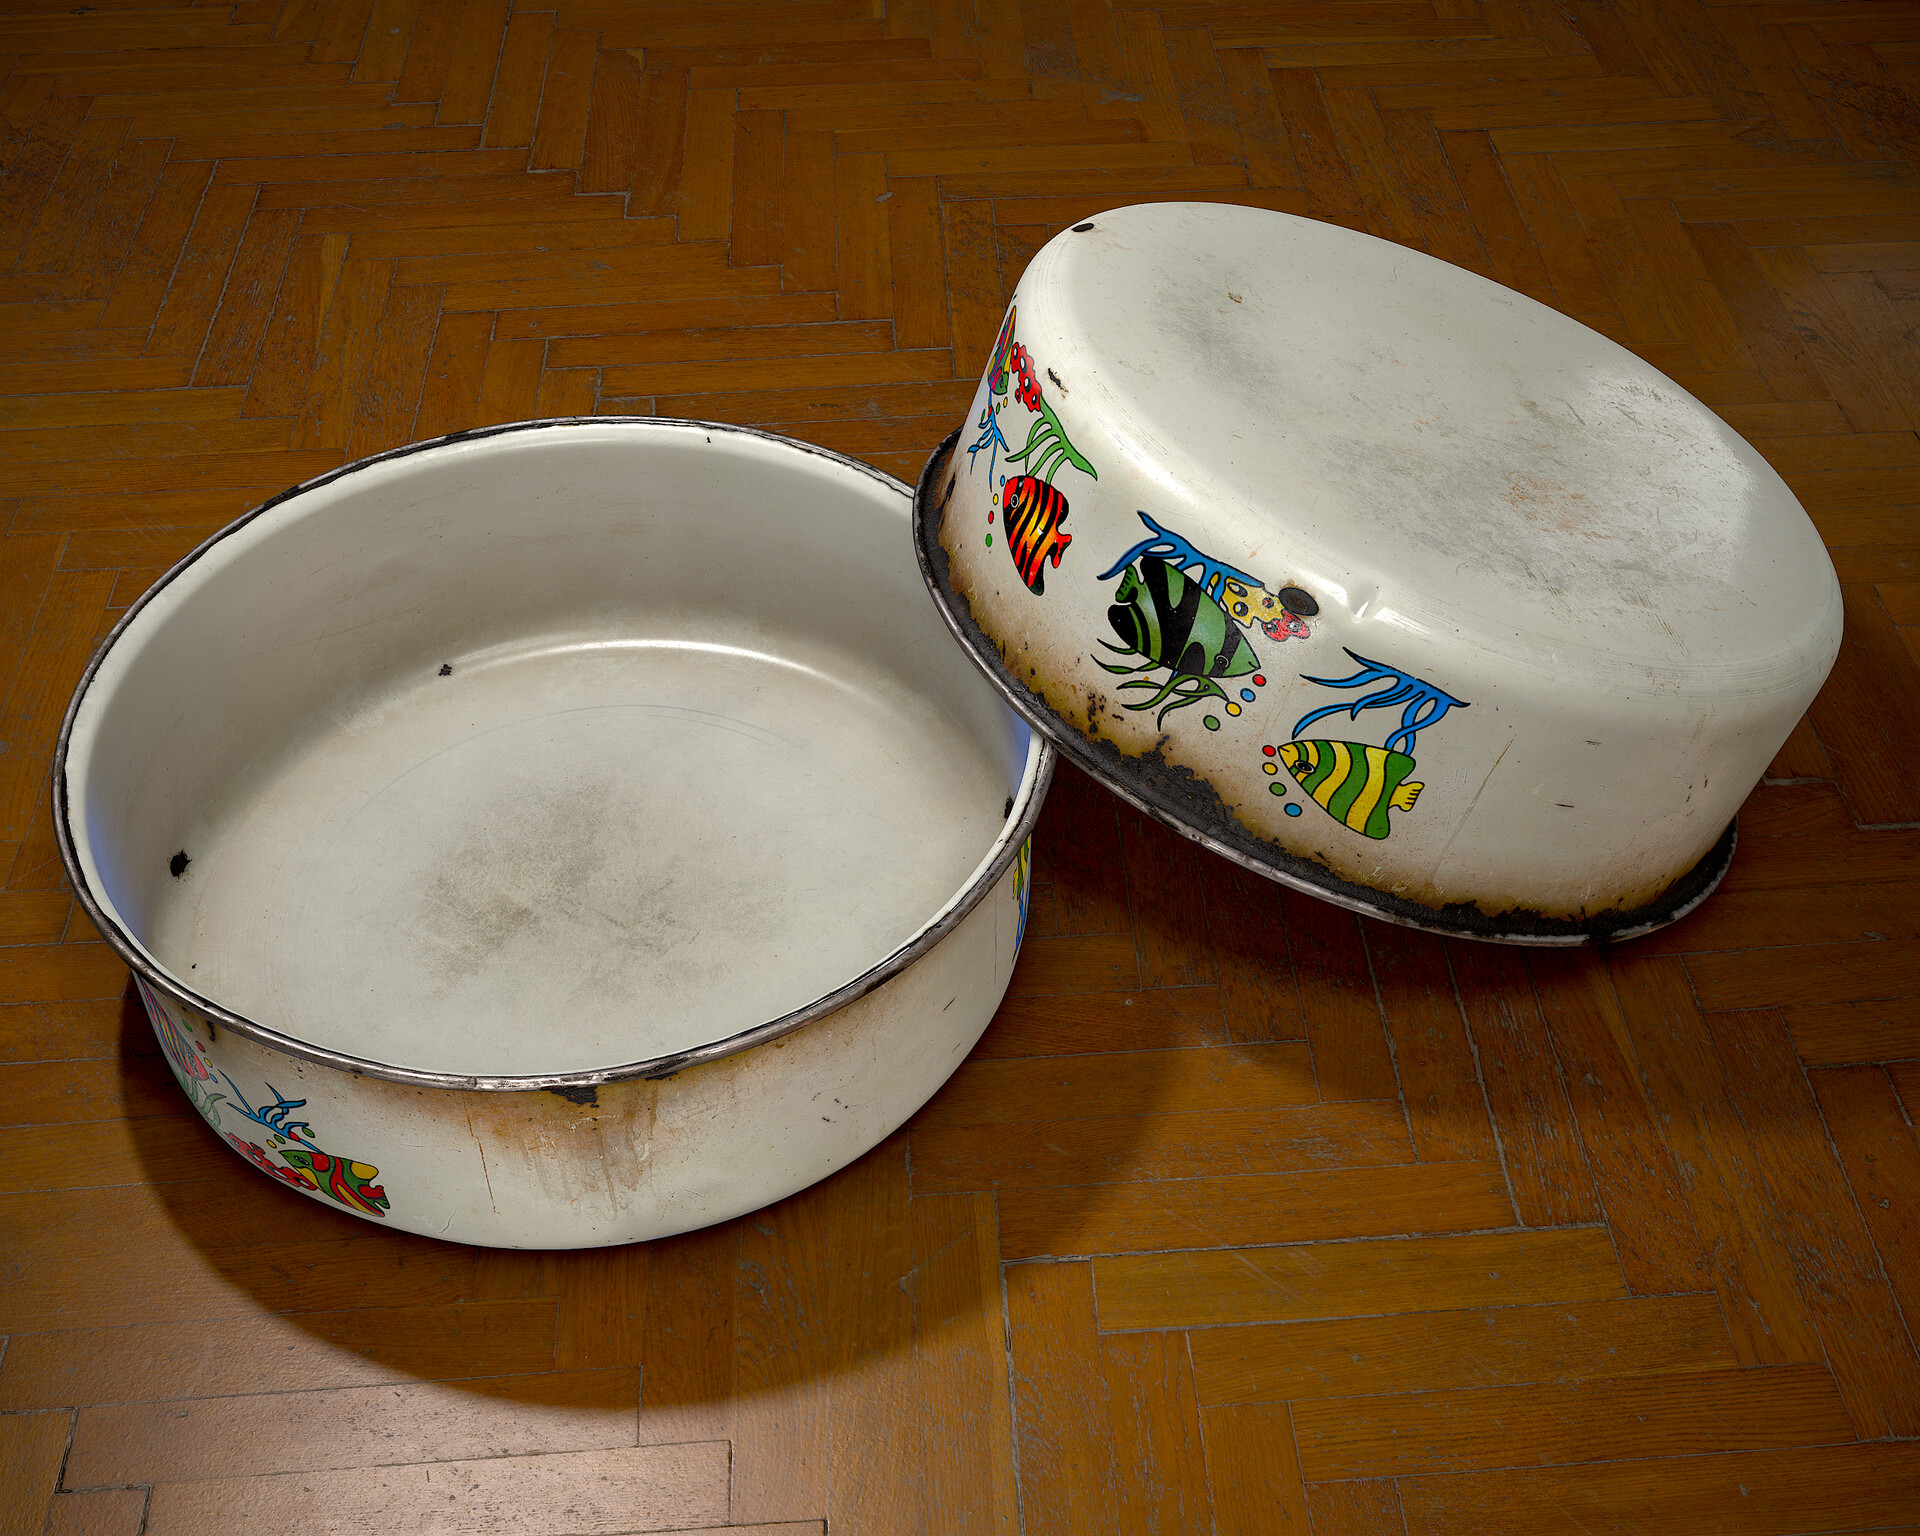
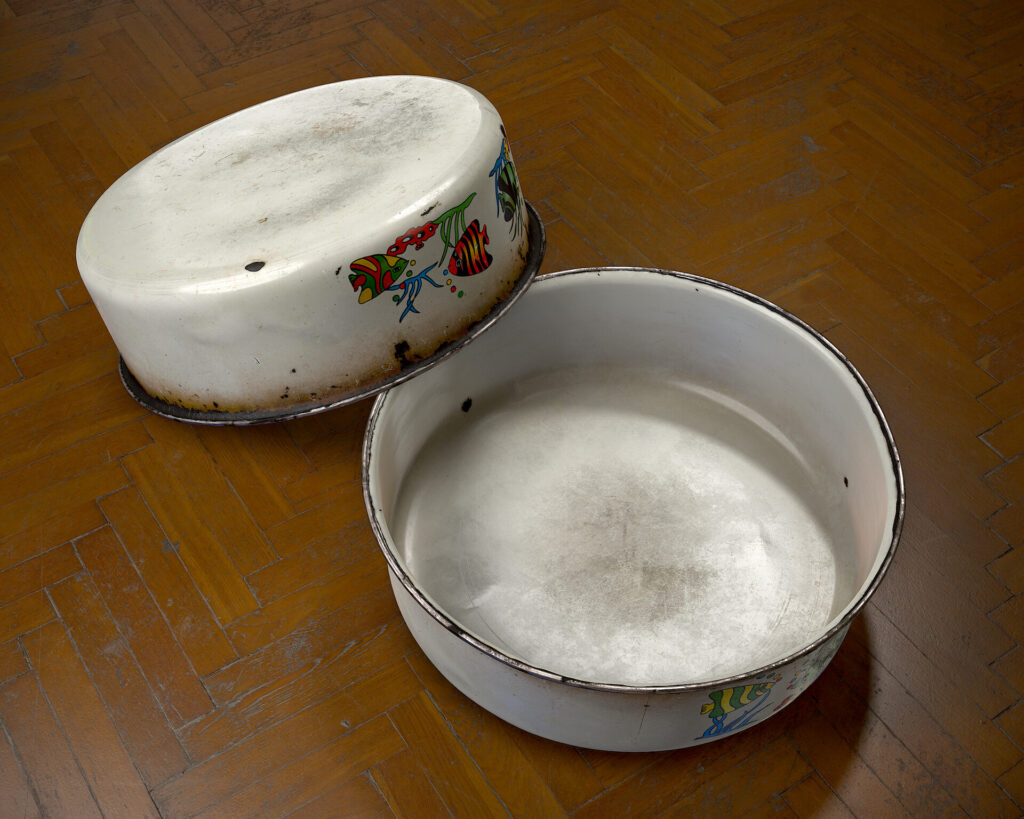
I chose a bowl as my asset. I found it at home, and it looks interesting to me. I usually look for references on Google and Pinterest, but this time I didn’t need anything but my phone camera and the bowl itself.
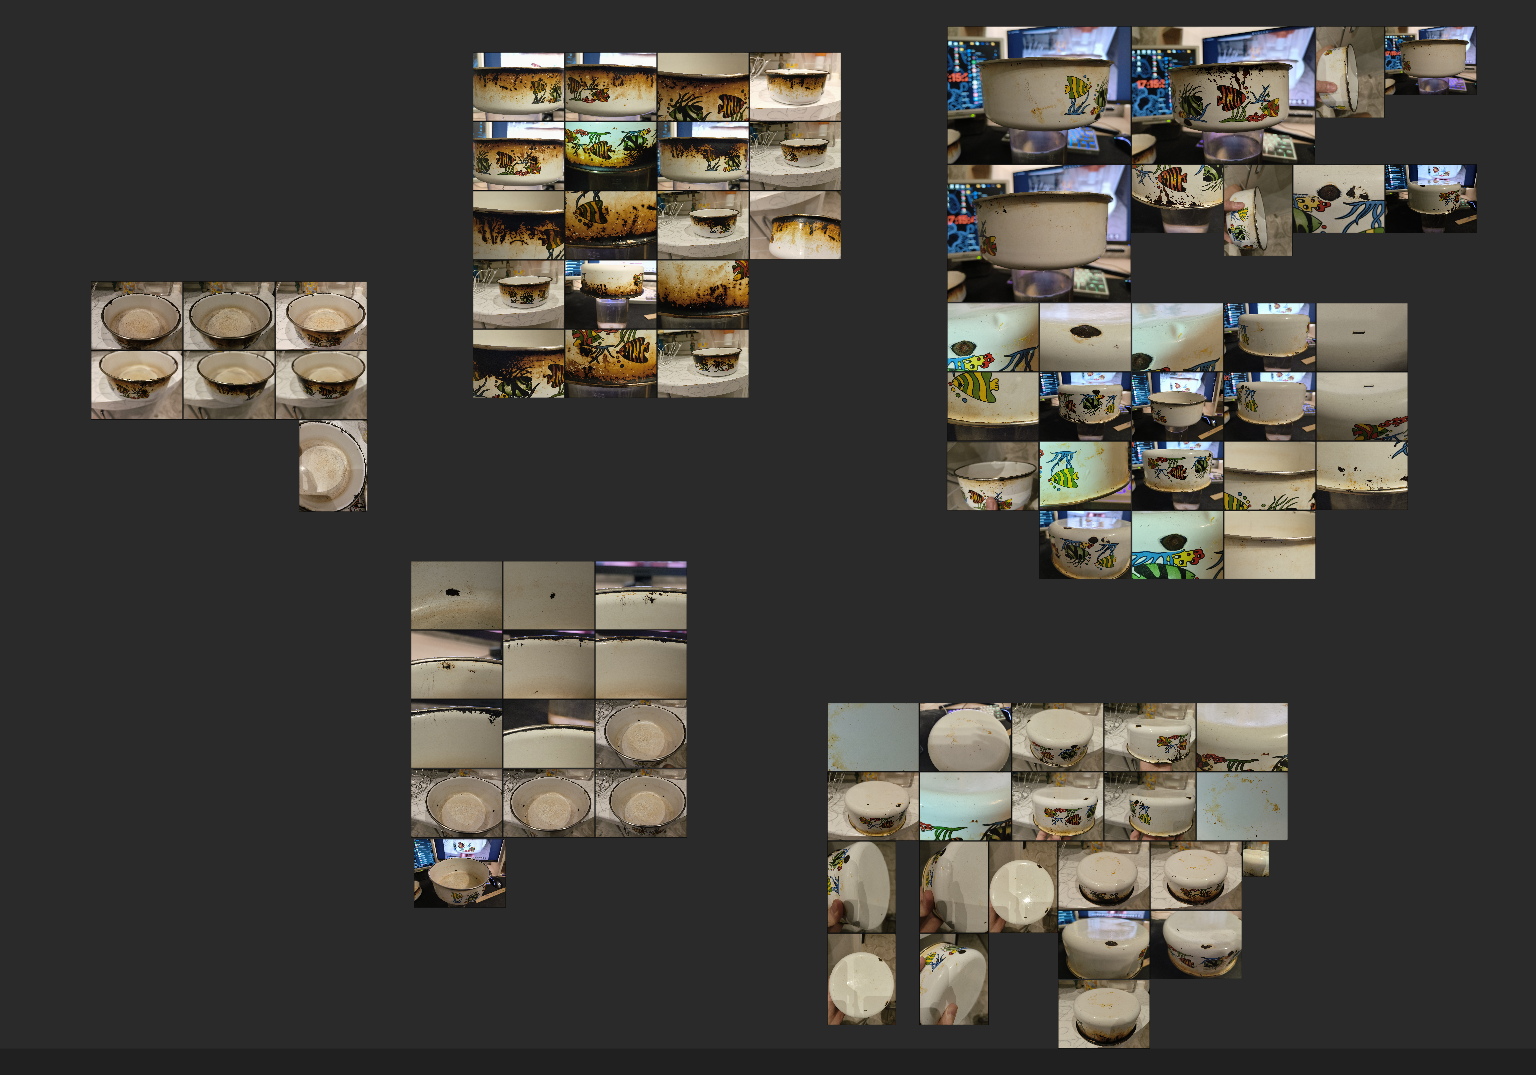
A good reference is very important because the quality of the textures depends on it. If we’re talking about references from the Internet, you should choose a few references as the basis, and use the rest as an afterthought, from which you can take additional detail. It can add expressiveness.
High–poly
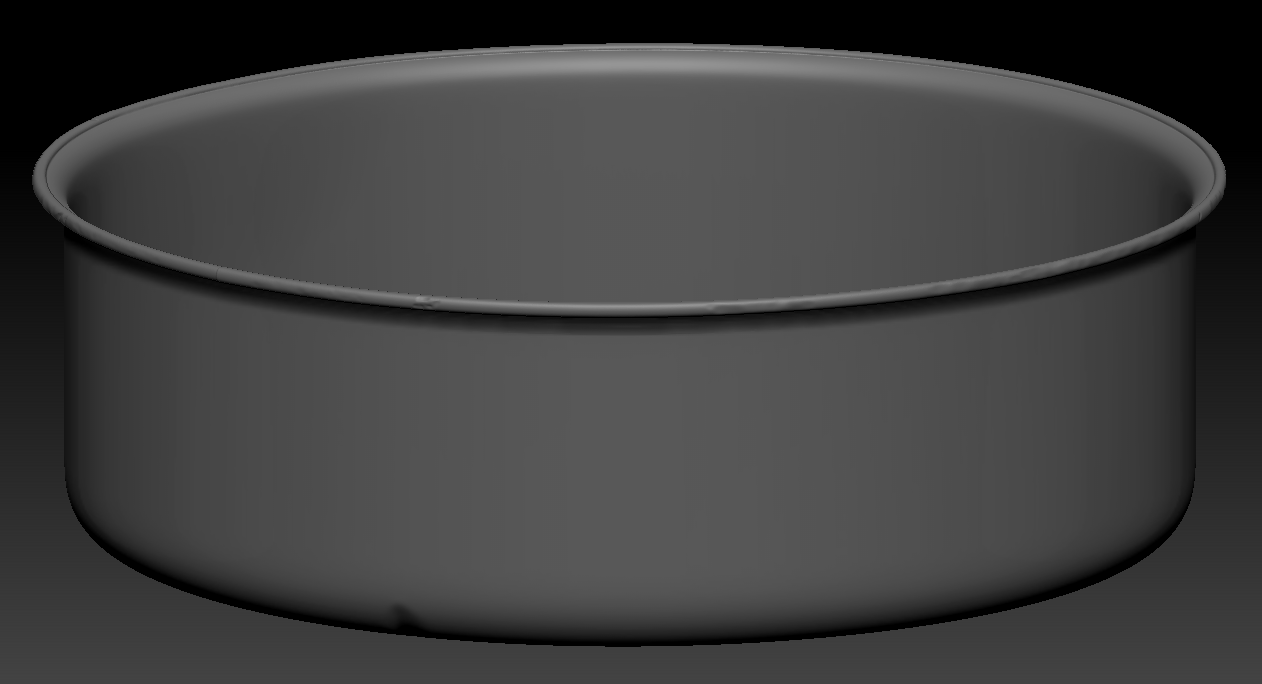
First, I made a basic shape without deformations or dents in Blender using subdivision modelling.
Next, I imported the model into ZBrush. There I added damage and dents.
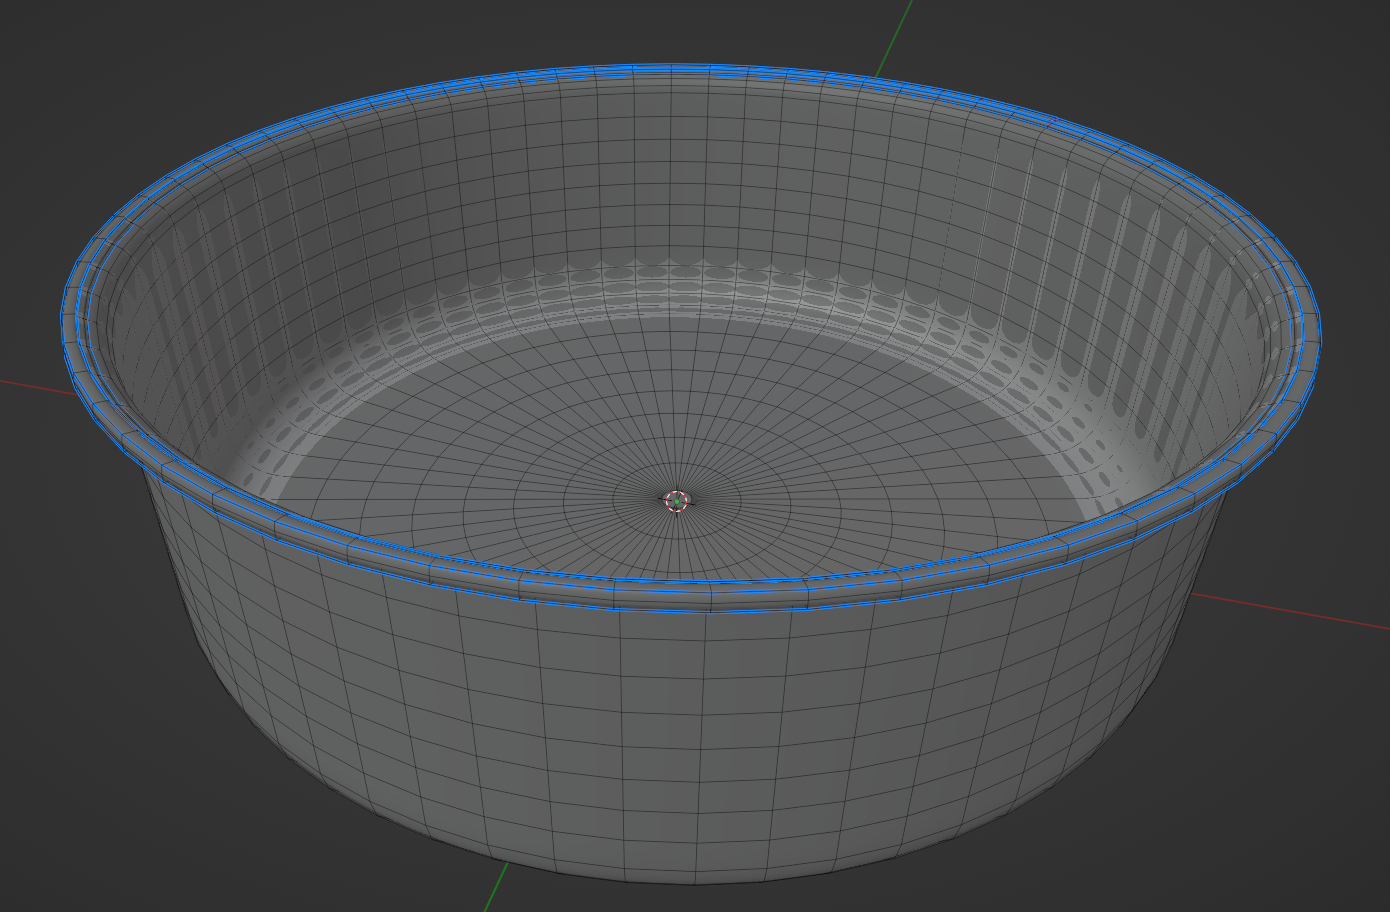
Low–poly
Low-poly is very easy to create if high-poly you created with subdivision modeling. I just removed the subdivision levels. If I was making a game-ready asset, I would do polygonal optimization, but the model was exclusively for rendering, so I left a very detailed mesh.
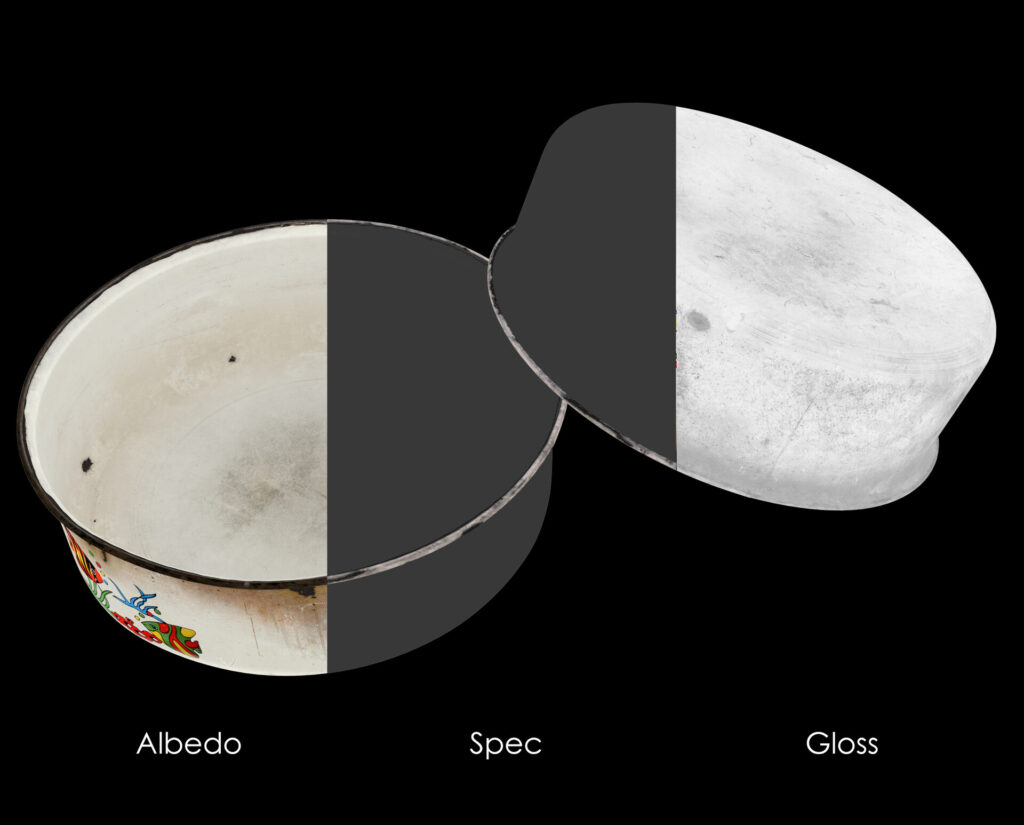
Bakes
I always baked all the cards in Marmoset Toolbag, it has the most convenient interface. It’s simple, you have to adjust the cage and in some cases edit the paint skew. Resolution and samples I always put on maximum. I advise keeping all maps and textures in Targa format since this resolution only has 8 bits. Some resolutions have 8 bits and 16 bits, which can cause problems in rendering color.
Texturing
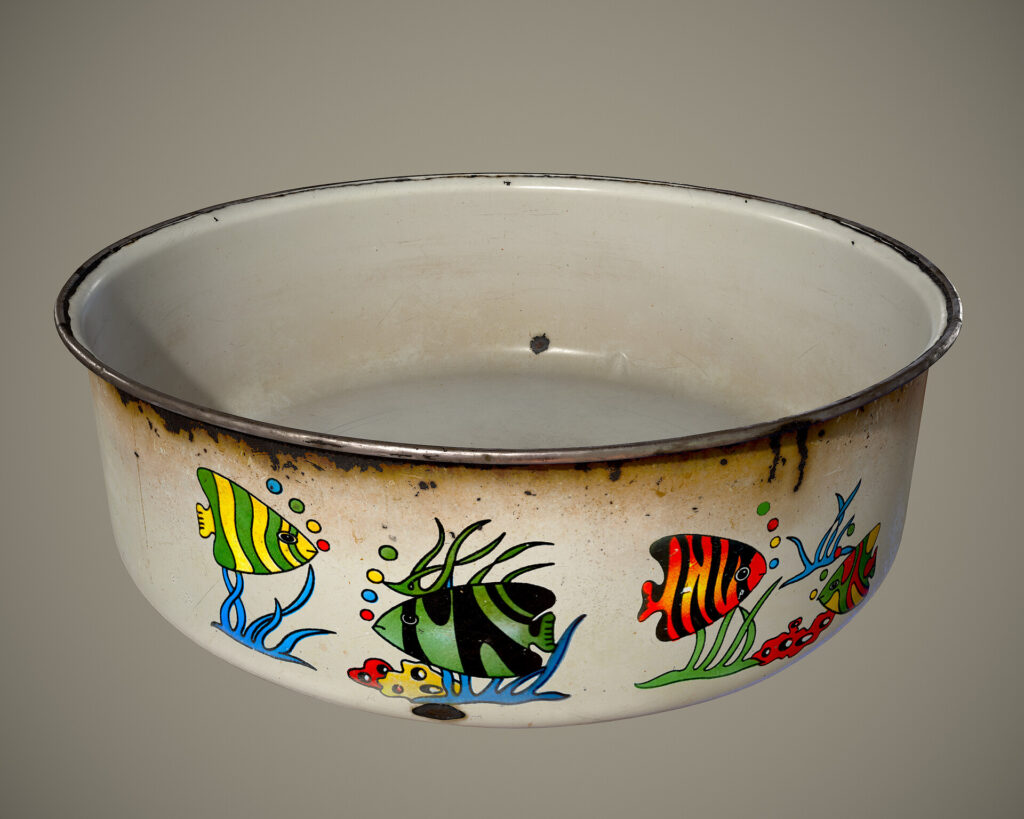
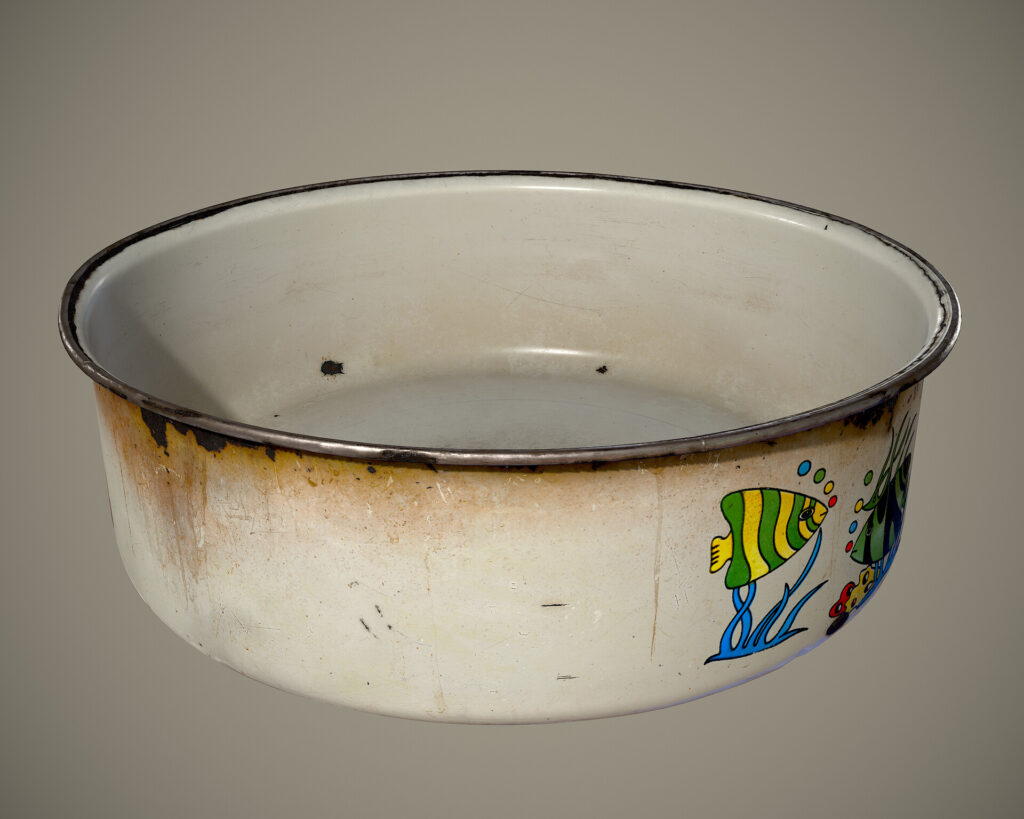
Texturing is for me the most interesting part of creating an asset. Here I can fully give myself to the process and apply all my artistic skills. It turned out to be very convenient to texture, having the object itself at hand, at any time you can examine any part of the object. Quality textures start with good base materials, if you start detailing right away, the textures will look bad.
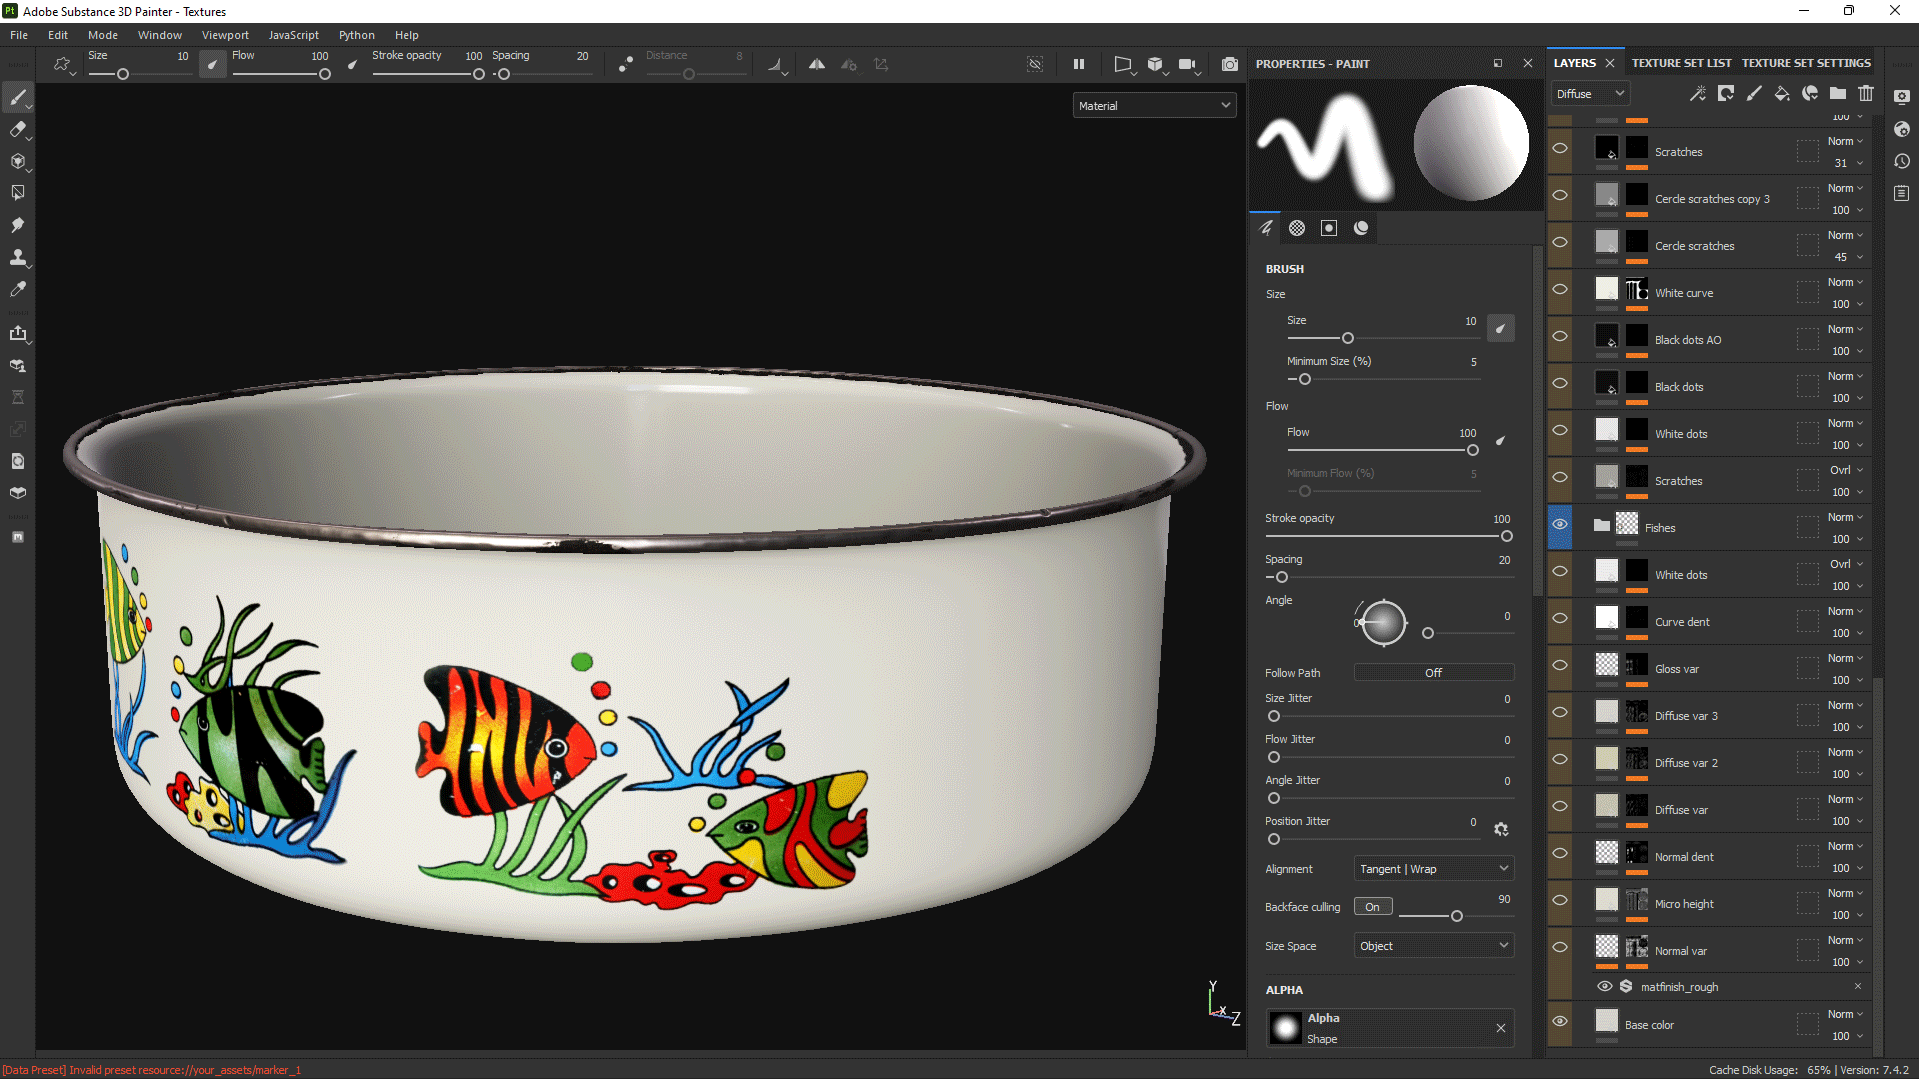
After the basic materials, you can start detailing. I added chipped enamel, scratches, dirt and burns. I added all these using generators, filters, anchor points and paint layers.
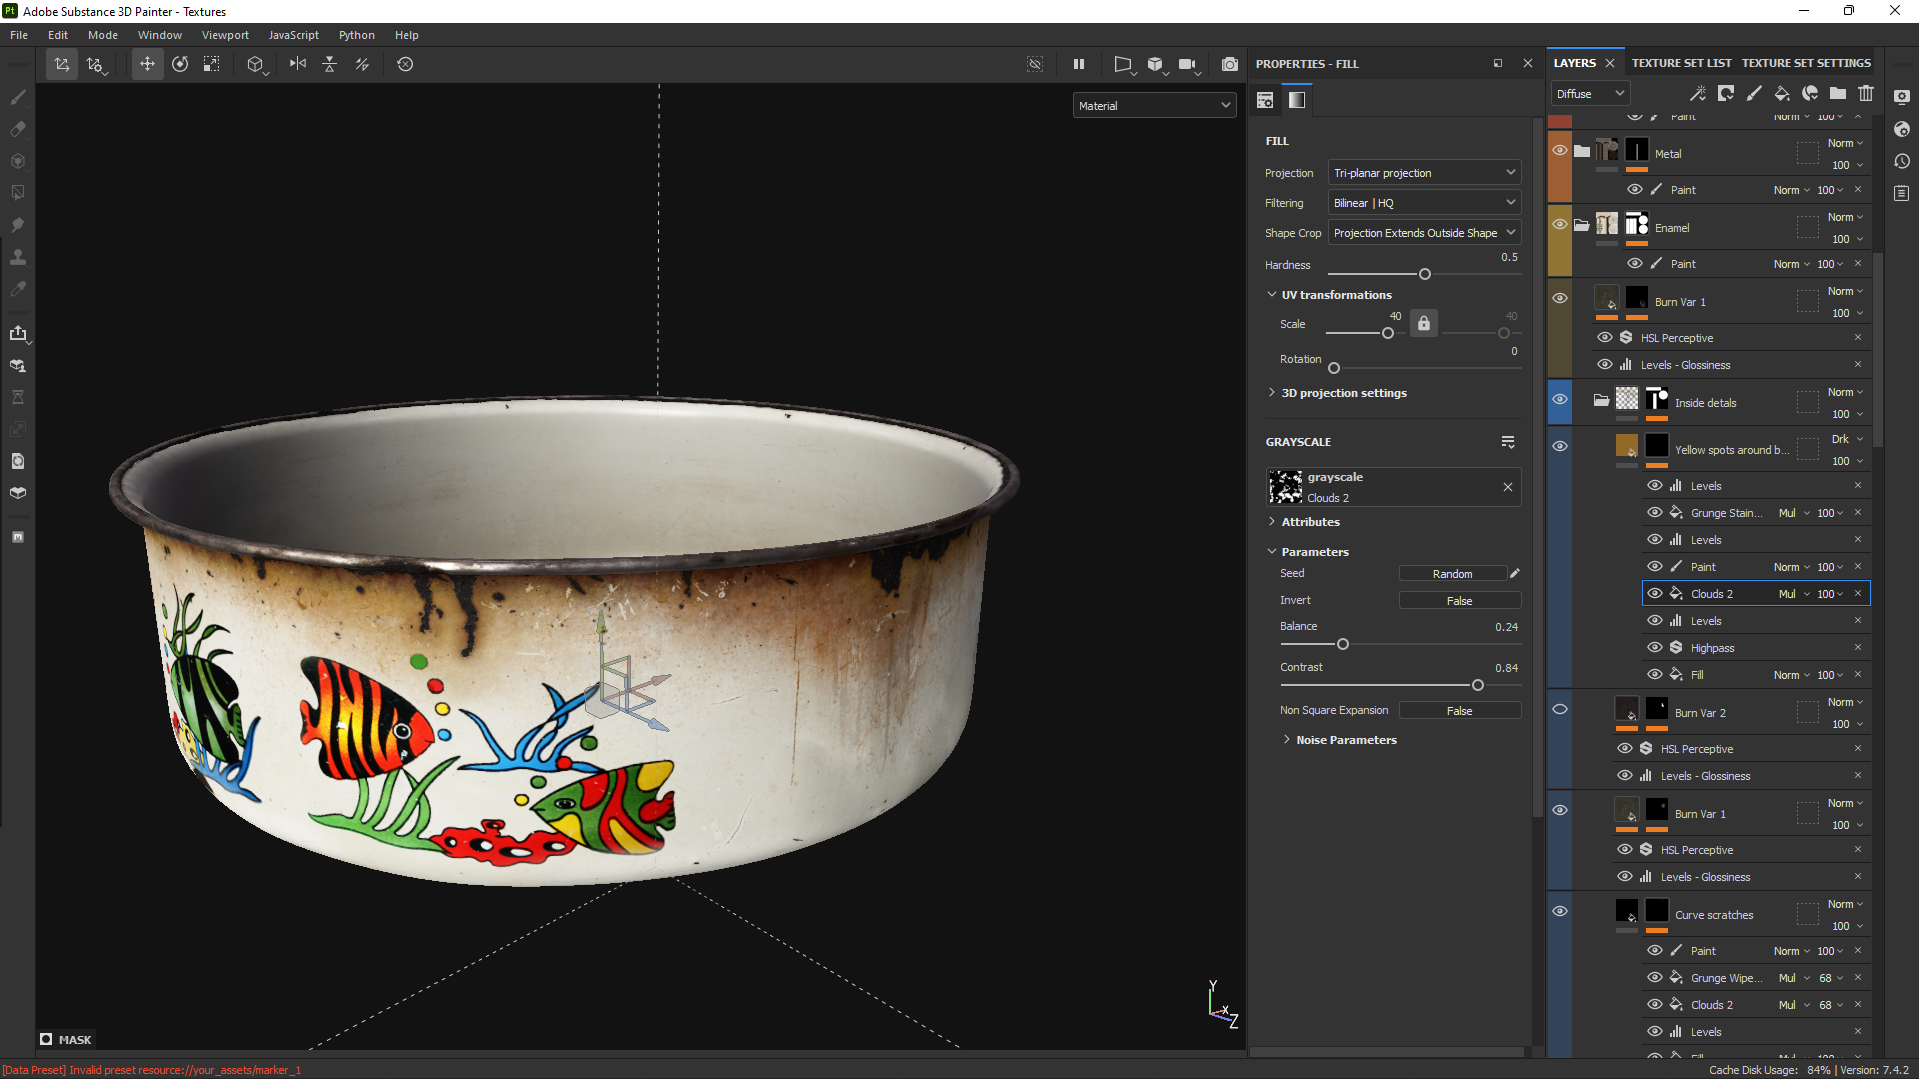
For a more realistic look, I suggest using photo scans. They are now very easy to find on the Internet, I get them from the app Quixel Megascan. They have a very handy app called Quixel Bridge.
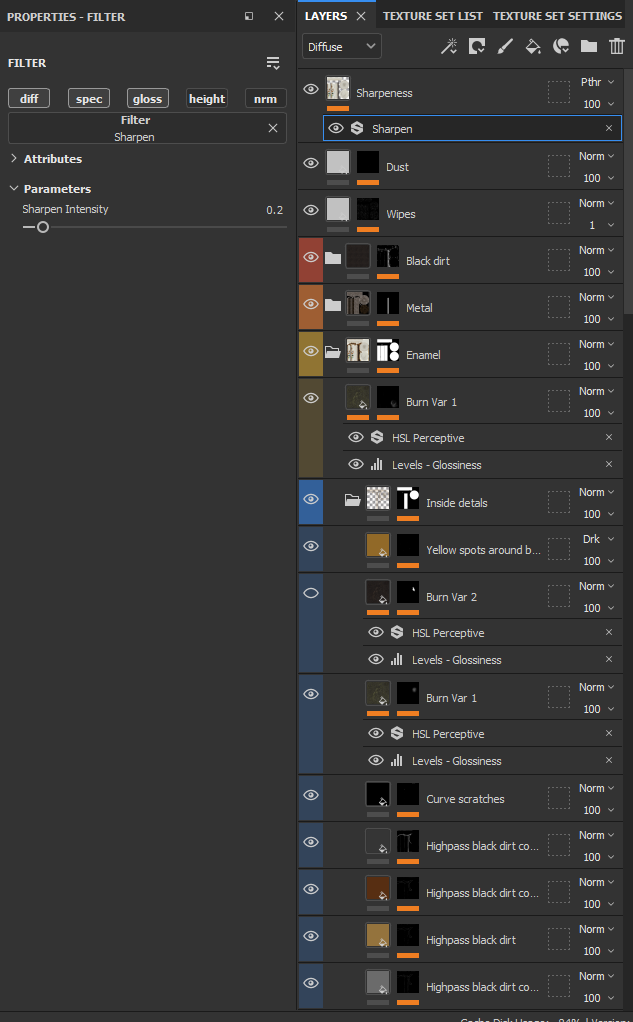
Another tip for the final part of the texture work on top of all the layers create a layer with a sharpness filter but do not make it very strong.
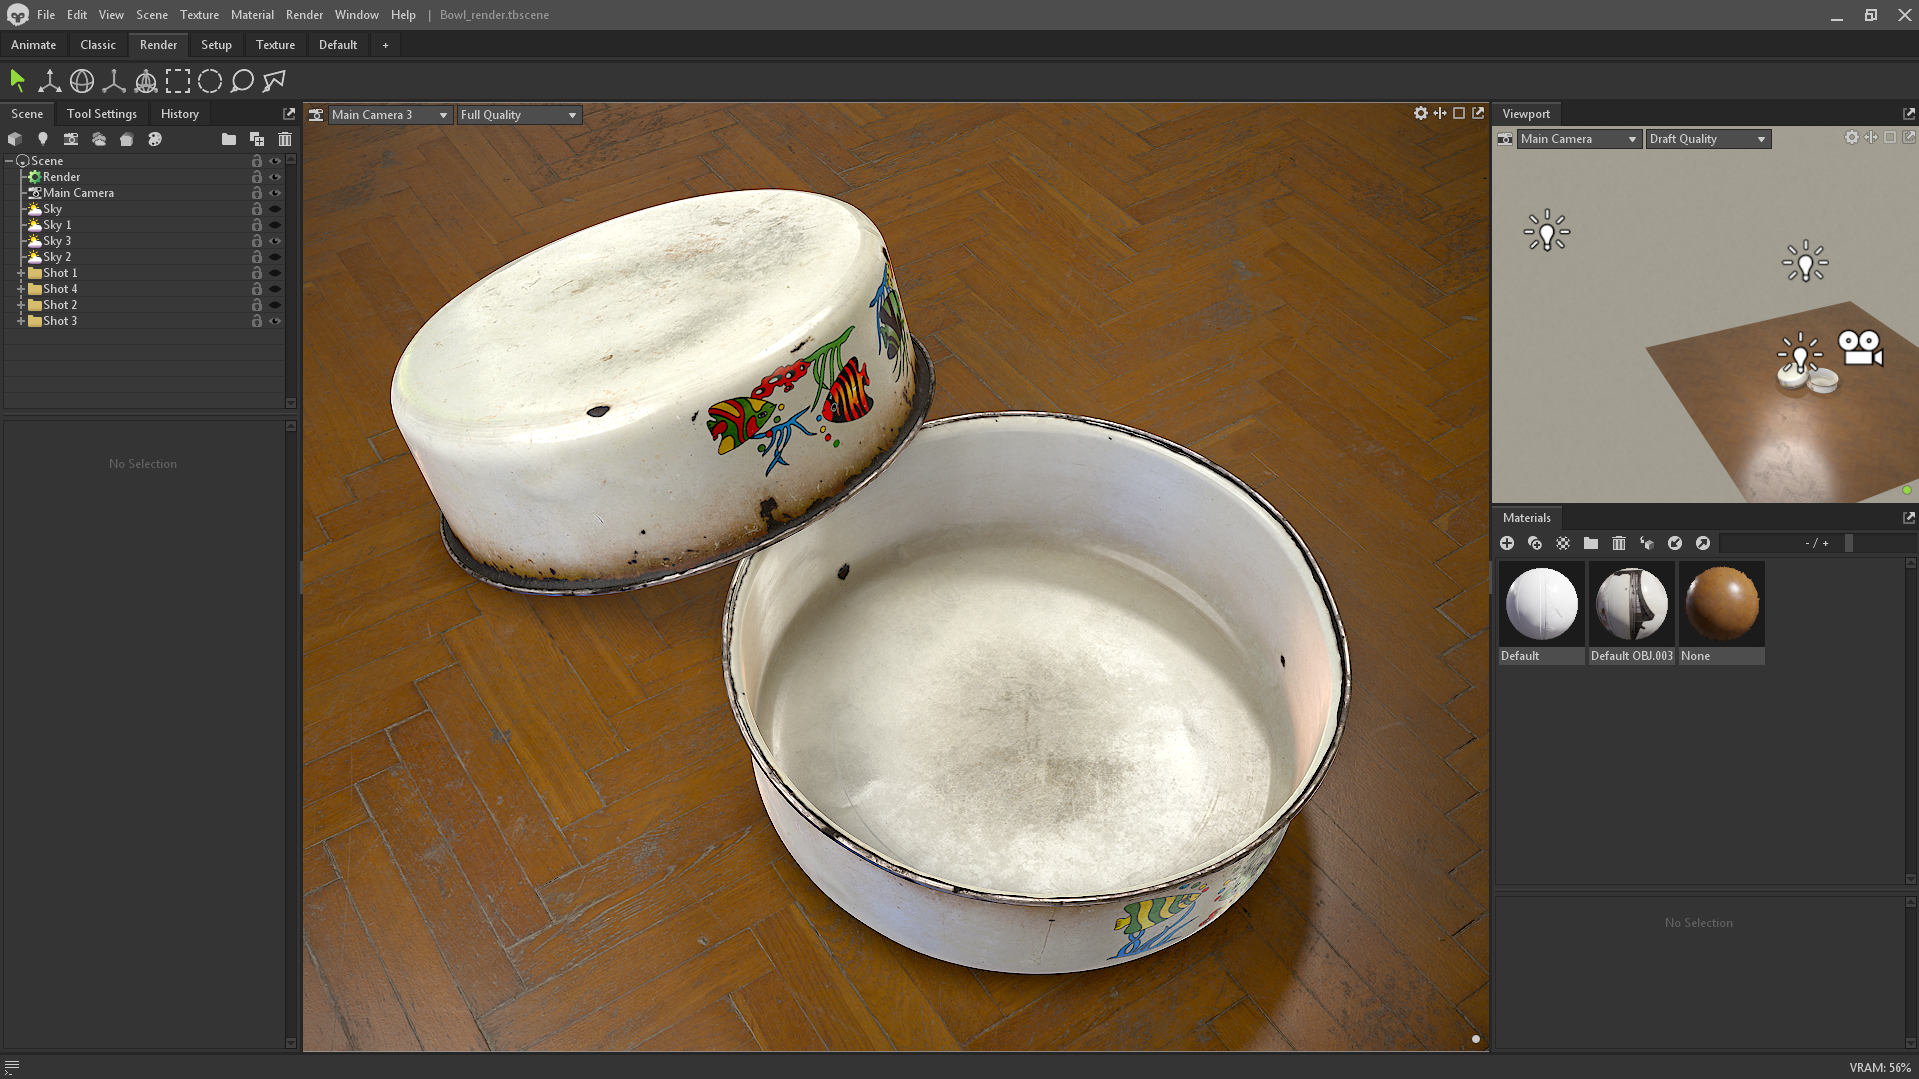
Render
This is a very important stage, because the render stage can make bad textures look better, but can also ruin the display of good textures. I prefer to use three-point lighting, but sometimes I allow myself to use a couple more lighting sources.
Conclusion
That’s all. Thank you for reading this article. Also, thank you Games Artist for asking me to write the article.
Read more articles
You might also like these articles.