Sawed-Off Shotgun

Introduction
Hi, my name is Maksym Shevchuk and I am a 3D Artist specializing in creating realistic assets for video games.
Project
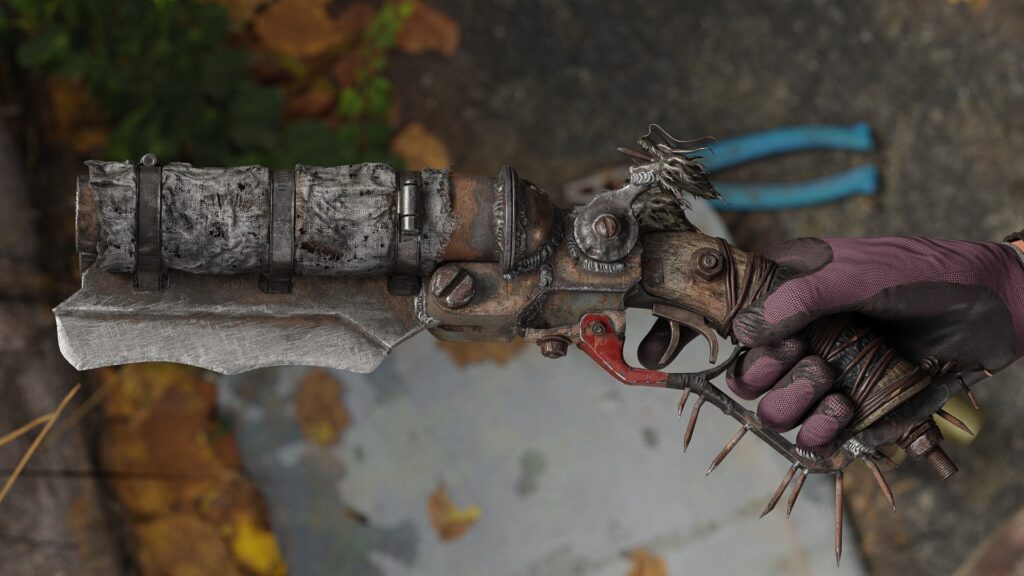
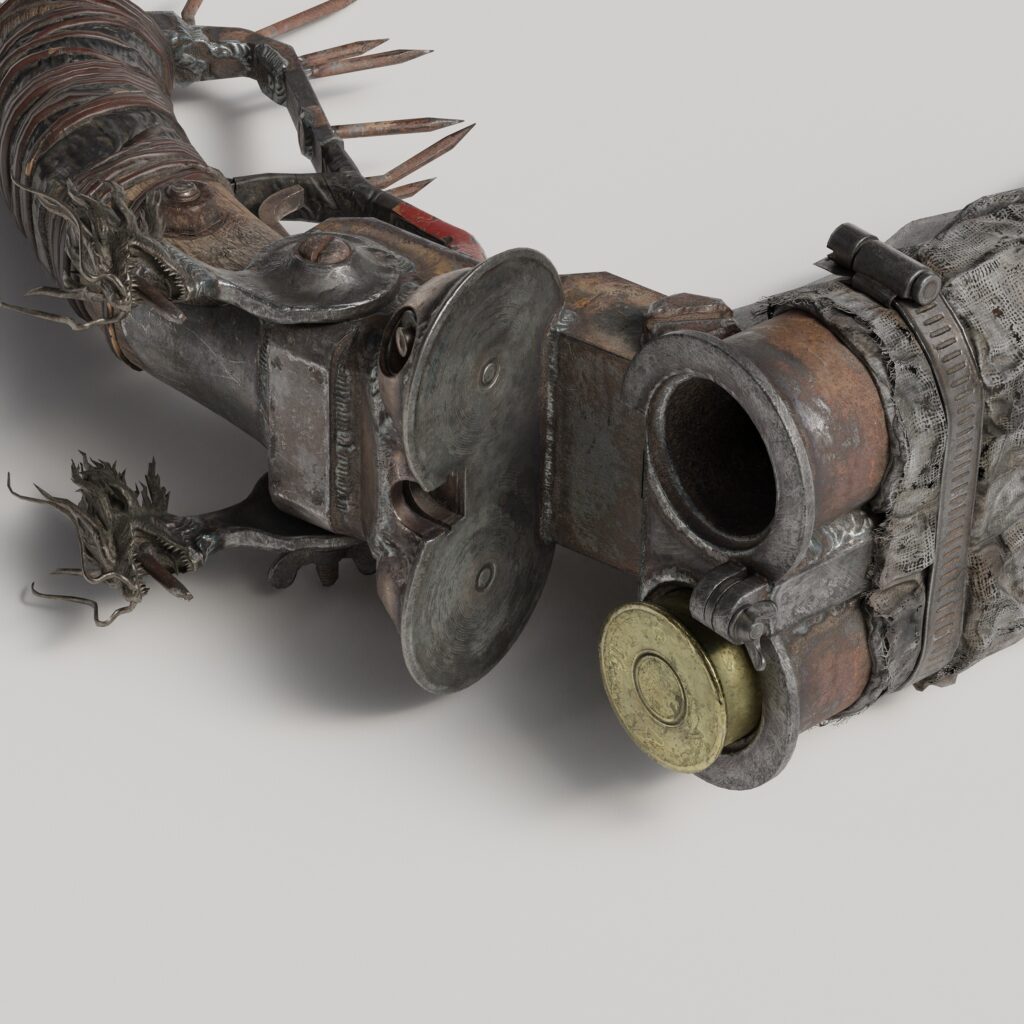
In this article, I’ll share my approach to designing and texturing the Sawed-Off Shotgun, a post-apocalyptic project that served as a fantastic opportunity to hone my skills and explore new creative methods as part of the contest.

Goals
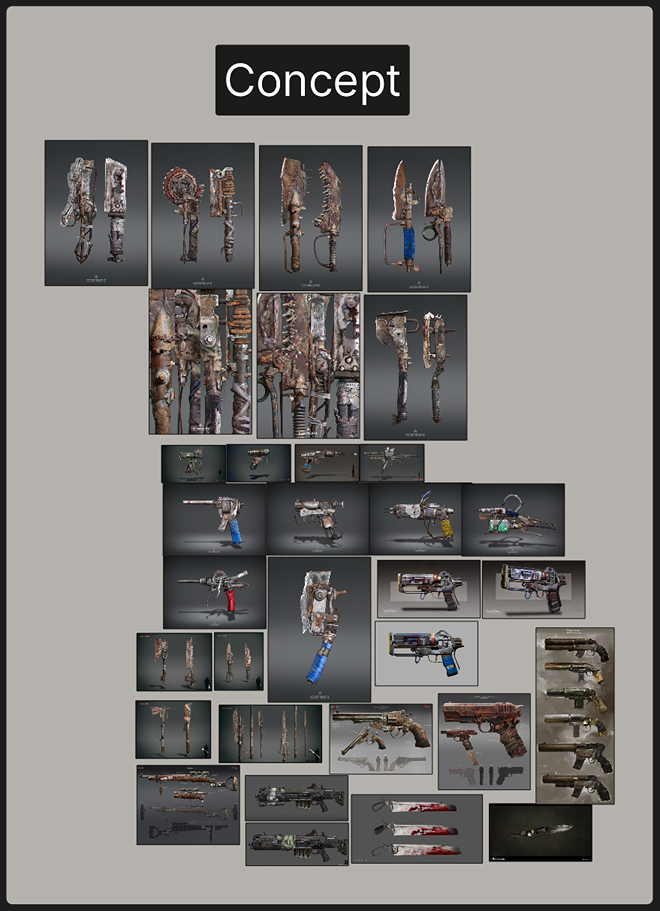
This project was part of the 3D Art Challenge organized by ARTNOVATOR Studio and the MykhailykArt community. The task was to create a unique 3D model based on a concept by Ivan Taranenko, adhering to flexible rules while maintaining high standards:
- Style: Post-apocalyptic realism.
- Textures: PBR (spec-gloss or metal-rough).
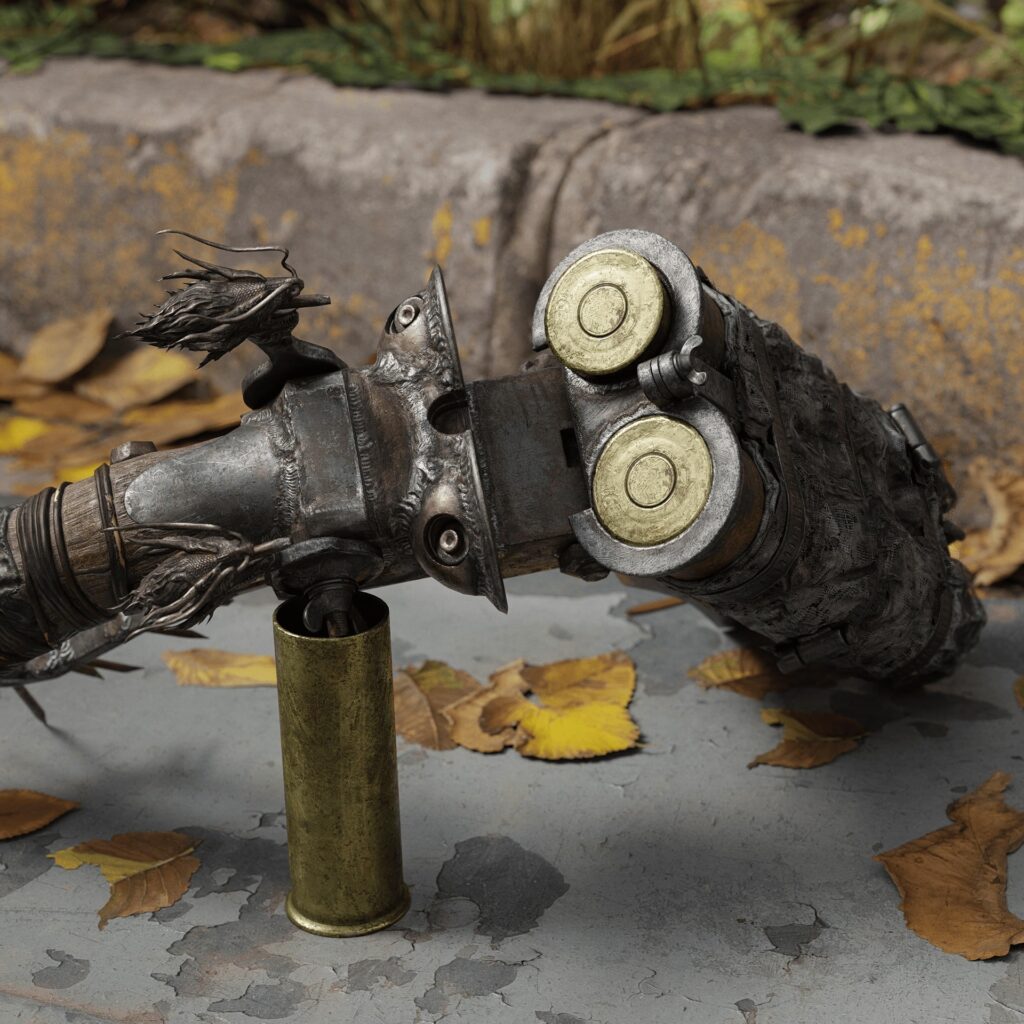
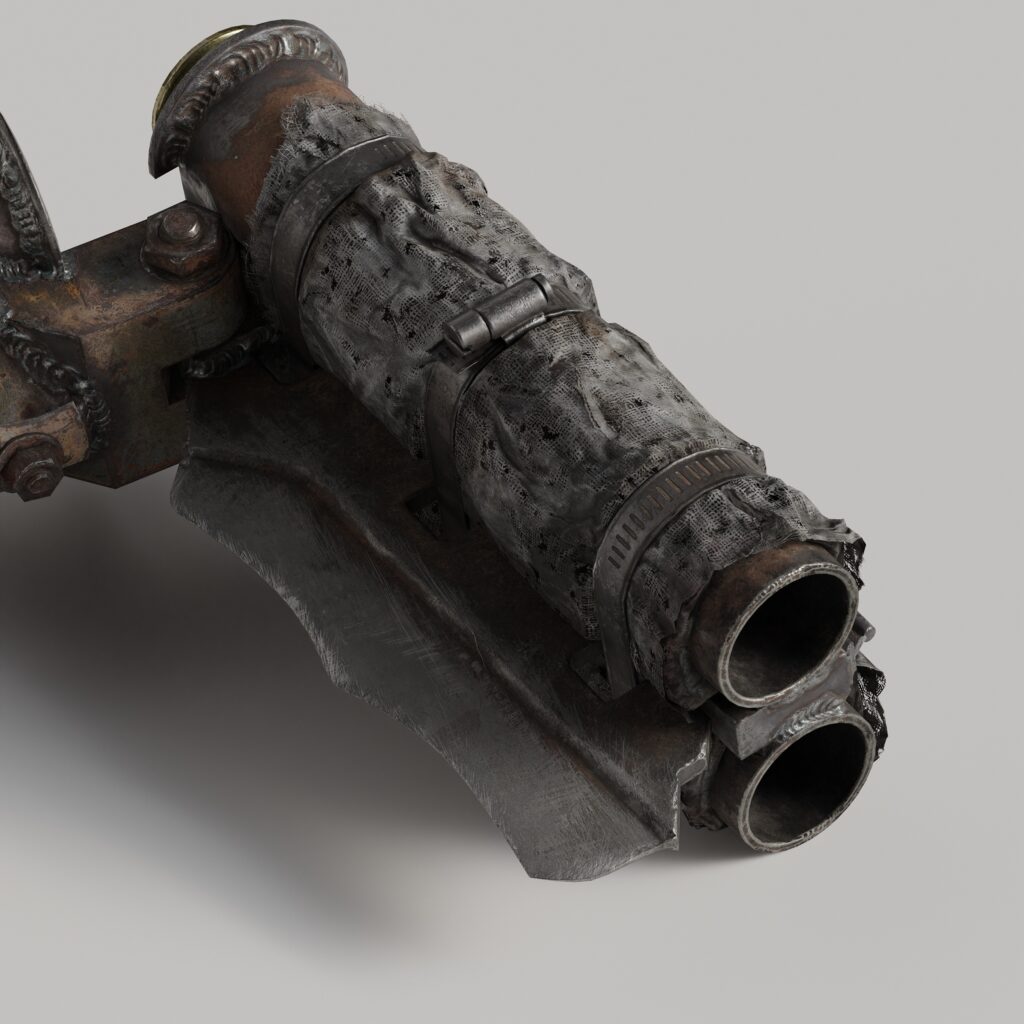
- Required materials: Wood, metal, rust, fabric.
- Polygon limit: 15,000 tris (with allowances for justified increases).
- UV mapping: Optimized for maximum texel density using trims, overlaps, and efficient use of hidden areas.
My goal was to create a model that harmonizes the rugged, makeshift aesthetic with technical precision and captures the spirit of a post-apocalyptic world.
Tools
- Blender
- Marvelous Designer
- Substance 3D Painter
- ZBrush
- RizomUV
- Marmoset Toolbag
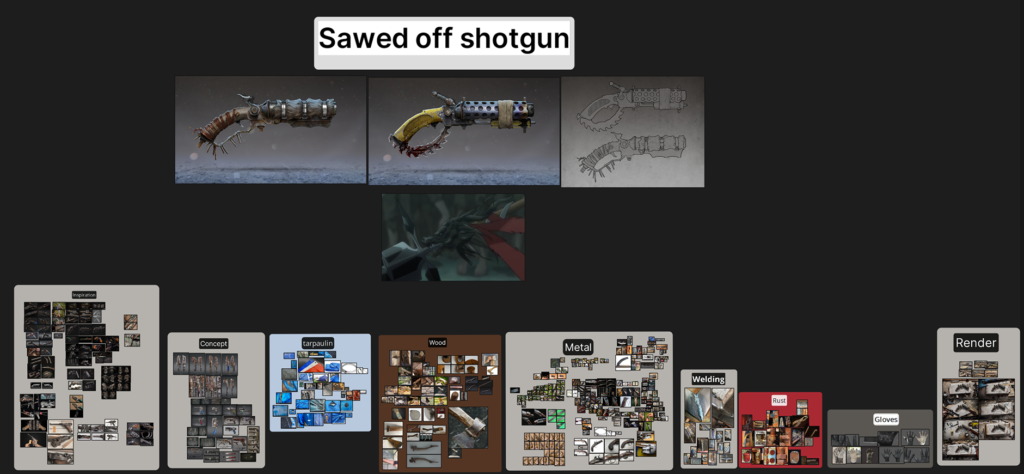
References & Inspiration
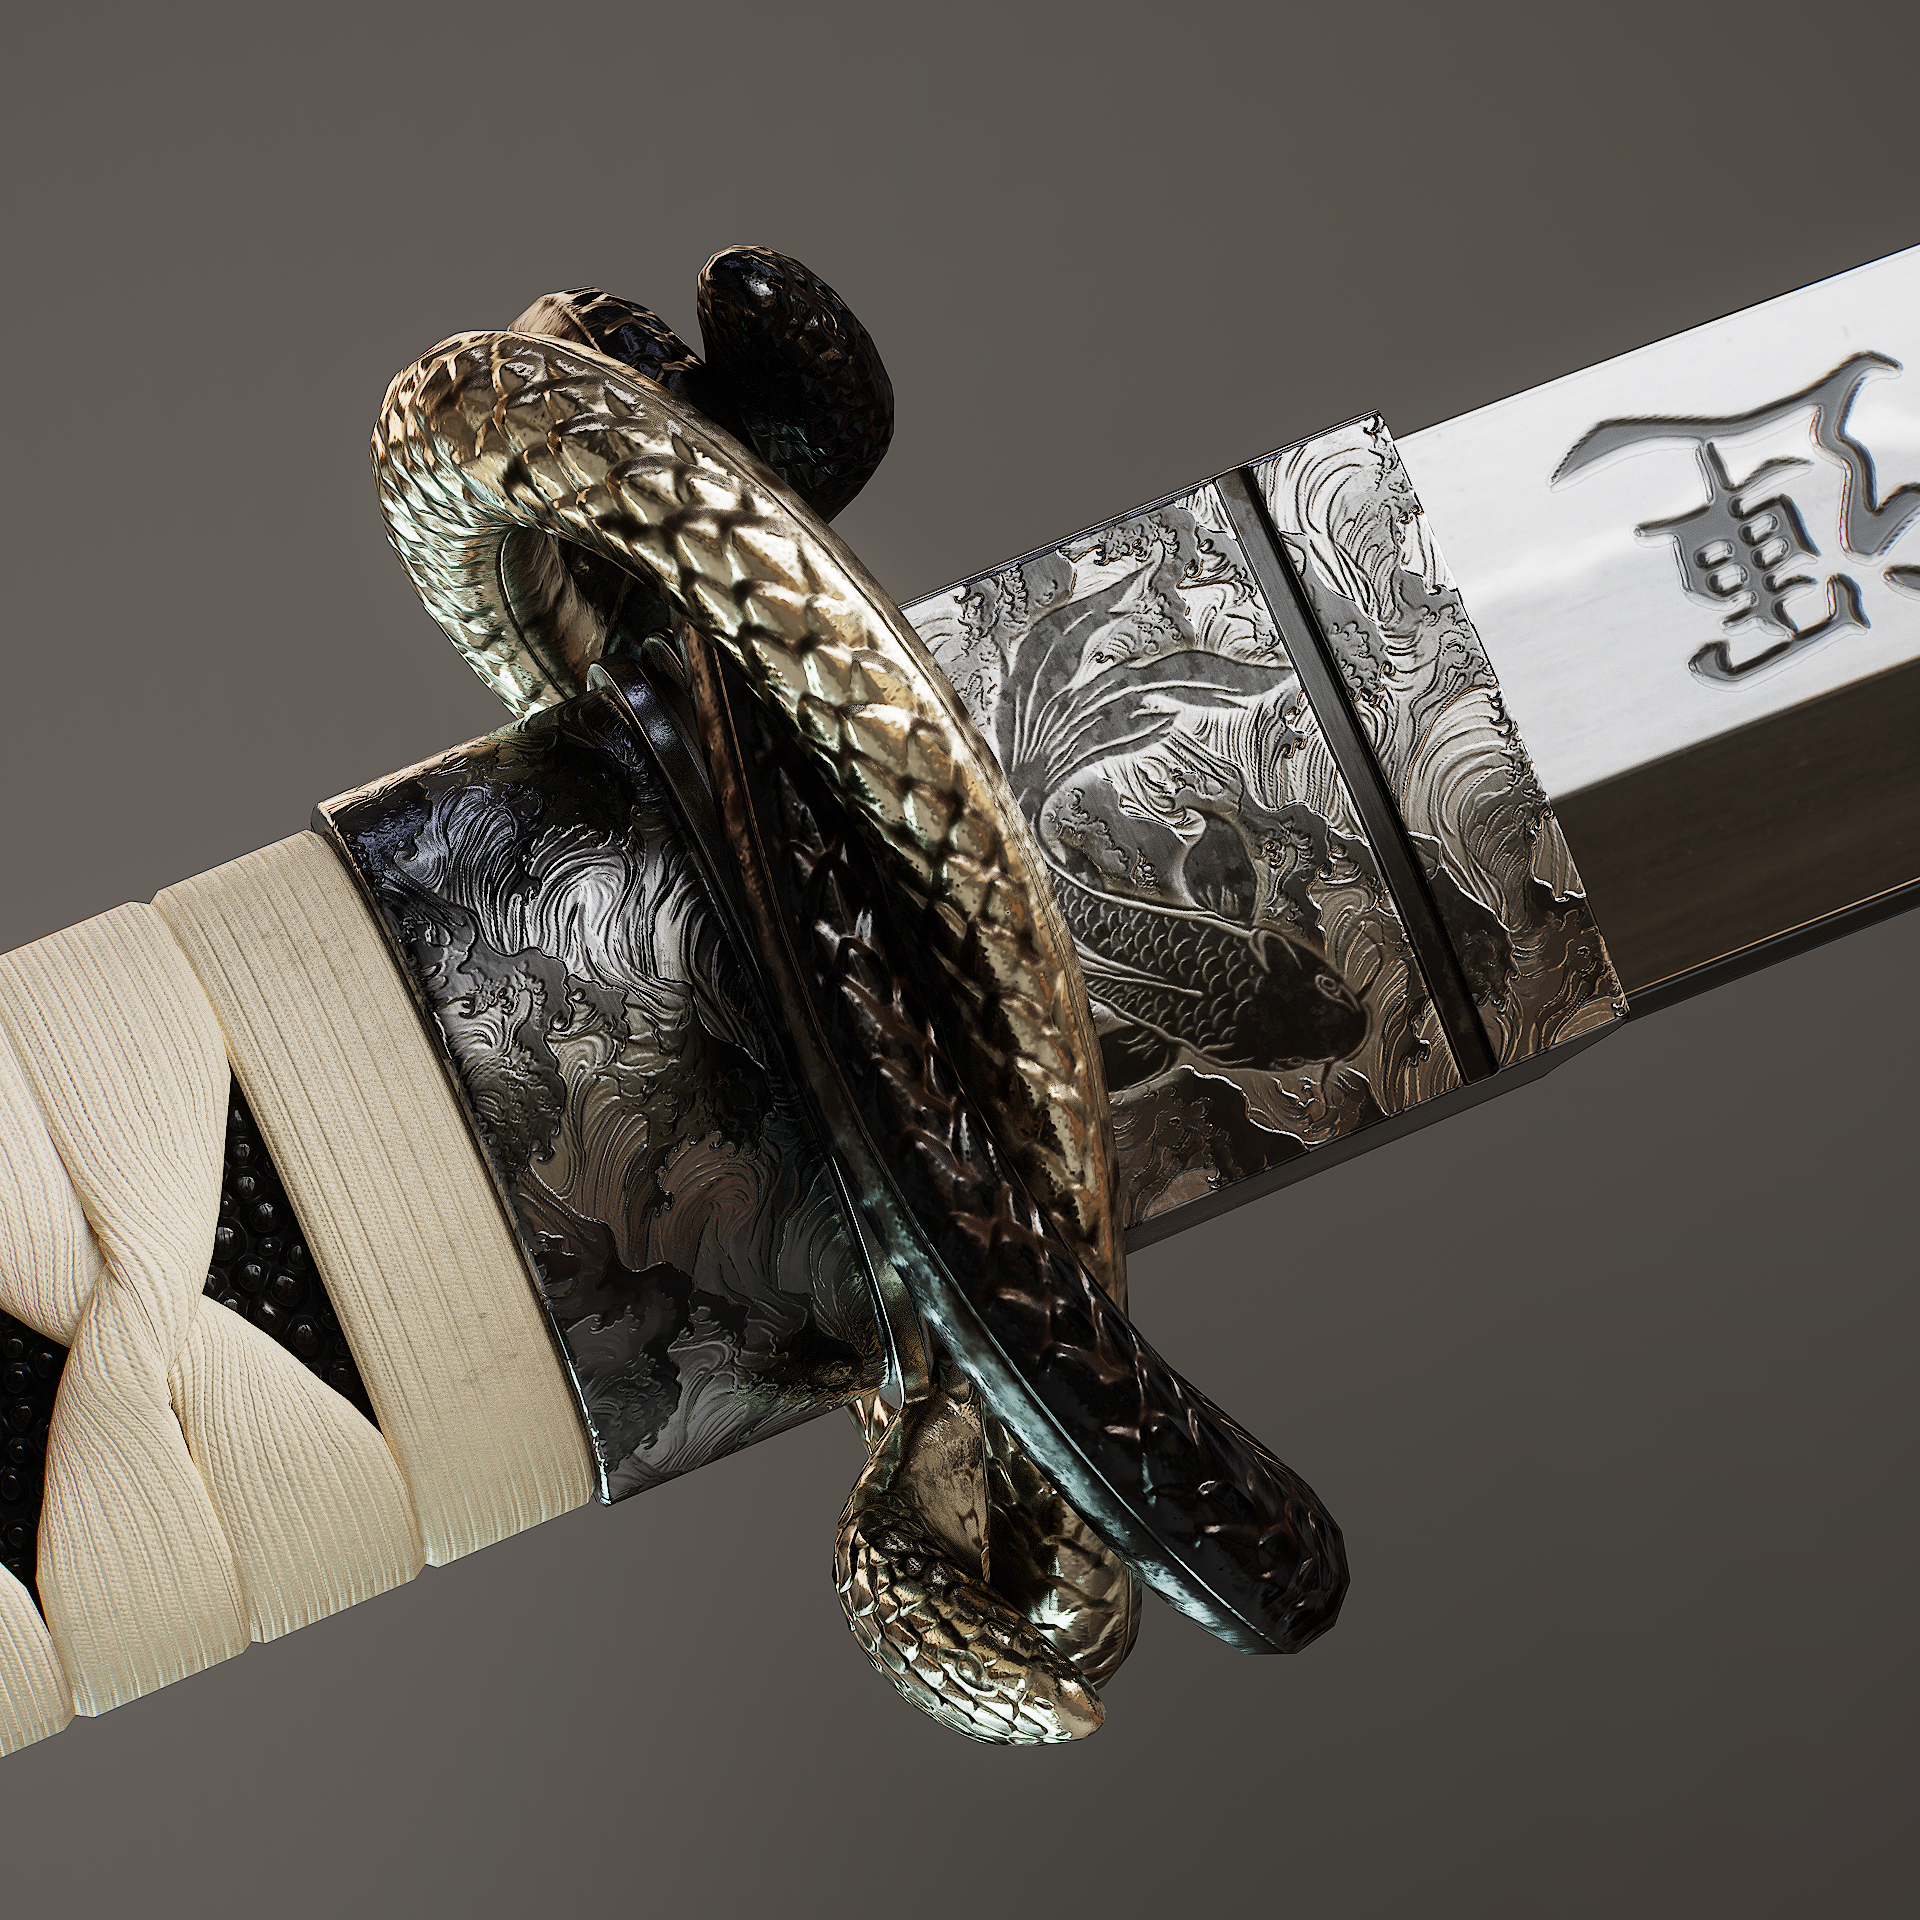
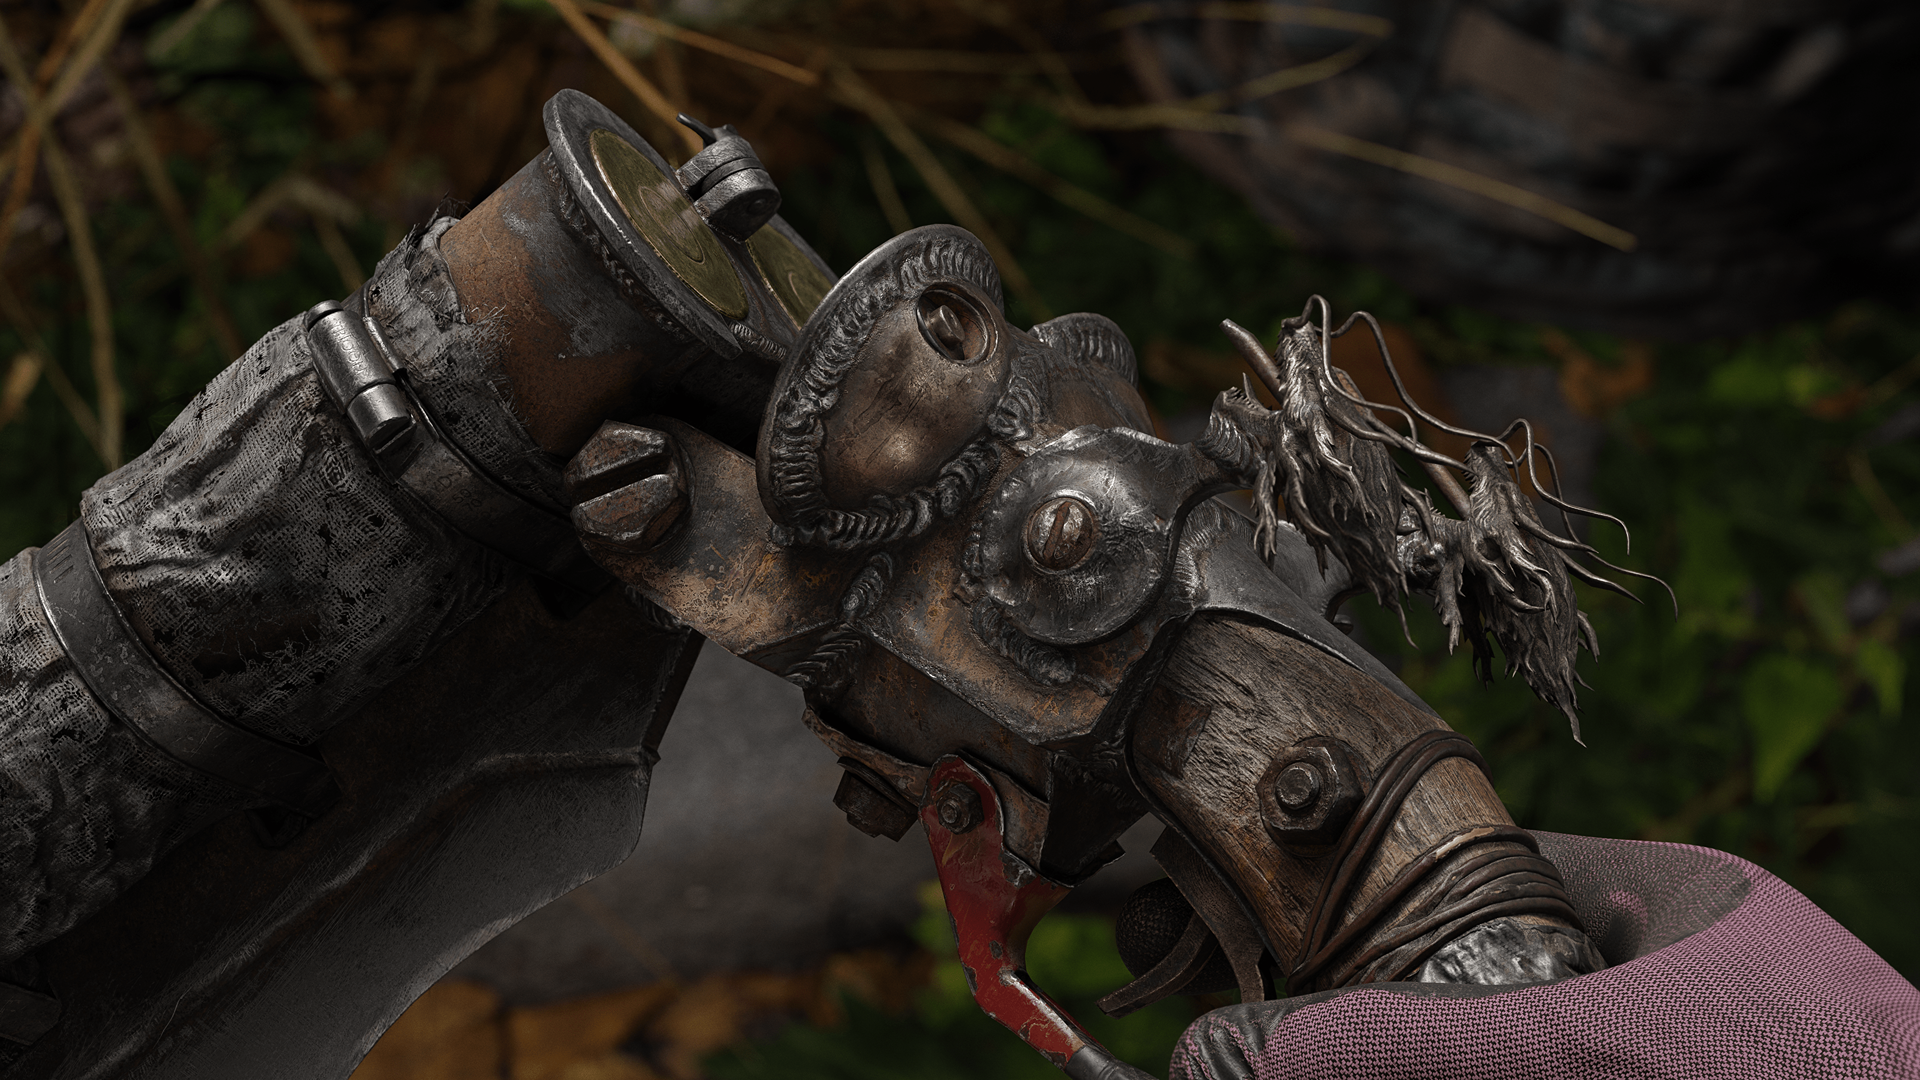
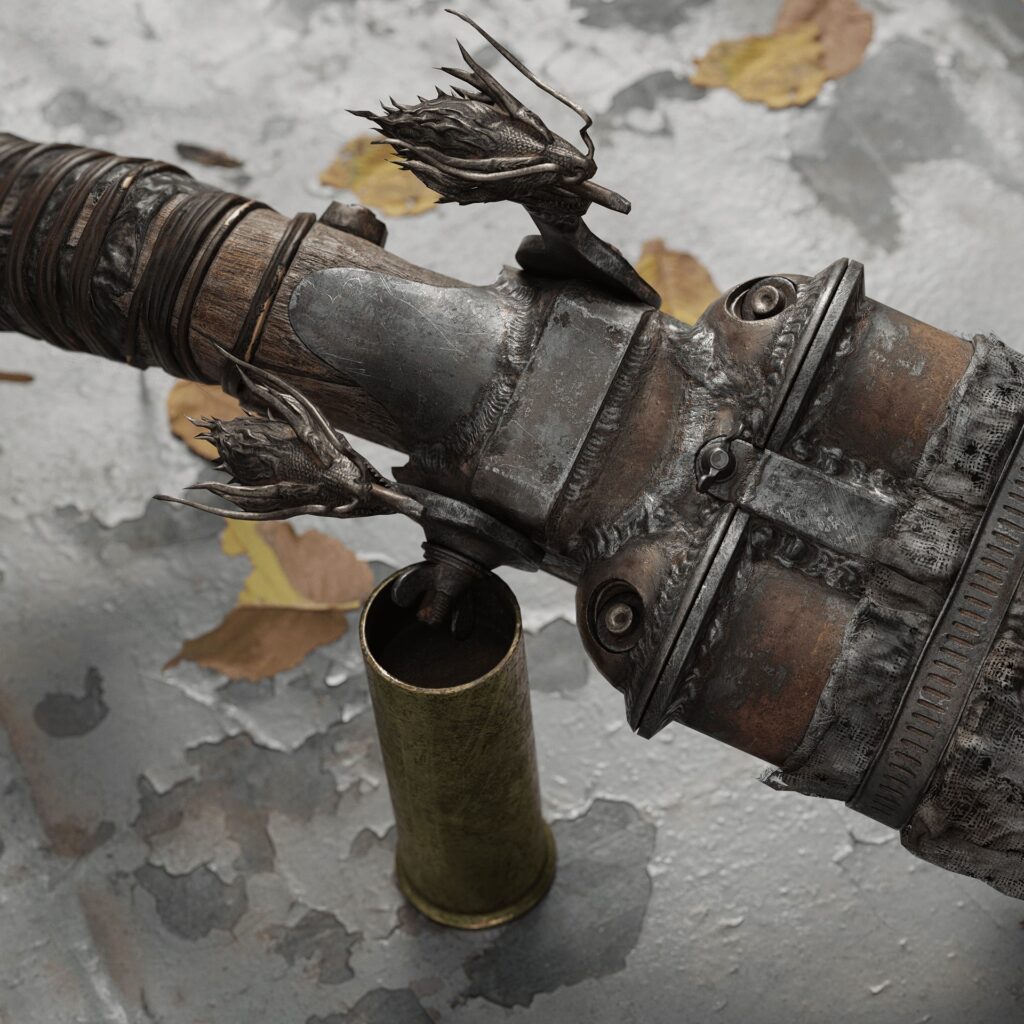
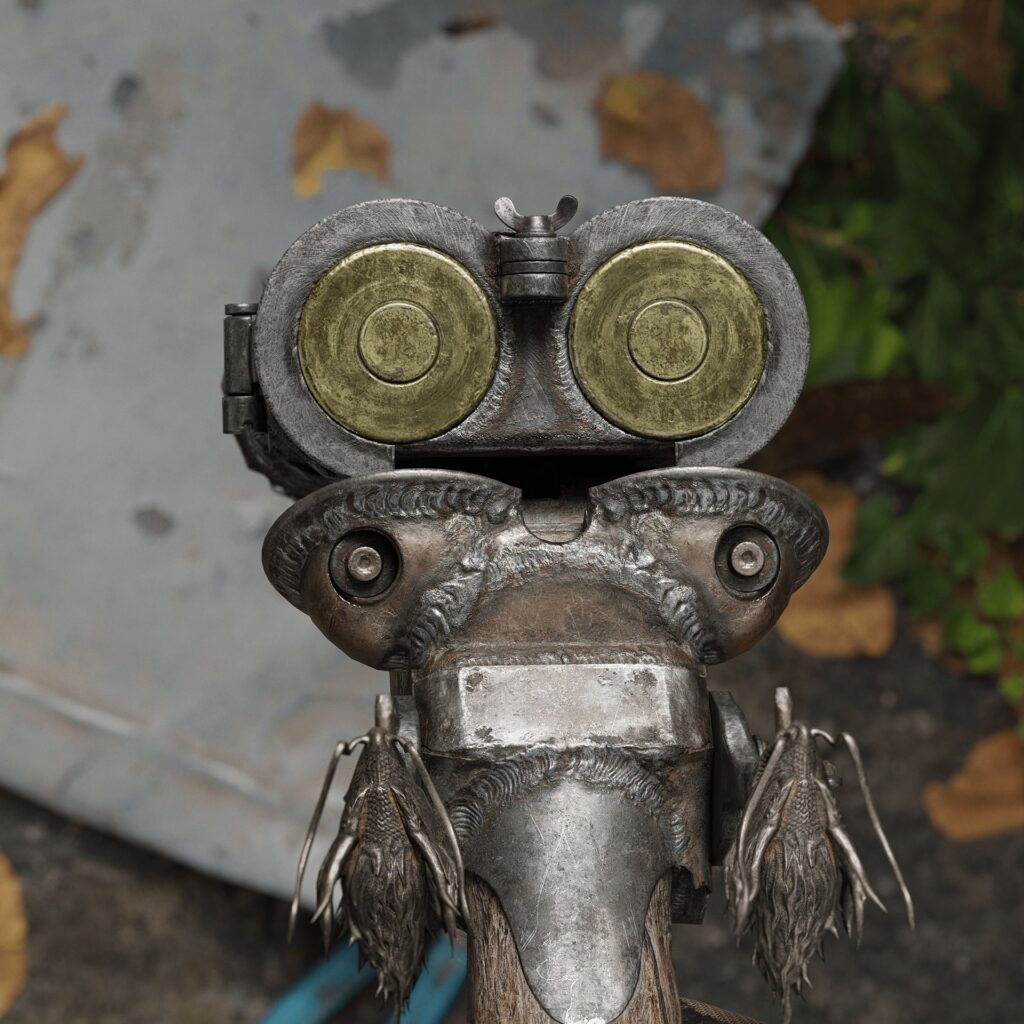
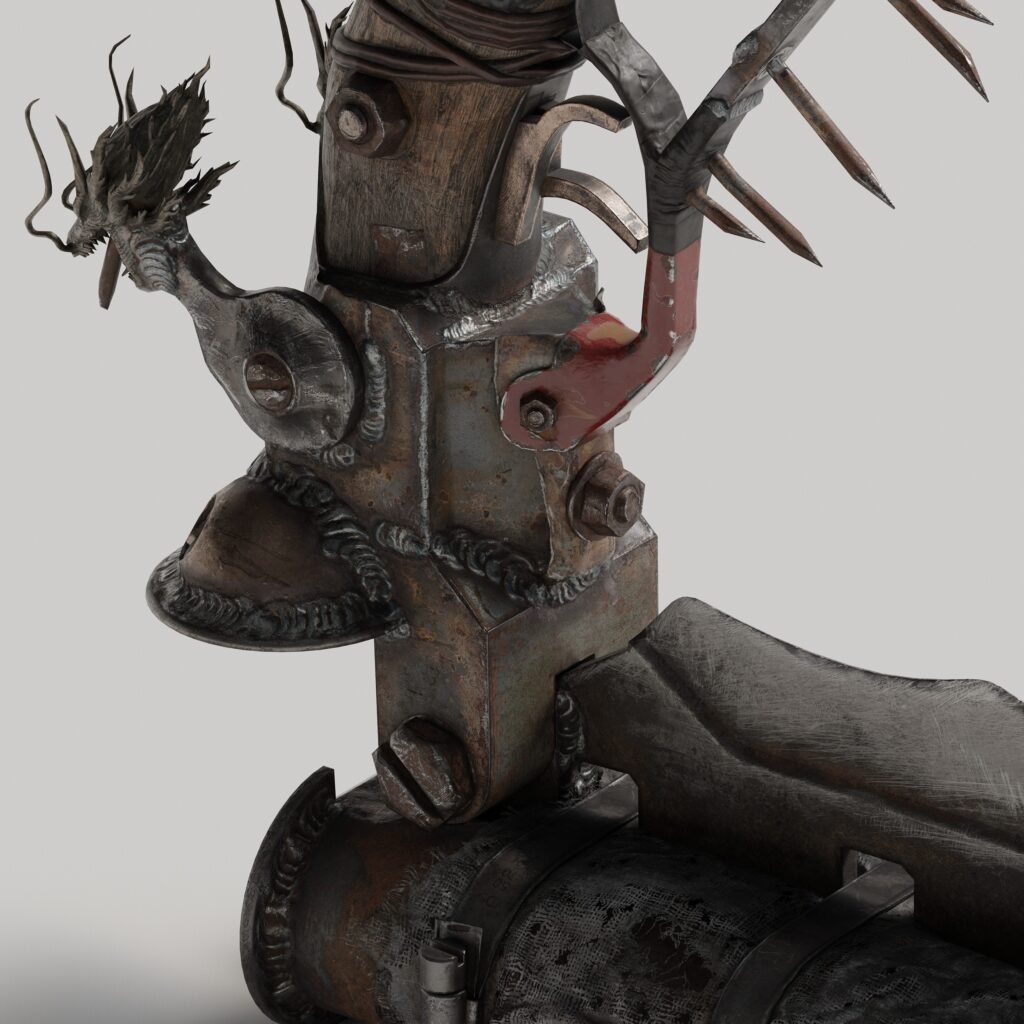
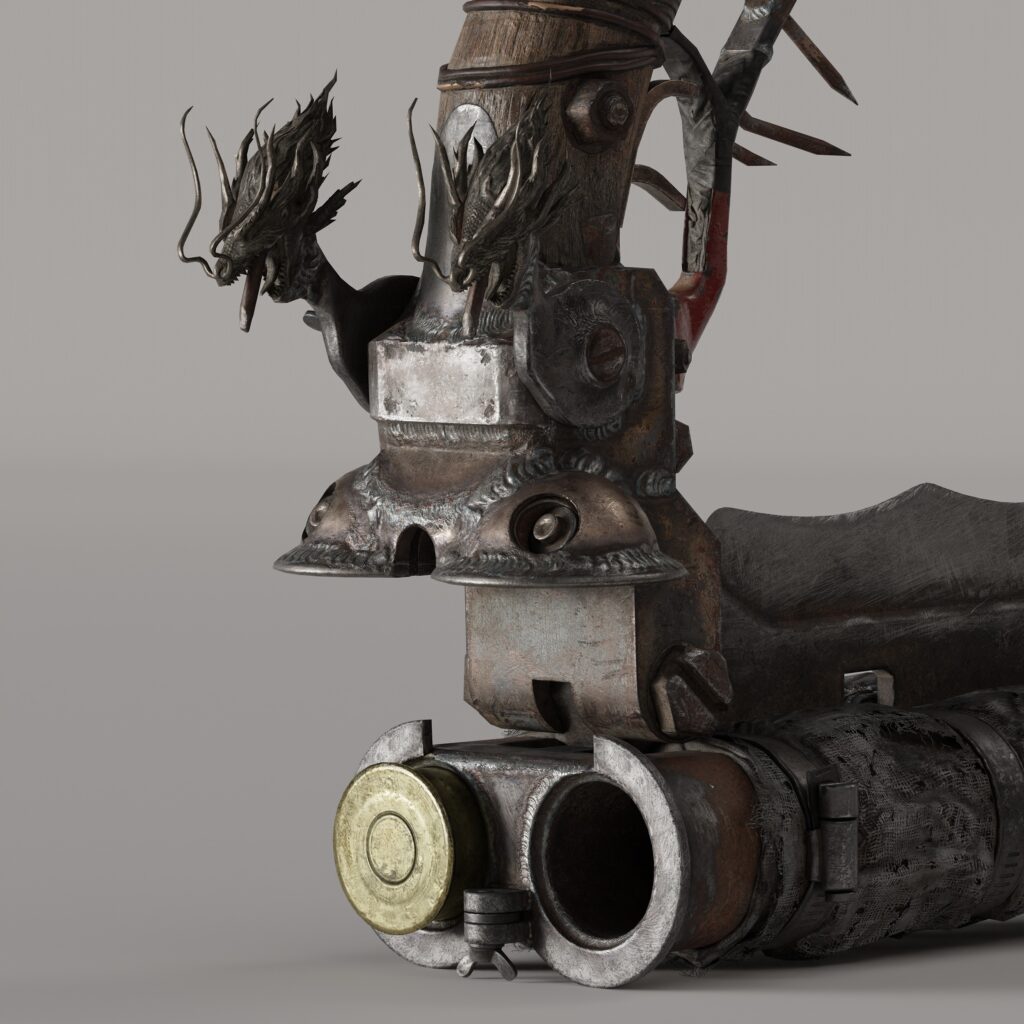
To convey the post-apocalyptic atmosphere, I gathered references of worn tools, rusty machinery, and DIY weapons. The dragon head detail was inspired by anime motifs, which added a unique symbolic element to the weapon, resonating with themes of survival and resilience.
Model Creation
During the creation process, I followed these principles:
- Consider the post-apocalyptic world: Most objects are abandoned, repurposed, or heavily weathered by time.
- Focus on medium and large damages: Scratches, dents, cuts, cracks, and defects that showcase wear.
- Avoid micro-details: These would be added later during texturing in Substance Painter.
- Create interesting shapes and silhouettes: For instance, focusing on damaged edges in wooden elements rather than the surface.
- Use noticeable dents for normals: Avoid overly sharp details to maintain realism.
- Work in stages: Begin with basic shapes and gradually add details with each iteration.
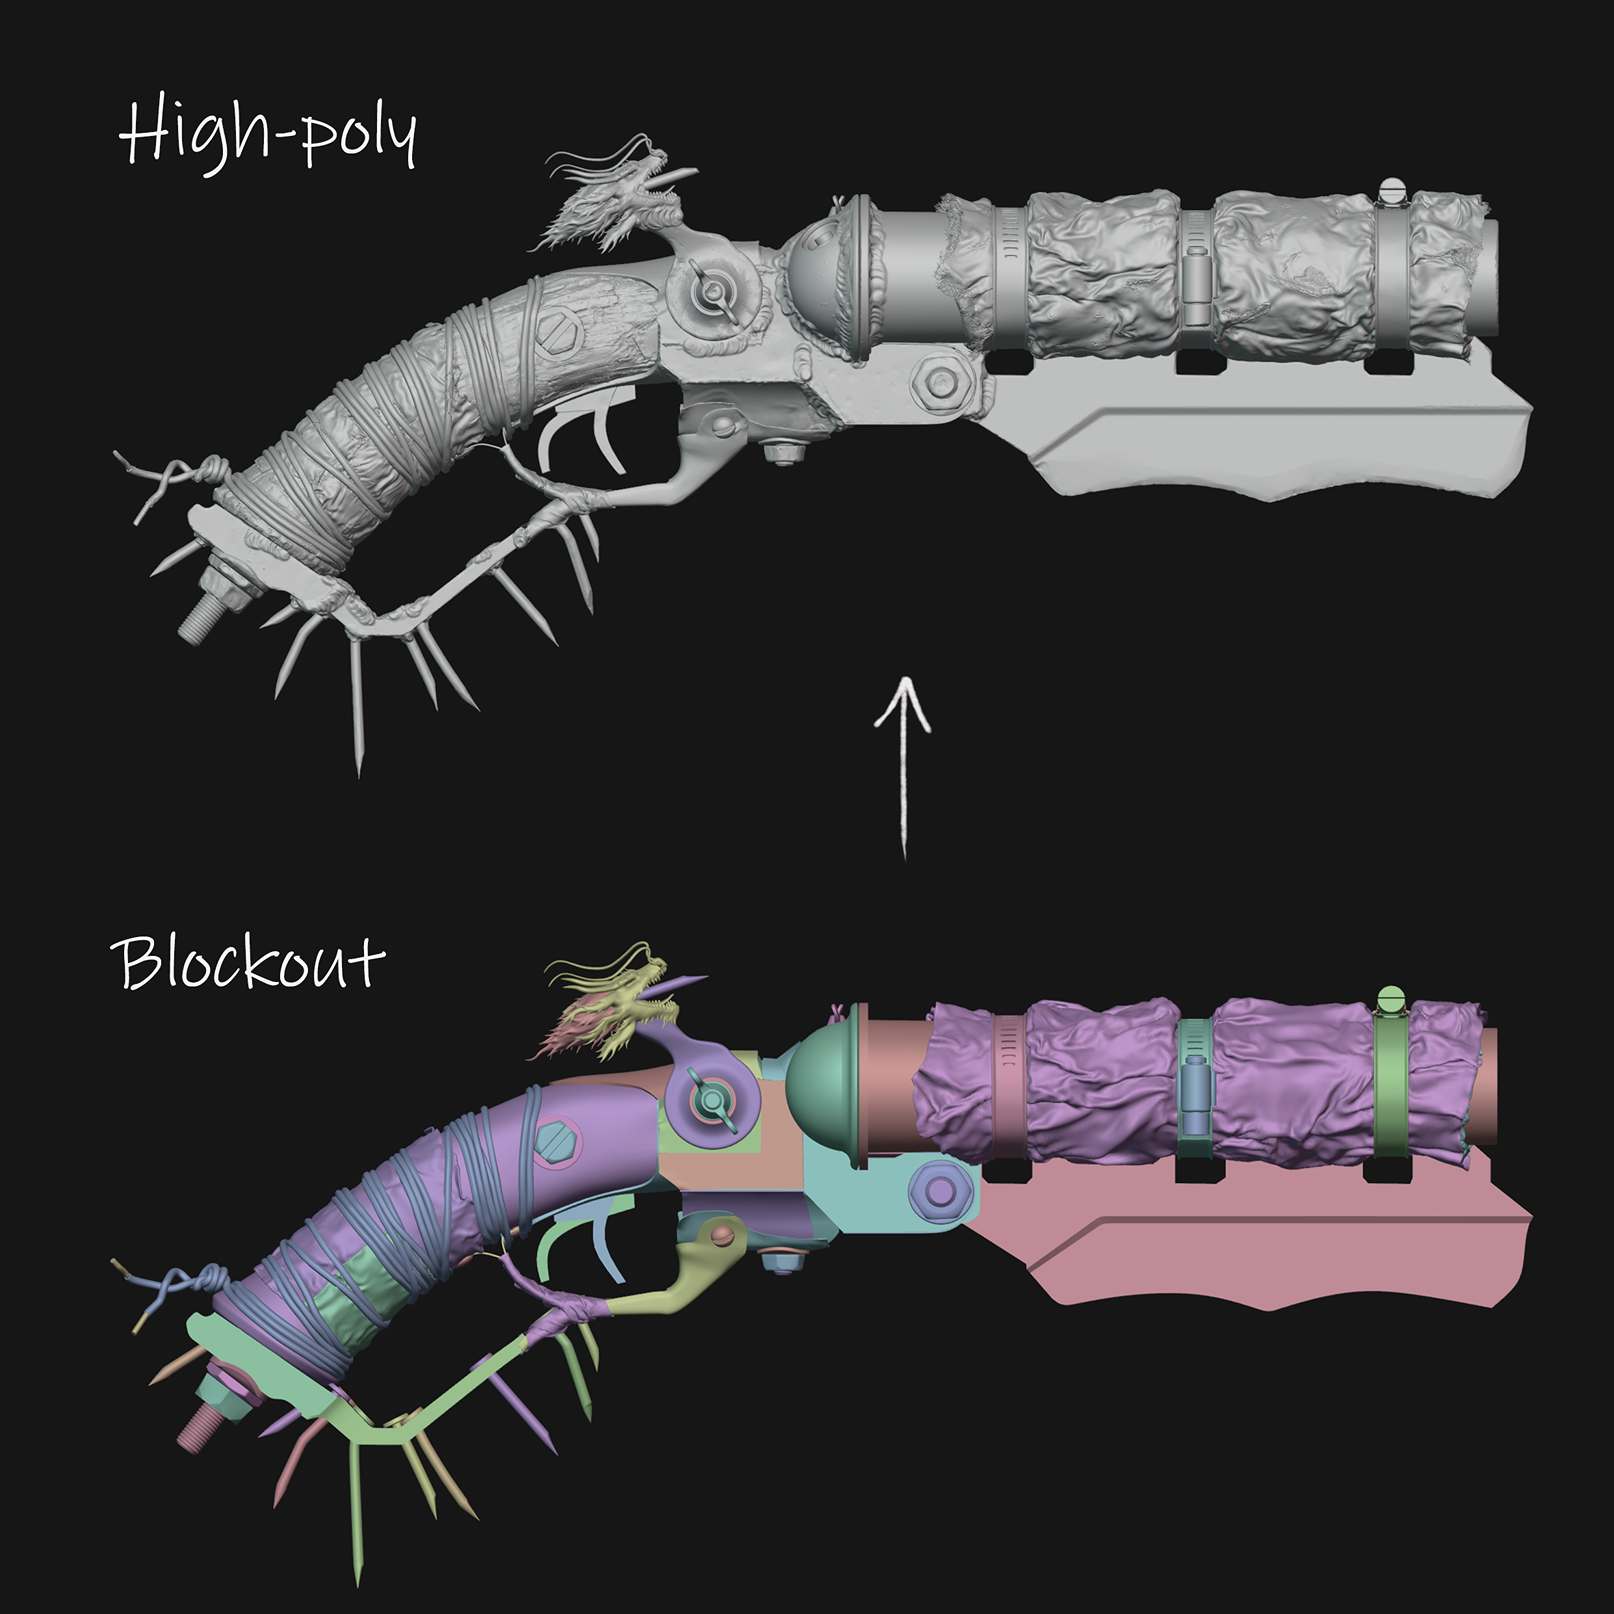
Blocking & Highpoly Sculpting
The modeling began with blocking the overall form in Blender, followed by refining high-poly details in ZBrush.
For the wooden parts, I utilized techniques showcased in this tutorial to achieve realistic detail and forms.
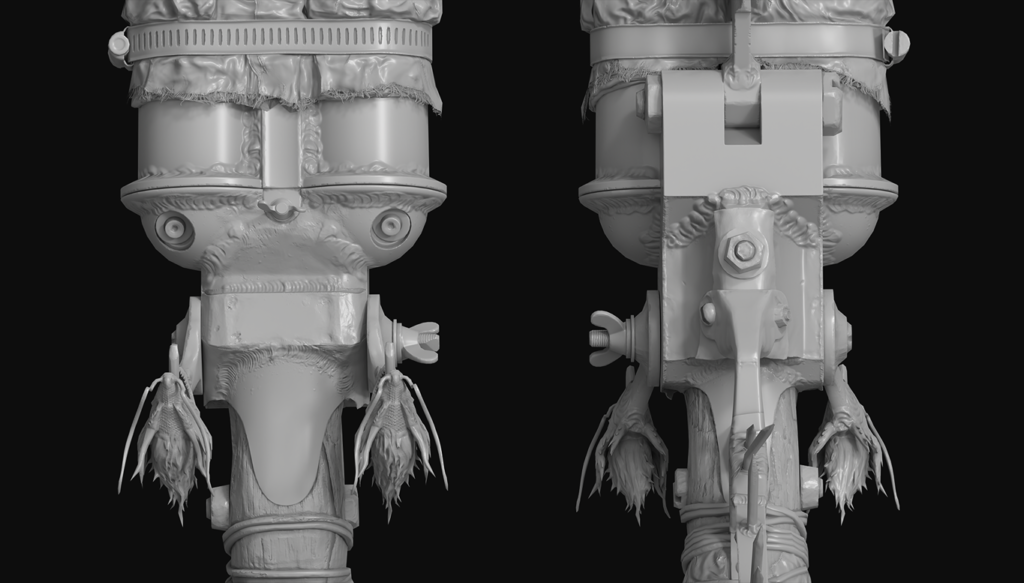
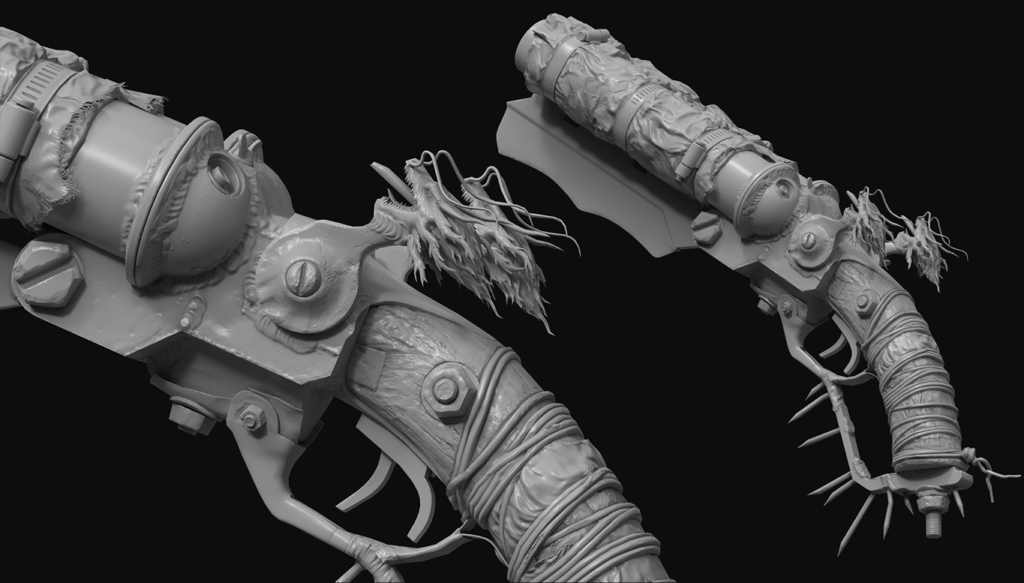
The dragon head was sculpted separately, inspired by anime references, with the intention of adding a unique visual element.

The fabric wraps were created in Marvelous Designer, while the wires on the handle were modeled with curves in Blender to ensure they conformed perfectly to the shape.
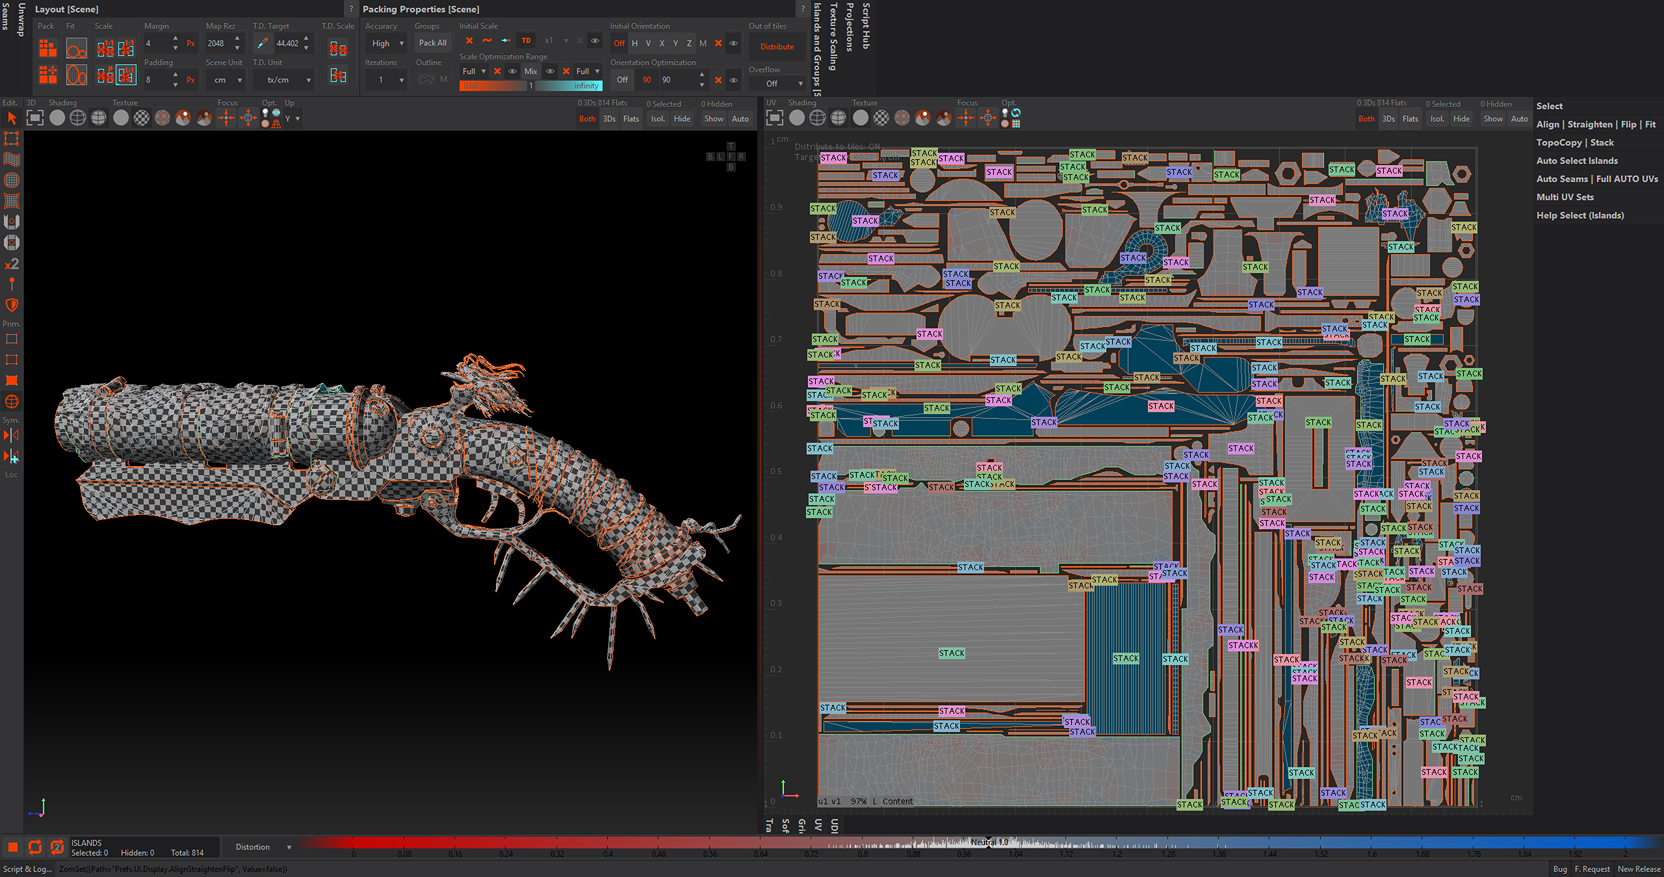
Low-Poly, UV Mapping & Baking
The low-poly model was optimized from the blockout, and UV mapping was done in RizomUV, prioritizing maximum texel density.
The project was limited to a single UV set, requiring meticulous planning to utilize texture space efficiently.
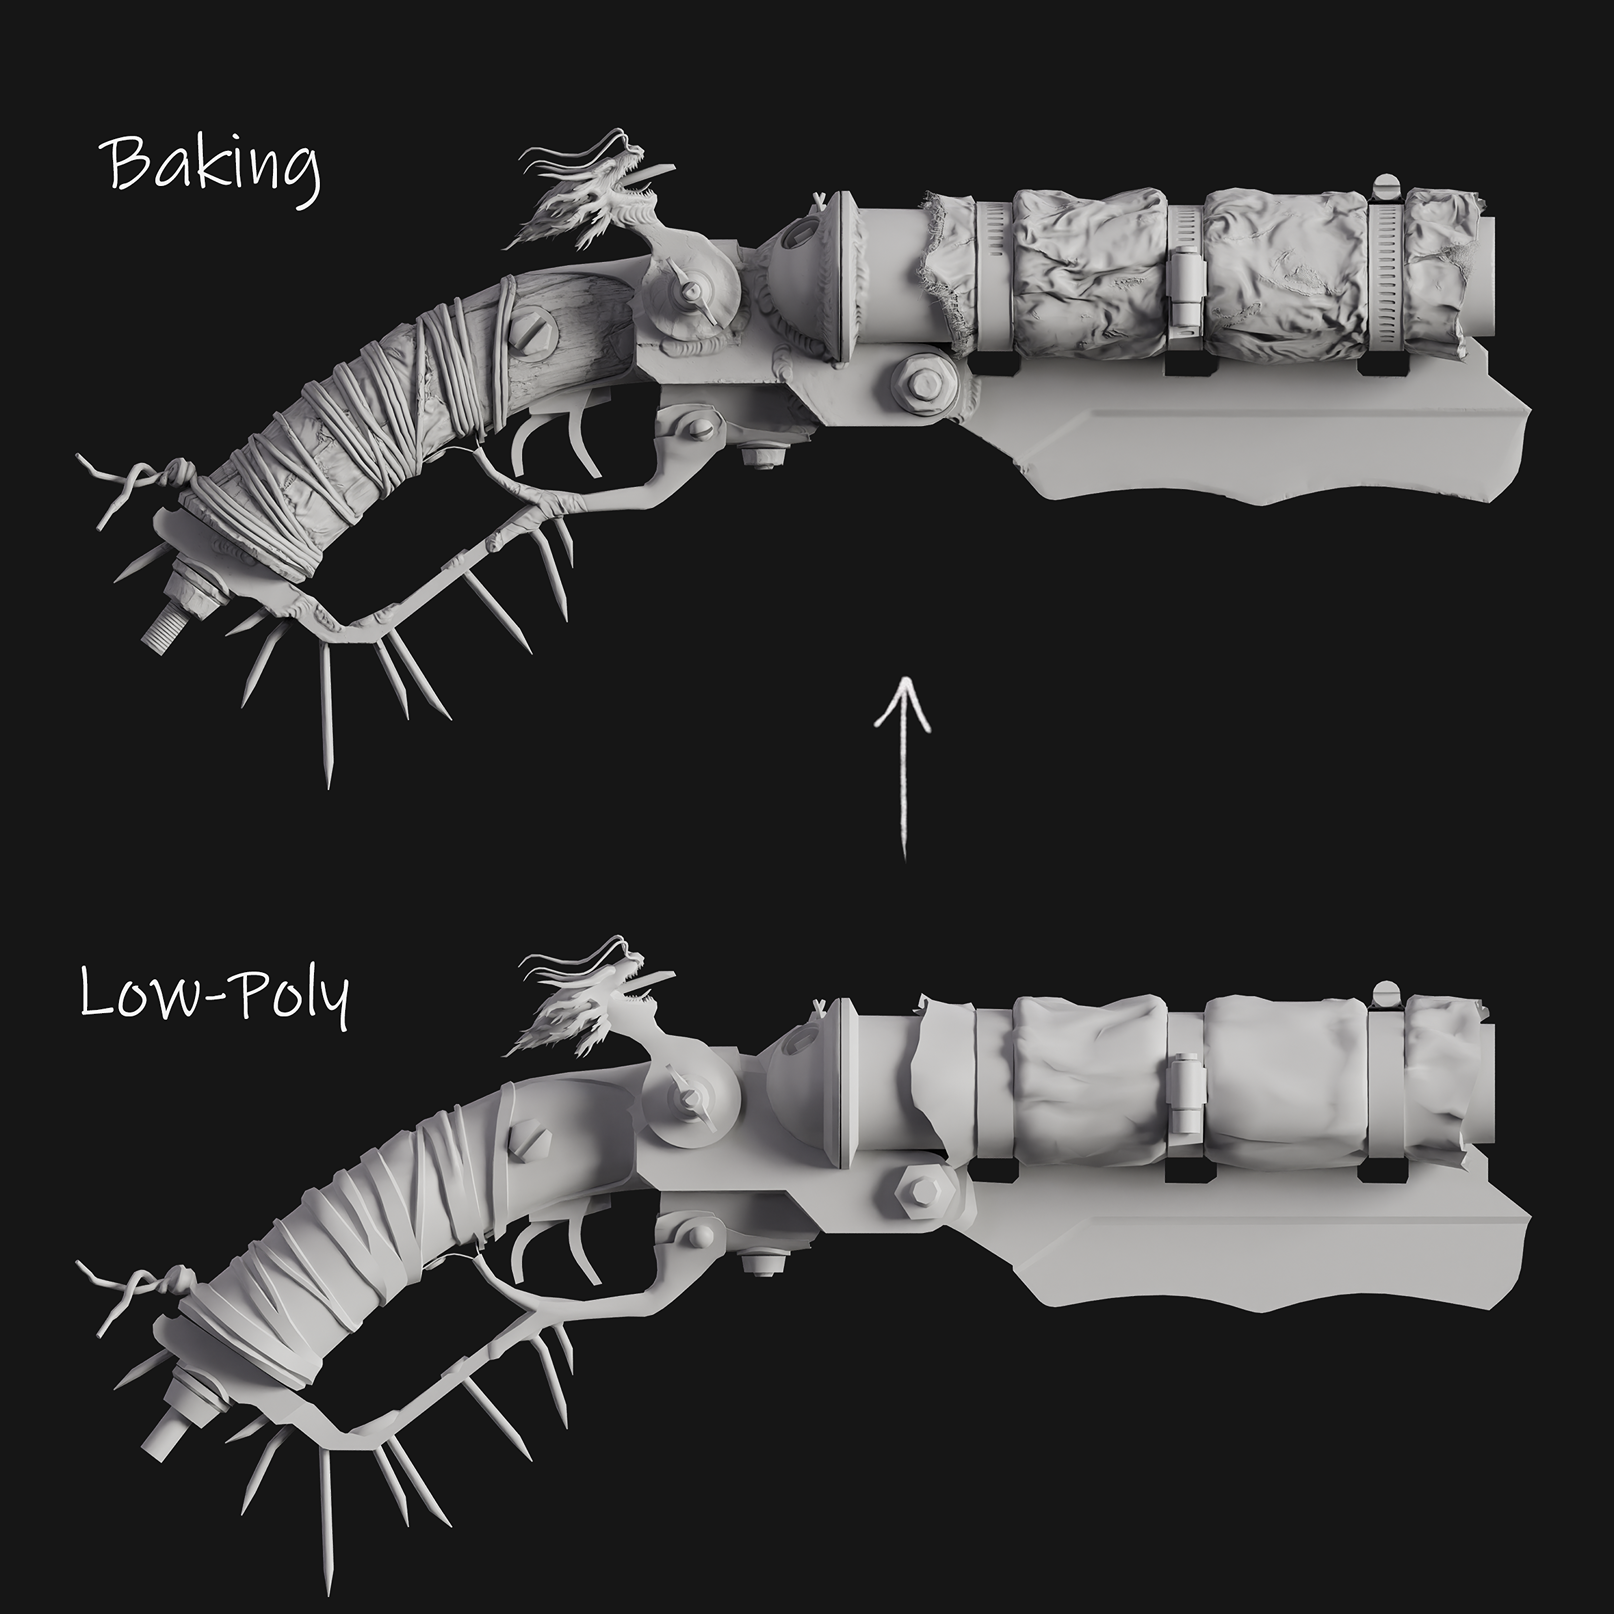
Baking was performed in Marmoset Toolbag.
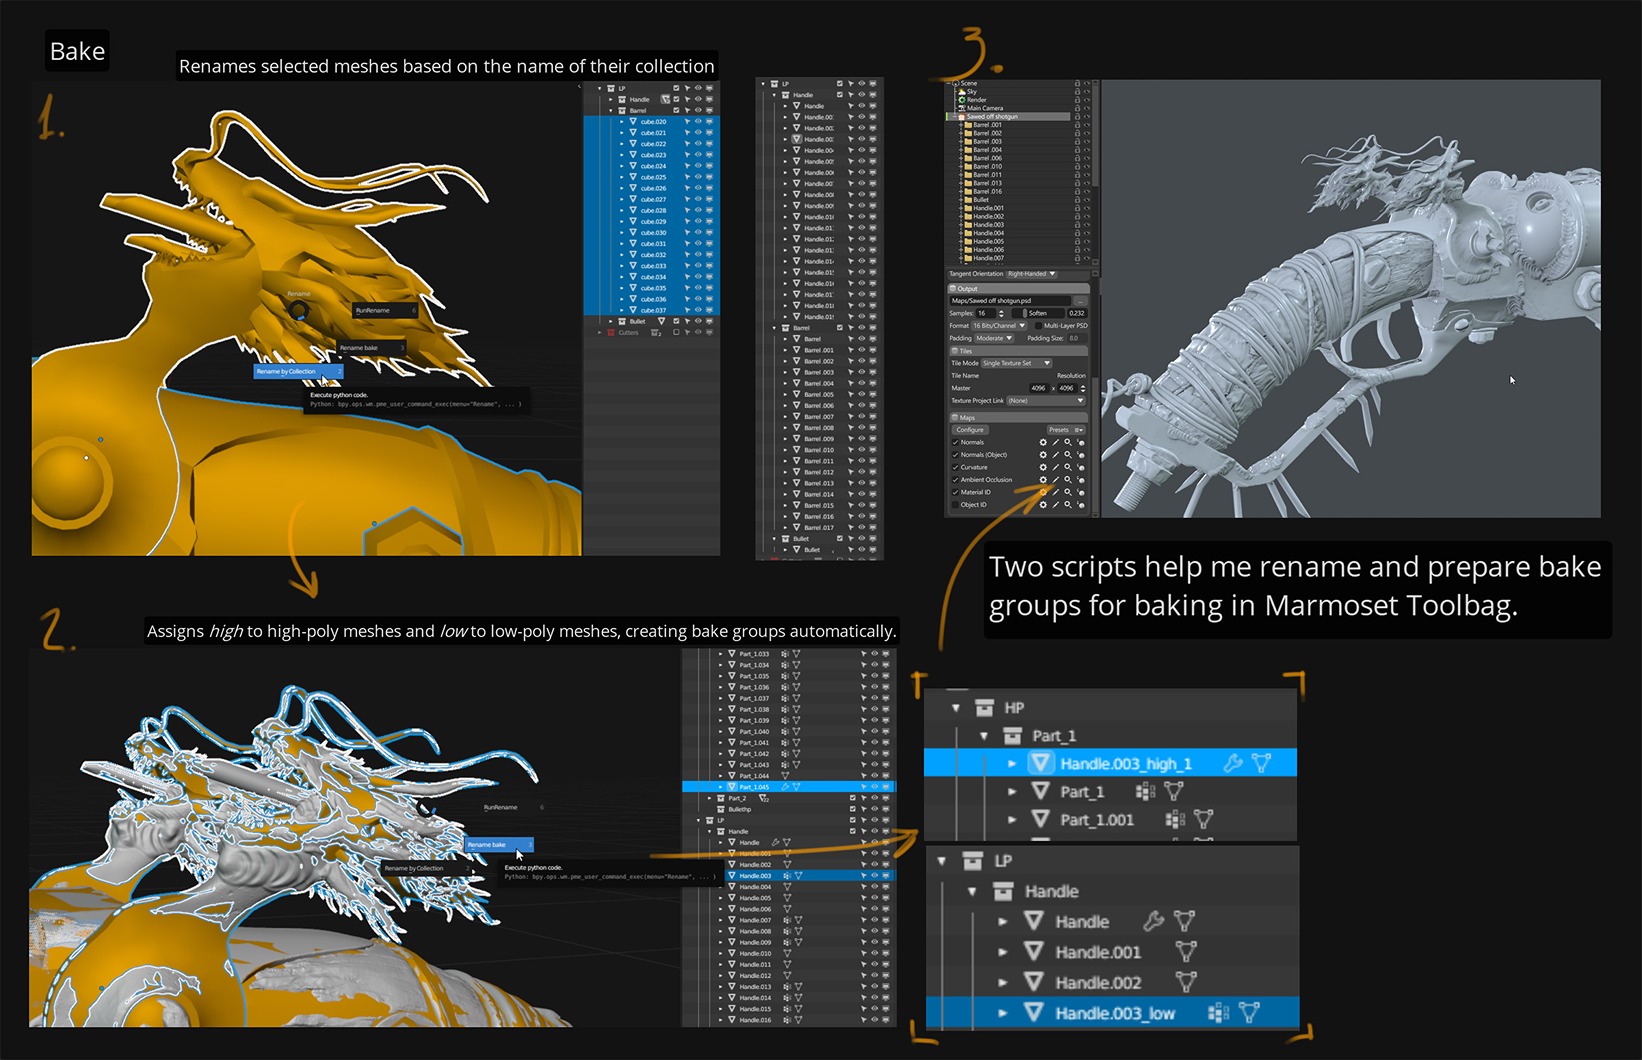
I also developed a custom script to automate the renaming of bake groups, saving time and ensuring accuracy.
Texturing & Base Materials
I began with pre-made materials for wood, metal, and fabric.

Additional details were layered using masks, generators, and grunge maps to build up the effects of wear and age.
Welding Effects & Rust
I designed welding materials in Substance Painter to simulate fresh welds with heat discoloration.
Rust was added using alpha projection, while scratches were enhanced with the Faceted Normals Filter for added depth and authenticity.
For creating rust masks, I used my custom RGB Channels tool, which streamlined the process by extracting specific channel information for precise masking.
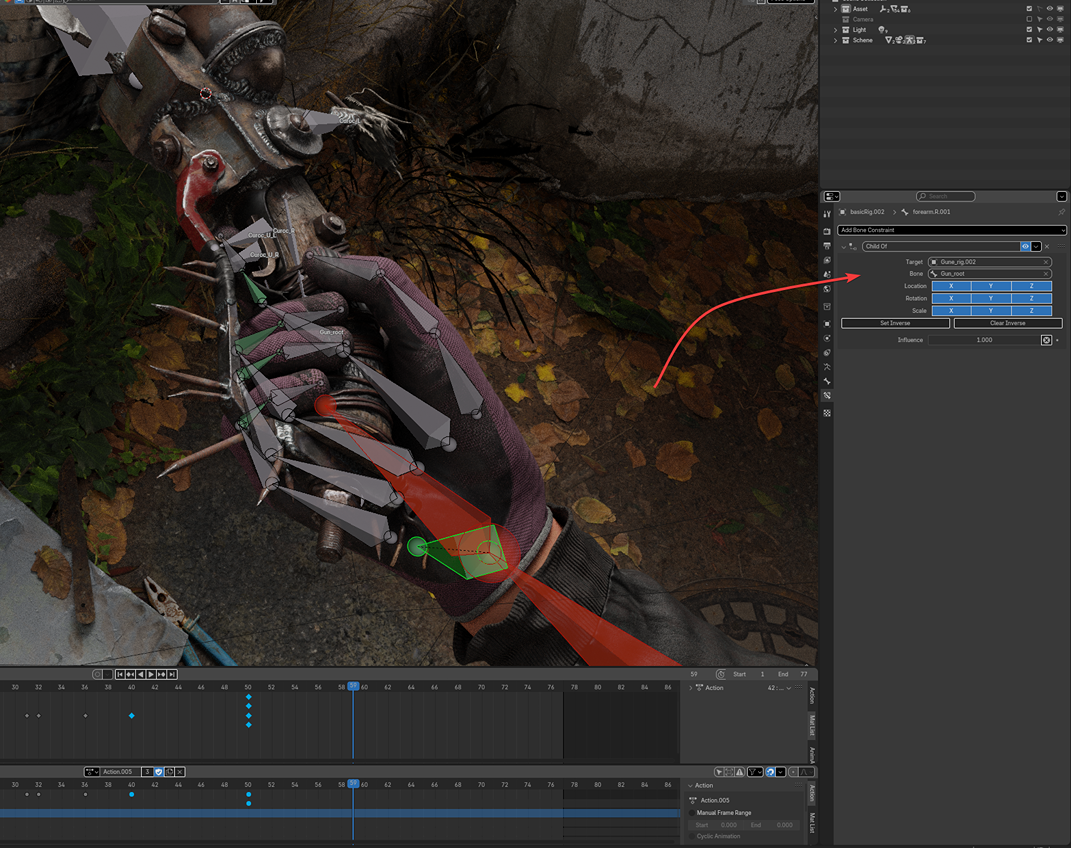
Animation & Presentation
For a dynamic presentation, I rigged a hand model in Blender to follow the weapon using the Child Of constraint.
Camera animations were achieved through the Smartphone Remote Addon, allowing for smooth, natural movements.
The environment was constructed using Megascans assets in Blender, with HDR lighting complemented by additional lamps to highlight the weapon’s details.
Conclusion
This project provided a great opportunity to refine my texturing skills and experiment with new presentation methods. By focusing on detailed texturing, attention to nuances, and a streamlined workflow, I created a shotgun that fits seamlessly into the post-apocalyptic world, conveying its atmosphere and visual style.
Thank you for reading!
I hope this overview inspires you to expand your creative possibilities and explore new approaches in your projects.
Feel free to reach out with any questions or suggestions!
Read more articles
You might also like these articles.