
Introduction
Hello! My name is Hye-Jun Park, and I’m currently studying Character modelling in South Korea.
Project Goal & Concept
This project began with the goal of faithfully recreating “Neo: Berserker,” a character from the game Dungeon & Fighter, in 3D. Below is the Concept art.
Rather than pursuing a realistic look, I aimed for a stylized, cartoon-inspired aesthetic.

References
Reference gathering is one of the most crucial and foundational parts of my workflow.


To match the stylized aesthetic I envisioned, I focused on exaggerated anatomy rather than realistic human proportions.
My references were mainly drawn from Japanese comics and figurines.

Modelling & Sculpting
The majority of the sculpting was done in ZBrush. I started with a base body, keeping the forms simple to establish exaggerated proportions early on.
Since the character is cartoon-style, I took a bold approach to stylizing the anatomy.
For the creature elements, I used Dynamesh to rough out the forms, then refined the topology using ZRemesher and continued detailing through subdivision.
Although the character is male, I followed the concept art and used Polypaint to apply subtle makeup, which I later used as a base texture in Substance Painter.


Hair
I began by creating sharp, simple base meshes and used the Curve mode in ZBrush’s Gizmo tool to shape the overall silhouette.
Clay Buildup and DamStandard brushes were then used to define hair strand details.
Torn Fabric
I started with a basic square UV plane and shaped it into the desired torn cloth.
Using Polypaint, I hand-drew the torn areas, then extracted a texture map from it. After adjusting the alpha to hide unnecessary parts, I used Standard and DamStandard brushes to add wrinkle details and finalize the shape.
Weapon
The Berserker’s weapon has a very complex design, so I first created a mask map in Photoshop based on the 2D concept image.
I applied this to a subdivided plane in ZBrush, separated the masked areas into PolyGroups, and deleted the rest to build the base.
Using Clay Buildup and DamStandard, I shaped the raised and recessed areas to closely match the concept.
For the hands gripping the weapon, I created one hand and duplicated it, adjusting each version slightly for variation.
KeyShot Rendering
Since ZBrush sculpts render beautifully in KeyShot, I posed the model specifically for this purpose.
I skipped the rigging step and used ZBrush’s Transpose Master to apply a dynamic pose.
To enhance the pose, I referenced animation pose drawings commonly used in the industry.
I also sculpted a base platform using Dynamesh and created simple effects, such as energy or motion, by painting them onto a plane and using transparency via alpha.
Then I sent the model to KeyShot to render the high-poly sculpt. (Note: this was a visualization pass, not the final render.)


Retopology, UVs & Baking
I performed retopology and UV unwrapping in 3ds Max, and carried out baking in Marmoset Toolbag.
From Marmoset, I extracted the normal, ID, albedo, and ambient occlusion maps. I created curvature and smoothed curvature maps in Substance Designer for later use in texturing adjustments and compositing.
The rest of the texture maps were created in Substance Painter.


Texturing
I used a paid tool called Stylized Texture Generator, which was helpful for creating a hand-painted look quickly.
It allowed me to adjust AO, curvature, and lightness within a single layer, simplifying the layer stack.
To further emphasize a hand-drawn look, I added tone adjustments on top using hand-painted strokes. Simple material shaders were added, but I kept them subtle to preserve the cartoon feel.
Since I planned to use a toon shader for final renders, I manually added outlines in the texture stage for cloth surfaces made from single-sided planes.
For the face, I enhanced the makeup using the Polypaint source from ZBrush, and painted the eyes in Photoshop to retain a drawn, illustrated look.
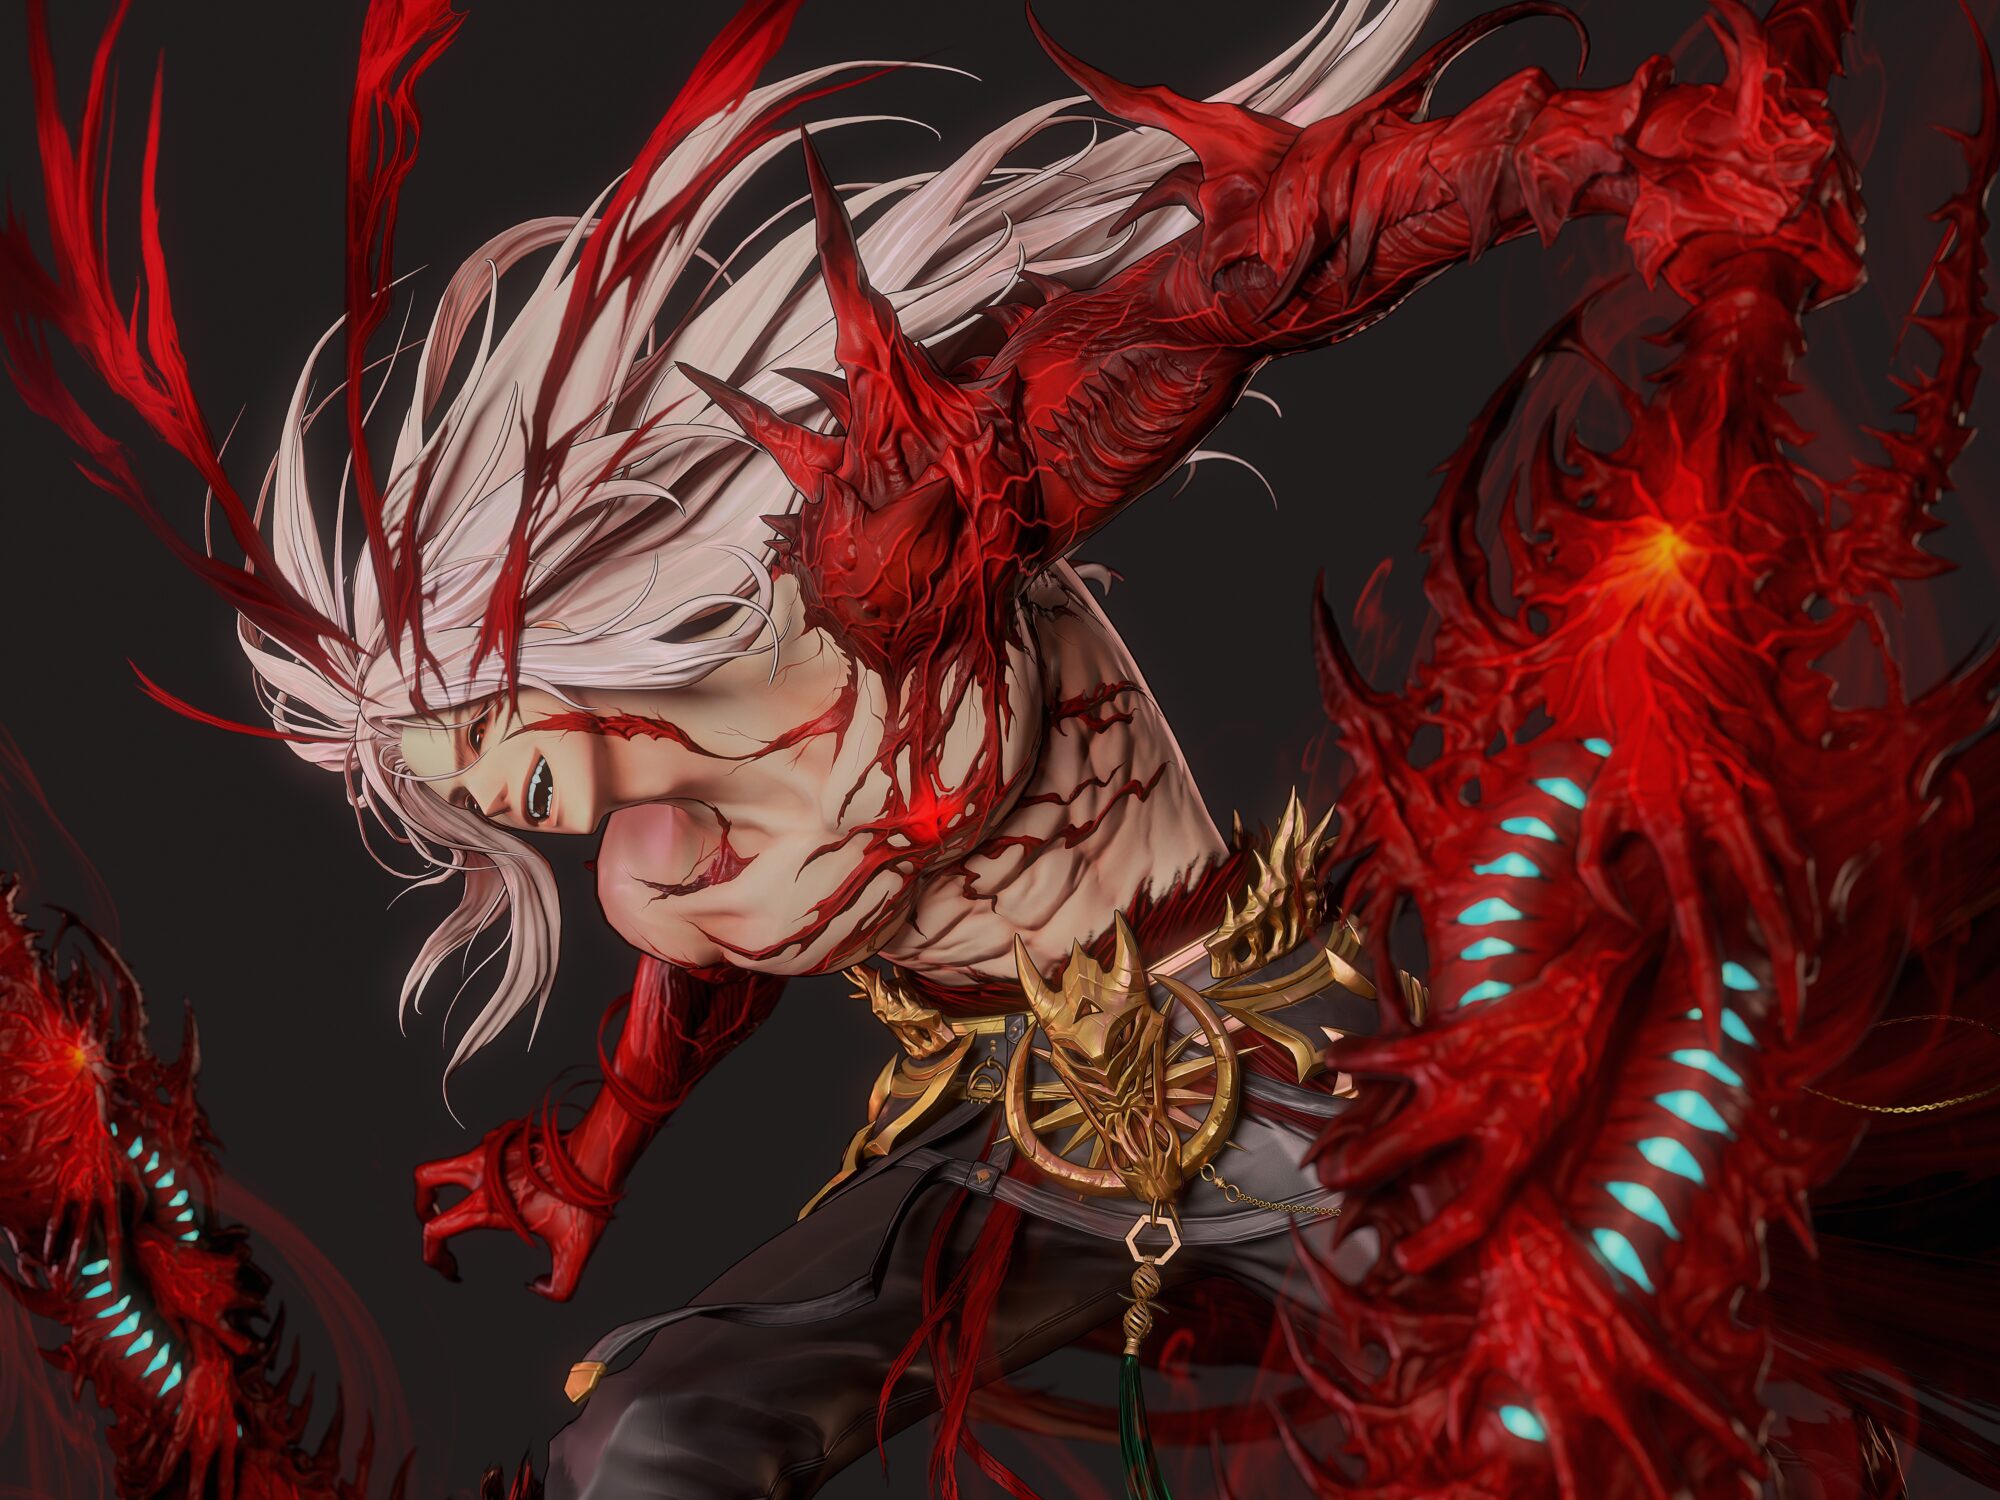
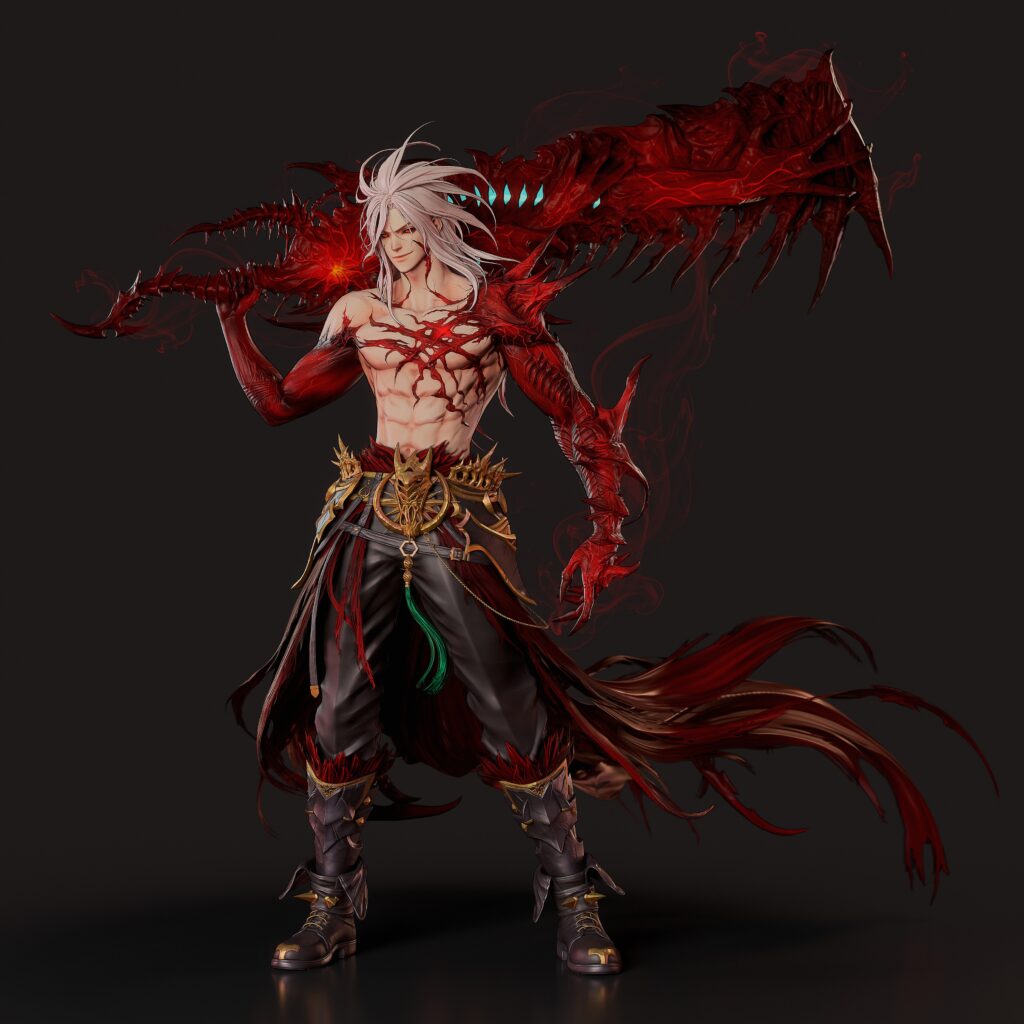
Final Rendering
I imported the finished low-poly model into the same pose used in the KeyShot render.
At this stage, I also added stylized effects to match the concept more closely. Final rendering was done in Marmoset Toolbag, where I adjusted camera settings and post-processing color values to achieve a flat, cartoon-style result.
I experimented with lighting and shot the character from various angles, choosing the most appealing compositions.
Extra effects, like smoke and sparks, were added in Photoshop during post-processing.

Conclusion
This was one of the most enjoyable projects I’ve worked on.
I’m deeply thankful to my teacher for all the valuable feedback and to the friends who encouraged me throughout the process.
Thank you for reading; I hope to return soon with another project to share!


Read more articles
You might also like these articles.