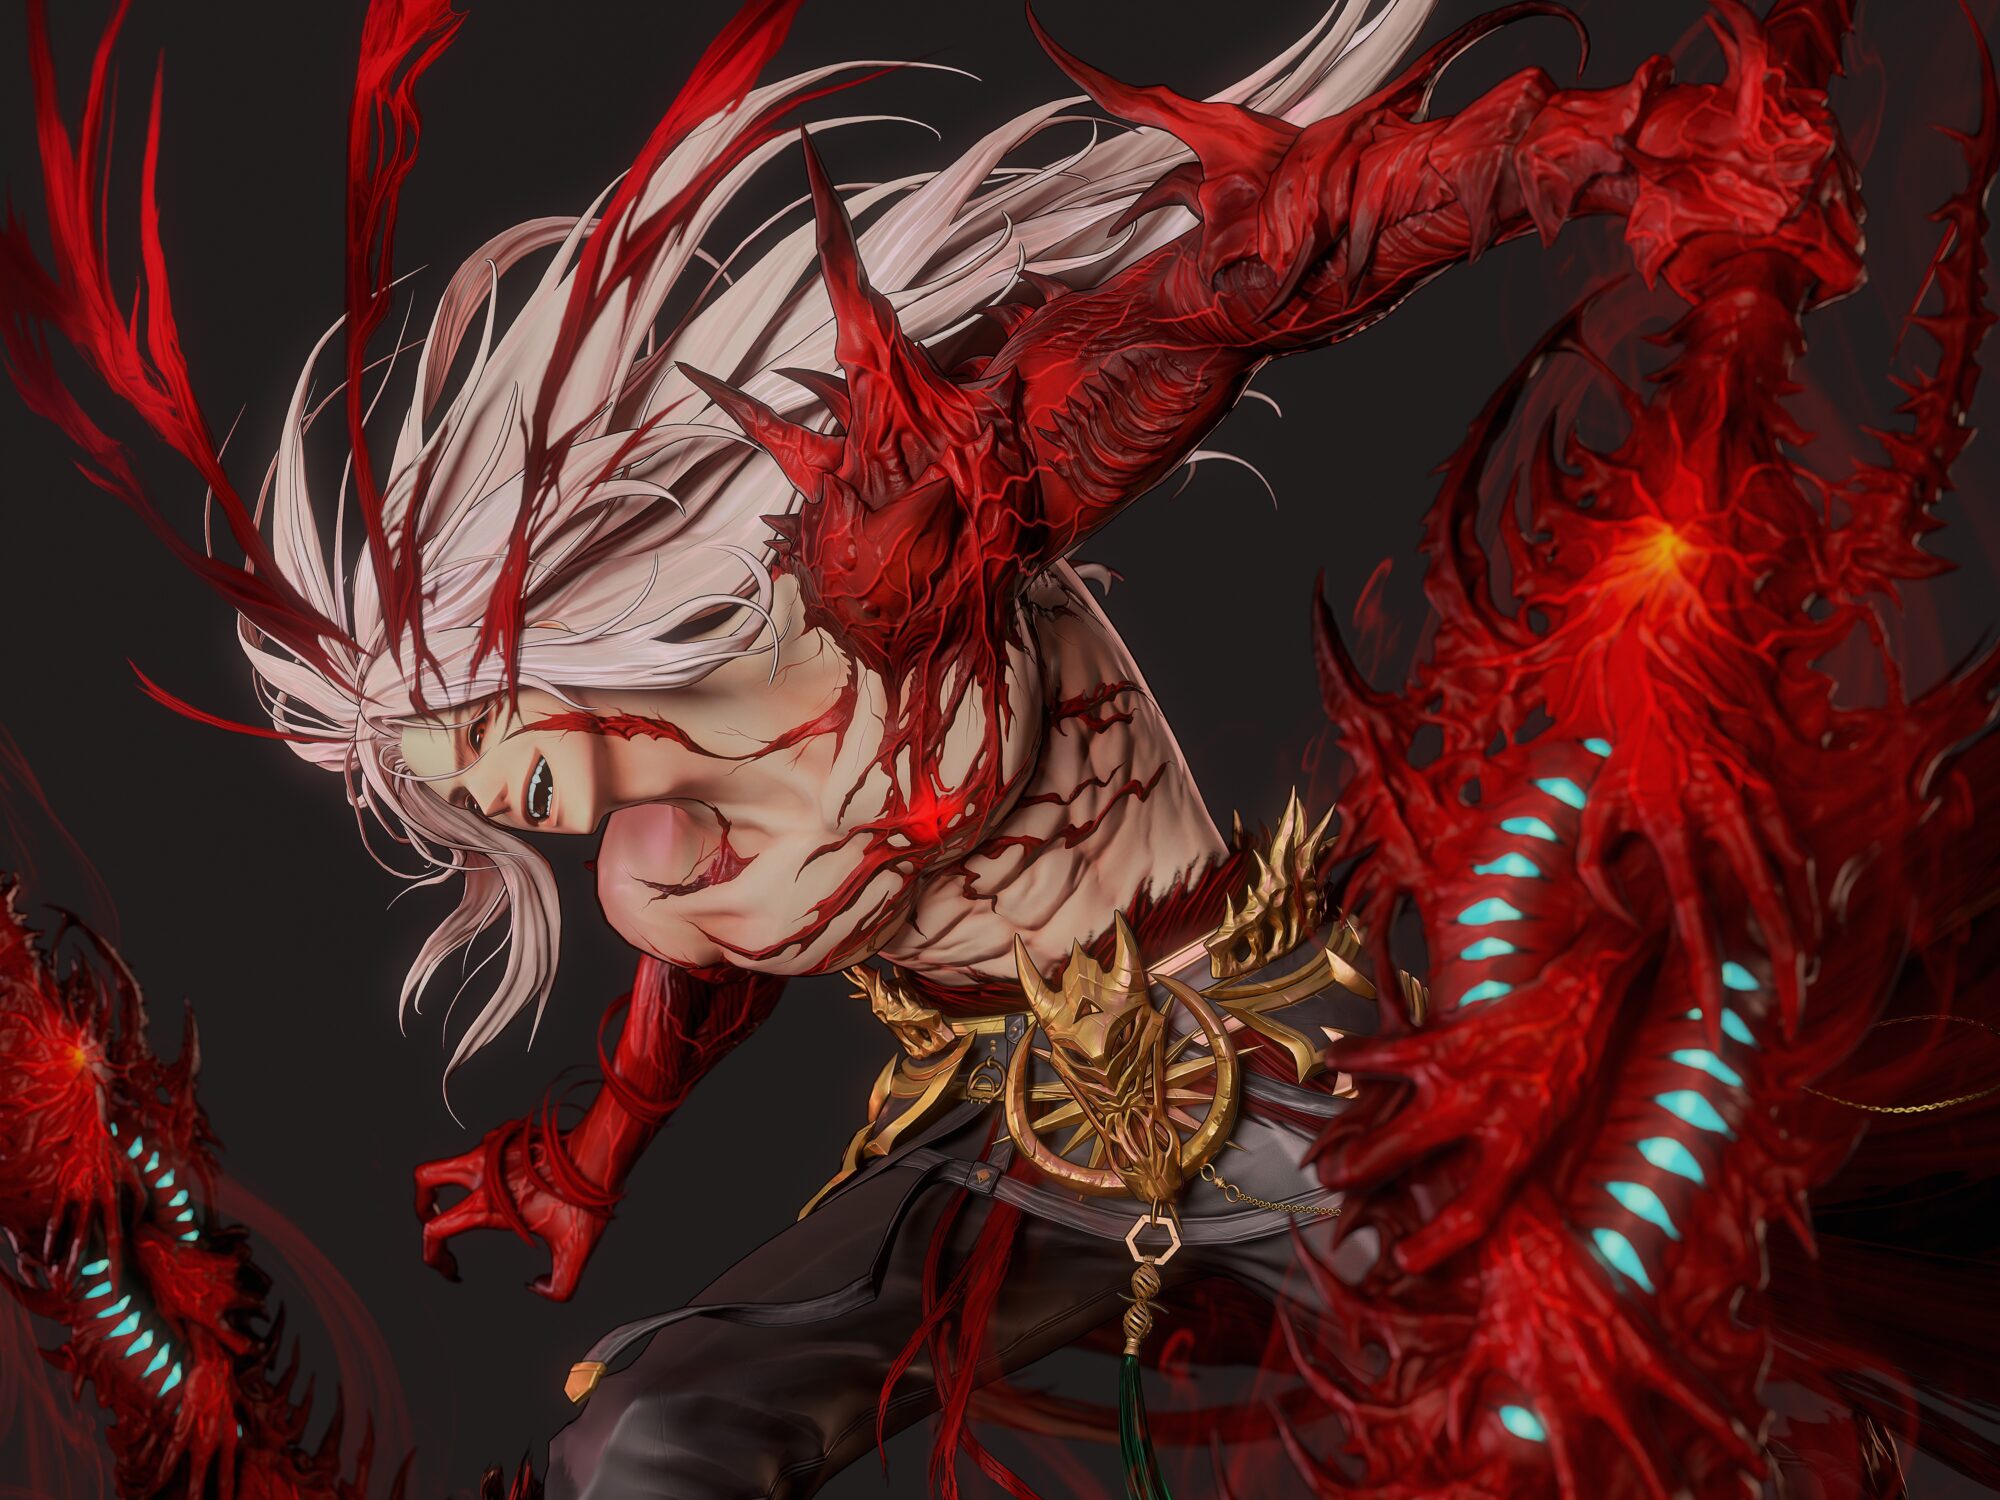
Lady of Thorns


Introduction
Hi guys! My name is Kristina I am a Character Artist from Ukraine.
Project & Goals
I’m learning in Think Tank school online so this project goal was to improve my skills in creating game-ready characters.
I really wanted to create nice armor and to work more with stylized hair that why I choose this character.
Also, I liked the flowers in the concept so I thought it’ll be fun to do.
References
Before starting the project, I always look for inspiration and gather references. Usually, I gather everything that can be useful for my work.
It can be some examples of clothing, anatomy, texturing and also works of other artists which inspire me.
I always try to spend enough time on this stage.

Sculpt time

Blockout
Blockout is probably one of the most important things when you start a project, if you’ll catch the proportions well, everything else will no longer be a problem.
I usually start my work from base mesh and move all the proportions on the lower subdivision level to what I need.

When I’m happy with the result, usually I sketch a face on character and start doing clothes
In the beginning, I keep the clothes and armor as much low poly as possible, this is necessary in order to keep the sculpture clean throughout the work, especially if you work with stylization.
Then I start to block armor in Maya and export my sketch to zbrush.
You can also retopologize your stuff during the sculpting process if you started from dynamesh so it’s no big deal how you do it if it’s looks good
Adding thickness
When a basic shape is done, I start adding the thickness to the armor with panel loops.
Then I break it into polygroups and add creases. Usually, I keep such stuff as armor with dynamic subdivisions almost until the end of the sculpting work It allows the model not to be very heavy and it’s much easier to adjust shapes if I need

If the model seems too low poly in the start, you can always add 1-2 subdivision levels to keep beautiful curves on the armor.
Also do not forget about the borders, they give the armor stylized look.

Blocking details
When the main shape of the armor is ready, I began to sketch where the roses and vines will be.
For the vines, I made a separate brush, it is not much different from the standard hair brush, only flatter.
Here’s a great tutorial from Danny Mac on how to make your own brush.
https://www.youtube.com/watch?v=8YYfq3fqS6k&ab_channel=DannyMac3D
Next, I start to build the main folds on the clothes

I made roses on the head with the help of ArrayMesh function.
I did only one petal and generated it in a circle to quickly create a base for work, then I finished the roses by hand so they don’t look boring.
Here is a great guide on how to make a quick generation with ArrayMesh.
https://www.youtube.com/watch?v=t8gkgdOGvzA&ab_channel=MaximeForveille
Roses on the armor I sculpted from scratch petal by petal, so there is no secret how to make them quickly. You only need some inspiration and patience here.

Hair+Finishing details
For hair firstly I focused on the curves, then I arranged the creases and added details.

In the end, I’ve added details for the armor and created the brush for thorns.
Here is a tutorial for the VDM brush:
https://www.youtube.com/watch?v=jBXs8cUm0CI&ab_channel=FlippedNormals
Below I also show a small tip on creating spiral curves!


Retopology / UV
Once the high poly is done, I decimated all objects and exported to Maya.
For low poly creation I used Quad Draw function.
I recommend this tutorial to look how retopology with Quad Draw works.
https://www.youtube.com/watch?v=xpDWta5O3n8&t=699s&ab_channel=FlippedNormals
For retopology, I collected references of models that were made for animation. Especially references for the face.
It’s important that your topology repeats the shape of your high poly model, this will guarantee that everything go well during the bake.
After my retopology is done, I started unwrapping the character.
It is important always try to hide the UV seams as much as possible so that it doesn’t appear somewhere on the character later.

Tip
If you are going to add a pattern to clothes in texturing stage, try to align the UV on the borders as much as possible
It’s guaranteed that there won’t be visible seams after texturing.
Baking
Before baking, I added gradients in Zbrush with polypaint.
After baking, you can put them in Substance and use it with different modes (like multiply for example)
It looks nicer than procedural gradients in Substance Painter and you have more control when doing your gradients by hand.

Also, I used Zbrush to fill my vines with different solid colors and different stuff that I want to mask separately in Substance Painter later. It helps to mask all the objects with the same Color ID with the Color Selection feature.

I used Marmoset for baking
Baking in a Marmoset is more appropriate for me than in Substance Painter because you can set up a cage size and edit small mistakes, as well you can manually break everything into different groups.
And just for my opinion bakes seems to be much cleaner in Marmoset compared to Substance Painter.
After baking if you have some small issues, it’s okay to fix it in photoshop.

texturing
The texture was made in the Substance Painter
In this project, I tried to pay a lot of attention to gradients and color transitions
Usually, when 20 percent of the texture is ready, I start setting up the scene in the Marmoset where I’ll do the final renders
Usually, for stylized projects, I keep my textures pretty simple and don’t overwork them with details
Ready maps from Substance Painter.

Here is a small tutorial on how I did a flow map for hair.
This map will allow you to give a healthy shine to your hair.

Pose
When 80 percent of the texture was ready, I exported the low poly model to Zbrush and posed it with a Transpose Master plugin also on this stage I did a podium for my character.

Lighting
I think the lighting in the scene is very important.
My character didn’t look decent until I spent enough time on the light setup
Unfortunately, there are no clear instructions on how to make good lighting and it is a very creative process so don’t shy to spend a lot of time on this stage, tweak the lights and shaders to get your better look.
Below is my light setup:


I borrowed the method of the black outline from my supervisor Fred, so I give a link to his tutorial:
https://www.artstation.com/artwork/0XxxEE
Final Note
Don’t be shy to redo things if it doesn’t look very well, it will pay off for sure.
And also don’t forget to have fun when creating your personal project. In the end, only these matter.
Big Thanks to my supervisor Fred Arsenault and Think Tank students for the support!
Thanks to you, I was able to implement this project. Here are a few words to end with.
Thanks for reading!

Read more articles
You might also like these articles.