
Introduction
Hi, my name is Cyrus Kian. I'm a 3D Character Artist from Vancouver, Canada.
Project
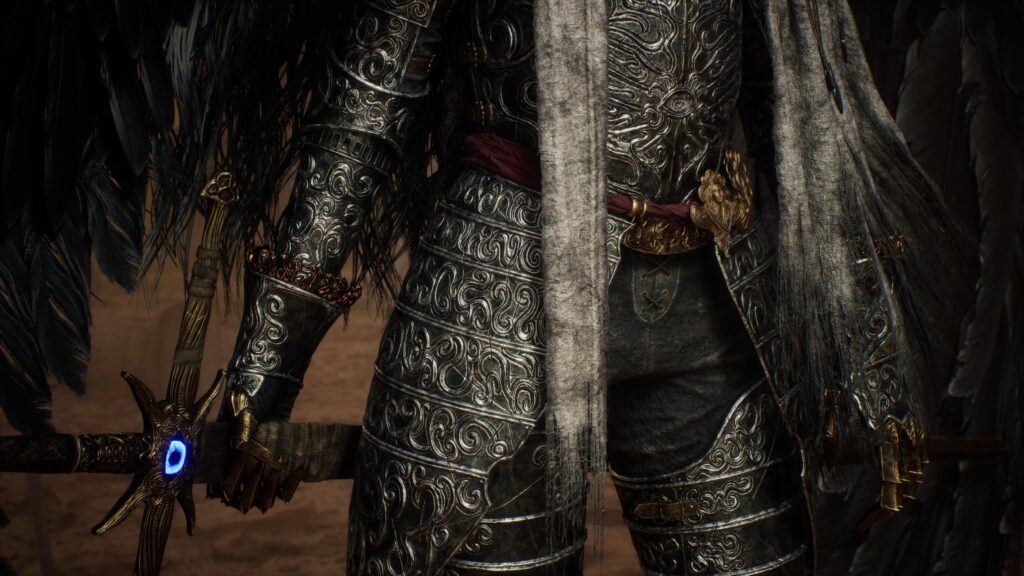
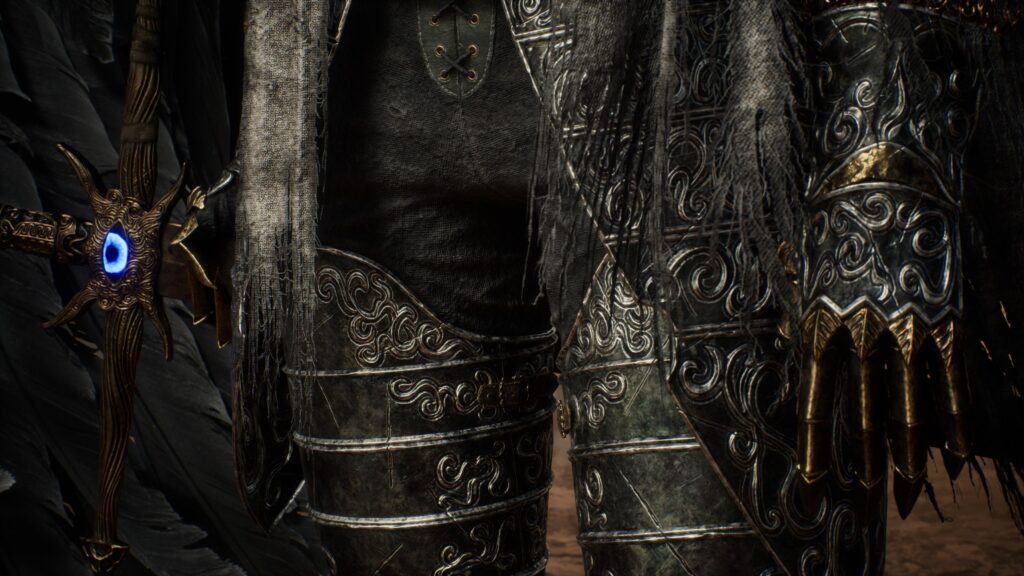
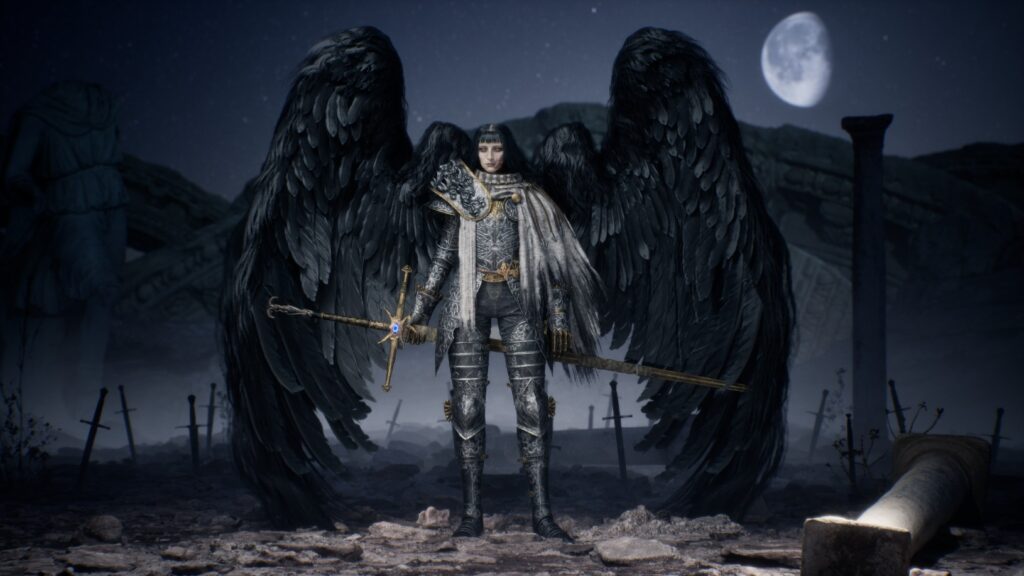
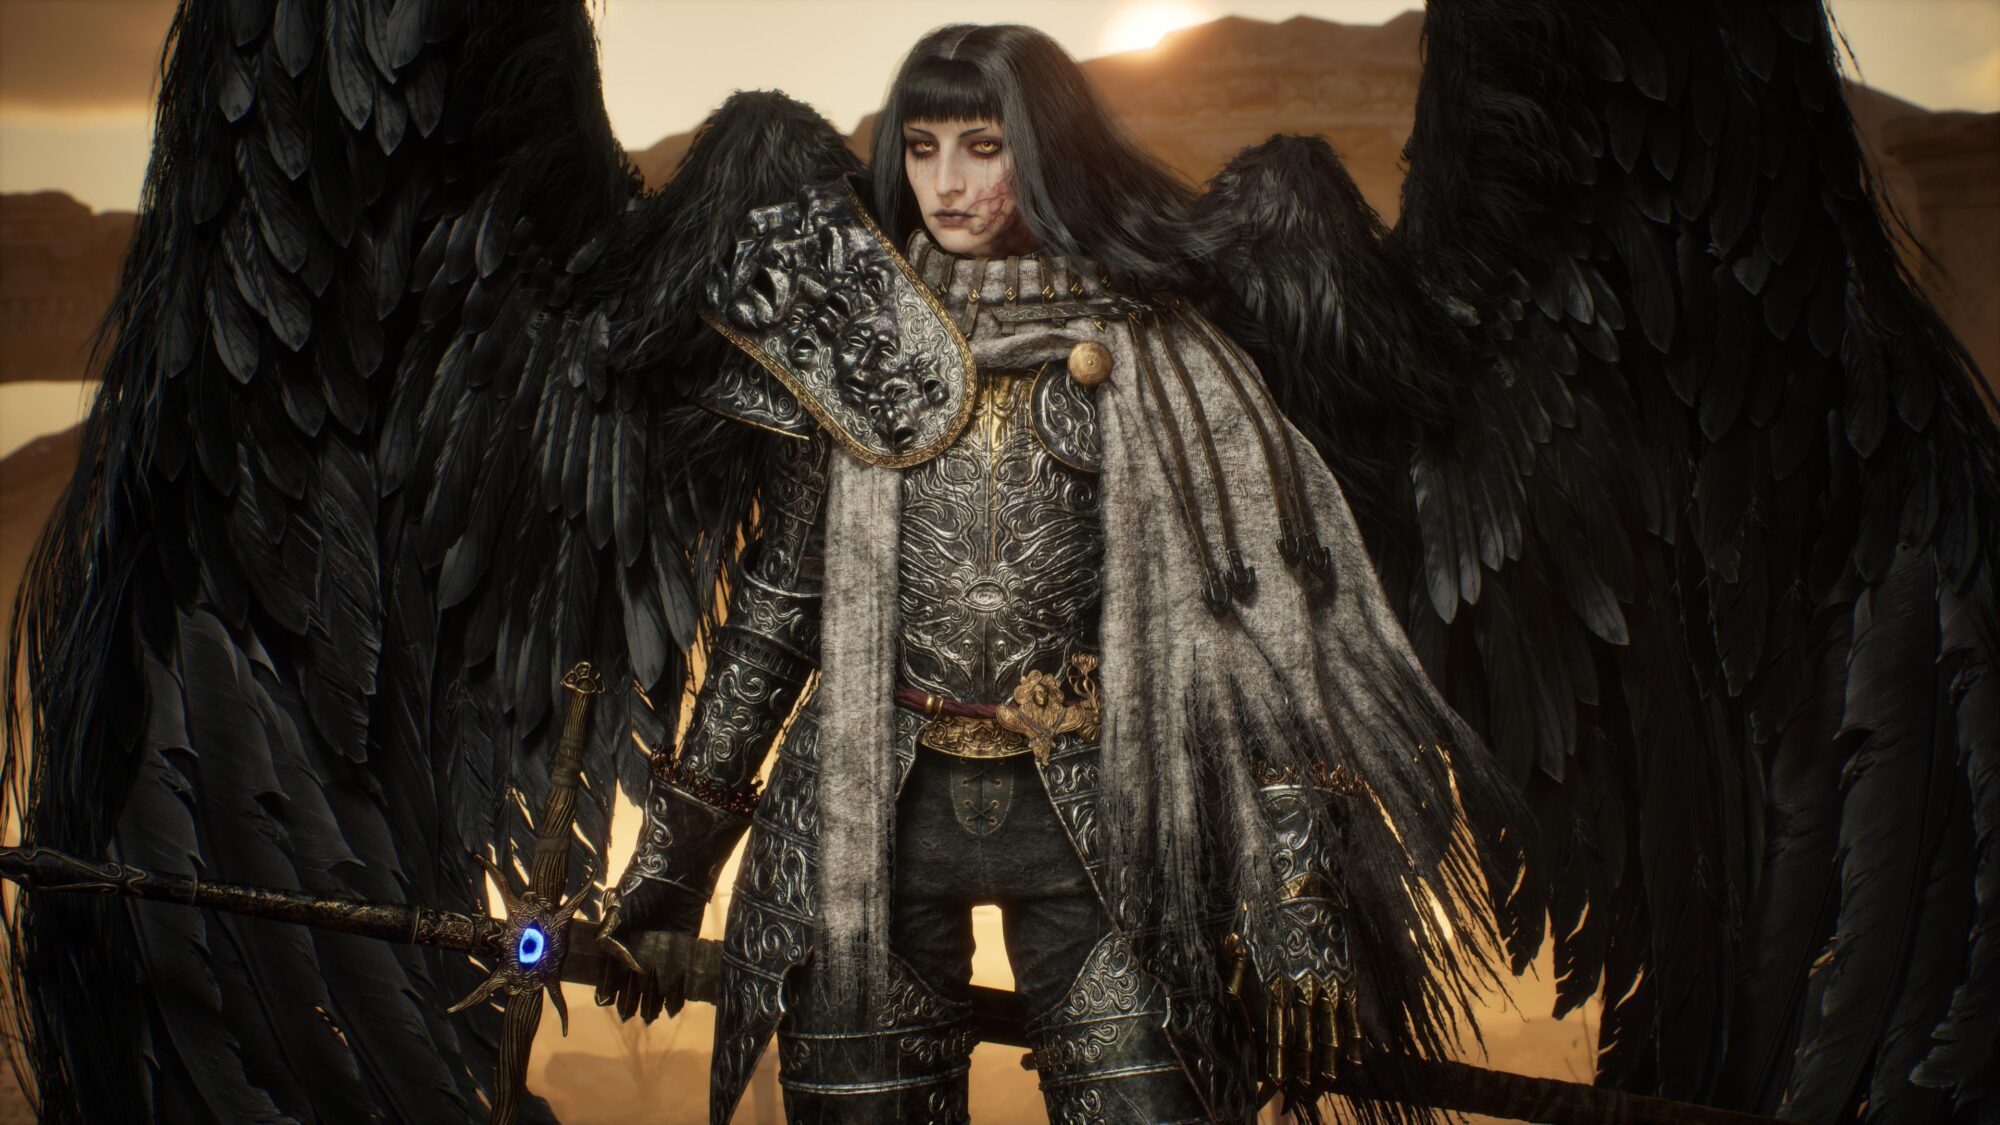
This will be a breakdown of my latest character, Mors, the Morning Star.
For this article, I’ll be going into a little more specific steps. For more general information, see my previous article for Variol, the Fetid Knight.
Huge thanks to Luis Omar for giving me amazing feedback and showing me new techniques every step of this project.
Concept
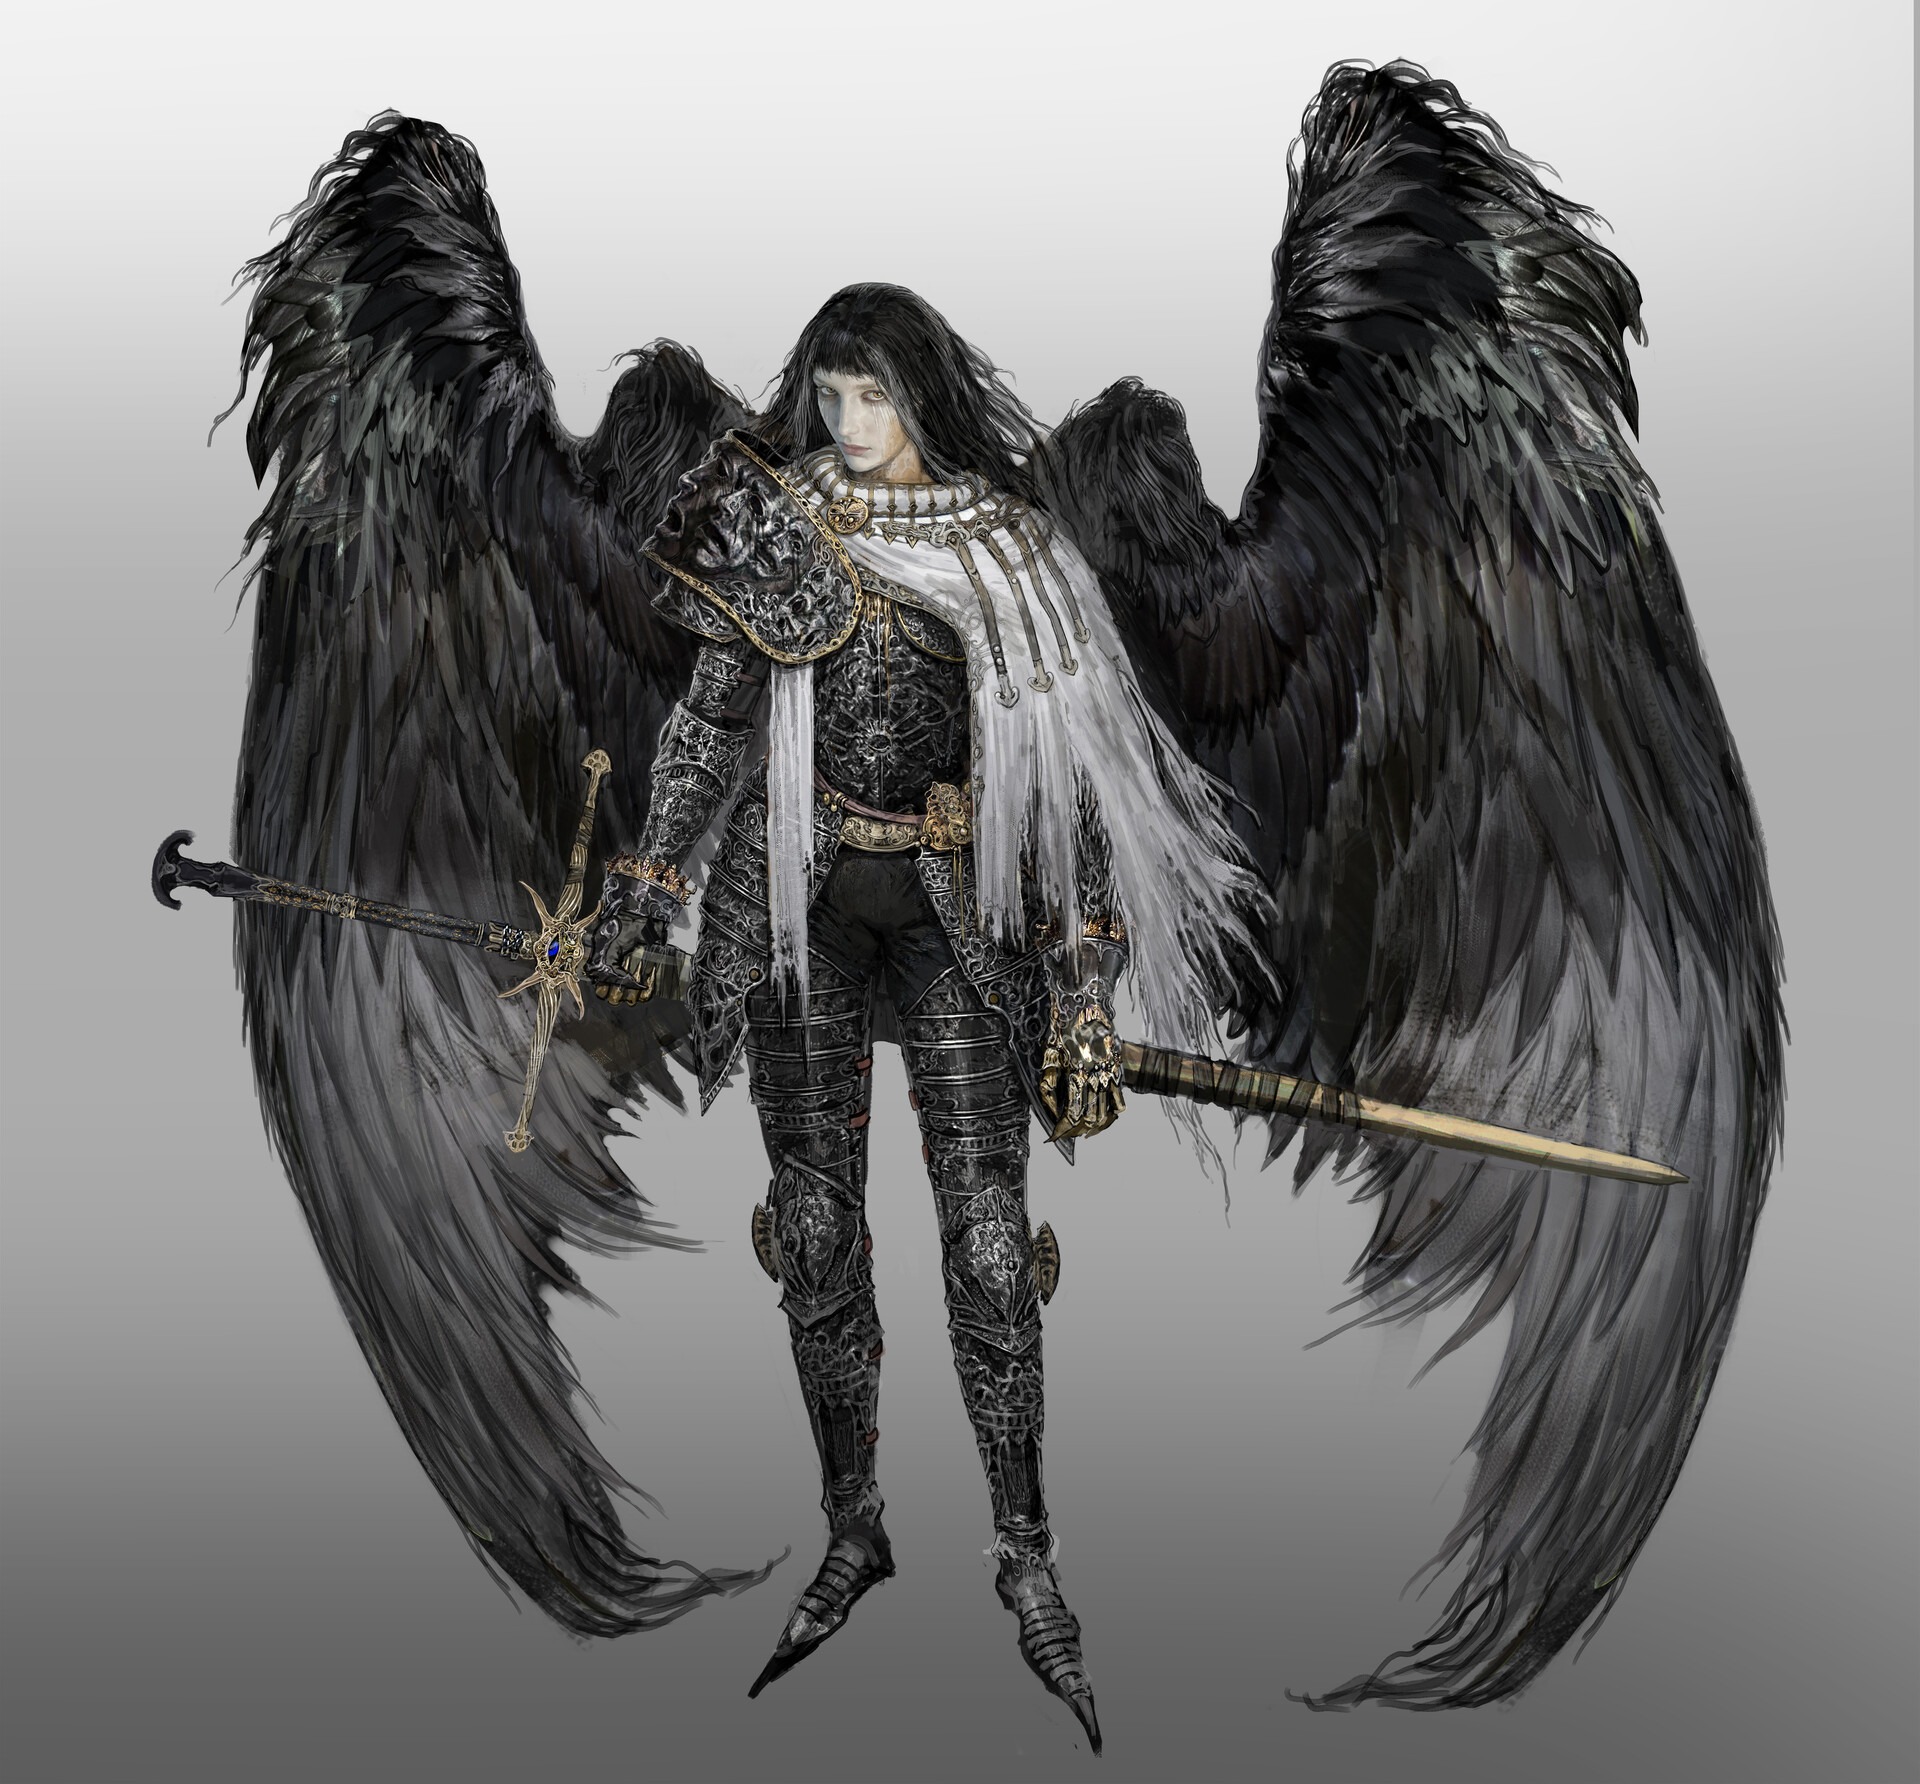
Here is the incredible character concept by Ilya Baydin.
I was very inspired by this concept, as I felt it had so much story to tell, and that’s something I love to do with the characters I make.
Tools
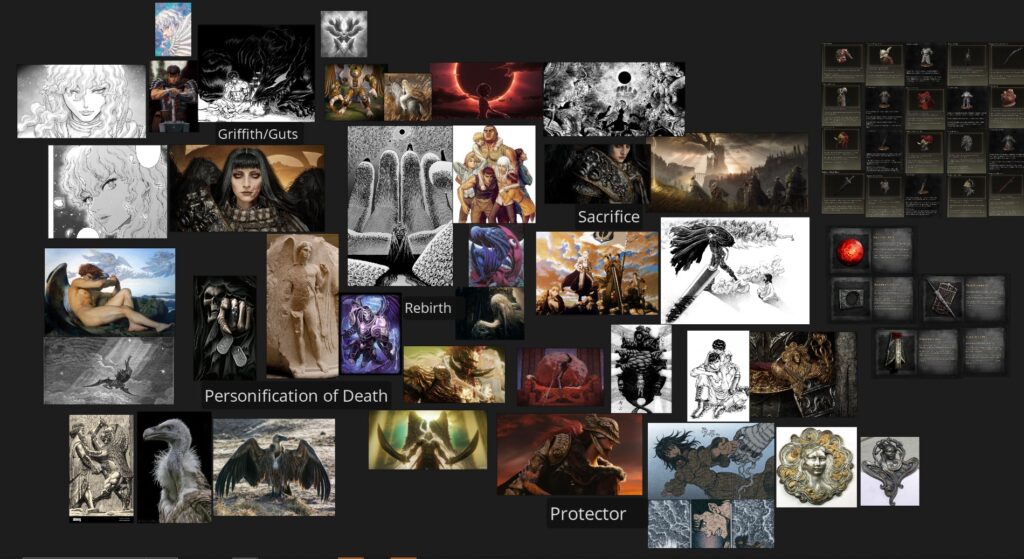
- PureRef: Reference
- ZBrush: Sculpting
- Maya: Retopology/UV/Rigging/Animation
- Substance Painter/Photoshop: Texturing
- FiberShop/GS Curve Tool: Hair
- Quixel Megascans: Environment
- Unreal Engine: Rendering
Reference
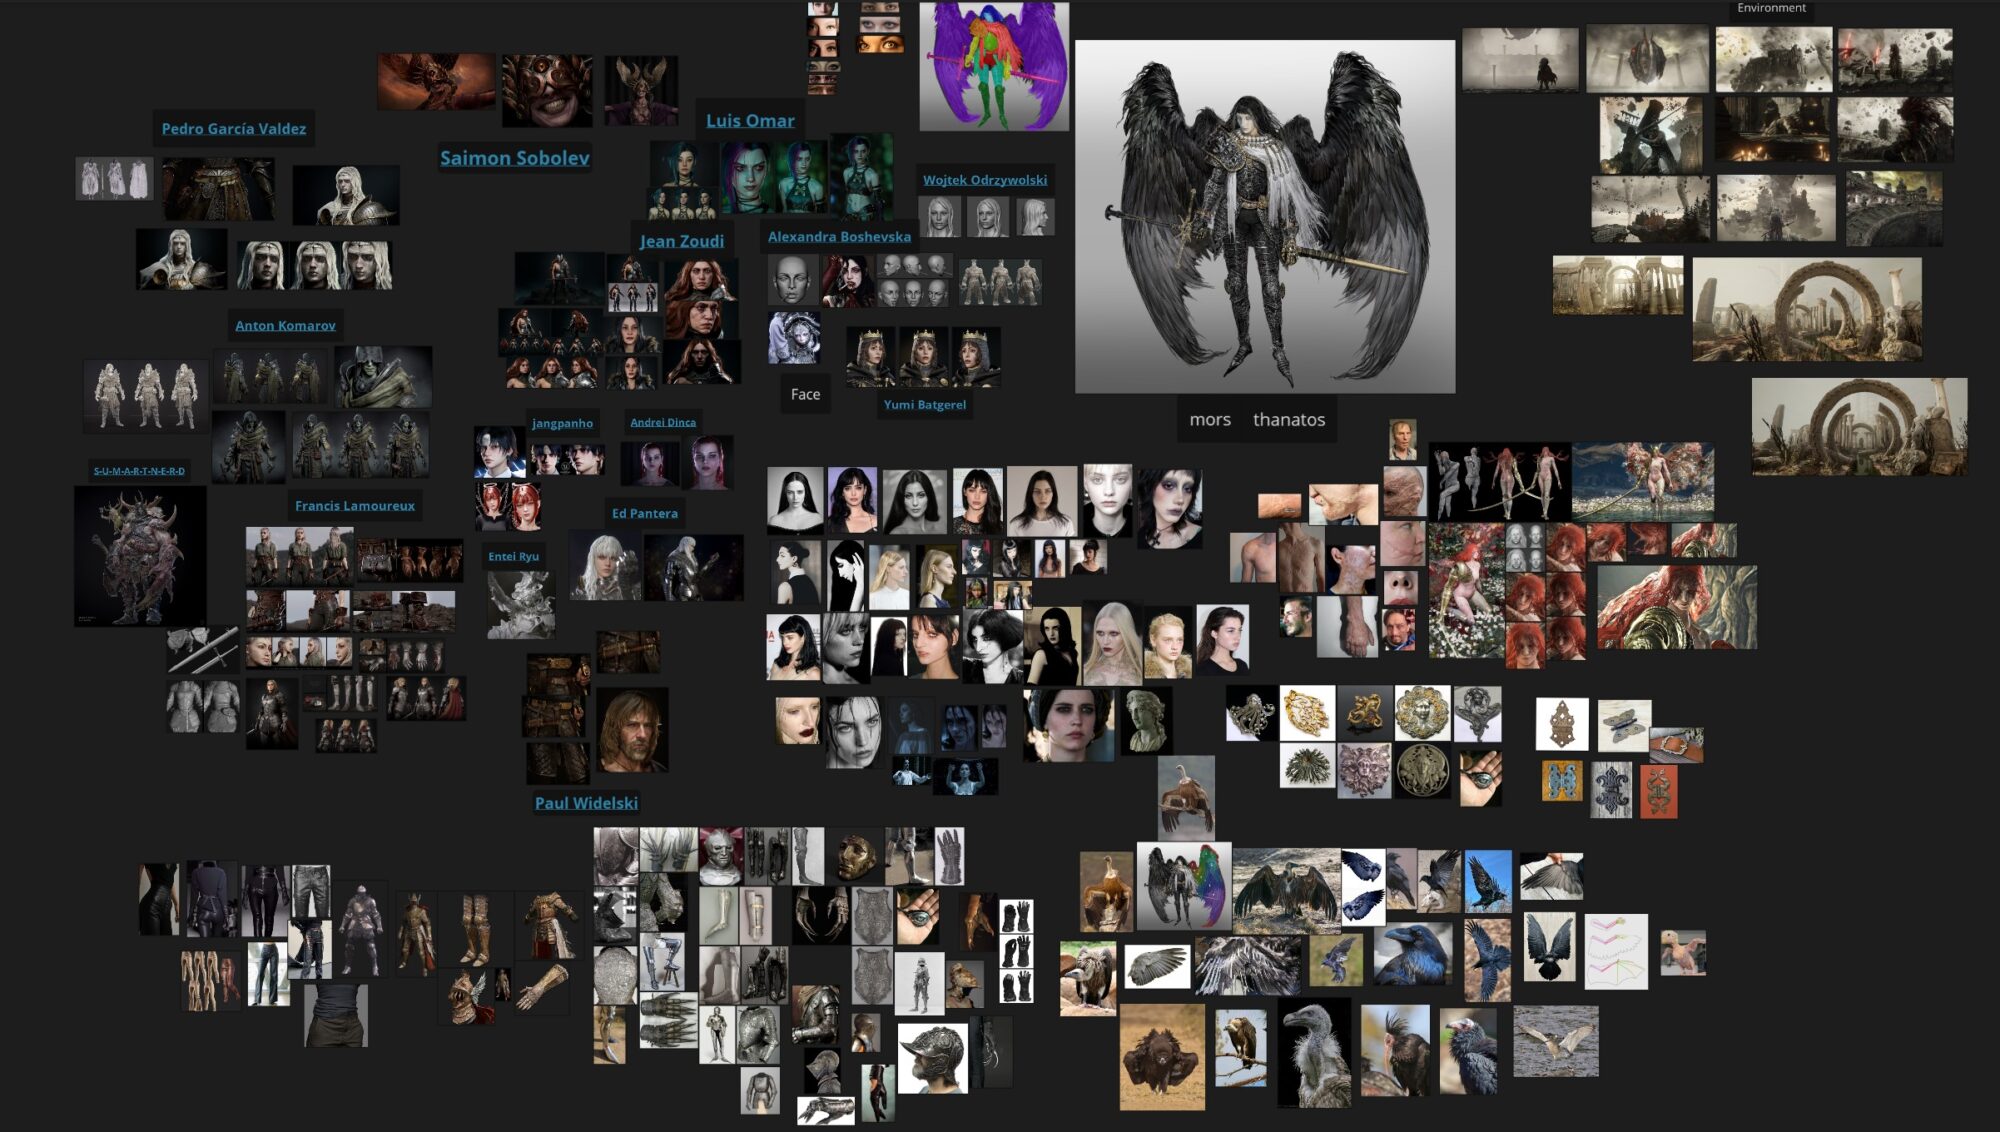
For face reference, instead of sticking to a specific likeness, I prefer to combine features from different models to achieve my desired look.
For example, I gathered several references of models with strong noses, wanting Mors’s nose to emulate the noses found on classical sculptures.
I also gather lots of references from other artists that inspire me to set the quality of work that I strive for.
Blocking
After getting the basic proportions and subtools in place, I spent a long time getting the face to a place I was satisfied with.
Then I went back and forth from the rest of the character to the head so I could take a step back and spot things I needed to fix.
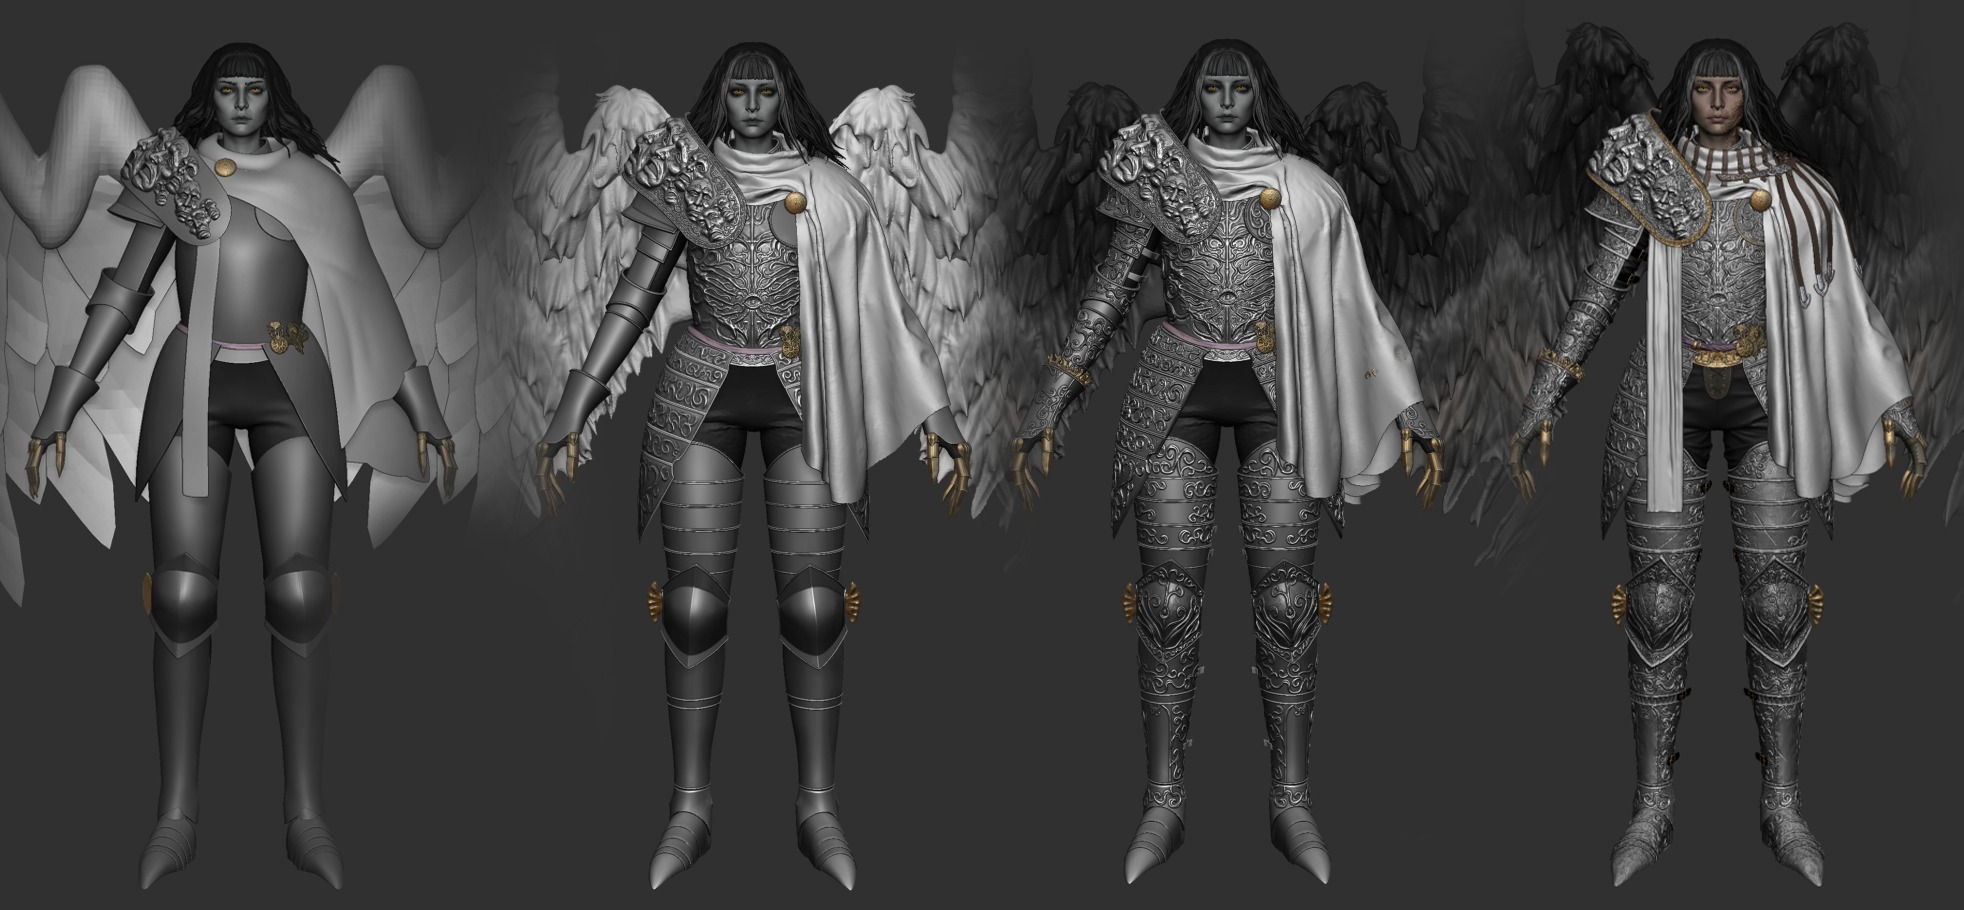
For most of the armor pieces, I started by masking out parts of the body, extruding, then ZRemeshing to get low-poly pieces with clean topology.
Then I used ZModeler and the Move brush to get my desired shapes. This also made the retopology stage much easier since the lowest subdivisions were a great base.
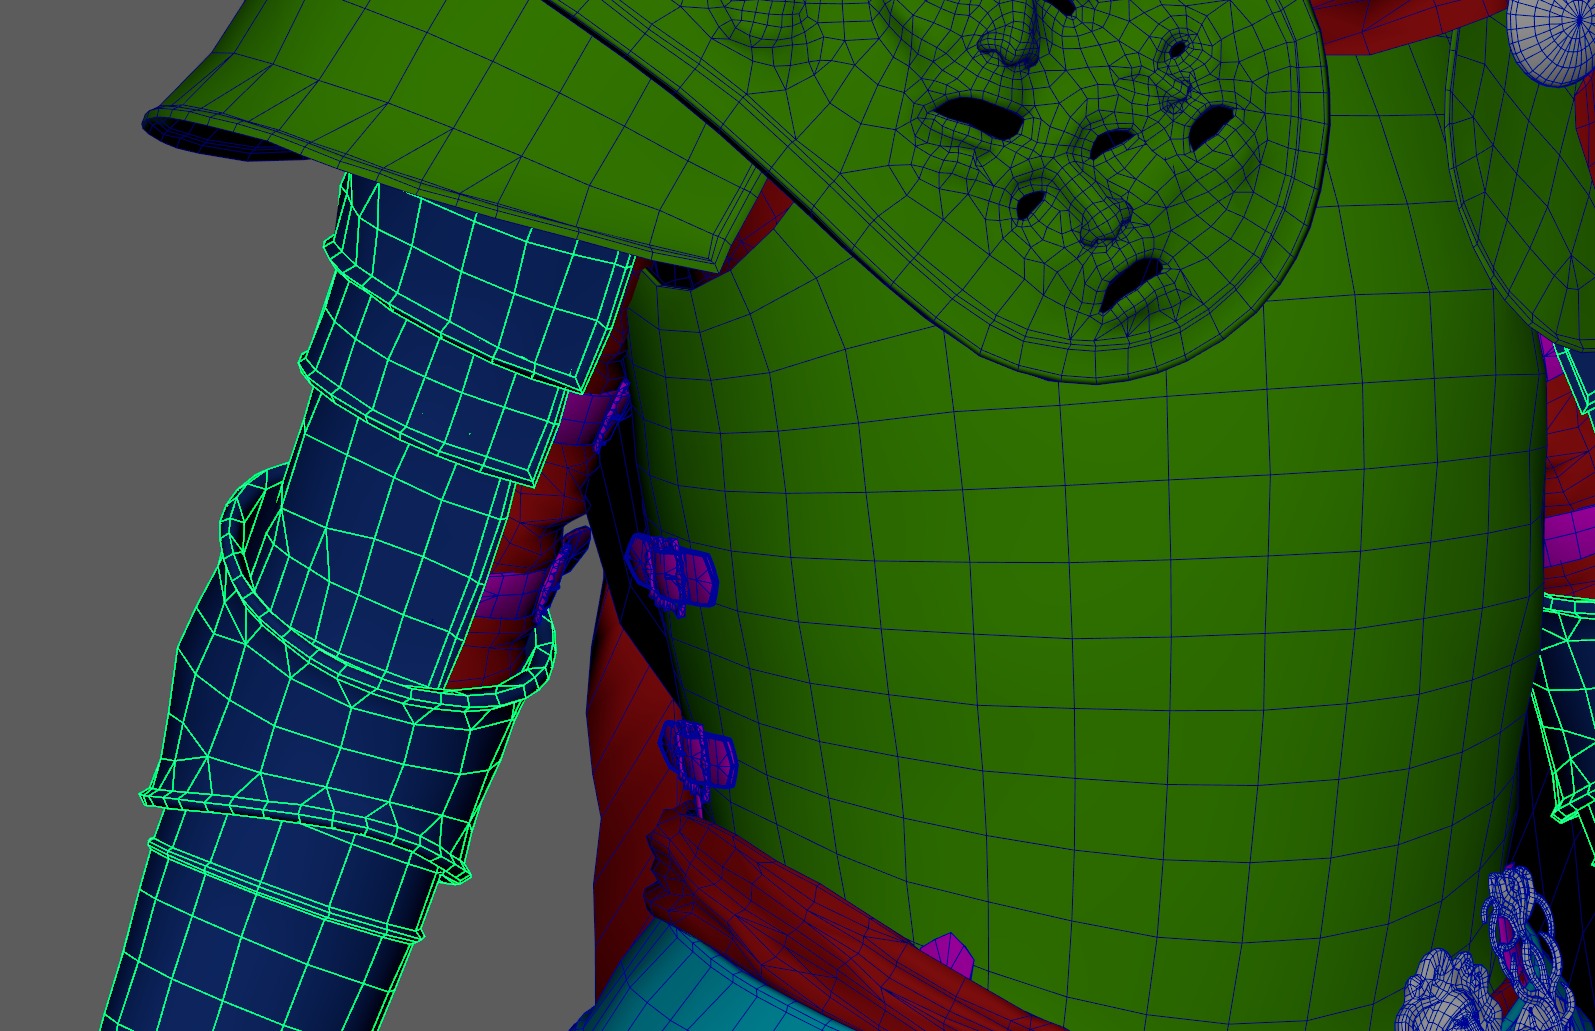
I made the armor trims with the Curve Flat Snap brush and Frame Mesh: Border, then deleted every other loop to get a diamond shape. I later connected the meshes during the retopology stage.
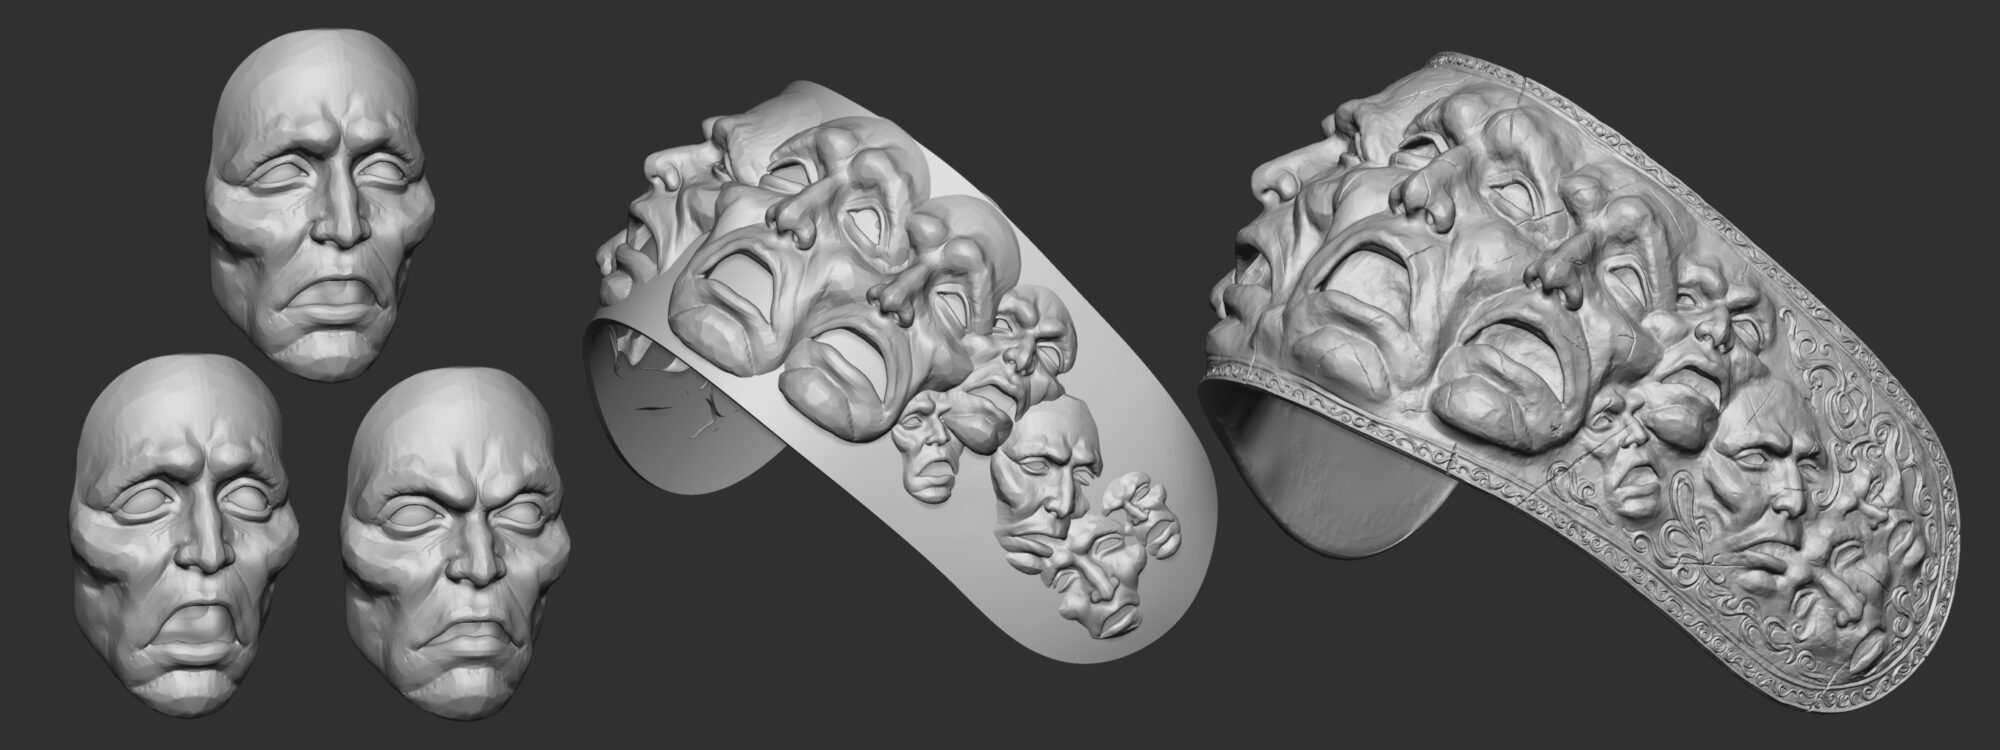
For the pauldron, I started by sculpting several faces with different expressions. Once I got placements I was happy with, I Dynameshed and ZRemeshed to get a cleaner topology for sculpting.
High Poly
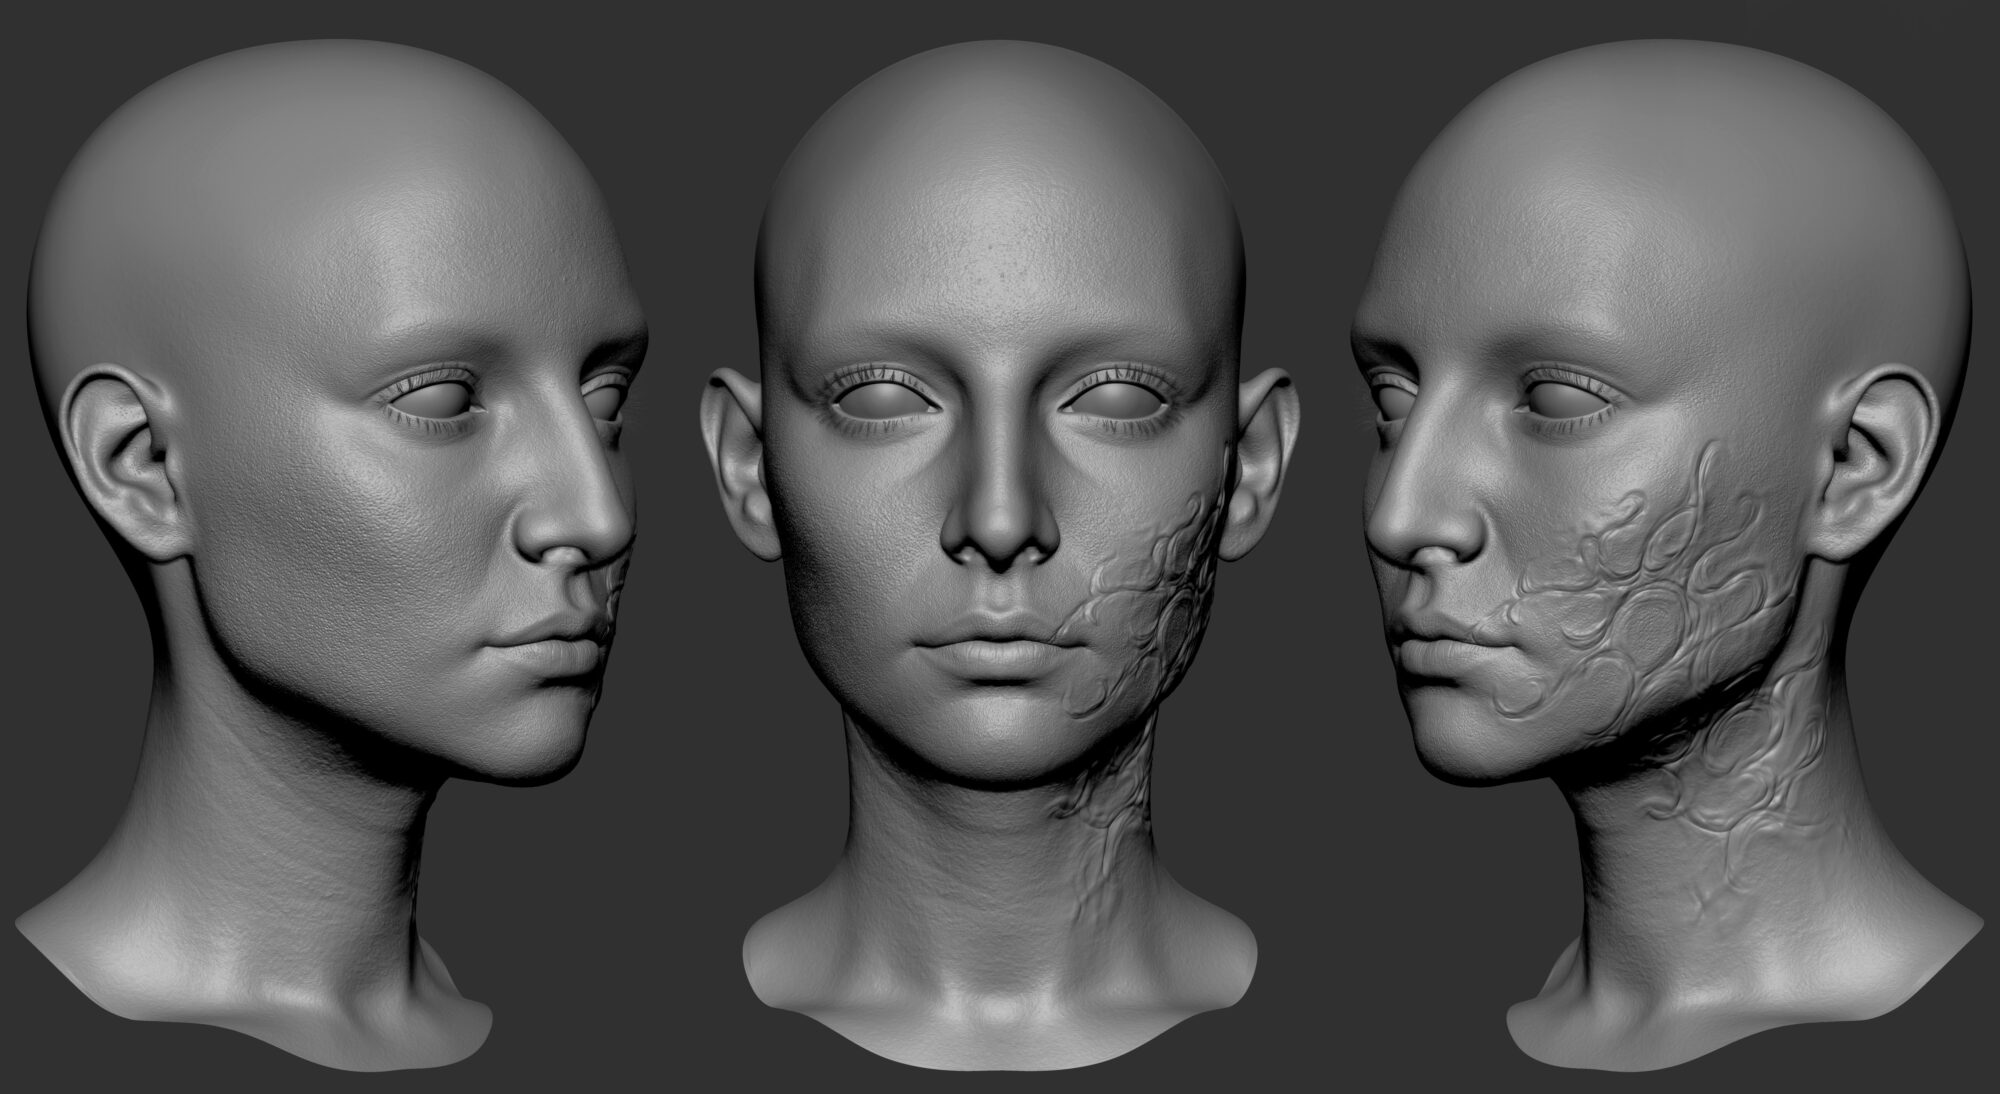
For this project, I started with the XYZ head scan base mesh and later wrapped the head to use Metahuman topology.
I wanted Mors to look slightly androgynous, so I went for a stronger, more masculine, statue-esque nose, more subtle feature transitions and plane changes for a more feminine look on the rest of the face, and slightly bigger eyes for a more stylized look.
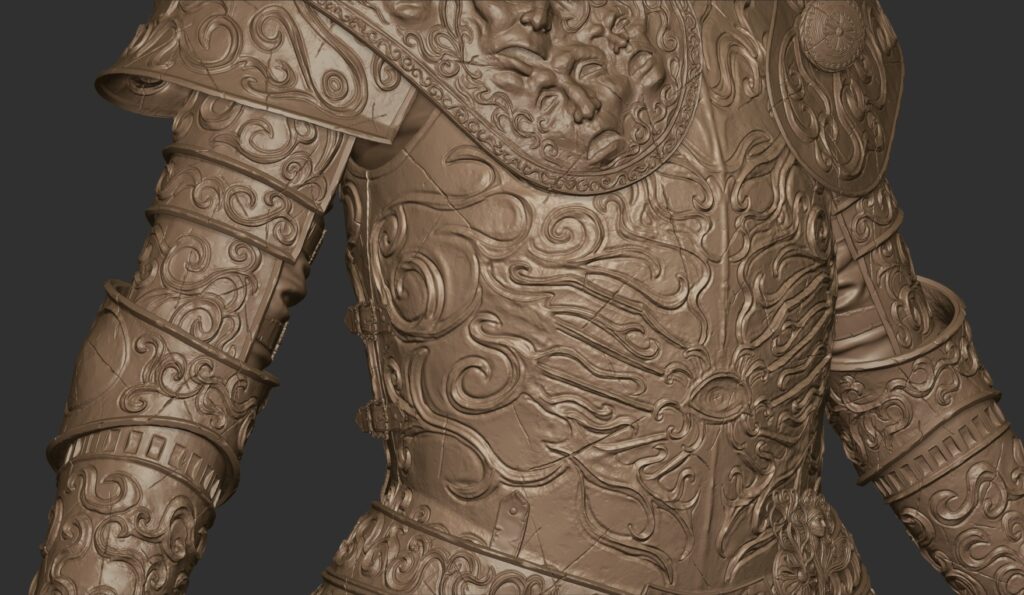
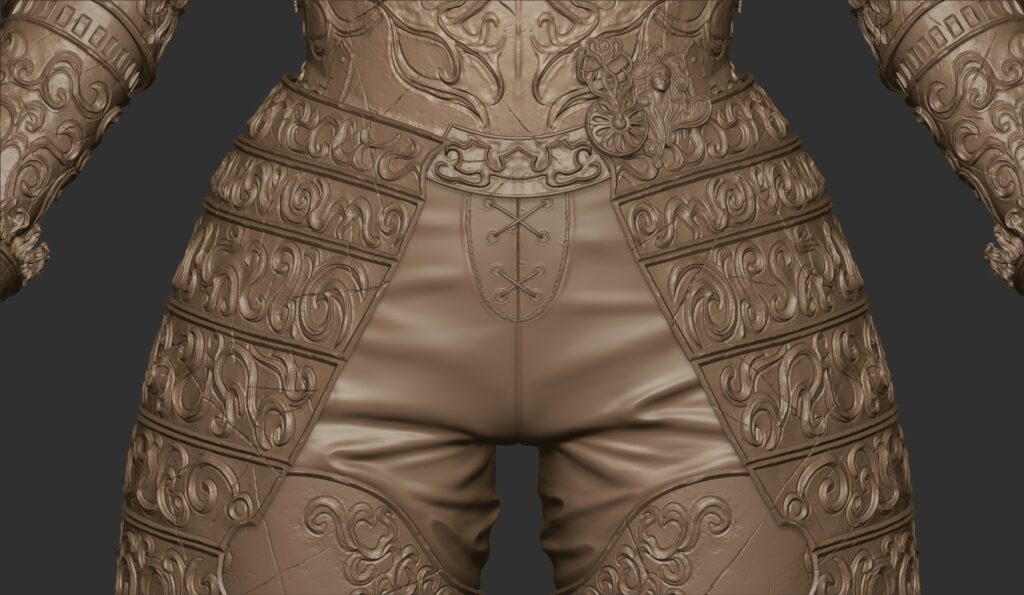
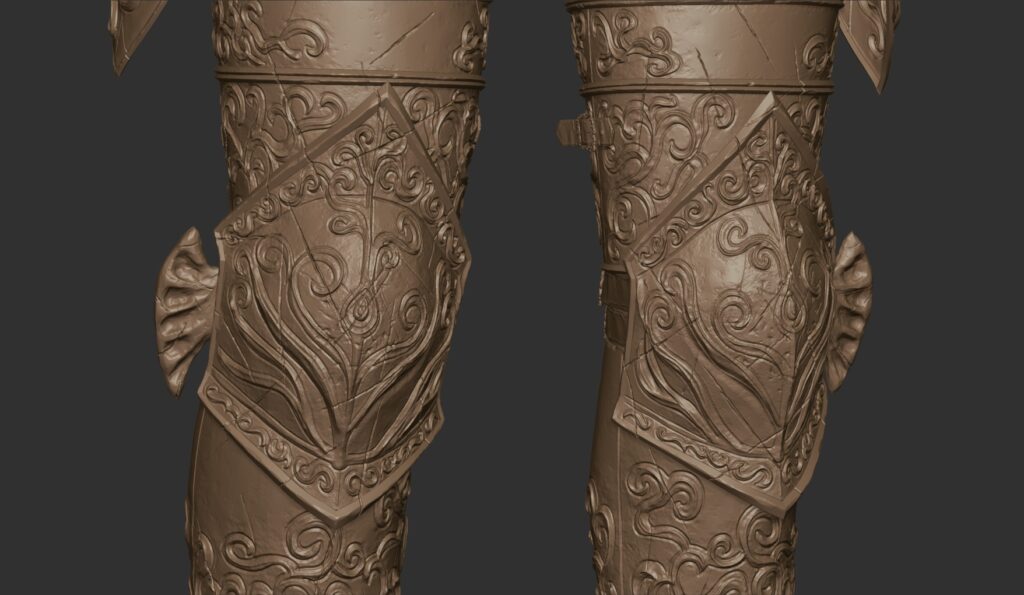
The biggest task for me in this project after the face was the large amount of filigree details.
I started with a base blockout pass using the Standard brush, then several more passes with varying sizes of the Orb Cracks brush to pull out and carve the swirling designs.
Once I was happy with the shapes, I went in for another pass with a smaller, sharper Orb Cracks brush to crisp the details up.
The filigree was protruding too much from the armor, so I used the Amp Detail feature from the Ryan’s Tools Plugin to make them flatter.
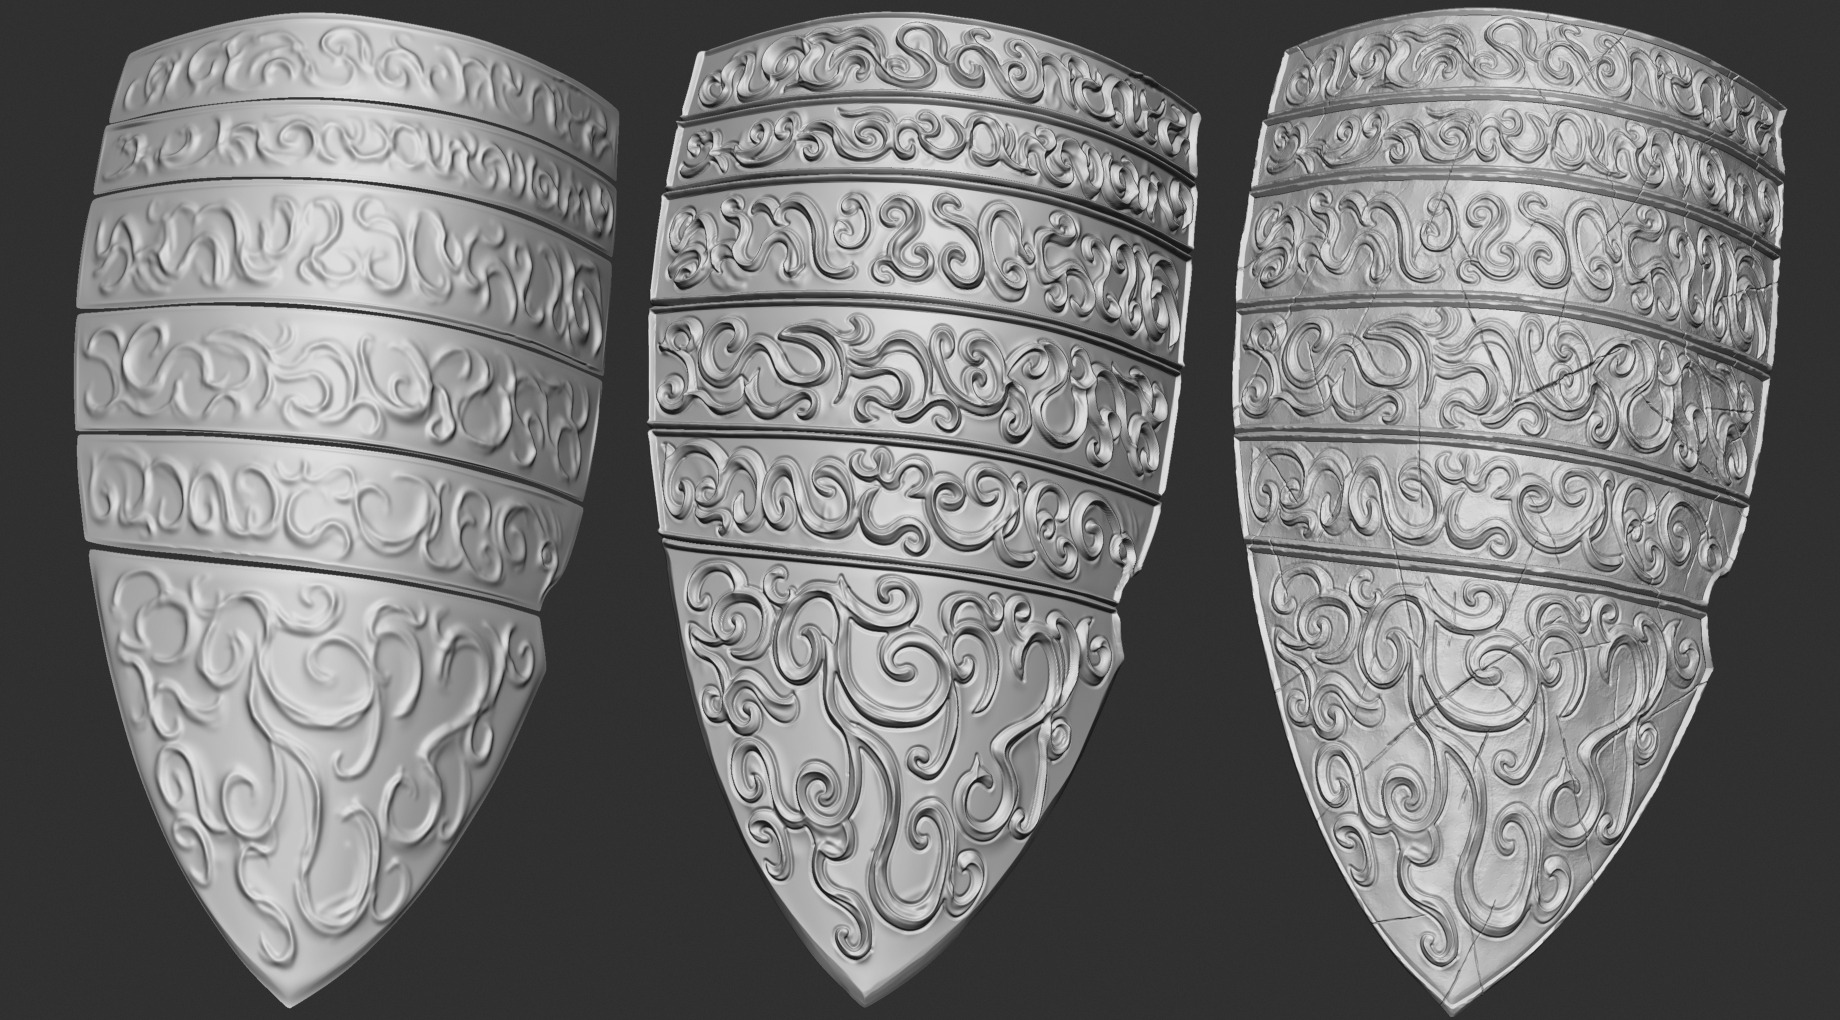
When I was finished with the filigree, I did a wear pass on the armor using Orb Rock Noise, Orb Flatten, and Trim Dynamic to roughen the surface up, and added scratches with the Orb Slash brush.
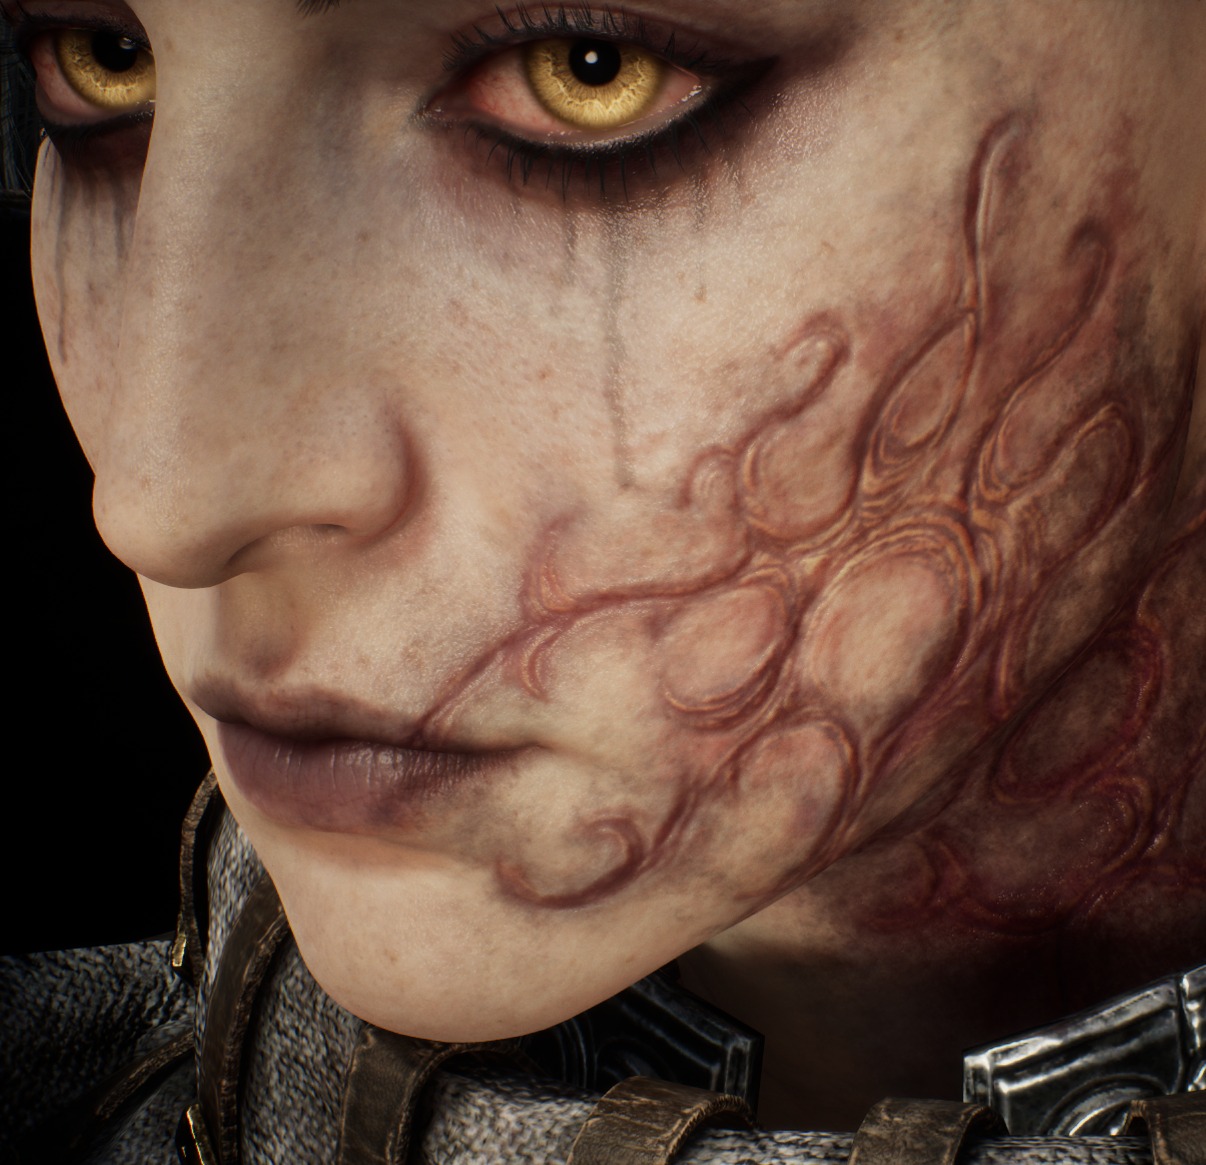
I experimented with several different versions of the scar on their face: one more like a burn, another more akin to Malenia’s scarlet rot.
I ended up going with a sort of growing magical curse mark that has a similar motif to the armor.
I wanted to add some storytelling, showing that their corruption was more purposeful and unnatural, perhaps stemming from the armor itself.
Hair & Wings
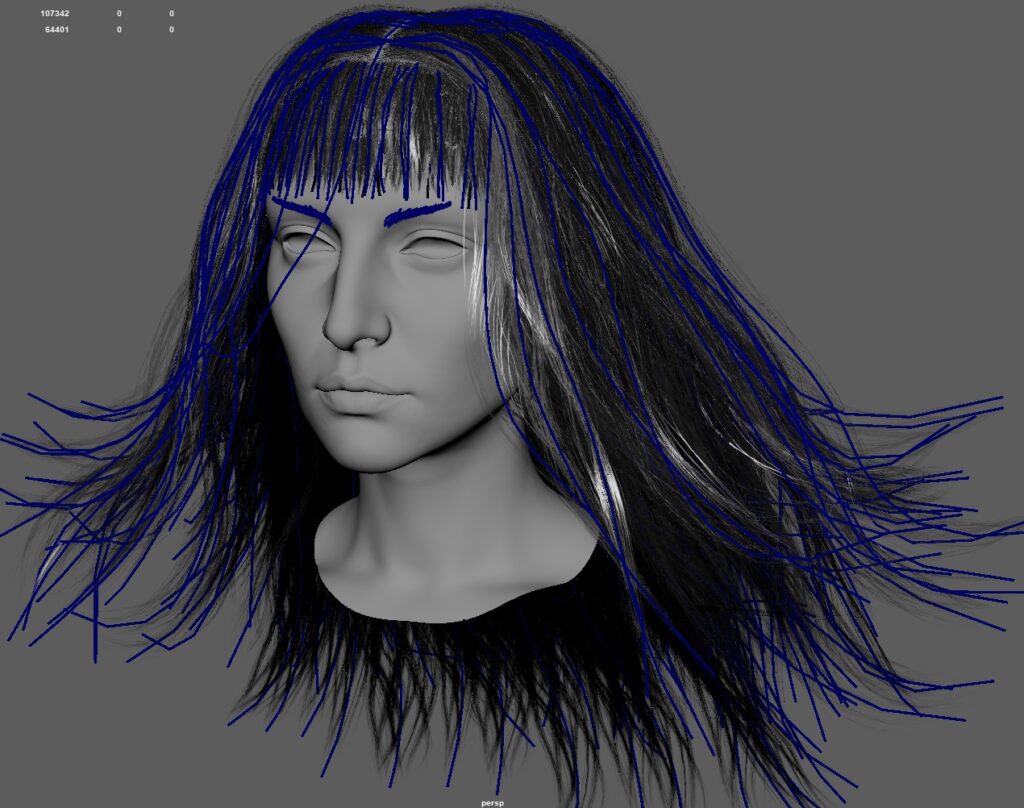
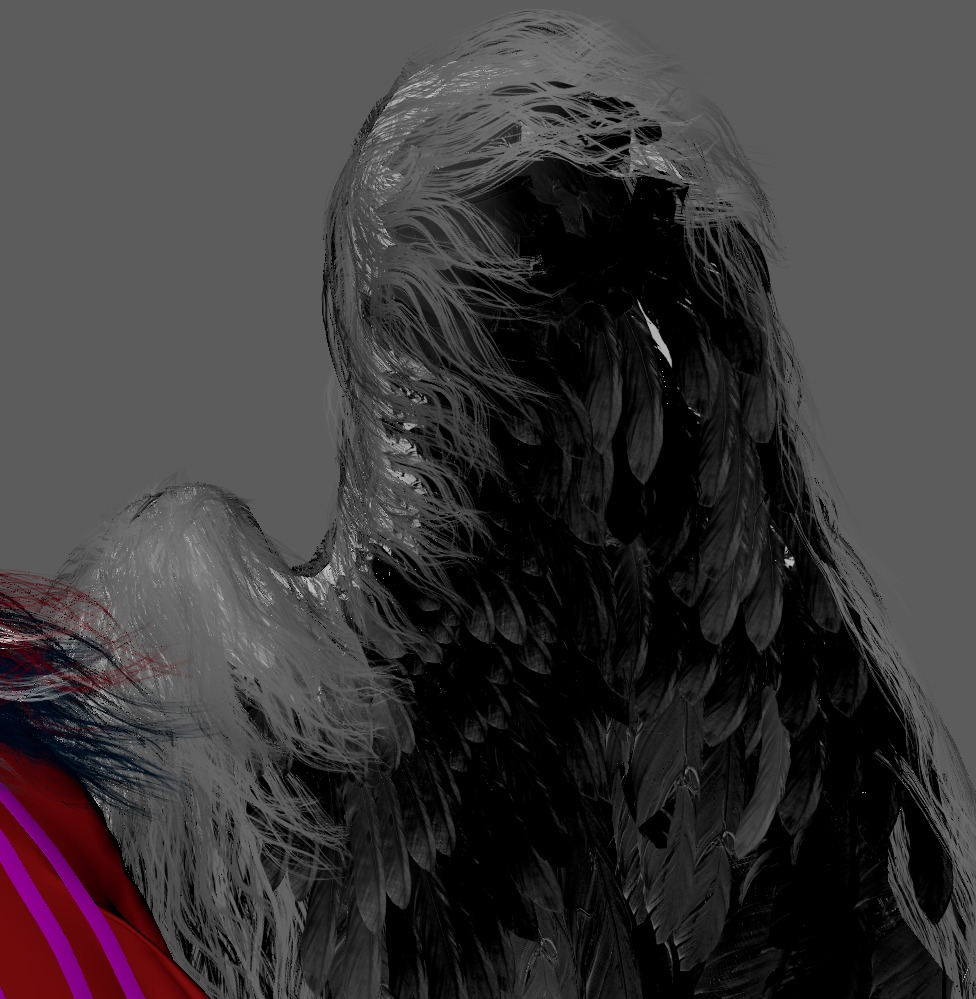
Using GS Curve Tool and FiberShop, I started by adding a hair cap to cover the scalp and then made a base layer to provide the bulk of their hair.
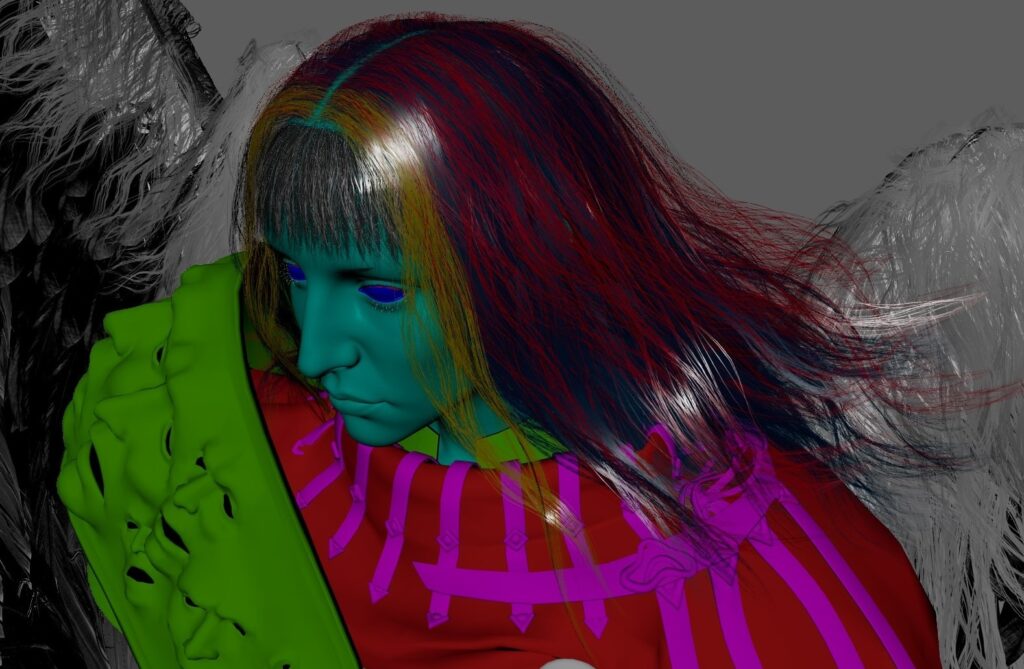
I then added more layers for stray hairs and breakup. Once inside Unreal Engine, I adjusted the hair material to change the colors of specific sections to match the concept.
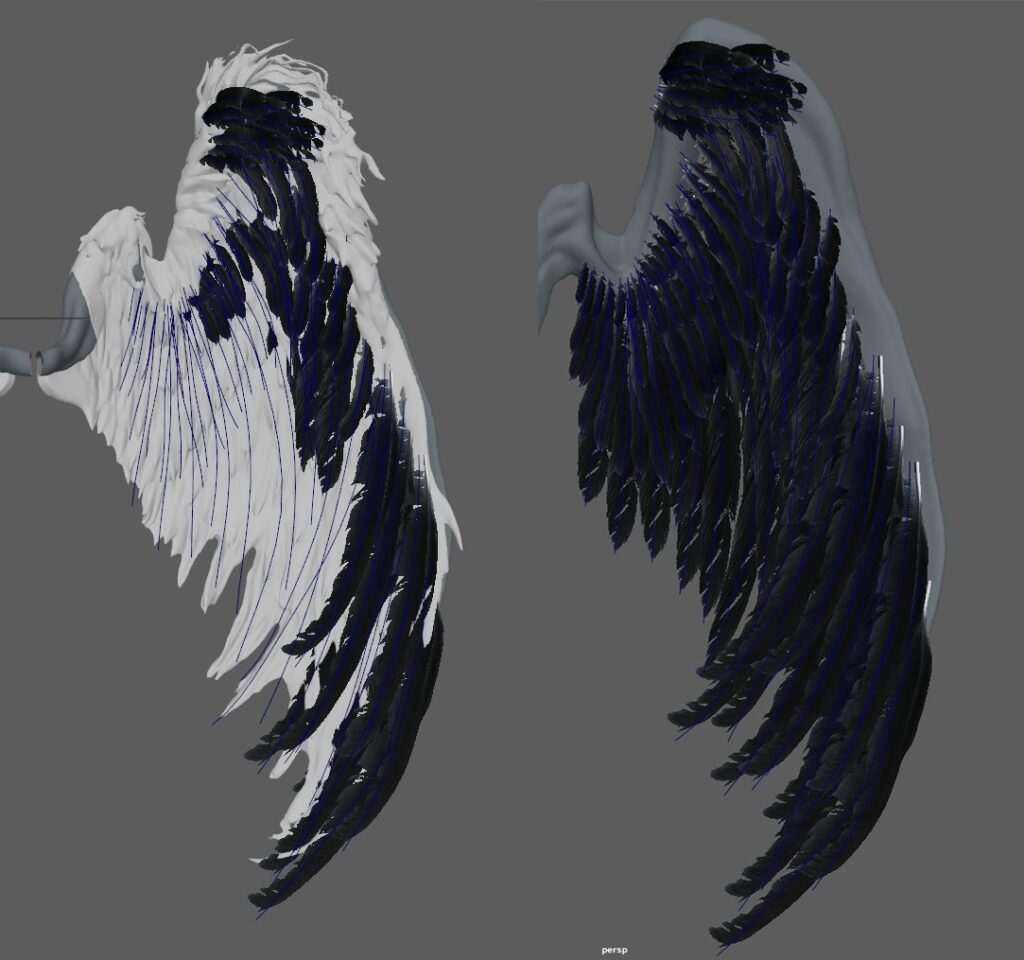
The same principles applied to the wings.
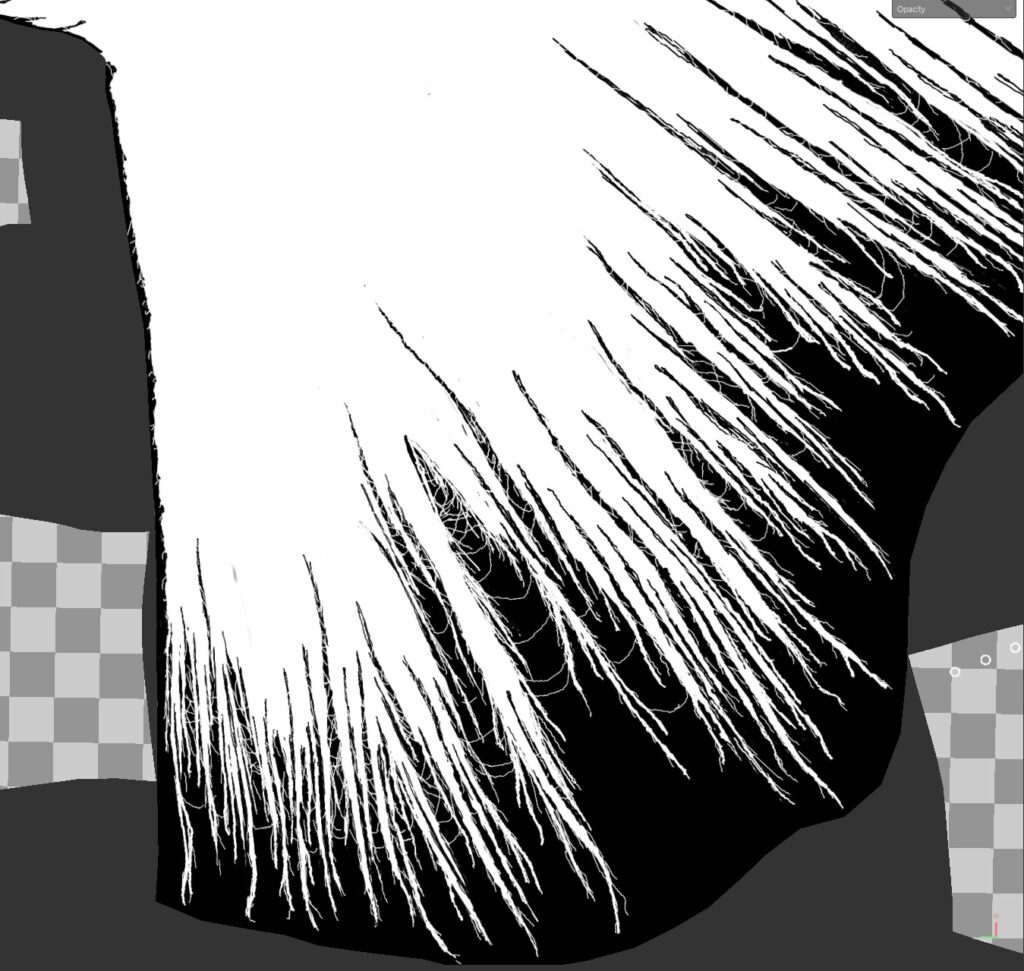
To start the wings, I brought my blockout sculpt into Maya and used the Curve Tool to place the feather curves directly onto the mesh.
Then I selected all the curves and used GS Curve Tools to convert them into cards.
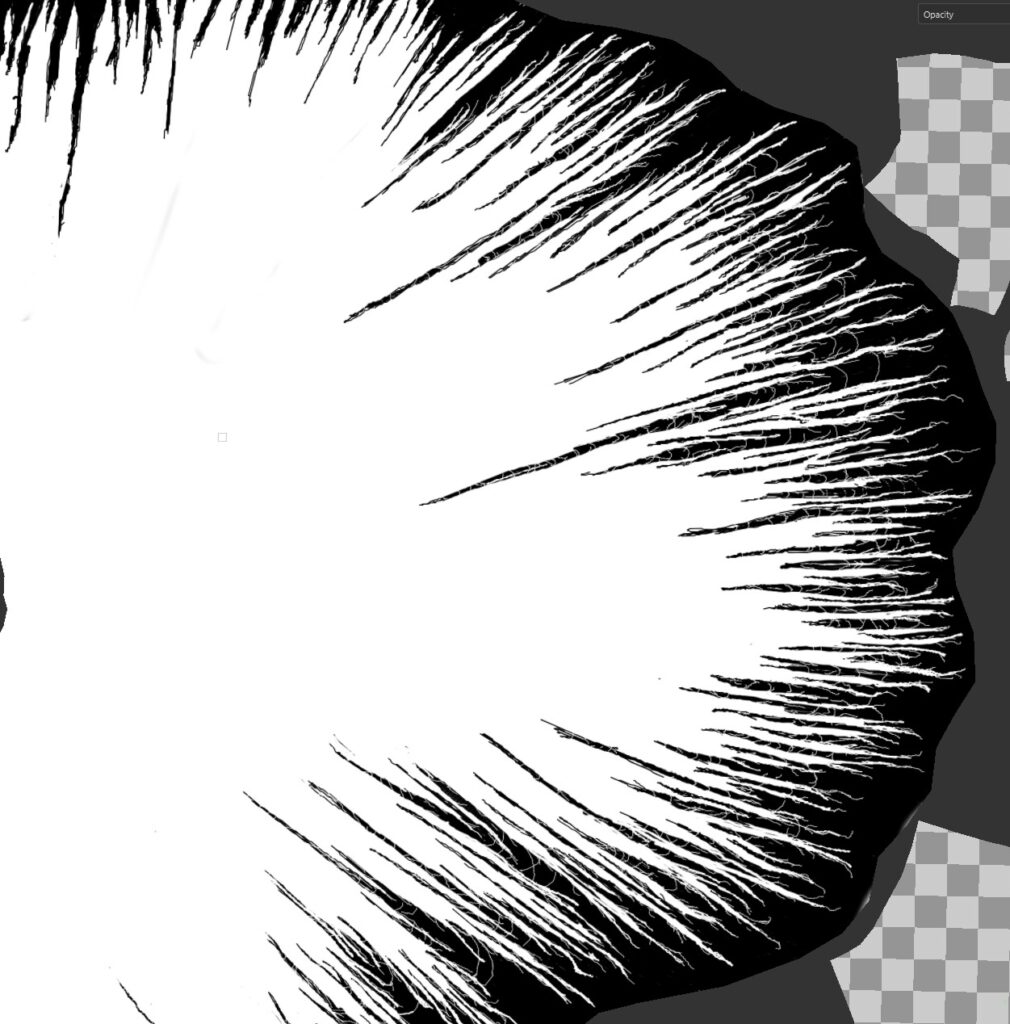
Once I had groups of cards, I used the feather alphas from Quixel to assign groups to different feather clumps and made the top layer with wiry hairs.
Texturing & Lookdev
Once the character was retopologized and UV’d in Maya, I set up my basic Unreal Engine scene so I could see what my textures looked like in the actual engine.
For the head texture, I started with the XYZ texture albedo, then used lots of HSL layers to adjust the colors and tones.
I grabbed the normal directly from the ZBrush bake after wrapping the head with XYZ skin textures for the pore and wrinkle details.
I also used a cavity map that I made in ZBrush as a base for the roughness map to make the pores stand out more.
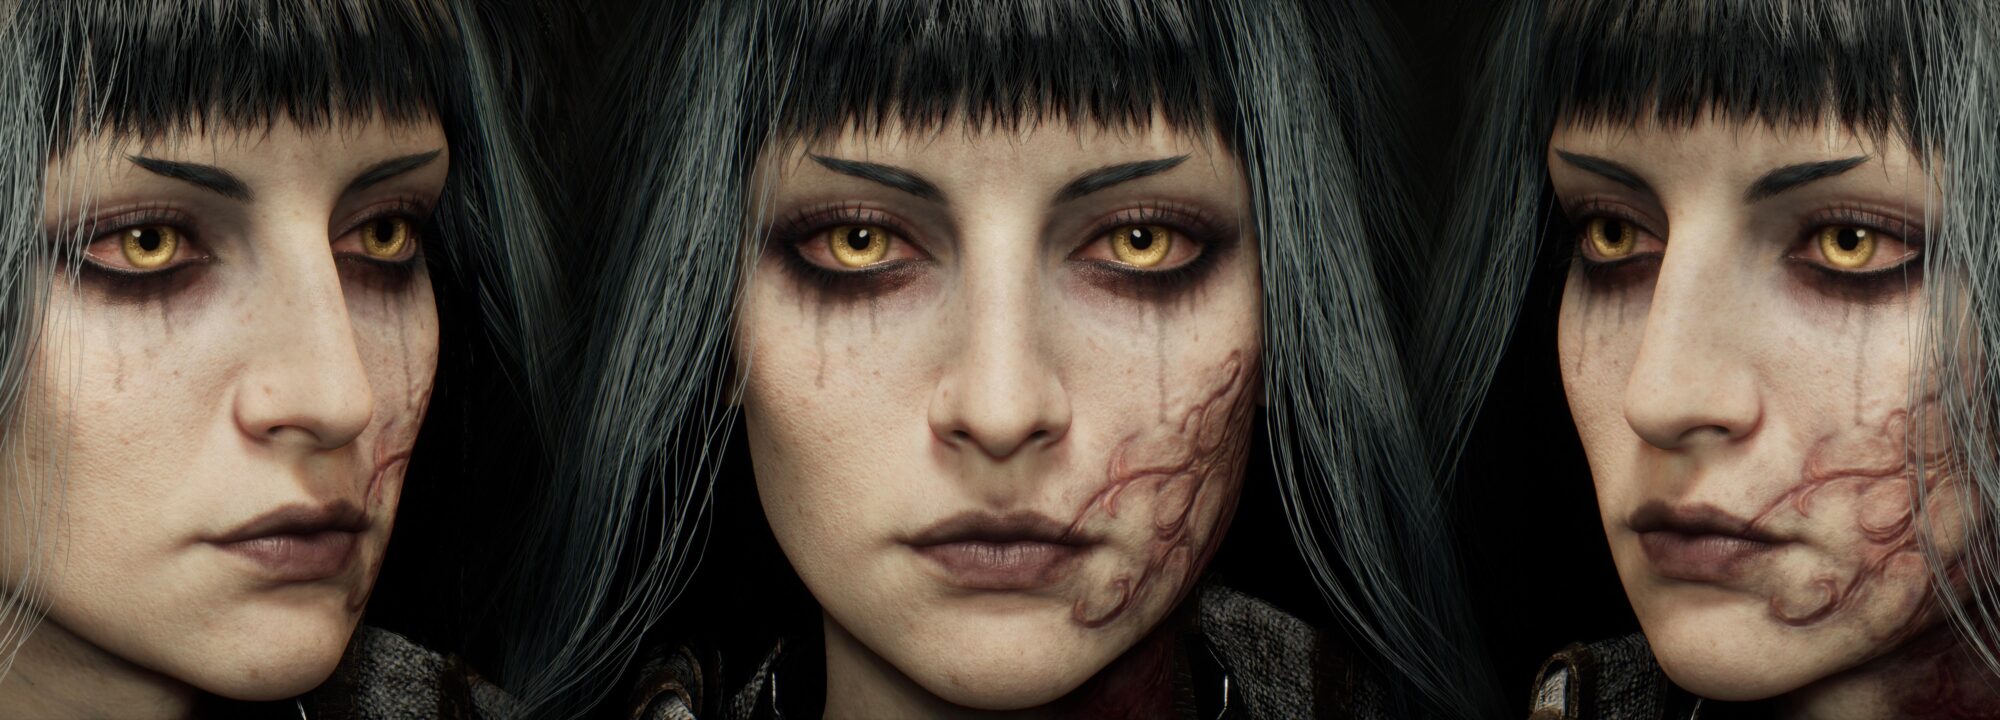
The scar has lots of pale pinks and whites for scar tissue, and splotches of blues, reds, and yellows to simulate bruising.
I added running mascara to the undereye and added redness to the eyes using the Metahuman eye material.
It was another storytelling opportunity to show their regret over their actions and the sadness of being apart from the one they love.
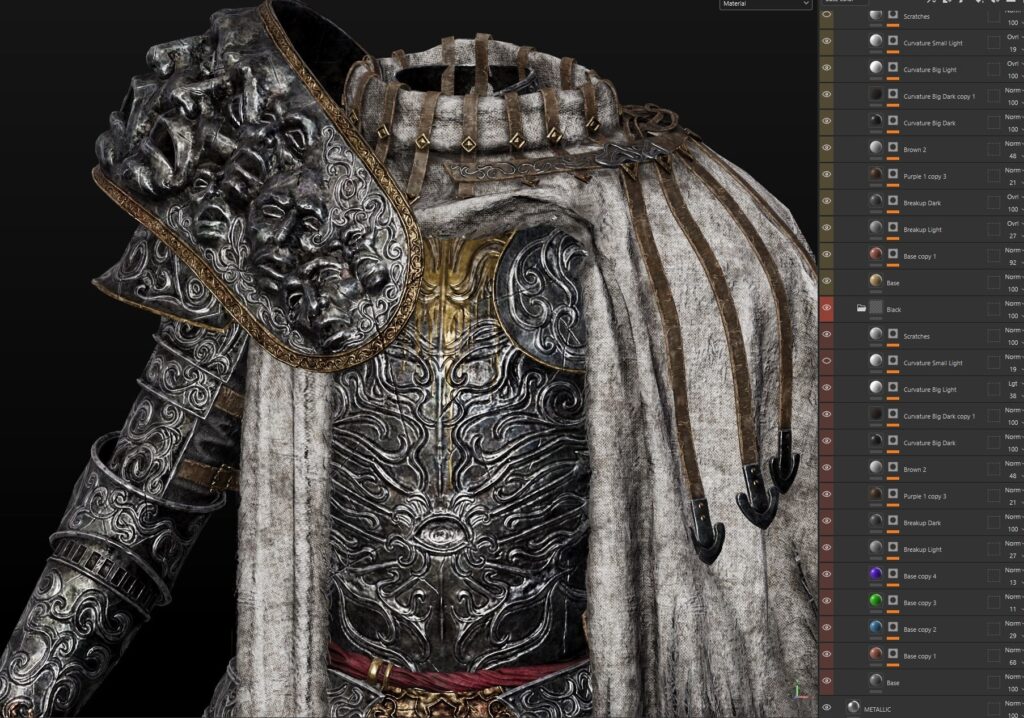
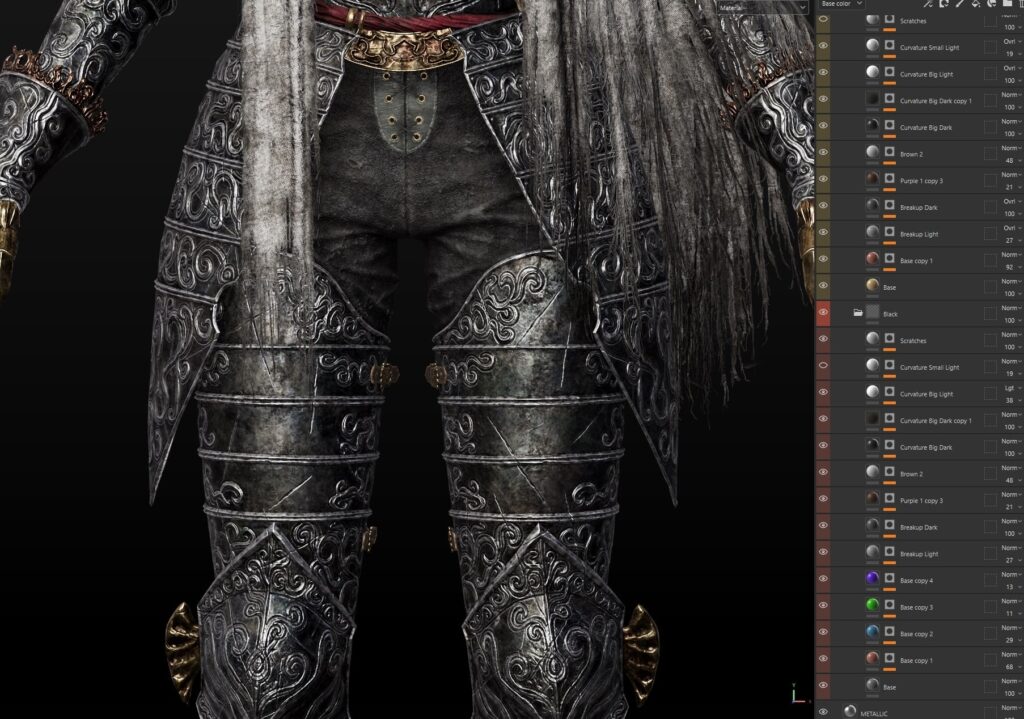
The armor texture consists of layers of grunge and curvature maps to accentuate the sculpted detail, and then I used several masks to break those up.
I then added color variations by layering grunge maps of blues, greens, reds, and purples. T
o make the armor gold or bronze, I used HSL layers and adjusted accordingly.
The filigree has separate curvature maps to make parts lighter, which helps it stand out more against the rest of the armor.
For Mors’s cloak, I left most of the work to the texturing stage since it made the process easier.
I painted the main tears and rips with a basic brush, then made another pass with thinner, longer tears running up the cloak. In the final pass, I added threads over the tears.
Rigging & Animation
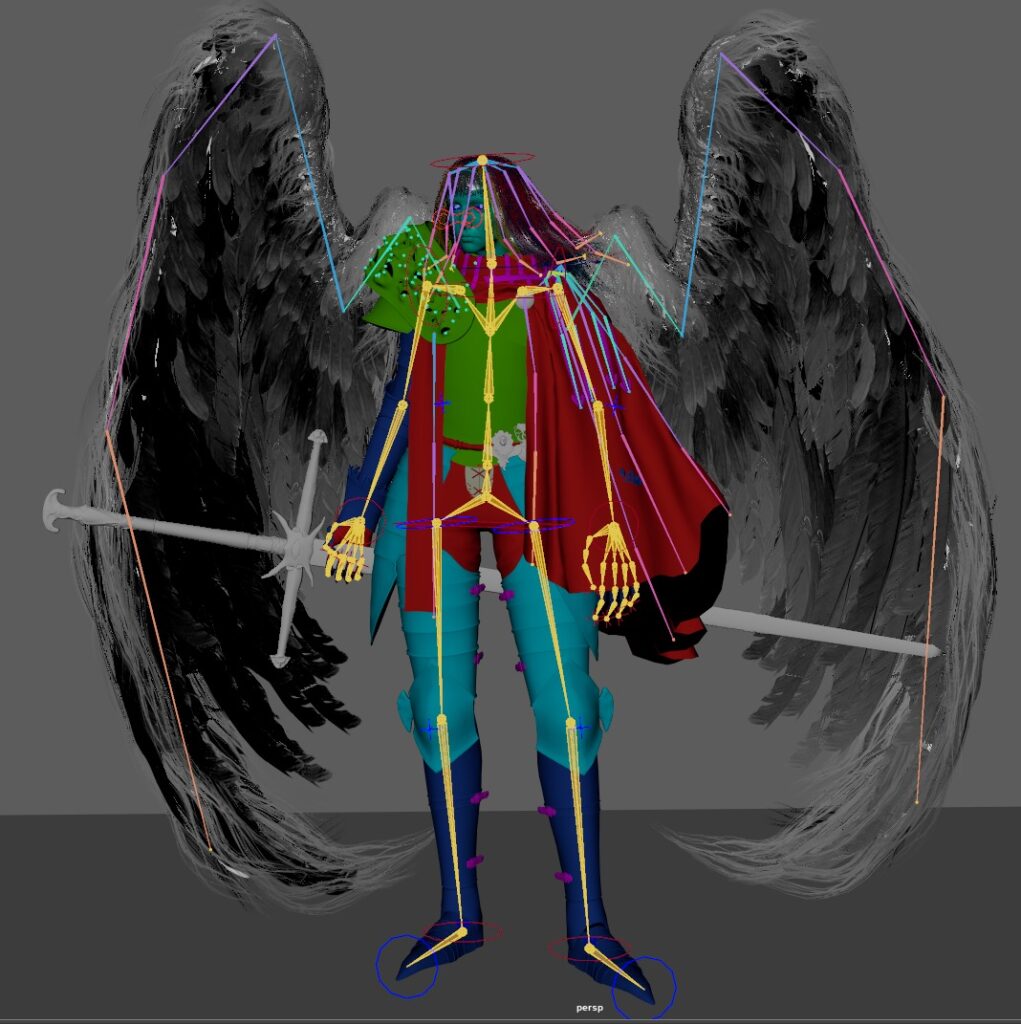
This rig was a bit more complicated than my previous ones due to the number of moving parts.
I rigged the cloak in several places, as well as the strips of leather falling from the shoulder.
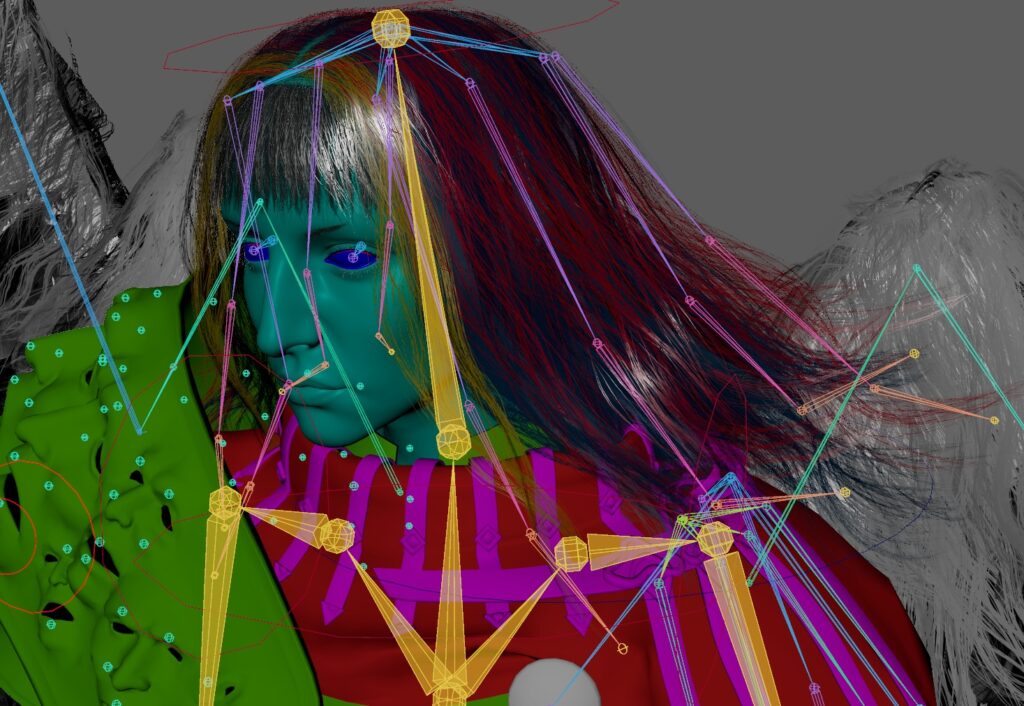
The eyes have a simple aim constraint setup, and the wailing faces on the shoulder were rigged with simple bones, similar to Variol, just to get some motion in them.
The hair had several bones to differentiate clumps to get a smooth alternating animation.
For the face, I used blendshapes to have the face deform properly and follow the movement of the eyes in different poses.
Lighting, Rendering & FX
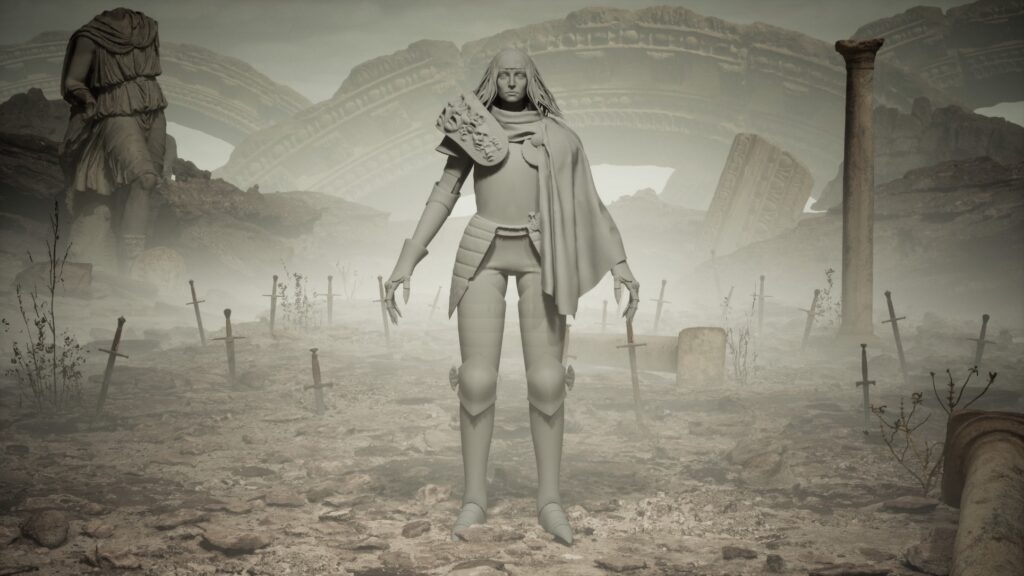
With Mors sharing a name with the Roman personification of death, I used the Roman Empire pieces from the Megascan library to add some cohesion between the environment and their story.
I experimented with different times of day and color palettes for this environment, but I ended up choosing a warm sunrise and made a landscape inspired by Farum Azula.
Using the Ultra Dynamic Sky Plugin, I placed the sunrise just over the ruins in the background to fit the themes of the “Morning Star.”
I also added several local fogs for the sunlight to scatter through.
Story
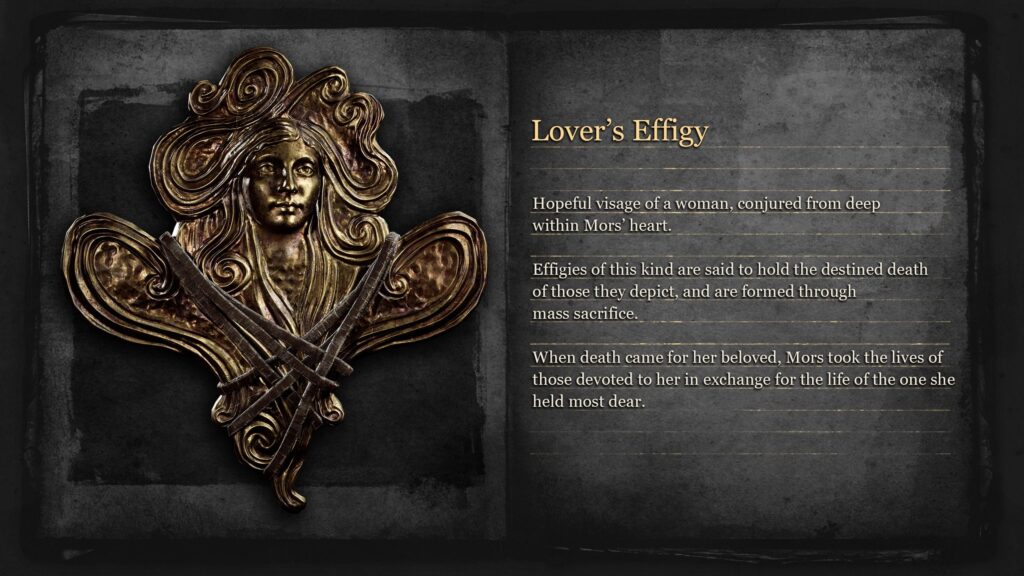
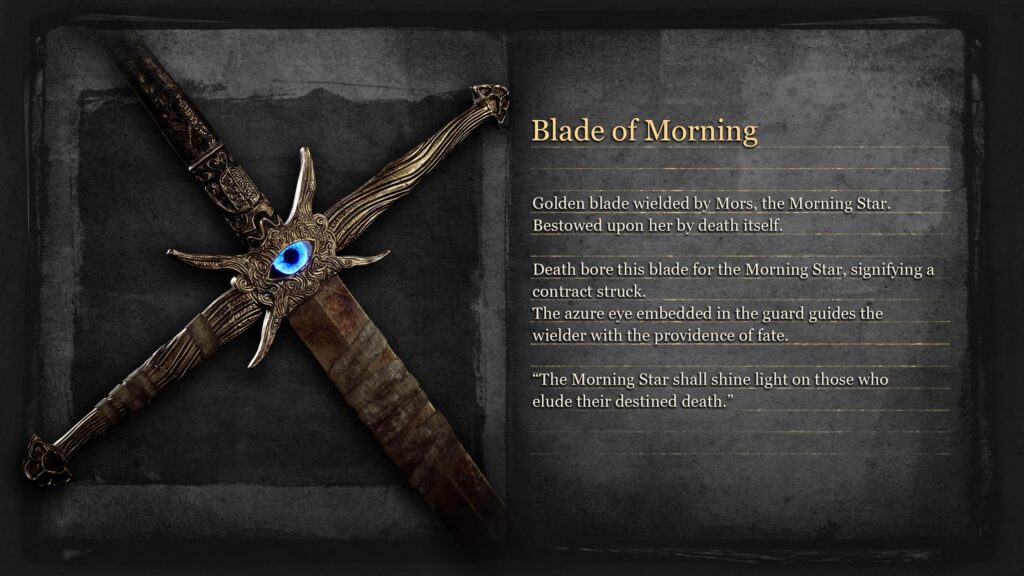
When writing the story for Mors, I pulled lots of inspiration from Berserk and Elden Ring with their themes of rebirth, sacrifice, devotion, and protection.
Conclusion
Thanks for reading this write-up on Mors. This character was super fulfilling to make for me, so I hope you enjoyed reading about it.
Thank you to Luis, who mentored me through this project, and my amazing friends Aitz and Sriram for all their help on it, and thanks again to Games Artist UK for this opportunity.
If you have any questions or opportunities, you can reach out to me over on my ArtStation or Instagram.


