MedBot
Introduction
My name is Ilya Zakharovskiy, from Auckland, New Zealand.
I'm working as a 3D generalist at Mighty Eyes. I have around 4 years of industry experience, working in different areas such as 3D concept art, architectural visualization and mostly in games.
Subject
For this particular concept, I decided to use no references at all. I’ve made a few simple sketches of what was in my mind, just before starting. It sounds quite hard, but at the same time, it gives you more focus and less distraction, to visualize images from your mind into artwork.
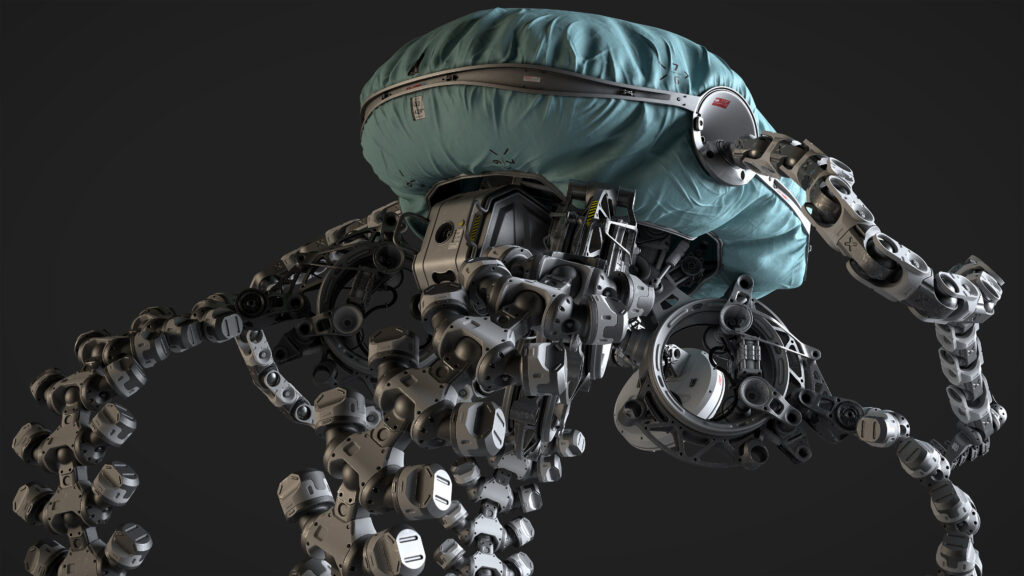
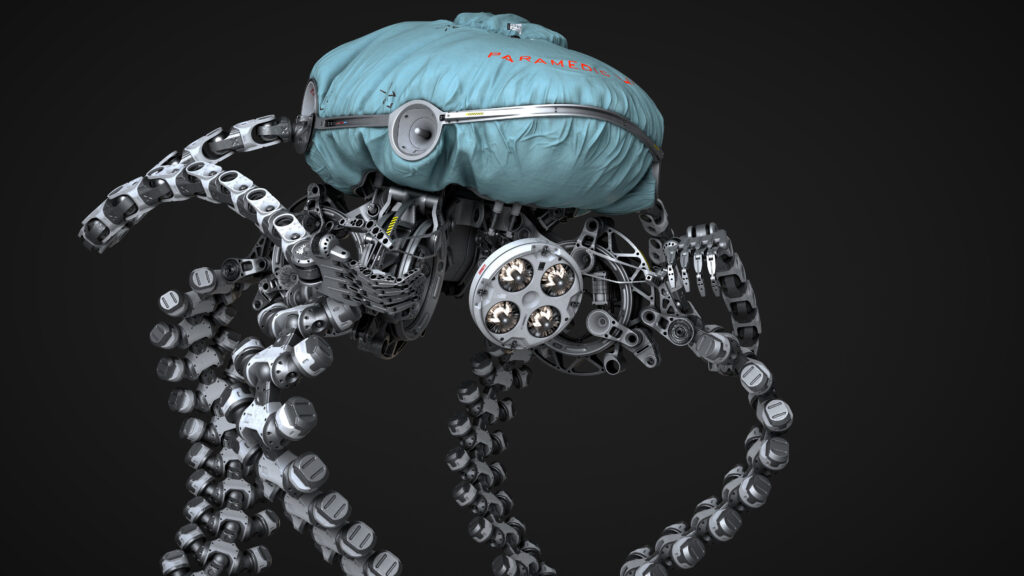
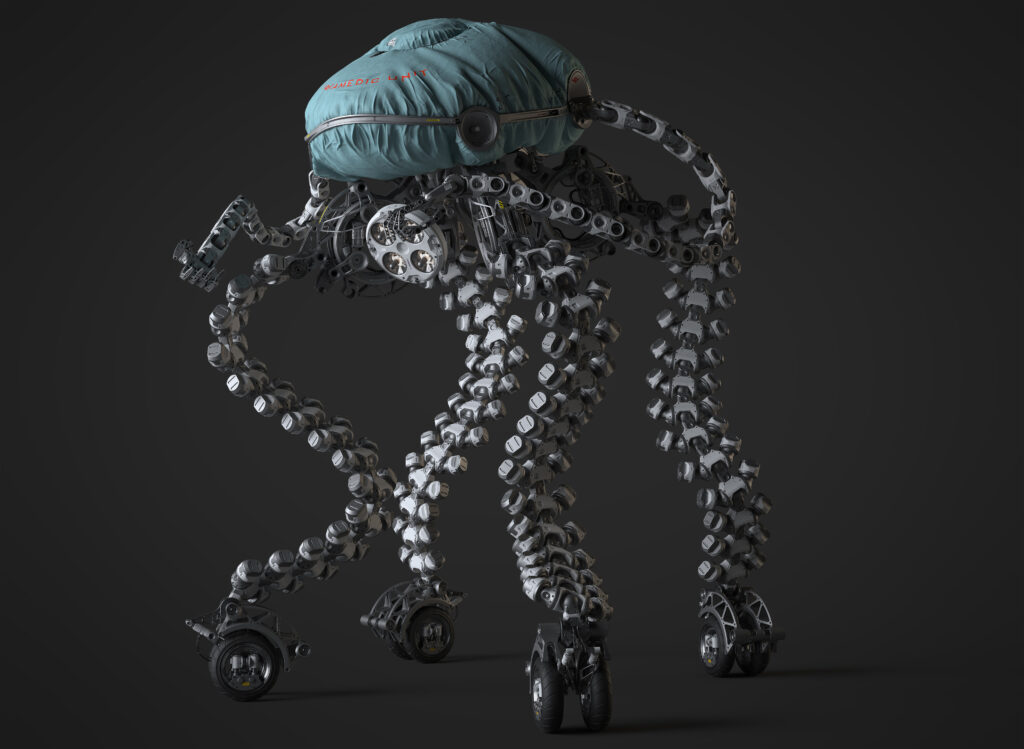
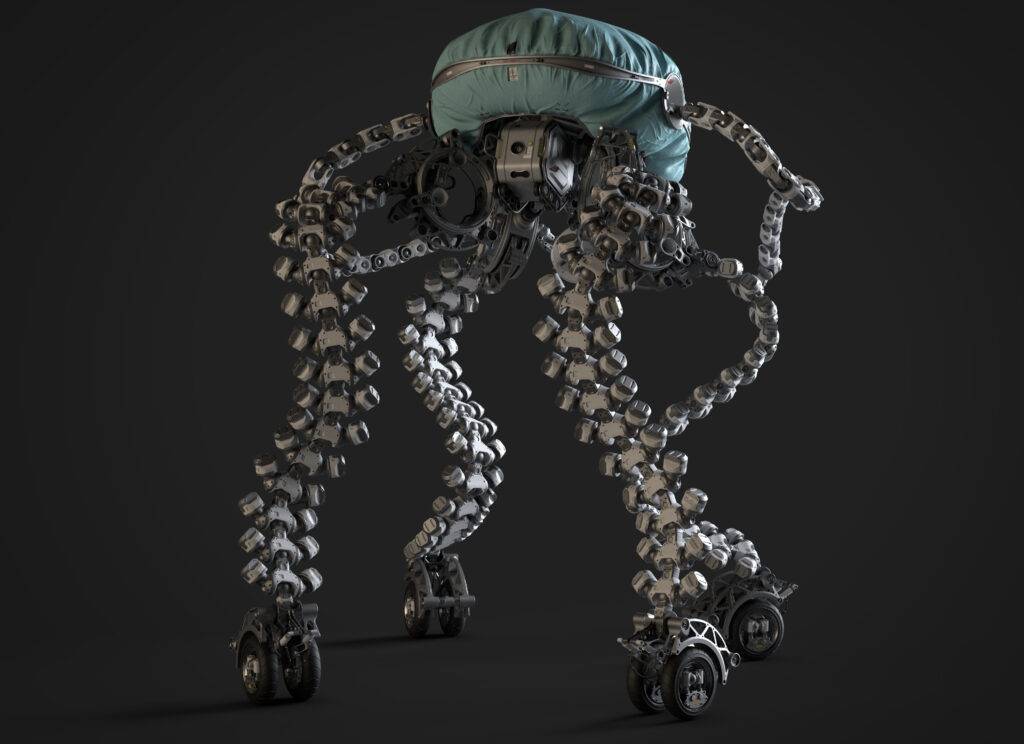
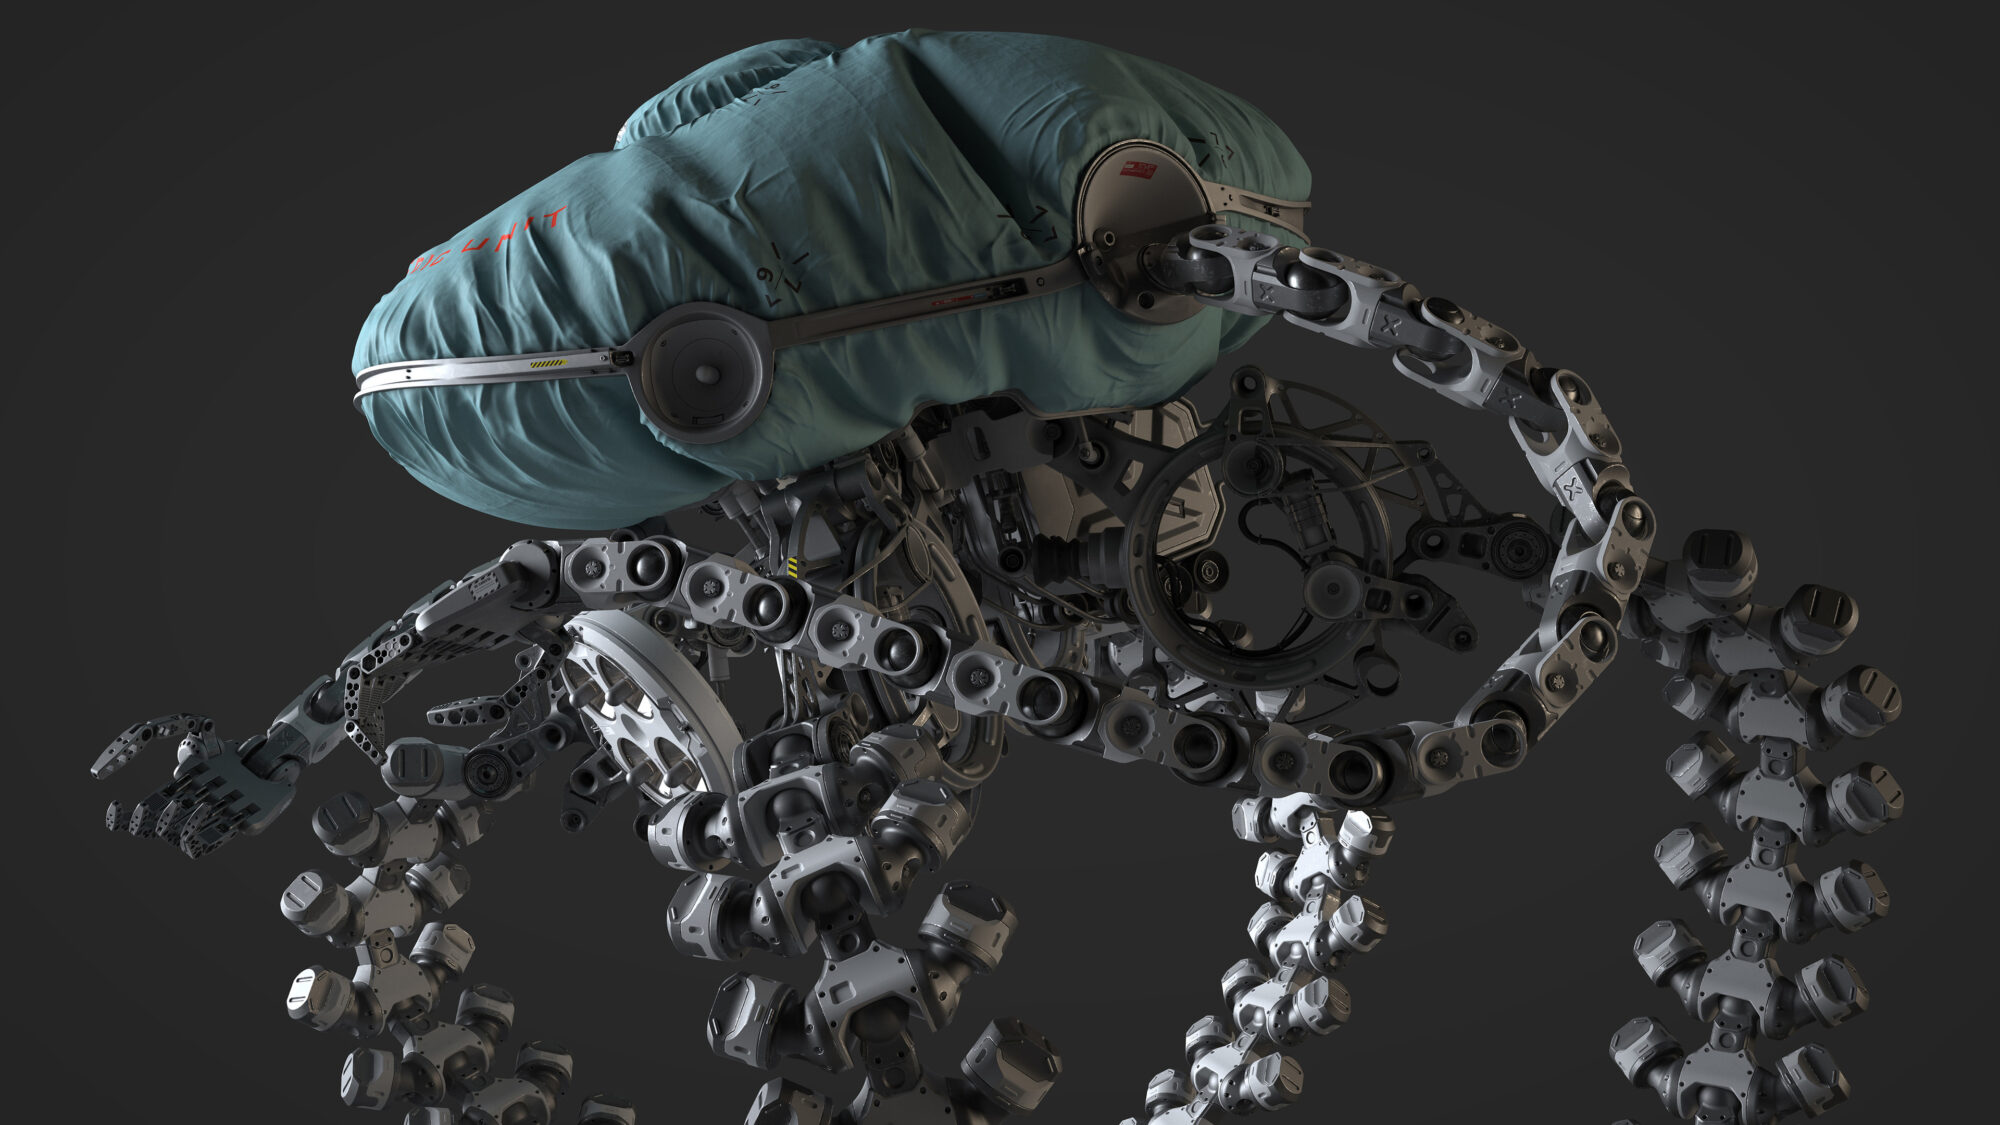
The main idea was to create some kind of robot for Healthcare services, something you can see at the Hospital in the future.
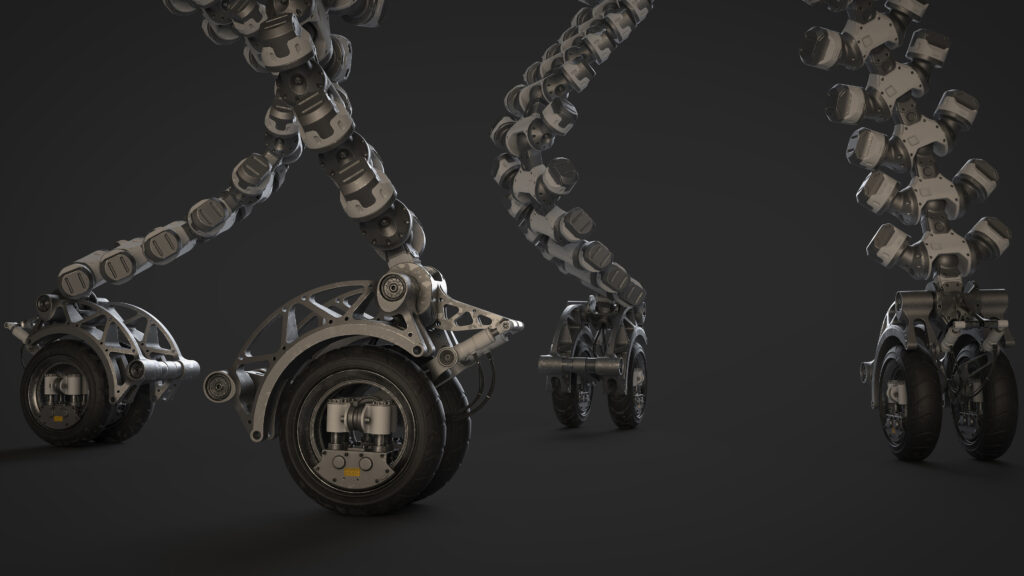
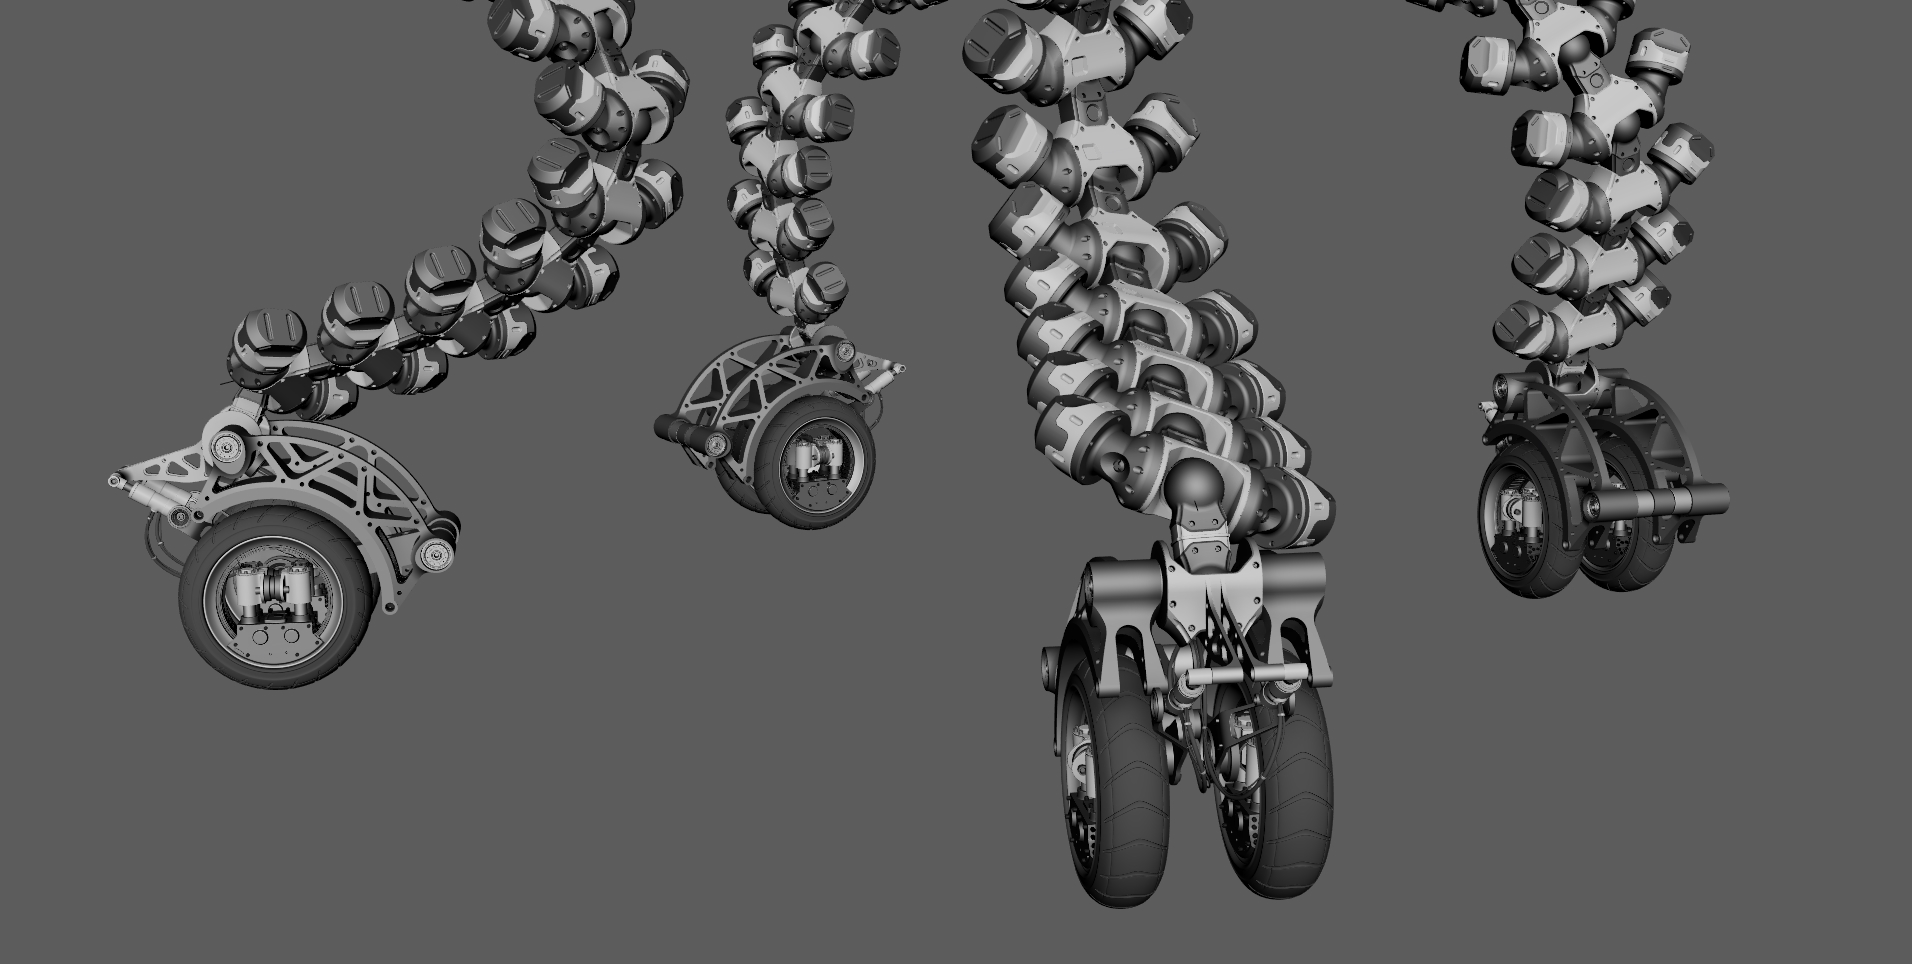
It should be functional and futuristic design, where no mass or space is wasted, so it can move faster and use less battery power. That platform should be adjustable for any kind of emergency situation, that’s why there are flexible magnetic driven splines on legs and hands, and wheels to have mobility.
The design takes little priority over functionality in this model, when we go too far into functionality, it makes our model not that interesting and going too far into the design, not so believable. I have to keep that balance.
Software
- ZBrush
- Maya
- Fusion 360
- Marvelous Designer
- V-Ray
- 3DS Max
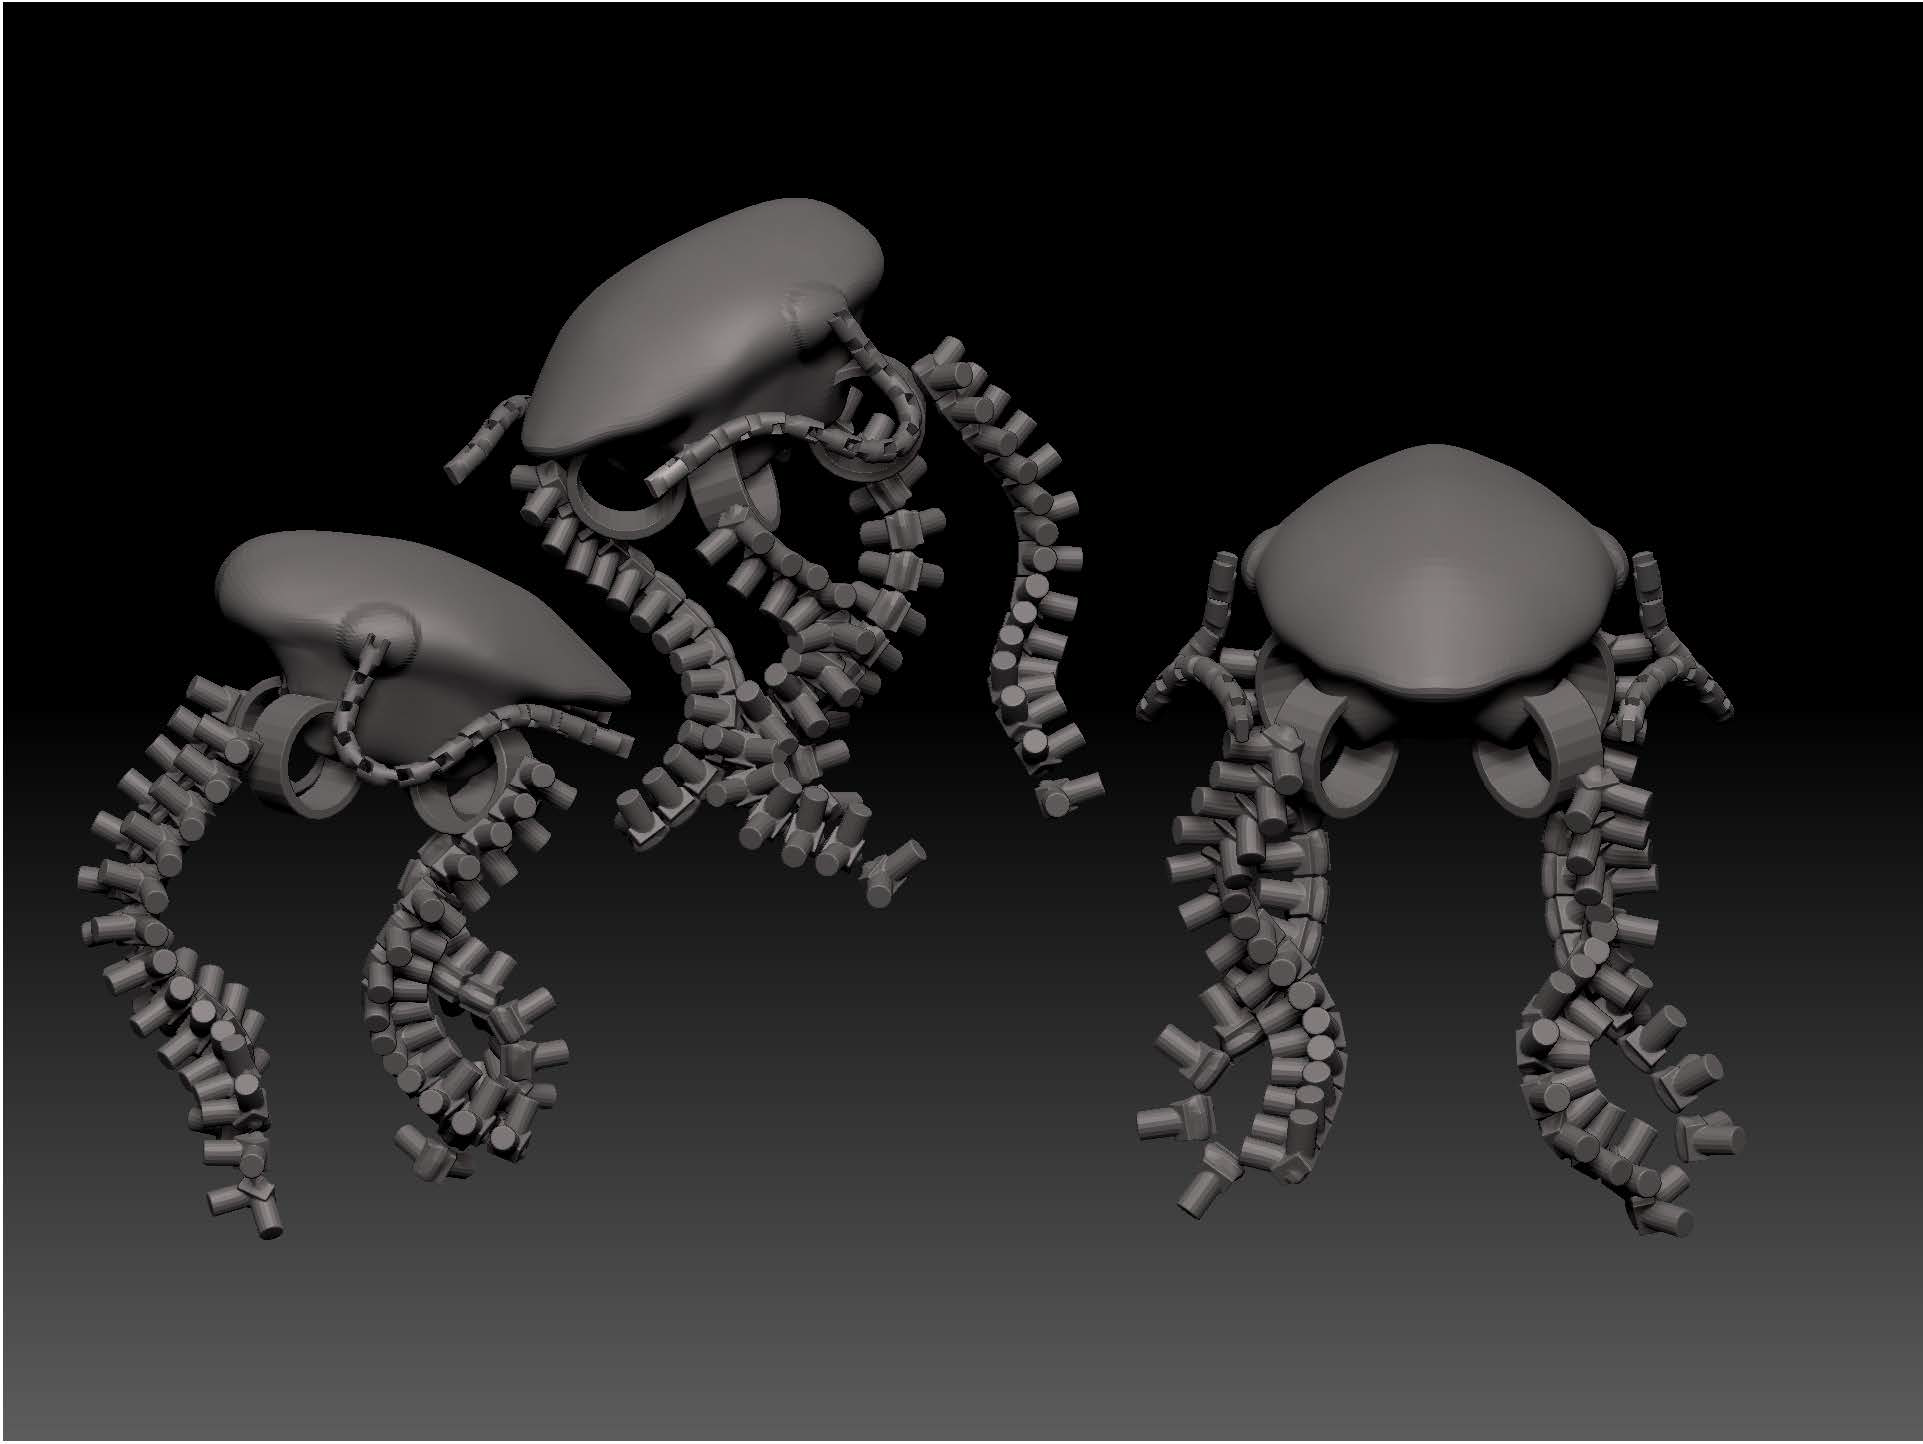
Blockout
For this particular model, blockout played the same role as a concept design, which means all of the significant parts need to be done at that stage. Spending more time on blockout will save as much more time on the production stage.
To create a blockout I used only Zbrush, but exactly the same can be done in Maya or Blender, or any main 3D software that has some kind of simple sculpting tools since we don’t need to create any details at that stage.
Materials
Since it is a concept design, I don’t need to think about lowpoly models and only work on high poly.
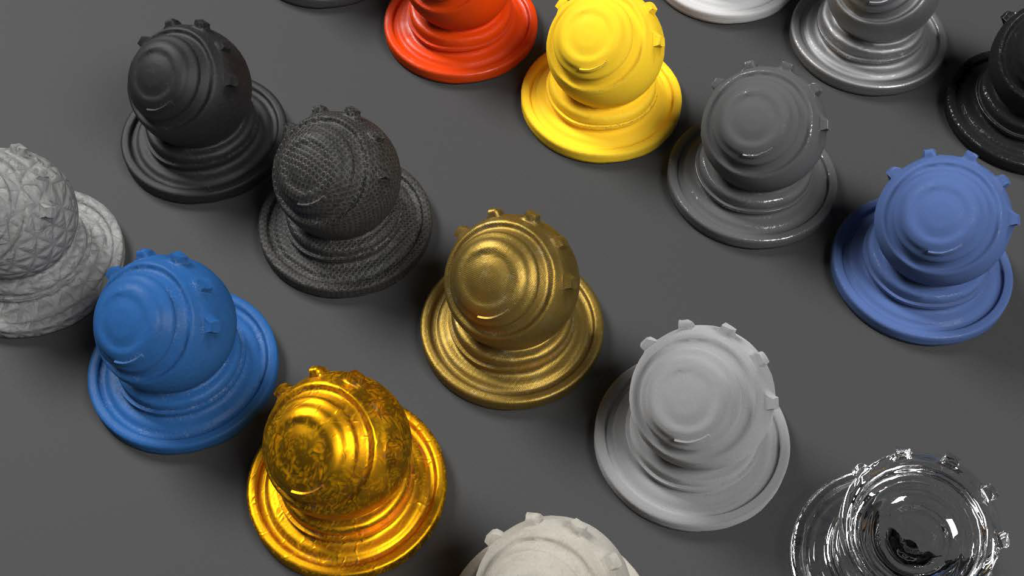
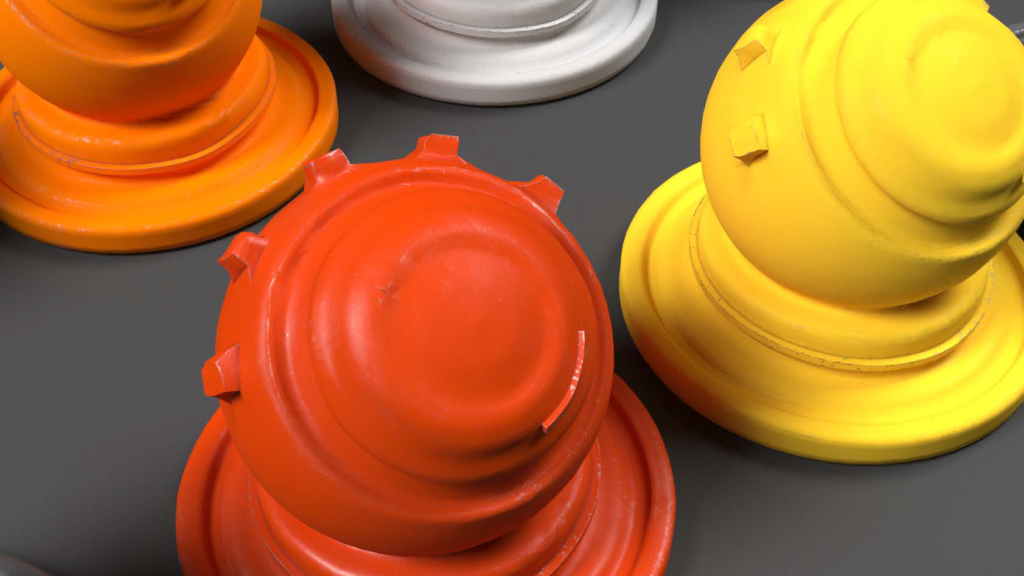
Because I used V-Ray innovative materials and decals, there is no need to unwrap UW. None of the textures are baked, I used tileable textures with innovative materials instead, those I created a while ago, and now I tweak them to suit the current design style.
The same technique can be used in Key Shot, Octane, Arnold, Red Shift, or any other rendering engine.
Subdivision modelling
On this stage, I’ve made all of the subdividable elements. For this mechanical design, it was mainly the central part, when legs were attached to the body and some smooth rounded body elements.
The design was inspired by some medical equipment with minimal industrial influence.
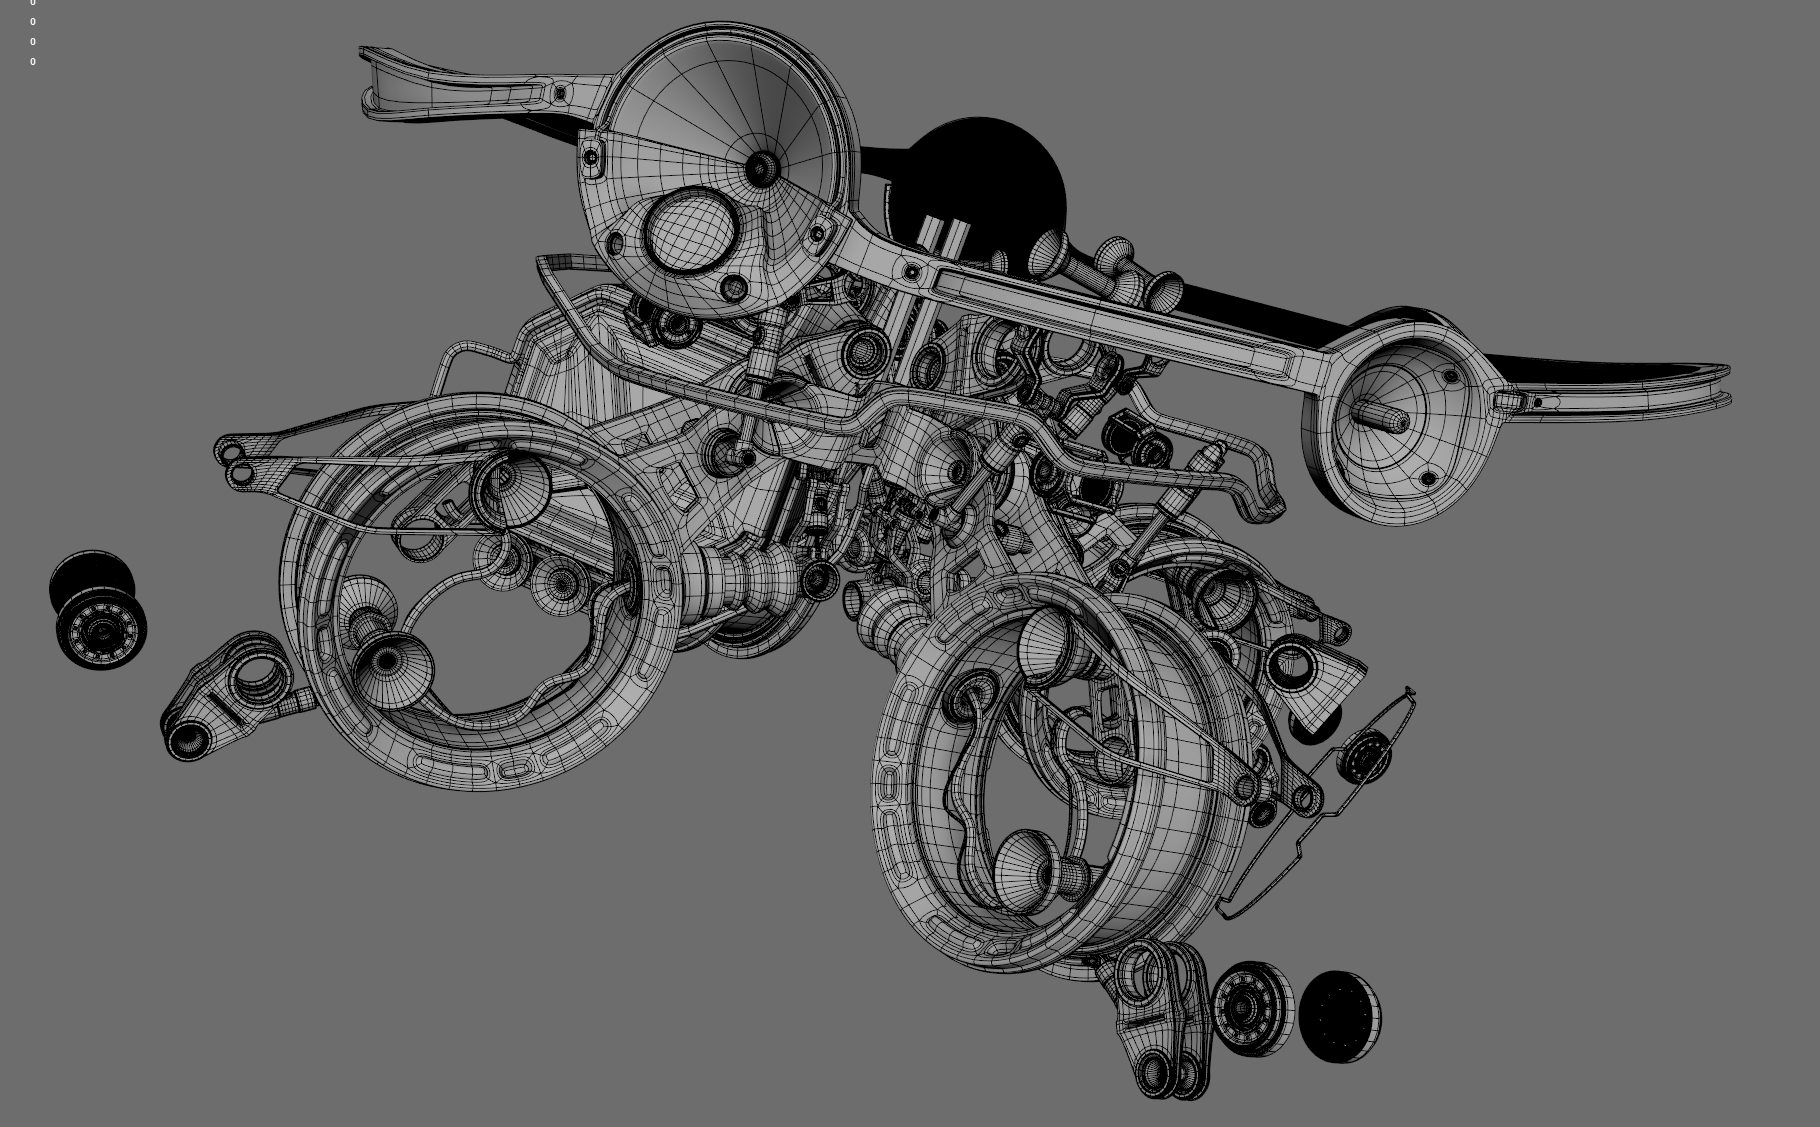
The same technique I’ve used for wheels and their structural base.
All of those elements could be done in CAD software, such as Fusion 360 or Moi 3D, it will be an even faster method, but it will be hard to customize it later.
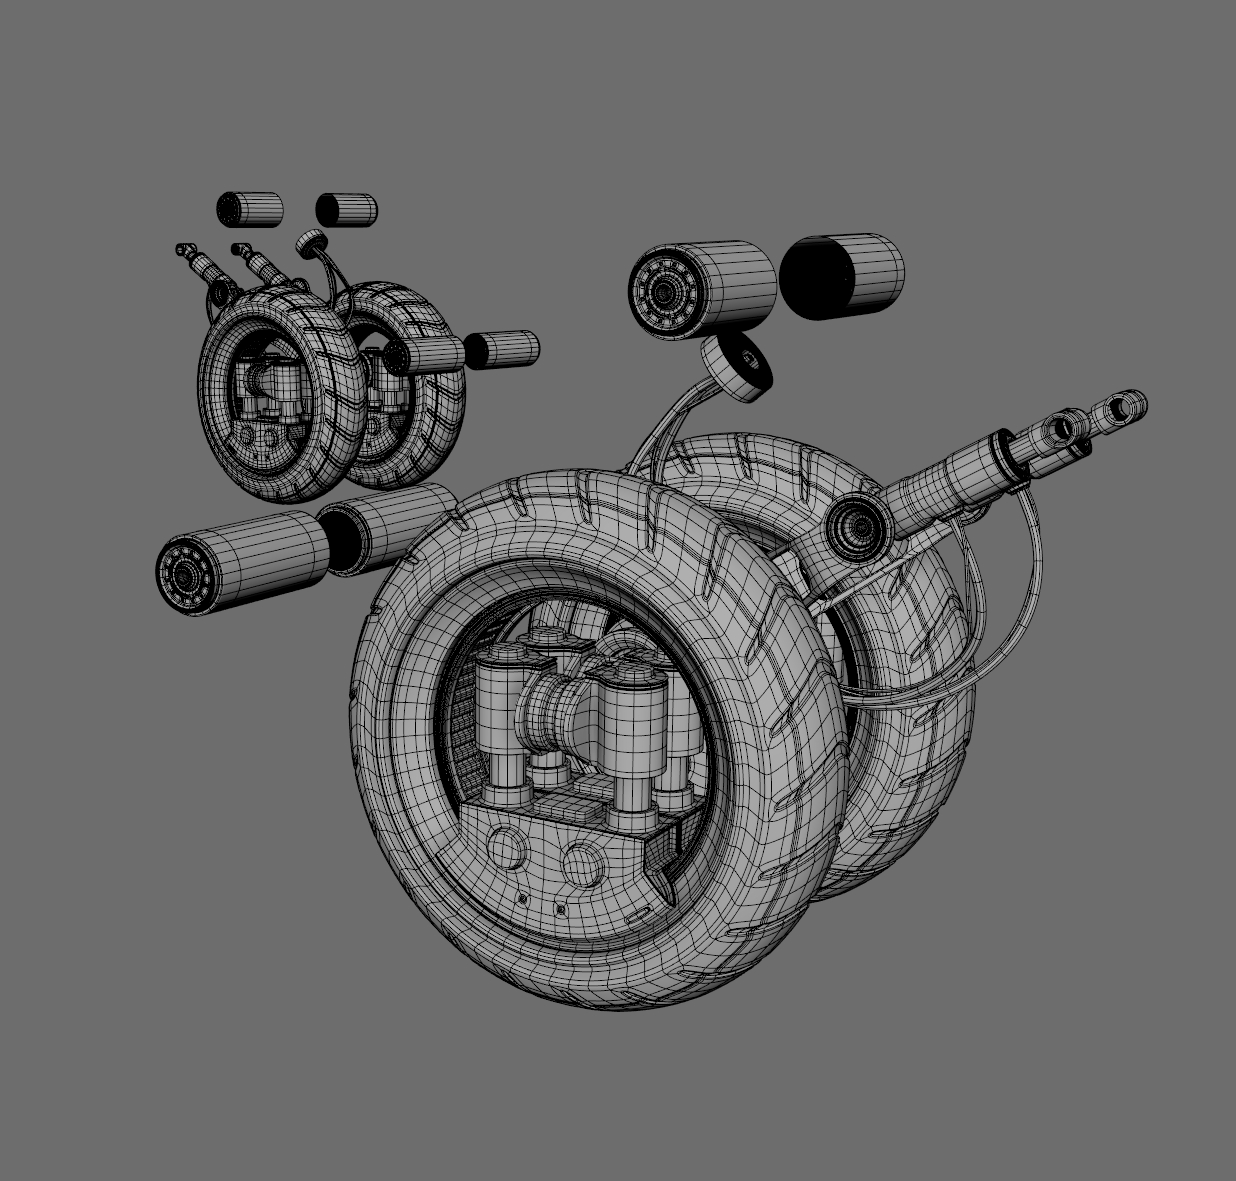
CAD Modelling
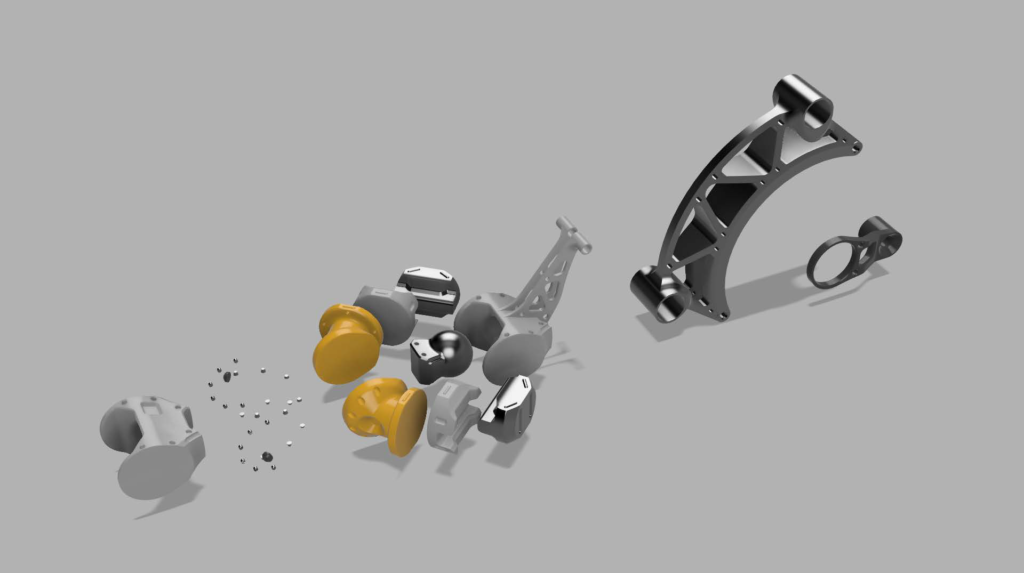
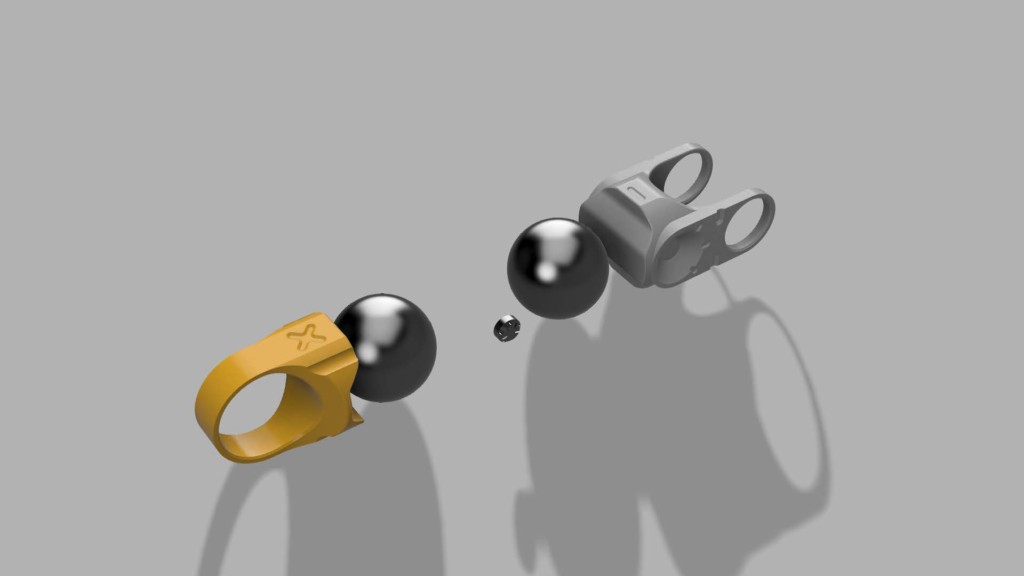
At this stage, I’ve made all non-subdividable elements. I used Fusion 360 to create all parts separately and assemble them in Maya. While creating those parts, it is important to remember that they will be reusable in different areas of the model. Basically, it is kitbashed, but for that specific mechanical design.
Fabric elements
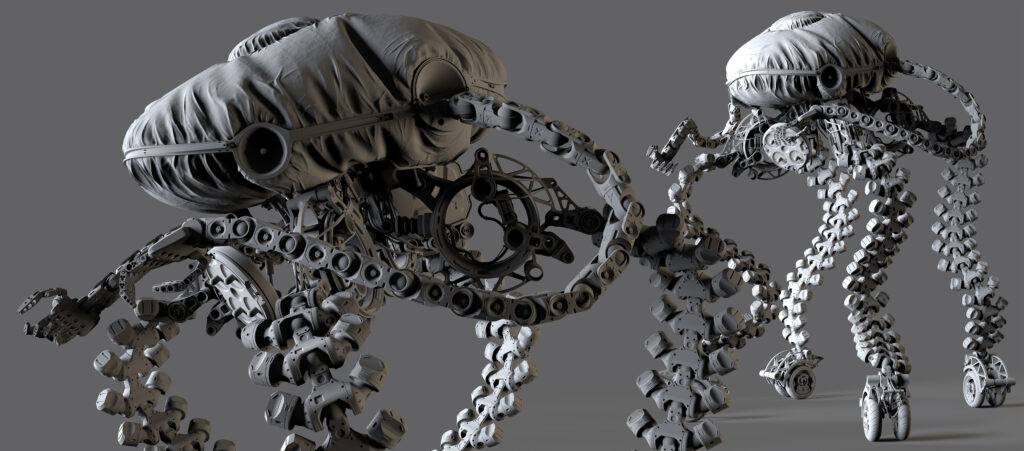
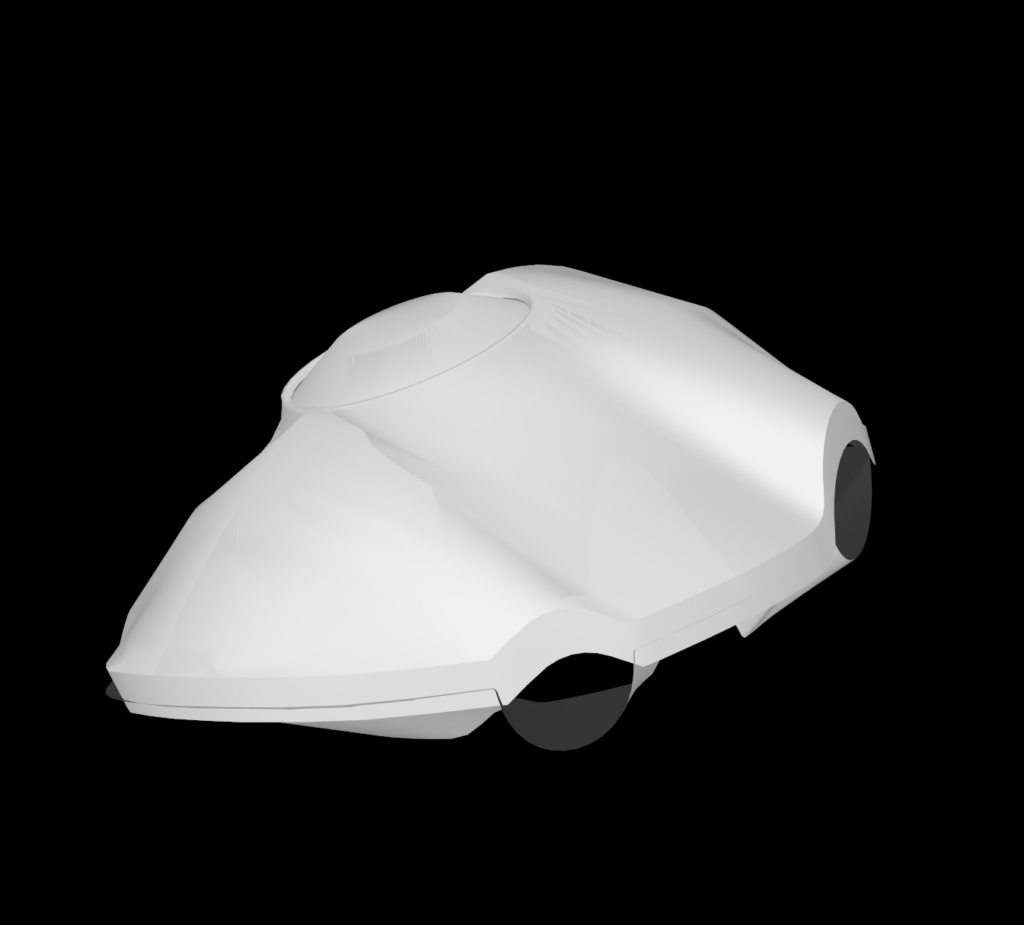
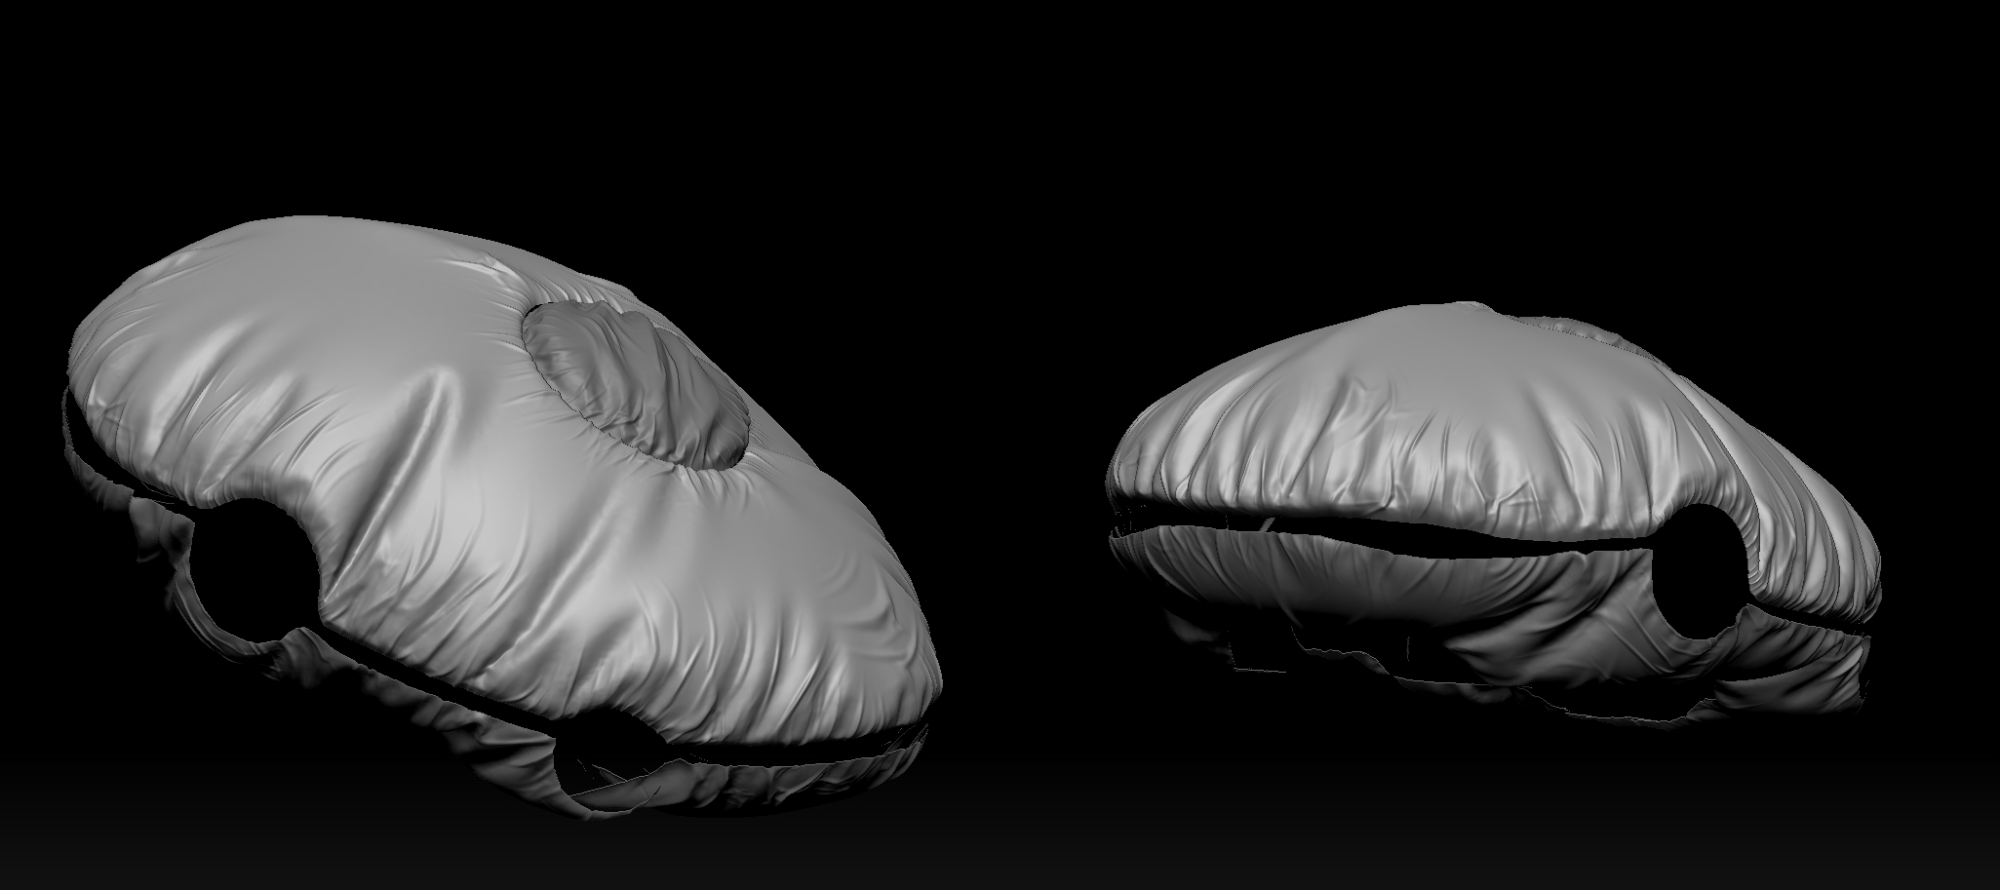
For all of those soft fabric parts, I used a different approach. First I’ve made simple subdividable shapes in Maya that perfectly repeat complex surface shapes to which they will be attached eventually, with proper UV.
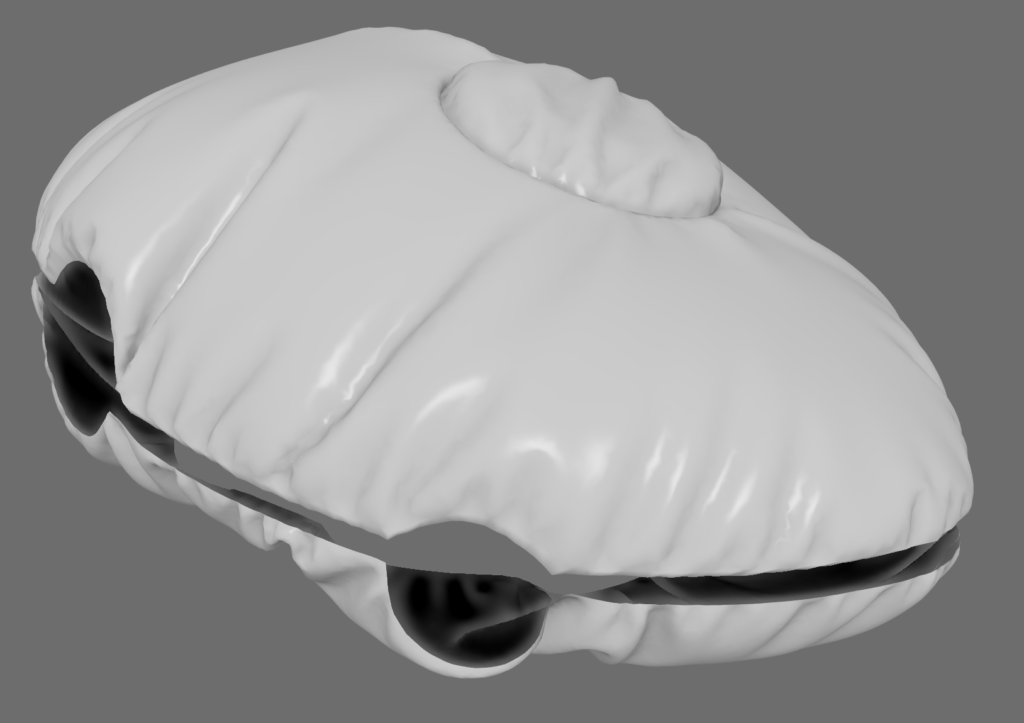
Then I made a cloth simulation in Marvelous designer, until I was happy with its shapes and folds, then exported it and cleaned up a little bit in Maya. At the final stage, additional details such as folds and bends were made in Zbrush, to give it a more relaxed look.
Below are images of the simple shapes exported from Maya after applying cloth simulation.
Additional details in added ZBrush.
Assembly
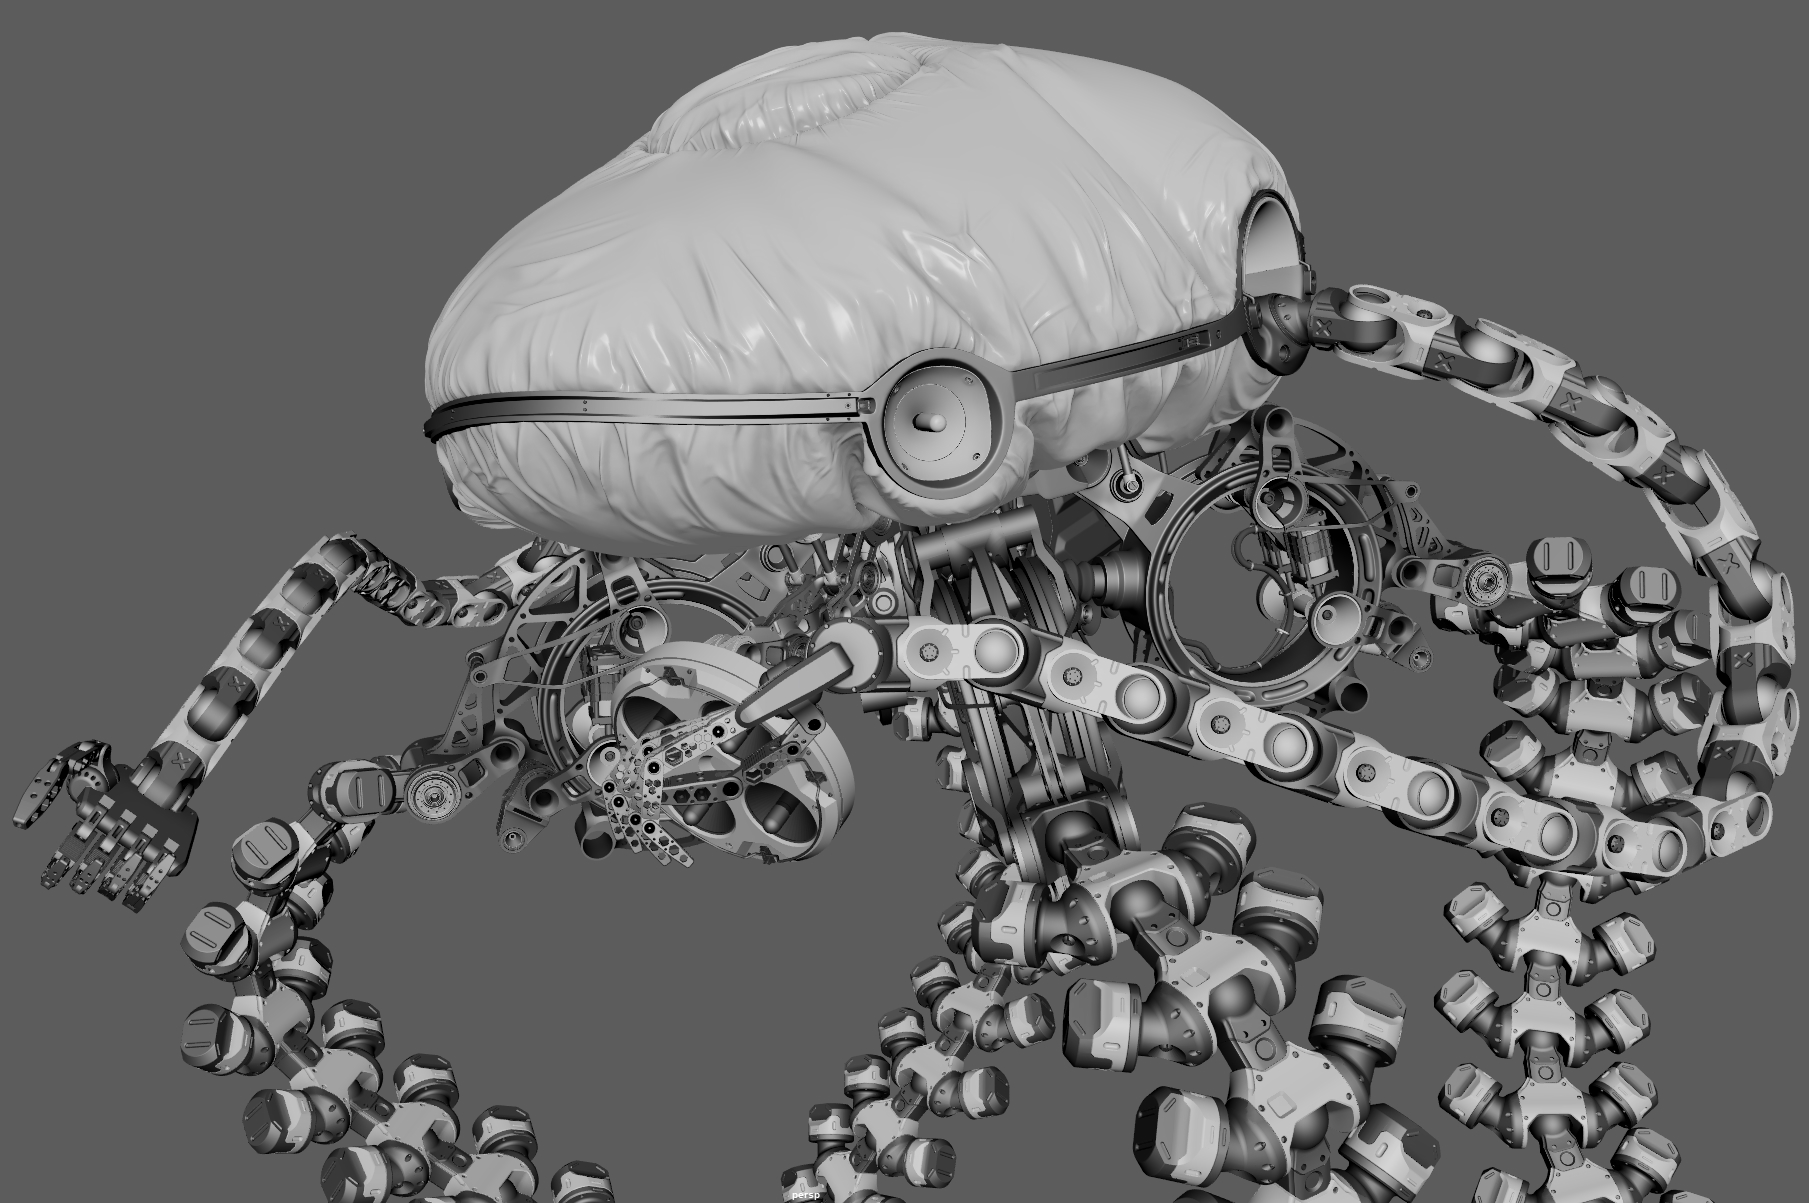
At this stage, I’ve assembled a completed model. Because now we can see the entire design, this is an excellent time to add more little parts, such as screws, holders and connectors.
I used the Maya MASH component to create octopus-like arms and legs. At the same time when assembling the model, I need to assign proper materials and check them before the rendering stage.
Final pass
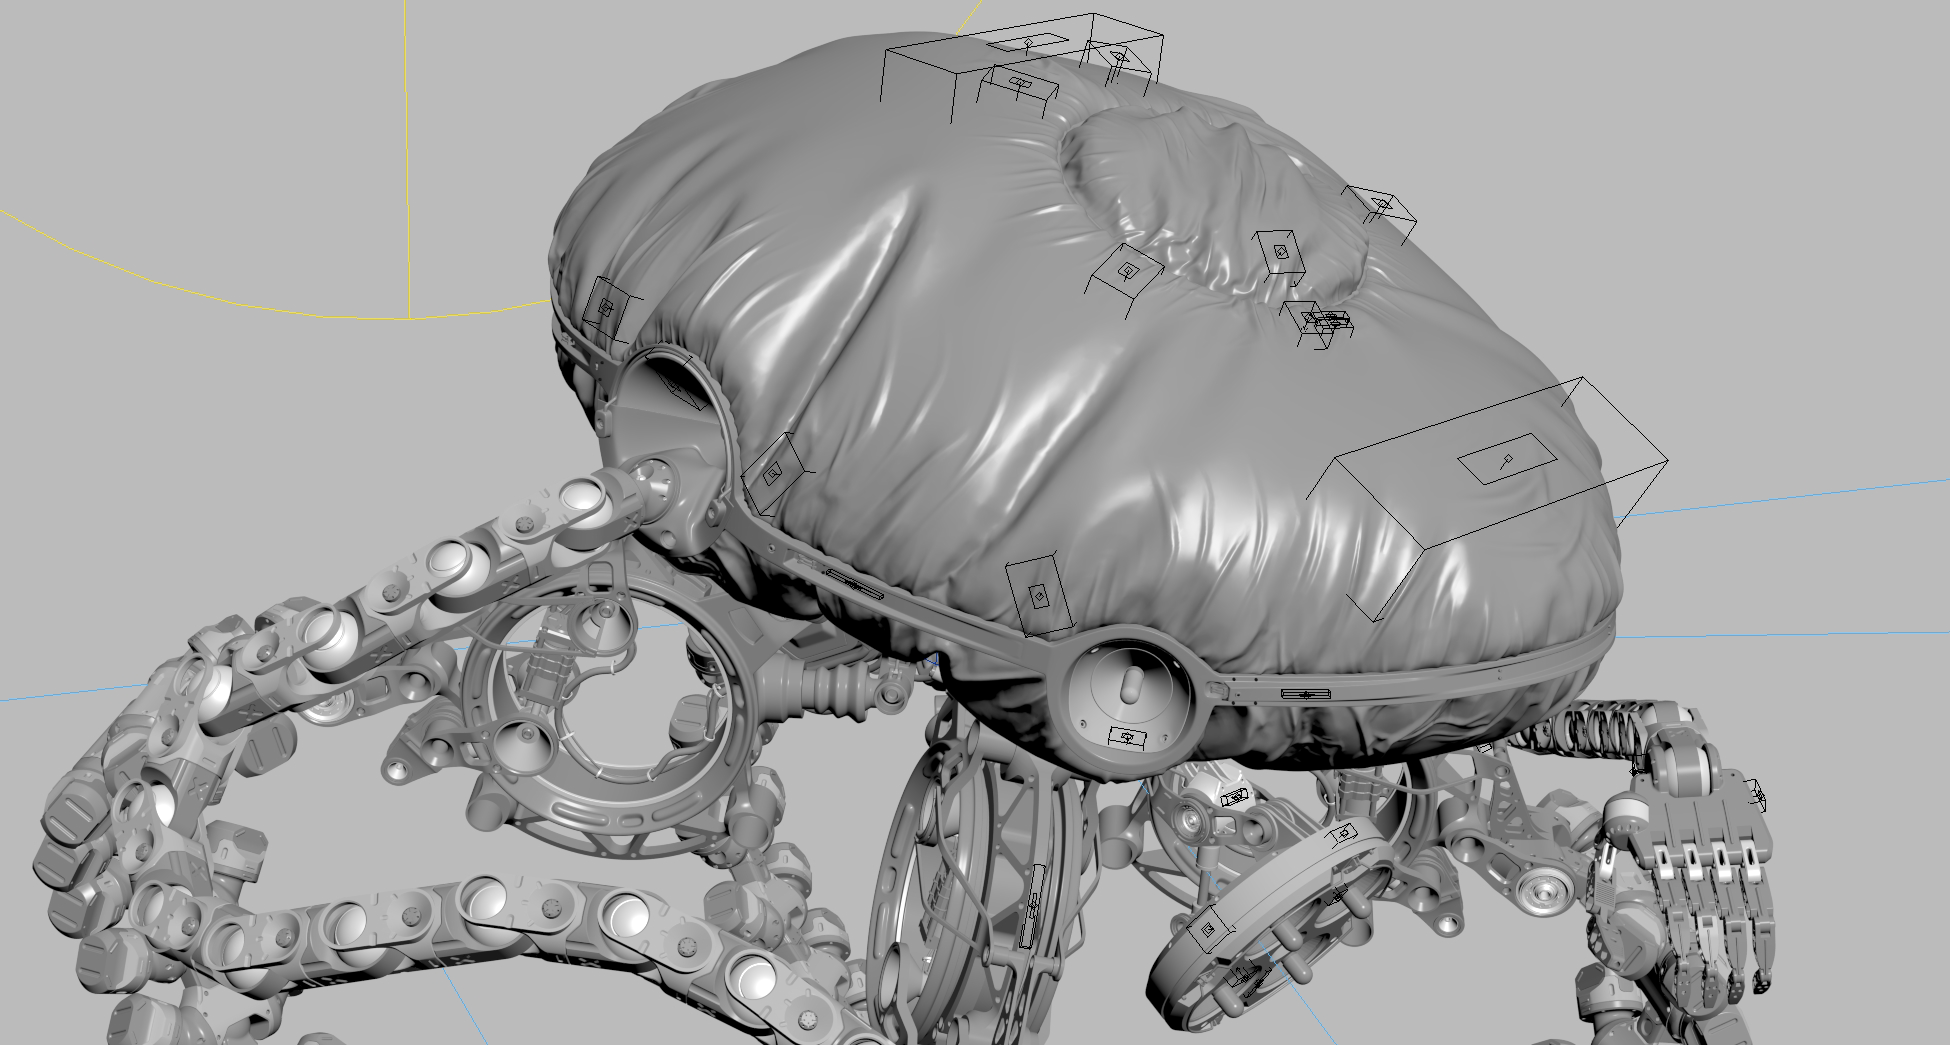
At this stage, I’ve imported the completed model into 3Ds Max. Here I assign proper materials on material IDs I created in Maya. For decals, I used V-Ray decal projections, but if it is a static render, images only, you can add decals later in Photoshop it will be faster to do.
It is an excellent stage to check your model, after importing from different software, which was Maya and 3dsMax in my case.
Rendering
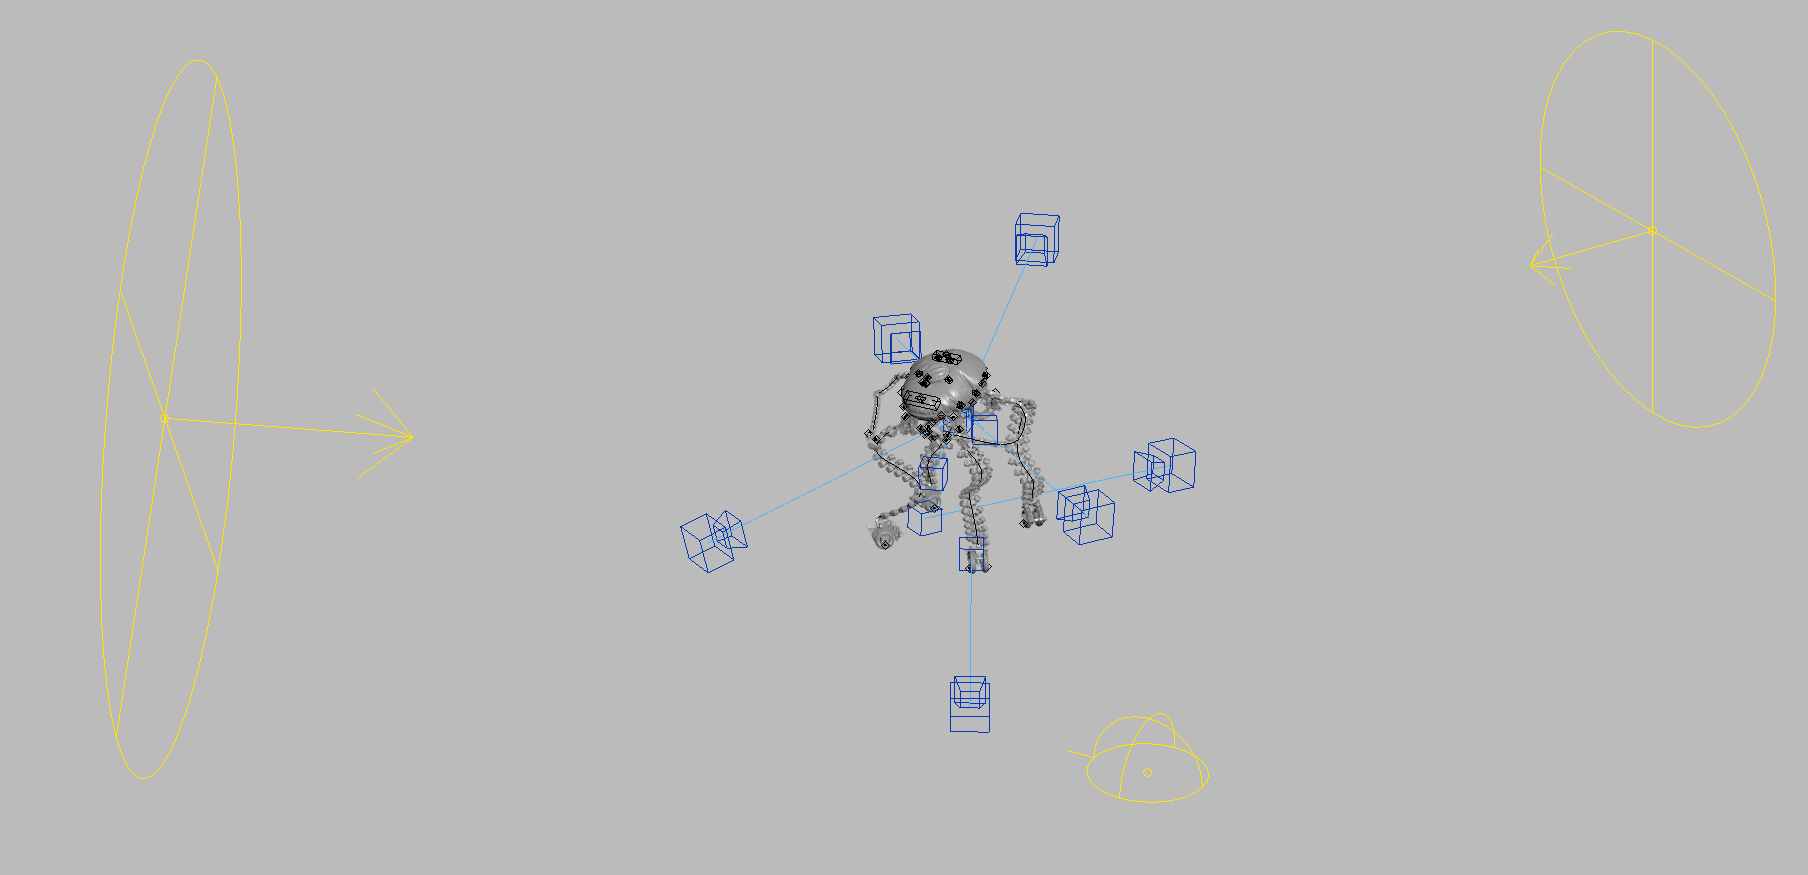
For rendering this model I’ve used V-Ray in 3Ds Max. The lighting setup was two primary light sources, cold and warm, to show an exciting transition of light rays on the model and very low-intensity ambient light to lit internal parts.
After I was happy with the test render shots, I positioned cameras for the final high-resolution render.
This project I’ve made as a practice, to improve my 3D concept art workflow and techniques. It took me four days, working on a weekend, to complete this project from the blockout stage to the final render. It gives me an opportunity to optimize my concept art pipeline and make it more efficient.
Hopefully, I’ve managed to cover all the most important and tricky parts of that project, but If you have any questions, please feel free to message me via my Artstation page.

