Introduction
My name is Helena Hansen. I am from Denmark and currently live in Sweden and I have been working in the industry for 3 years.
I have been doing 3D art for roughly 8 years, most of which has been Character Art, but I recently switched to Environment Art in January of 2024.
Goals
Since starting my environment art journey, I have been exploring the creation of trees in different styles with various workflows.
I have developed a particular interest in exploring different methods for creating foliage, and I wanted to see if it was possible to quickly mock up trees that could be iterated upon, as it is usually a time-consuming process.
I have always been interested in a semi-stylized art direction, which is also the style I tend to go for in my other personal projects.
Tools
For these trees, I used ZBrush, Houdini, Substance 3D Painter and Designer, Marmoset Toolbag 4, and presented them in Unreal Engine 5.
References & Inspiration
My main inspiration for the workflow of the trunk and branches was Tyler Smith’s “Creating Old Growth Mossy Tree: Tutorial and Game Assets” (Link to tutorial).
I highly recommend this tutorial, as I always appreciate learning Tyler’s approach to creating different assets in his lessons.
For the tree crown, I was inspired by the trees in the Animal Crossing game series and Hugo Beyer’s “Procedural Stylized Fantasy Tree – Houdini” project (Link to project).
I enjoy that you can achieve a lush, fluffy look with these trees without needing to perfectly capture the entire structure, such as attaching smaller branches to larger ones or creating atlases that mimic how real trees look.
I wanted to create trees that have a more fun and messy look to them, while still resembling a tree’s structure, without strictly following real-world rules.

Texturing
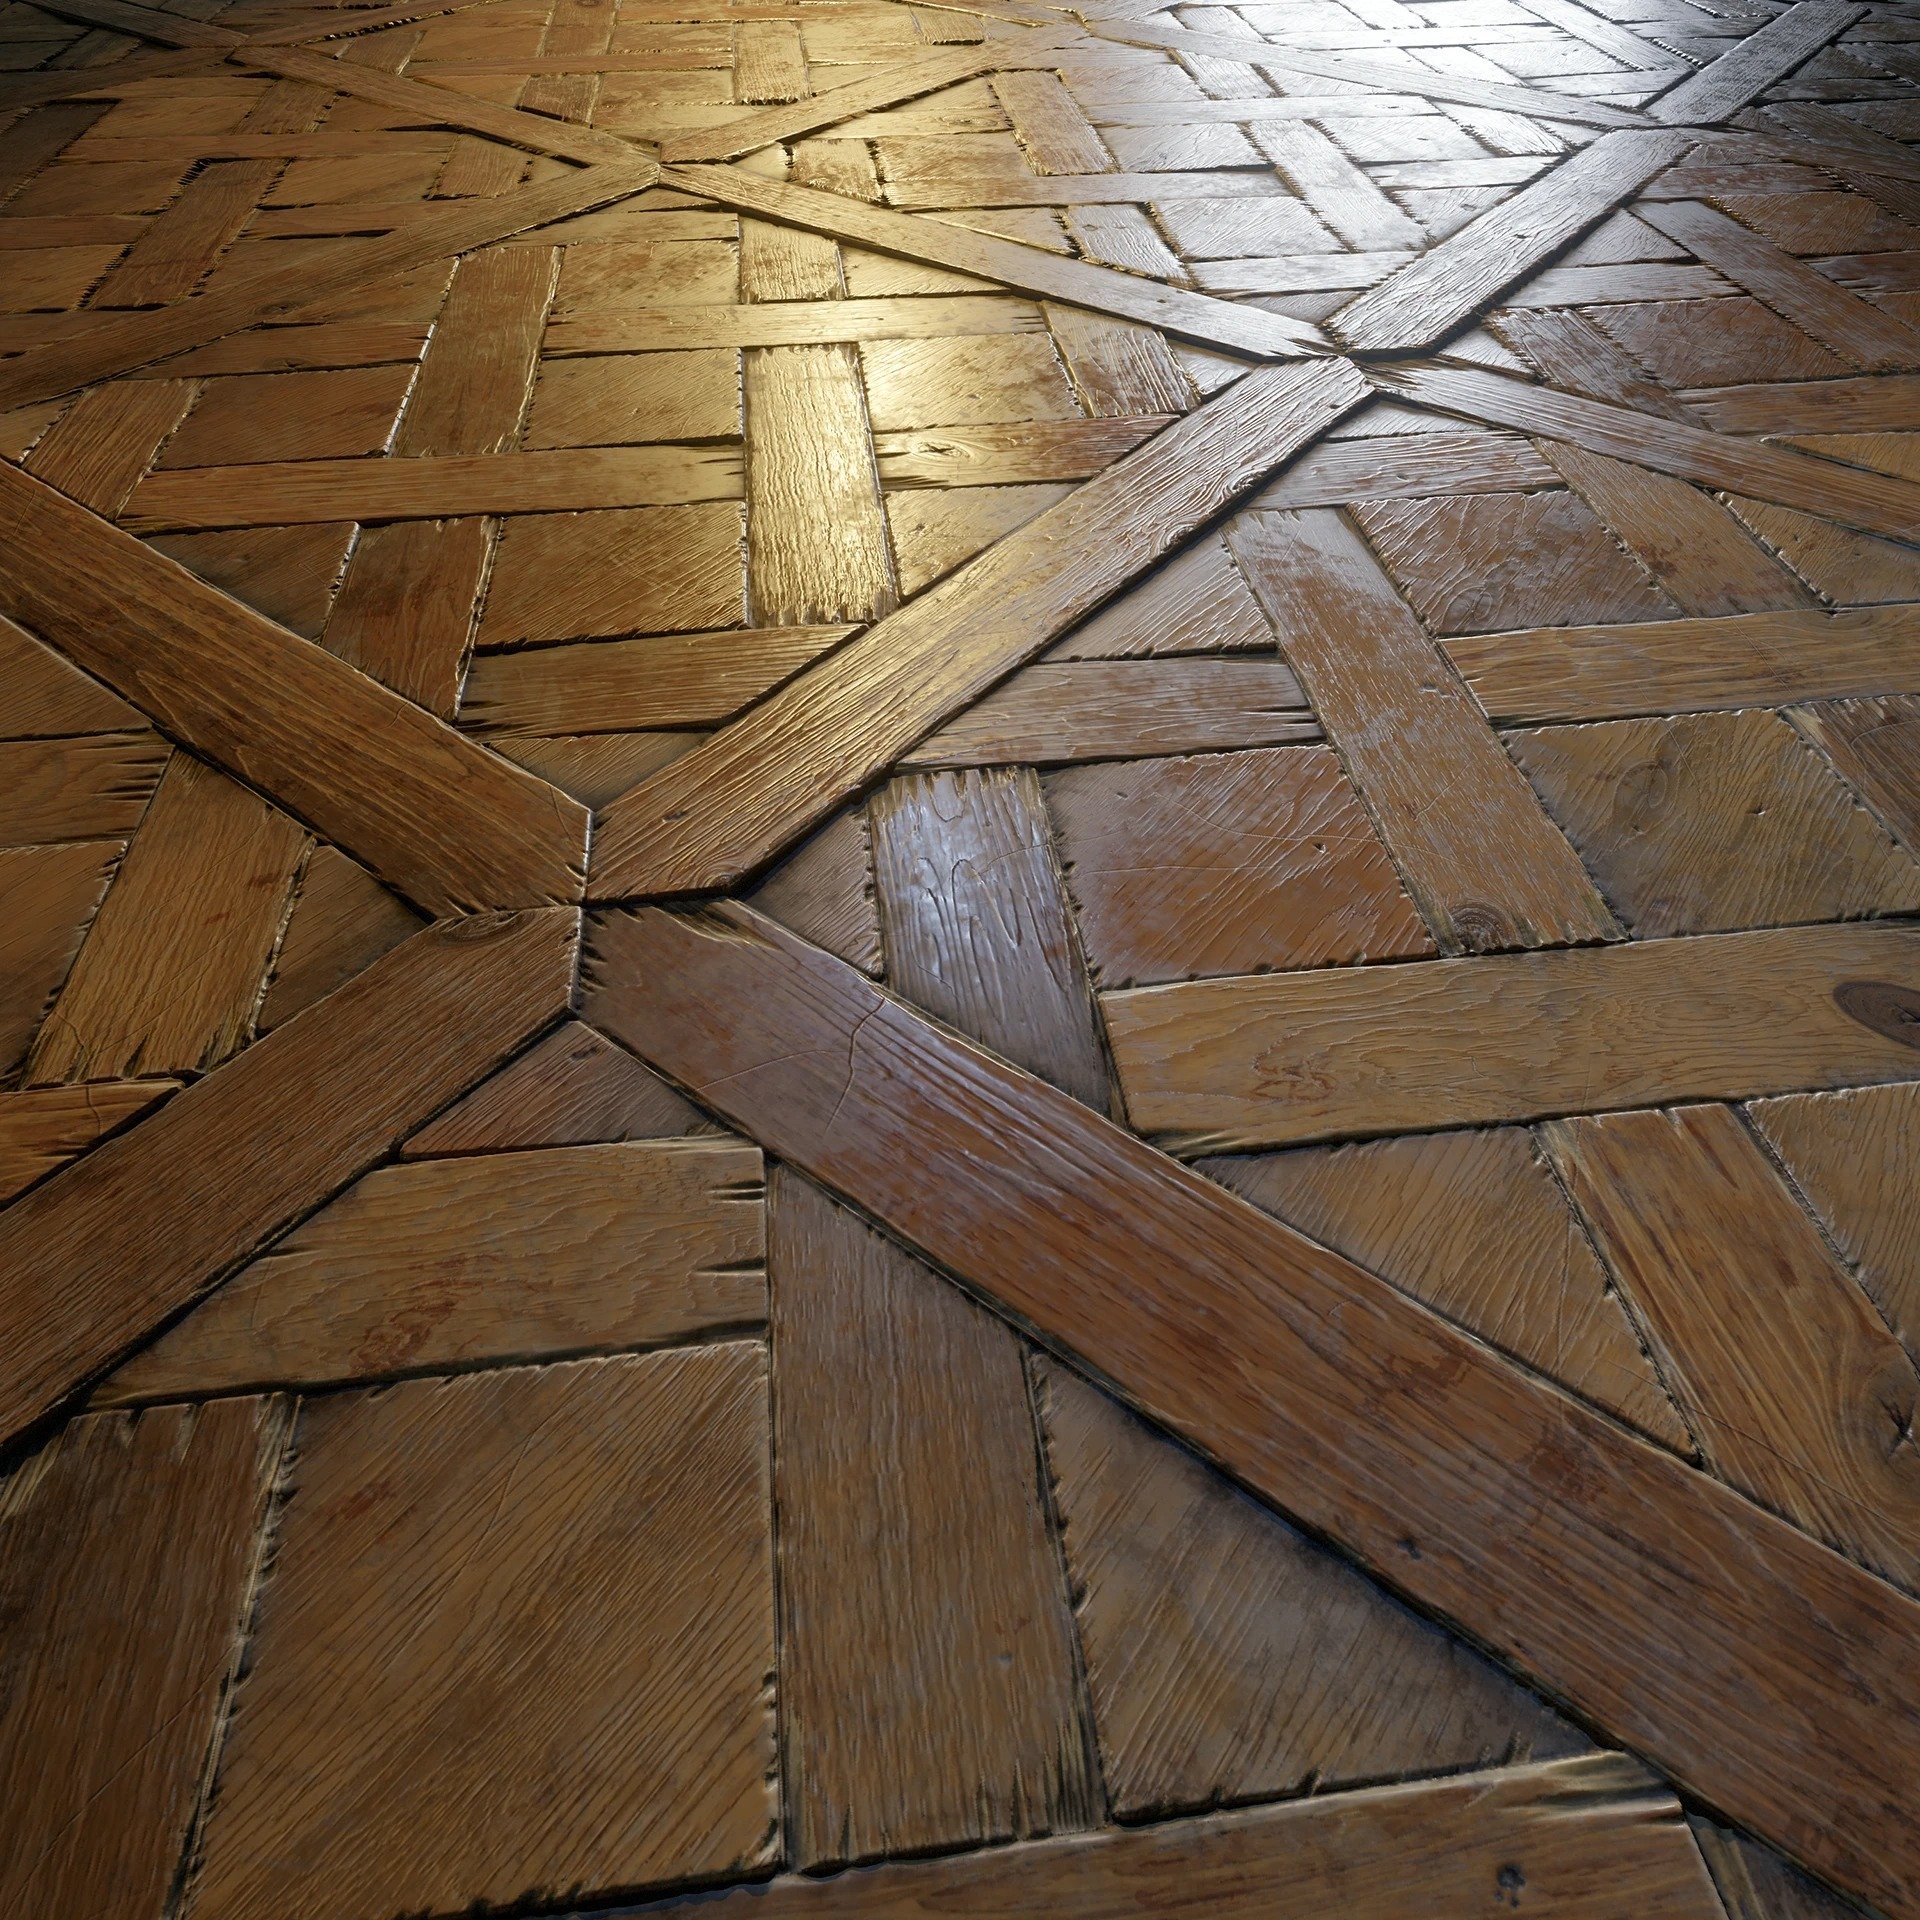
Recently, I’ve enjoyed using a mix of ZBrush and Substance 3D Designer to create my materials. I start by creating the bark in ZBrush, using a tree bark displacement map from Quixel Megascans as a base, and then sculpting on top to achieve more appealing shapes.
Next, I use various masks, like ambient occlusion and cavity masks, to apply polypaint, ensuring the crevices are darker than the raised areas. At this stage, I don’t worry much about tiling, but you can go to Brush > Curve and set WrapMode to maximize tiling, which makes the next step in Substance 3D Designer easier.

Next, I bake this down to a flat plane using Marmoset Toolbag and export my maps into Substance 3D Designer. In Designer, I ensure my maps are tiling by using the Make_It_Tile_Patch node.

My approach to making the leaves for this project was straightforward. I started by drawing a mask for the leaf shape and brought it into Substance 3D Painter, where I added color and height.
Since I didn’t need incredibly detailed leaves, I kept it relatively simple to prevent the crown from looking too noisy, especially as I knew the overall shape would already have a noisy silhouette.

Creating the Trunk
Creating the trunk and branches is a fairly easy process. I start by creating a cylinder with UVs in ZBrush, removing the caps, and then attaching it to a curve brush that tapers the cylinder. From there, I drag out the trunk and branch shapes to form the tree mesh.
Next, I position all of the branches using the Move Topological brush and thicken the bottom of the branches with the Inflate brush. The shape can be manipulated as much as needed here.
For more details on this process and on creating the hanging moss, I highly recommend Tyler Smith’s tutorial mentioned earlier.

Populating the Branches
To populate the branches, I used Houdini. I have been using Houdini for a long time and enjoy finding ways to incorporate it into my workflows.
However, I believe the logic I used here can also be implemented in other software, such as Blender’s Geometry Nodes.
Initially, I placed spheres of various sizes—larger ones toward the center of the tree crown—one for each branch. This helps achieve the desired silhouette for the final tree.
After placing the spheres, I merged and converted them to VDBs to form a single mesh without overlaps or internal geometry.
I then converted them back to polygons and used a Mountain node to add noise, aiming for a messy and natural silhouette rather than a smooth, rounded shape like in Animal Crossing.
A high amplitude on the Mountain node distorted the mesh, and then I remeshed the shape to reduce the polycount, mainly to avoid long calculation times. I smoothed the shape before adding normals.
The normals are crucial for setting leaf direction, which I managed with the Scatter-Align node, aligning the normal direction to Y and the forward direction to Z. Leaves are then placed on the points using the Copy-to-Point node.
The Scatter-Align node controls leaf placement (one leaf per point), so using fewer points with larger leaves can help avoid “holes” in the crown.
Finally, I ran a poly-reduce on the tree to minimize polycount without compromising the shape.

Moss
The moss on the tree and ground was created in Substance Painter. Though it took some experimentation, moss doesn’t need much detail—the silhouette is the most important aspect to convey a soft and fuzzy look.
For the silhouette, I tried different brushes and eventually found that “Leaf Messy” worked well. I drew a few strands, applied color, and turned them into cards.
The workflow is similar to grass cards, where the cards with strands are arranged in a clump.

For nice shading in Unreal Engine, I recommend transferring normals from a sphere. In Maya, position a sphere over the moss clump and transfer the vertex normal attributes.
Before deleting the sphere, lock the normals under mesh display.
The moss can also be placed in larger clumps for ground foliage.
I scattered the clump on a flat sphere and transferred the vertex normals from the sphere to the entire mesh again.

Leaf and Moss Shading
The two most important sections of my shader for achieving the fluffy foliage look are the albedo and subsurface scattering (SSS). Set the shading model to two-sided foliage for the SSS to function properly.

I set up my albedo by multiplying the texture map with a 4-vector parameter to allow for foliage tinting if needed. I then multiply this with a scalar parameter to control brightness.
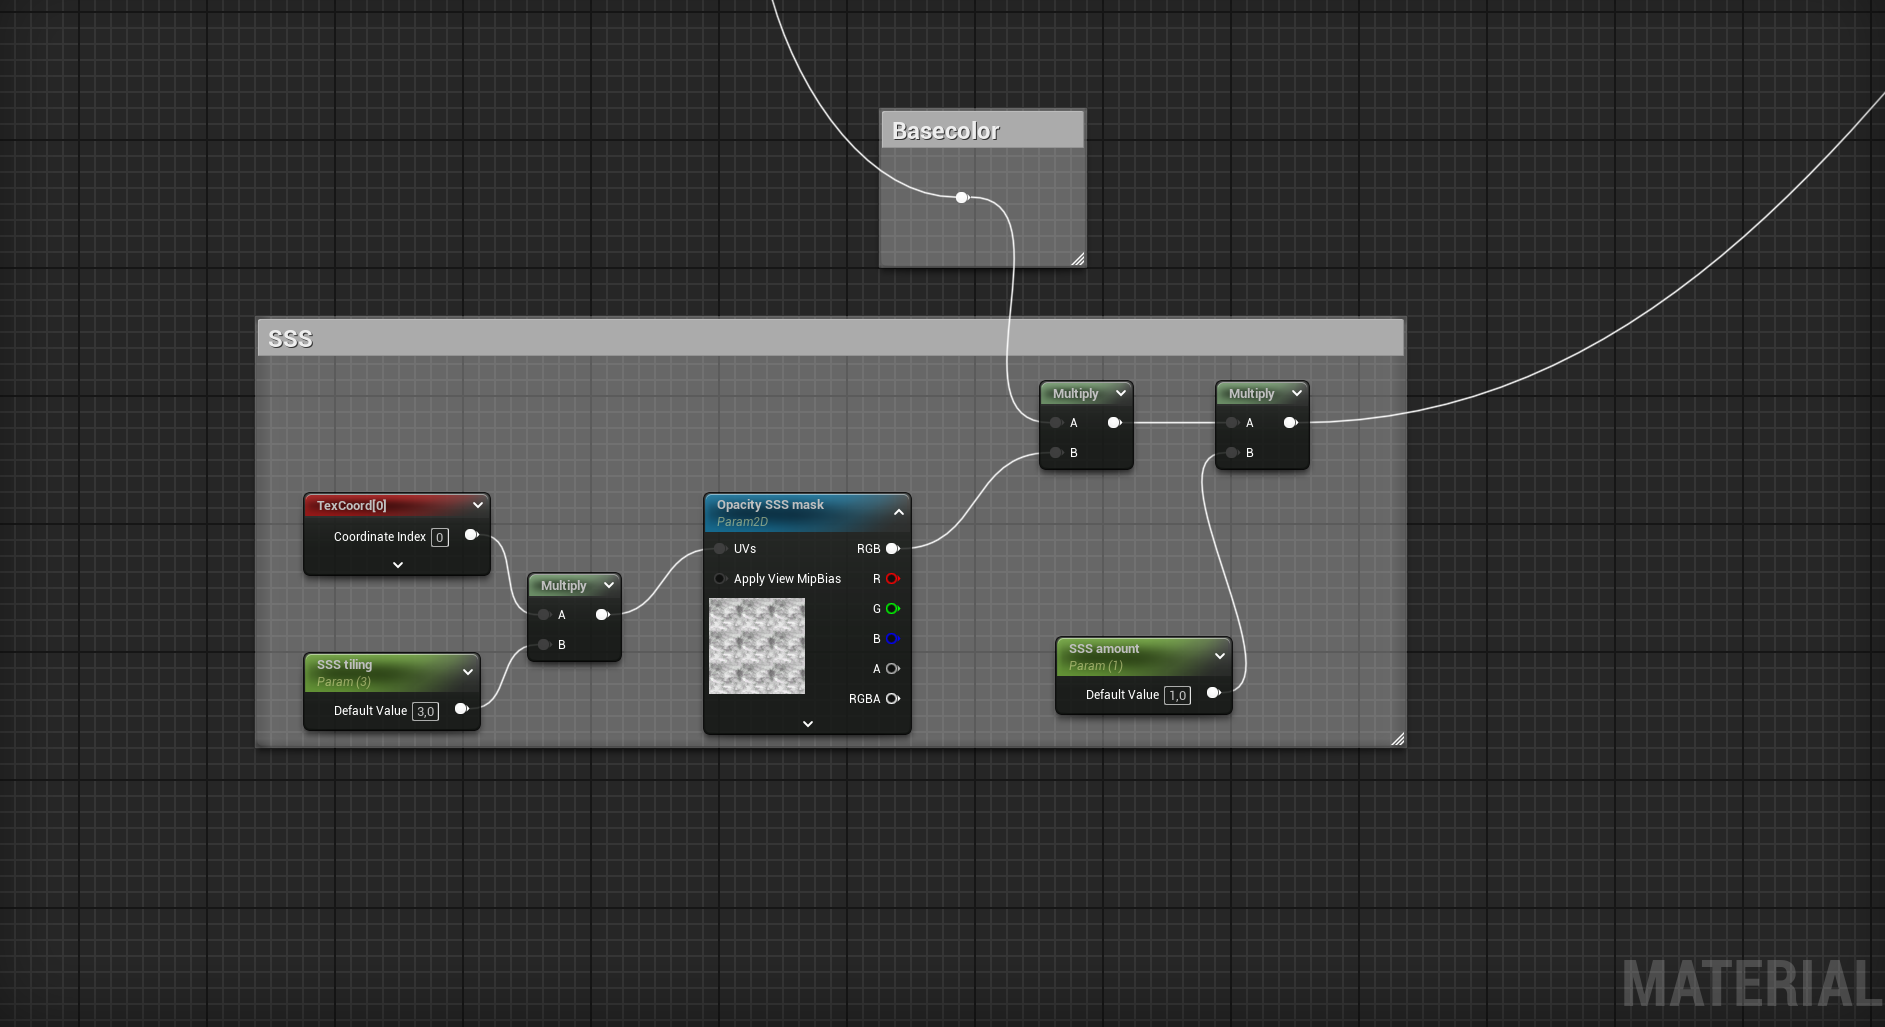
For the SSS, I multiply a tiling noise with the base color (after the 4-vector and scalar multiplications). I then multiply this with another scalar to control the intensity of SSS.
The result is a nice, fluffy look that simulates light passing through the foliage.
I learned a lot about foliage shading from Ben Cloward on YouTube; his resources on shaders are outstanding, and I highly recommend them!
Presentation
For the presentation, I placed the trees on a large beveled plane with an unlit material. I dressed them with vines created in Maya and other foliage cut from a previous project.
I primarily used rect-lights to illuminate the tree crowns, creating some appealing rim lights.
Conclusion
Creating trees doesn’t have to be a tedious, lengthy process; it depends on your needs and the art direction you’re pursuing.
These trees are around 100k tris and can be easily LOD-ed.
I learn a lot through experimentation and by combining different techniques, so I highly recommend trying various approaches to develop a workflow that suits your goals!
Read more articles
You might also like these articles.