Old Electric Hand Drill


Introduction
Hi, my name is Raveen Pathirana and I’m currently working as a freelance Environment and Prop Artist. I have been doing 3D art for about 2 years, mainly being self-taught and learning through online courses.


Goals and References
For the prop “Old Electric Hand Drill”, I had the goal in mind to work on realistic modern materials and semi-complex modeling. Needed to push my texturing skills a lot further and this project gave me that opportunity, whilst also wanting to try out the live boolean method in Zbrush.
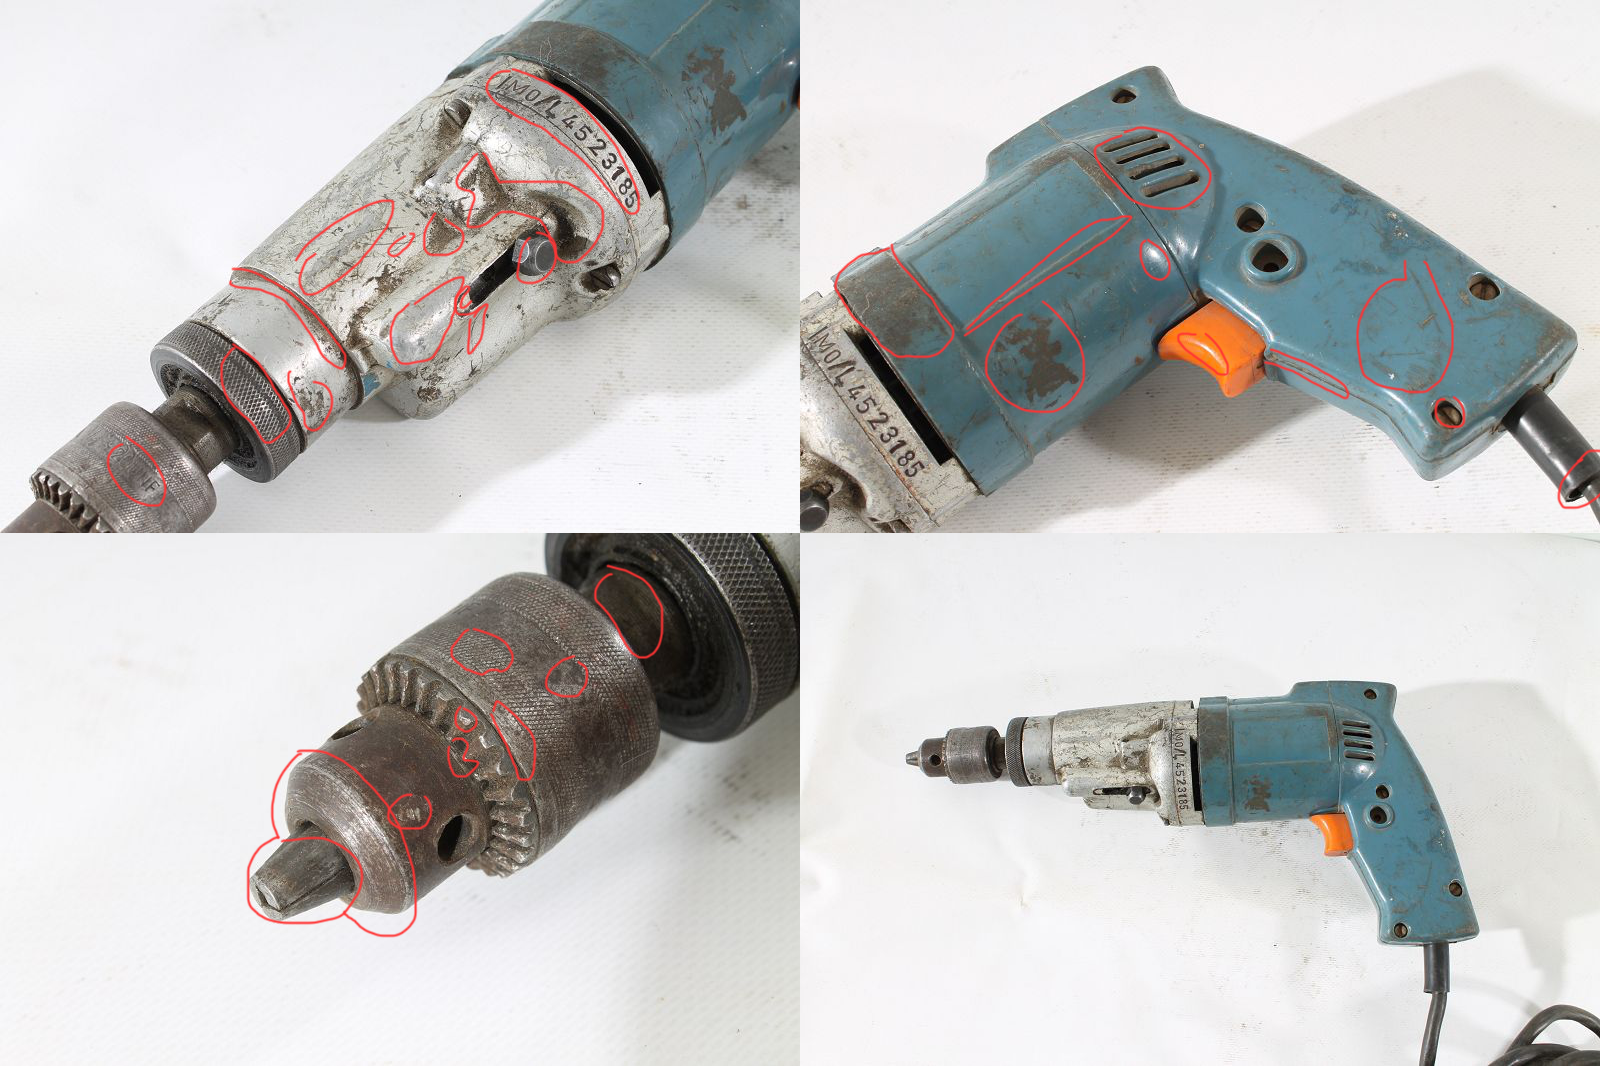
For the materials, – metals, rubber, and plastic were what I had in mind, but finding a prop I liked did come a little slow. I like to look at high-quality references, usually with multiple angles. After a little bit of digging, I decided on this one, where I found it on eBay. It matched my criteria with modern materials with interesting details, excellent angles, and resolution, and has a semi-complex shape.


Blockout
The software I used to create this were Maya, Zbrush, Marmoset, Photoshop, and Substance Painter.
Usually, before I start getting into the programs I have a few tutorials bookmarked or saved somewhere so down the line I can refer to them when I want. Here are the two main tutorials I used for this project – https://www.artstation.com/artwork/D5kXE0 and https://www.artstation.com/artwork/
To start I organised my refs and made a silhouette blockout. This stage is one of the more important ones, a good blockout means a great setup for the rest of the pipeline. The accurate proportion was
a bit tricky at first, but after getting some feedback, using the landmarks is a great way to blockout everything. Keeping the topo simple is a good idea that way you can adjust things easily. Once the overall shape is defined, it’s onto adding edge loops, if needed, and then exporting objects for Zbrush.
There are tons of resources out there to understand the live boolean workflow so I won’t go over it in too much detail, here’s the aforementioned tutorial that I learned it from https://www.artstation.com/artwork/D5kXE0.

High Poly
After adding creases where needed, see the example below, I utilized the live boolean and added and subtracted shapes. Then I merged the mesh together and applied for a polish pass. Personally, I like to go pretty high with the polish just to see how it feels and if it’s too much I undo and bring the value down. From there, it’s fairly easy, I added any damage or sculpting passes, decimated the mesh, and exported it as an OBJ to a specified folder. I prefer working with different Zbrush files for different parts, for example, the handle is one file whereas the barrel (mid-part) is another.


Here’s a GIF to show how it was done for the barrel (mid-part). Always make sure to keep your shapes simple and clean so the process does not overwhelm you when you add and/or subtract.
Making the low poly was a challenge for this project since I wanted to make sure the shape is retained including the bolt holes and vents. Most of the shapes I used earlier for the live boolean I used here as well with boolean > difference, however, the trickiest parts were the vents. Doing a test bake I found there too many baking errors when I used the base shape. So I found a solution to this, which was to utilise the quad draw tool in Maya and get the shape that way. Pulled it back so it lines up with the rest of the barrel on the handle. After that, it’s closing all the loops.

Also worth mentioning that merging the shapes will help sell the normals and texture information better as supposed to using floaters.

This process was repeated for the bulk of the drill with an exception of the bolts and some sections at the front, where I used traditional sub-d.
Once the high and low poly were done, it was onto the UV layout. For this, I wanted to make sure the texel density was a good consistent amount. Although the reference has two unique sides for the handle, you have to keep in mind this will not all fit in a 0-1 space so we’re going to have to make a compromise and mirror the left side.
For UV’s I use NightShade, would highly recommend it if you have not tried it.

My process of unwrapping is pretty simple, make sure to know where to add seams, prioritise the larger forms first, then work your way from there. Once everything is unwrapped then you can adjust the density a little so it can fit into space, but make sure it’s consistent enough to avoid stretching.

In a perfect world clean bakes would happen in one go, but most likely not going to be the case for most complex props. The key is to make the low poly shape retain the high poly and that there’s a good amount of padding between each shell. Personally use Marmoset Toolbag 3 for all my baking due to its offset and skew tool, which are great to clean up artifacts.
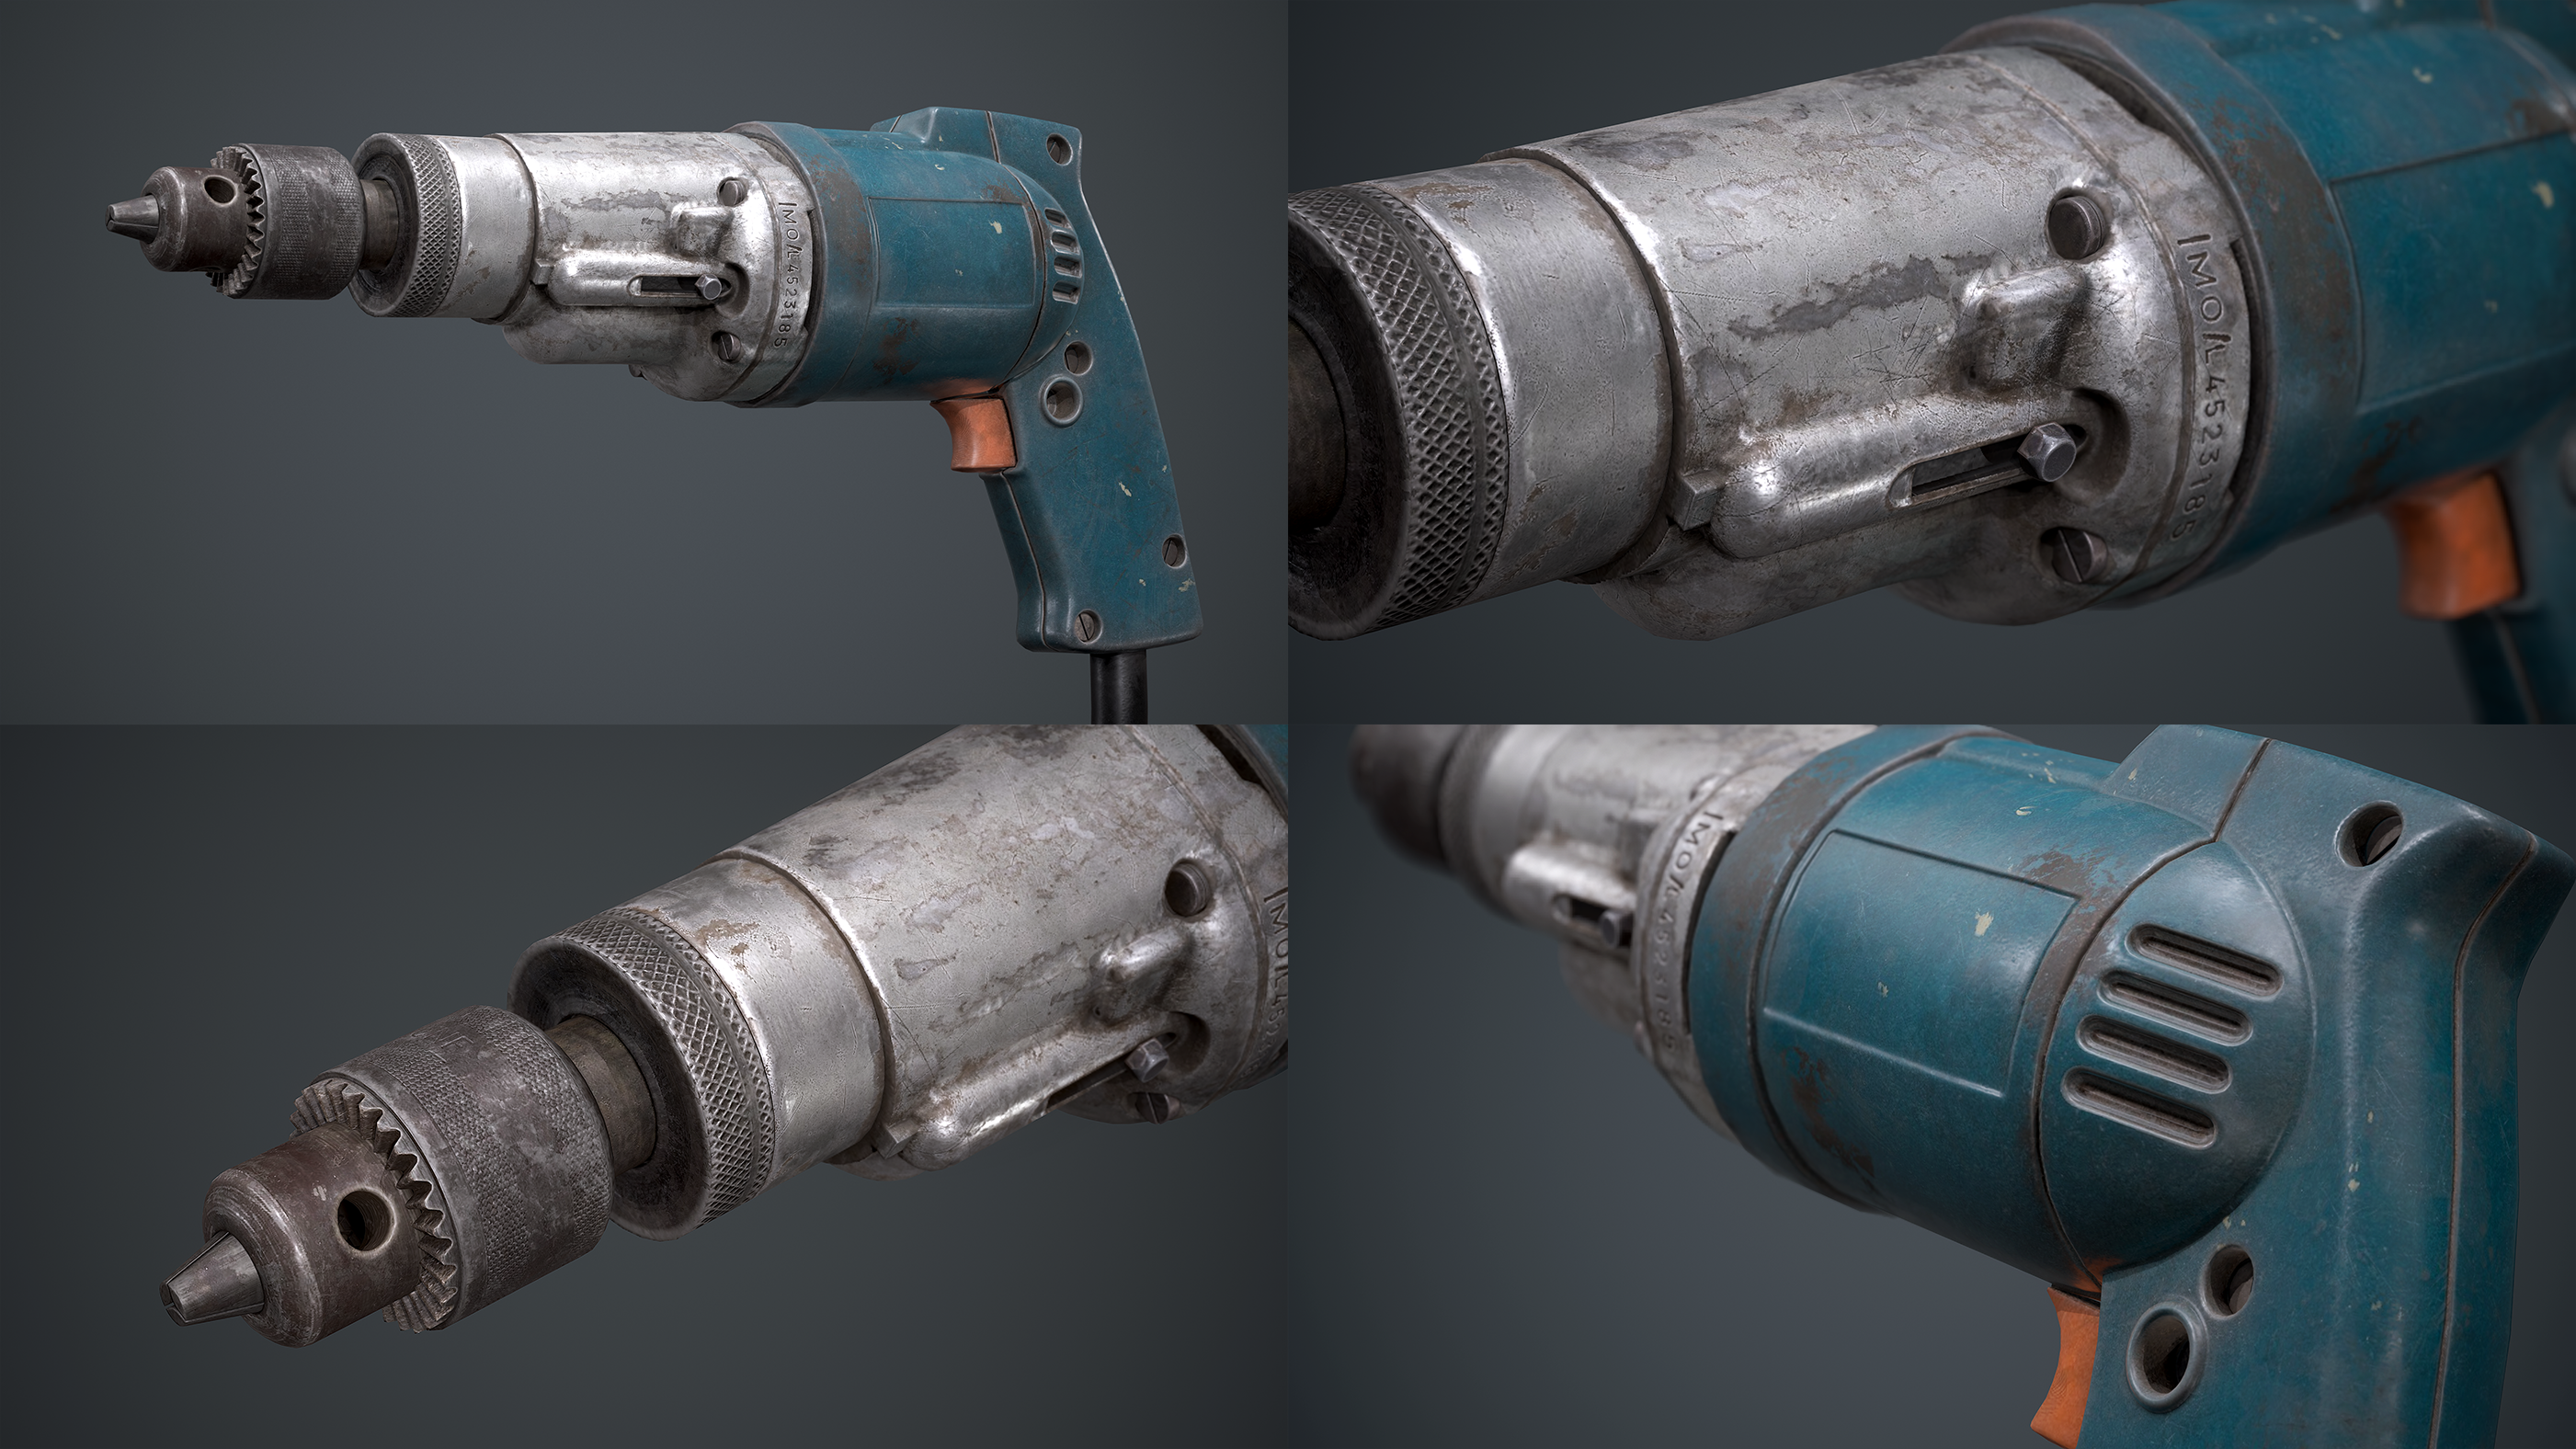
For the texturing phase, I wanted to make sure the drill looked like the ref as close as I could. Looking at Jason’s workflow I applied a similar approach – breakdown the reference, organise and set up a 2k painter file, make base materials from scratch and then slowly build up the layers to achieve realism.
I identified the areas that I wanted to emulate as well and there were a few that I did miss, but for the most part, these circled areas are what I wanted to focus on.
To me, understanding realism is understanding roughness, which is perhaps the most important channel to focus on after normals. Overexaggerate the details in roughness then mask it out and make it subtle.

Lighting and Rendering
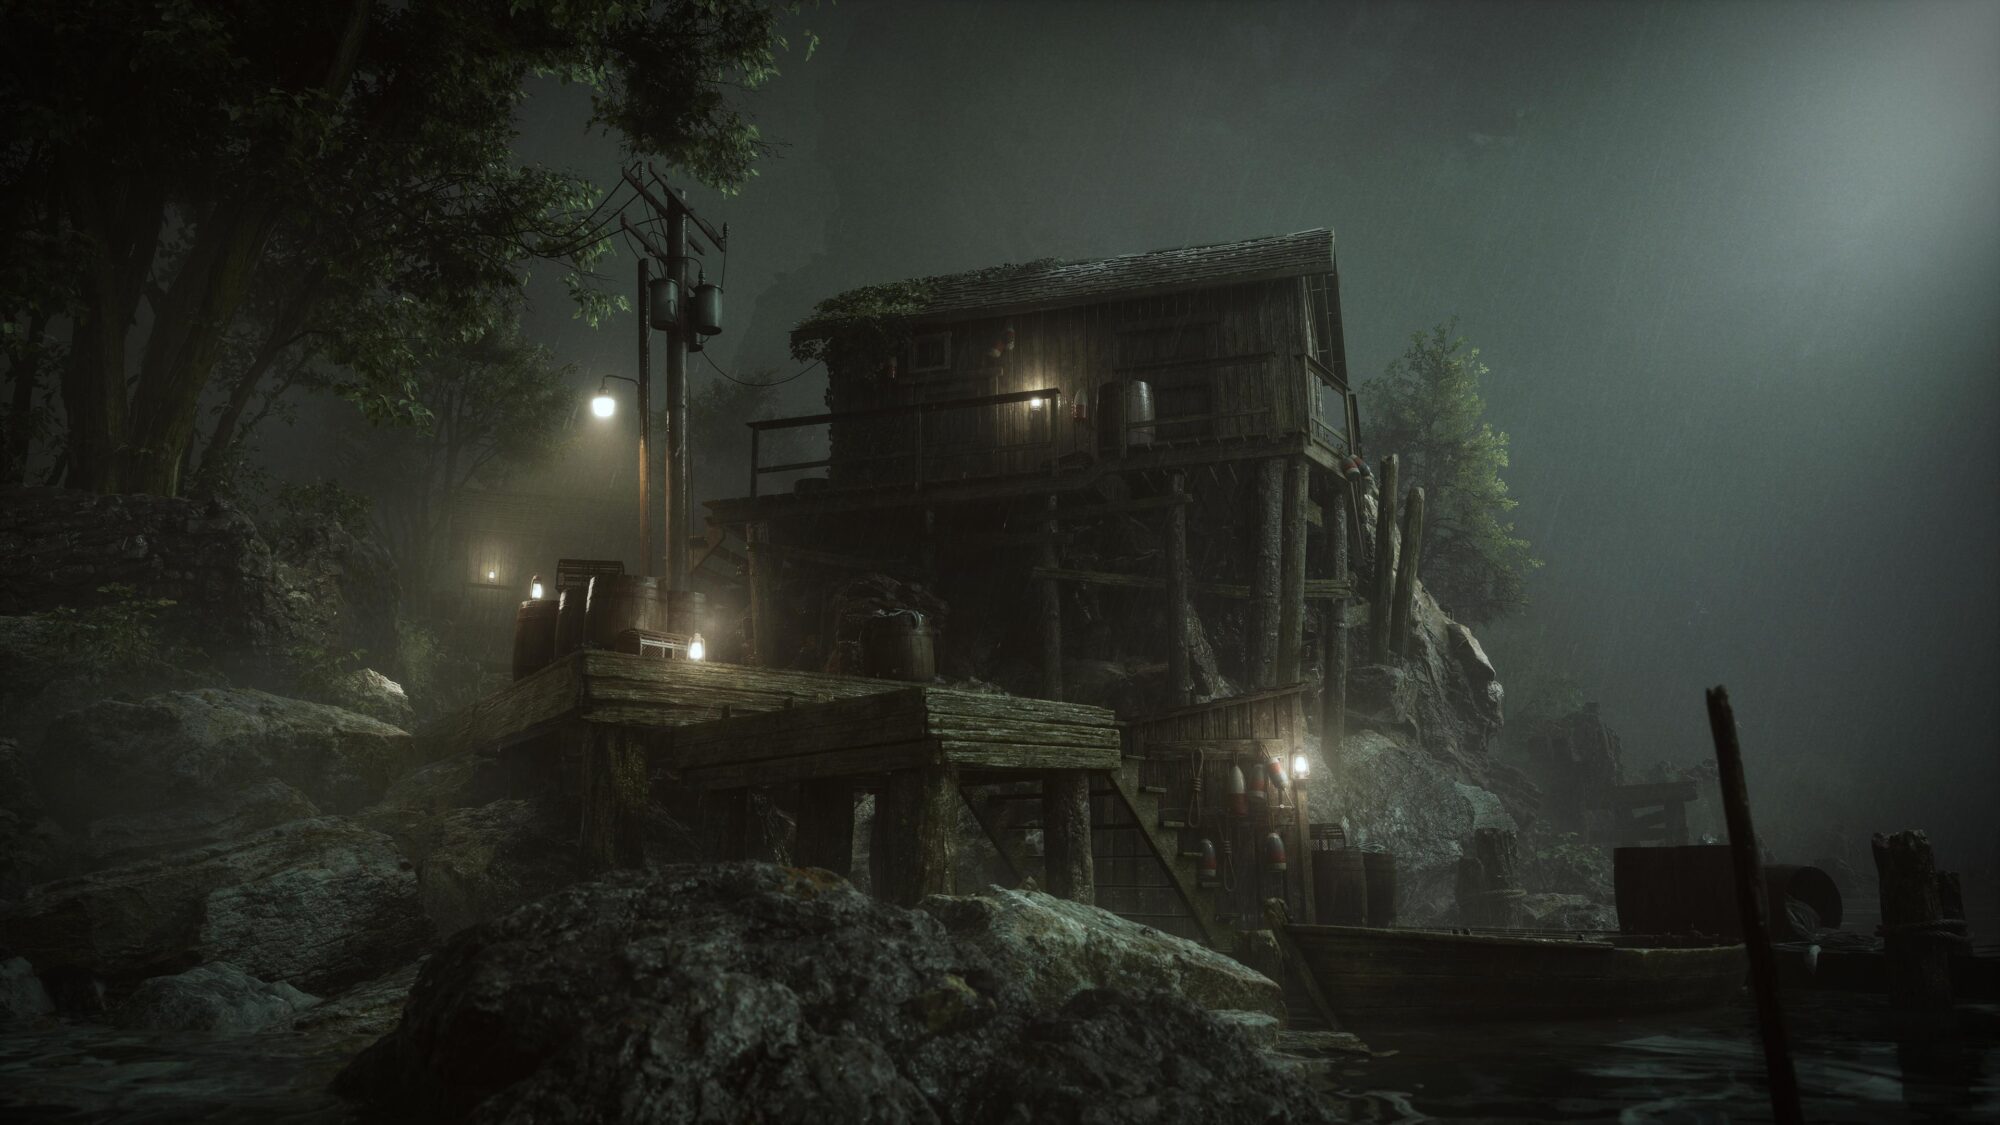
Lighting and rendering was something that progressed from test bakes and textures. I tested it with an old lighting set up but I ended up sticking with a neutral, studio-like setting.

Settings I used inside Marmoset Toolbag 3.
Great references helped me with some angles but really it’s best to play around to see what you like since it is in 3D!
Conclusion
In summary, making something look and feel realisitc can be a challenging task at first but once you have a set of fantastic references, a good eye for shape, proportions, colour, details, and patience it’s not so difficult.
Thanks to Games Artist for reaching out!
Thanks to Raveen for allowing us to have such an in-depth look at his process. If you liked this prop breakdown and want to see more like it from other inspiring artist’s make sure to follow us on :
https://www.artstation.com/gamesartist
Read more articles
You might also like these articles.