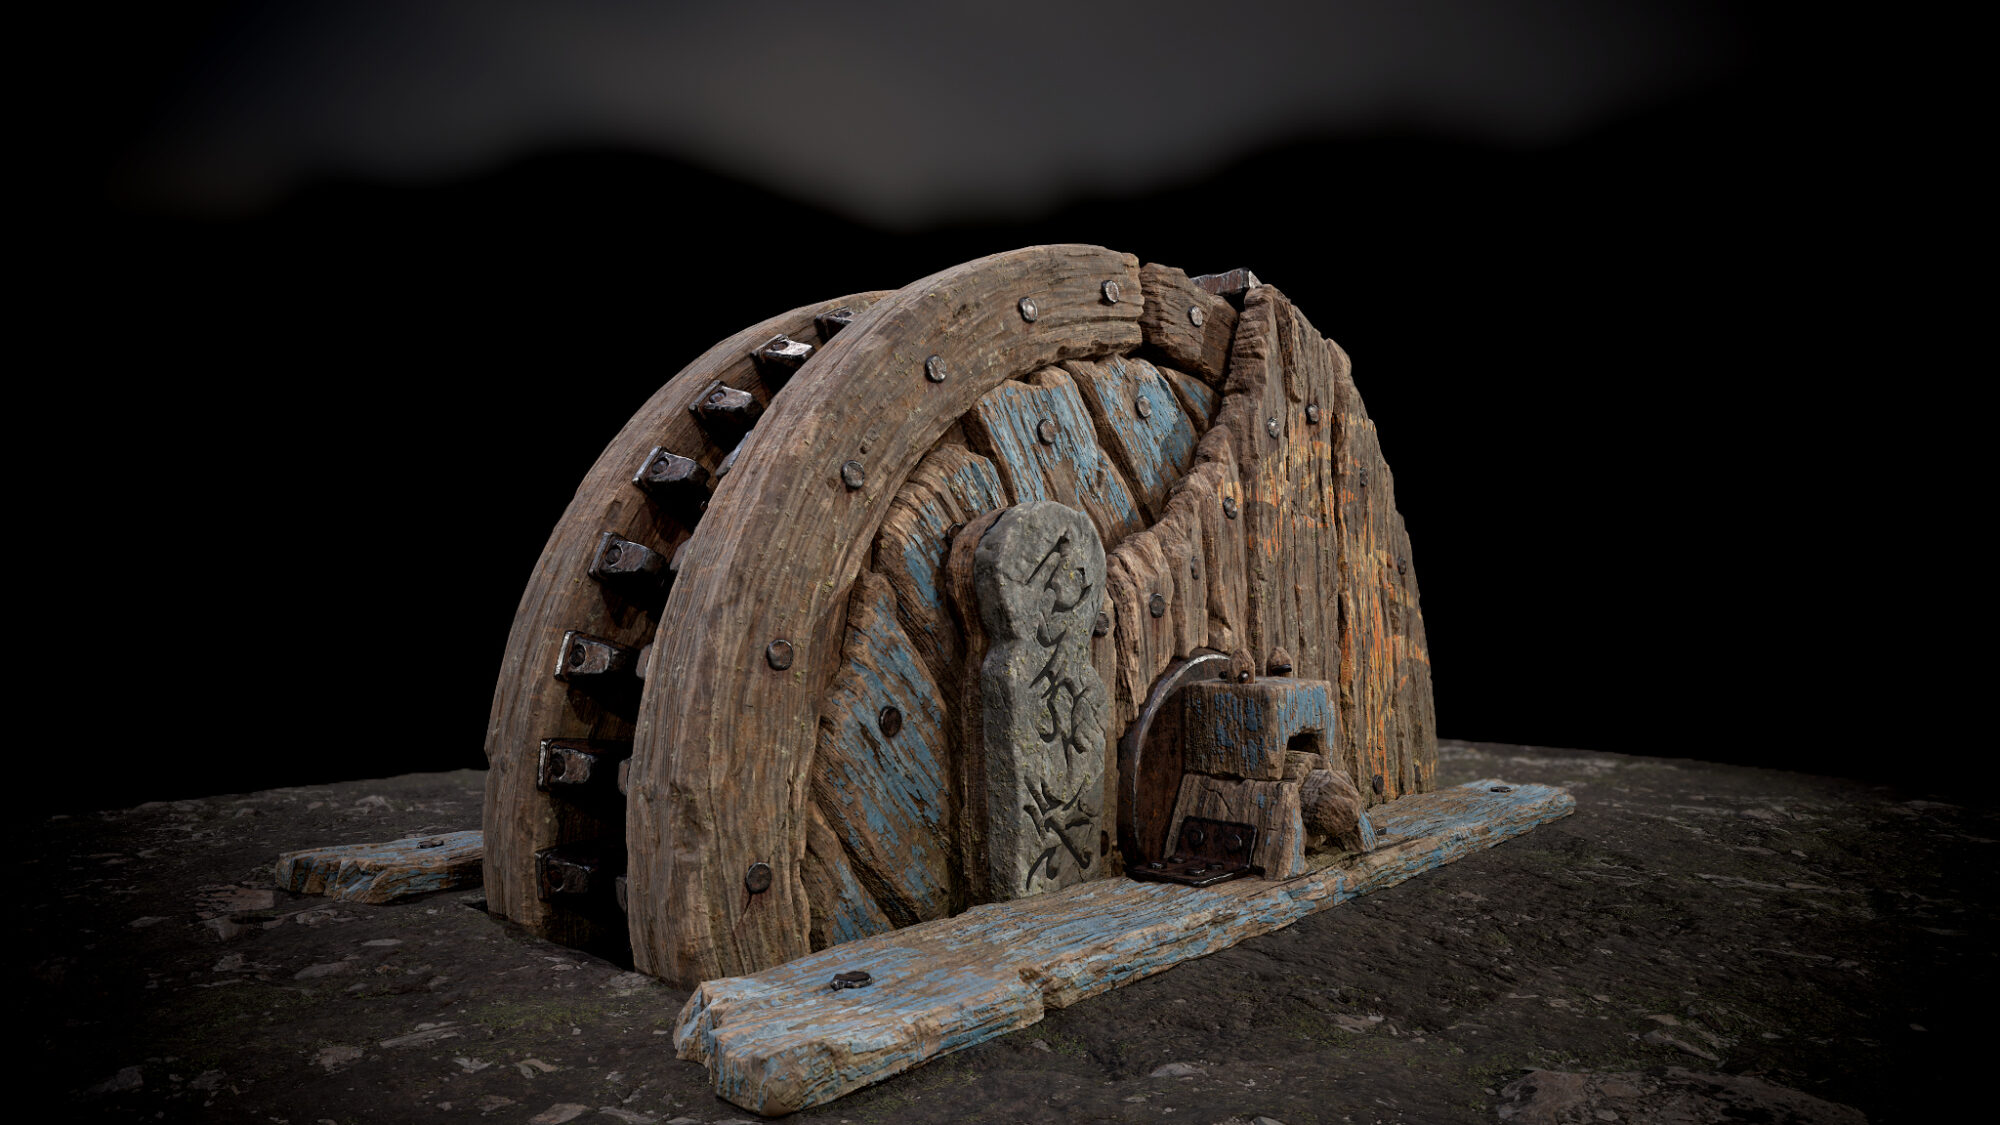
GameBoy Color


Introduction
Working at Ubisoft Montpellier since June 2015.
The Project & Goals
Hi! We’re Priskah and Benjamin, Environment artists at Ubisoft. In this article, we’ll take you through the process and ideas behind our Game Boy Color. Recently, we were training on Blender 3D to keep up with the latest trends and alternative workflows. We wanted to take on a rather challenging Hard Surface Props, and since the Gameboy Color is a cool piece of tech and brings back so many memories we just went for it.
What software did you use?
We used Blender for the main modelization of the different pieces, ZBrush for the making of the high poly meshes, Substance Painter and Photoshop for the texturing, and Marmoset Toolbag for the rendering in raytracing.
References/Inspiration
We found a lot of useful stuff on repair websites, high-resolution photos of the motherboard, shell. There is a large community of old-school hardware fans and it was a goldmine for references. Even with these references in mind, we ended up with completely different renders; Priskah wanted to create a fanart that reflects her memories attached to this prop and Benjamin wanted to stick to the real prop reference.

Planning
Our planning was simple, when we had the time we worked on it (after work). We planned to cut the GBC in half, Priskah did the front shell, front pieces like buttons and screen, while Benjamin did all the back shell with cartridge and motherboard.
Blockout/Modelling
Our blocking was made in Blender. We began with the cross-section of the shells and we shared it between us to ensure that we used the same exact measurements, and have a perfect fit in the end. We did not hesitate to share our different blender files and our different pieces. For example for the screw holes needed to be perfectly aligned with the motherboard and the other shell. We used extensively a very well-known Blender plugins combination called Hard Ops and BoxCutter that helped us to speed up our workflow and be more efficient.


Sculpting
No sculpting was involved per se but we used Zbrush to produce a Zremeshed version of our model, with an even topology that could be subdivided without artifacts and produce a clean High Poly. To do this, we start by defining UV islands in Blender, with a cut every time there is a Hard Edge. Then in ZBrush, we define Polygroups by UVs to help the Zremesher understand where it should not smooth the model.


UVing
HardOps can do most of the heavy lifting for you when it comes to UVs, because there is a checkbox to automatically mark seams where there is a hard edge, which is exactly what you want when you are doing Hard Surface. A few seams were then done by hand.

We used two plugins, UVToolkit to straighten shells and UVPackmaster to pack them.


Baking
We used Substance painter to bake most of the pieces, and Marmoset Toolbag when we needed a bit more flexibility to tweak the cage easily.
Texturing/Substance
Priskah: Texturing part is so satisfying, looking for all the little details you made to make them pop up to the eyes, I loved playing with roughness map adding fingers smudge, this is the interesting part when textures add a background story to the prop you’re making.

Benjamin: For the Motherboard, I was lucky enough to find a very decent photo of both of the sides on the Internet, so I just mapped it on a low-resolution model with some extrudes here and there to add a bit more volume to it. The photo was perfect because it was high Resolution, it had even lighting and almost no perspective, which is ideal for a texture. But I had no Normal, Roughness, and Metalness, so I used Substance Designer to generate the two first and I hand-painted the Metalness.

Priskah: I wanted to add a personal touch to the final render adding stickers on the GBC shell, I used Procreate to draw them, and then with substance painter I created brushes to stamp them all over the surface: in the middle, you can see one of my experiment to measure the height strength.

Shading/Lighting
First thing I think before rendering is the lighting. What do I want to highlight, what is the mood of the scene? Here come tons of experimentations in terms of colors shading lights.


Priskah: I used the video importer from Eddie Ataberk to get a flipbook from a video .mp4 for the screen making.

Rendering
The raytracing feature available in Marmoset definitely helped a lot to achieve the look that we wanted, especially with the translucent plastic shader.
We even had to crank up the Bounces and refraction light bounces, as for the samples while rendering to denoise: it made the renders significantly longer.
Conclusion
Now that we have acquired the basics in Blender, we want to push it a step further by creating a full cinematic environment inside of Unreal Engine, with Blender as our main modeling tool.
It’s definitely going to be a challenge but now, we are ready! 😉
Thank you for your interest in our work!
Don’t be shy and follow us here:
Benjamin Artstation: https://www.artstation.com/benjamingalinier
Priskah Artstation: https://www.artstation.com/priskah
Thanks to Priskah & Benjamin for allowing us to have such an in-depth look at their process. If you liked this prop breakdown and want to see more like it from other inspiring artist’s make sure to follow us on :
https://www.artstation.com/gamesartist
Read more articles
You might also like these articles.