
Introduction
Hi! I’m Marcus Lembke and I’m a 3D Environment Artist for games.
I got into game art in High School and quickly made the switch to Environment art as my main focus due to an interest in composition within gameplay spaces. I studied at Future Games, studied a term at Think Tank, did contract work at Hazelight and am now studying at The Game Assembly in Stockholm.
Project
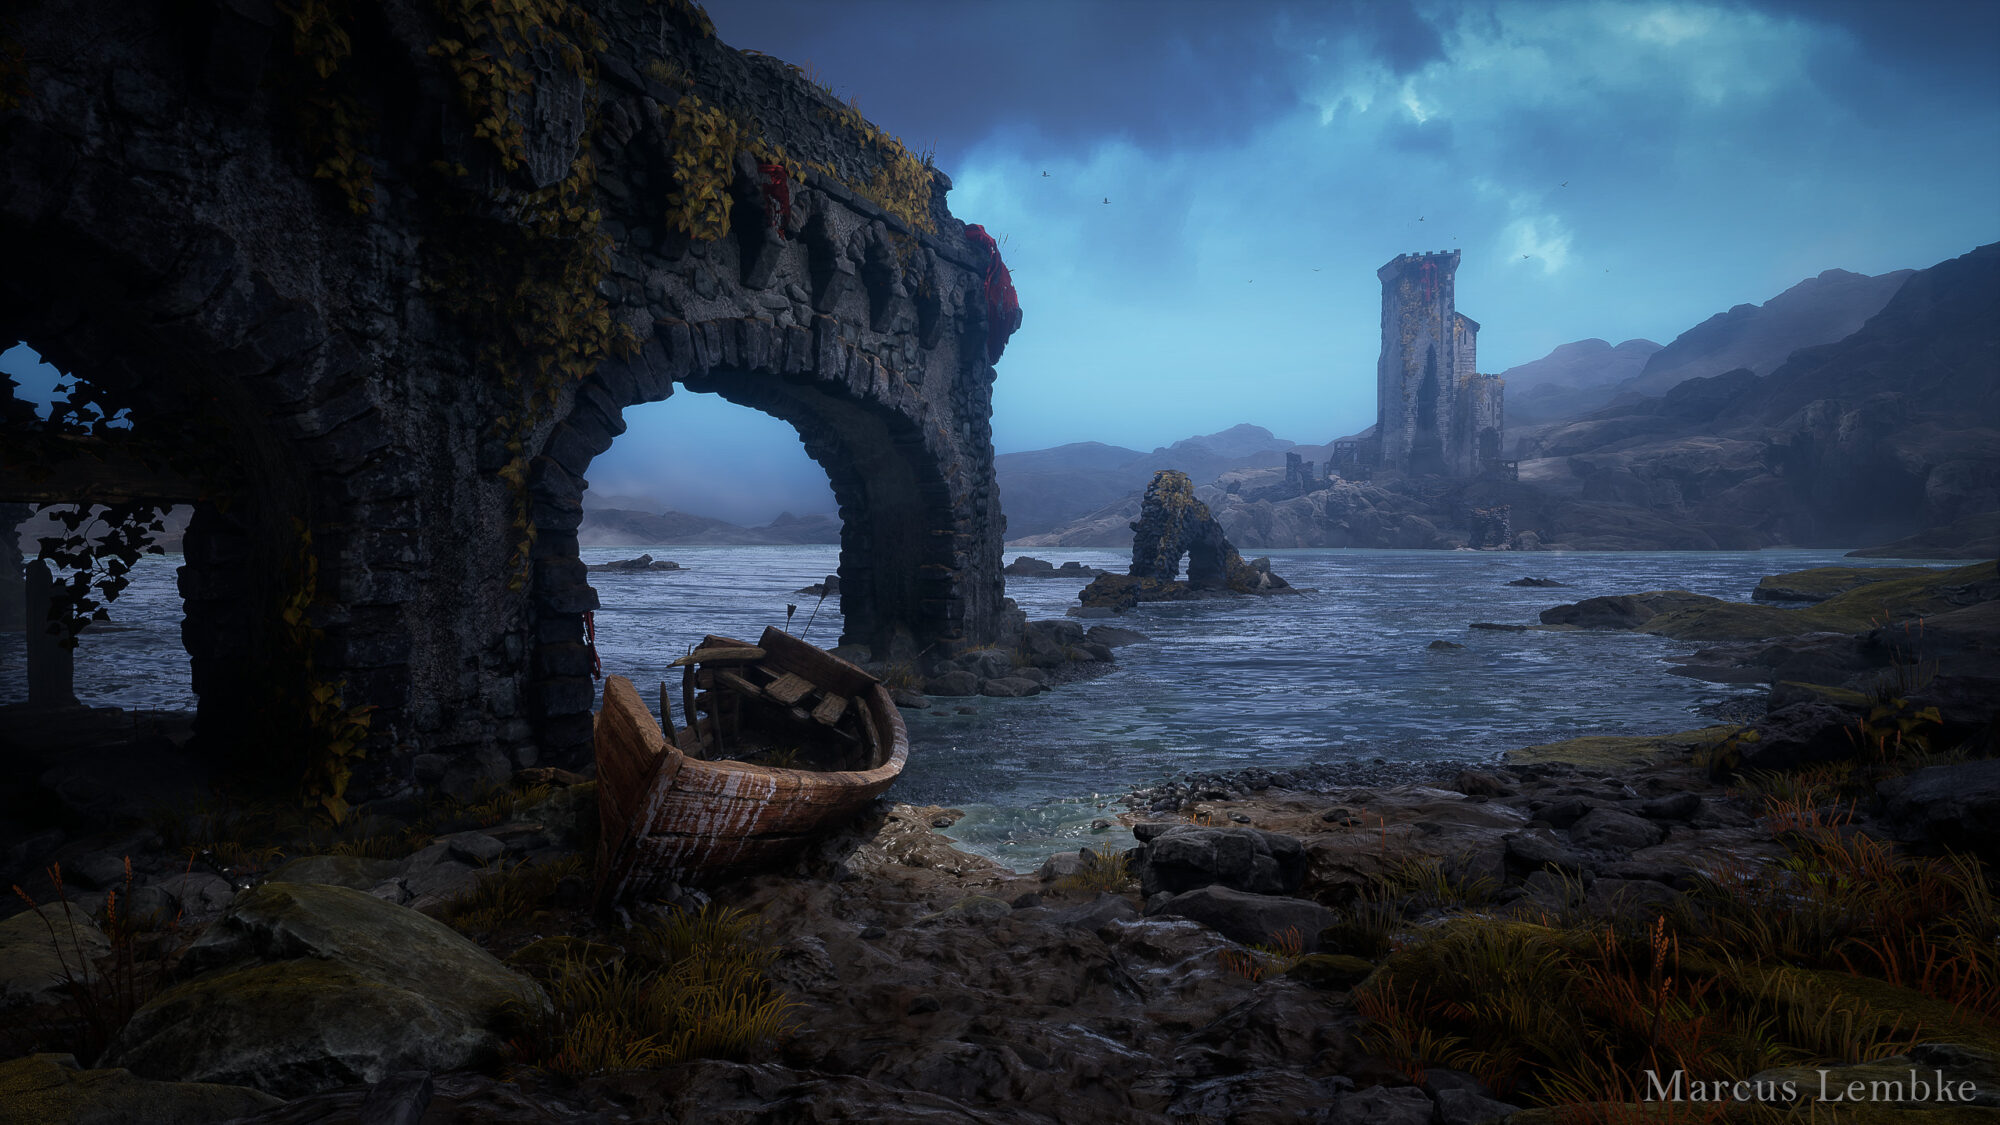
At the start of this project I had seen this beautiful concept art by Florian Zenz while I was still working on Split Fiction and the combination of the two really got the juices flowing.
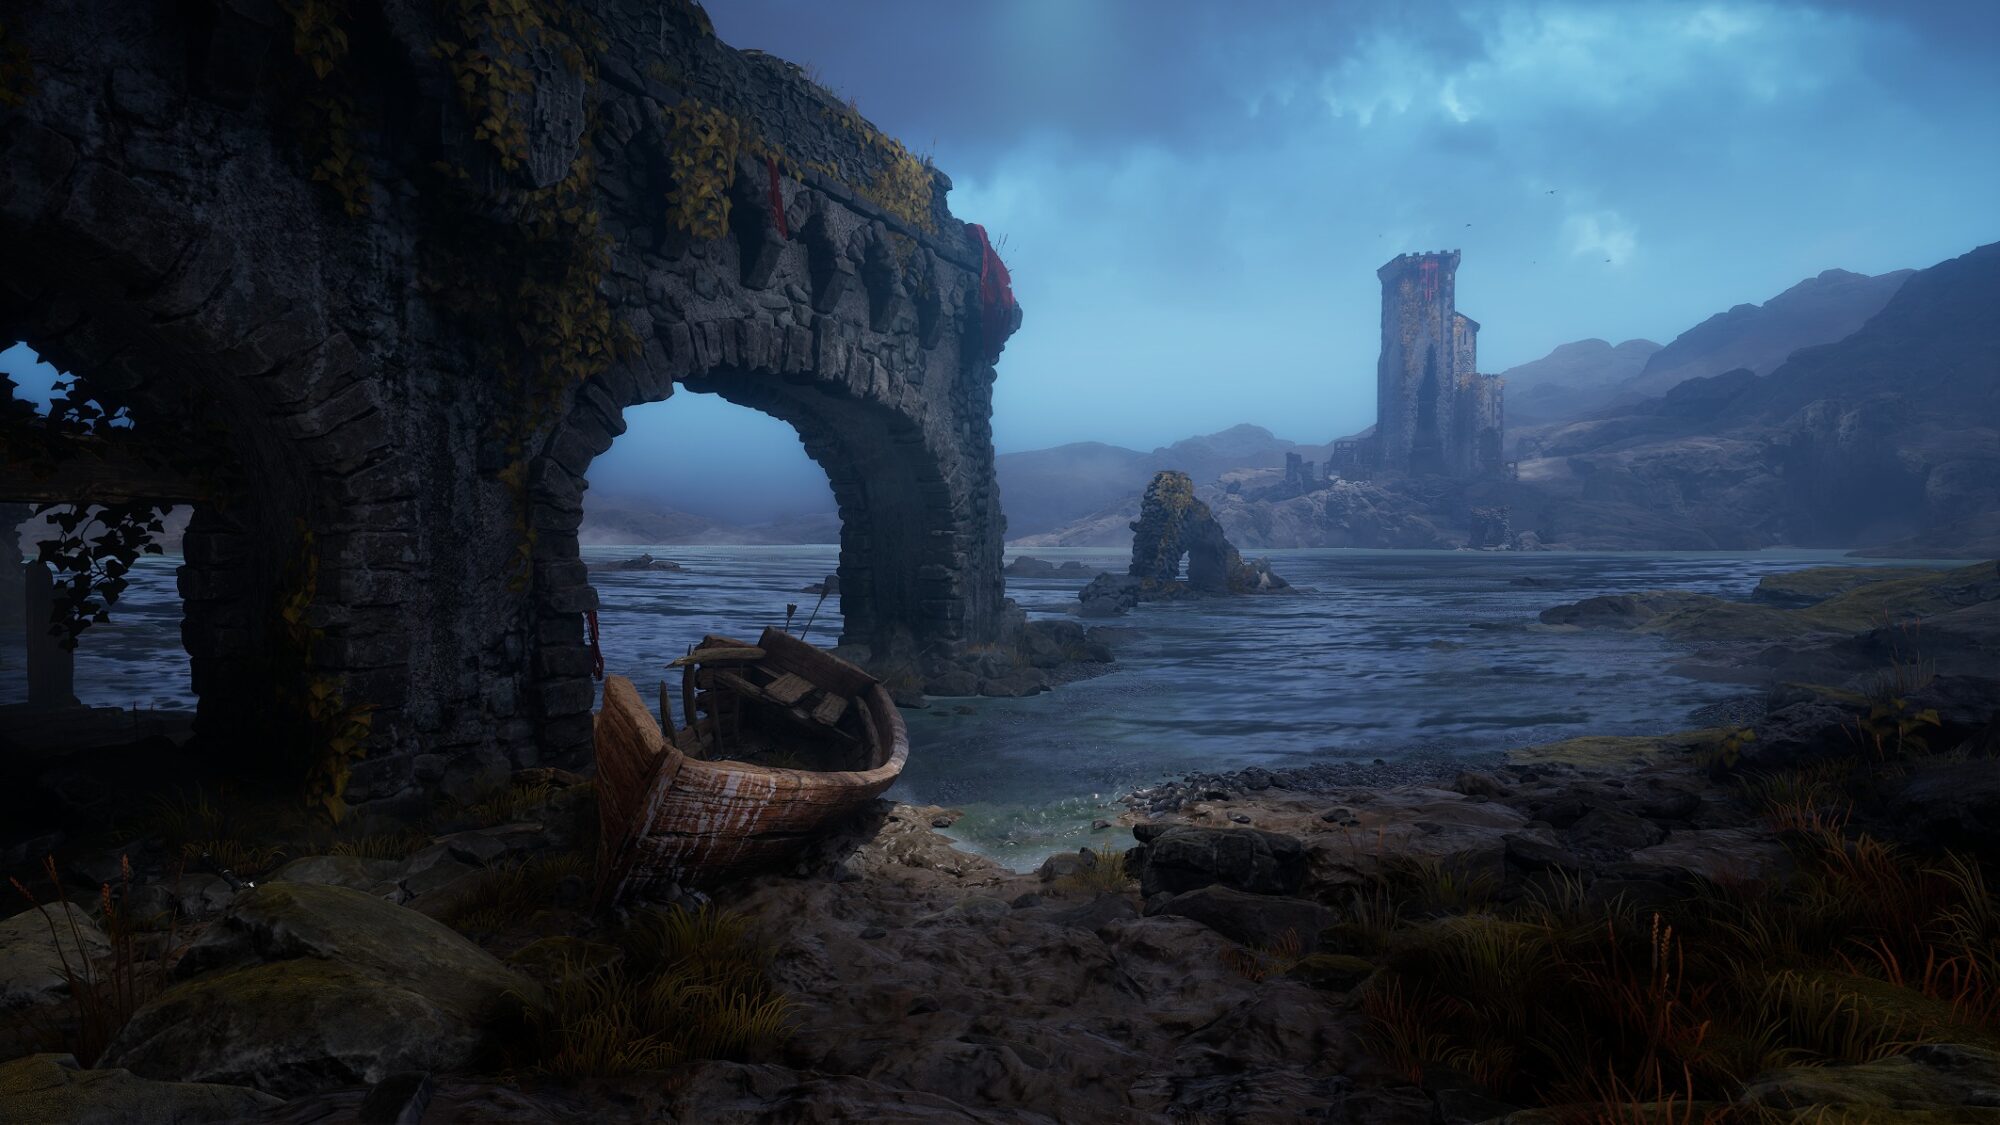
I looked at Florian’s work for the base composition, but I knew I wanted to change certain elements such as the knights and I also made aesthetic changes to fit my own style, like changing the bridge’s design.
I like to attach little mental scenarios to better help me inform the mood or purpose of an environment.
In this case it was the start of a game, think like a menu screen where as soon as you hit ‘start the game’ it would start immediately at this point. (Think God of War 2018).

Goals & Planning
I start by creating a Puref with reference for all the things I think I’ll need.
Having a blend of 3D and real reference comes in handy, but I tend to end up relying more on real references.

I knew that I wanted to make a larger scene, as my prior portfolio pieces showcased a lot of enclosed spaces, so this became an exercise in planning and making a larger scene with comparatively very little.
This would also lead to other challenges I wanted to tackle, such as lighting larger spaces and creating vistas, along with some general practice, such as:
- Sculpting
- Texturing
- Pipeline
- Landscapes
- Foliage
- Shaders
Blockout
The blockout started out simple and was built out from that base.
This was to help retain the core of the image and try to identify at an early stage what about the composition works.
I also like to color my blockout to better approximate what the final values will be and plan my composition with them.
This also helps early lighting passes match better with the textures you’ll end up making.
I also place out the camera as quickly as possible so that I can avoid blocking things that I don’t need.
As you can see, my castle changed constantly.
As it was my first time doing a vista, I accepted that it would take me a little more iteration than usual to get it right, so as I swapped out various designs, I focused instead on locking in the bridge.
That way, I could try and find something that would complement the bridge best.
Sculpting
To start, I had to choose an asset that I could practice my sculpting, texturing workflow, and shader effects on.
I settled on starting with rocks, as most of the scene is made of stone anyway.
The rocks were sculpted in 3D Coat, since I didn’t have access to ZBrush at the time, but these notes and tips apply to sculpting in general. Sculpting is done in passes, and I like to do it in this order:
- Major shape language
- Edge chipping and secondary details
- Surface details with alphas and adapting those alphas to the shape
While sculpting, and especially when adding details, keep in mind how quickly your details can disappear after having the albedo, detail normal and blending effects applied on top of them.
The rubble pieces were created by stacking my bricks – which were borrowed from my tileable – and placing them into a grout blockout piece.
I then took it to sculpting and used clay and noise brushes for the mortar.
I ended up using a very similar workflow for the other pieces, as there was often a mix of mortar and stone. I also ended up reusing the stone bricks from my tileable.
Reusing elements from the sculpted tileable is one of the benefits of sculpting a tileable in the first place, saves time, and also keeps everything fairly consistent.
For the rubble piles, I grabbed old brick and rock meshes and decimated them to a mid-poly level and gave them unique materials for Color ID.
I then simulated them to pile up and went in after to move them by hand.
You can then re-mesh them as one and decimate the remeshed one, shrinkwrap it to the original, and clean up any errors by hand.
In Painter, I textured them the standard way and utilized my Color ID to separate the different elements.
The brick walls and river stones were hand-sculpted after being inspired by artists like Jared Sobotta and Robert Redecki.
I started with creating a group of unique bricks/stones to be placed around by hand, and then I created two border pieces (one vertical and one horizontal) for the sheet tiles.
Once this was set up, I brought it to Substance Designer for texturing.
Texturing & Shaders
For the vast majority of meshes, I utilized the RGB mask workflow, but for the unique meshes, I ended up texturing them conventionally.

The tileables I took into Substance Designer and textured them there. This is mainly just to apply the roughness and albedo, with some further detail.
One additional phase I like to do is add smaller normal details that are easier to edit and change here than it would be back in the sculpt.
For the brick tileables, I also made sure to give them a simple Color ID mask to help separate the grout from the brick.
At the end of all the texturing, I pack the textures for optimization’s sake.
In the shaders, I unpacked my packed textures and blended in any final details to help blend things together.
With almost every variable, I like to have control over them in the Material Instance.
Also, on the graph, I tried to have things tidy and clean so that I could go and edit quickly. Small things like this end up saving you a lot of time, so it’s worth upholding.
For the tileables, I had a similar graph structure with some extra added controls, like the UVs and a height blend setup for the vertex painting.
I also made heavy use of Material Functions. If a feature is being used across at least three different graphs, then it’s probably worth considering turning it into a material function.
A good example of this would be my normal unpacking solution, which is used for every graph where I’ve packed a normal down.

Boat & Bridge
The boat is made from a combination of three pieces:
The exterior of the boat, the interior of the boat and then some splinter cards.
I separated the boat into these pieces for the sake of better texel density, since it’s the hero prop of this scene.
The boat utilized an RGB mask; I wanted to see if I could get a hero prop level of detail while using this technique.
I also applied a mask based on the world position that would desaturate the albedo of the boat depending on where it intersected with the water.
This would help give the feeling of it being left there long enough to be affected negatively by the exposure. As for the bridge, it was also composed of several elements, but the base surface was very simple.
I opted to dress it up with additional pieces to give it detail; the purpose behind this is that these pieces could also be used to help substantiate or build out other structures too, other than the specific bridge end piece.
All this is assembled in-engine in a blueprint and is then further dressed with the elements that will be there for every instance of the bridge, and then in the scene is further dressed with more unique touches, like foliage and decals.
Vegetation
The vegetation was created in Blender with a simple workflow; I wanted to get the hang of the shader side of things and not have to worry about a bloated pipeline slowing me down.
Taking the ivy as an example: I sculpted some ivy based on photo reference, baked the ivy down, and then textured it in Substance Designer so I could make low-poly versions and arrange that in an atlas.
I did this process again, where I took the high-poly and made them into a mid-poly first to ease the computational load and then built a branch atlas with them.
With this all done, I had my individual leaf atlas to place supporting ivy and my large ivy clusters for efficiency. The shader setup is straightforward.
Some notable touches would be having some vertex data on the foliage that I implemented in Blender and used for the wind controls and also for the normal to create a small transition between the world normal and the tangent normal.
This was only used for grounded foliage.

Water
The water is something that I learned from ArtStation’s environment production series, minus the camera reflection solution, since the size of this water wouldn’t work well with that technique.
I also implemented a material function for all the prior shaders where, if the mesh intersected with the water, it would desaturate the albedo and decrease the roughness.
I tested these features out at test level before fully implementing them.

Tower
The tower was finally settled on a simple Norman-inspired design. The focus was the silhouette and what would be visible from the main shot.
This plays into the whole vista practice thing, so a lot of the shapes on it are ugly up close, but that’s fine since you’re not meant to see it up close.

One of the last additions I made to this mesh was adding a hole in the front to help create a more interesting structure and further convey how broken and ruined the scene is.
I purposely made a unique sculpted piece for this.

I then dressed it in the engine by reusing old meshes. I also cranked the normals up quite a bit so that the materials would read better from afar.
Blending Everything Together
There are a lot of techniques to help with blending things together, so I’m going to go over the theory behind my approach and then the ways I achieved my desired look.
For me, I like to think about building up shapes with gradients.
You have a main structure you want to highlight, and then you build it up with secondary shapes and then blend the overall thing with the rest of the environment with tertiary shapes.

This approach informs a lot of how I build things up, because if you just plop something down unmotivated, it will look out of place. Story vignettes can help with this too.
The boat, for example, is beached on the shore. OK, what happened to it? Was someone on the run? Maybe they were under attack? Maybe they didn’t have time to properly dock the boat, so they just rammed into the shoreline and ran off?
With this head canon in mind, I placed dirt around the boat to emphasize the speed, the impact the boat would have made, and I put arrows and a hole in the boat to emphasize that this was a narrow escape.
Onto some more technical points:
I used a large landscape for the river stone in the water, and for the ground near the camera, I opted for some dirt meshes, as it gave me better control and detail.

This was then supplemented with river stone meshes placed out with the foliage brush, rocks, rubble and foliage to blend it all in.
Lastly, I made heavy use of decals to overlap seams and help the individual pieces feel more connected.
Lighting & Rendering
Due to the size of the scene, I felt it was easiest to utilize Lumen’s dynamic lighting solution for its ease of use.
The base lighting is the directional light and sky light, which I set up back in the blockout, though it was fine-tuned over the course of the additions to the scene.
I also added a skybox flowmap, as it’s a great way to make the sky more interesting.

I also like to have physical planes around the camera to avoid or promote bounce light.
This is something that I thought of after seeing how cinematographers use light blockers on film sets.

I wanted clouds to help the scattering of the light be less constant, so I created a light function for my directional light.
I think it ended up being extremely impactful.
Volumetric fog is a must and helps blend the environment together even more and add depth to the frame.

I then work on setting up some fill lights to help make the scene pop.
They consist of spotlights and rectangle lights, with some using a light function to help create a more splotchy look.

Lastly, I implemented hand-placed fog cards to further separate and emphasize different elements.
The fog cards are from William Faucher’s EasyFog Addon, which I highly recommend.

Conclusion
This project is by far my largest and most ambitious yet, and I truly learned a lot from it. It’s also been a project that I believe has left me feeling invigorated and ready to move onto the next thing, whatever it may be.
I should also mention that I had a couple of failed large-scale projects before this one, but I tried to pay attention to where I went wrong, so I could make sure I wouldn’t make the same mistakes again.
I want to thank the people that helped me along the way. The wonderful people I was able to meet and get feedback from at Hazelight were a huge motivator to keep going, and my wonderful class at TGA has also been a great help.
Last but not least, I want to thank Game Artist for the opportunity to break down my scene. Cheers!


