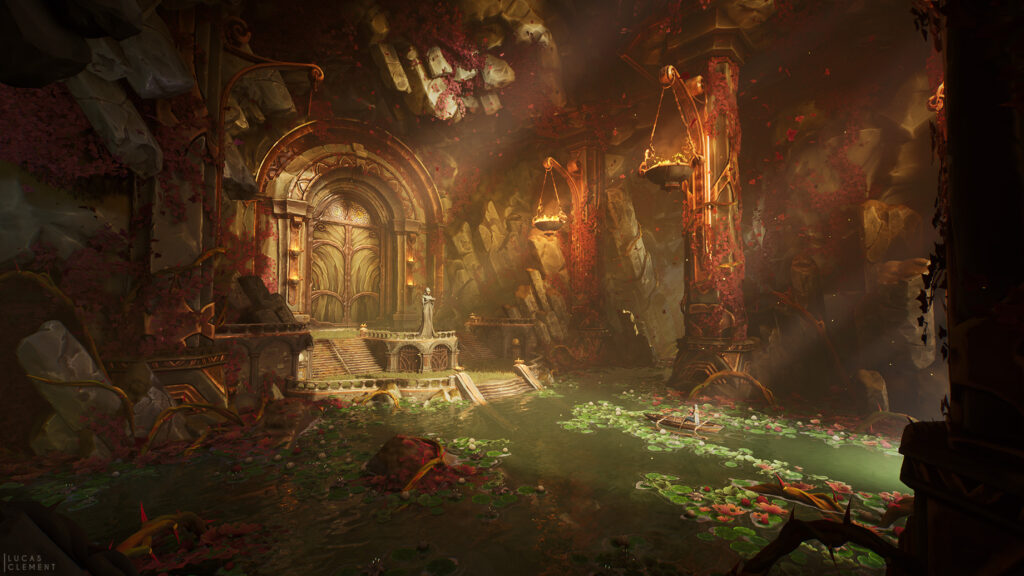
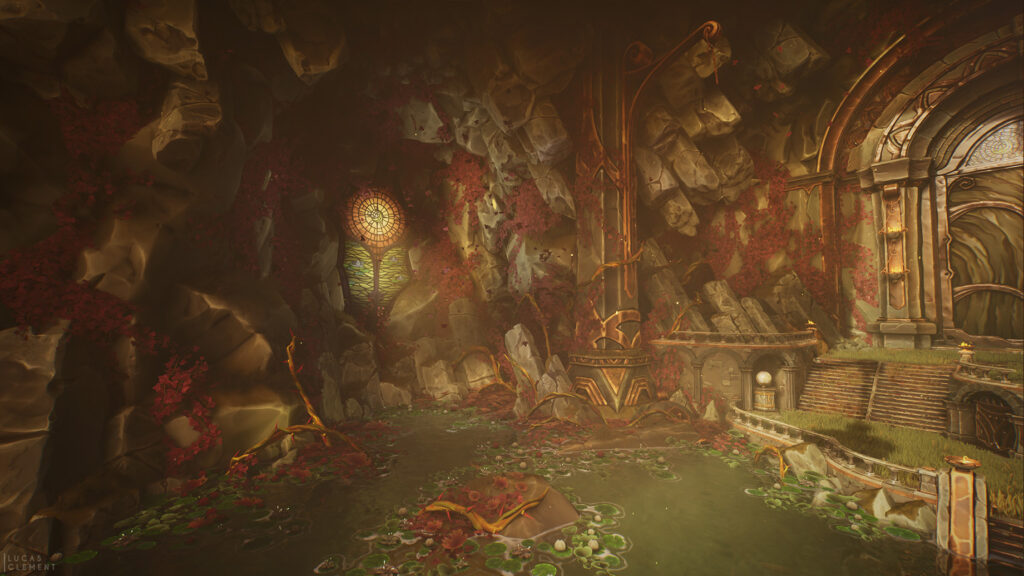
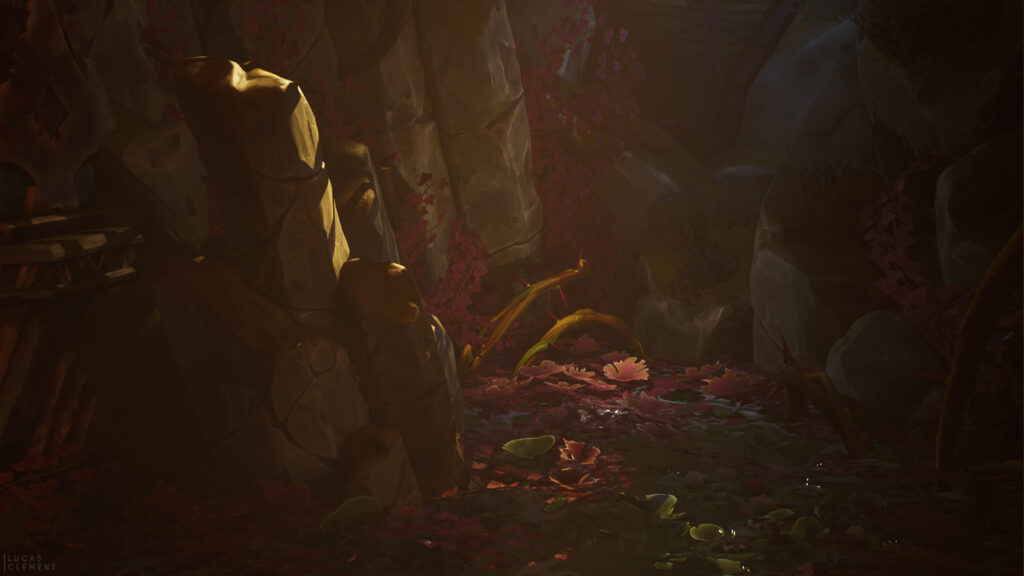
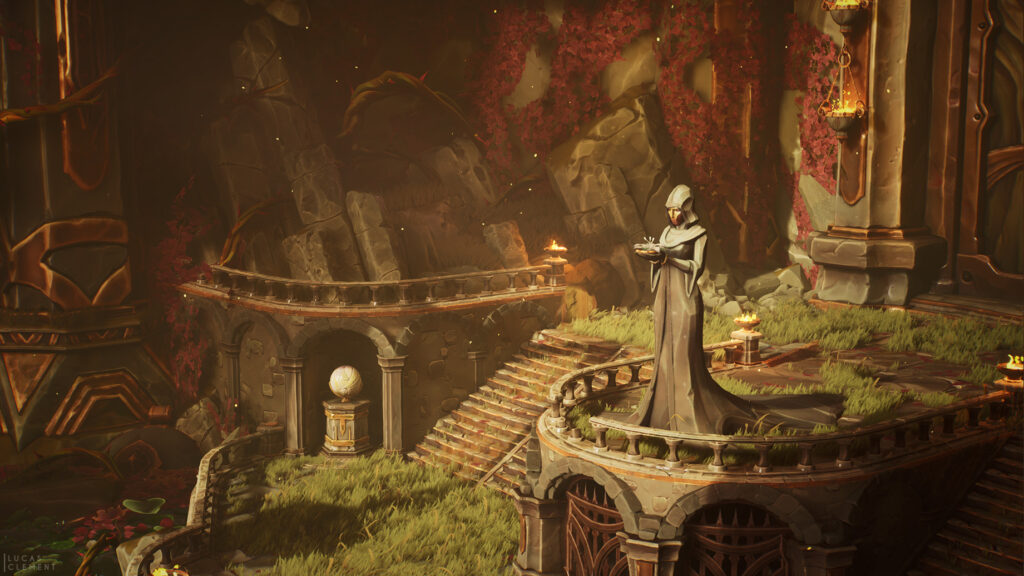
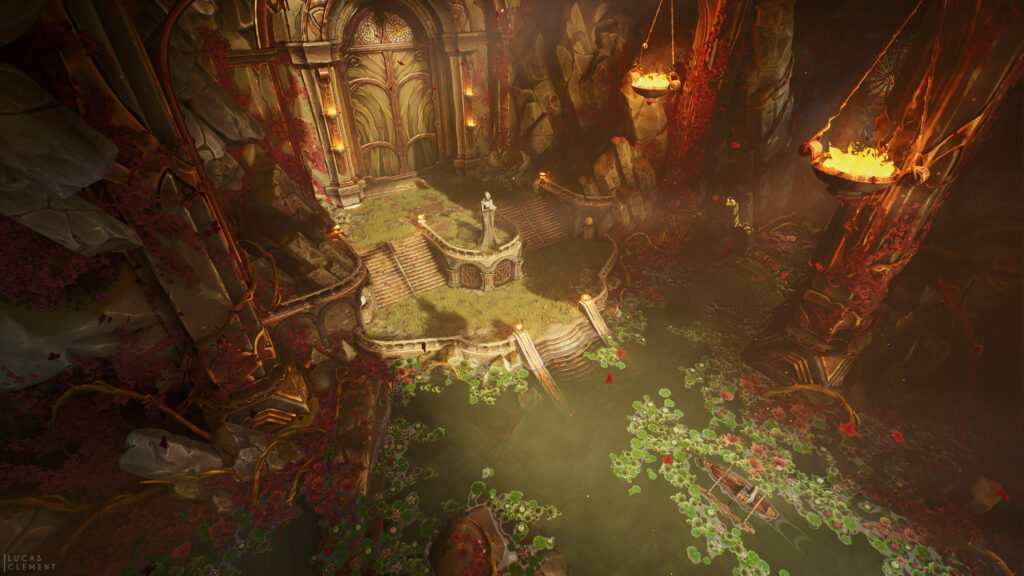
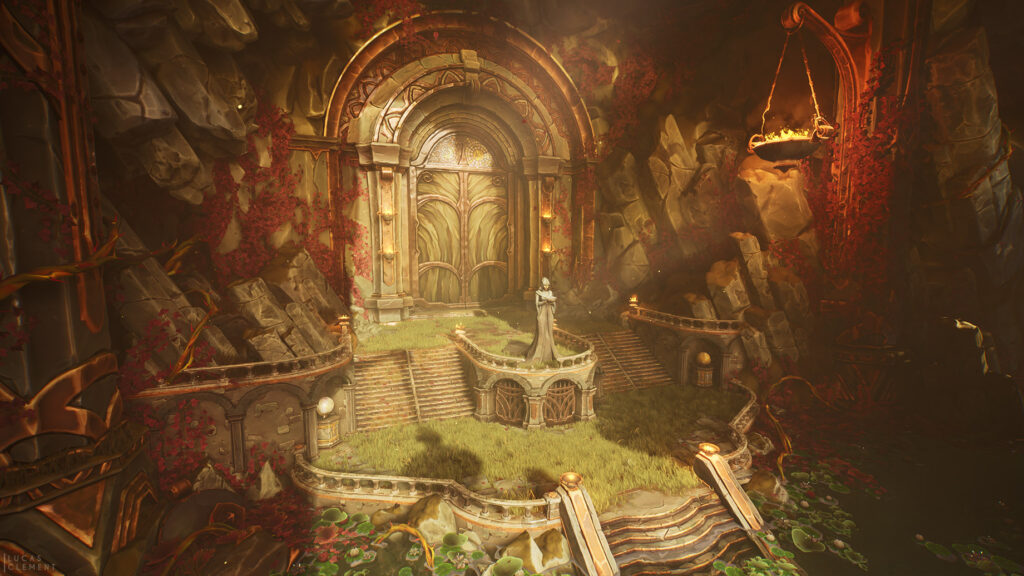
Explorer of the Ancient Temple


Introduction
Hi everybody! My name is Lucas Clément, and I'm an Environment Artist at Ubisoft Bordeaux. At the age of 9, I told my parents that "I wanted to do the drawings in video games." Thirteen years later, I realized this dream!
I am passionate about the stylized style, which is why I only share that on my ArtStation!
Goals & Software
My goal for this project was to create an environment in Unreal Engine 5.
Before, I had only made props or dioramas in Marmoset. I wanted to try something new and learn Unreal, which is becoming essential in our profession.
Another challenge I set for myself was not to create this environment from an existing concept art. It was something I liked to do when I was a student. For me, it’s more complicated when you don’t know where you’re going.
But it pushes our creativity, and when the project is finished, it’s much more rewarding to see what came from our minds—something no one has seen before!
The software I use includes Maya for modeling, ZBrush for sculpting, and Substance Painter for baking & texturing.
Inspiration
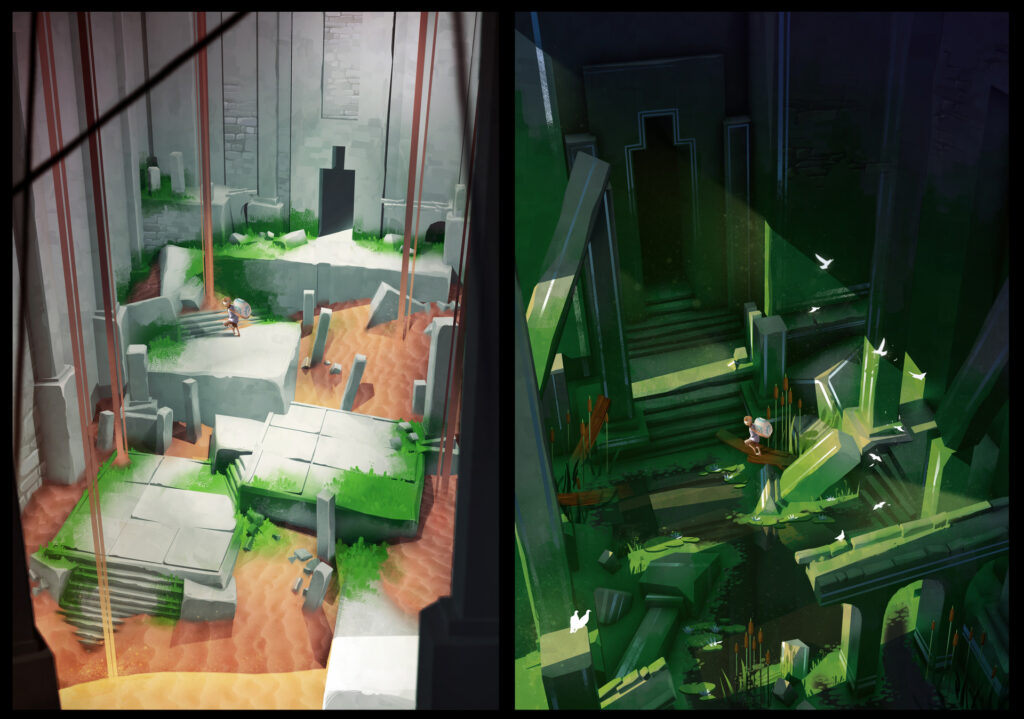
The idea for this project first came to me when I saw a concept by Elodie Mondonloni, “eqqo artdrop.” It depicted a submerged temple with broken pillars, which inspired me to create my own version of this temple.
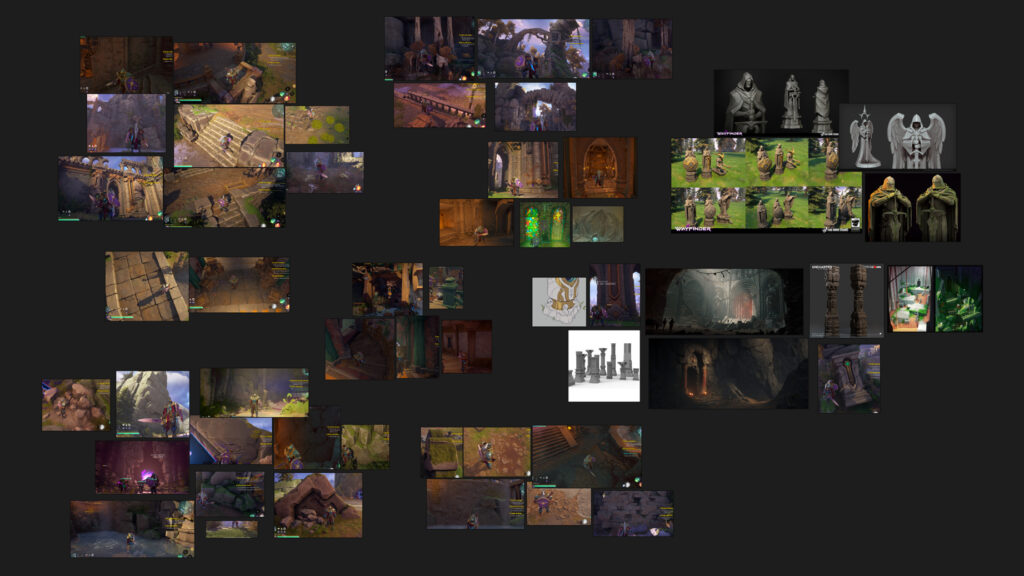
Initially, I based my artistic direction on the game Darksiders Genesis, particularly in terms of structure. Then, I discovered Wayfinders, and I fell in love with its artistic direction.
I was also greatly inspired by the work of many artists, including Jasmin Habezai-Fekri, Lary Kummer, Gia-Bao Lam, Viktoriia Zavhorodnia, and many others!
Blockout
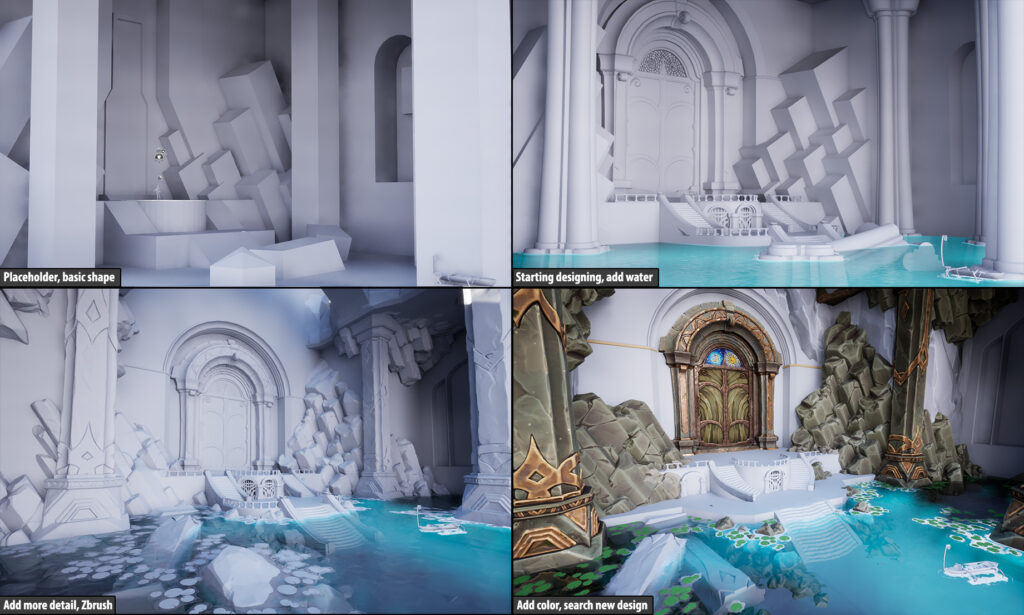
For the blockout, my goal was to have an initial rendering of my scene to determine where the main elements would be placed. Once that was done, I could start detailing them in Maya and refining the design.
I did a lot of testing during this phase, which is why there are noticeable evolutions in some key elements.
Finding a design that works from the blockout stage is essential.

Modelling
As I mentioned earlier, I used Maya to create a basic shape for all my assets and tested them in Unreal.
After that, I exported them to ZBrush for sculpting. Once sculpted, I sent a decimated version of the model to Unreal to see how it looked in my environment.
If I was happy with the result, I proceeded with retopology in Maya. However, for certain assets, like rocks, using a very low-decimate version was enough.

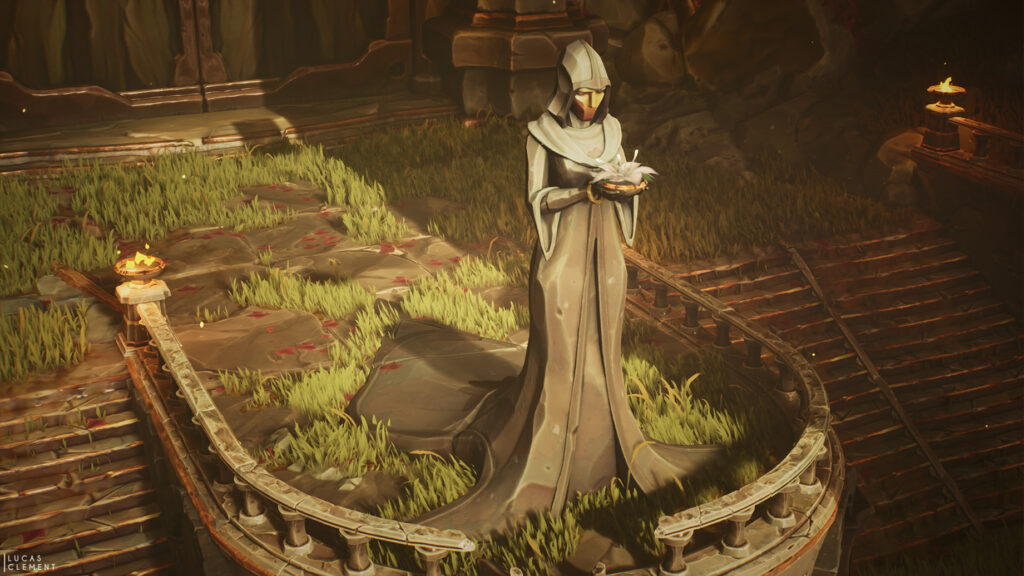
Also, as soon as I can, I use certain parts of my assets to create others.

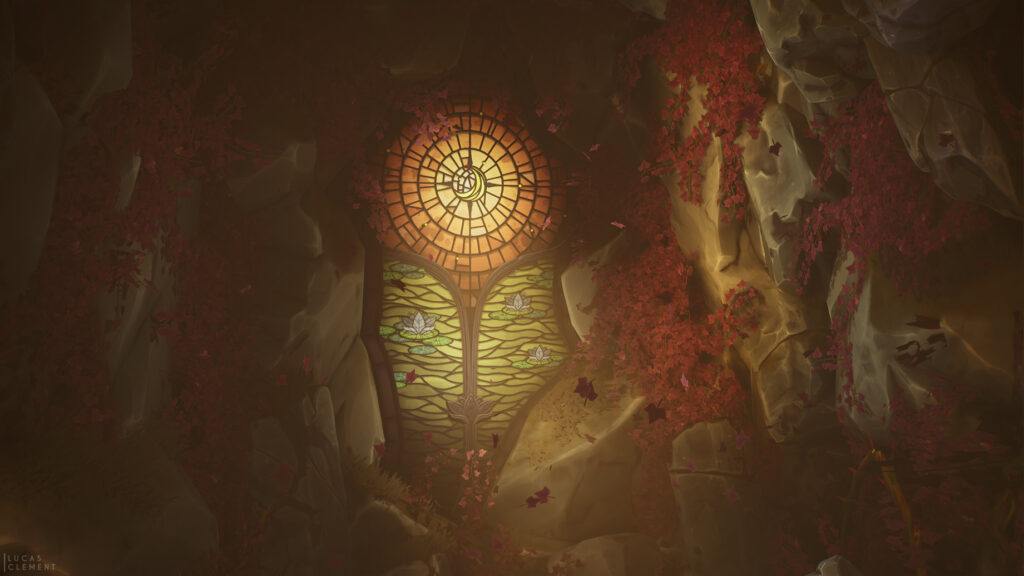
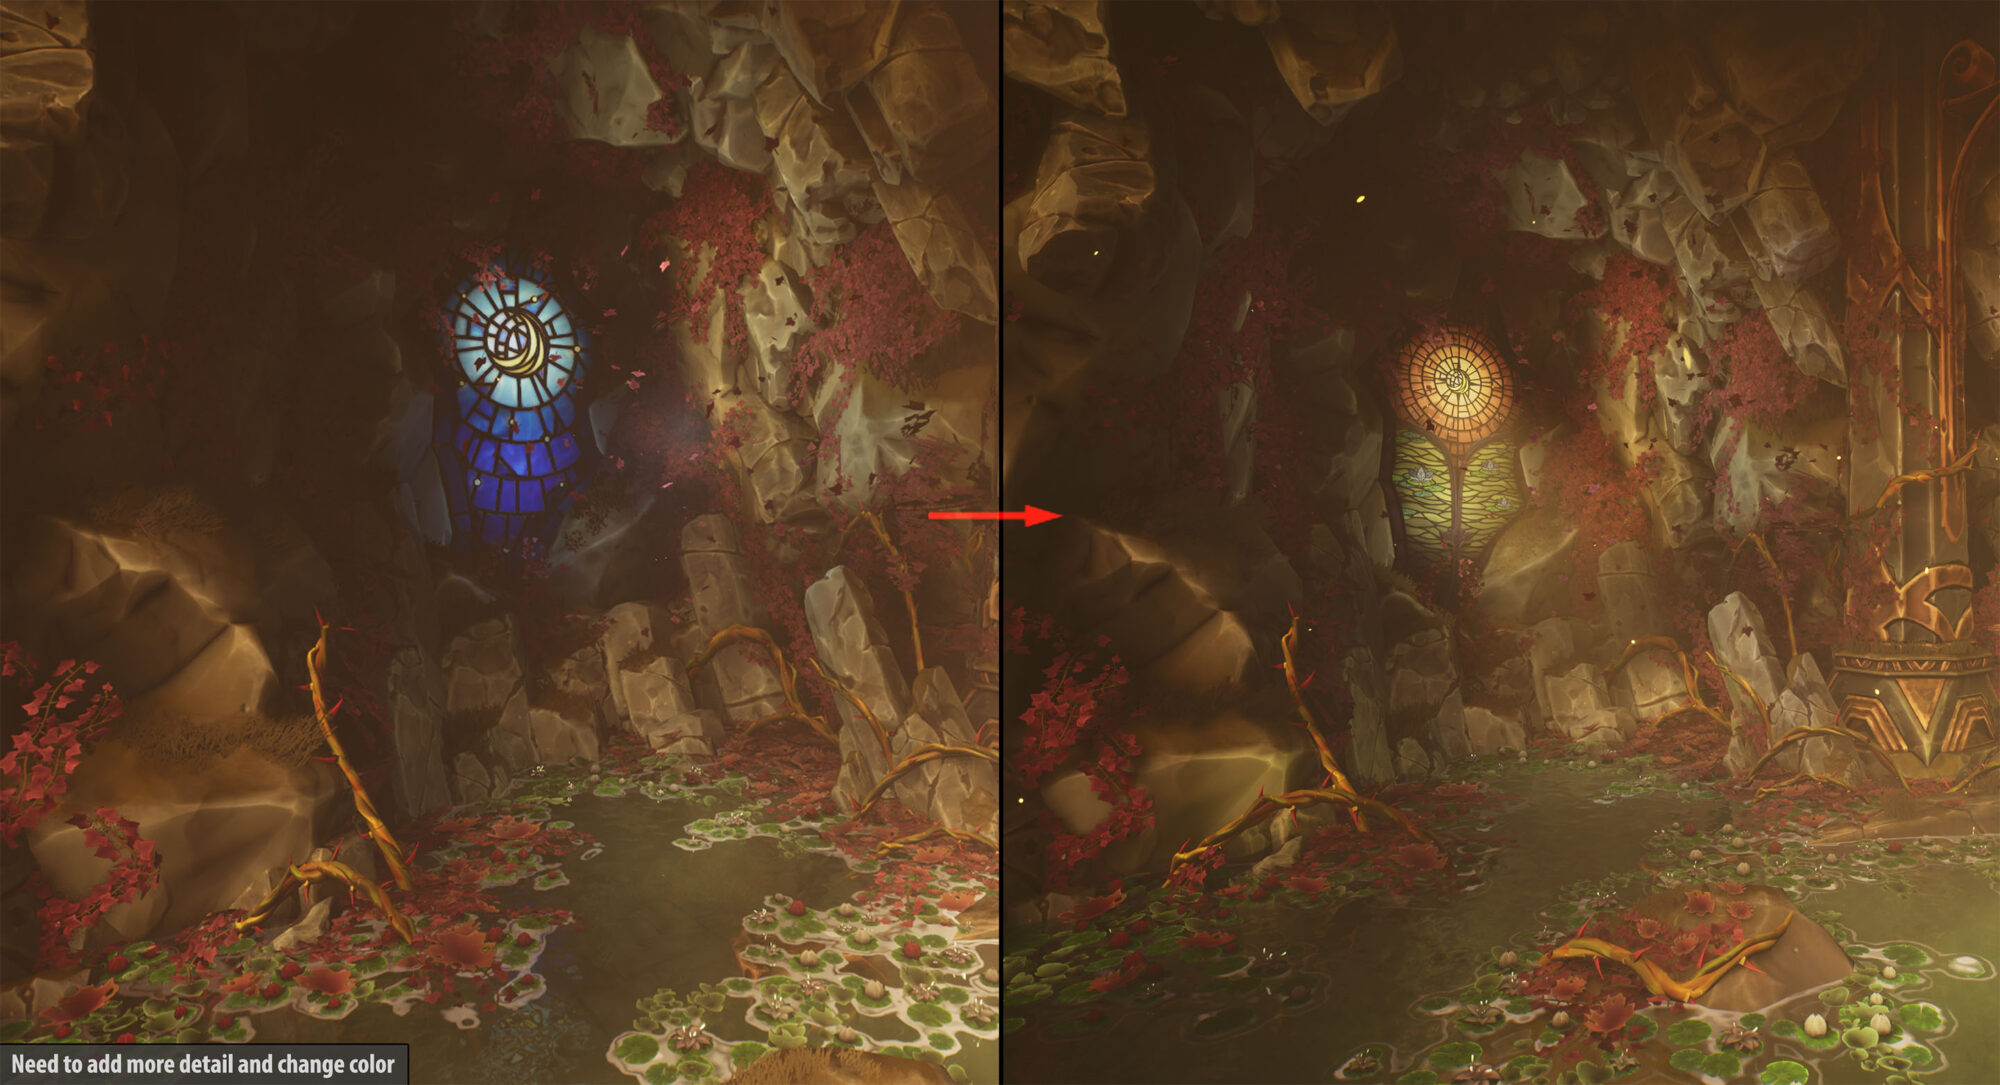
Regarding the stained glass, initially, I wanted to bake everything, but that was not the right solution as it was difficult to iterate. Instead, I modeled everything.
For the metal parts, I placed everything on a trim, and for the glass, I textured it in Substance Painter. Only the metal part in the center was baked.
Foliage
Ivy is one of the essential elements of the scene. It’s omnipresent and stands out from the rest due to its color.
To create it, I used the workflow from one of my previous projects: Sculpting leaves in ZBrush and duplicating them along a branch.
To form a mass of ivy, I duplicated, twisted, and turned this branch. After baking it onto a plane and texturing it, I assembled my ivy meshes by duplicating and adjusting the ivy mass

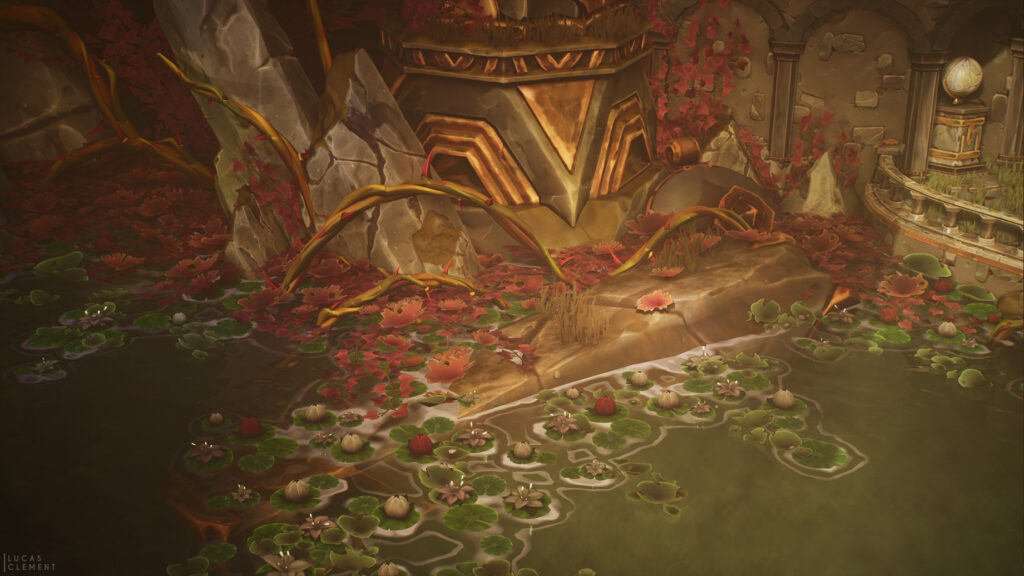
For the rest of my vegetation, everything was made in ZBrush except for the lily pads and grass.
The only difference compared to a typical asset was the application of vertex color to simulate wind effects.

Baking
I did the baking in Substance Painter. To ensure self-shadowing on my objects, I used “bake by name.” This required careful organization between Maya and ZBrush, ensuring everything matched and was clean. However, the result was worth it.
I also created a personalized cage from my low-poly mesh to maintain total control over the baking process.
I prefer spending a little extra time ensuring a perfect result rather than baking a mesh multiple times due to issues in certain areas.
Texturing
Texturing was the trickiest part because I wanted a hand-painted look while incorporating as much procedural work as possible (Fill Layer, Generator Layer).
With so many assets and limited time, painting everything by hand wasn’t feasible.
Step 01:
I applied my base color with roughness. I worked in Albedo view most of the time to see exactly how light, shadows, and dirt were behaving.

Step 02:
I used “Light” from the Generator Fill in two ways:
- To add color gradients to my assets, creating color variation and adding complexity while enhancing volume.
- To add a top light and bottom shadow, which improved the readability of the shapes. However, I had to ensure the effect wasn’t too strong, as it shouldn’t disrupt the scene’s overall lighting.

Step 03:
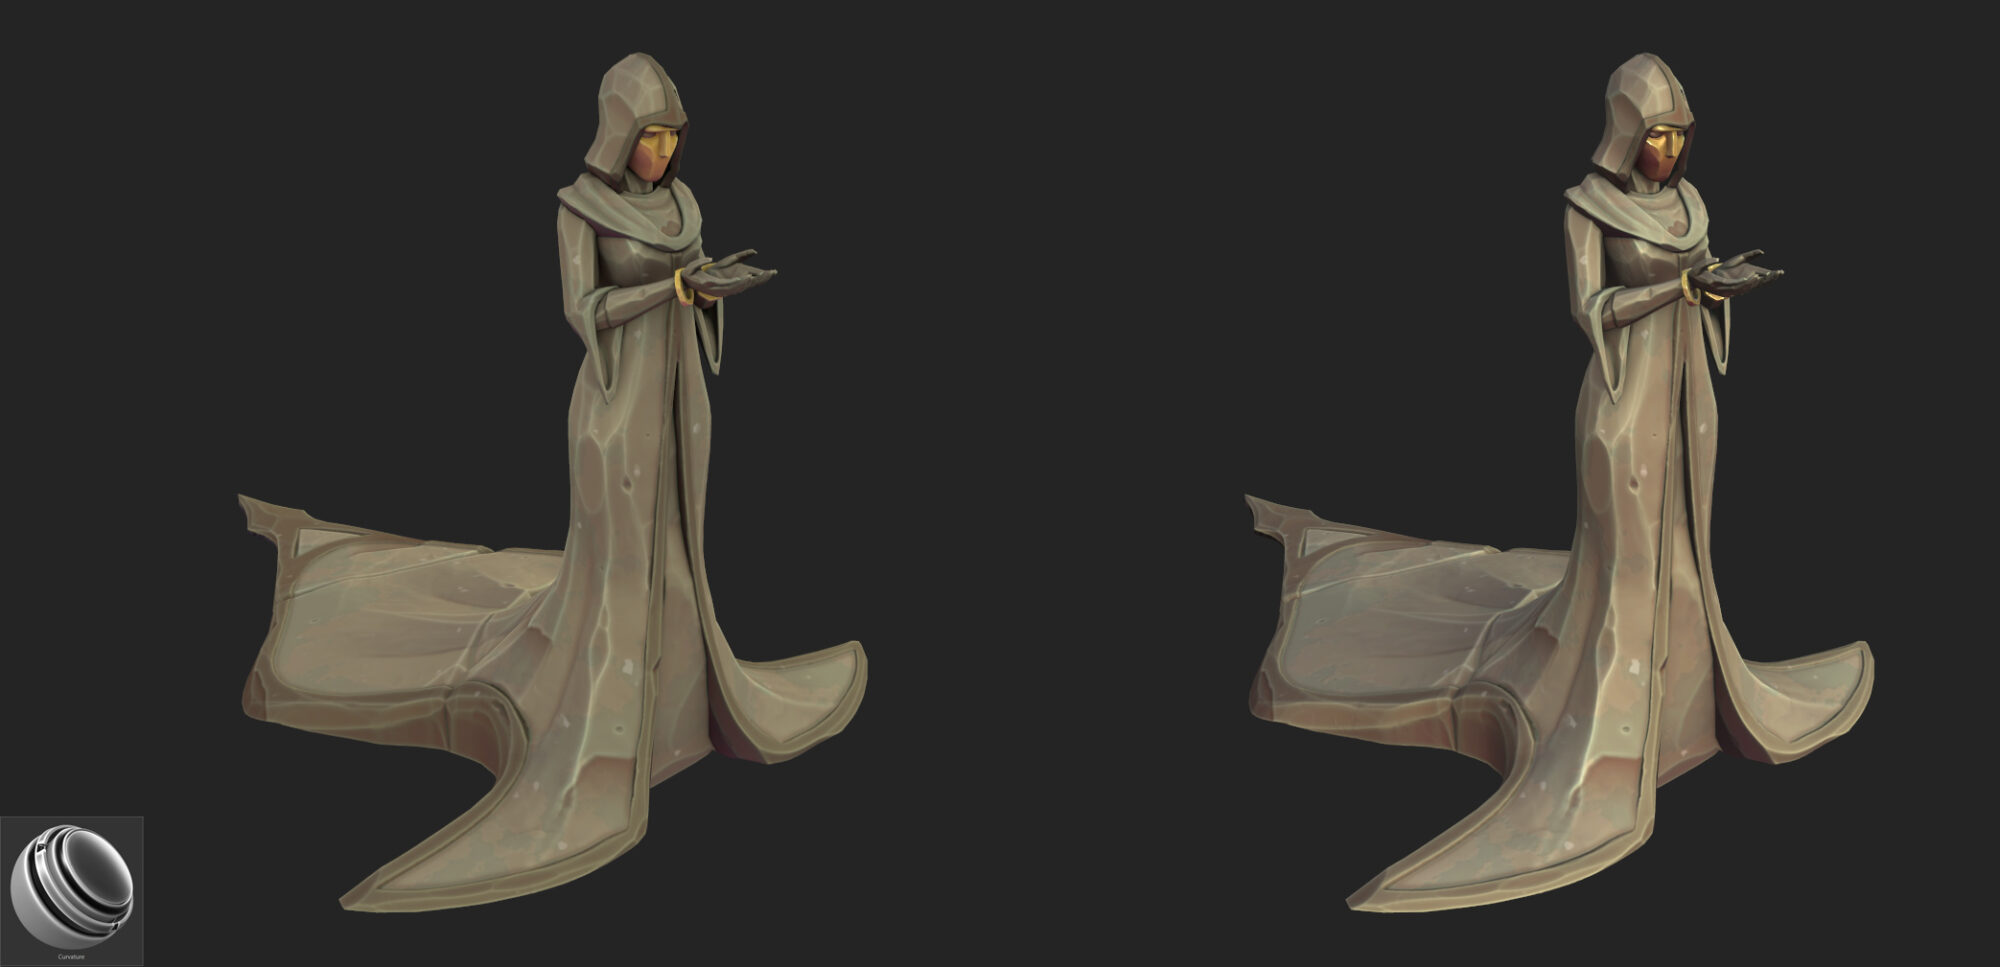
For the final step, I added curvature to enhance the model’s shapes and details while also adjusting roughness.
Then, I applied noise, dirt layers and small white details. After finishing, I switched back to the “Material” view and adjusted the roughness if needed.
And there you go—my textures were ready for export!
VFX & Shaders
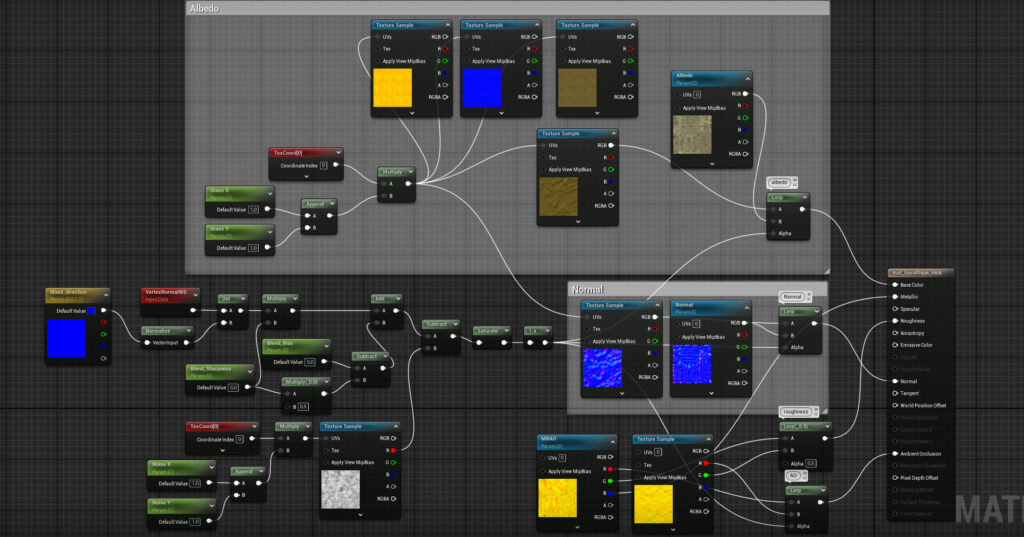
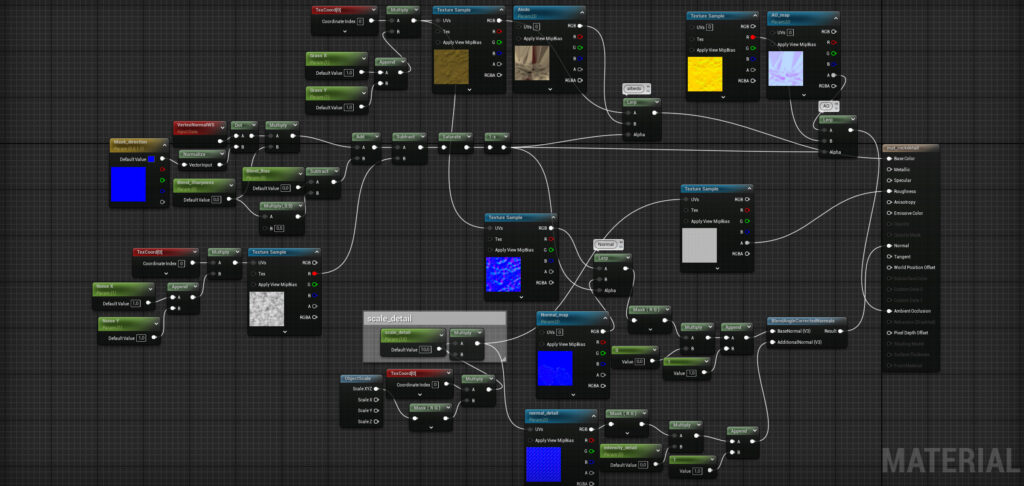
For my rocks, I decided to add moss on top, considering the humid environment. I experimented with different styles of moss, from grassy textures to flat colors, before settling on a slightly textured foam-like moss with a strong normal map.
While the texture itself isn’t particularly beautiful, it works well within the scene, so I kept it.
I also created a detail map for my rock formations to ensure consistent detail levels despite scale differences. I made a tileable texture in ZBrush, testing several versions before finding one that wasn’t too noisy or directional.

Below are also images of the shader for the gradient moss and the detail map.
For the water, I followed this tutorial.
All my FX & shader work is from this tutorial, except for the wind effect, for which I used this tutorial.
Level Art
One of the most interesting aspects of this project! A lot of research and refinement went into it.
Since the environment is on a large scale, I knew there would be a lot of visual noise. To address this, I simplified my main elements, both in composition and texturing. I also added slight verticality to emphasize the temple’s importance in relation to the boat.
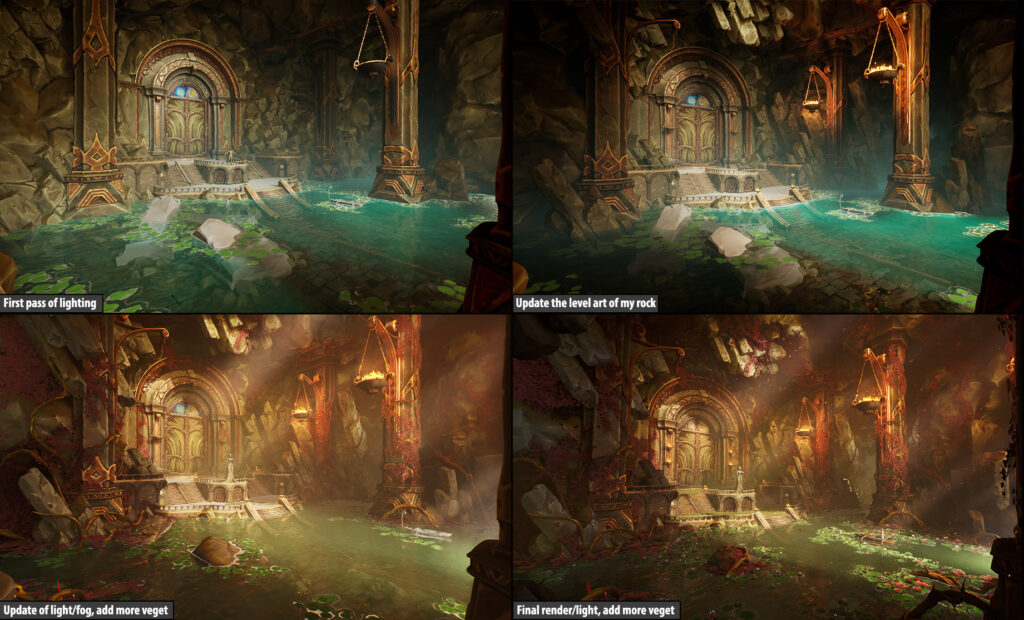
Friends provided feedback that my basalt rocks looked like a wall, making them hard to read. To fix this, I layered the rocks with slight offsets and used lighting to create contrast, significantly improving the scene’s readability.
I also ensured several elements guided the viewer’s eye toward the temple door, reinforcing it as the main focal point.

Lighting & Rendering
I wanted a calm and fantasy-like atmosphere, using red/green complementary lighting. A skylight illuminated the door from the entrance, but the key element was the Exponential Height Fog.
It blended elements together, added volumetrics, and created the fantasy ambiance I aimed for.

Conclusion
I’m very happy with this project! It’s not perfect and took a lot of time, but I learned so much and stepped out of my comfort zone.
Thanks to my friends for their feedback and to Games Artists for allowing me to share this article—thank you very much!
I hope this helps inspire and motivate other artists to take on similar projects!

