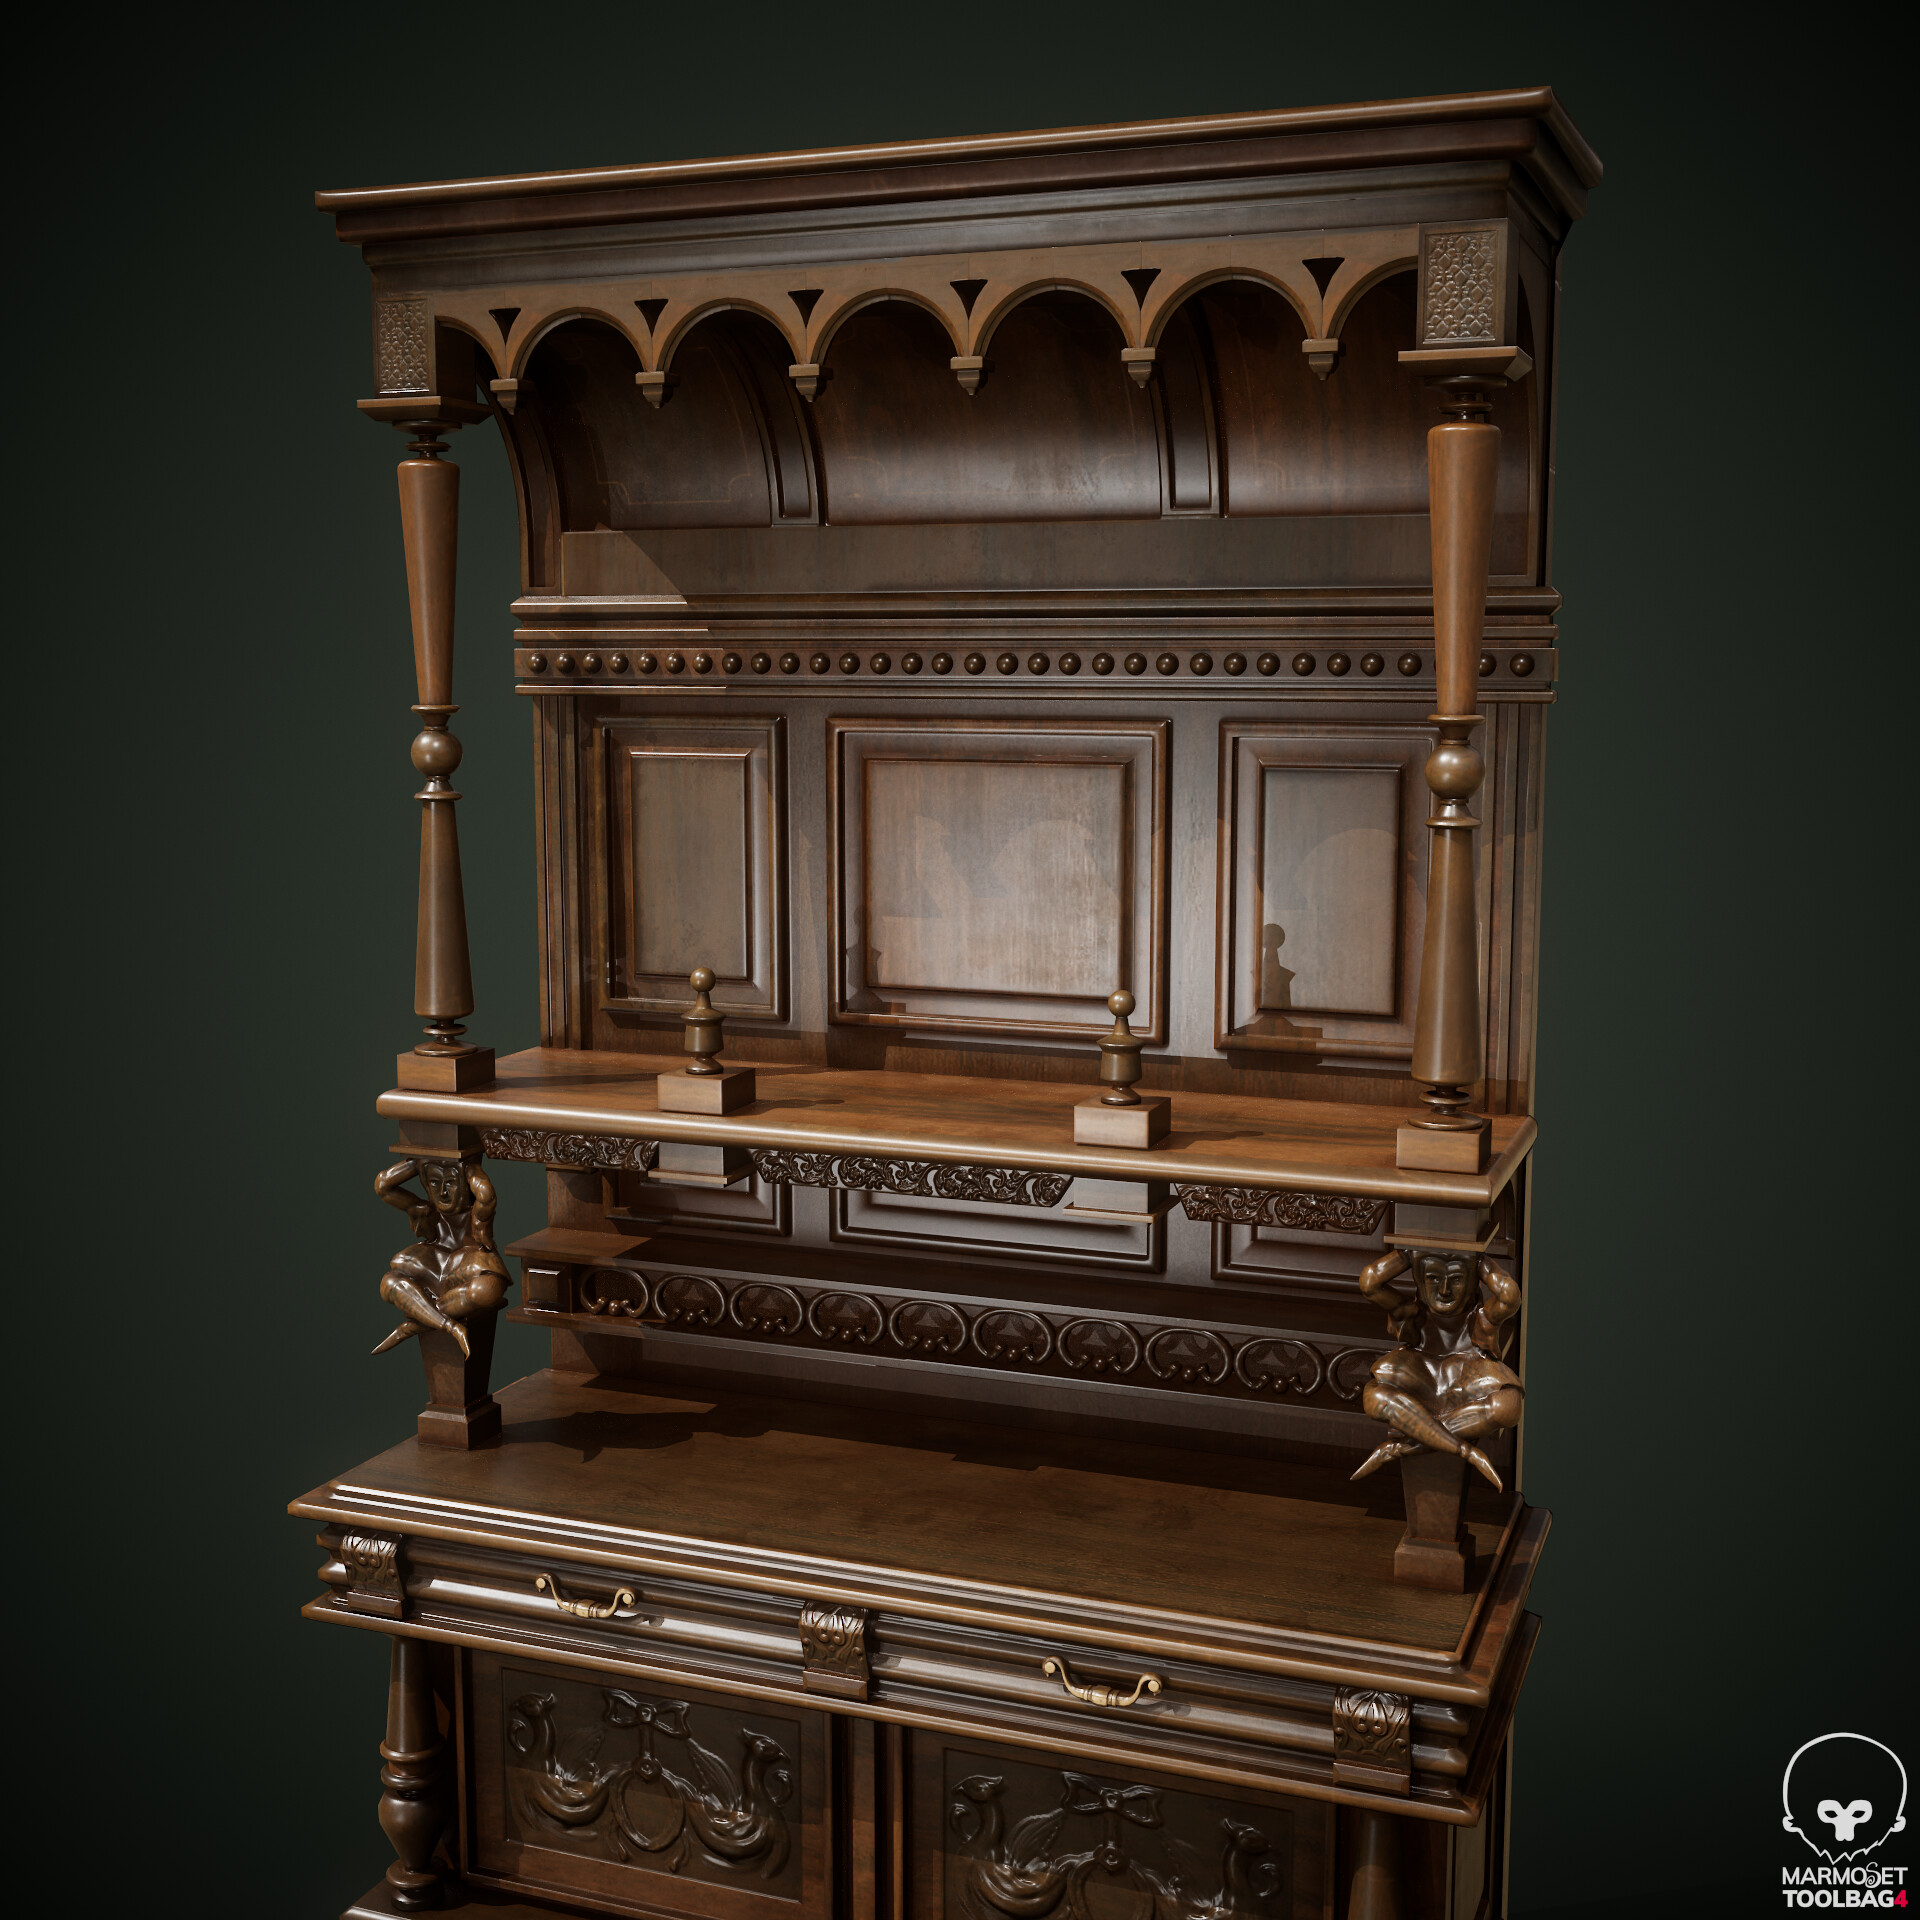
Buffet Display Dresser

Introduction
I like playing games, and I'm wondering about game creation, especially since I'm very passionate about the environment creation process: idea, design, implementation and light. Every environment is a story, and bringing this story to life is an exited process full of interesting discoveries, ideas, and decisions. I always try to improve my skill and knowledge to get more stories alive in my art.
References
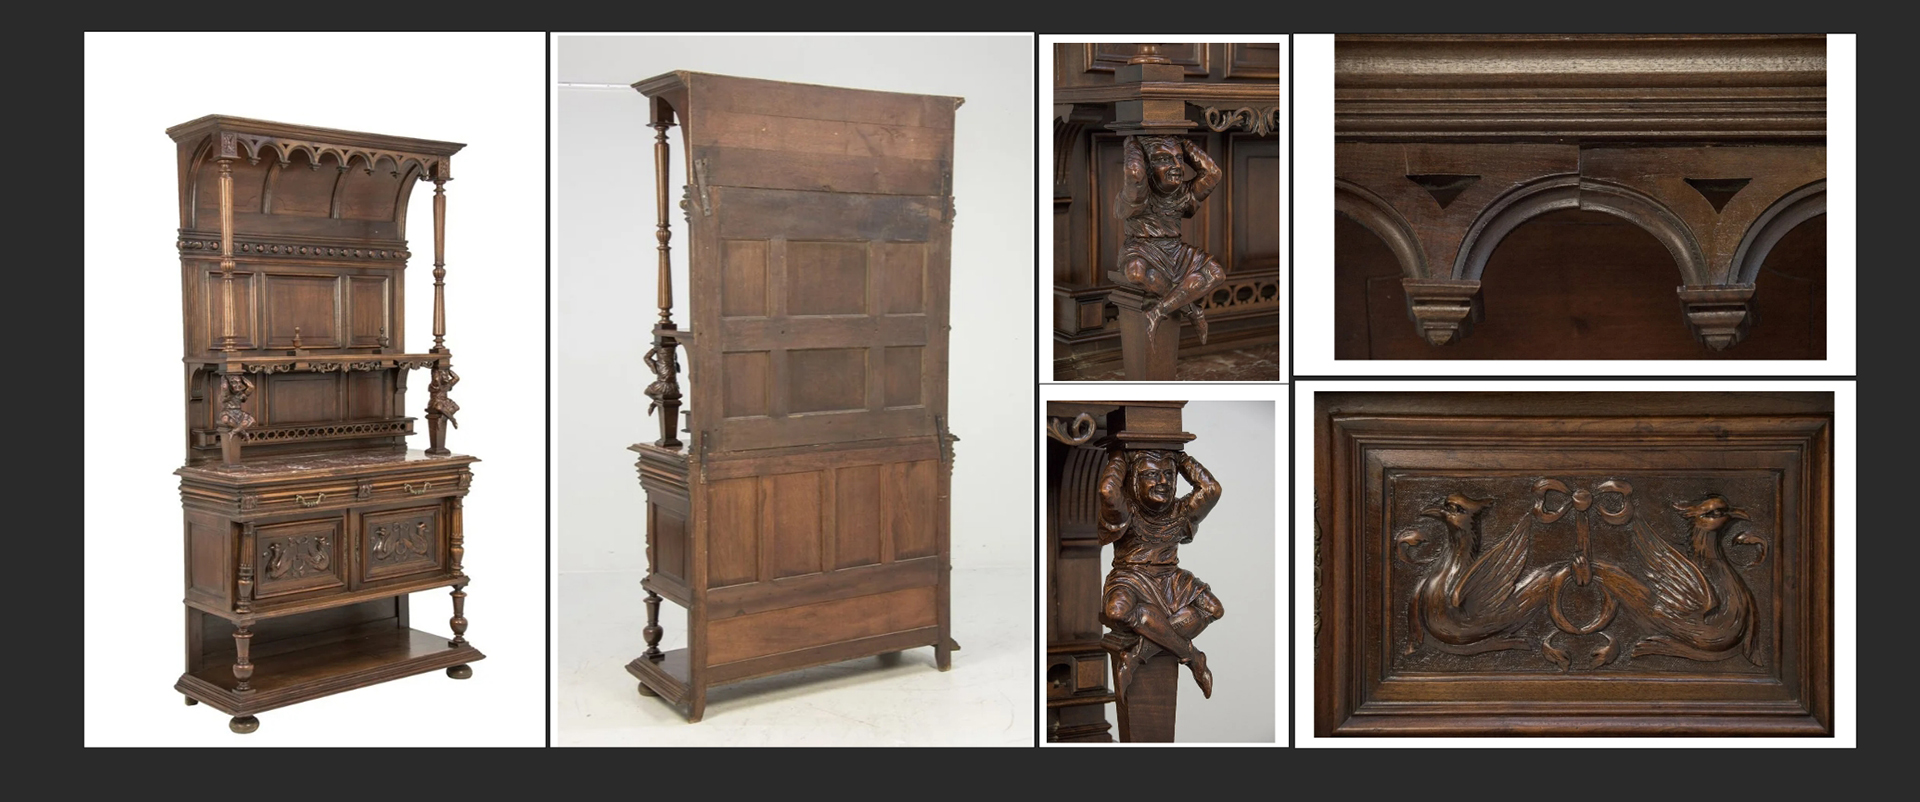
The first and most important step is reference gathering. I started searching for “Gothic Furniture” and I found a lot of interesting things.
But the most important thing for me to do was to find a Buffet display dresser that had photos from different angles. I found an online shop for antique furniture that had a lot of different objects with shots from all angles.
That was where I found this ideal cupboard.
Making Process
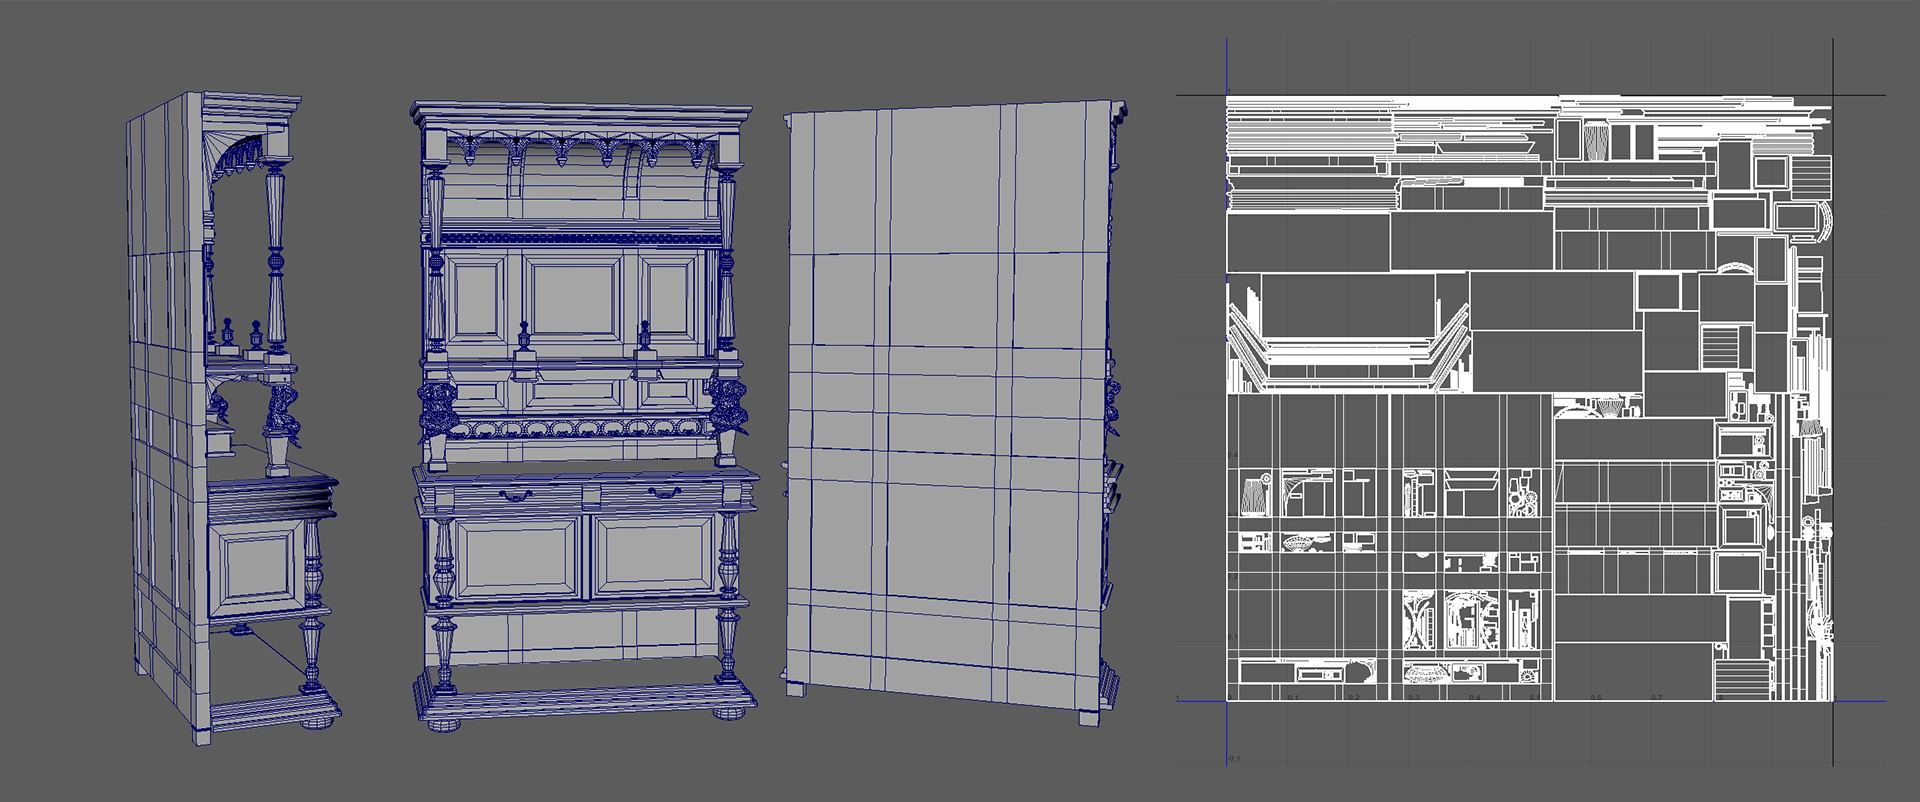
At first, I created a simple blockout of the Buffet display dresser to measure the proportions of the object. For the modeling I use Maya. After that, I shape the form of the main reference.
I then make a low poly model with quads topology to smooth it later and to create the high poly models from them. But before this, I separated unique parts and repeating elements.
I then removed all the duplicate elements and left them in only one copy. When I finished all the parts I then made the UVs. My low poly model is around 30k tris. The most difficult element is the figures of the men.
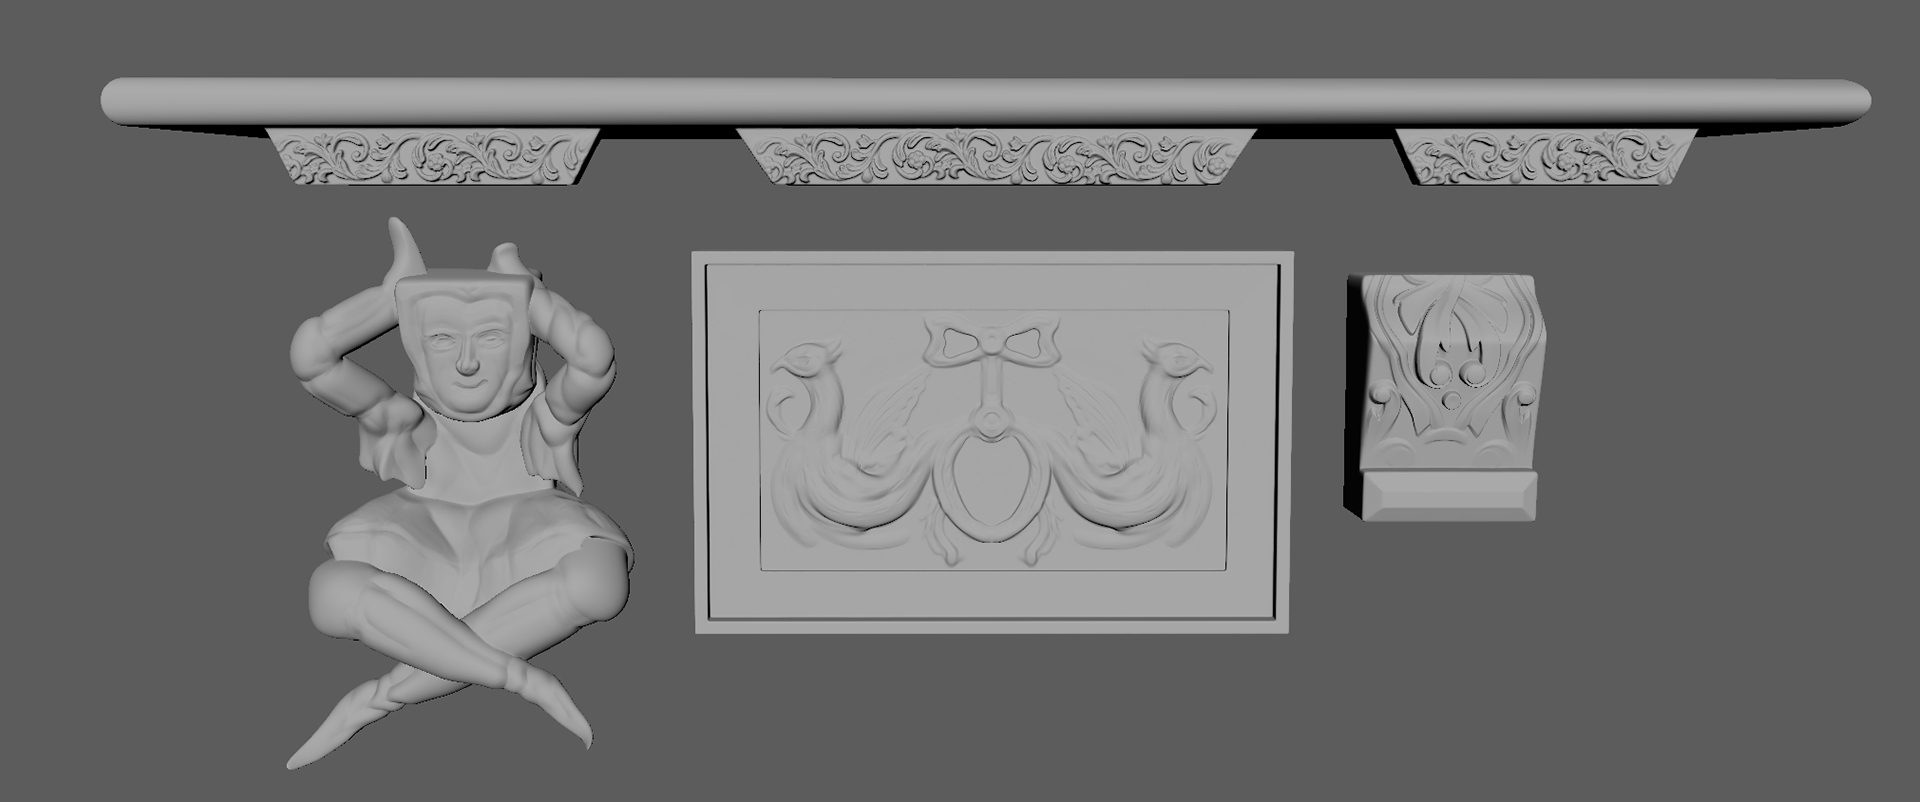
Sculpting
For the decorative elements of the Buffet display dresser, I used Zbrush. I had 4 parts that needed to be sculpted. All of them are sculpted manually, but for the shelf patterns, I used an alpha mask.
For the man sculpture, I used Decimation Master, and then replaced my man blockout on it.
Baking
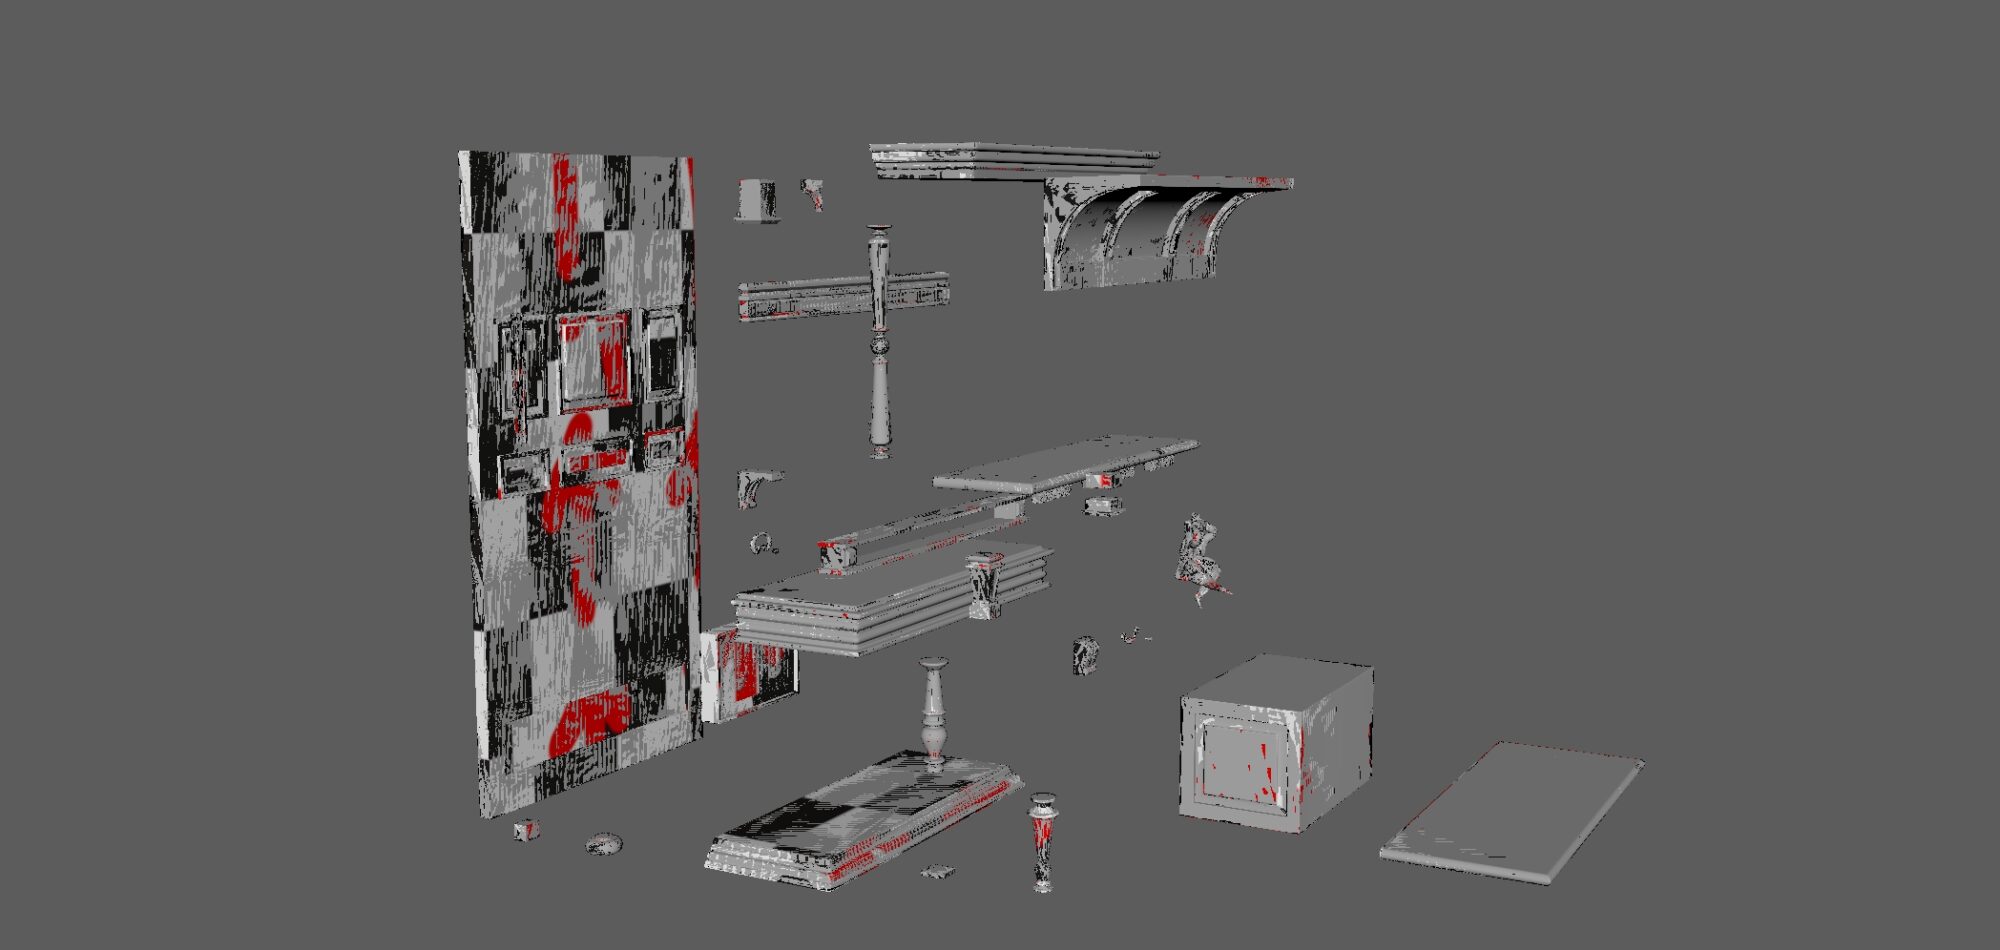
Before baking, I need to separate all parts in such a way that they don’t touch each other. Also for a better understanding of shell direction, during UV creation, I used checker texture with red arrows.
This will help to texture this model in the future. For baking, I used Marmoset Toolbag. I baked only Normal map and Curvature.
After that, I returned to Maya and built my low poly model again using all these separated parts. All repeating elements I duplicated as much as I needed. Column parts, man sculpture, etc. I mirrored.
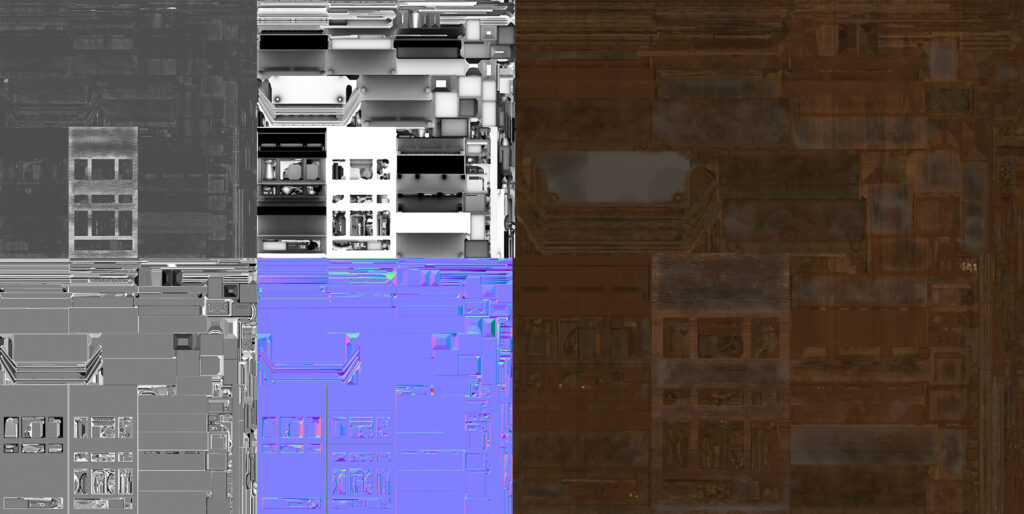
So when low poly was ready I went back to Marmoset and baked in there. To achieve a decent AO map, I fixed some artifacts in Photoshop. All other maps were generated inside Substance Painter.
Texturing
I texture everything in Substance Painter. At first, I filled a model with a solid color to have a tint influence on it. After that, I added the “Beech Chocolate Wood” texture that I downloaded from Substance Source.
This texture I added with half opacity to unite it with my solid color background. Here are a couple of layers of it because I need different wood grain directions on different details.
On top of it, I added various filters to achieve color variation, dust and other effects. For iron handles, I used Cooper smart material and changed its color a little bit. Then finally I added a little Sharpen.

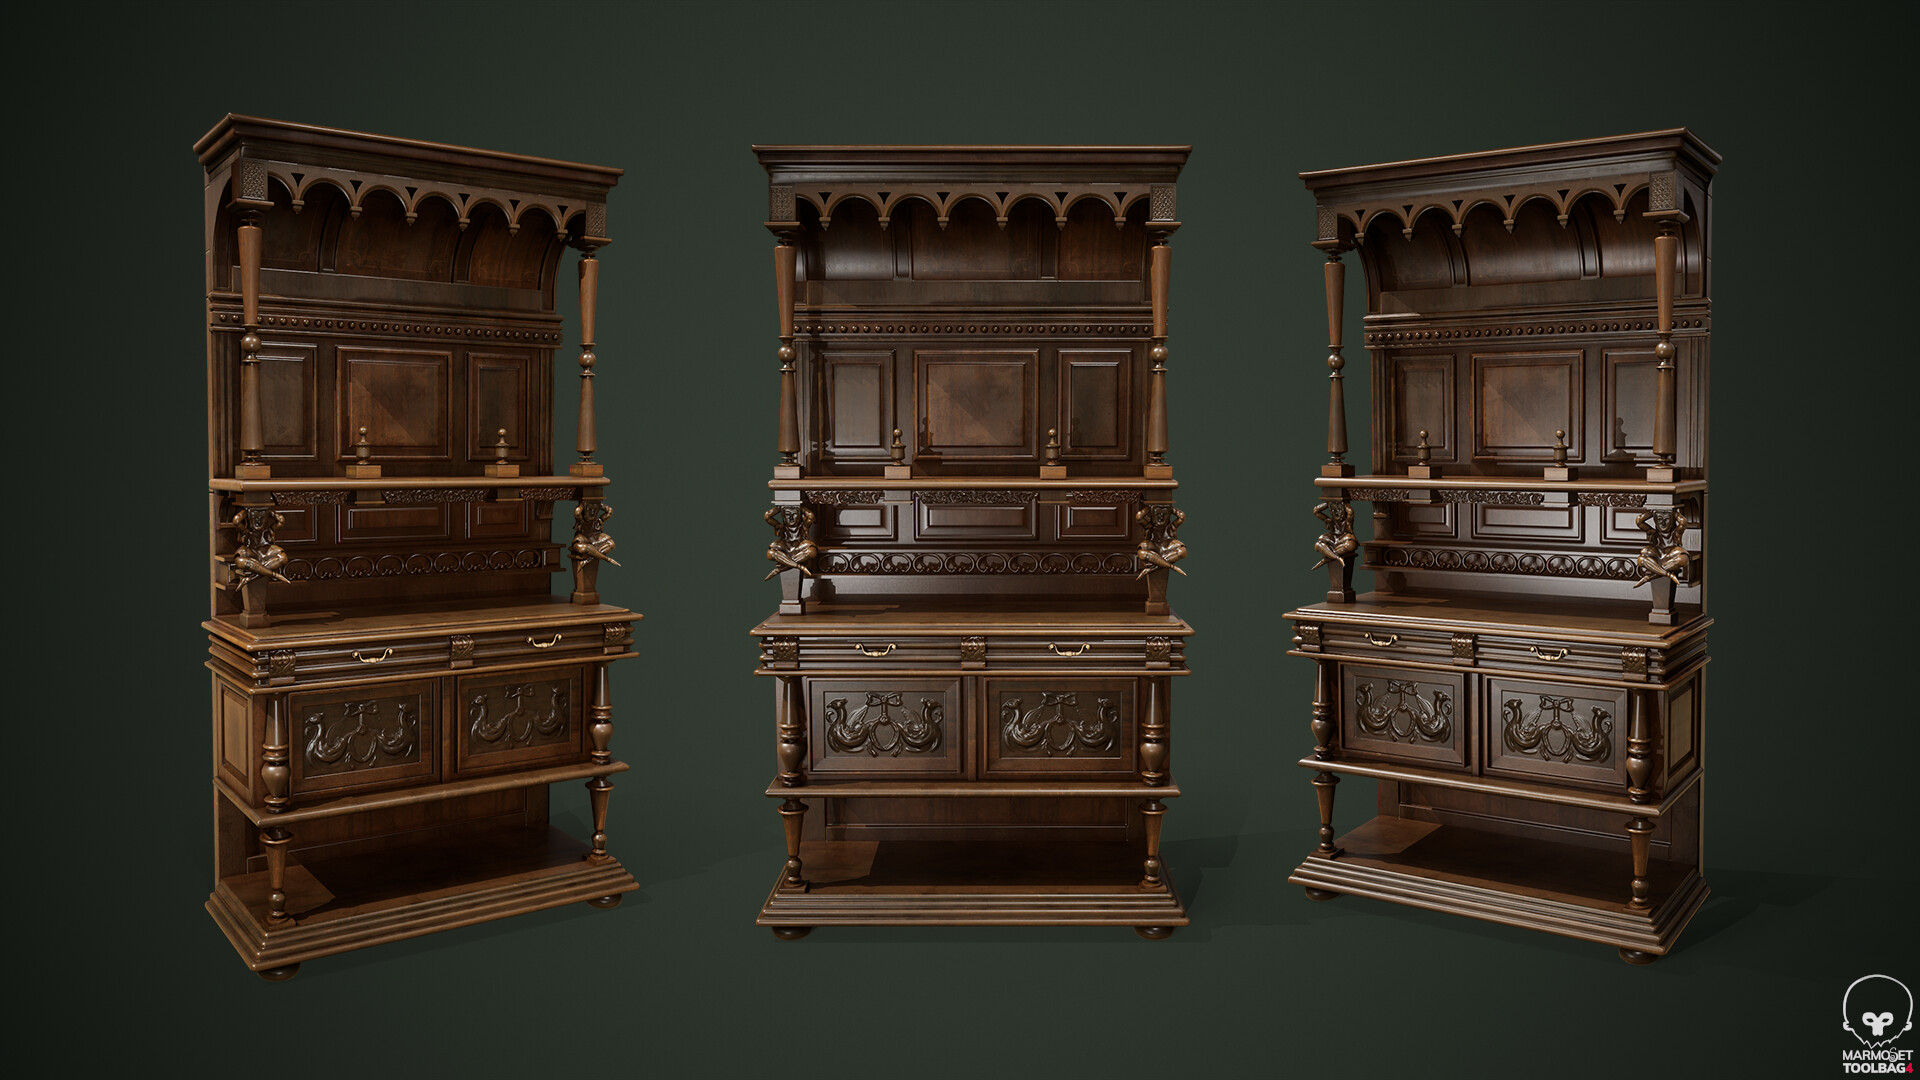
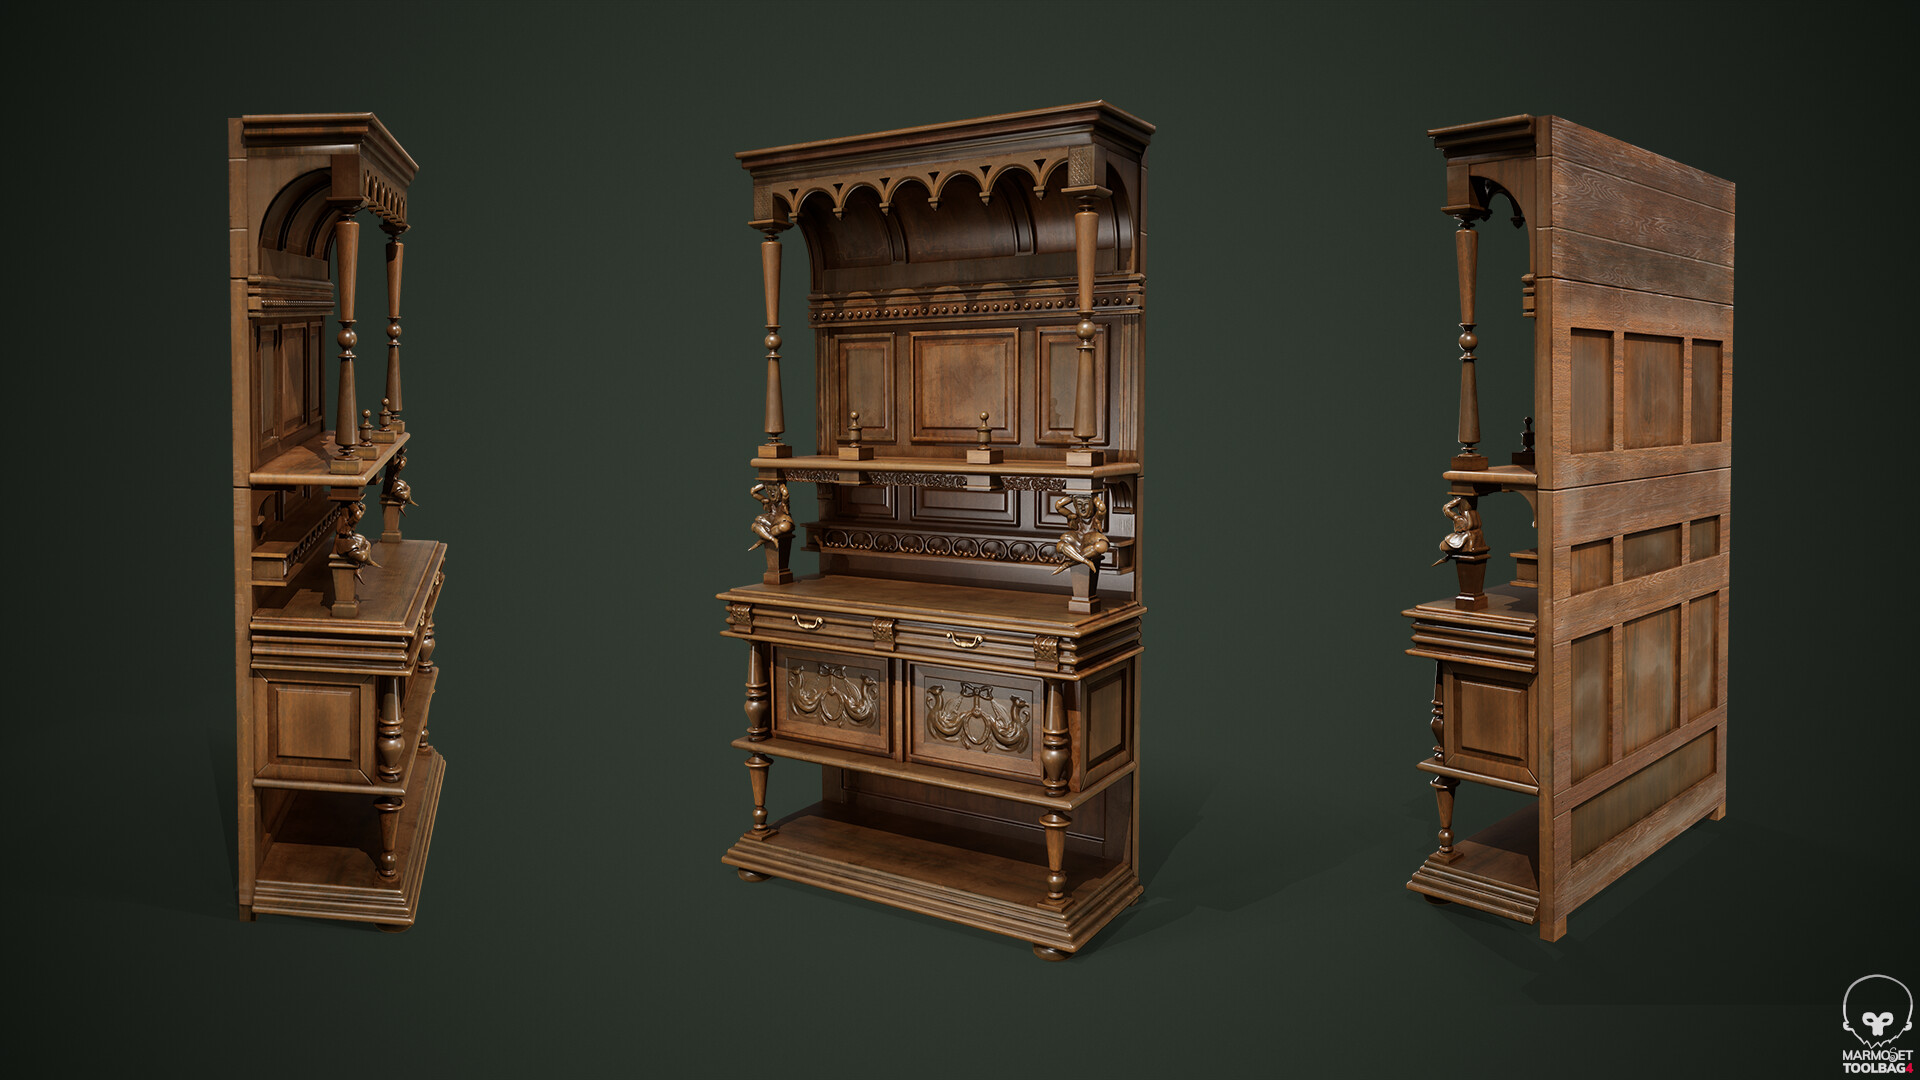
Rendering
For final shots, I used Marmoset Toolbag 4 with RTX. To light the scene I used 3 light sources, yellow color and low intensity plus Skylight. I like the direction when the cupboard is half in the shadow.
That bright some royalty spirit to it. For the background, I used a solid dark green color that perfectly matches the wood color with dark vignette low intensity.

Final thoughts
I know that this model could be better. When I finished it I started to understand that I could better optimize the wire and UV or work more with color.
But I think she looks great with all the imperfections. When you study you need a model like this to look at it and see how your skills are raised now.
Also, there is another way to bake all parts without separating them in Maya. In Marmoset there are good tools called “Baking groups” and I could place all parts that don’t touch each other in those groups and the result would be the same.
Please follow me on Artstation:
Read more articles
You might also like these articles.