
Blasting Machine

Introduction
Hi there! My name is Kyryl Zlotnyk. I’m a 3D Props Artist from Ukraine, currently based in the Netherlands.
For the past few years, I have been actively learning and improving my skills in creating 3D assets for games. I’m currently looking for new full-time opportunities.
Project Goal
First of all, I’d like to thank my mentor, Volodymyr Iliukhin, for his amazing feedback and support during the creation of this project.
This artwork was created with the main goal of improving my skills in creating high-quality game assets.
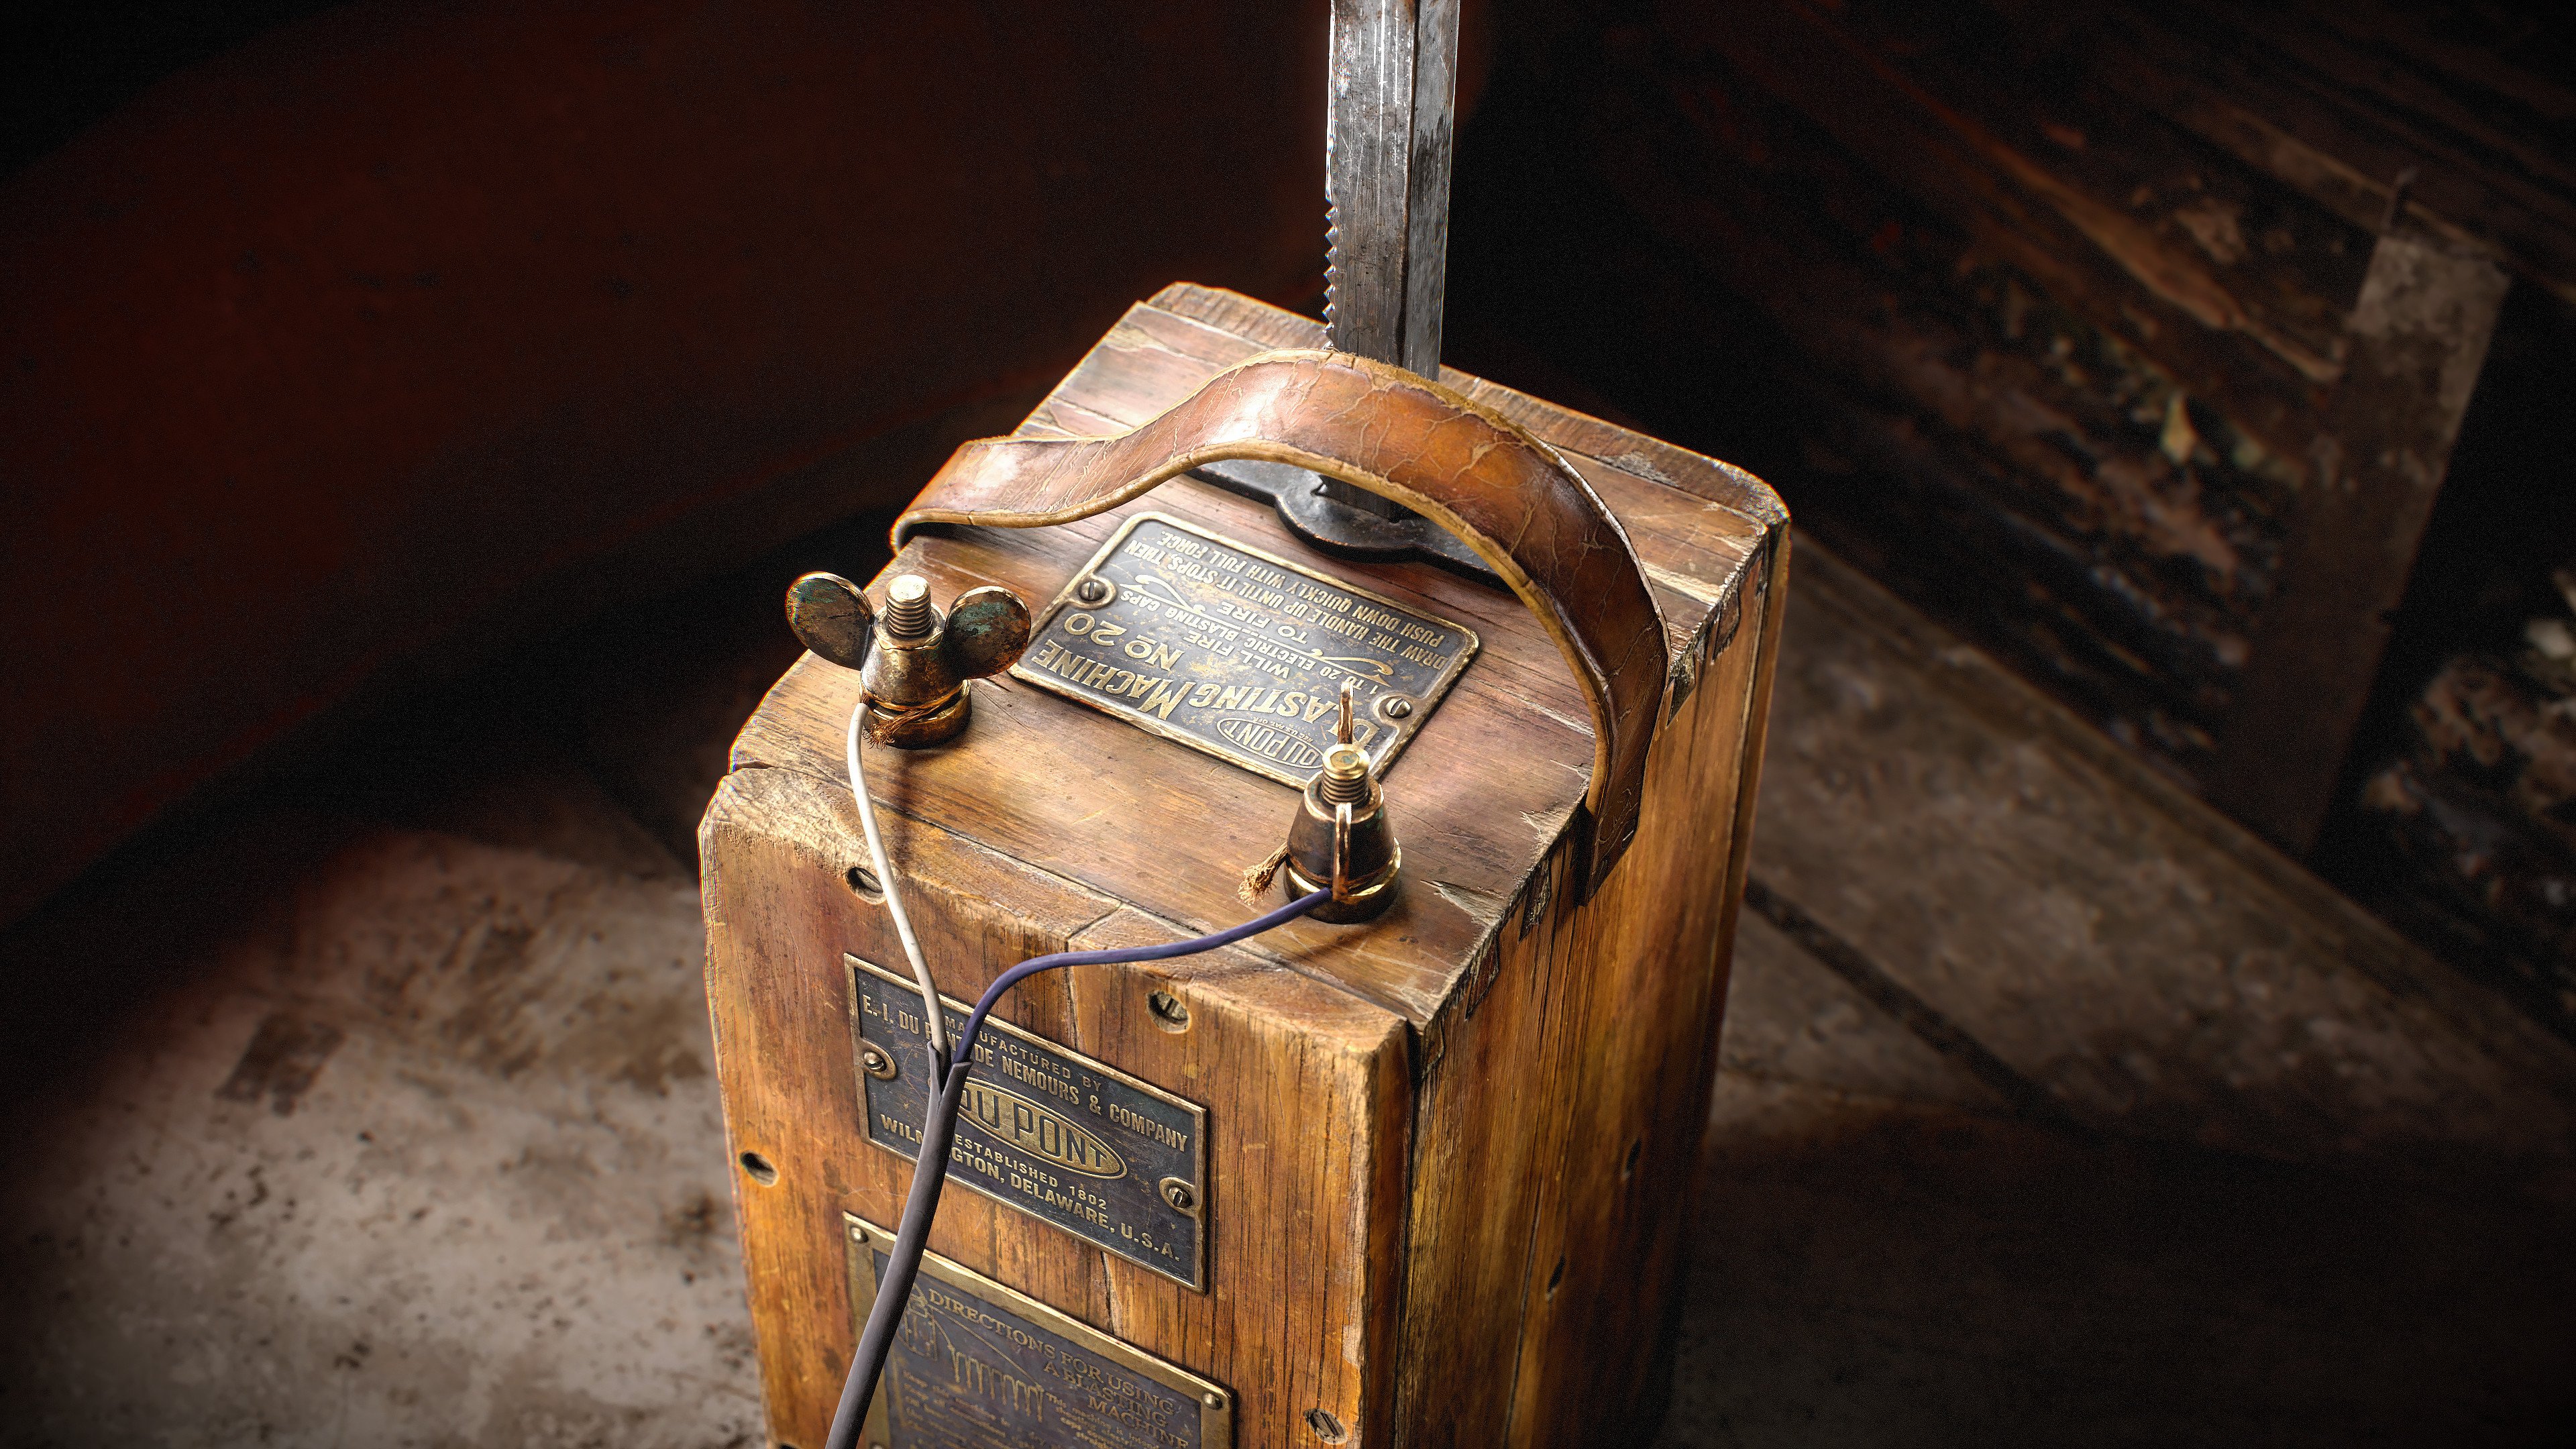
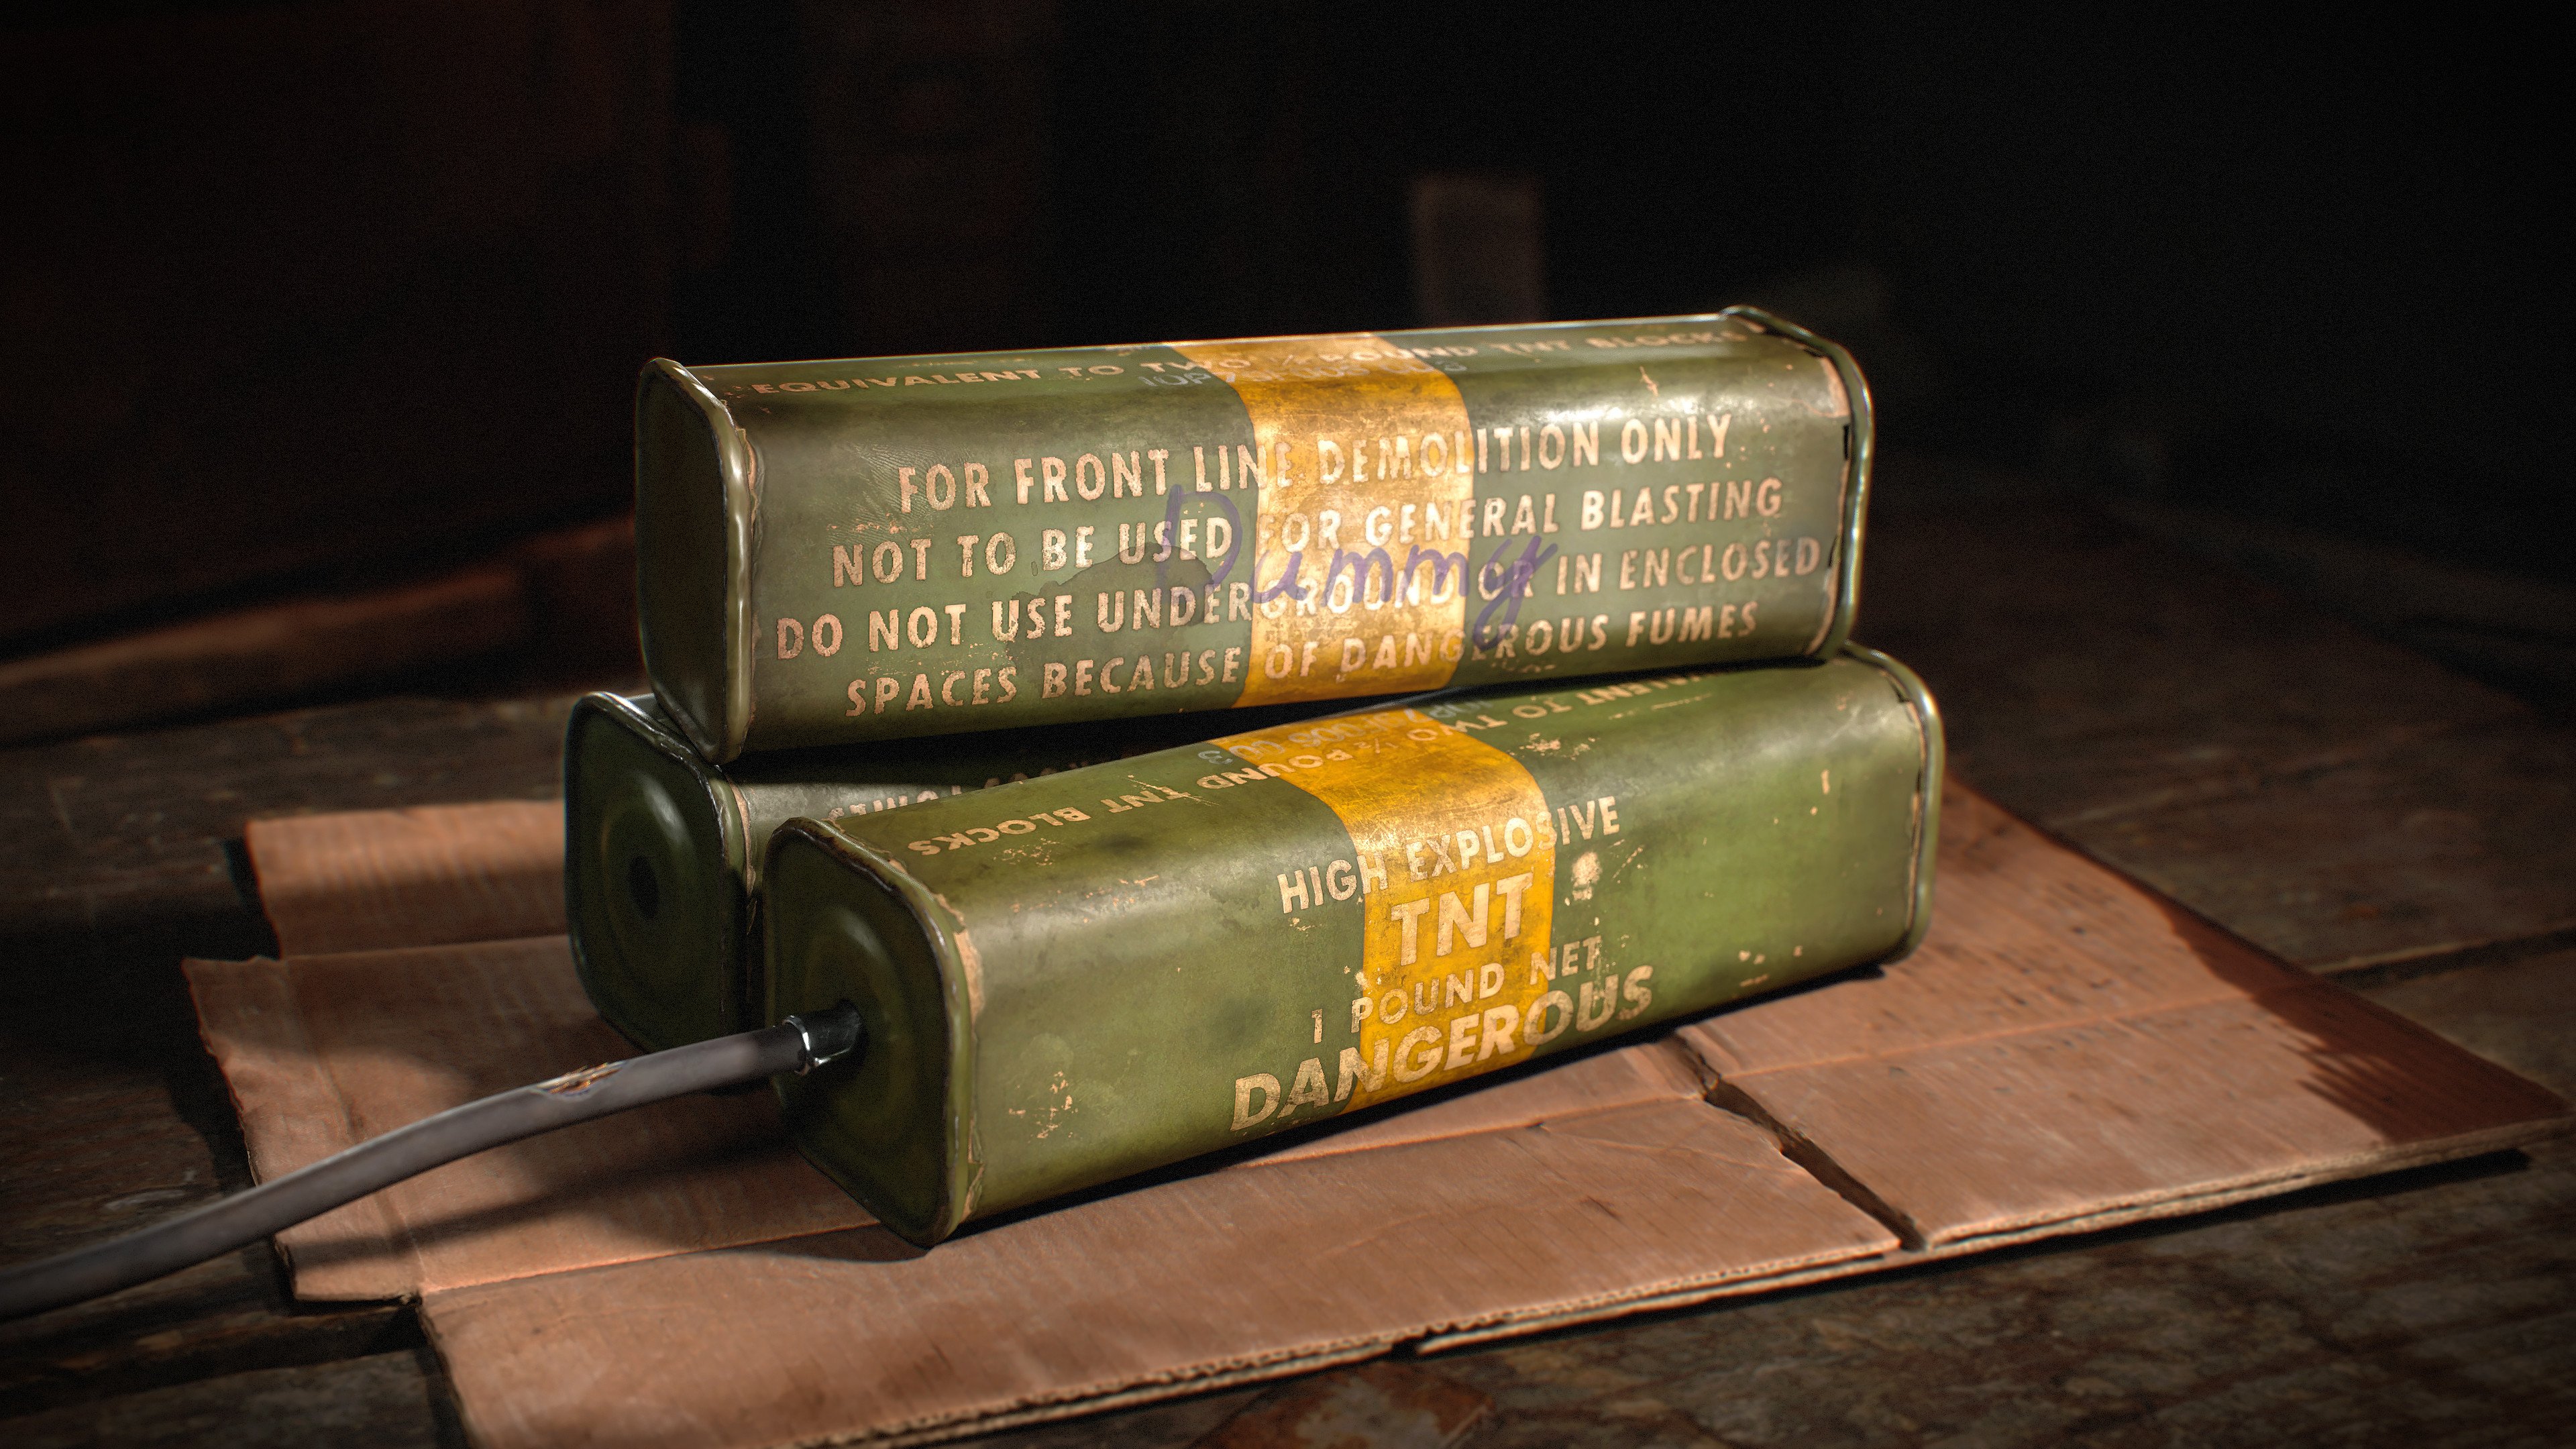
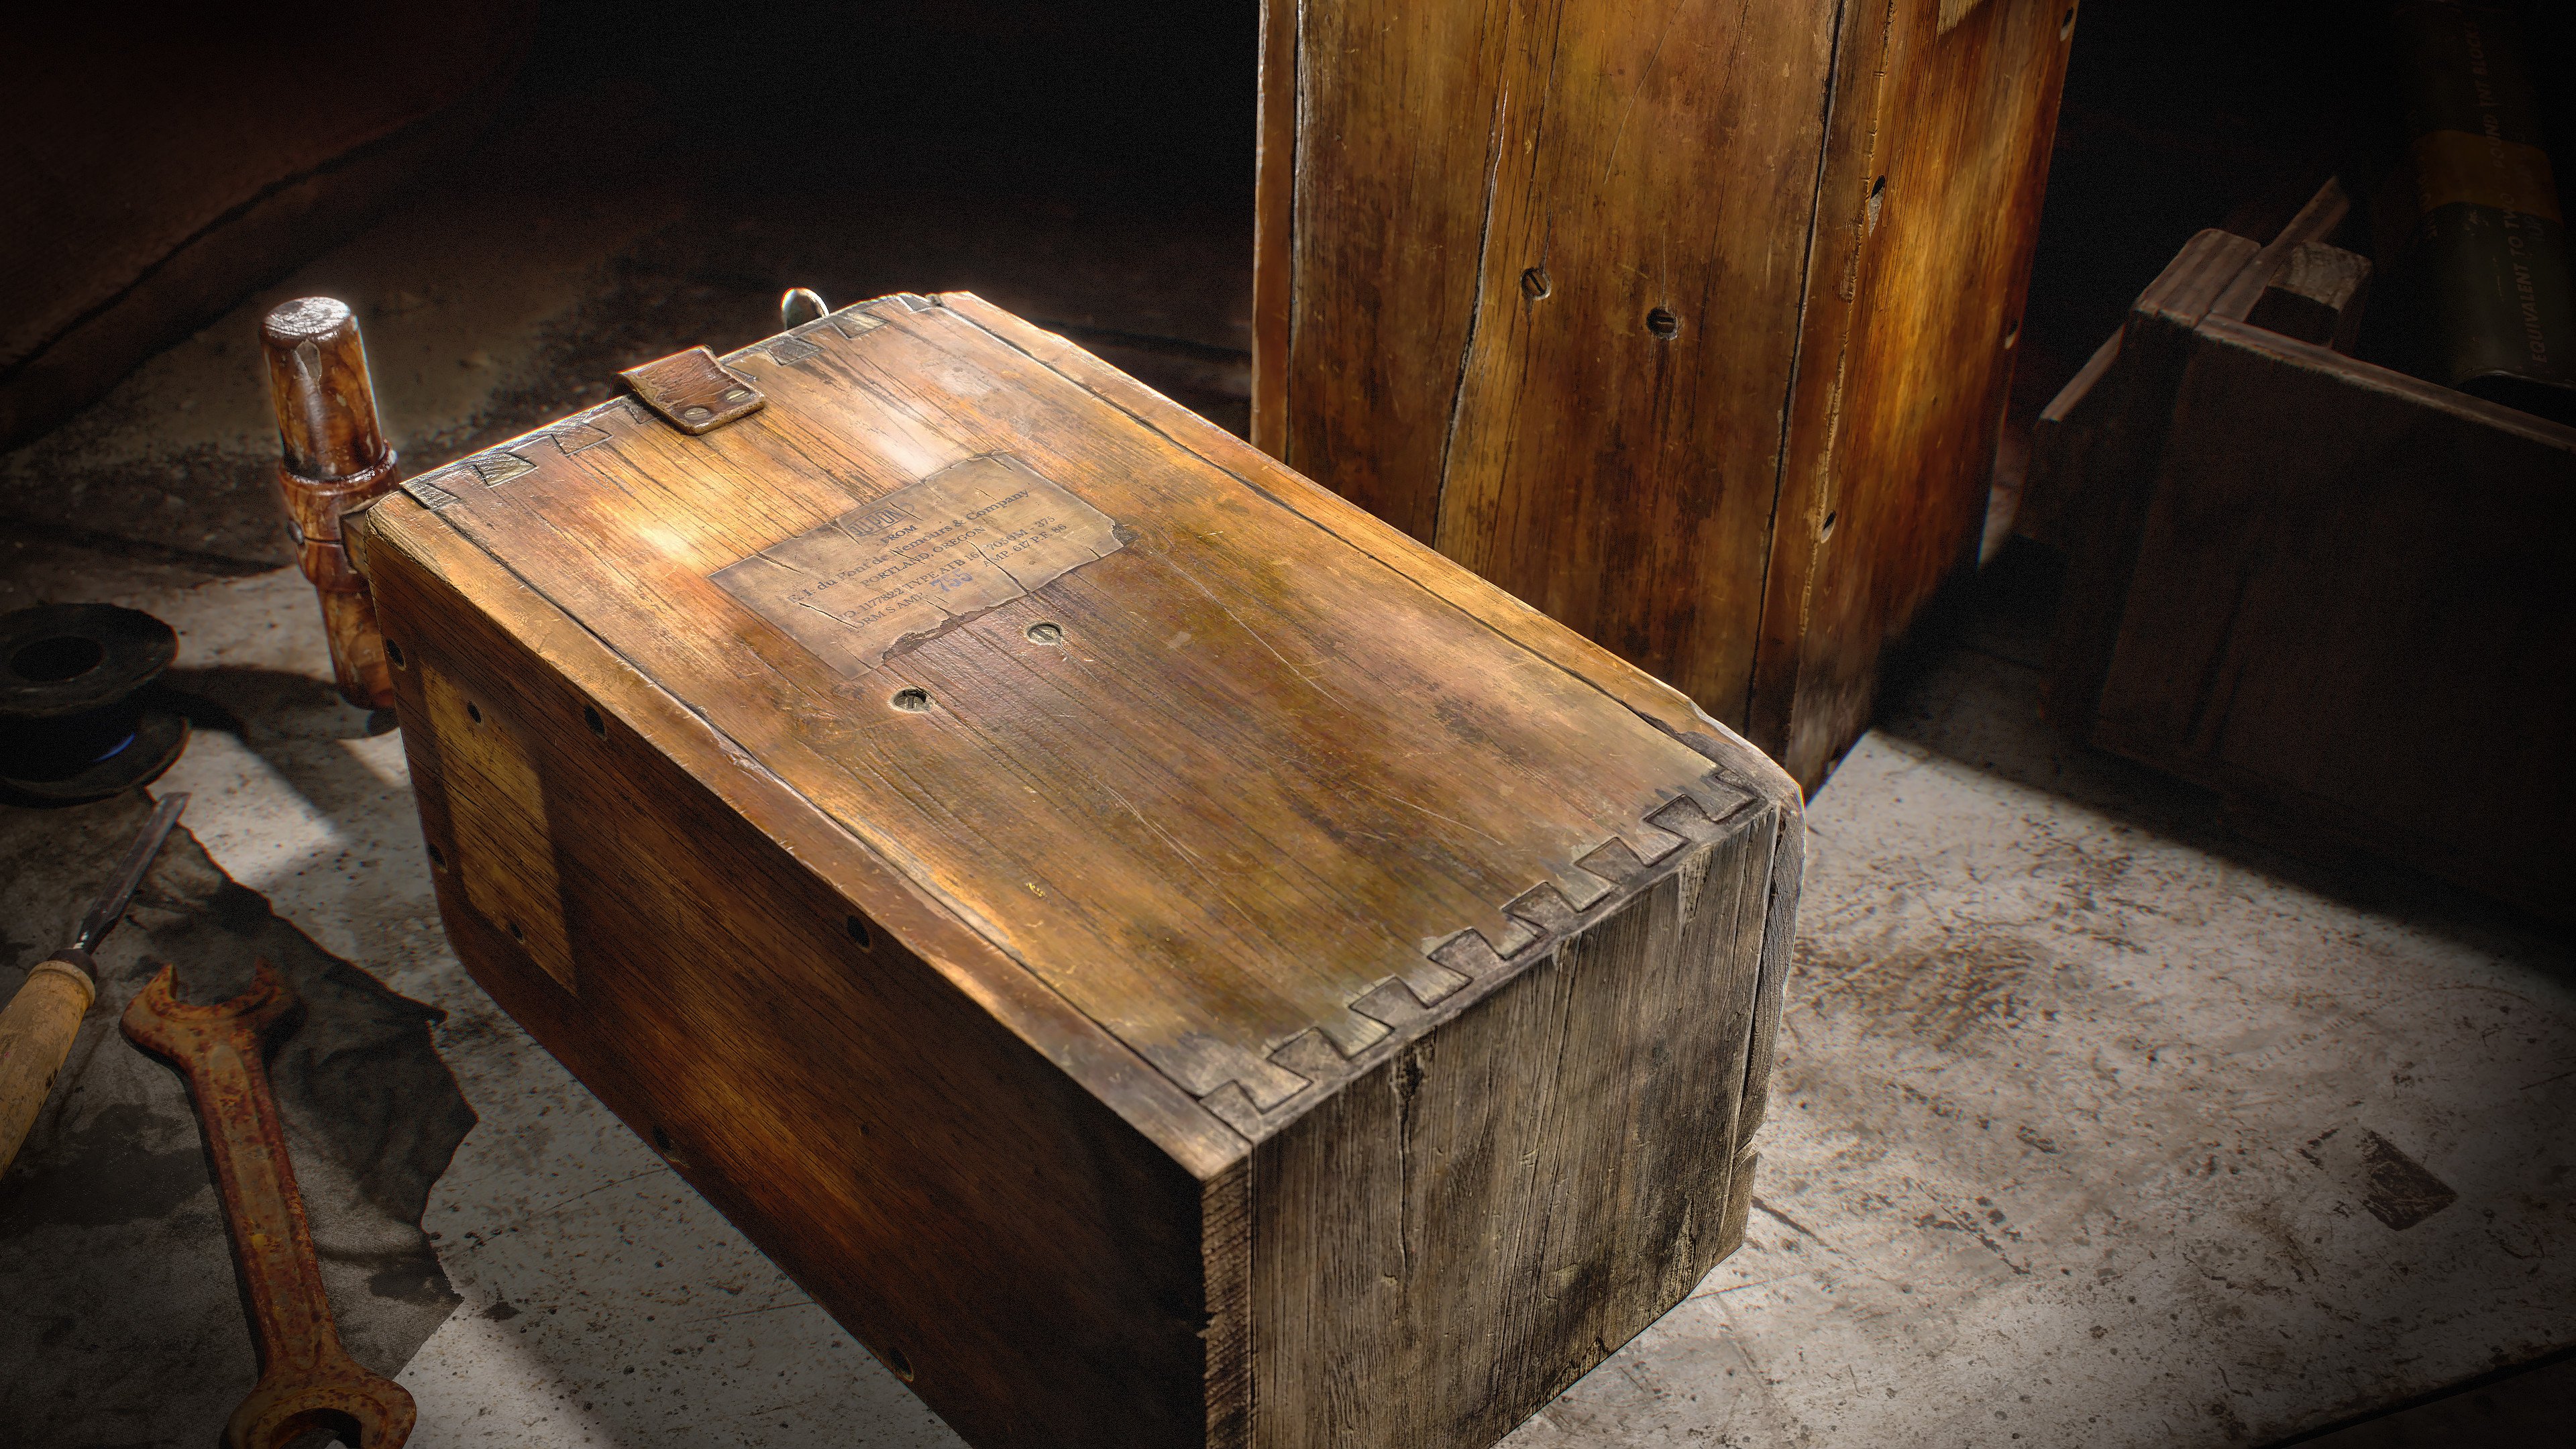
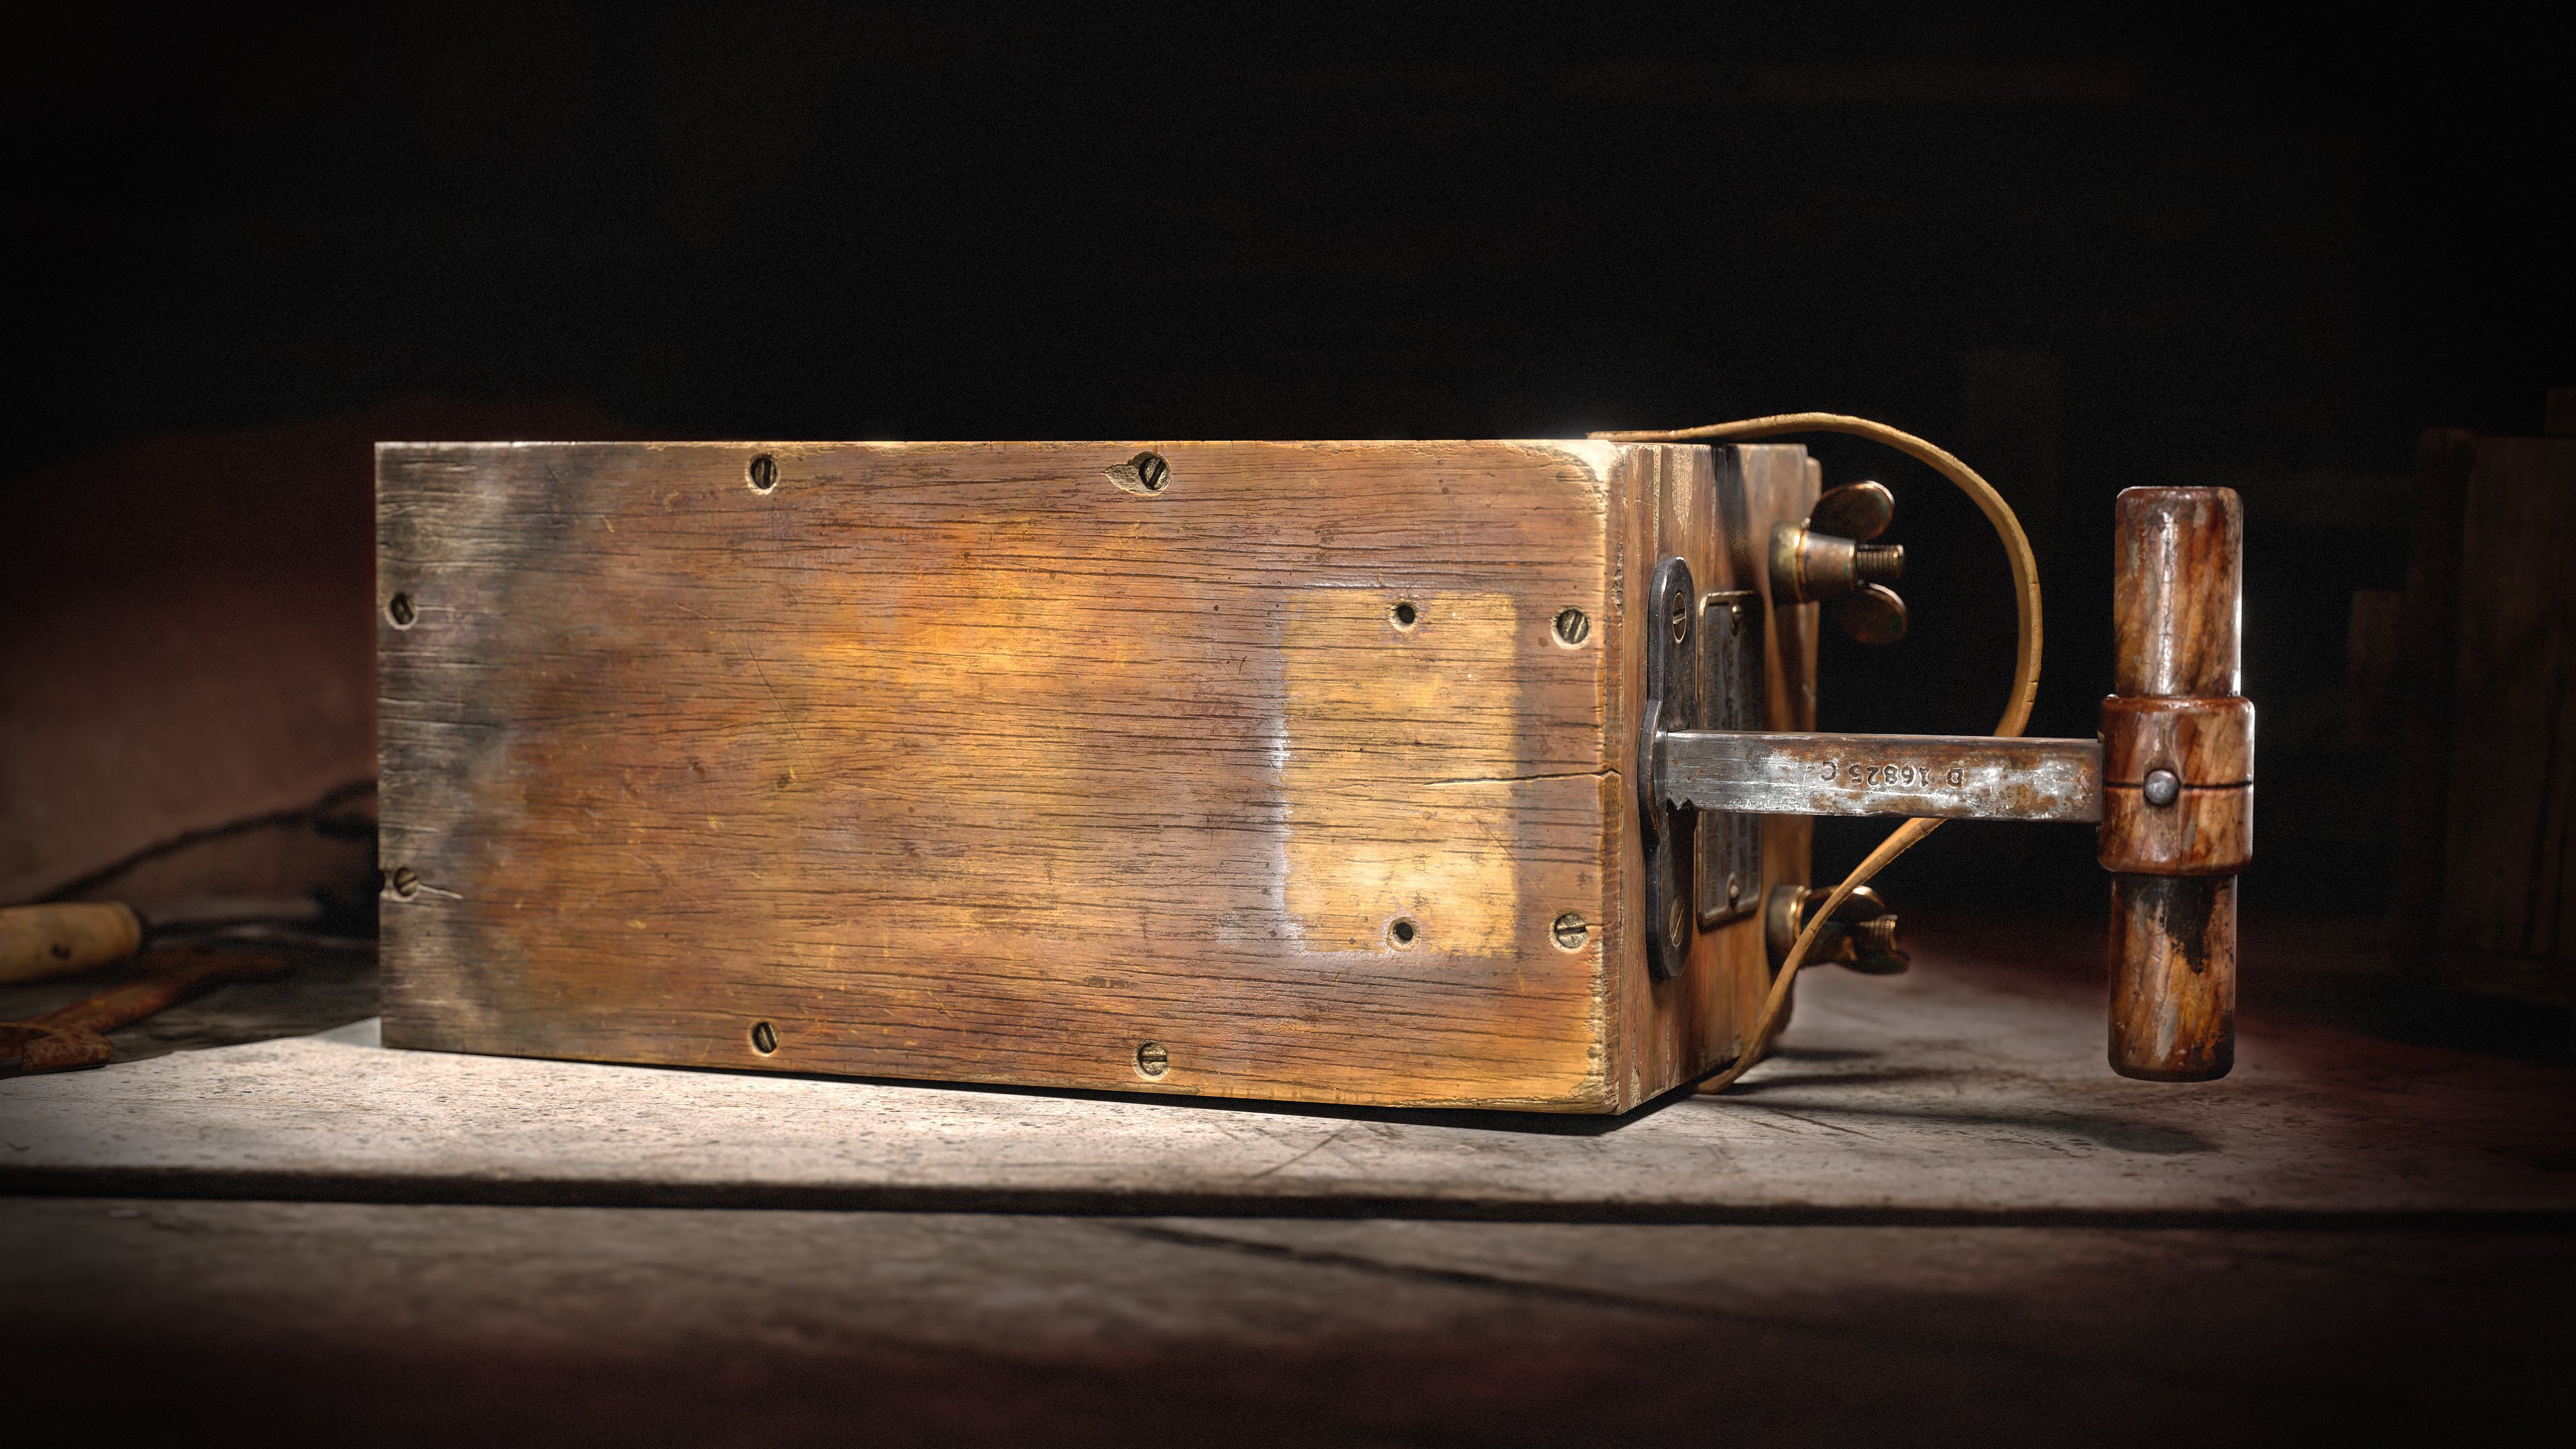
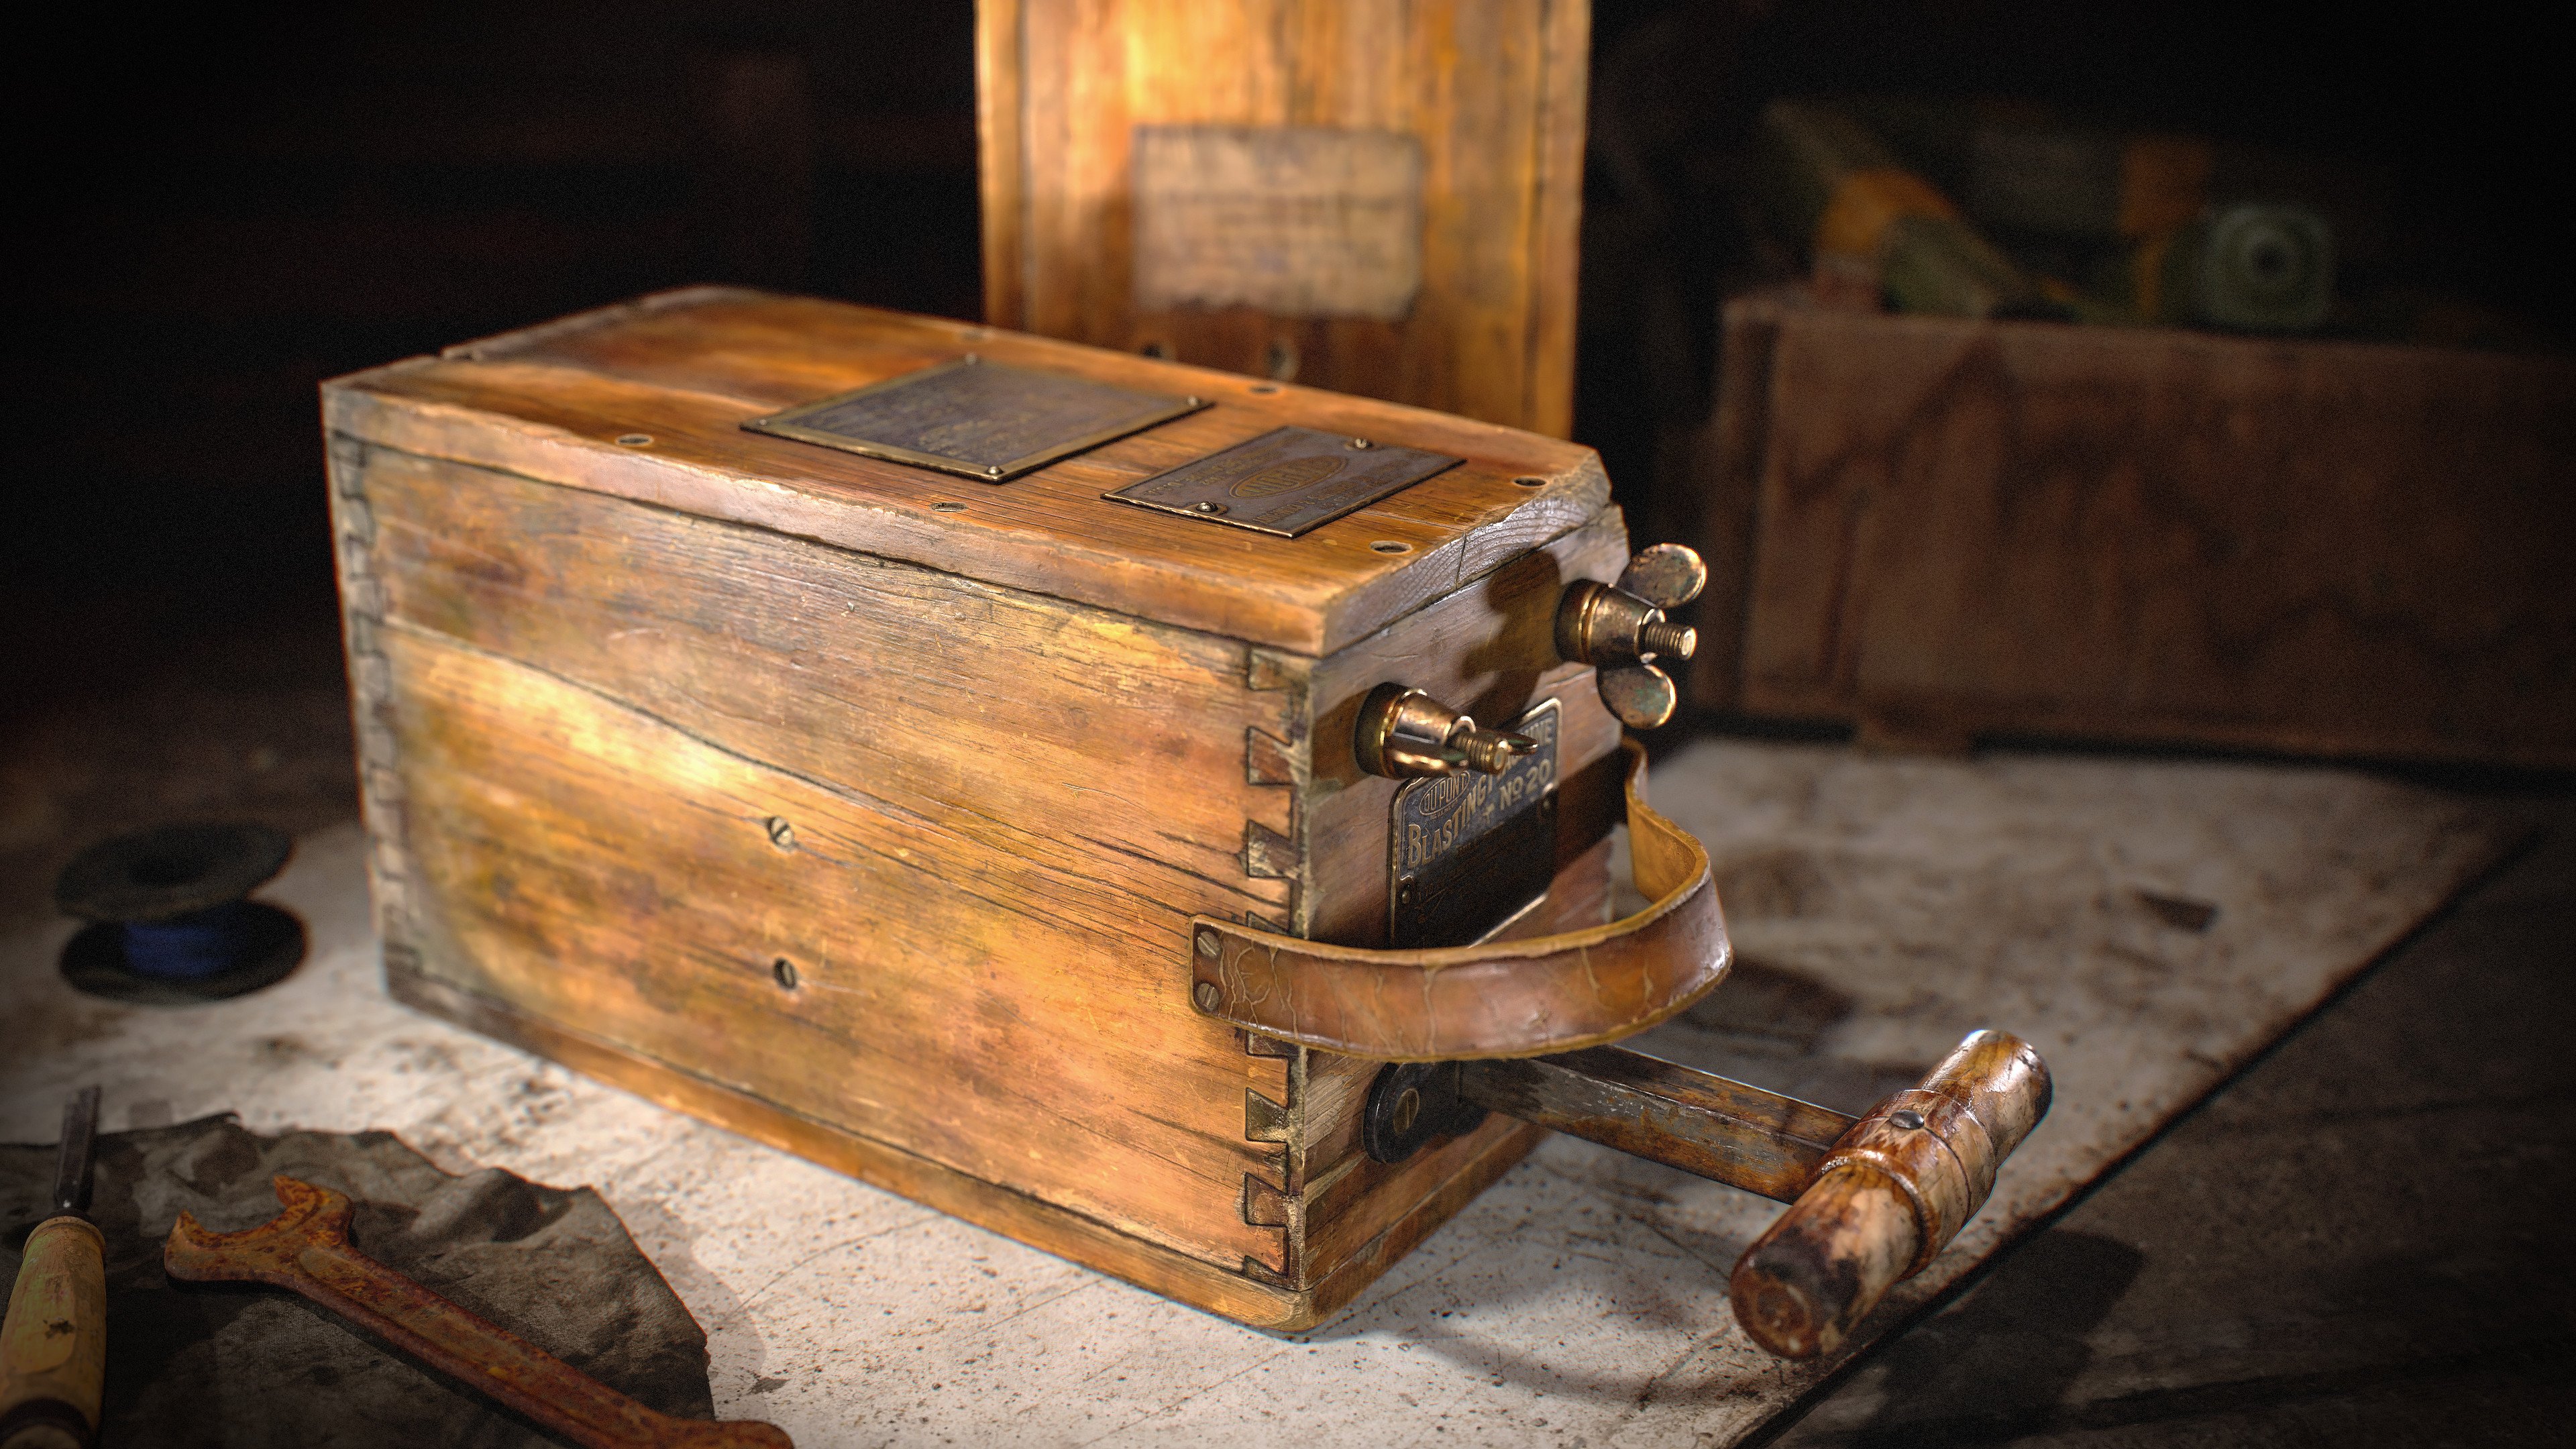
While working on this project, I focused on achieving a high level of detail in the high-poly, as well as creating an optimized low-poly mesh and highly detailed Spec/Gloss textures while maintaining the correct PBR values.
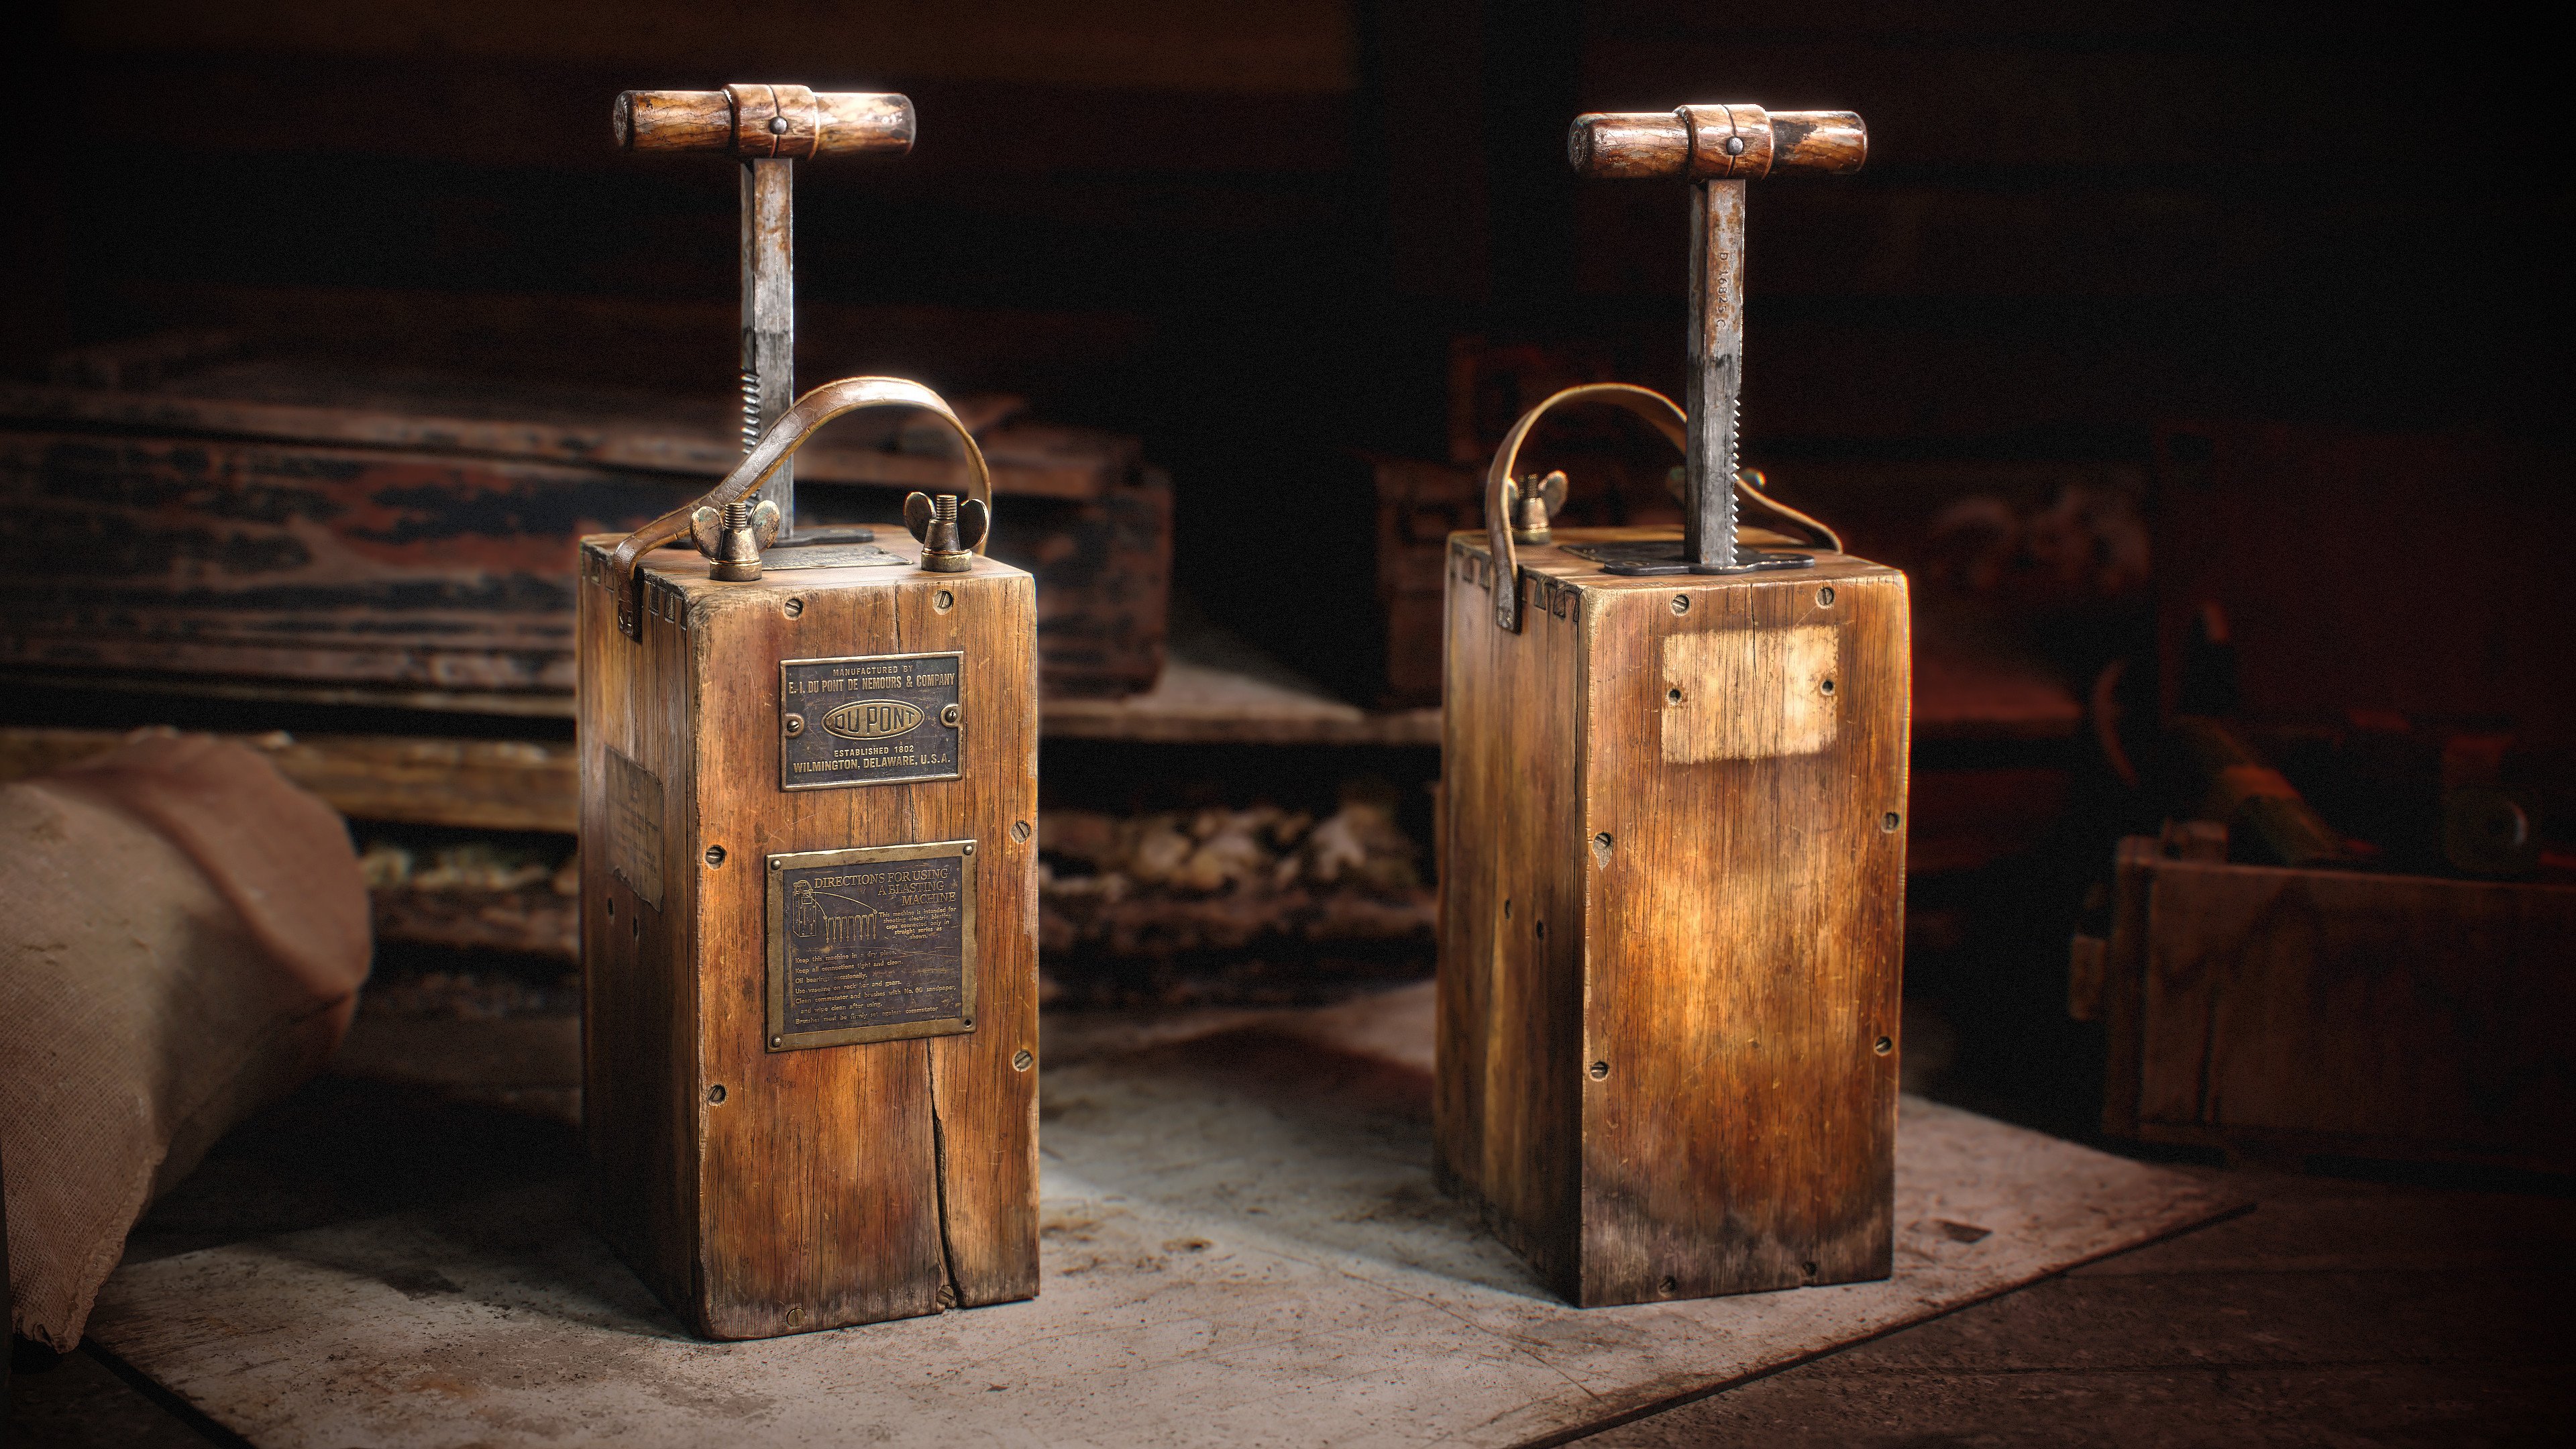
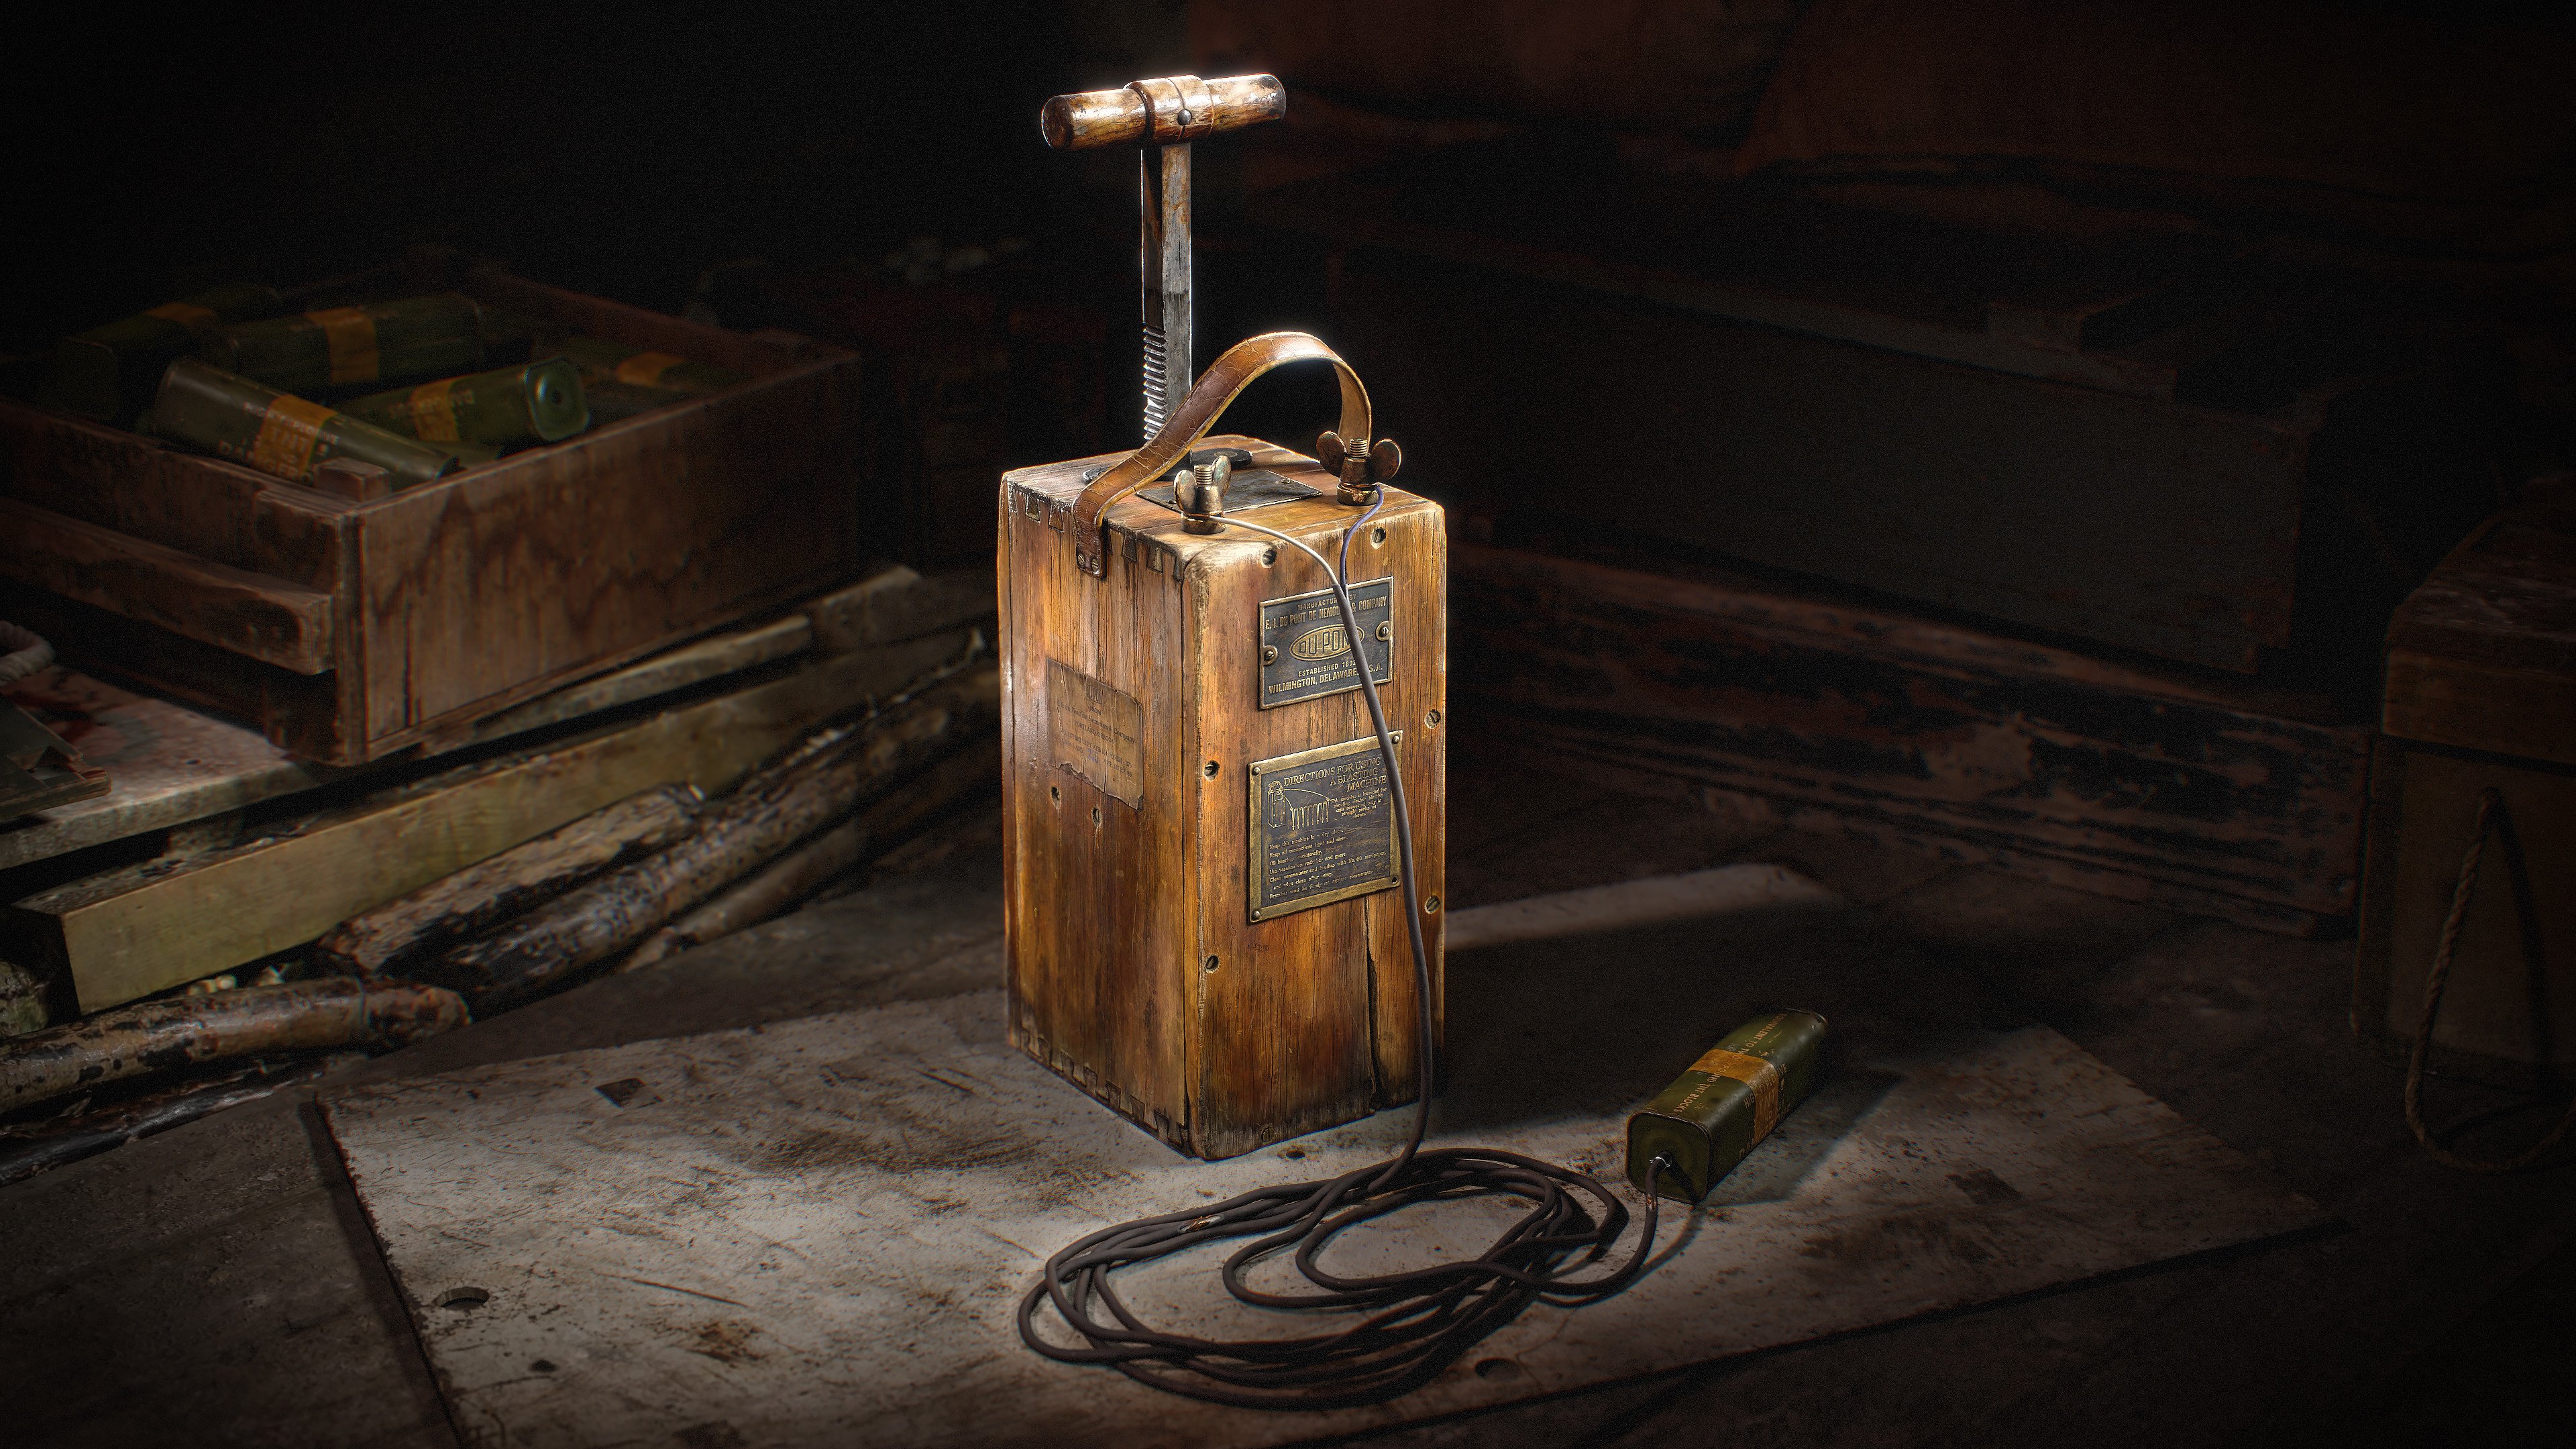
I also dedicated a lot of time to the presentation to showcase the object and all its details in the best possible way.
Software
- PureRef: collecting and organizing references.
- Plasticity: blocking.
- Blender: low-poly, retopology, UV-packing, animation.
- ZBrush: sculpting.
- RizomUV: UV unwrapping.
- Marmoset Toolbag 5: baking, rendering images and video.
- Substance 3D Painter: texturing.
- Photoshop: post-processing, alphas for texturing.
References
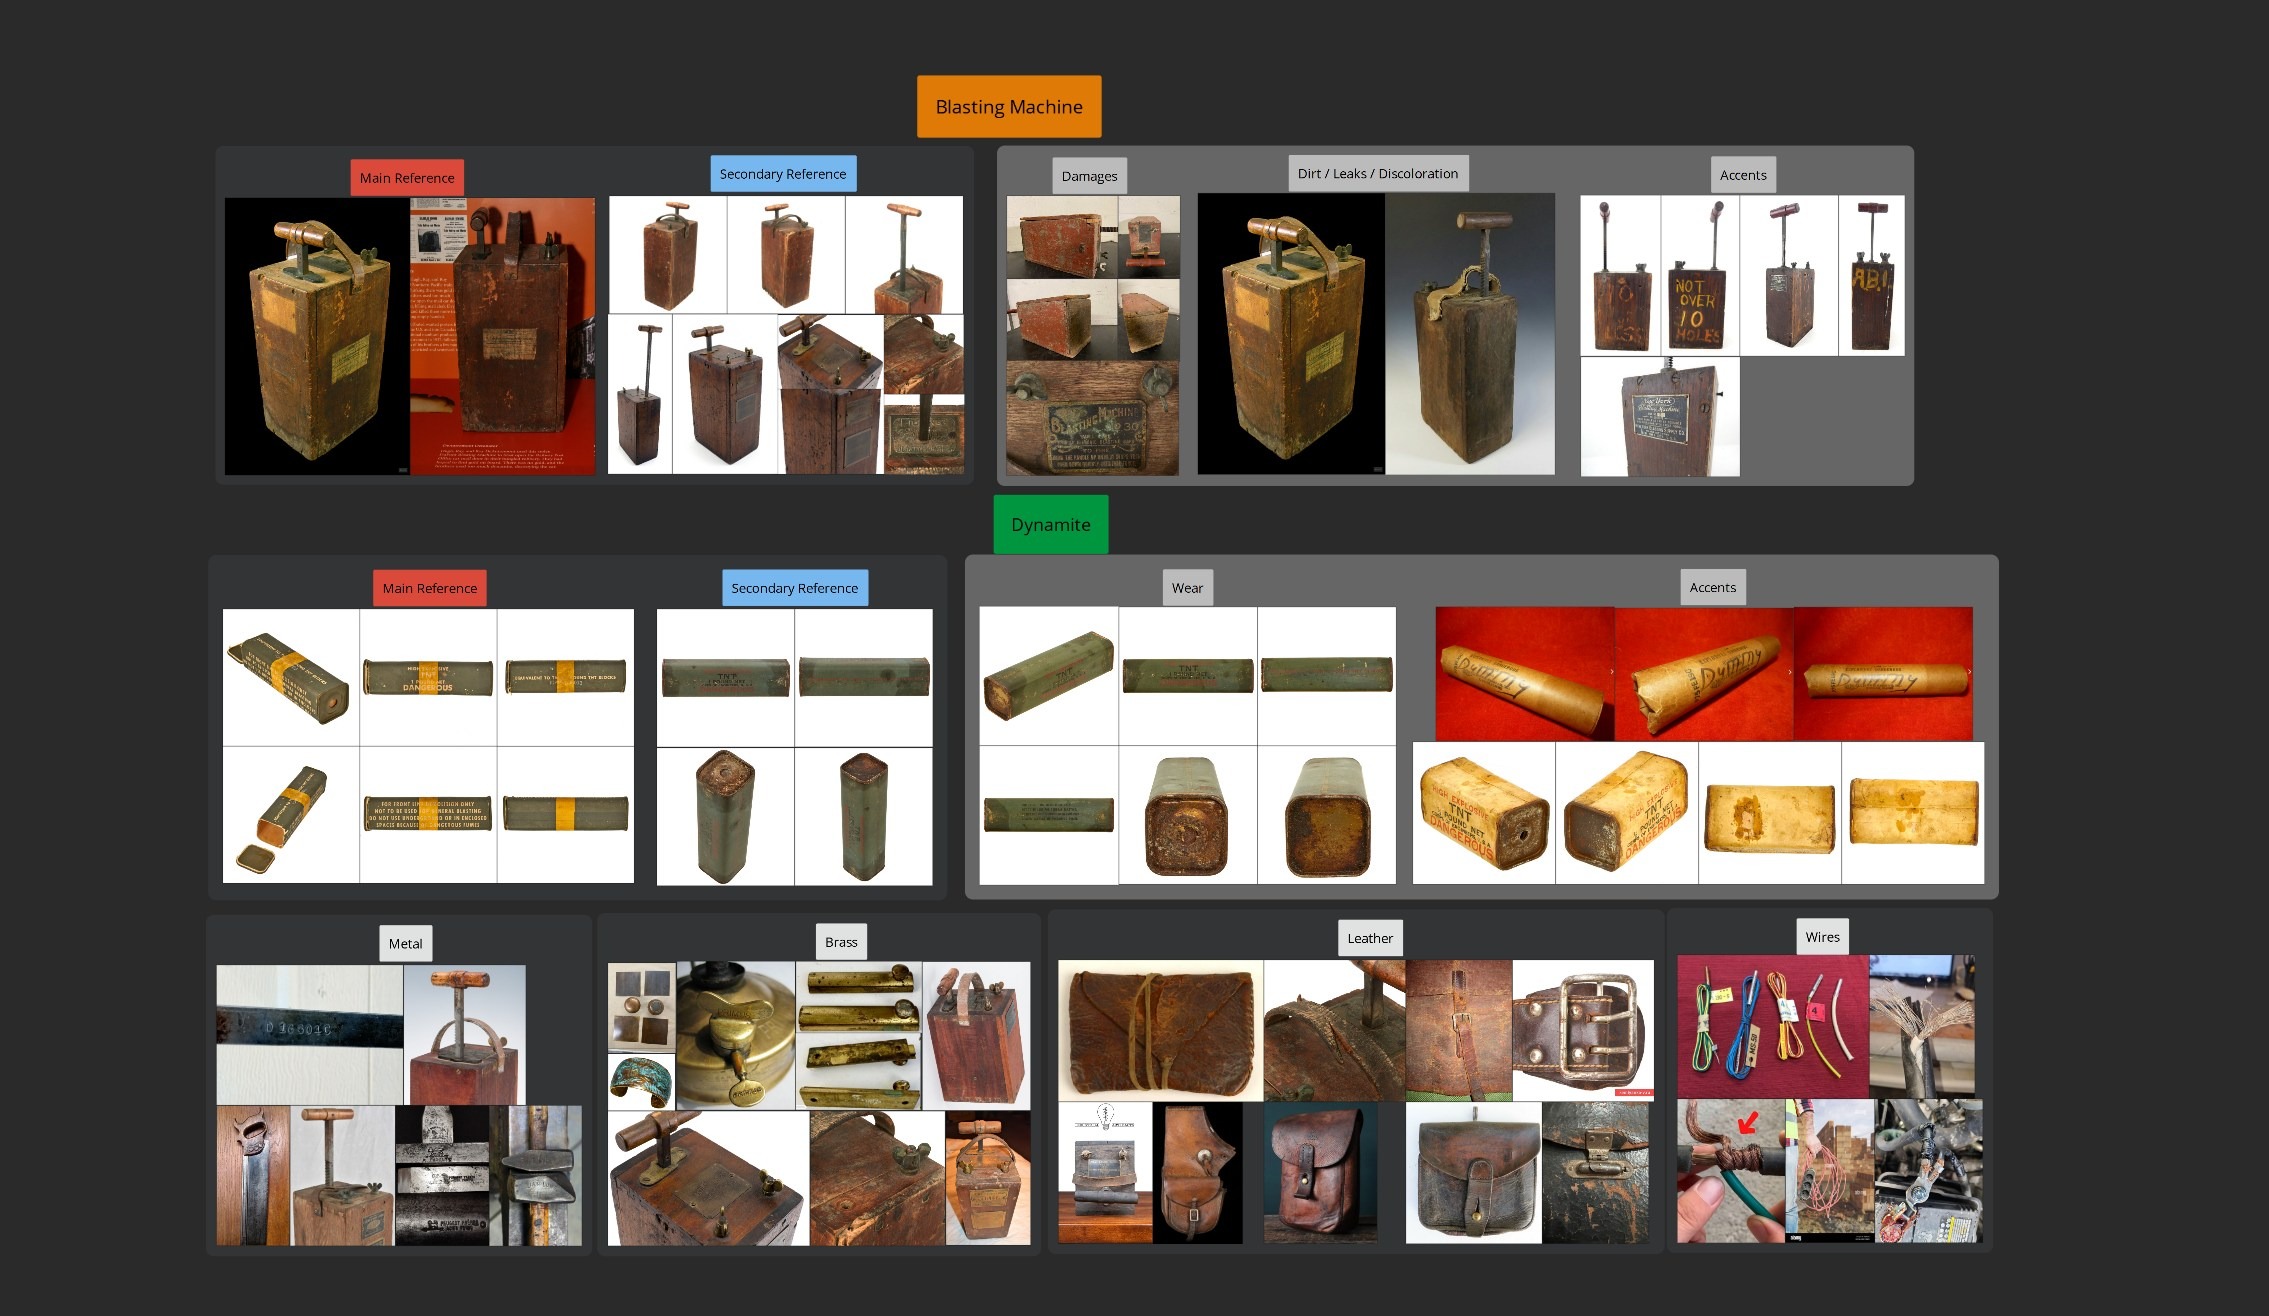
The foundation of a successful project is collecting a large number of high-quality references that you can use to start bringing your idea to life.
At this stage, I initially looked for a main reference that would look interesting and visually appealing, along with various other versions of this item.
On auction sites, you can often find not only high-quality photos but also the dimensions and other specifications of the item, which makes it easier to create a blockout of the model.
I also looked for photos of each individual part and references for each of the different types of materials (wood, metal, brass, and leather) that I will use later during the texturing process.
Blocking
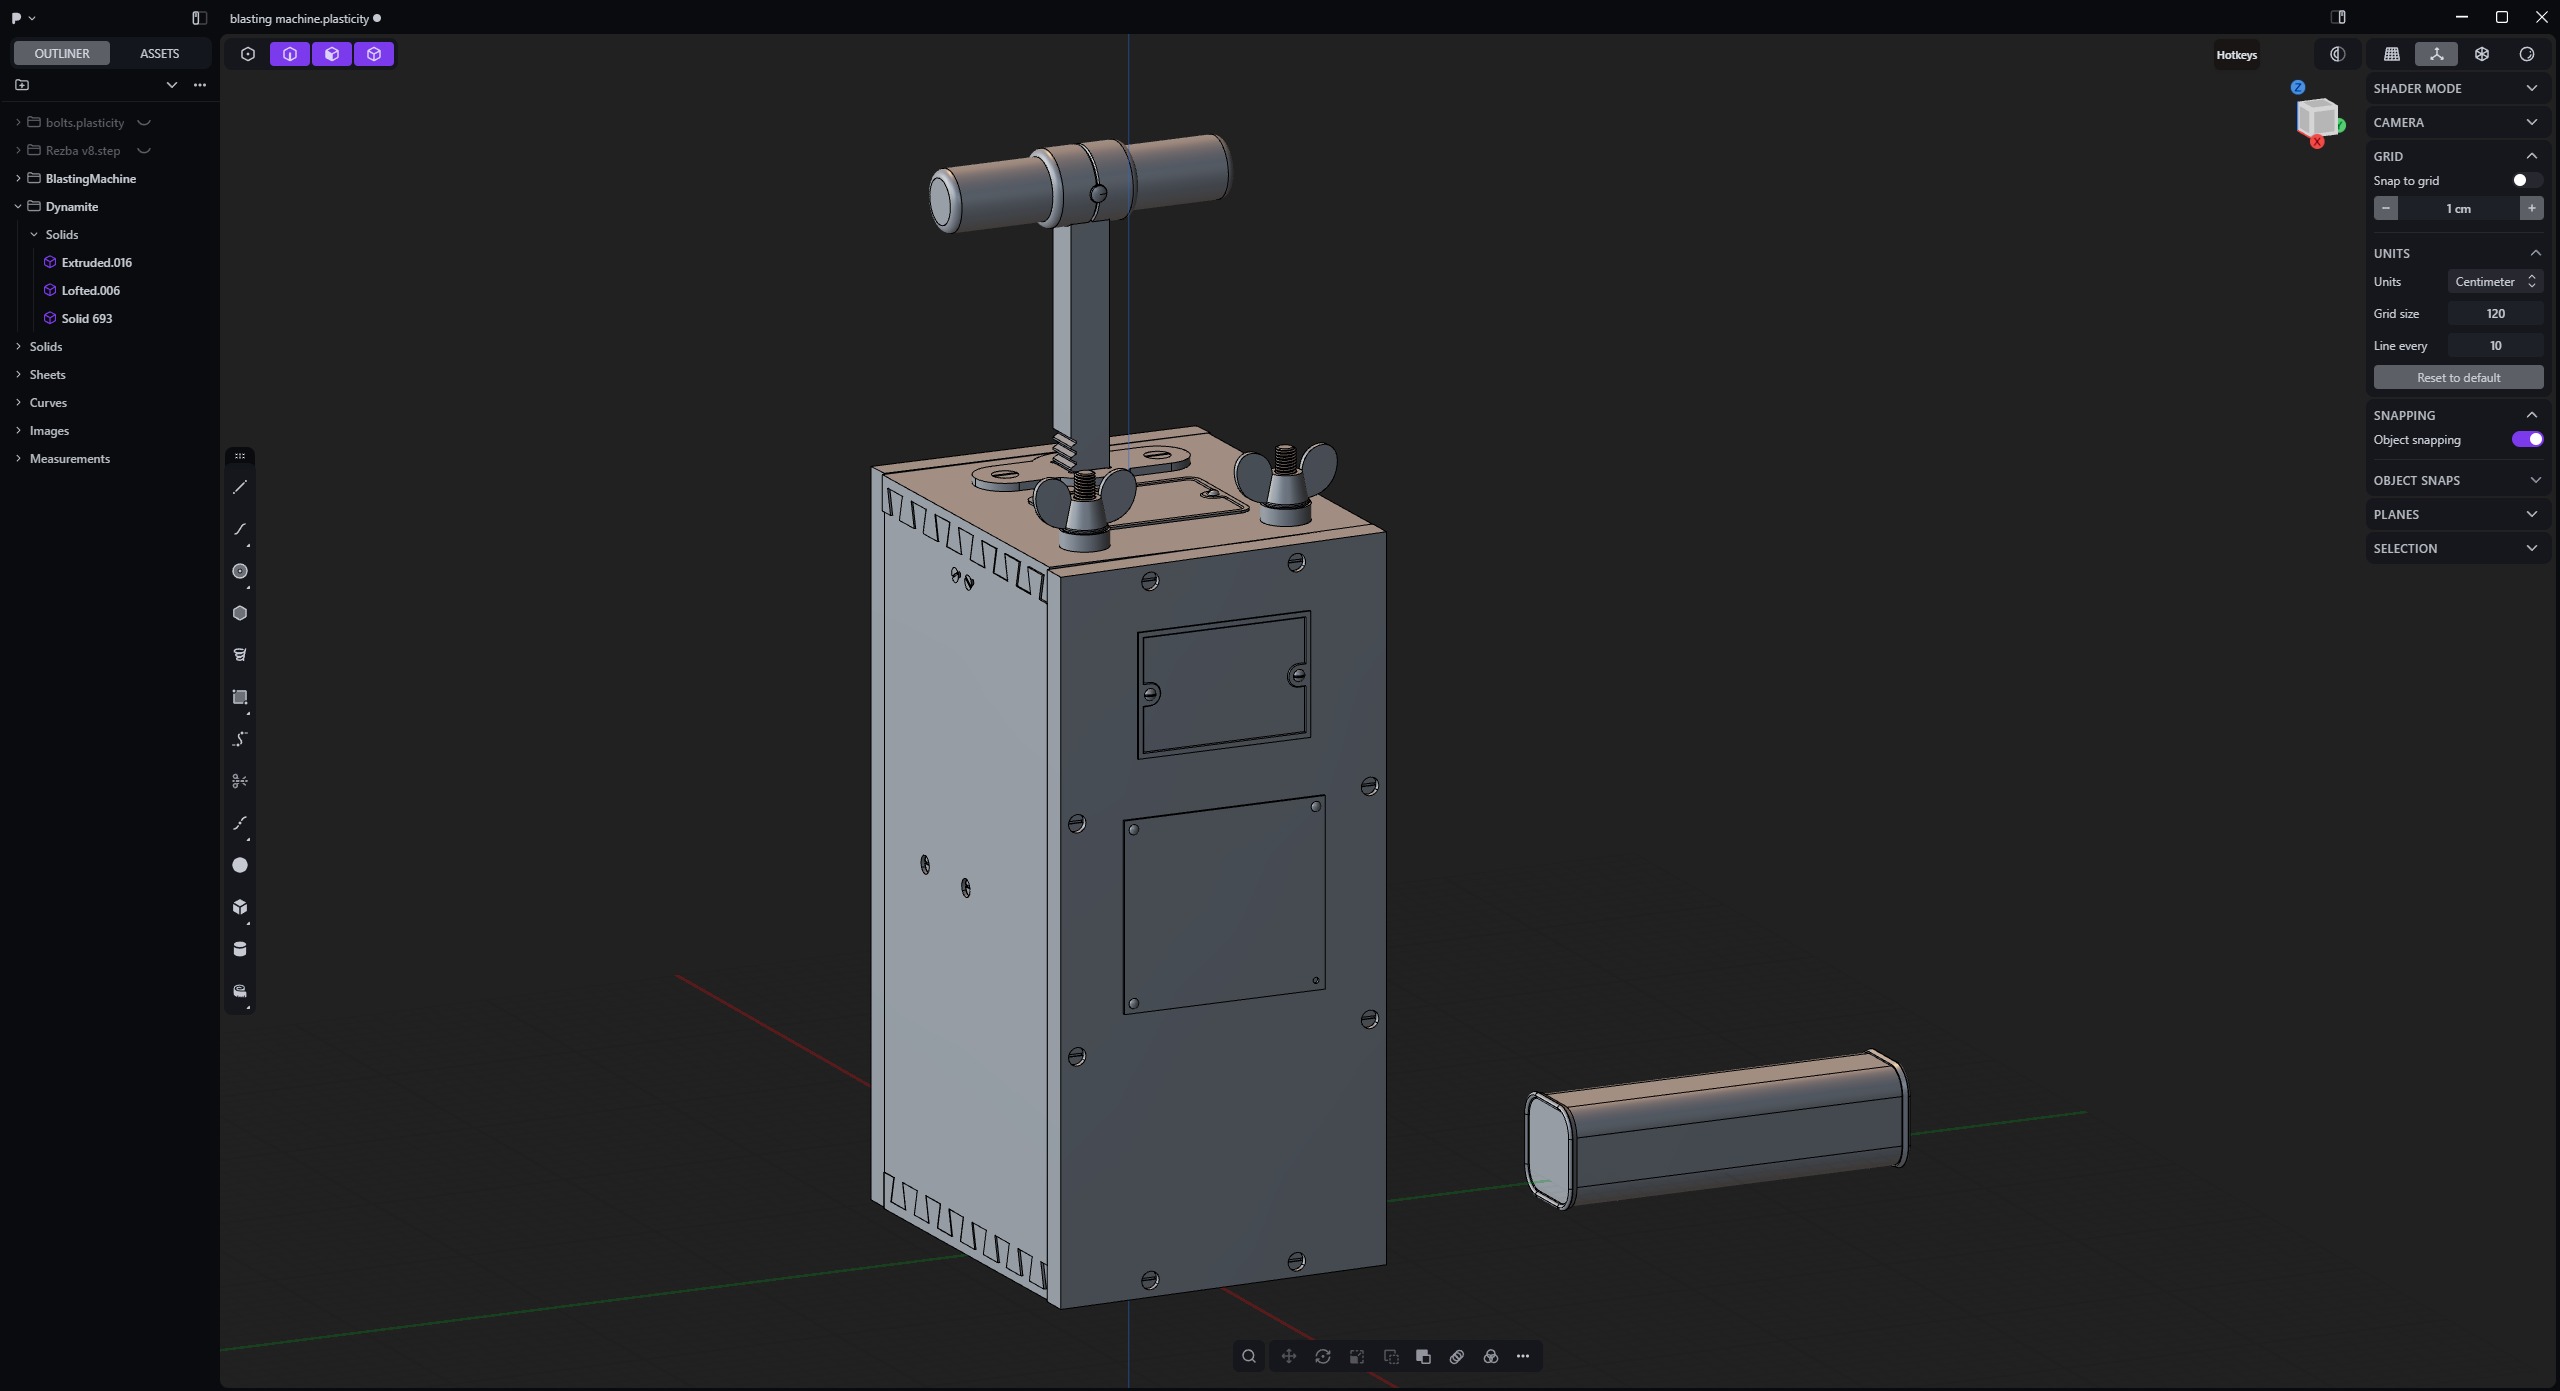
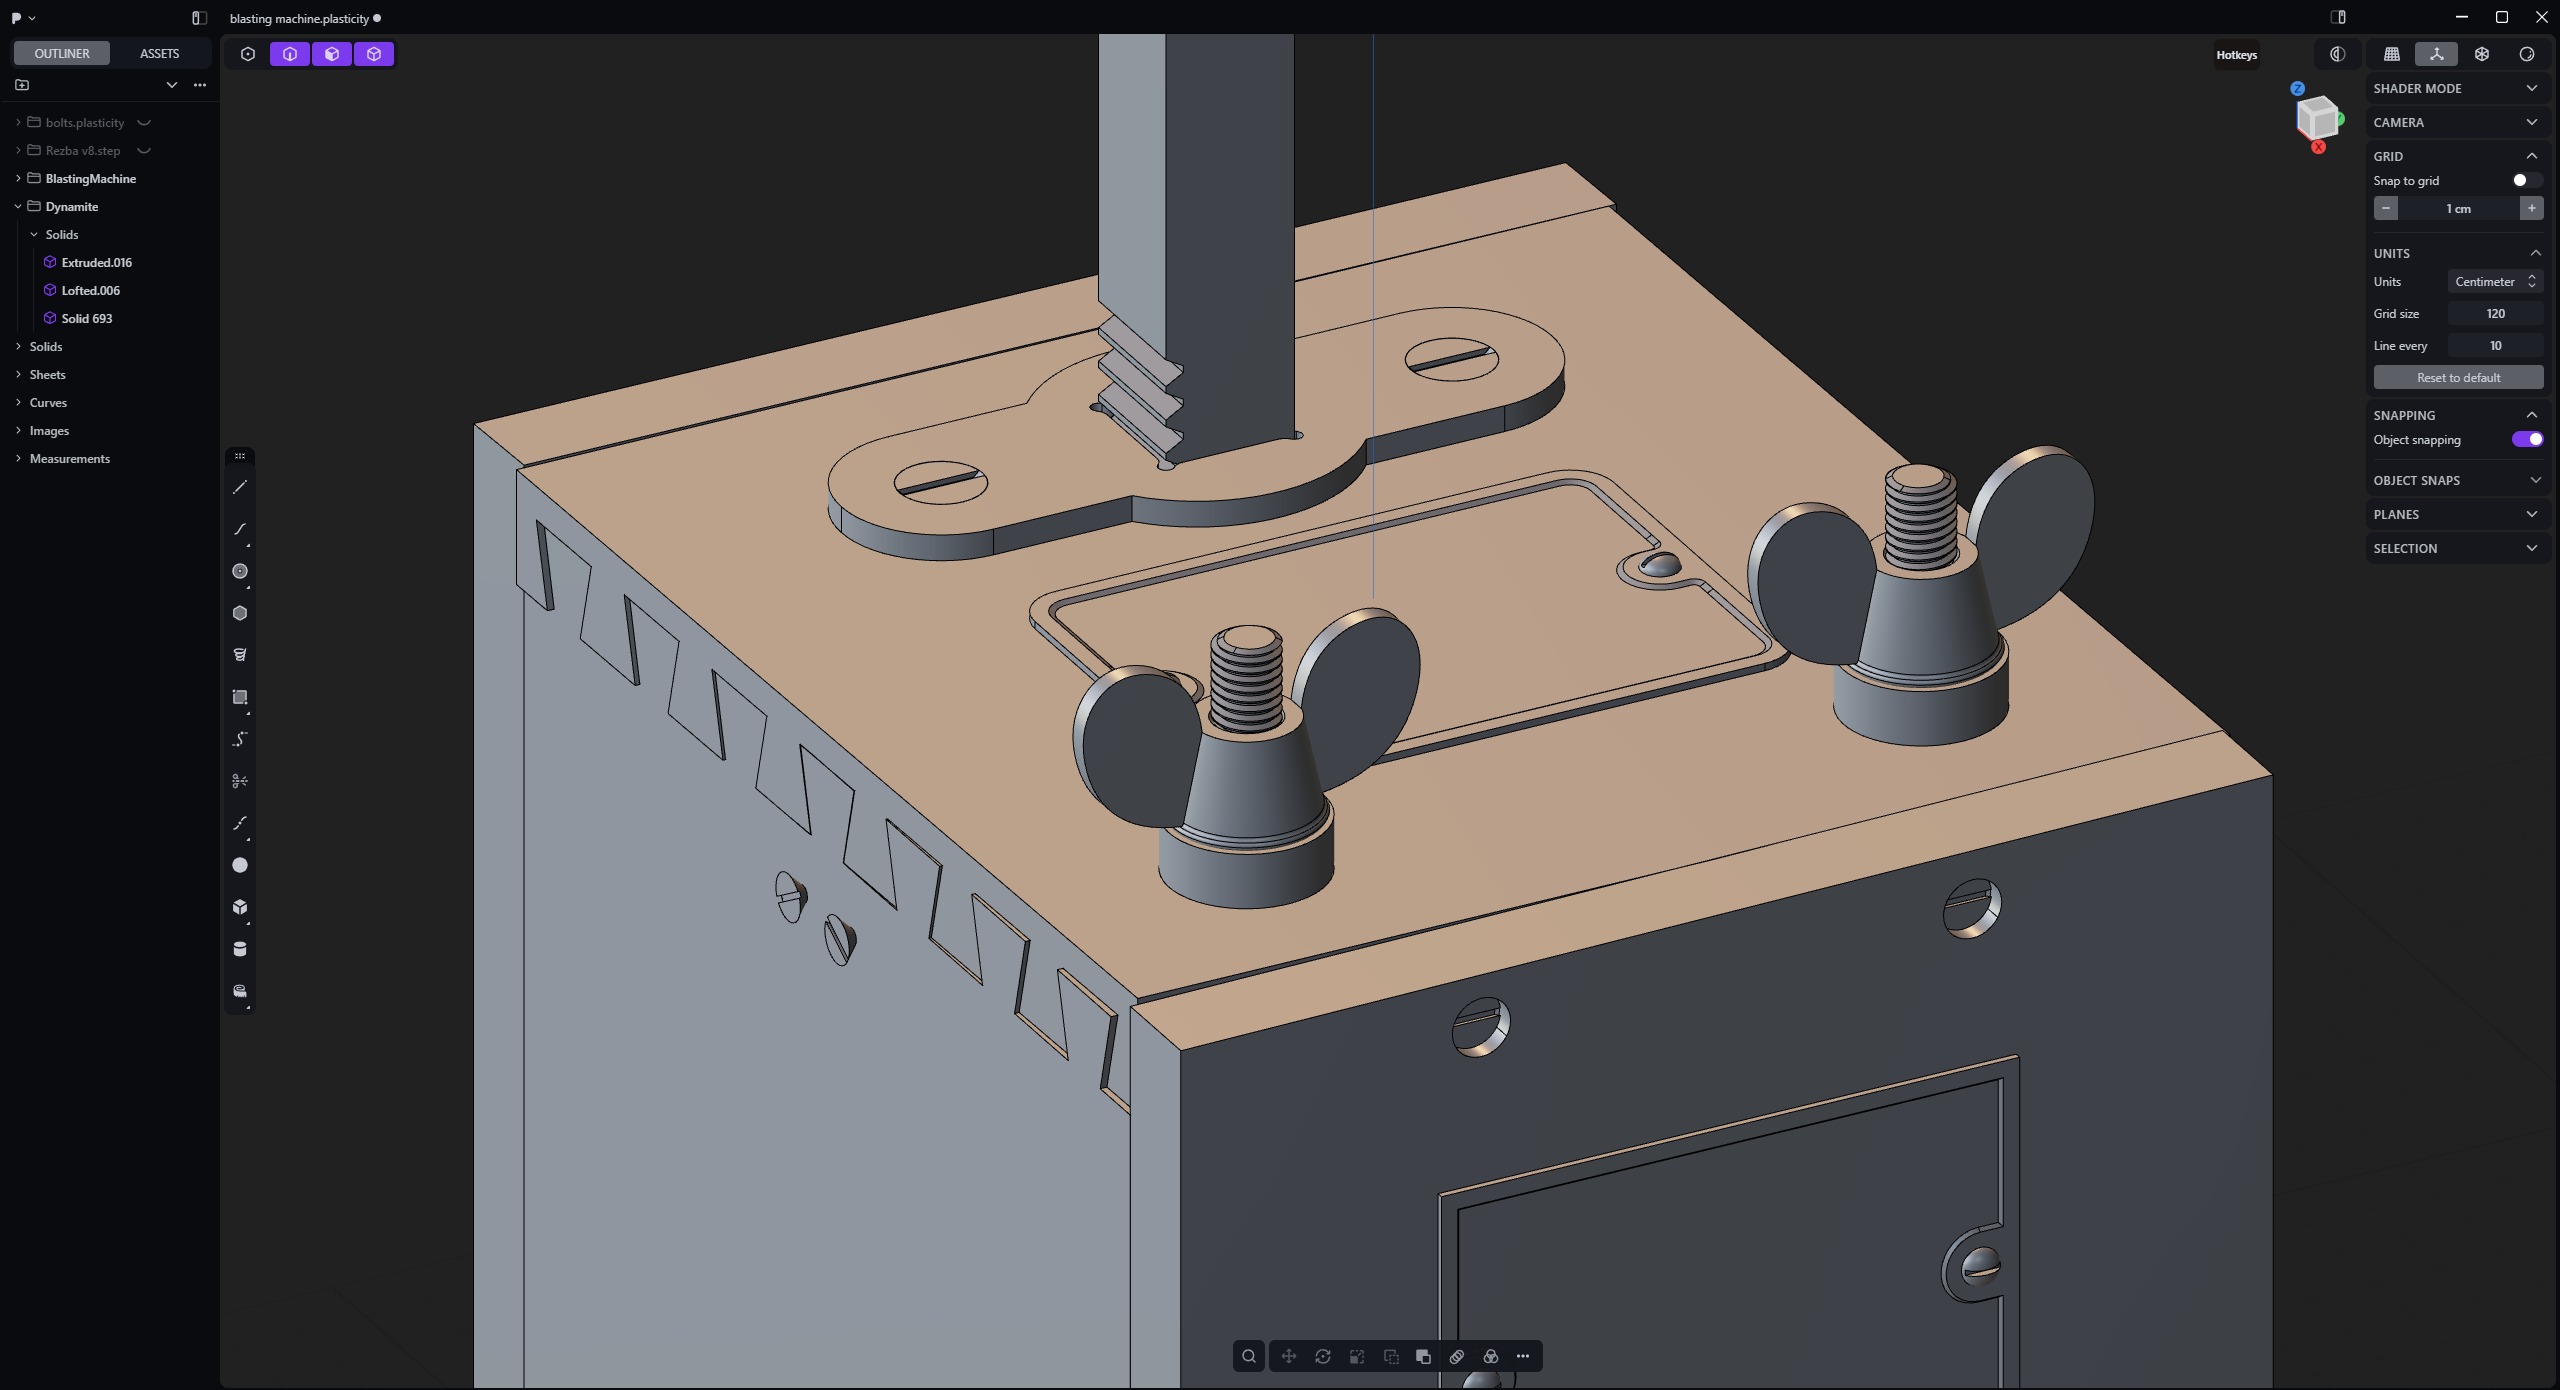
I began creating the blockout in Plasticity because its CAD modeling capabilities allow me to quickly and conveniently create complex parts with maximum precision and easily modify them at any time without disrupting the topology.
First, using the real-world dimensions I had found earlier, I created a blasting machine and an explosive charge from primitive shapes. It’s very important to determine the correct dimensions of all parts right away during the blockout, since it will be harder to change them later.
Then I began refining each object step by step. On the wooden planks, I began to slightly distort the perfect geometry to convey the effect of old, slightly warped wood.
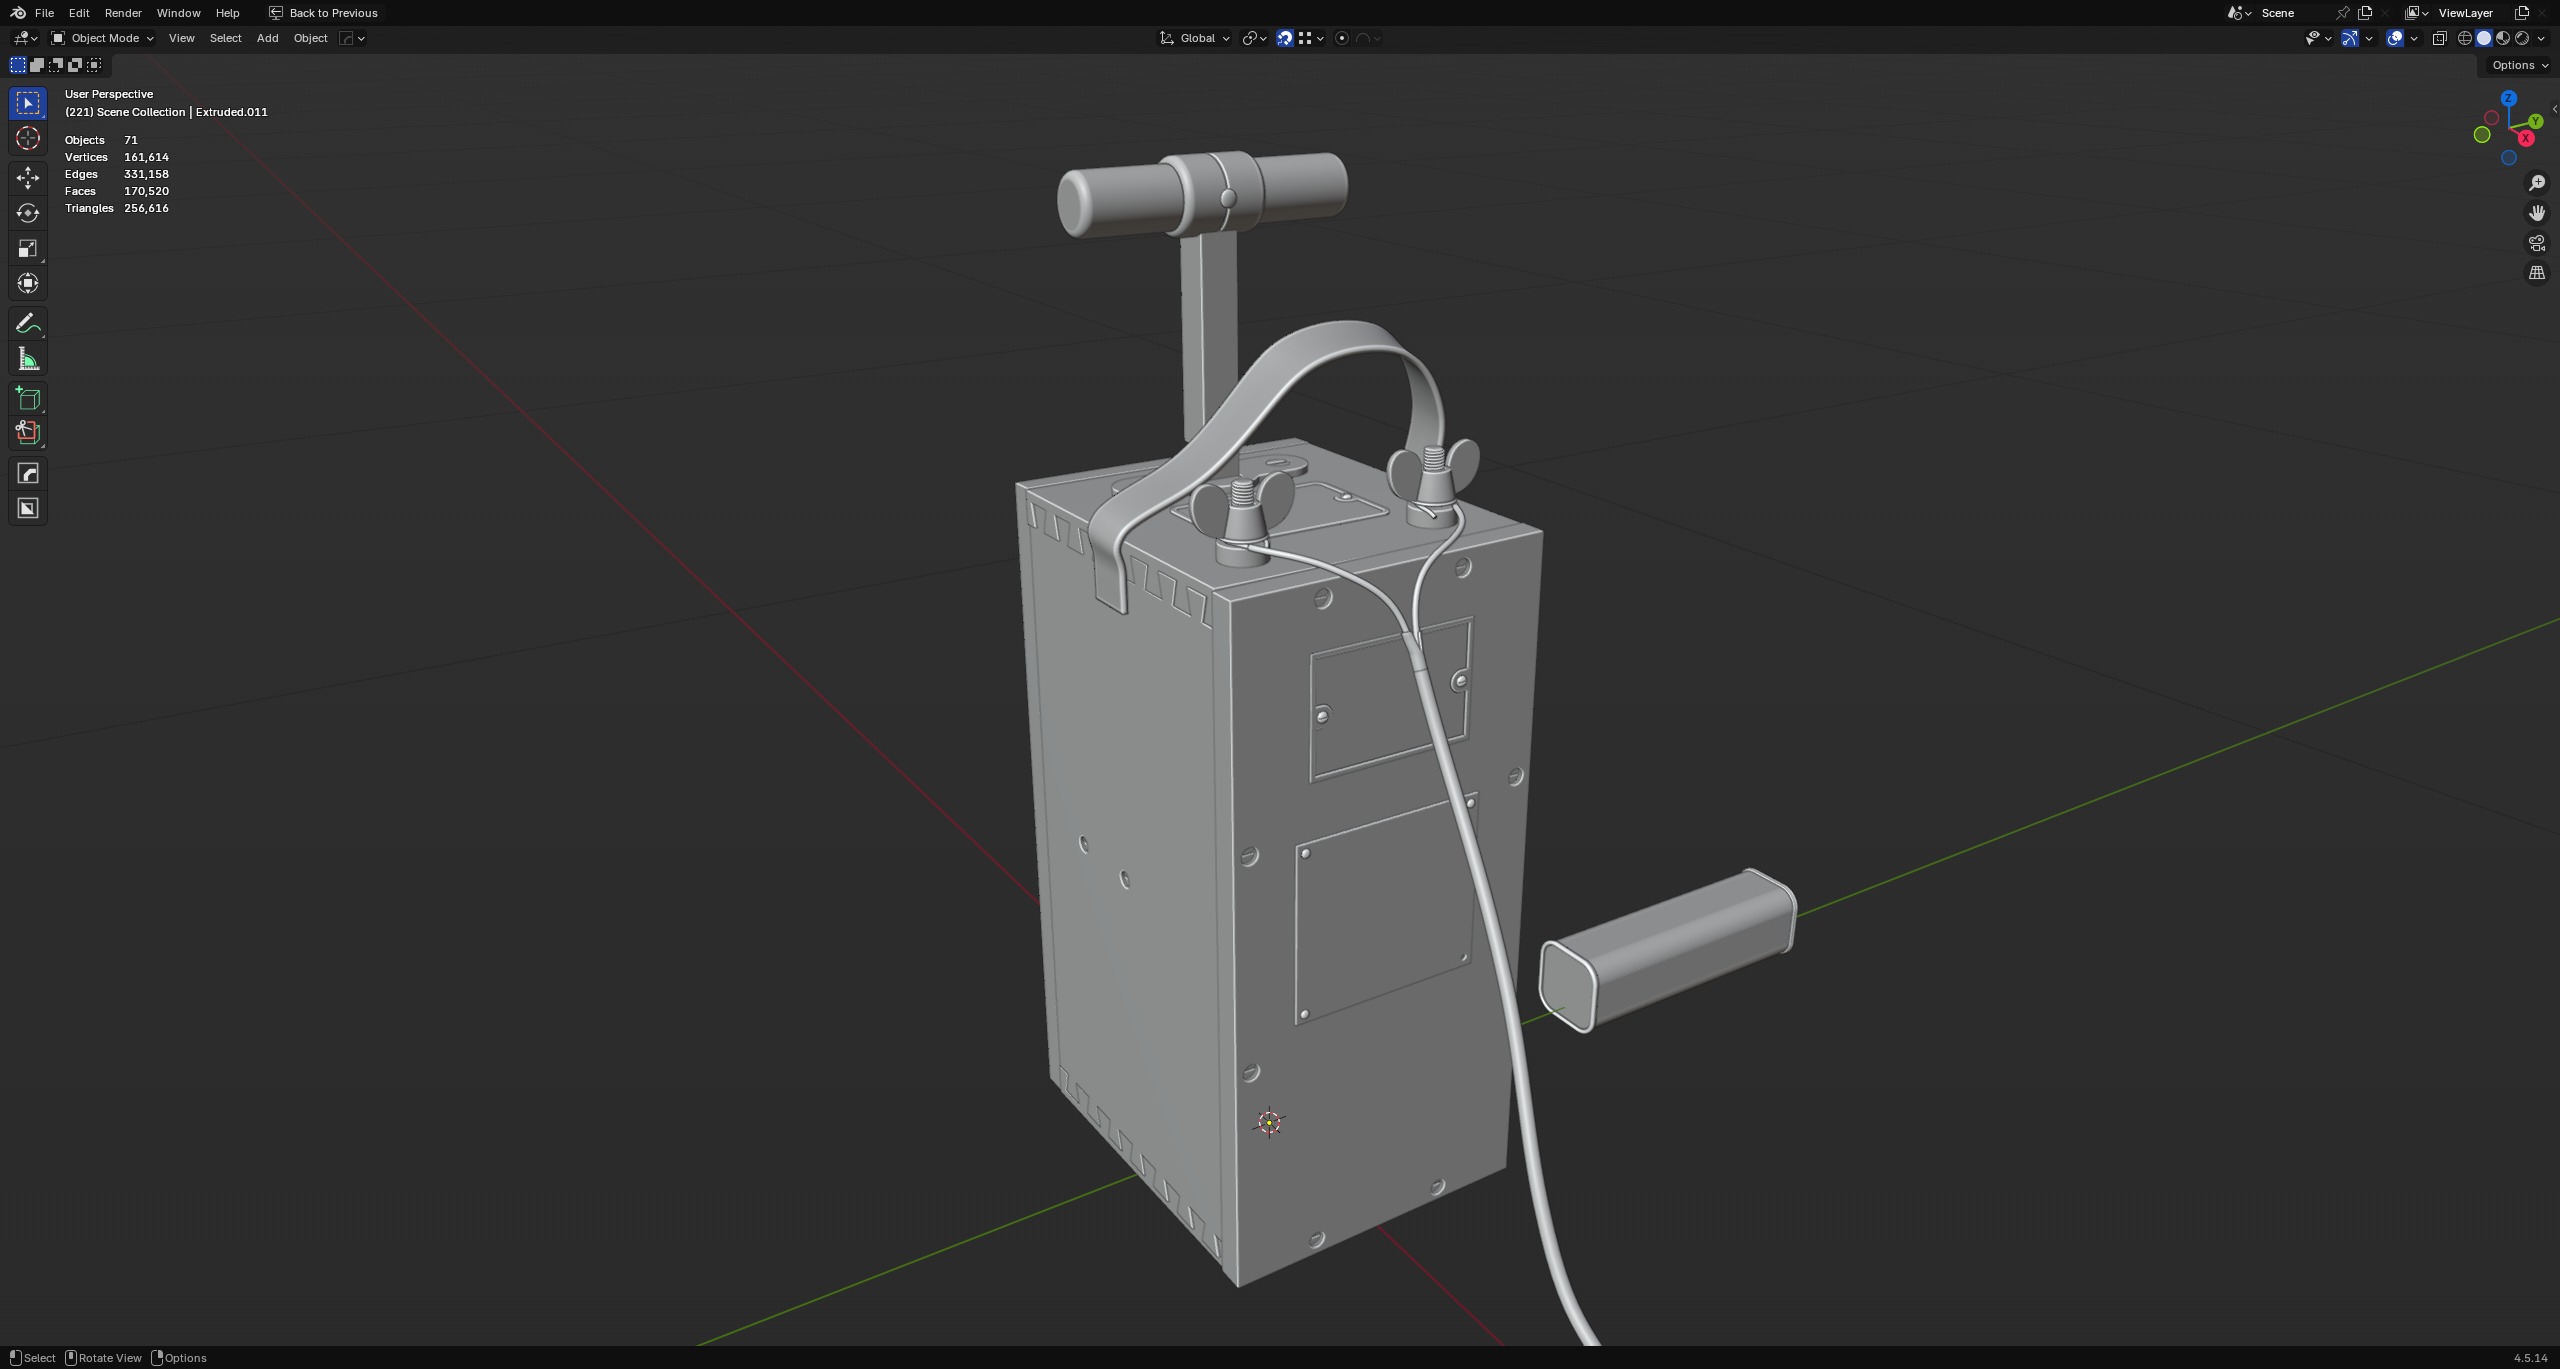
I created the cable and leather belt in Blender using curves to make it easier to fit them to other parts later on.
High Poly
The next and very important stage was high-poly modeling. I exported a blockout model from Plasticity with a high mesh density, since this software allows you to select the preferred polycount for export, which is very convenient for creating high-poly and low-poly meshes.
At this stage, I focused on recreating large and medium-sized details; I leave the fine details for the texturing stage, since it will be much easier to add them there, and they can always be adjusted later if needed.
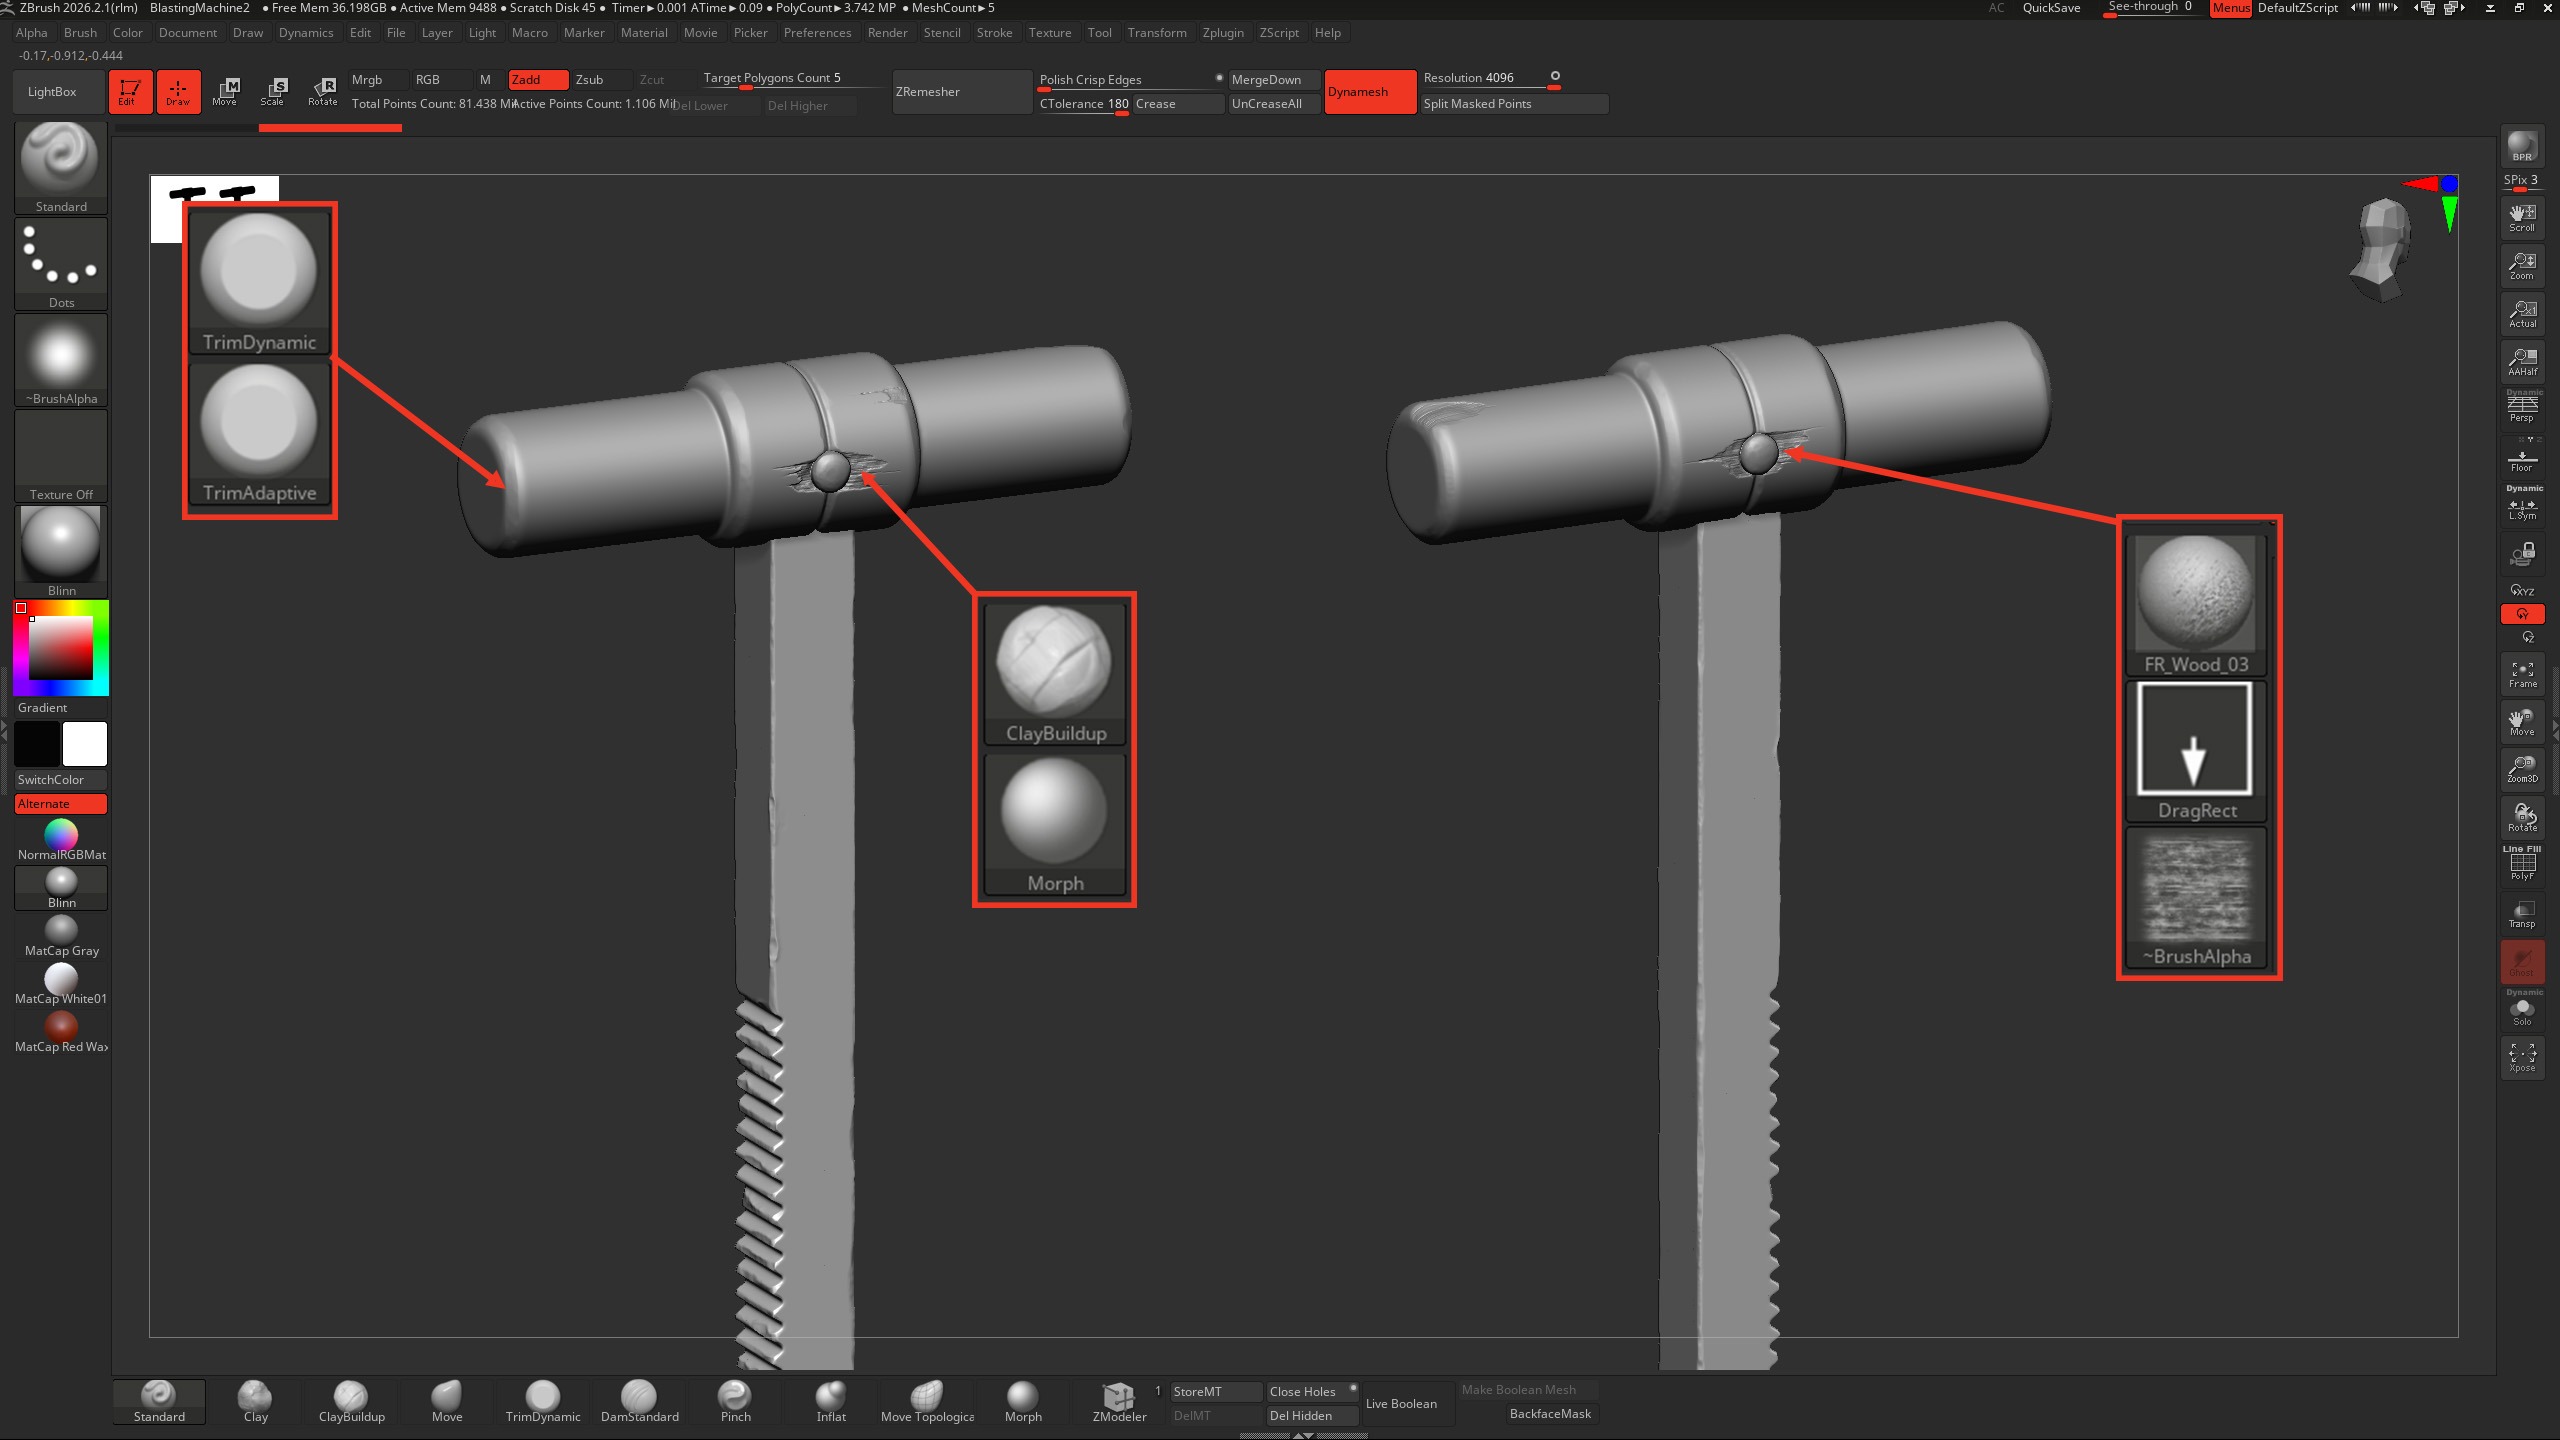
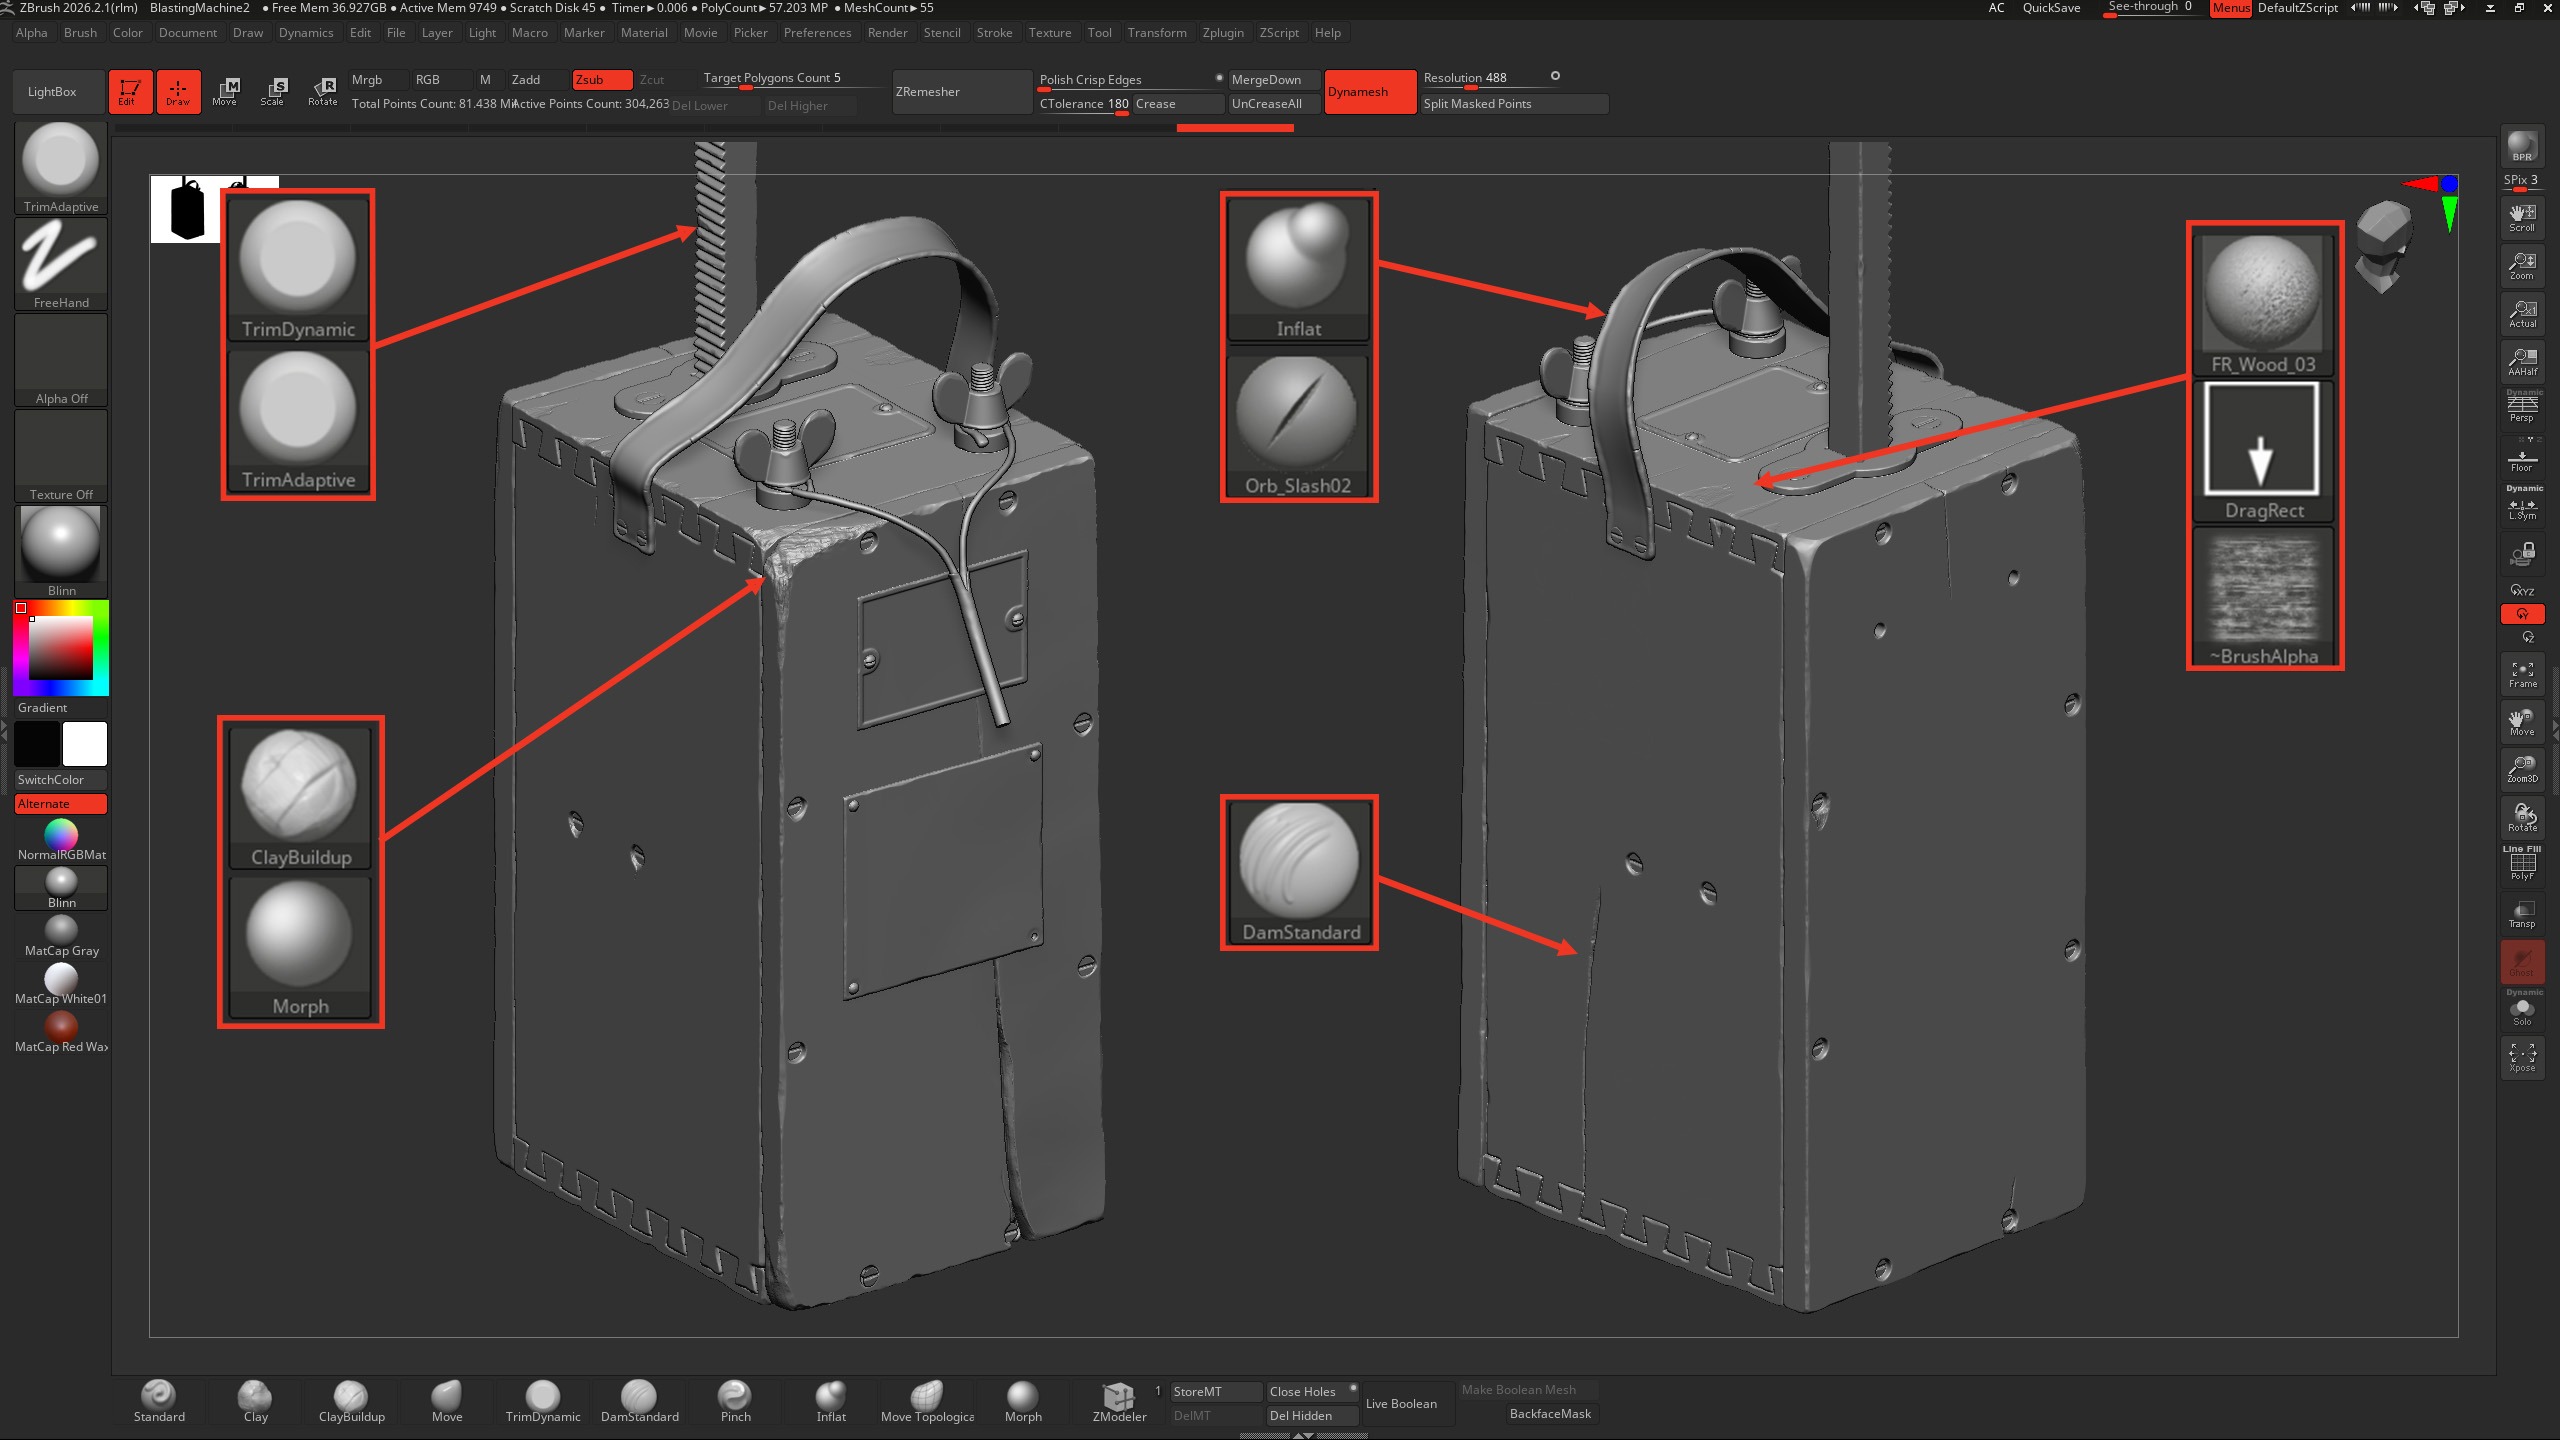
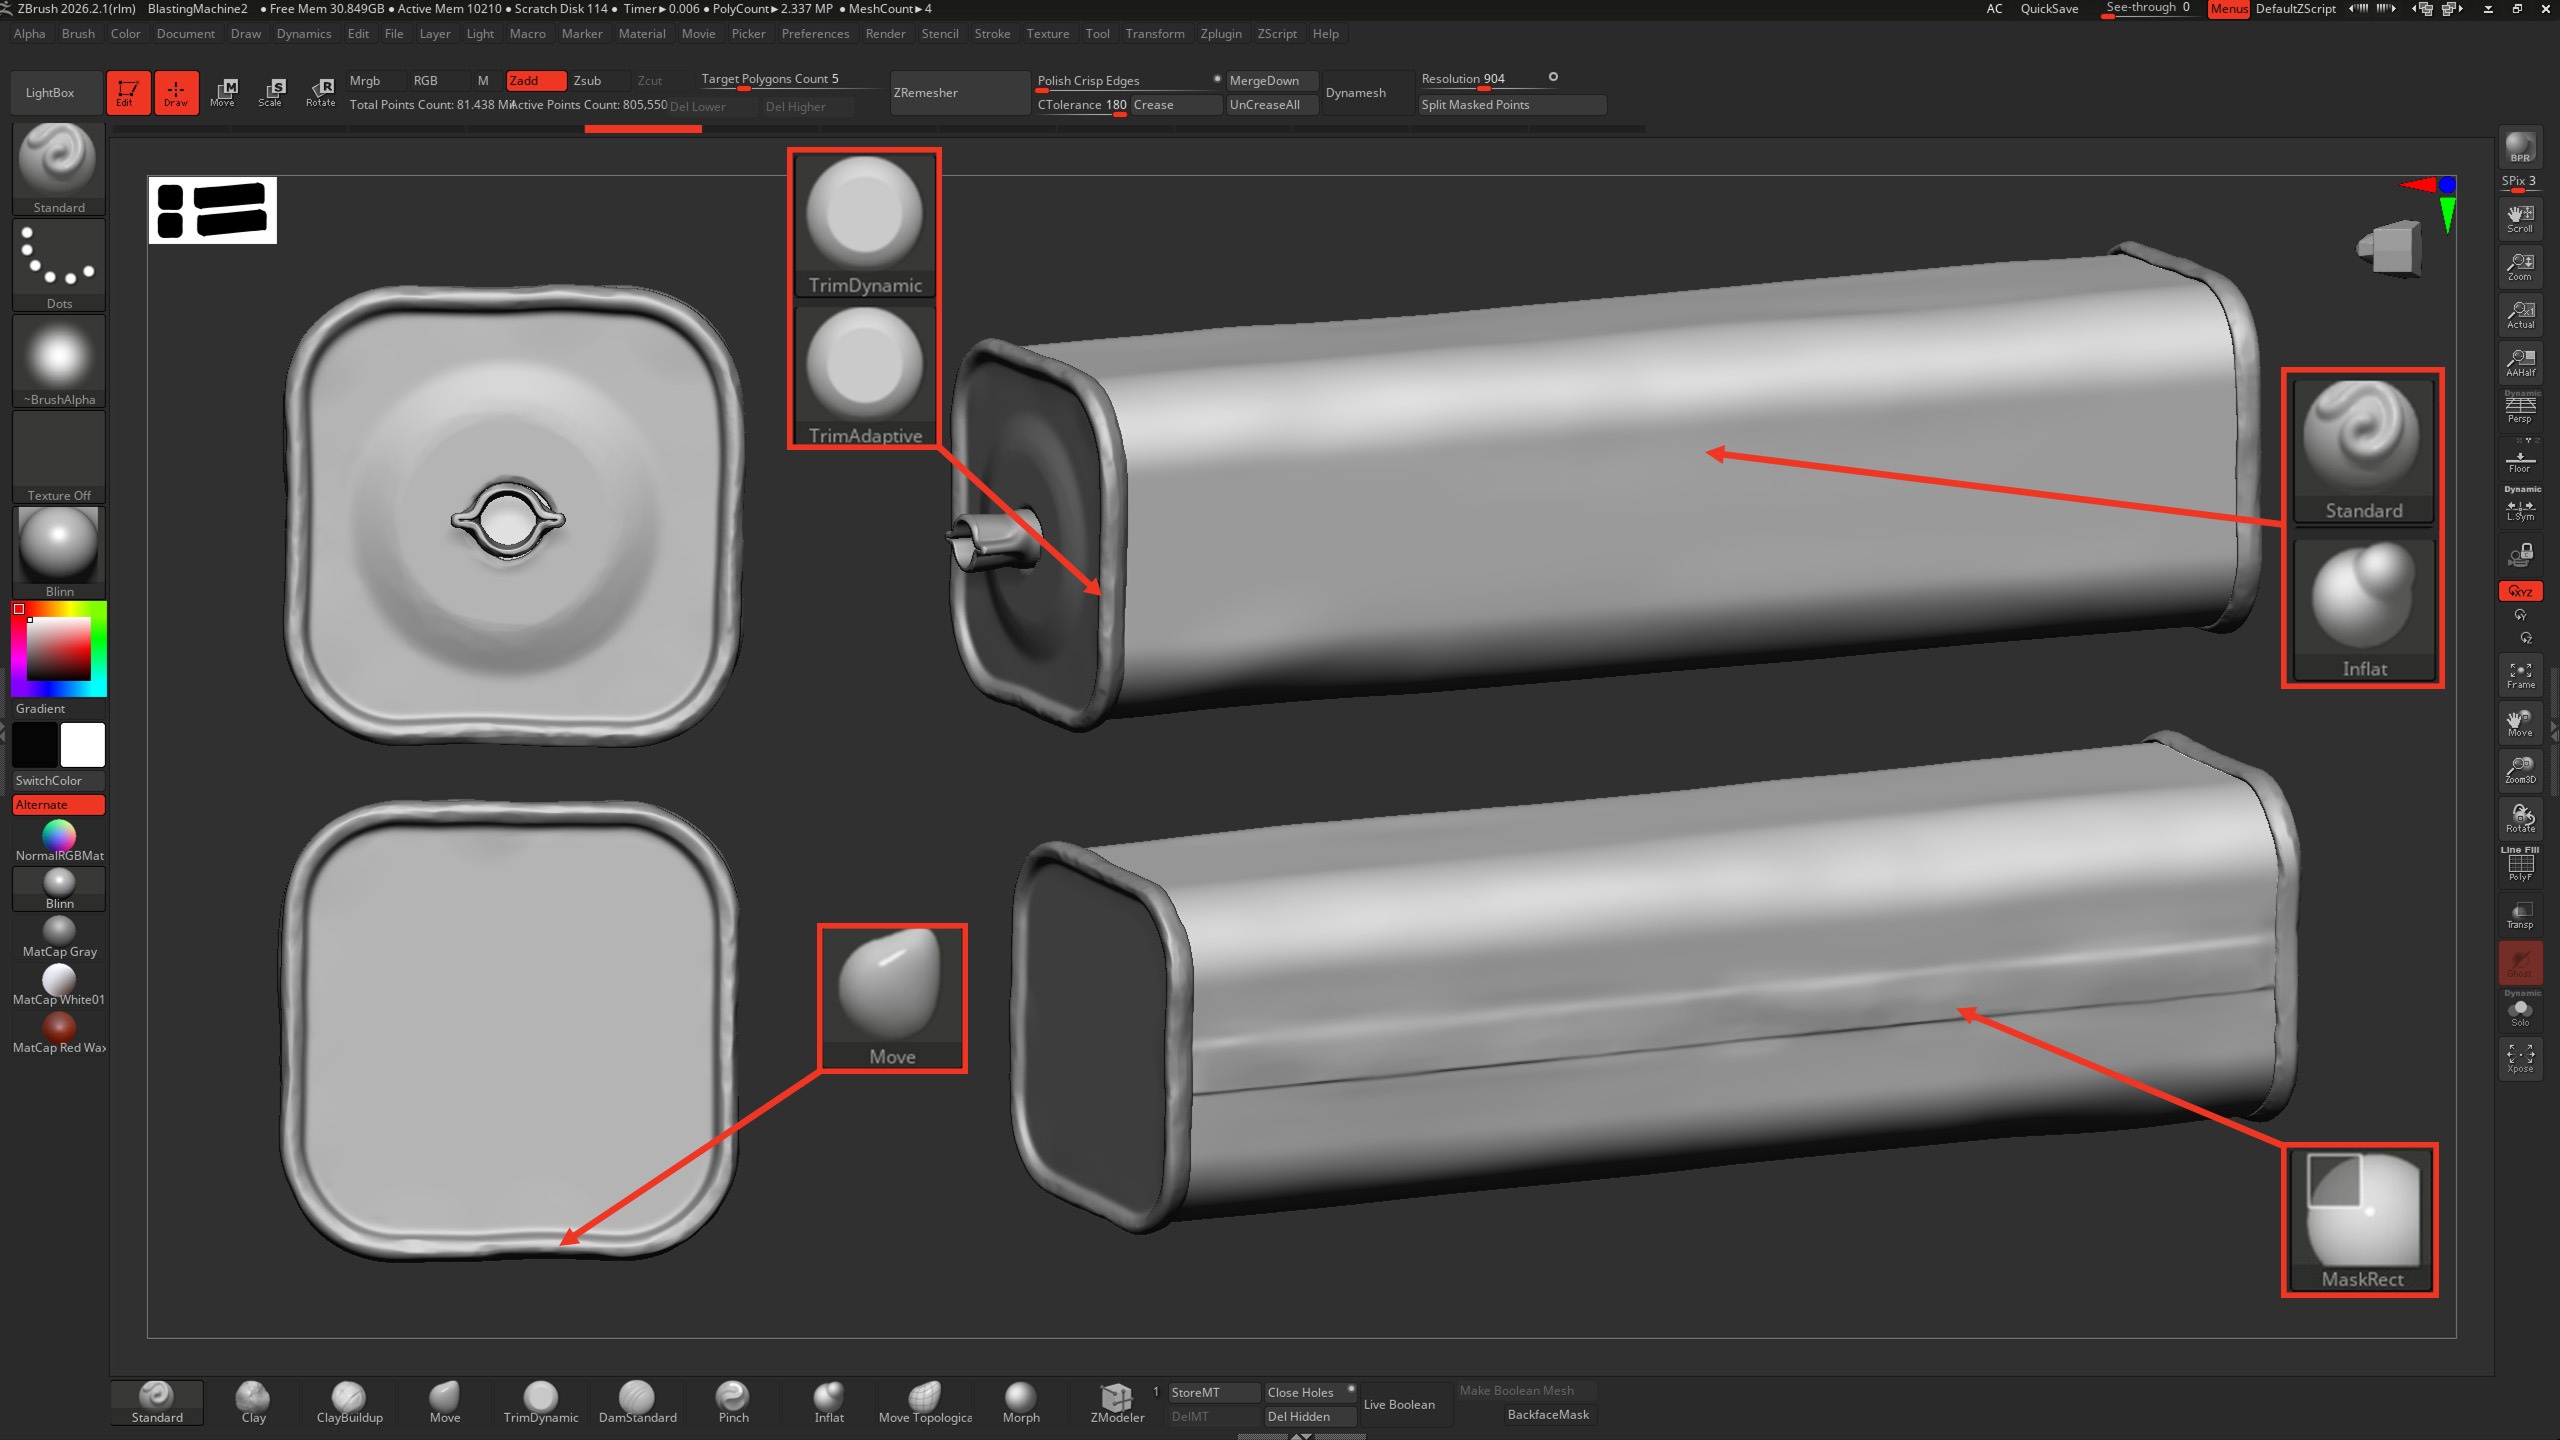
To roughen the edges on metal and wood, I used the TrimDynamic and TrimAdaptive brushes.
When working on cracks and large chips on the boards, I used the method explained in this article by Dmytro “MykhailykArt” Mykhailyk.
I added fine cracks using the DamStandard and Morph brushes.
To create a leather belt, I first raised its edges with the Inflate brush, then used the Orb_Slash and Morph brushes to add notches, and added additional details with the TrimDynamic brush.
I made the seam on the explosive charge using a mask and the Inflate function, then smoothed it on one side with the Smooth brush.
Low Poly
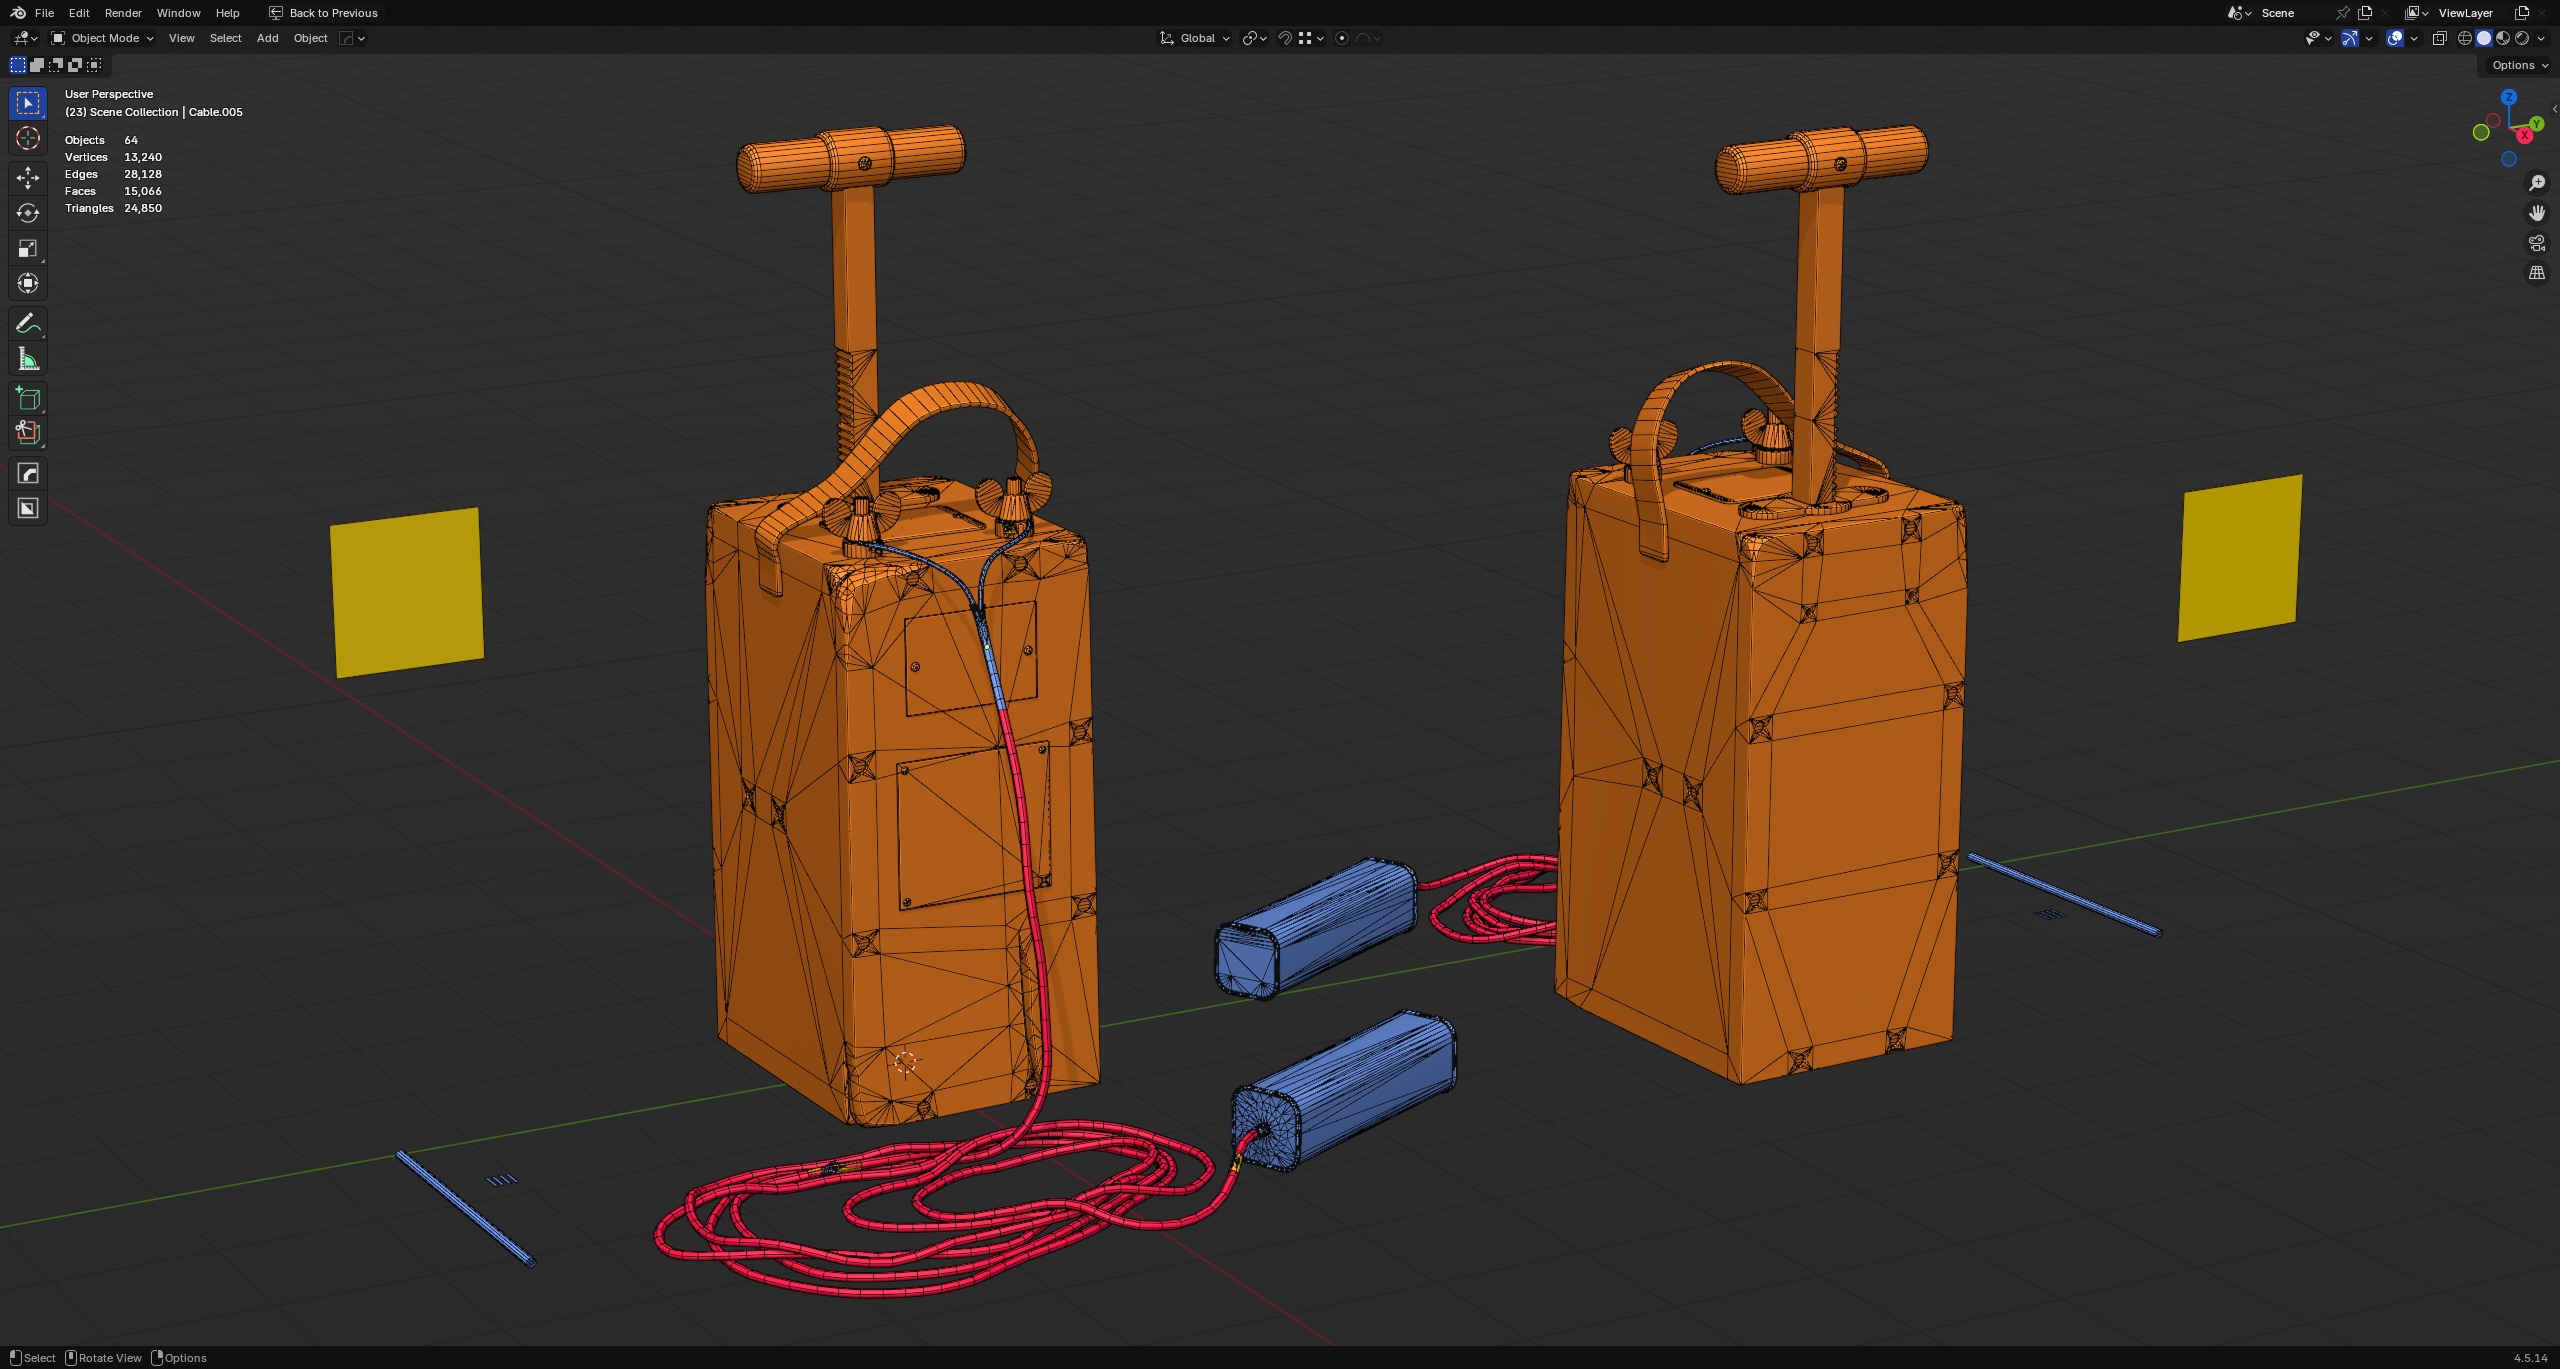
Using a useful add-on for Blender, I imported a raw low-poly model from Plasticity. I retopologized the wooden part of the model since it had been heavily modified during the high-poly stage.
I tried to keep the polycount as optimized as possible while still maintaining smooth shapes where necessary.
I encountered a problem with the wooden handle due to a cutout, which I resolved by transferring the normals from a copy of this model without the hole using the Data Transfer modifier.
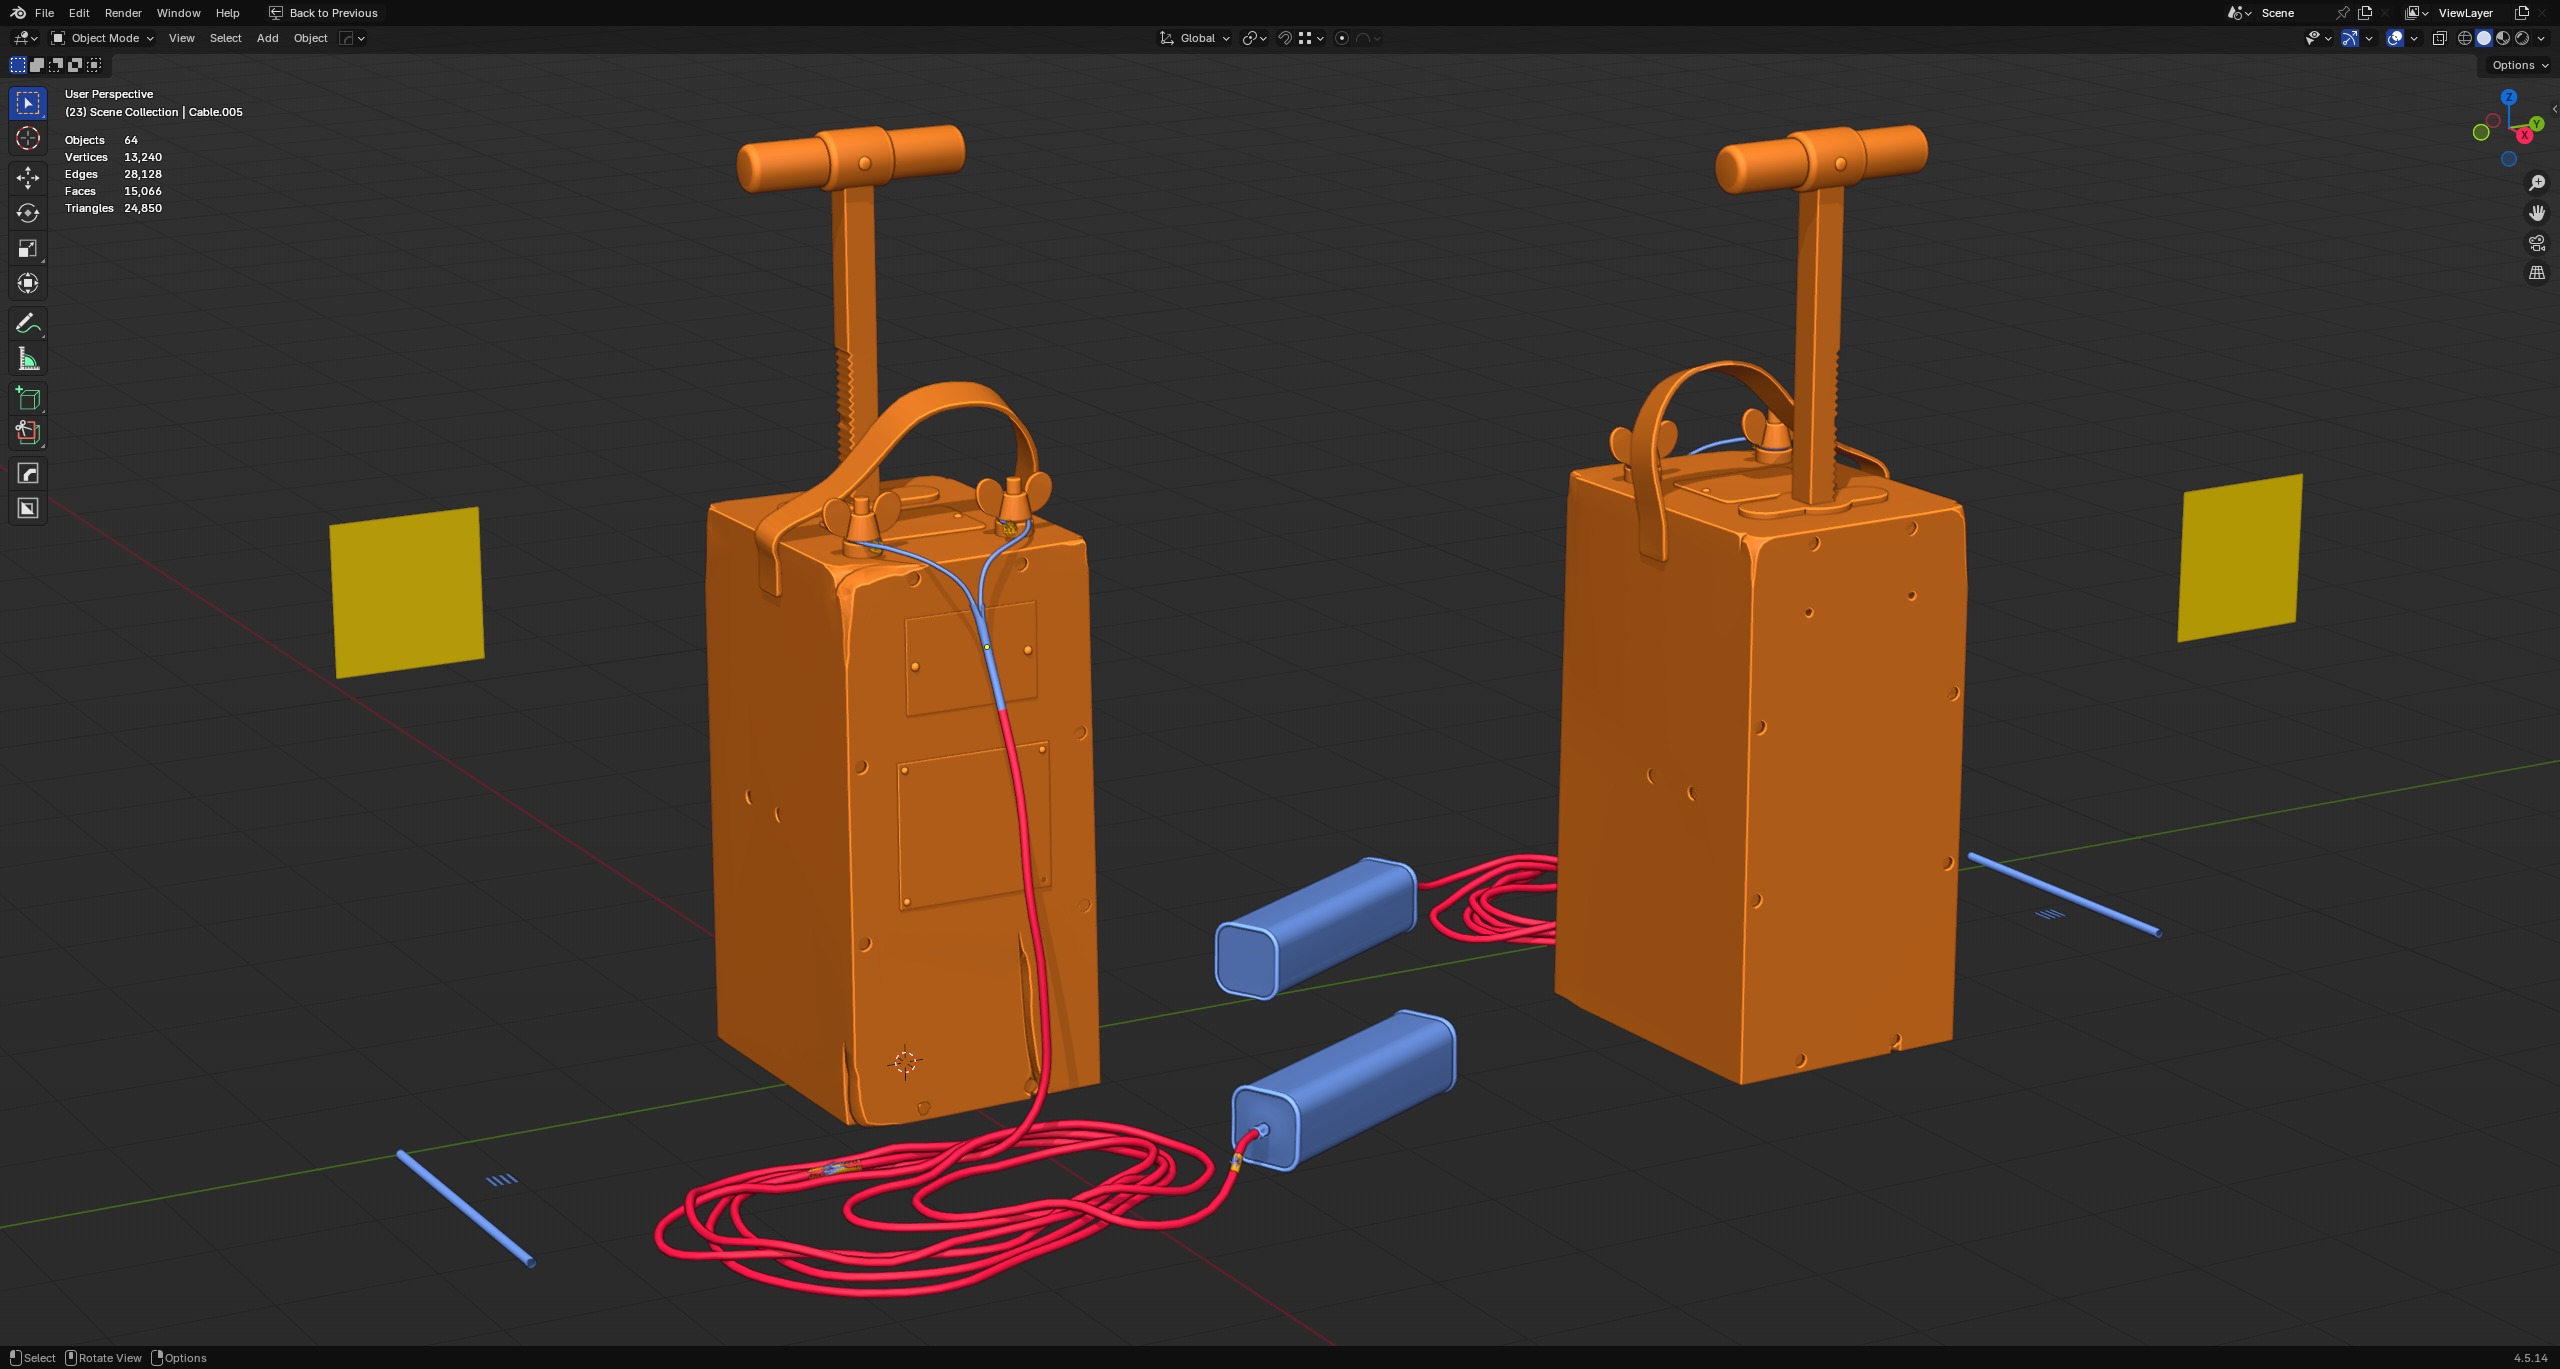
I also used alphas and decals. For these, I first created a simple plane, which I’ll later use to create textures for them.
For the rubber cable insulation, I used a trim to save space on the textures. To do this, I created a small cylindrical segment that I’ll texture later.
UV
For the UVs of this model, I used RizomUV, but first I marked all the hard edges in Blender as seams to make my further work in Rizom easier. I smoothed out every uneven or non-cylindrical edge.
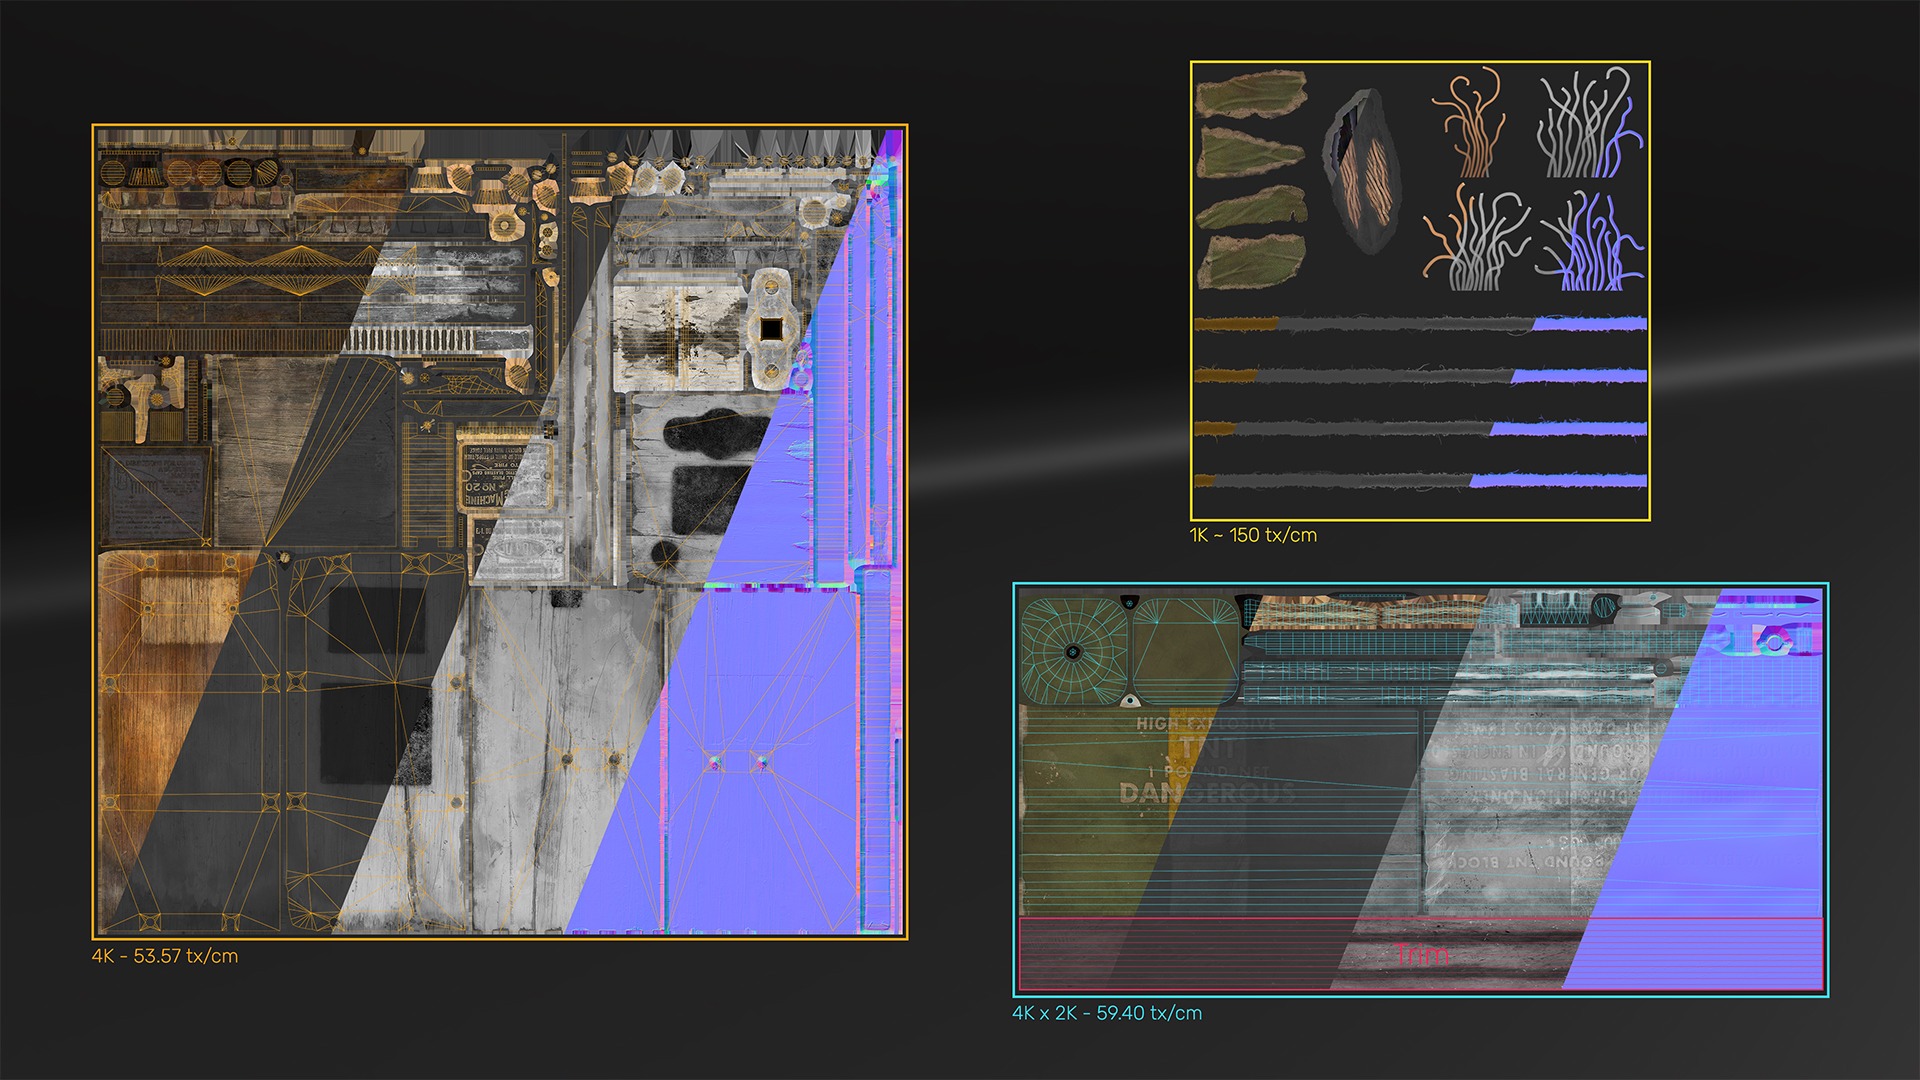
I packed the blasting machine into a single 4K texture set. To get better packing, I used the UVPackmaster 4 add-on, since it allowed me to pack the UVs more densely. The result was a texel density of 53.57 tx/cm.
For the explosive charge, I chose to pack it into a rectangular UV due to its small size compared to the main object and to maximize the surface area of the cable’s trim section.
With a texture size of 4K x 2K, I achieved a texel density of 59.40 tx/cm.
For decals and alphas, I chose a 1K texture, which allowed me to get a larger texel size for better quality of fine details.
Baking
When baking textures, I use Marmoset Toolbag 5, which I find to be the most convenient tool for these kinds of tasks.
Before starting the baking process, I prepared the model in Blender by splitting the necessary objects into parts and triangulating them. This is an important step to ensure proper triangulation when importing the model and baked maps into other software.
In Marmoset, I usually bake all the main textures. In addition to the main Ambient Occlusion map, I also bake a second one with the “Ignore Groups” parameter disabled, which helps when working with certain generators during the texturing phase.
Also, since the device’s wooden body consists of six different boards, baking the Object ID map was an important step. This map will help in creating masks for each individual board.
Texturing
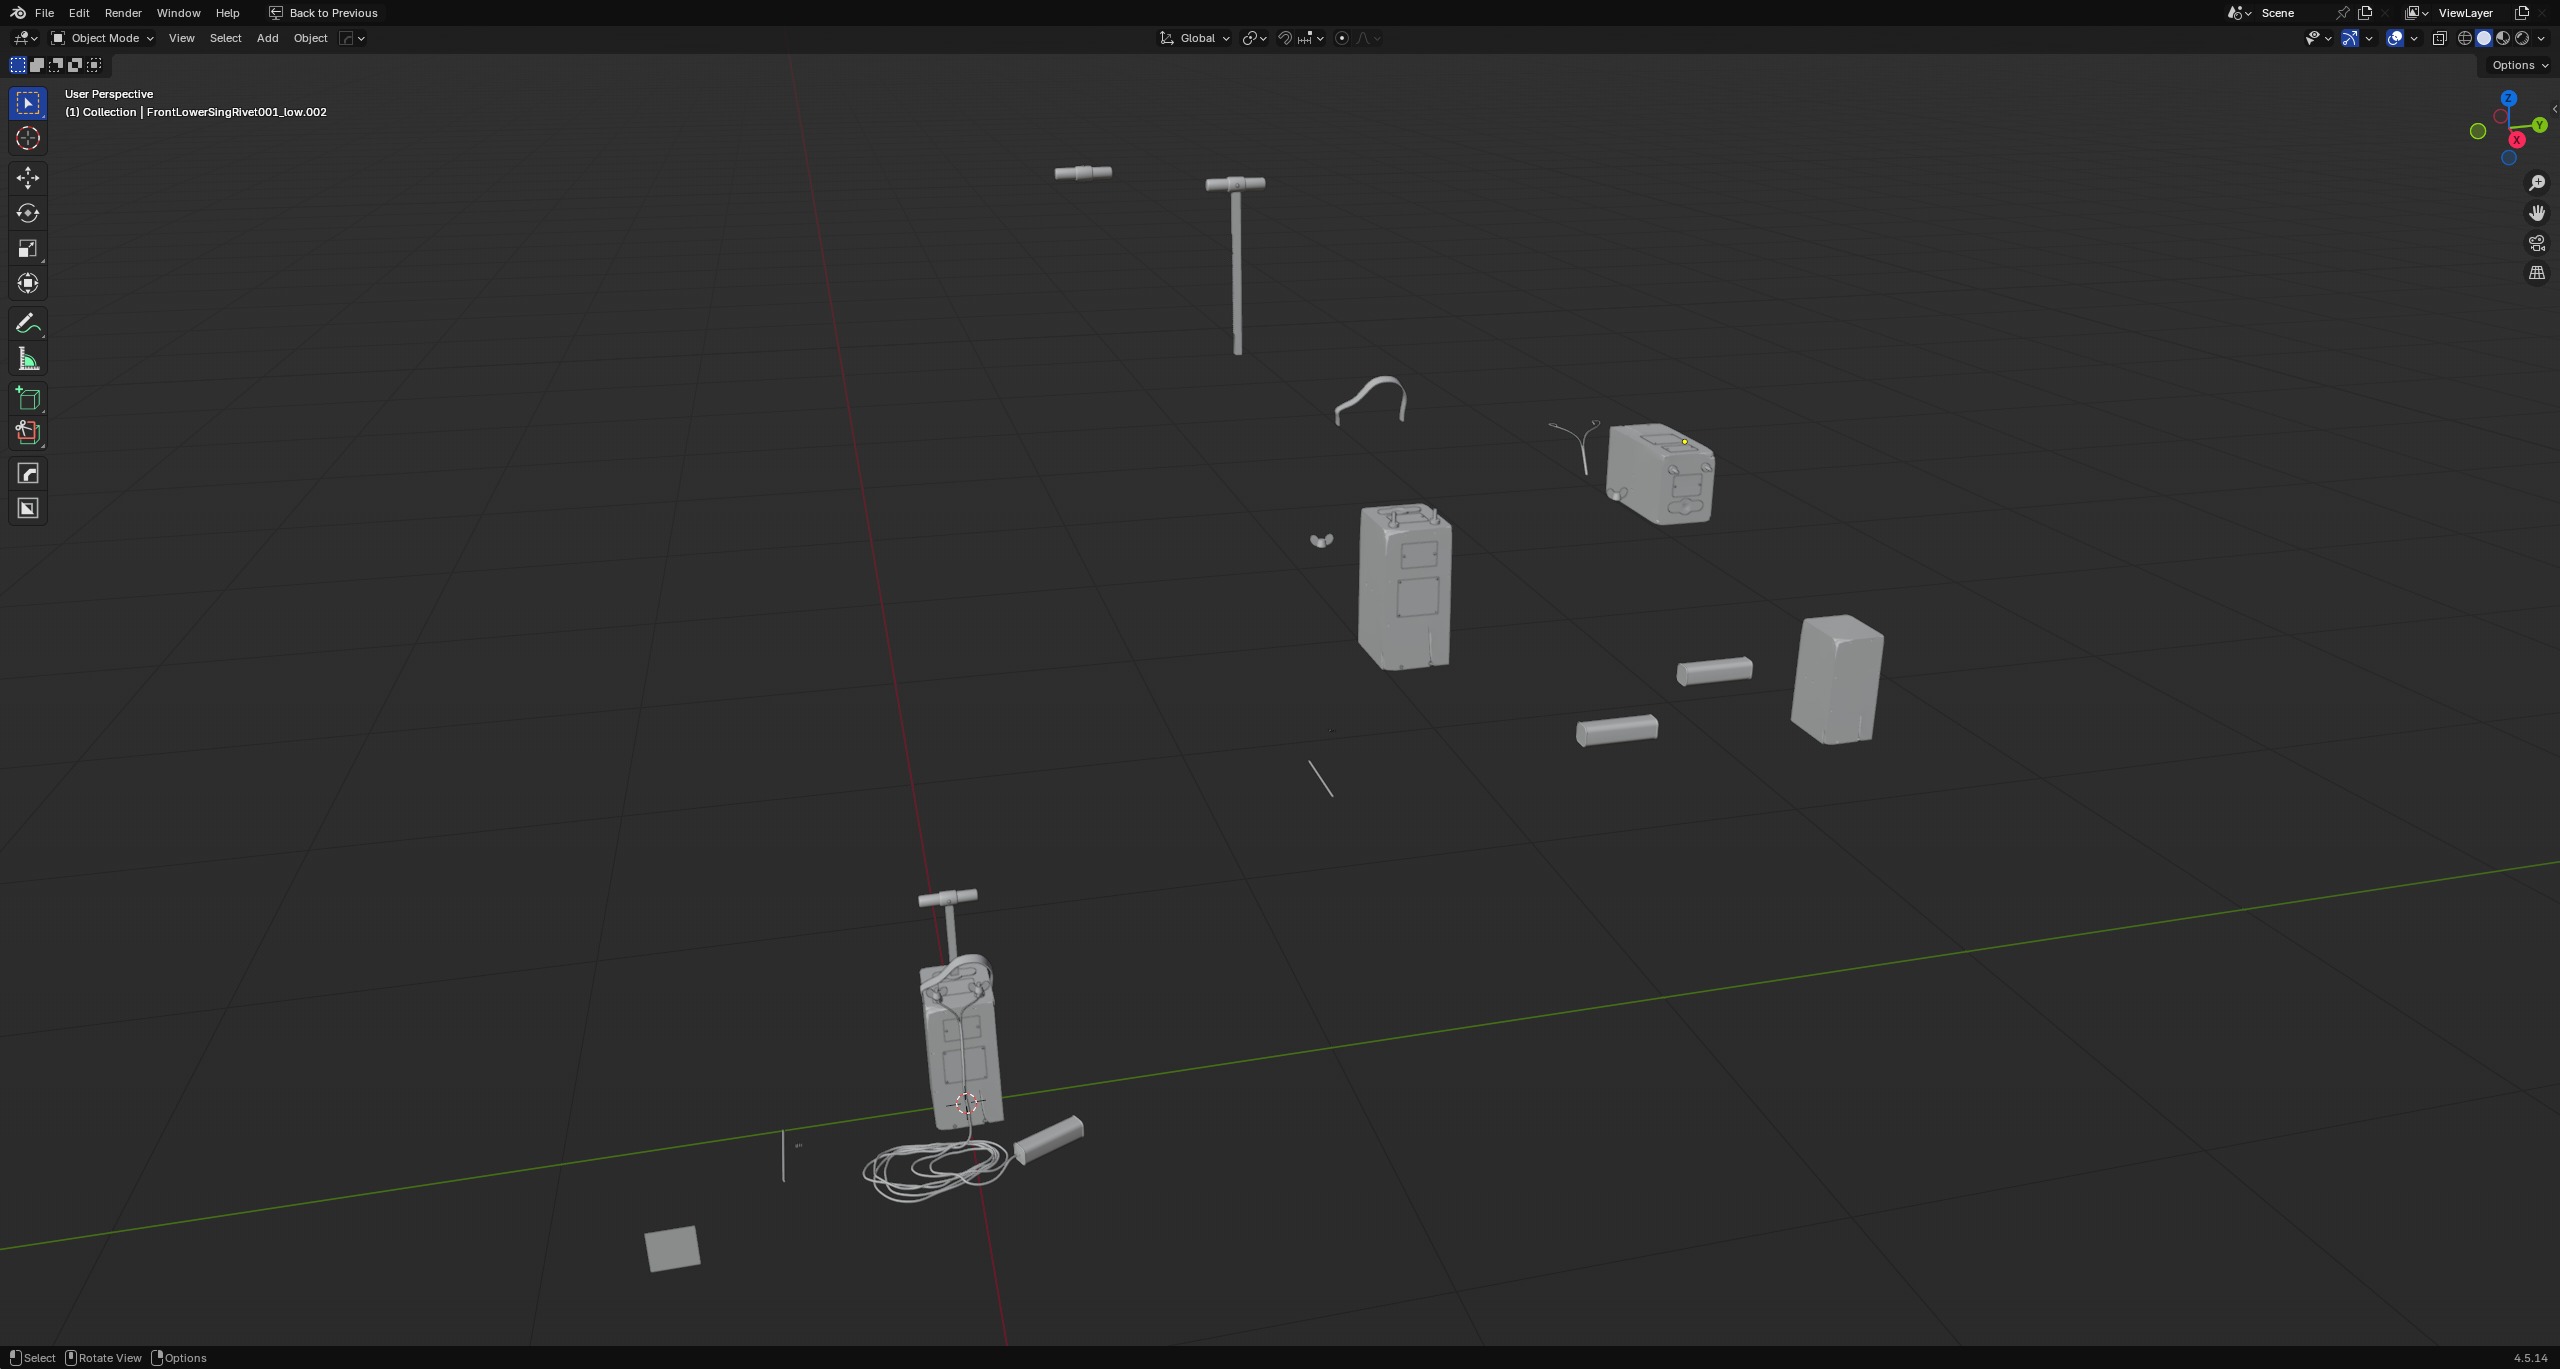
Texturing is the most responsible stage for me. To prepare for it, I first set up the model by placing the main model and its copies in various positions to make texturing easier, even in the hardest-to-reach areas, also known as the exploded model.
It’s important to position the model copies so that they don’t overlap with other objects in the front and side projections.
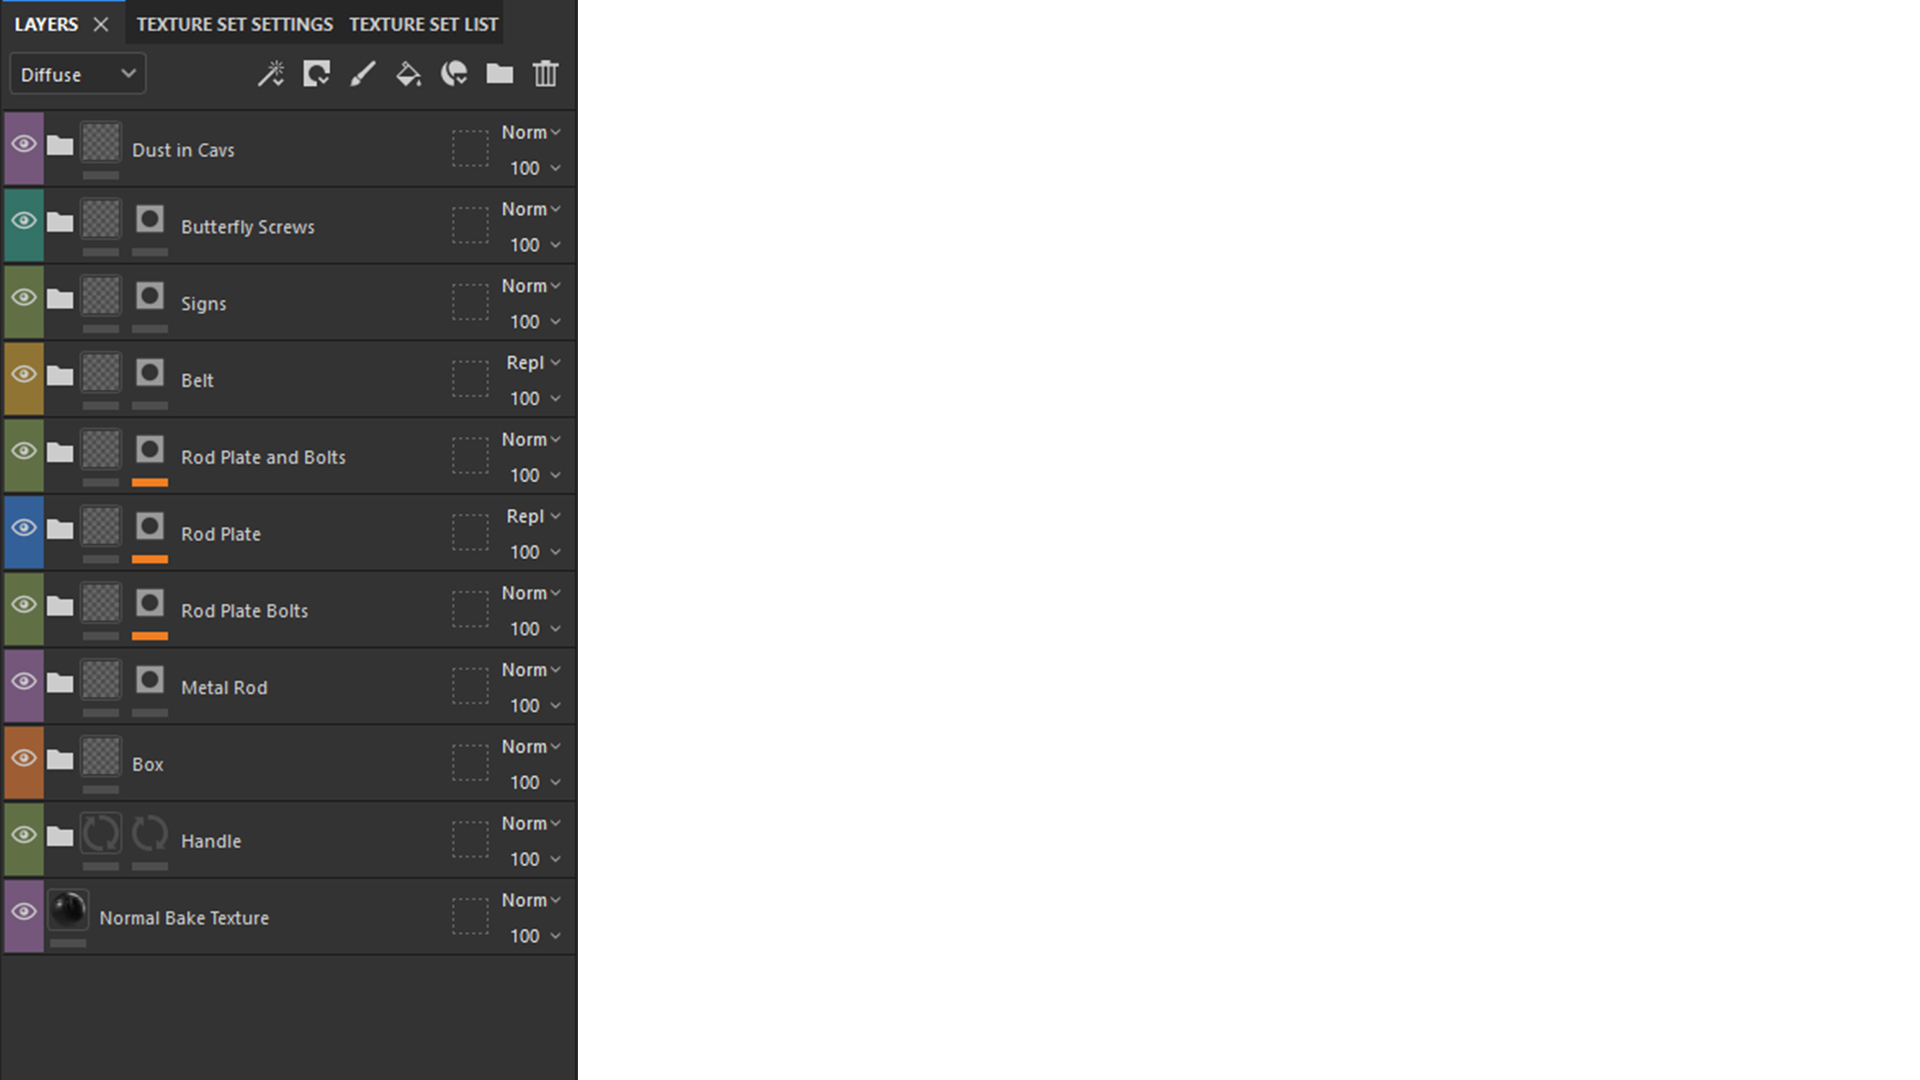
My mentor also gave me a helpful tip: to color-code folders and important layers so they’re easier to find and work with.
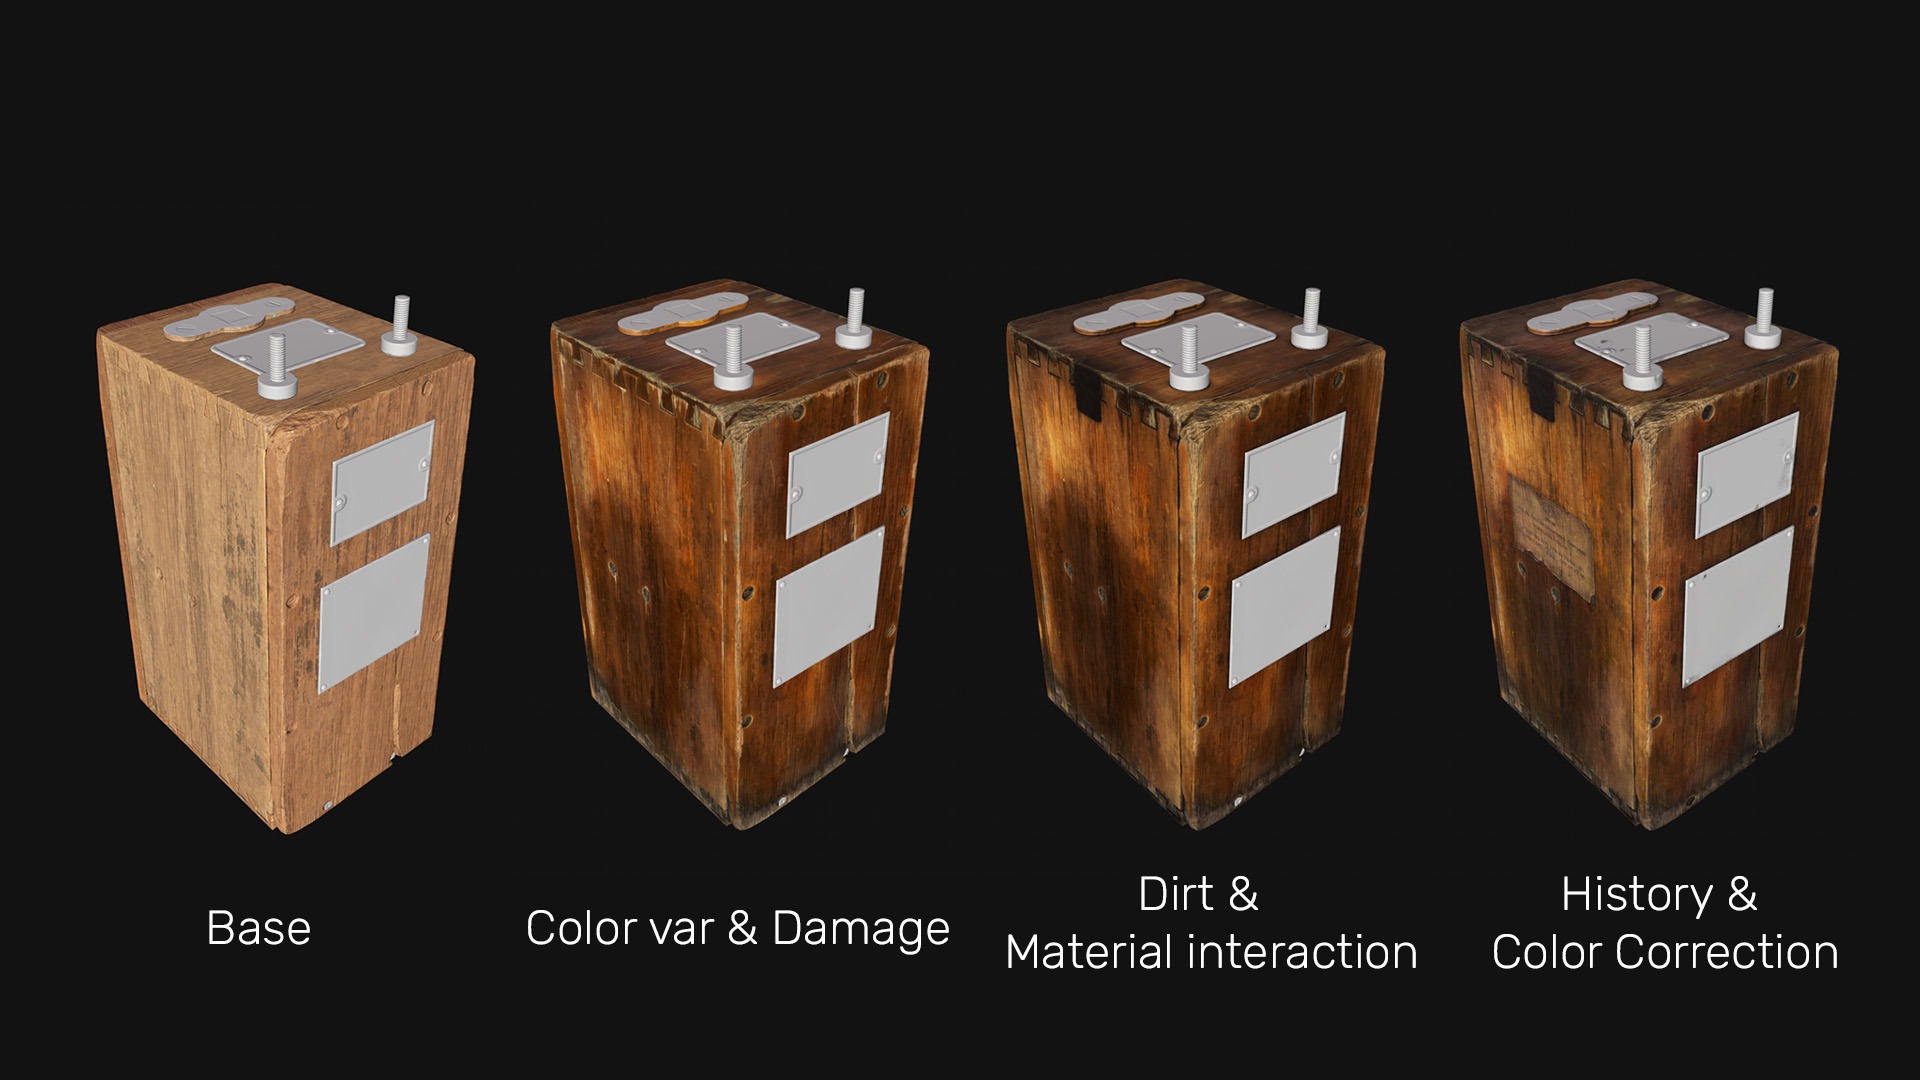
The wooden parts were textured using scans from the free FAB library as the base material, along with standard base materials from Substance Painter.
I adjusted the applied wood texture using additional layers with the Passthrough blending mode and corrected the colors using the HSL filter.
Importantly, I made each board a slightly different color to visually separate each part from the others. For further work, I added an Anchor Point to the material folder.
Next, I applied color variations and highlighted the edges using generators and alpha textures.
I also created an area on the bottom with distinct discoloration resulting from exposure to moisture. Next, I added dirt to the cavities and to areas frequently touched by hands or other objects.
I added history to the model in the form of a paper sticker, minor damage, dust and other details. As a final step, I color-corrected the model to ensure it looked better alongside other parts.
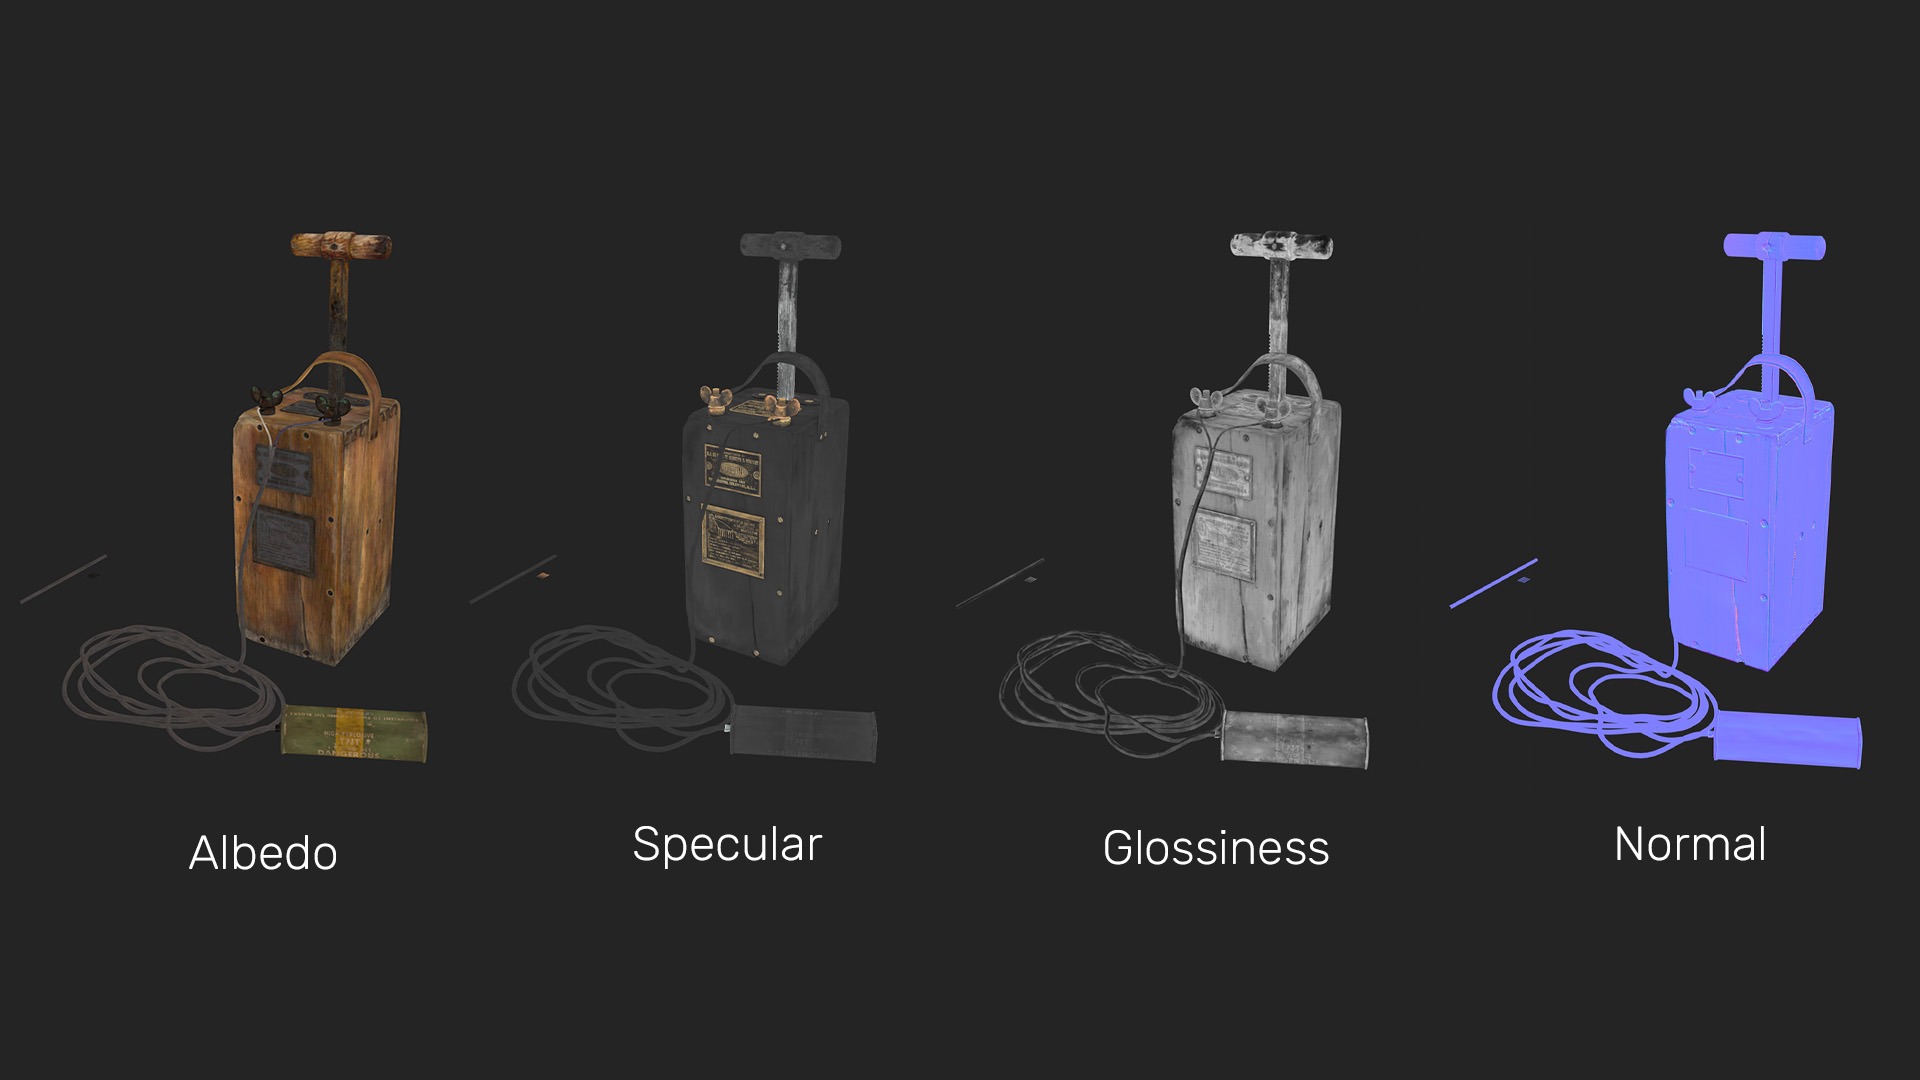
Although this technique is rarely used when creating game assets, I have applied and adjusted the Specular channel on all materials, not just on metal as is usually the case. This helps better highlight each material and visually distinguish them from one another.
When texturing the entire project, I used the reference chart from this article by Iri Shinsoj, which helped me correctly select colors and their variations to accurately recreate real-life materials.
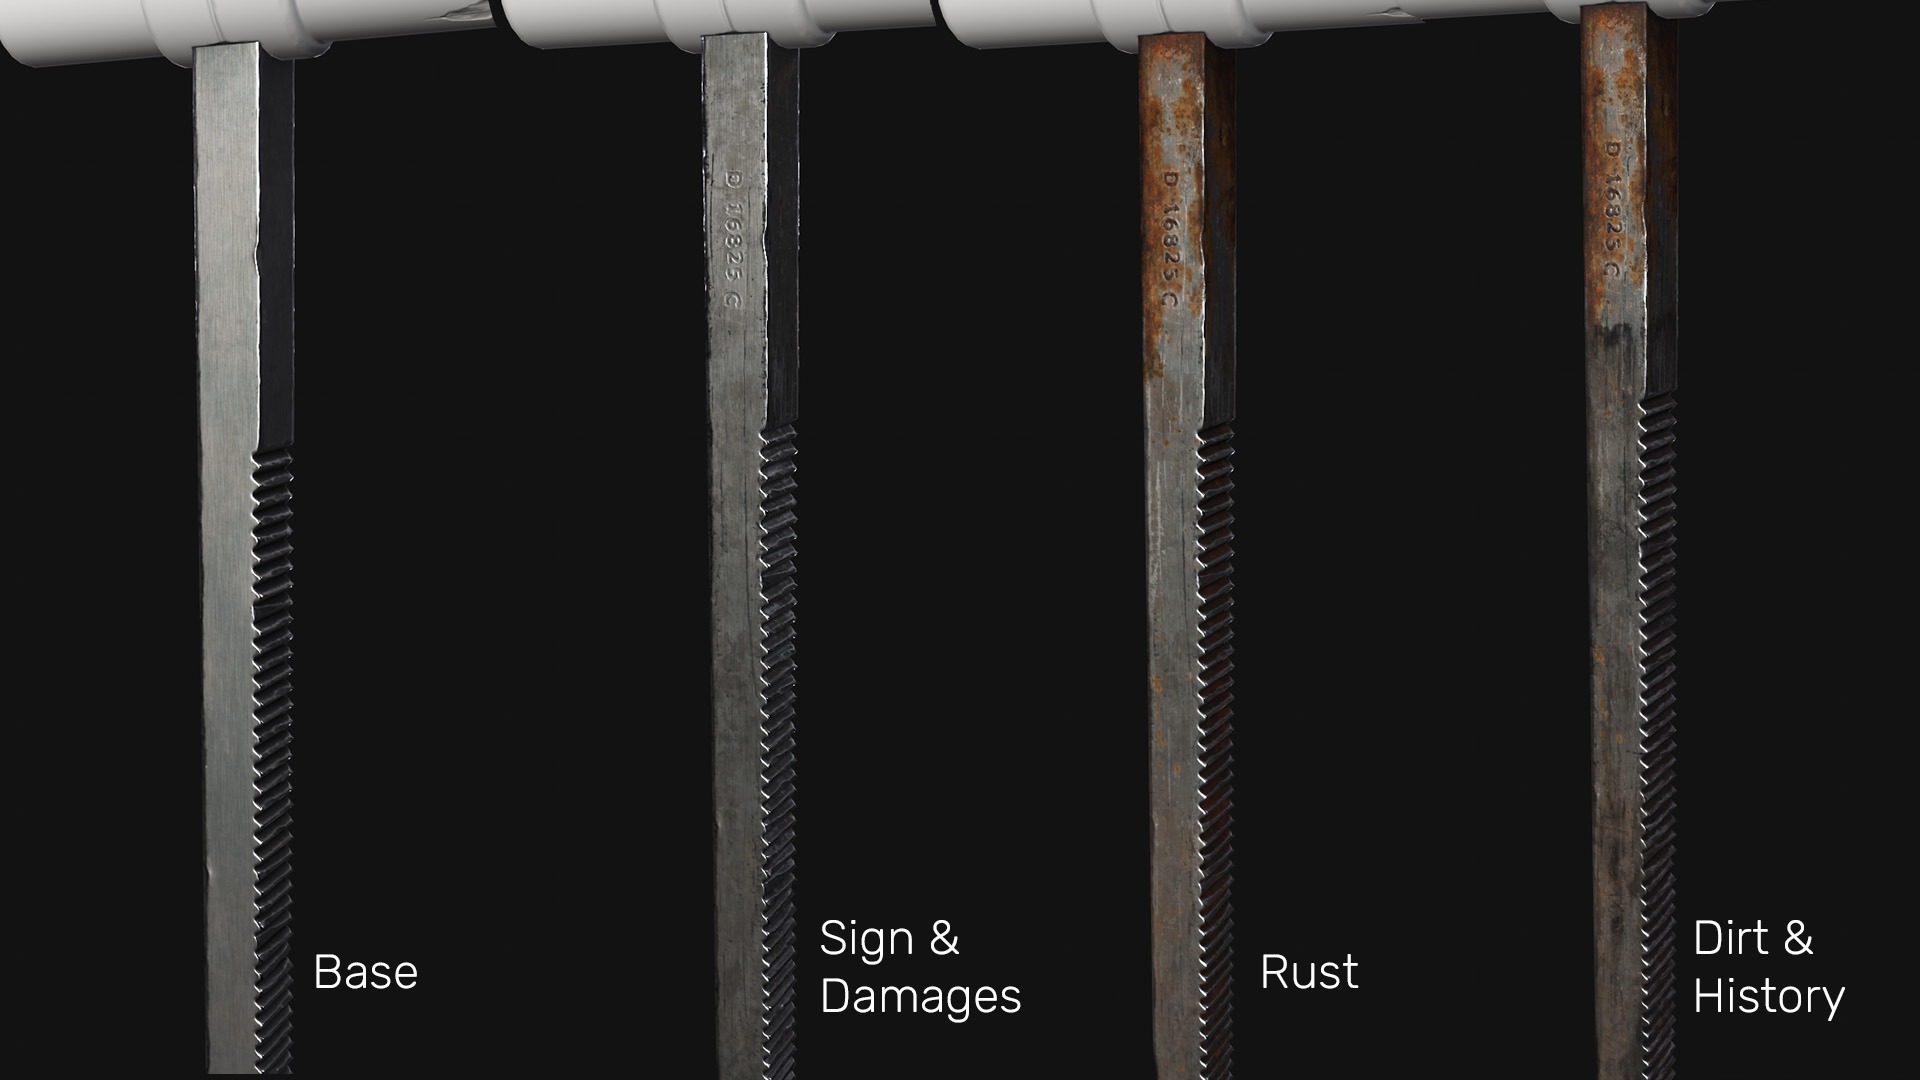
I took the following approach to texturing the metal. First, I created a base texture and added several layers of noise and color variations.
Next, I added a patina and highlights along the edges, and began working on the initial imperfections.
I added text on top and applied an Anchor Point to it. I added rust in areas that are constantly worn down or exposed to the outside environment.
The final step was to add traces of thick grease that covers the teeth, as well as some dirt.
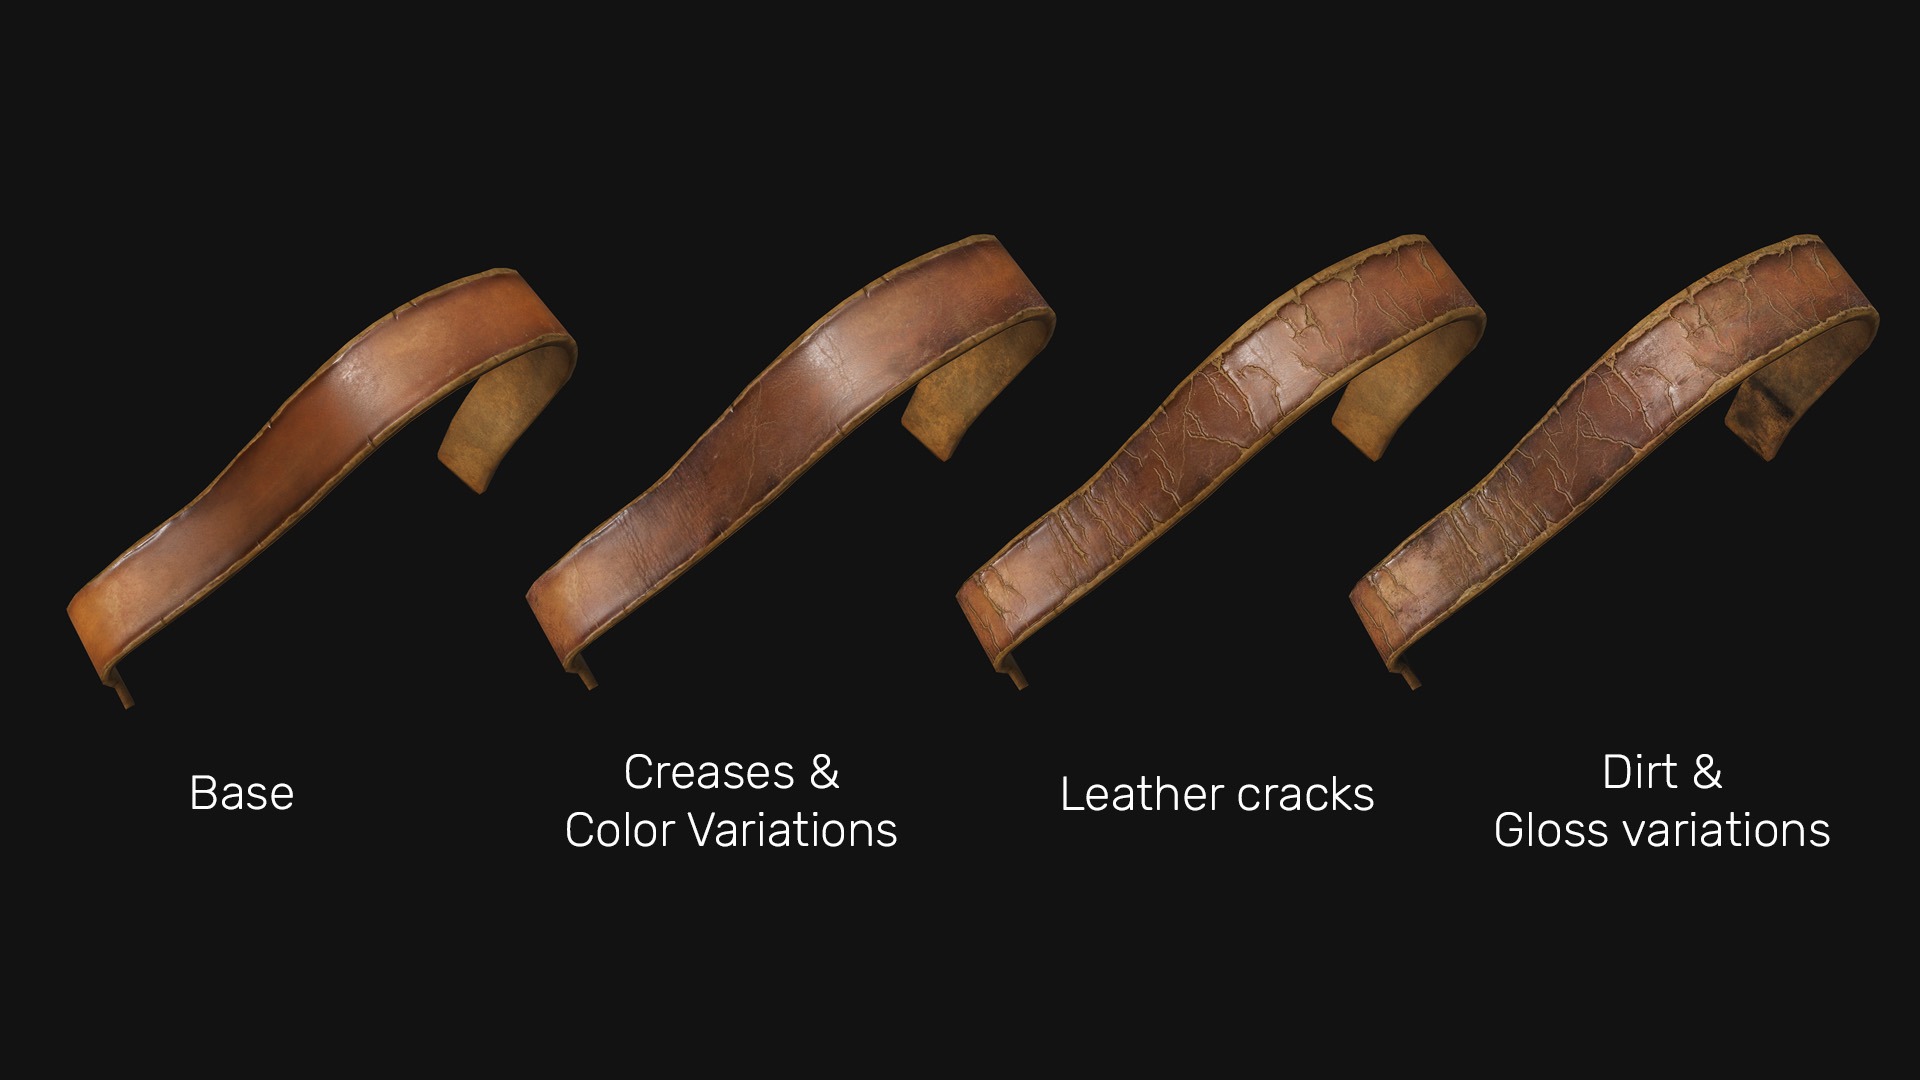
The leather texture for the handle was created using a scan from FAB as a base. I added several color variations to it.
Such details as creases and folds were added by transferring them from photos using the Project tool and adjusting the colors with HSL and Levels filters. Next, I added cracks and used Anchor Points to apply Height and Peeling Paint effects to them.
In the final step, I refined the gloss, added dirt and adjusted the colors with filters.
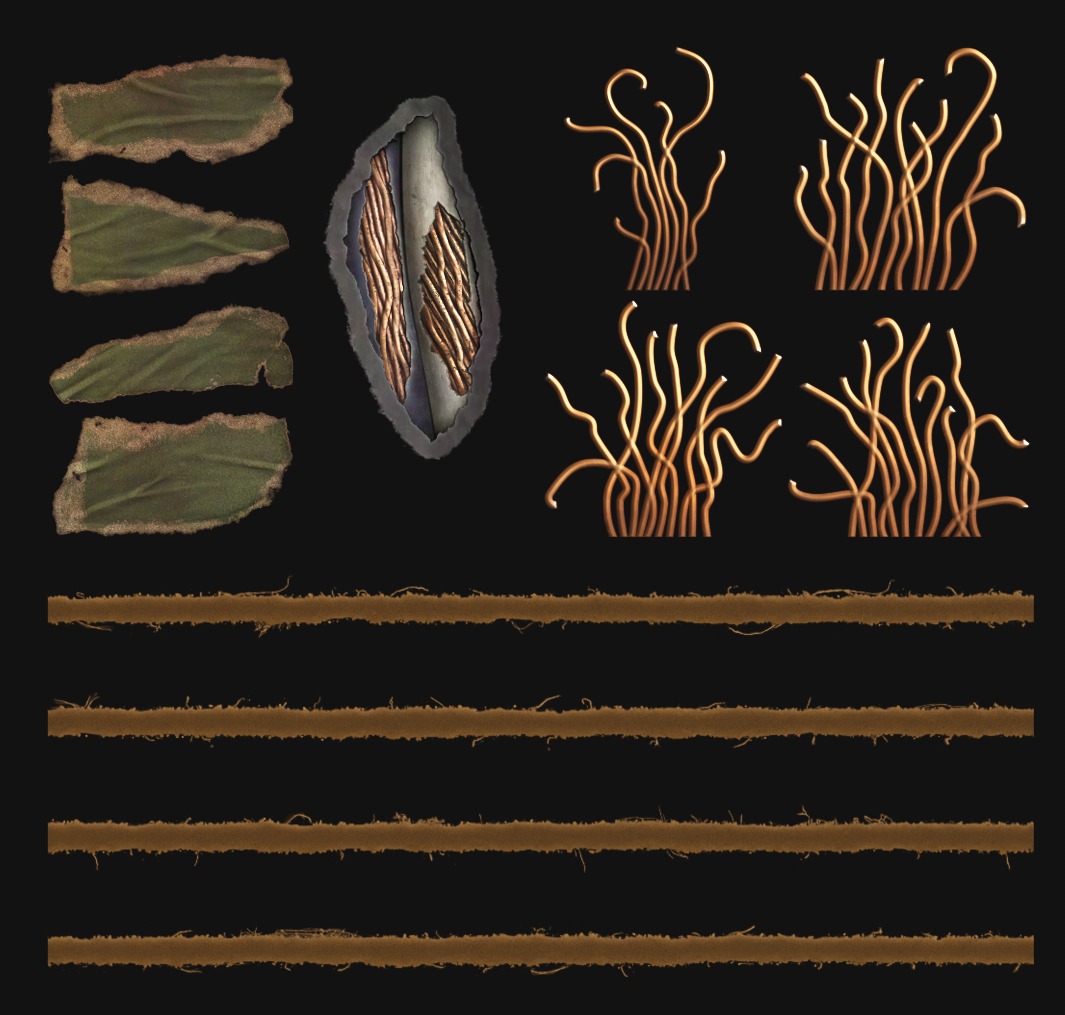
In order to create the alphas, I first divided the plane into separate parts for each of the required elements. I created the green pieces of paper using alphas of torn paper.
To create the cables and wire ends, I used the Path tool, which allowed me to change and edit the curves I had already placed at any time, making the work much easier.
I created the frayed edges of the strap by placing four lines and applying the Warp filter to them, and then I drew the fibers and threads on the edges.
In Blender, I placed all the alphas in the locations I needed.
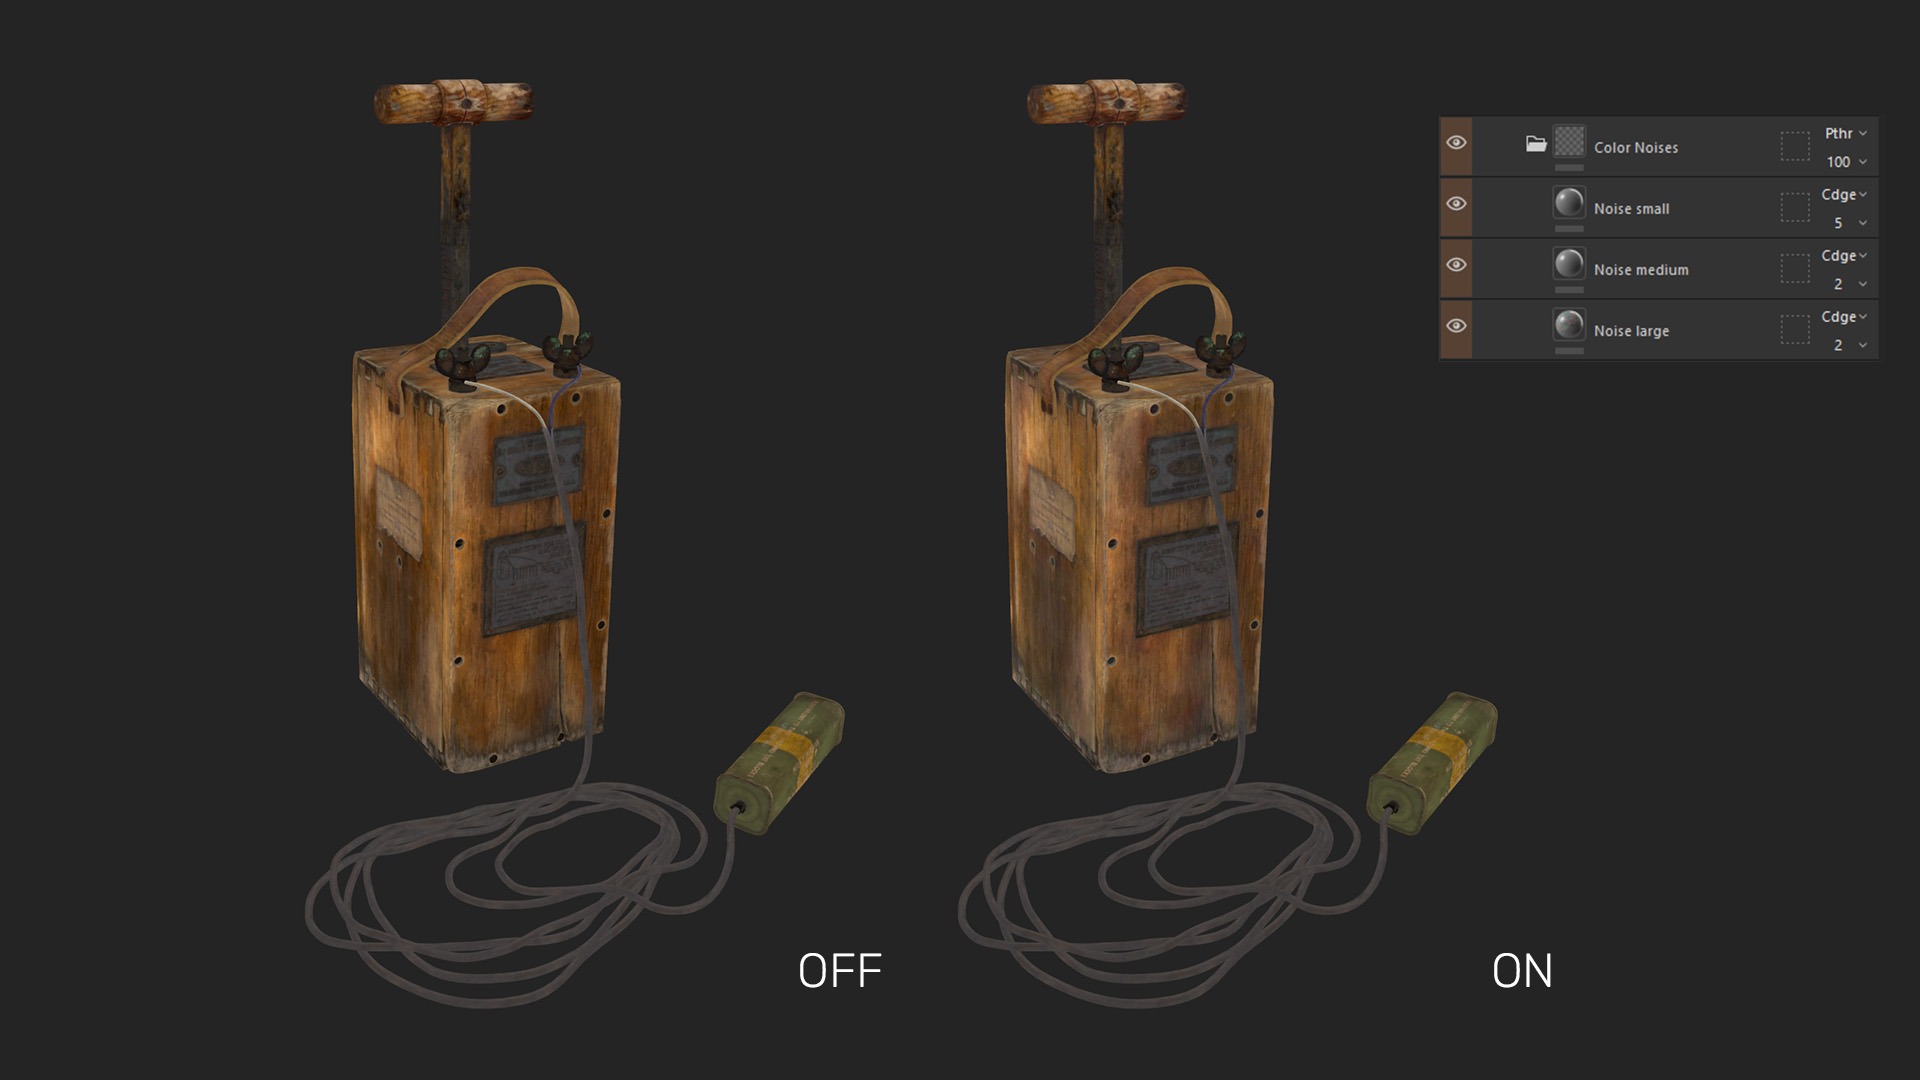
For each material, I applied a set of three color noise layers of varying sizes at the end to add additional color variations to the textures. You can also read more about the importance of adding noise in this article.
I also applied a sharpening filter to make the details clearer.
Rendering
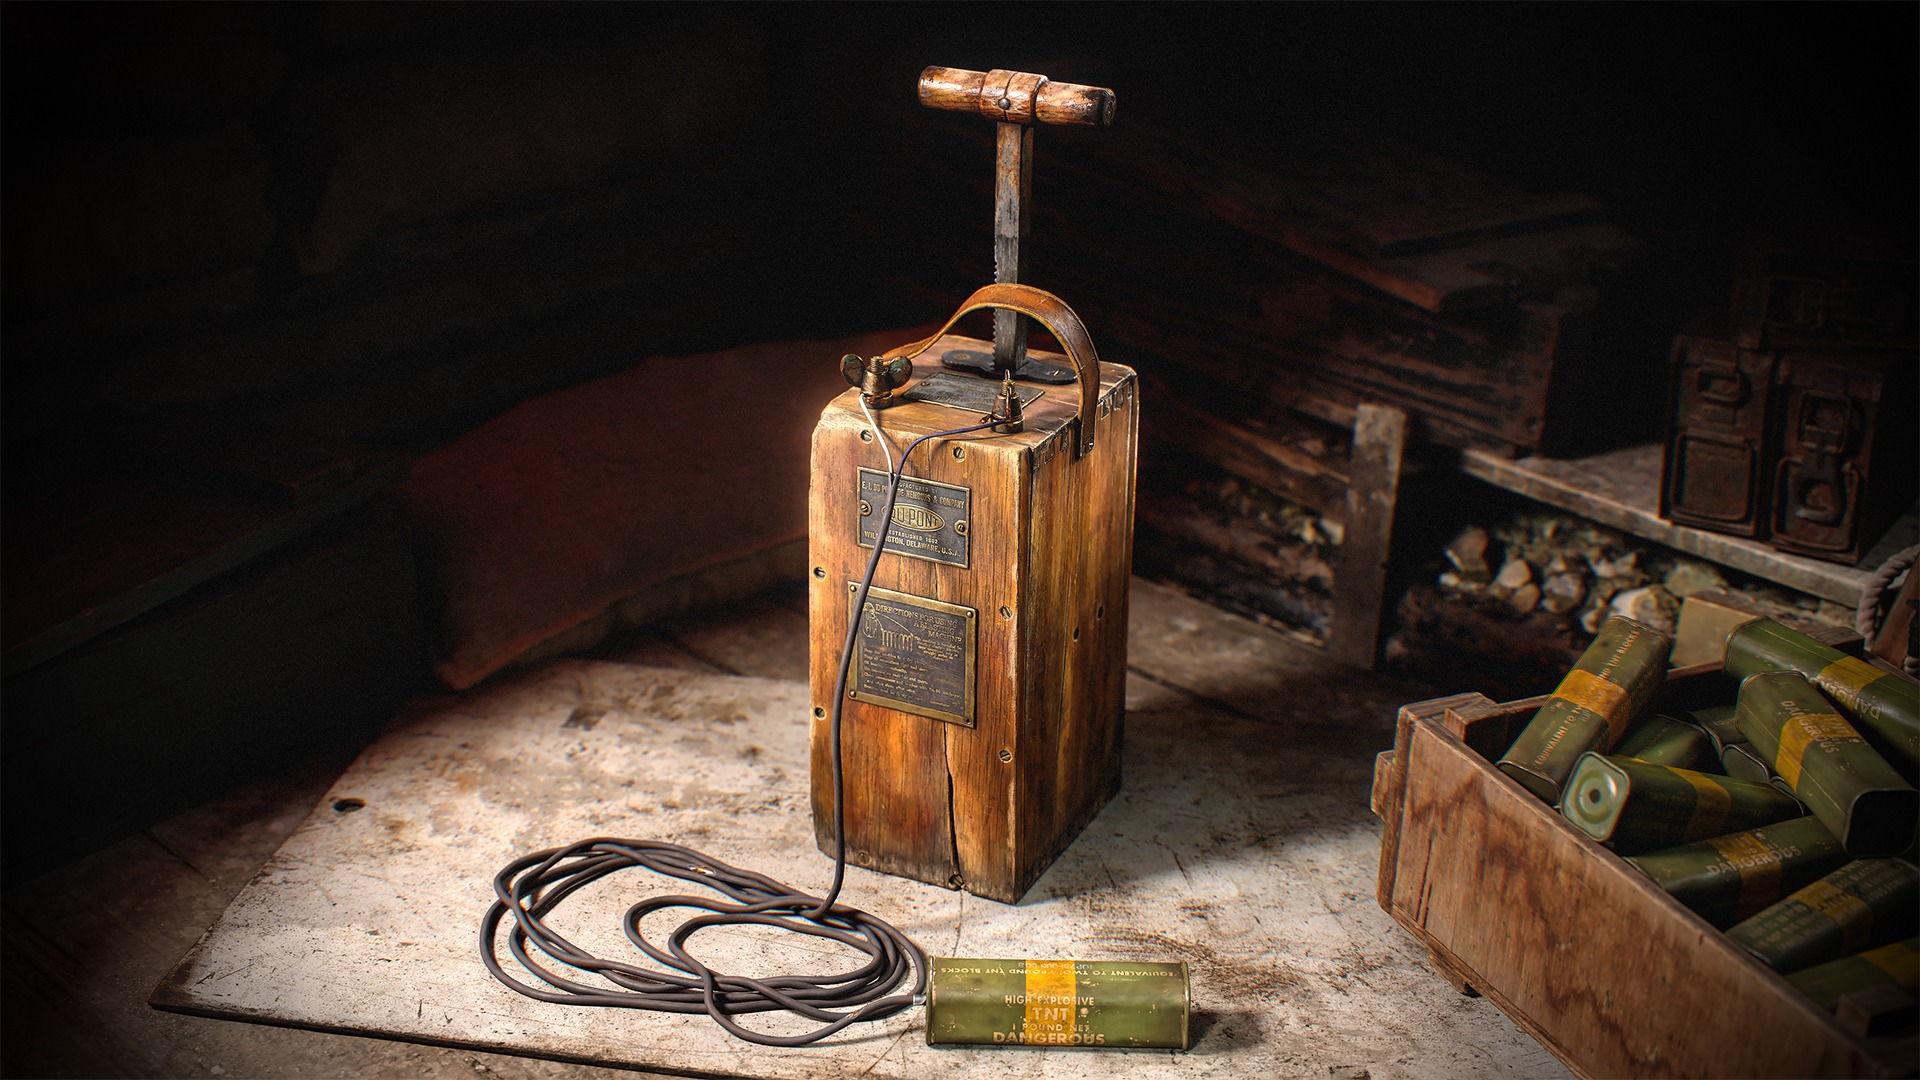
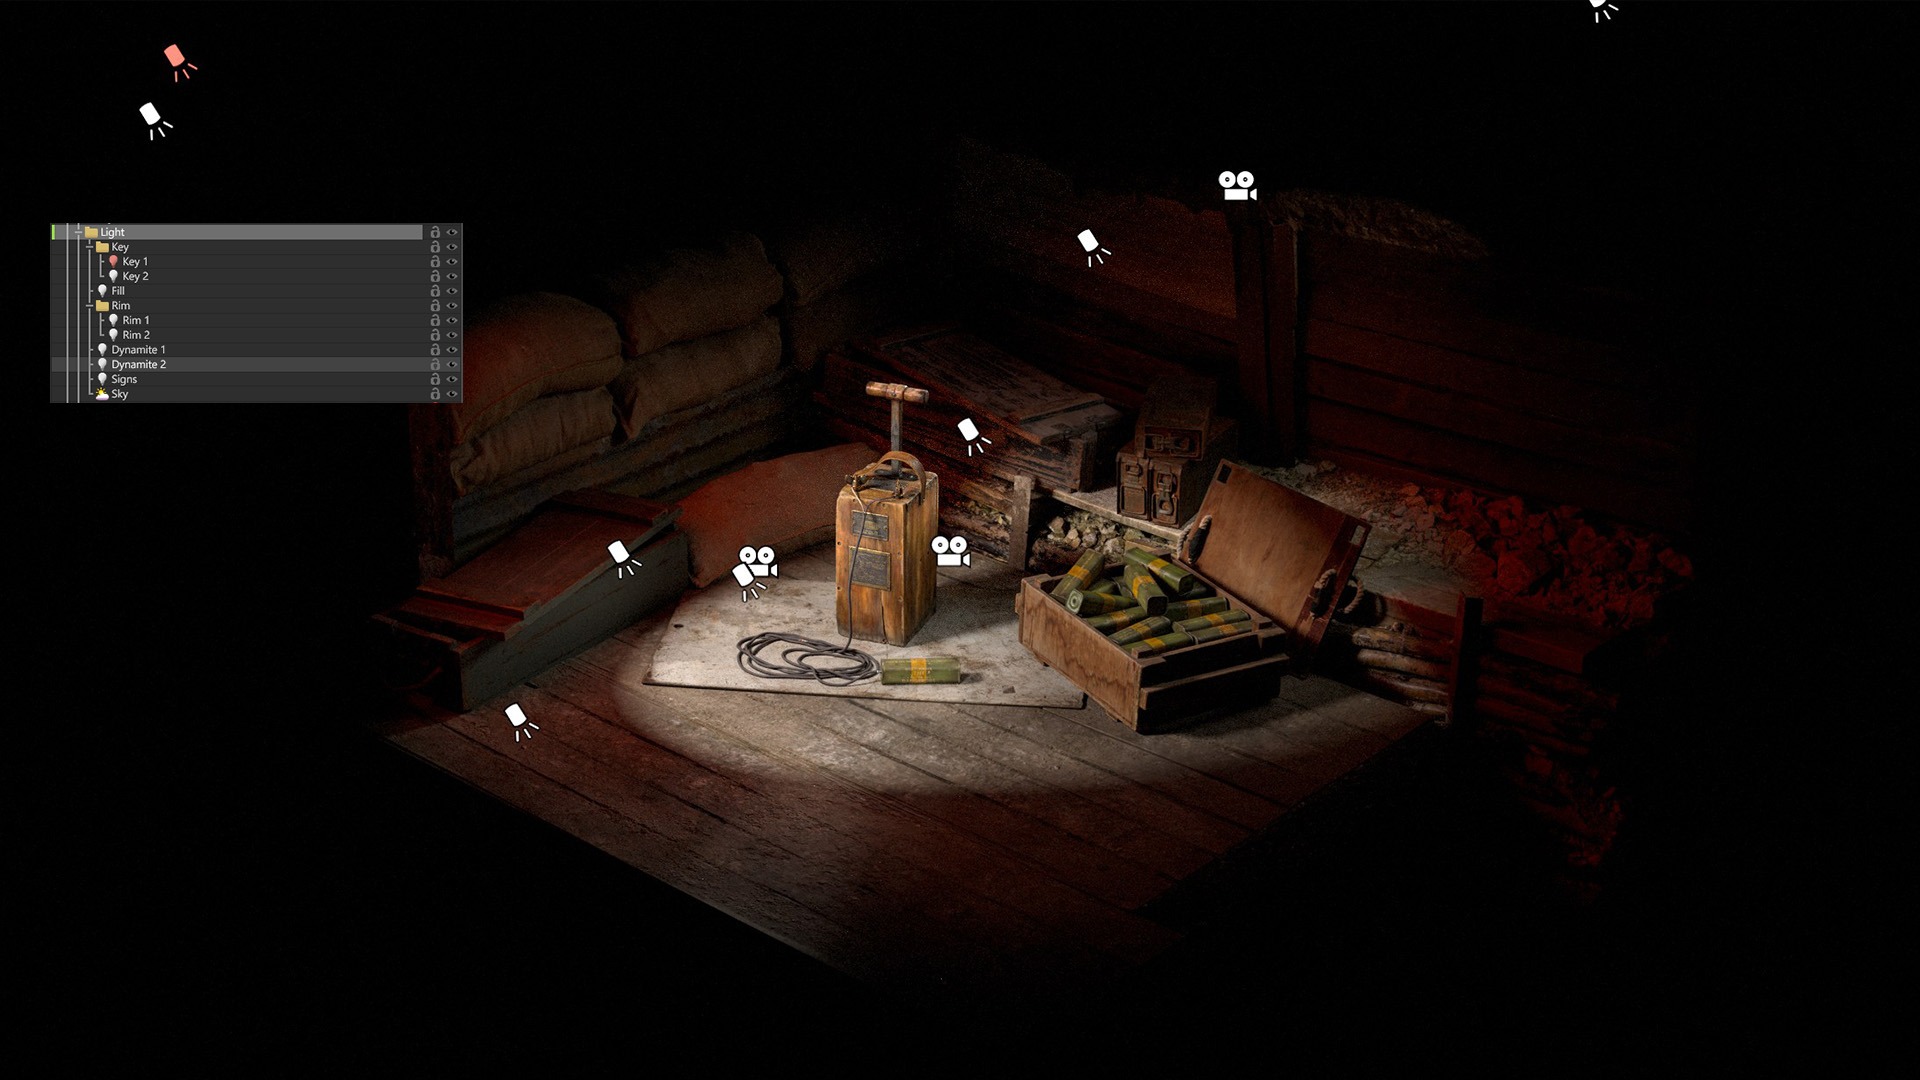
I put together the scene for the main renders using assets from FAB. My goal was to capture the atmosphere of a World War II military dugout.
I used a setup with two key lights, where the second light had a wider spot angle and filled the scene with warm light.
I also added a fill light and two rim lights to make the shine on the signs more visible in the dark surroundings and to illuminate the dynamite blocks.
In Photoshop, I darkened the background and brightened the main object, and I applied various filters to improve the model’s appearance. I also added bloom, chromatic aberration and noise effects.
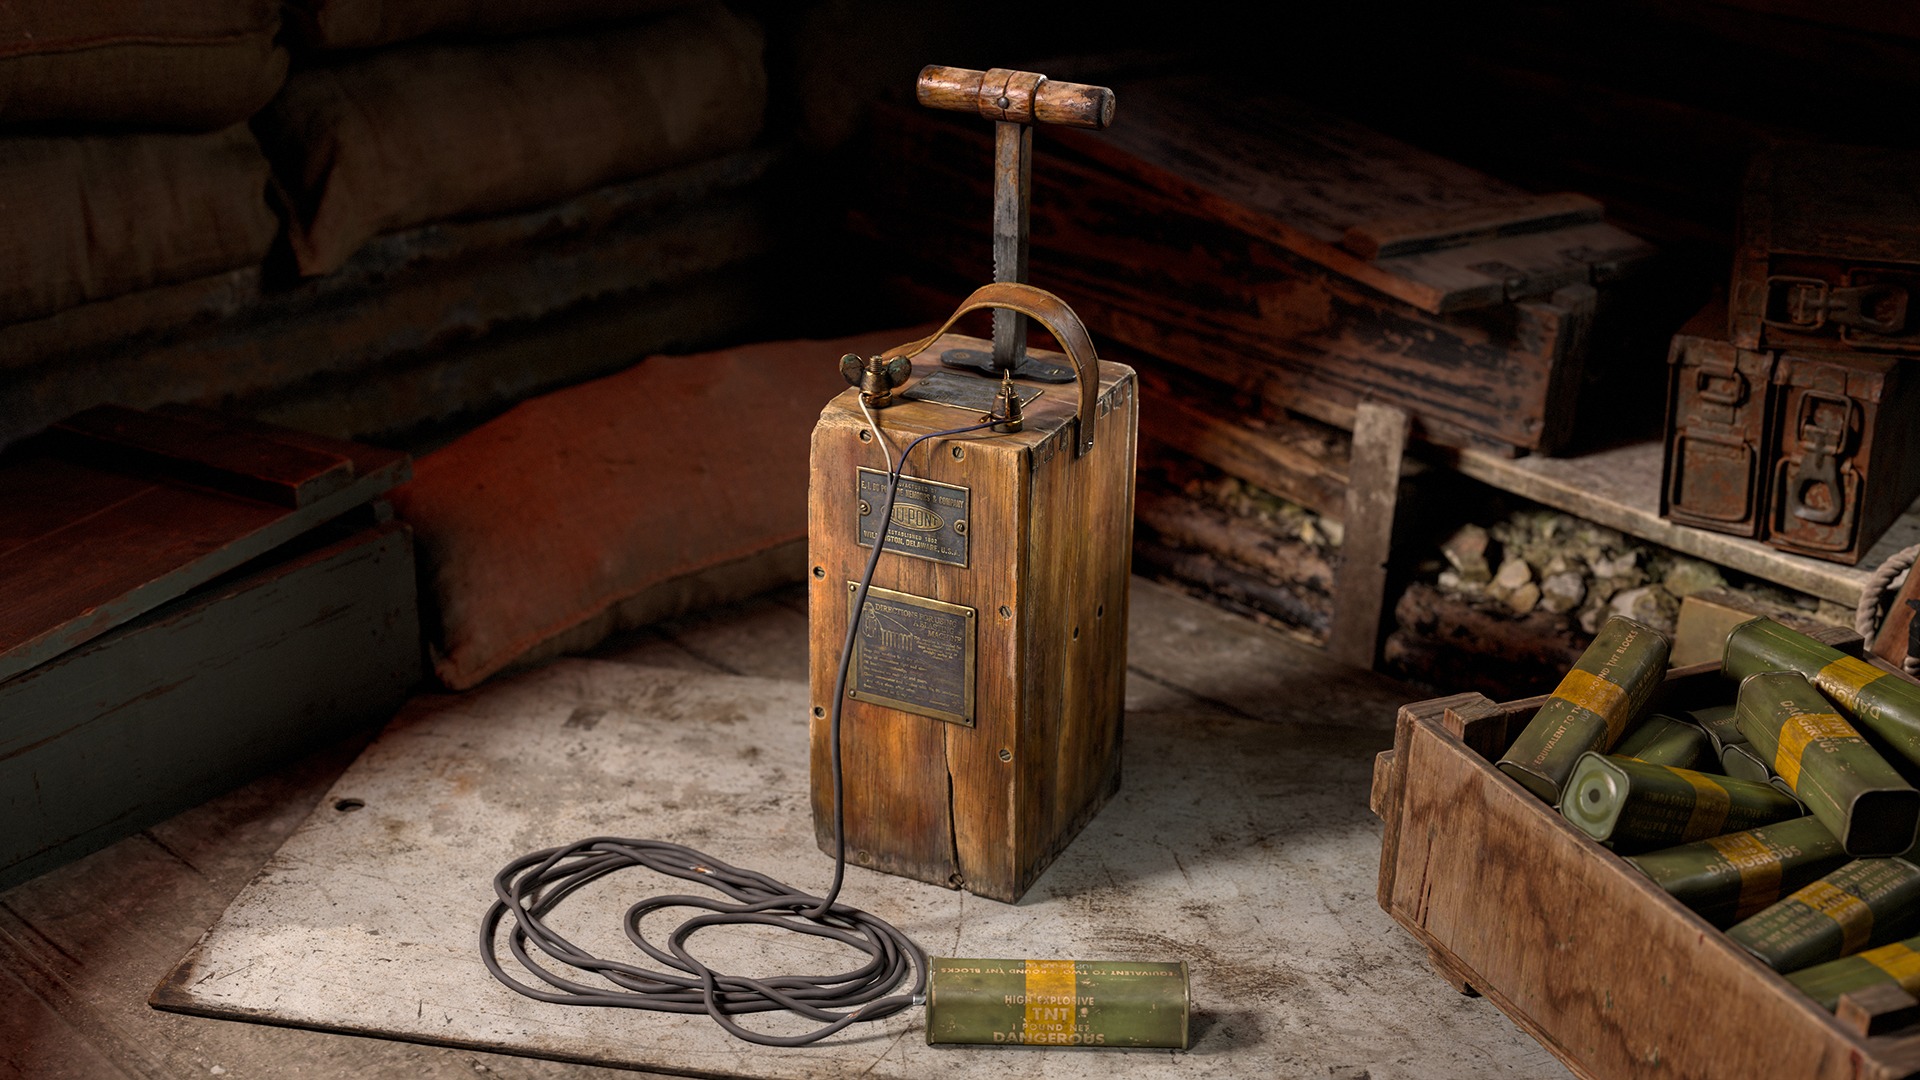
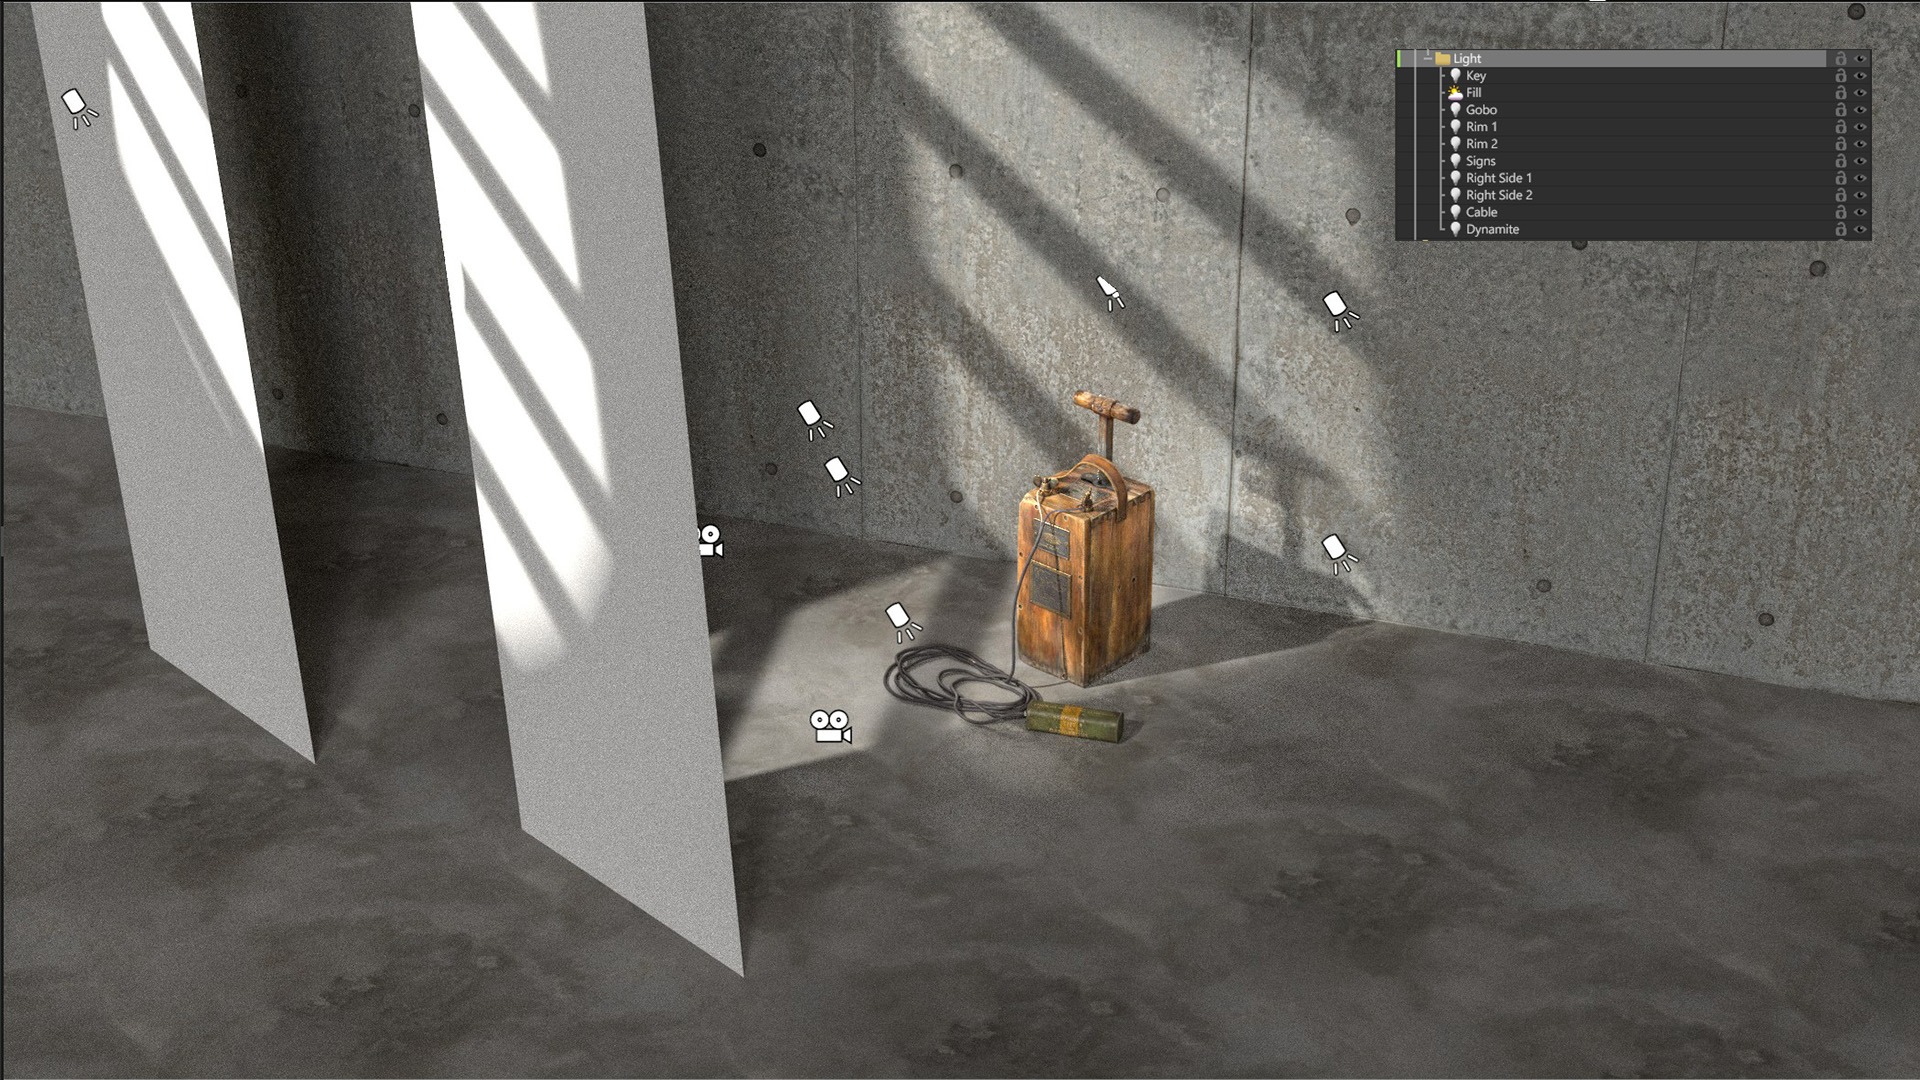
For this scene, I used a similar setup, except that I added a light with a Gobo projection.
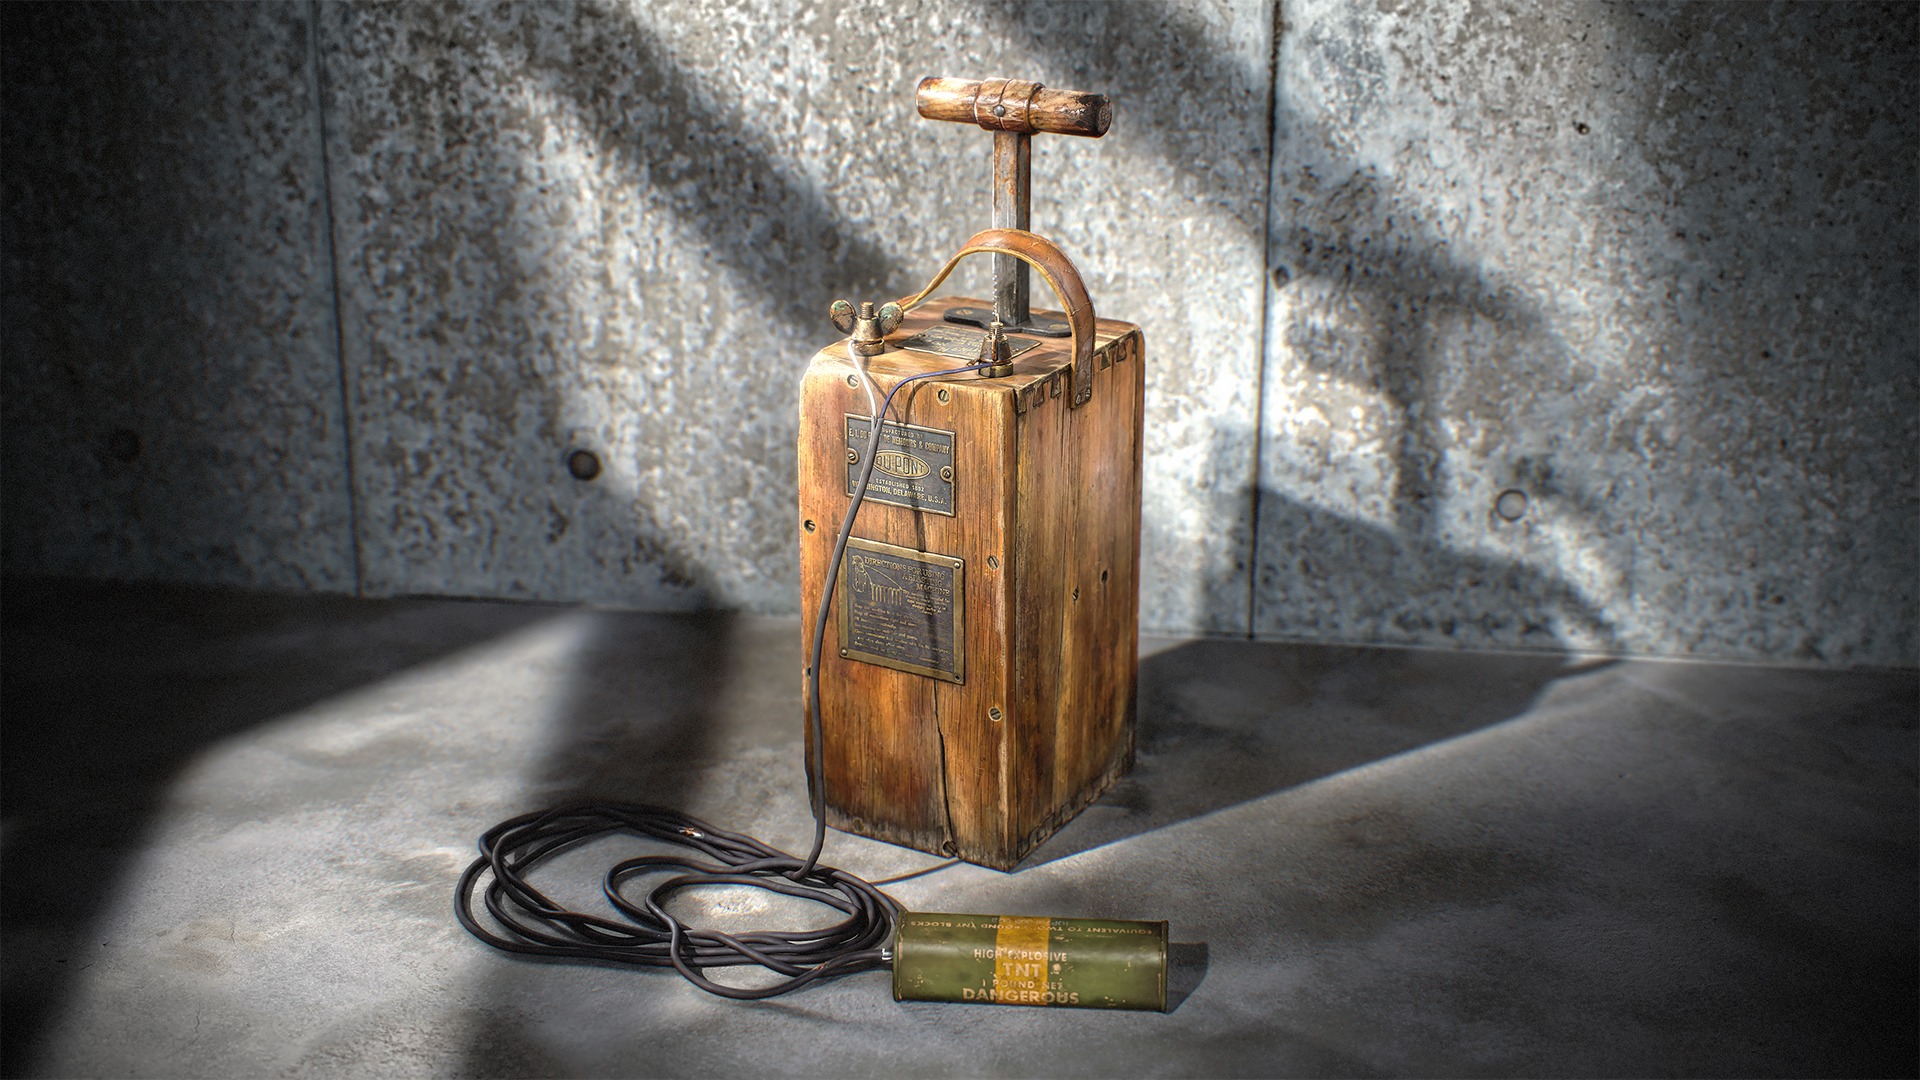
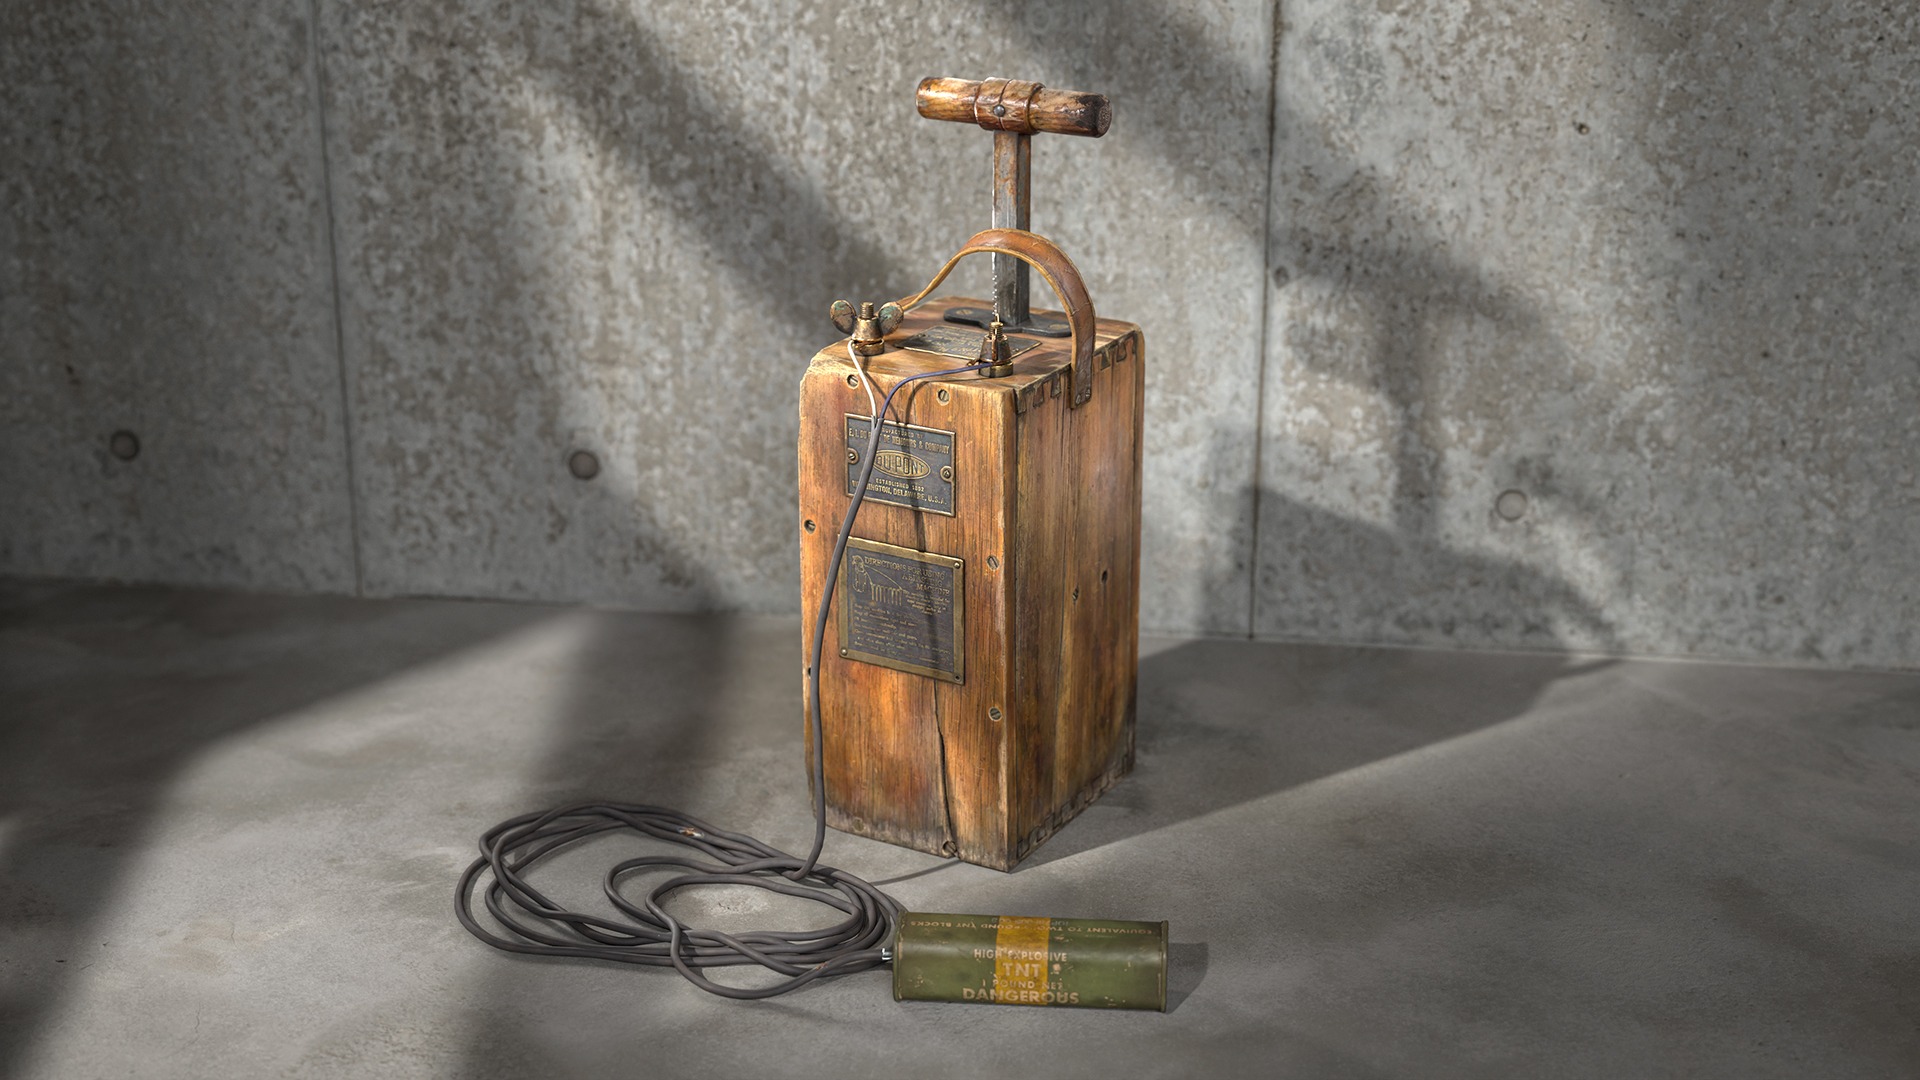
For this project, I decided to try something new and attempted to create an animated video using the Camera Controller Add-on for Blender. This add-on lets you record camera movement using your phone.
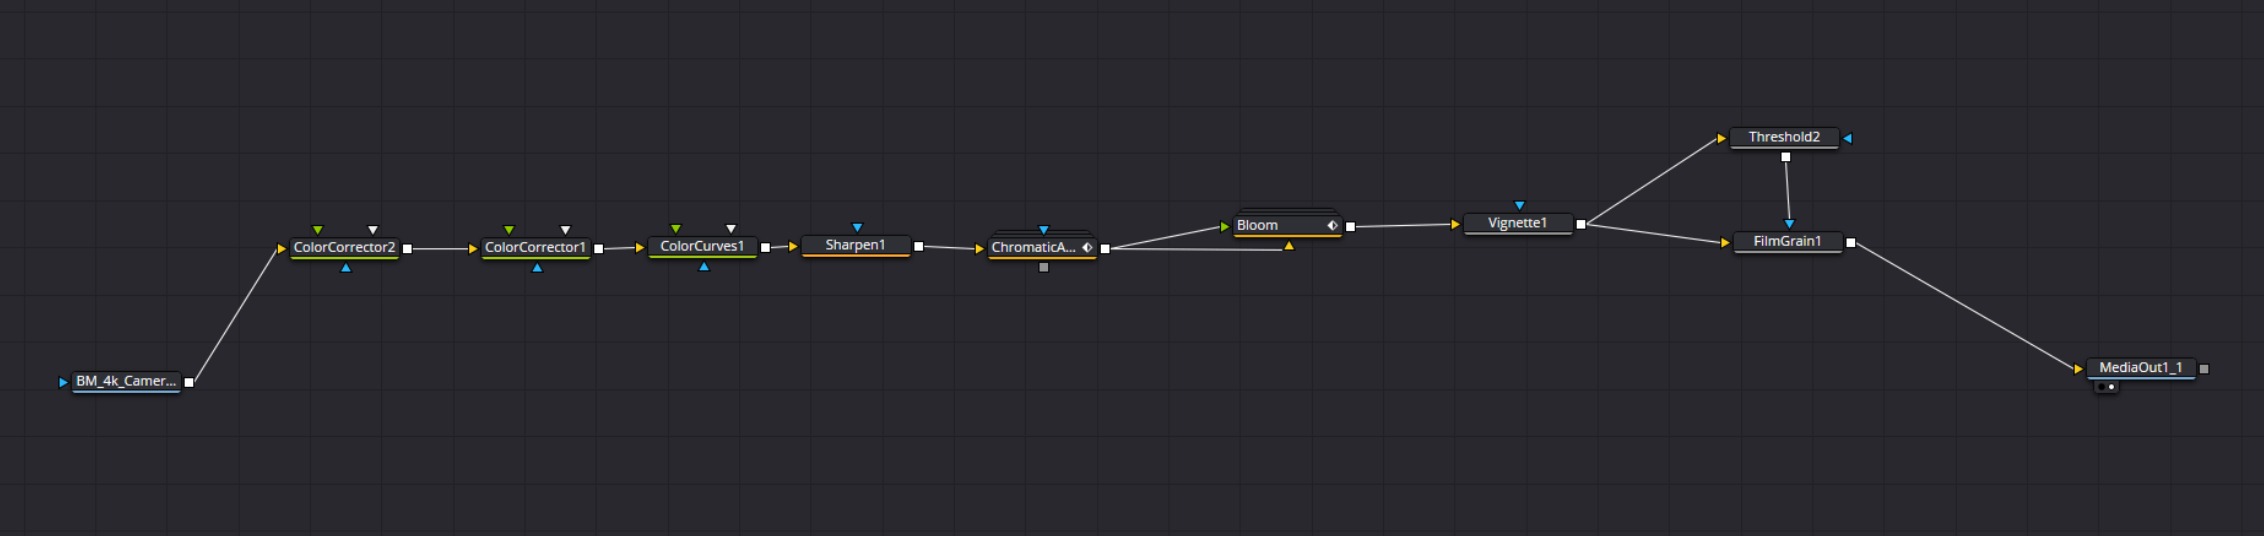
I exported the animation to Marmoset Toolbag 5, where I rendered it. I then did the post-processing in DaVinci Resolve, and my mentor helped me add the SFX.
Conclusion
In conclusion, I want to say that I am really excited to have successfully completed this project. Although I spent a lot of time working on it, the result was definitely worth it, especially the knowledge I gained along the way.
I want to thank everyone who supported me throughout the process and helped me in any way. Thank you for reading this article. I hope it will be useful to you in creating your own incredible projects.
Read more articles
You might also like these articles.


