The Marie-Louise


Introduction
My name is François Larrieu and I'm a 3D Artist from Paris, France. Highly passionate about 3D and video games, I love creating realistic Props and Environments.
References and ideas
Hello everyone, my name is François Larrieu and I am currently a student at New3dge and a Contract Artist at Dekogon living in Paris, France.
Since I started 3D five years ago, I immediately knew that this is what I wanted to do in my life. This job brings me everything, creativity, concentration, imagination and a sense of personal criticism.
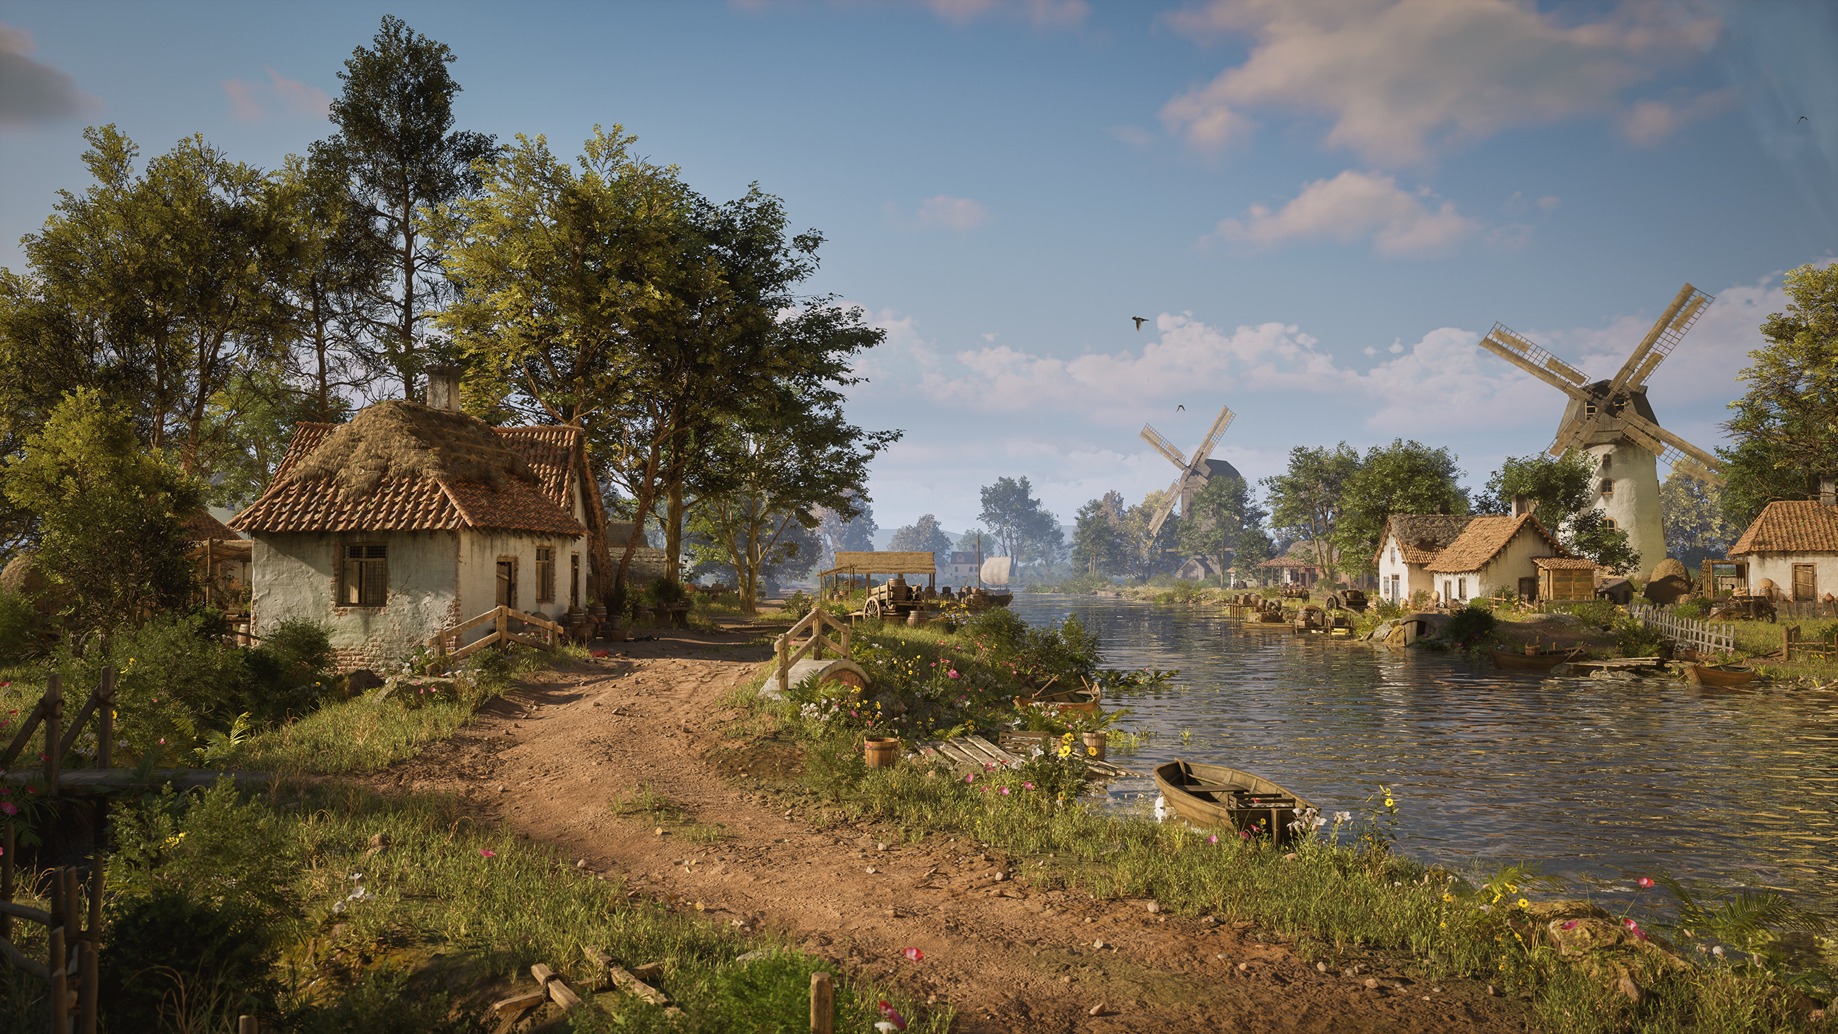
Through this project, I wanted to show a large part of my childhood: The Brittany. It’s been 2 years since I went back and I miss it, so I wanted to pay him “homage” by recreating the most symbolic of things in Brittany, fishing (and also the crepes but maybe for later).
My representation of this boat exists in real life, it is called the STRINKEREZ-DOUR and is an old gillnet-dredger from Brest. Seeing pictures of this boat, I immediately knew that it was him I wanted to represent, of course adding some personal touches, such as the cabin or the hull which are not really the same.
Like any project, the first thing to do is to collect as many references as possible. They must be as precise as possible and in fairly large numbers. The best place to find referrals is of course the Internet, personally, I use Pinterest and Google Images a lot, the advantage of Pinterest is that once you know what to look for, it delivers a lot of images of the same style to you.

What I always do once I have lots of references is a cleaning phase, keep only the references that will be useful to you, often I try to have lots of references but that bothers me more than anything else, be sure what you want to do and don’t get lost in the pictures. Once the desired props have been identified, look for as many references as possible on them.
Modelling
Once this work is well prepared in advance, it is time to get to the heart of the matter. Let’s start with modeling first, personally, I use Blender, it’s a tool that I have been using for many years now and that I find excellent, I start by creating the general LowPoly of my scene before changing the software. All my LowPoly is created in Blender.
It is important to always work to scale, for this I use the Unreal mannequin to make sure I don’t make mistakes in the dimensions.

The part that took the longest was creating all the ropes, I used both the Blender curves and the Marvelous Designer simulation. The small ropes, as well as the knots, were all created using curves, the piles of ropes were simulated in Marvelous.

Ropes using curves
For the simulation of ropes, I used this generic mesh that I simulated in Marvelous, I advise you to add a little pressure to the simulation parameters so that the rope does not crash on itself, then I have lightly touched it up by hand in Blender. Ropes were the most important part of my project.

Ropes simulated in Marvelous
Once the LowPoly modeling is finished I go to UVs, here nothing is very interesting except that you have to do them as cleanly as possible so as not to be disturbed by the texturing.
To help me in this task, I use two Blender plugins: UV squares and UV Packmaster which save me a lot of time. One allows me to square my UVs, and the other to automatically pack them according to a wide choice of options.

The most important thing when you work and which I have understood over time is the organization. If you are not, you will quickly get lost and give up, everything must be stored in files and under files correctly, this is not a problem if you have 2 props in your scene, but when you have 50 of them, it can get much more complicated.
Blender offers very simple tools to properly organize your scene in collection and sub-collection.
I always keep a copy of my Low, my High and the exported asset, this allows me to always be able to go back, just in case.
Once I’ve finished my LowPoly, it’s time to move on HighPoly. For my part I do this work in ZBrush, I love this software to create my highs, it is very fast and does this cleanly.
My workflow here is quite simple, once the props are imported into ZBrush, I crease all the hard edges, for that, I use the “crease edges” of ZBrush, which allows me to crease according to a certain value of angles, I finish the rest by hand when a few creases are missing.
Then, I just have to subdivide my mesh and Dynamesh. For this part, I don’t need to put a lot of information in my HighPoly, the texture will do the rest. Finally, I decimate and export in Blender.
Below: Crease edges > Subdivide and Dynamesh > Decimate

For baking this is quite fast, I use Marmoset Toolbag, as it is in my opinion the fastest and most accurate tool to do this. It is important that your two props, High and Low, be positioned in the same place and have a good nomenclature, for example:
SM_Table_A_low and SM_Table_A_high.
Then you just have to import them into Marmoset and bake, for my part, I always bake in 4K, and only the normal as well as the Ambient Occlusion.

Texturing
Once the baking is done, I can move on to my favorite, but also the most complex step, texturing.
For this step, it is very important to look at our references because they are the ones that will really dictate our texturing, you can obviously go and look for more if the ones you have are not precise enough.
For this project, I really wanted to give an “old boat” look, a little run down and rusty, I advise you to always work with styles that are a little-used/abandoned, the texturing and the story behind your props will be more interesting, rather than just smooth, clean textures. Remember, your props have to tell a story.

For texturing, I start by setting up my Painter viewport, for that, I use Jason Ord’s setup post in this tutorial video that I recommend, it is excellent.
I often start the same way, I start with the biggest and I end with the smallest, the details come to the end, the base material has to be right first. My texturing is an assembly of colors variations, roughness, the addition of dirt, dust, stencils, etc …
I wonder what could have damaged this surface, the wind, the water, the storms, each prop is different, we do not texture a weapon like we texture a boat by example, but the logic of construction of layers is the same, we start from the largest to arrive at the smallest.

As we can see here, the tire is damaged by time and by shocks with other boats, many traces of paint are visible, probably the hulls of other boats. It’s all these little details that will bring your props to life. My goal is to transcribe the history of this tire on my prop.
I start by creating the base of the material of my tire, a gum/rubber texture, I give it characteristics of colors as well as roughness. Then I add color variation, here rather white/gray, damaged tires tend to go towards these colors. I then add variations of roughness, the tire is not quite flat, the light is reflected inside, and you also have to remember that here, my tire is probably wet.
Finally comes the part where I bring life to my tire, details. As said above, we see many traces of paint, shocks. Here is a set of layers of dirt/dust, generated procedurally or created by hand using a stencil, I recommend the video of Rick Greeve who explained very well this process.

Rendering
The rendering is also one of my favorite parts, it’s here you create your image, your composition. I have used Marmoset 4’s raytracing here, which I find excellent, I use it quite regularly, and with good settings, it can give really cool results.
The first thing I do when opening Marmoset is set up my scene, for most of my renderings I use cameras with an orthographic FOV, I love the rendering it gives. Always activate the ACES and slightly sharpen, which avoids having a too blurry result, and that’s all. For all of the compositing, I personally prefer to work it in Photoshop, which gives me more control.

For the light ambiance, I use the HDRI “Indoor Fluorescents”, it is the one, for my part, which gives the best result and which creates the least contrast, it also allows to have a fairly flat light, which I can rework behind.
The scene is only composed of 2 directional lights, one to illuminate the right side and one for the left side, I don’t like to use too many lights, which can tend to modify the appearance of the color or the textures. , I really want it to feel the same as in Painter. Finally, I regularly use a classic black background, which allows you to see the main elements.

For the final part in Photoshop, here too I try to make it as simple as possible, I use a set of composition layers like contrast, brightness, saturation, etc … and I try to make the result that I want.

I also advise you to add a High Pass filter, which brings out the details much better, but it is a little higher than you think because Artstation tends to compress the quality of the renderings a bit. Just go to Filter > Other > High Pass. You may not see the difference on the screen, but try it, and you will see a big difference in quality.

Conclusion
I am coming to the end of this breakdown, thank you for reading my article and I hope it will help you, please do not hesitate to send me a message on Artstation for more precision if necessary.
https://www.artstation.com/eika
I really enjoyed doing this project, I learned a lot from it, and I hope to teach you a few things from this article. I would like to thank GamesArtist and their entire community for giving me the opportunity to write this article.
Thanks for reading and see you soon!
Read more articles
You might also like these articles.