Withered Tree Vine



Introduction
Hi everyone, my name is Xiao Ming. I am currently based in Shanghai, China, where I work on Vegetation-related projects.
I enjoy using my spare time to work on personal practice pieces.

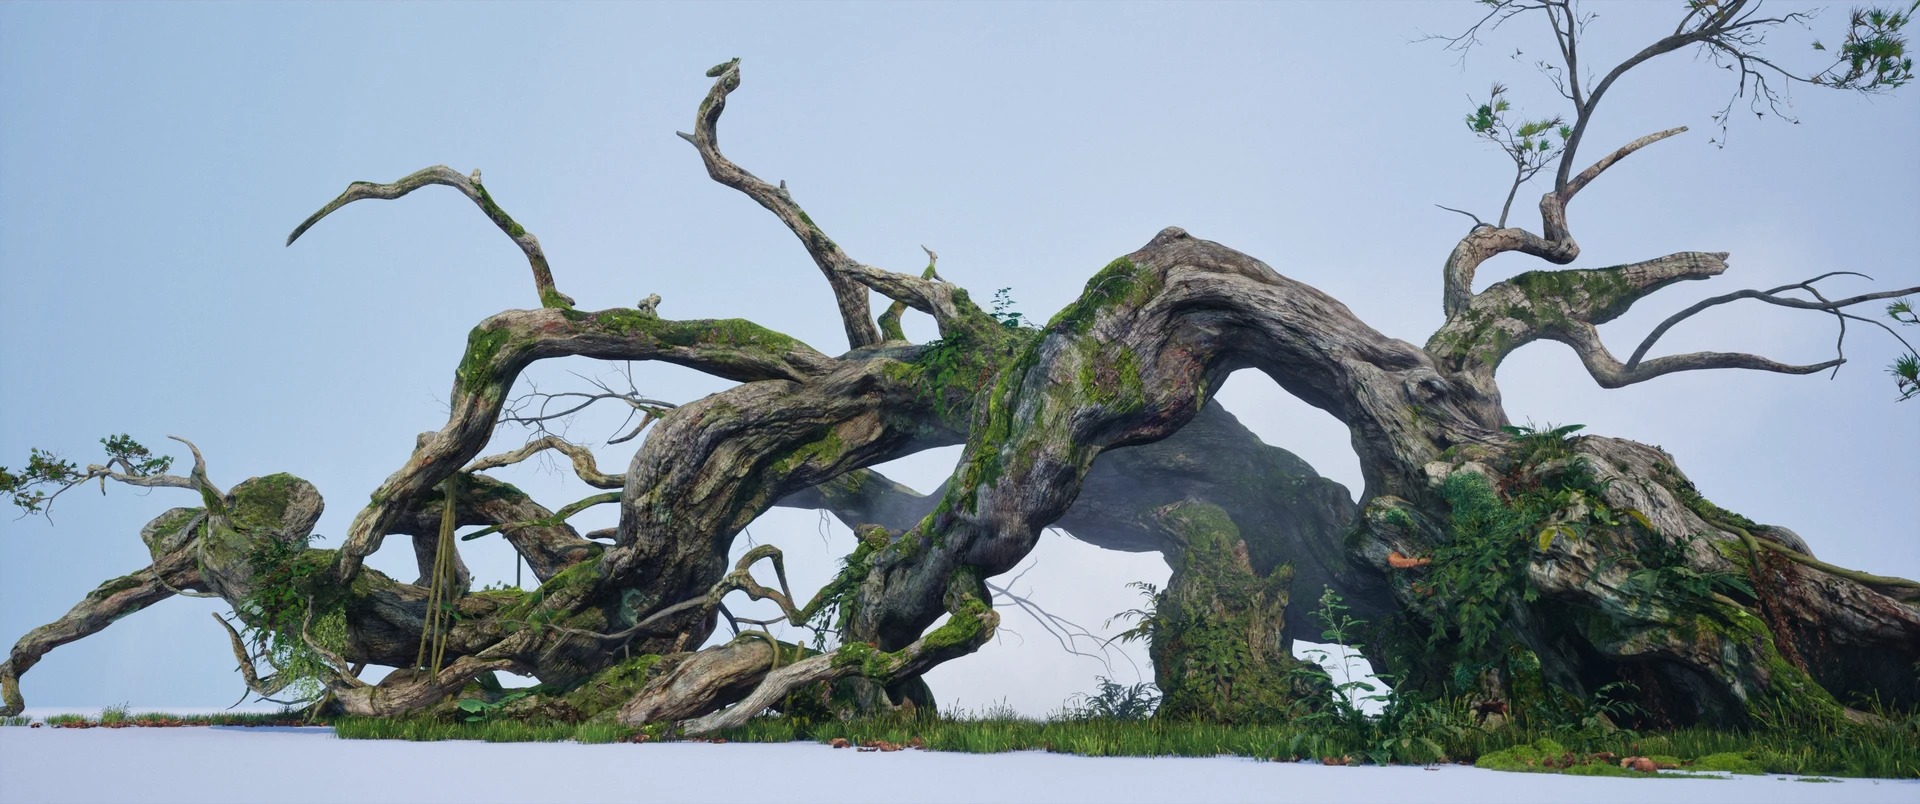
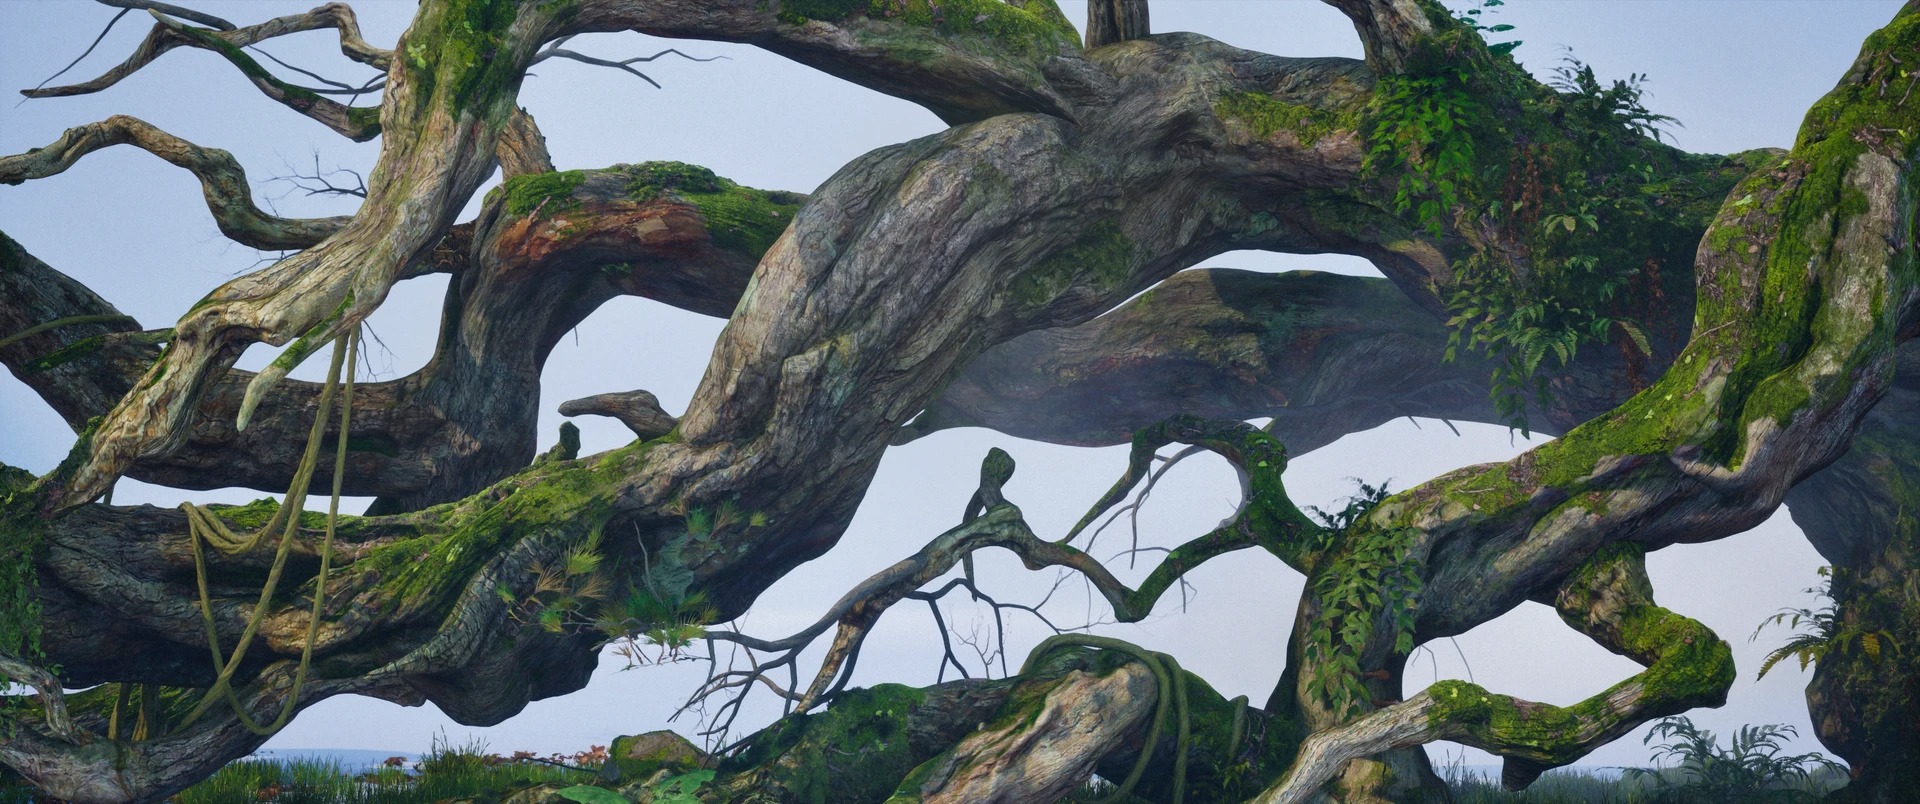
Project
The concept art was created by Zhu Weiwei. Here is his ArtStation:
https://www.artstation.com/zoowayway
The concept art I chose for this practice piece is shown below.
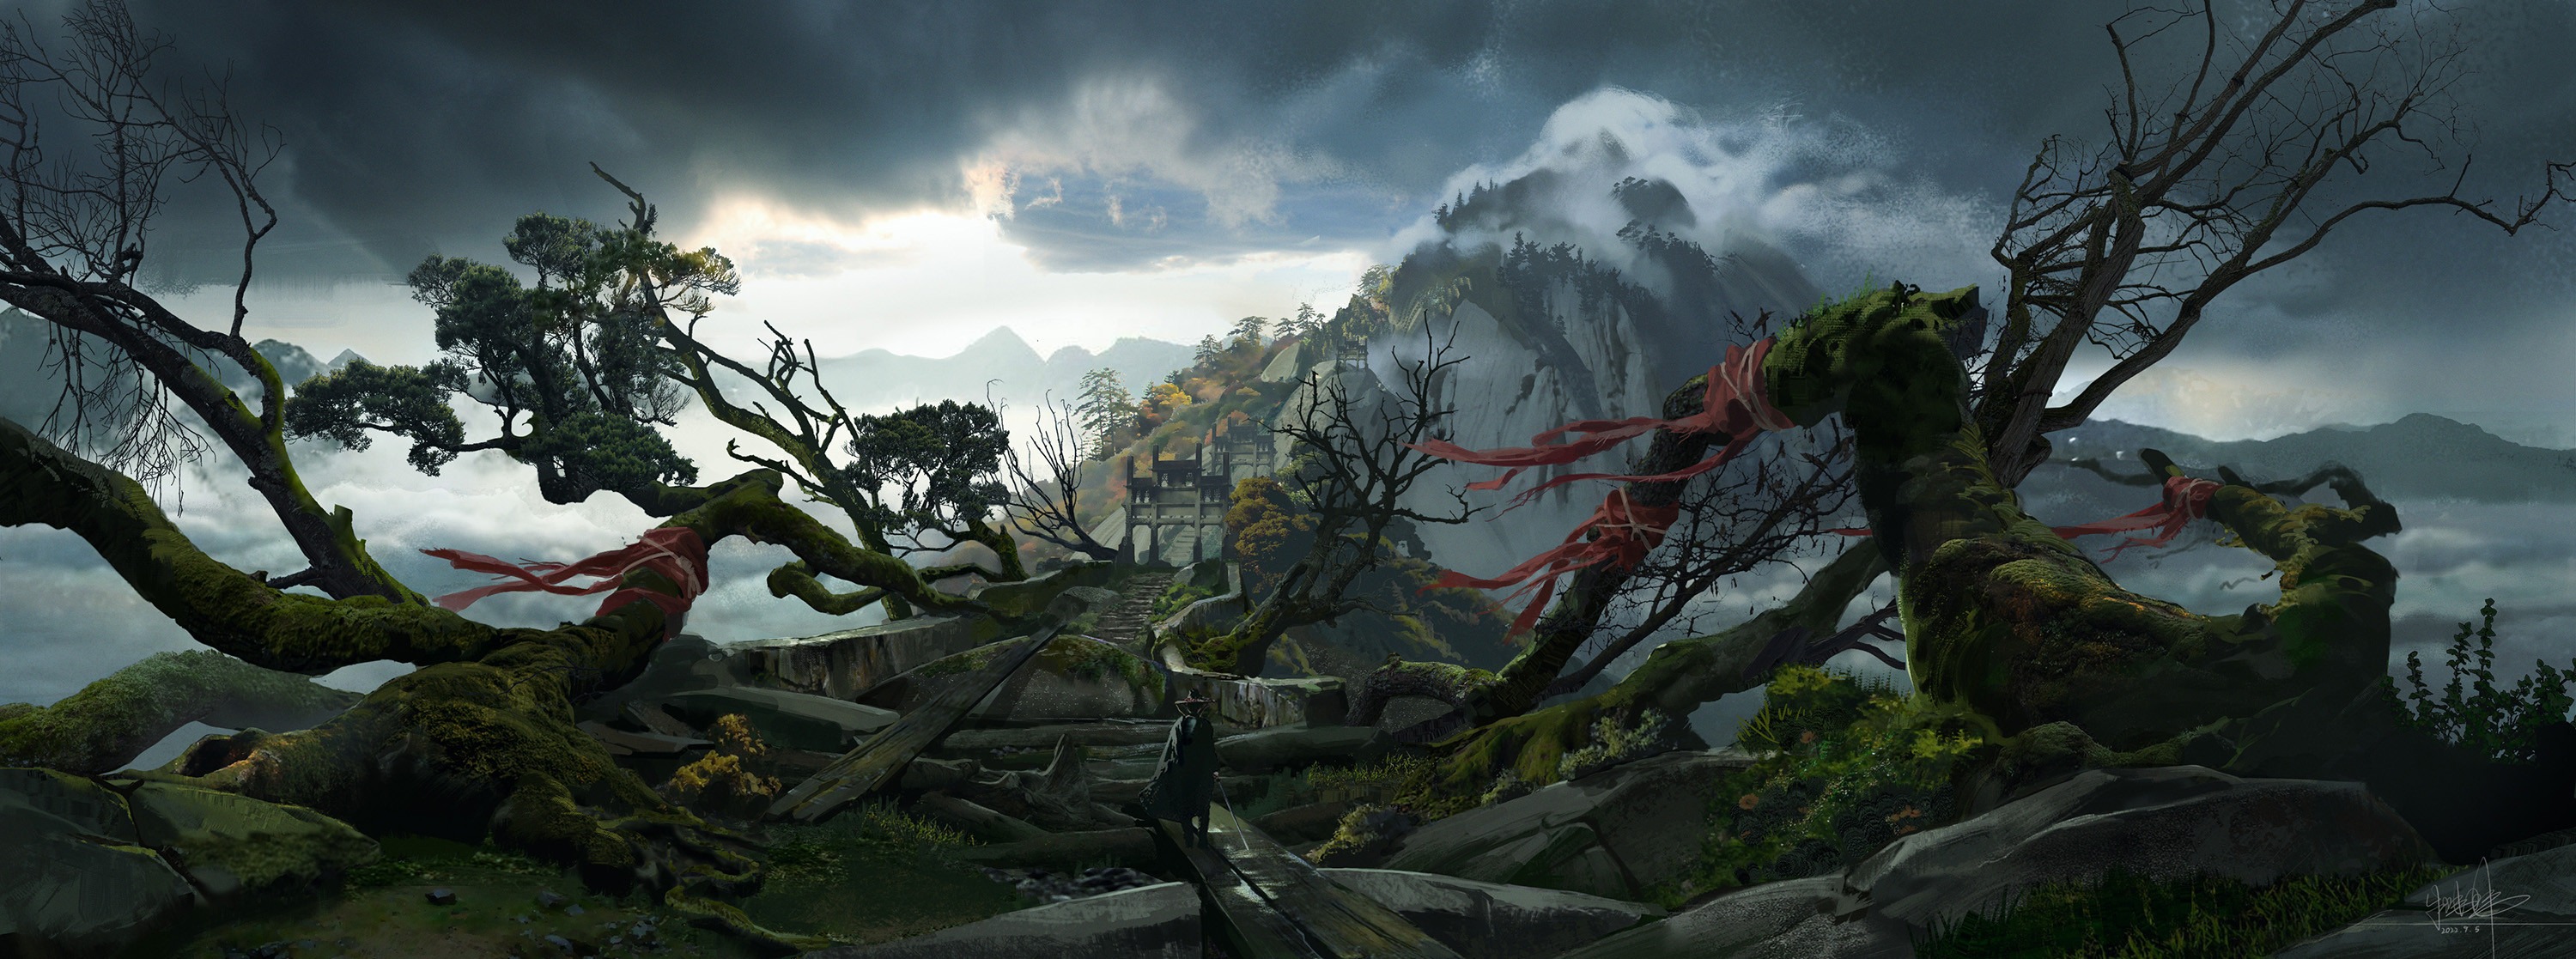
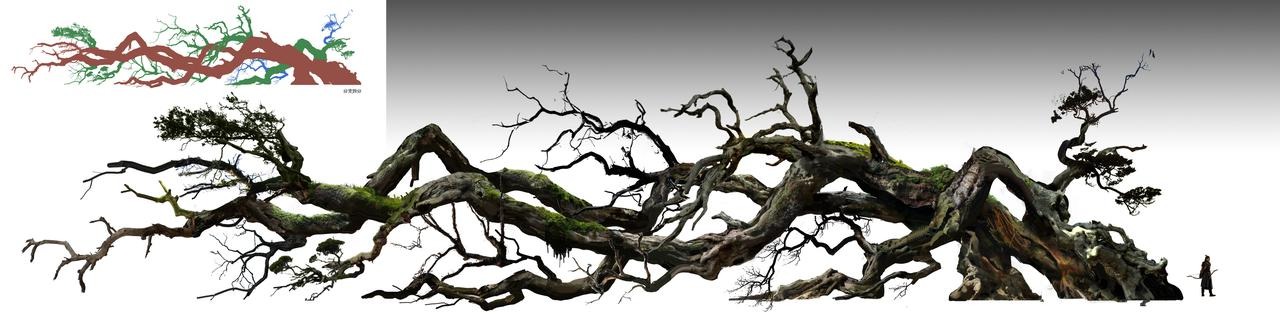
My first impression of this concept art was of a powerful, ancient tree vine that had weathered the passage of a long time.
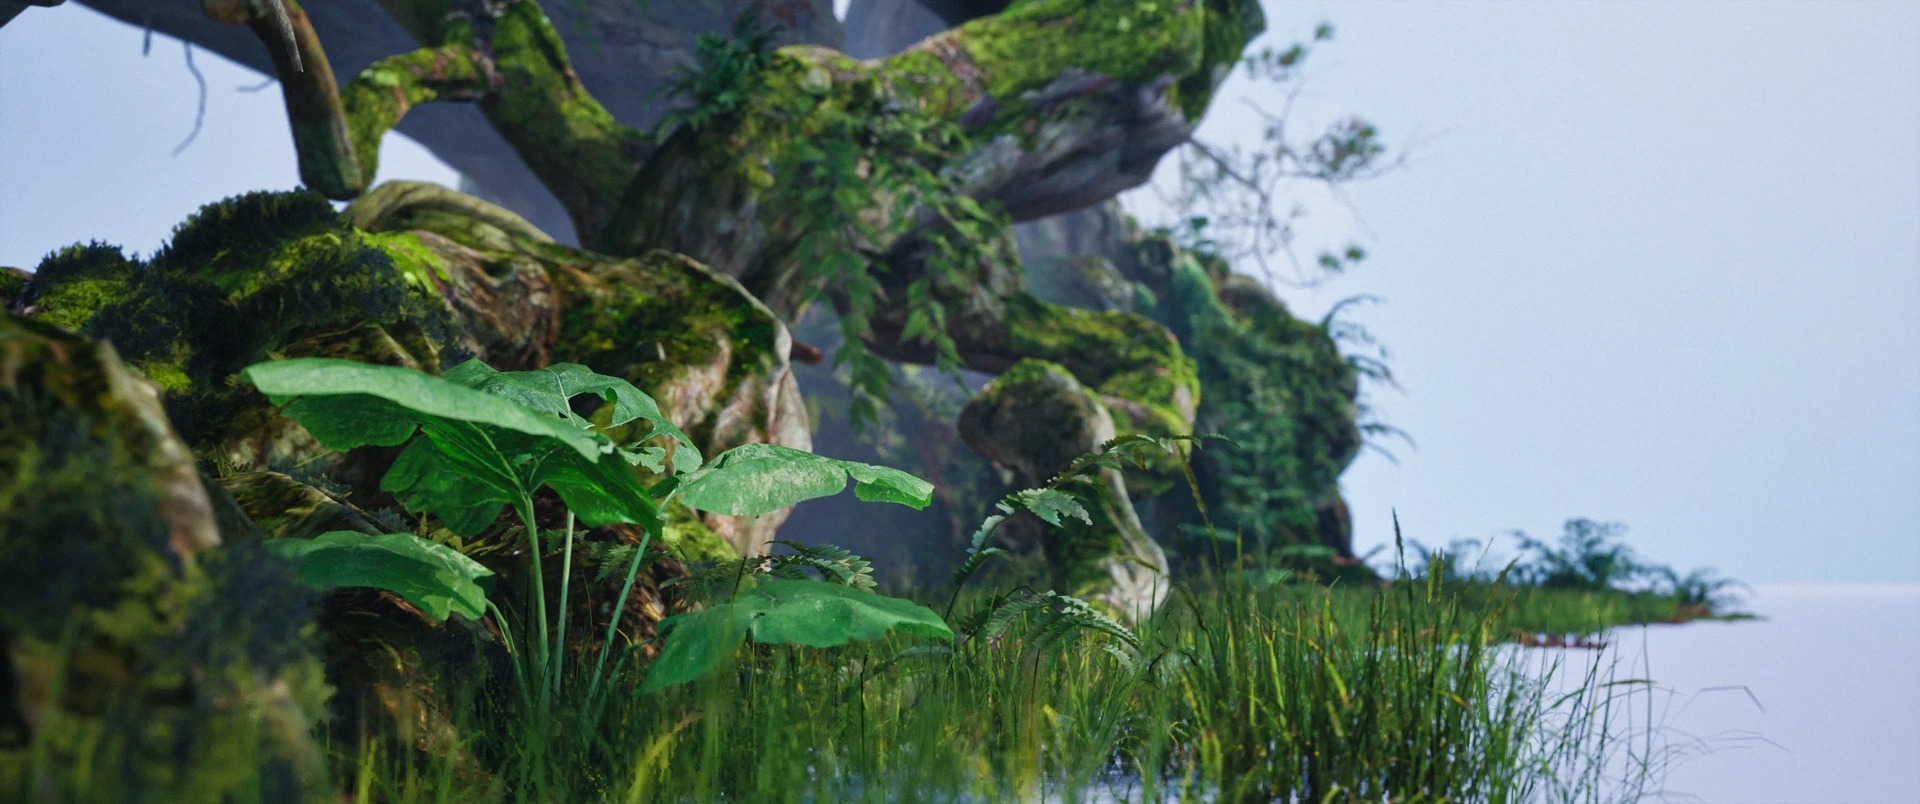
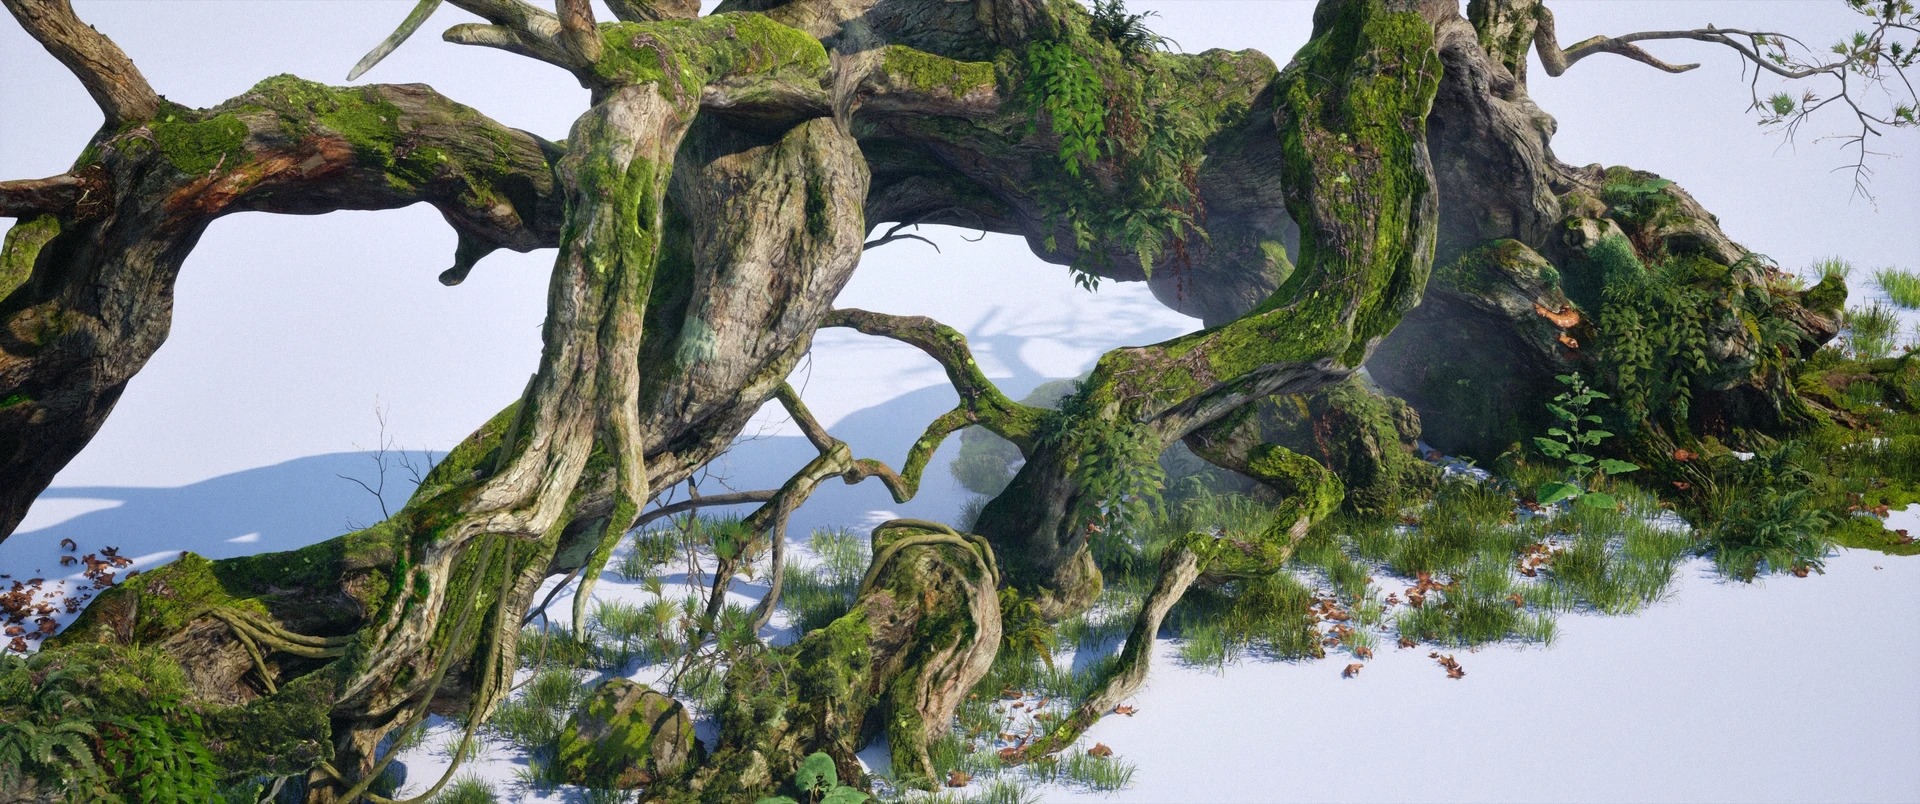
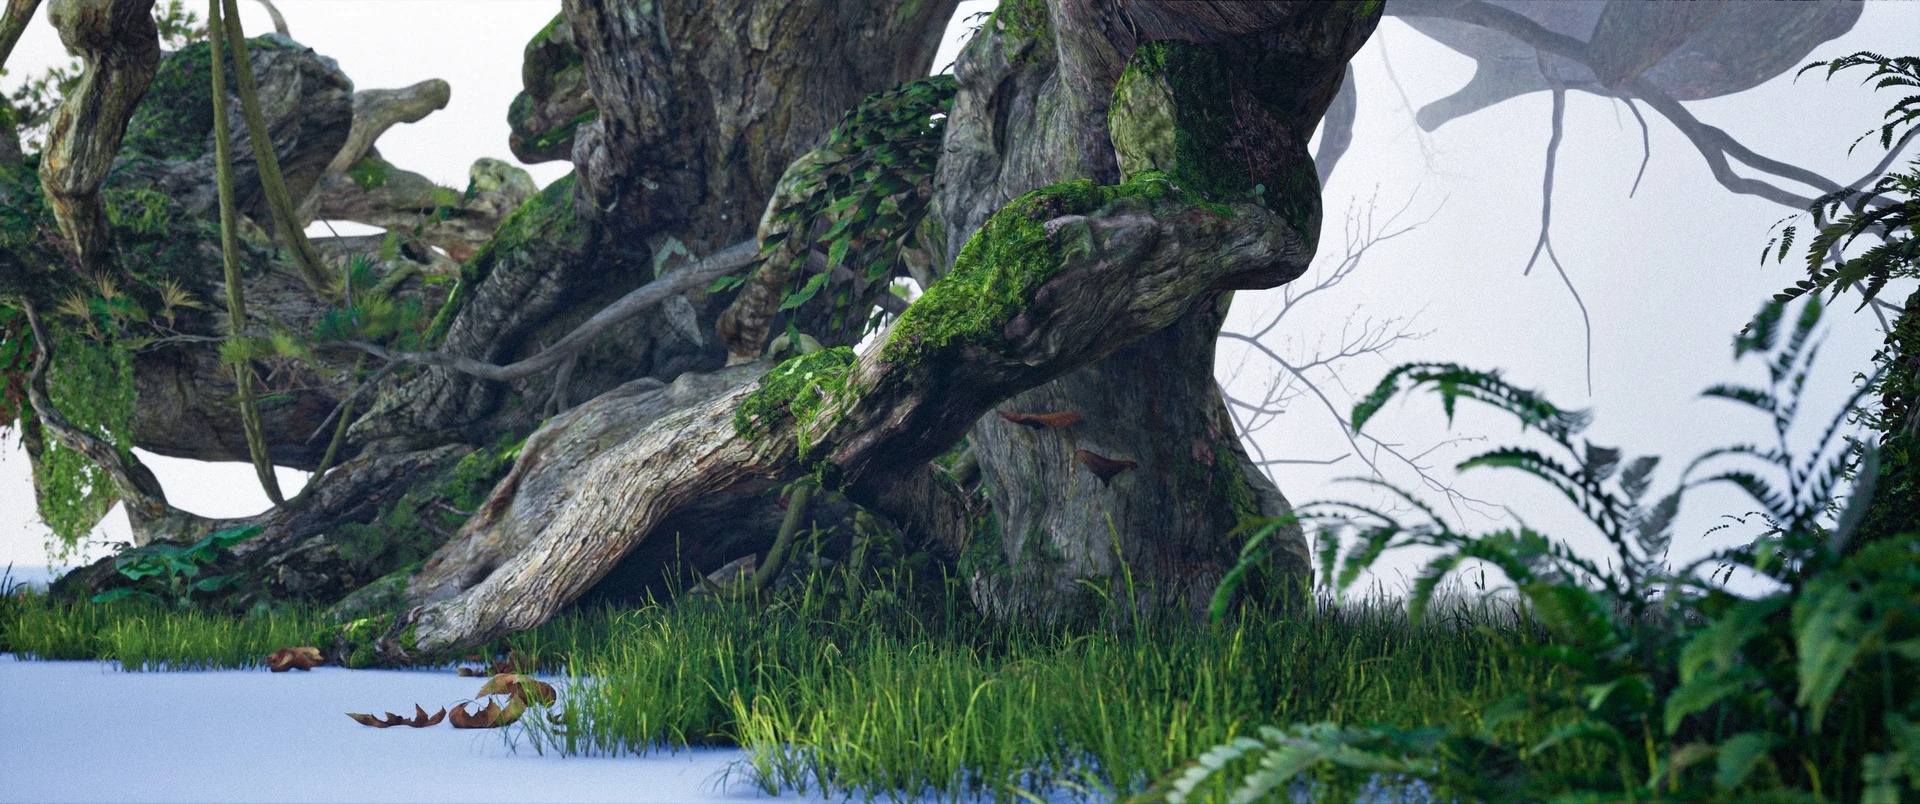
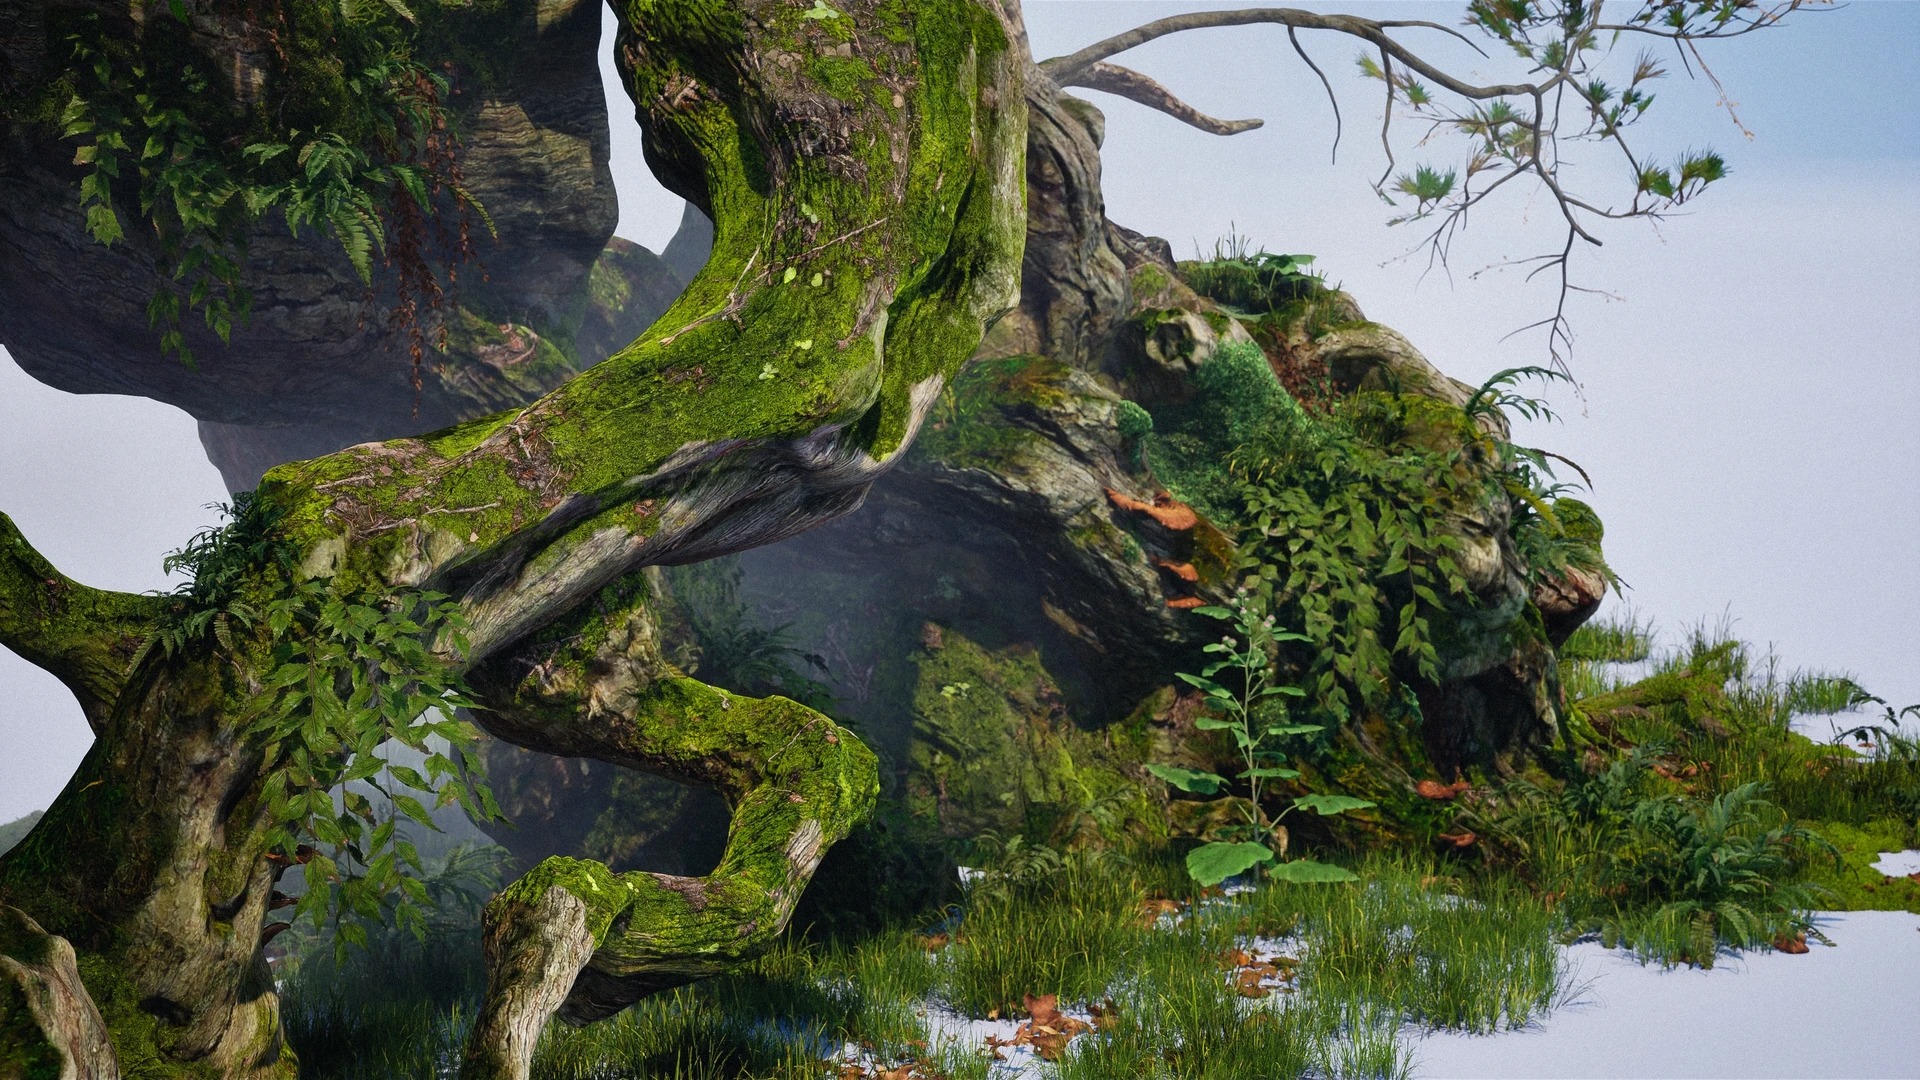
What stood out most was the contrast between the living, vibrant vegetation growing over it and the trunk itself. The goal of this practice piece was to recreate that feeling.
Tools
To bring my vision to life, I used the following software:
- Maya – for low-poly modelling, UV mapping, and modular assembly.
- ZBrush – for high-detail sculpting.
- Marmoset Toolbag – for baking model textures.
- Substance 3D Painter – for texture painting.
- SpeedTree – for generating small branches and shrubs.
- Unreal Engine – for final composition and lighting.
References
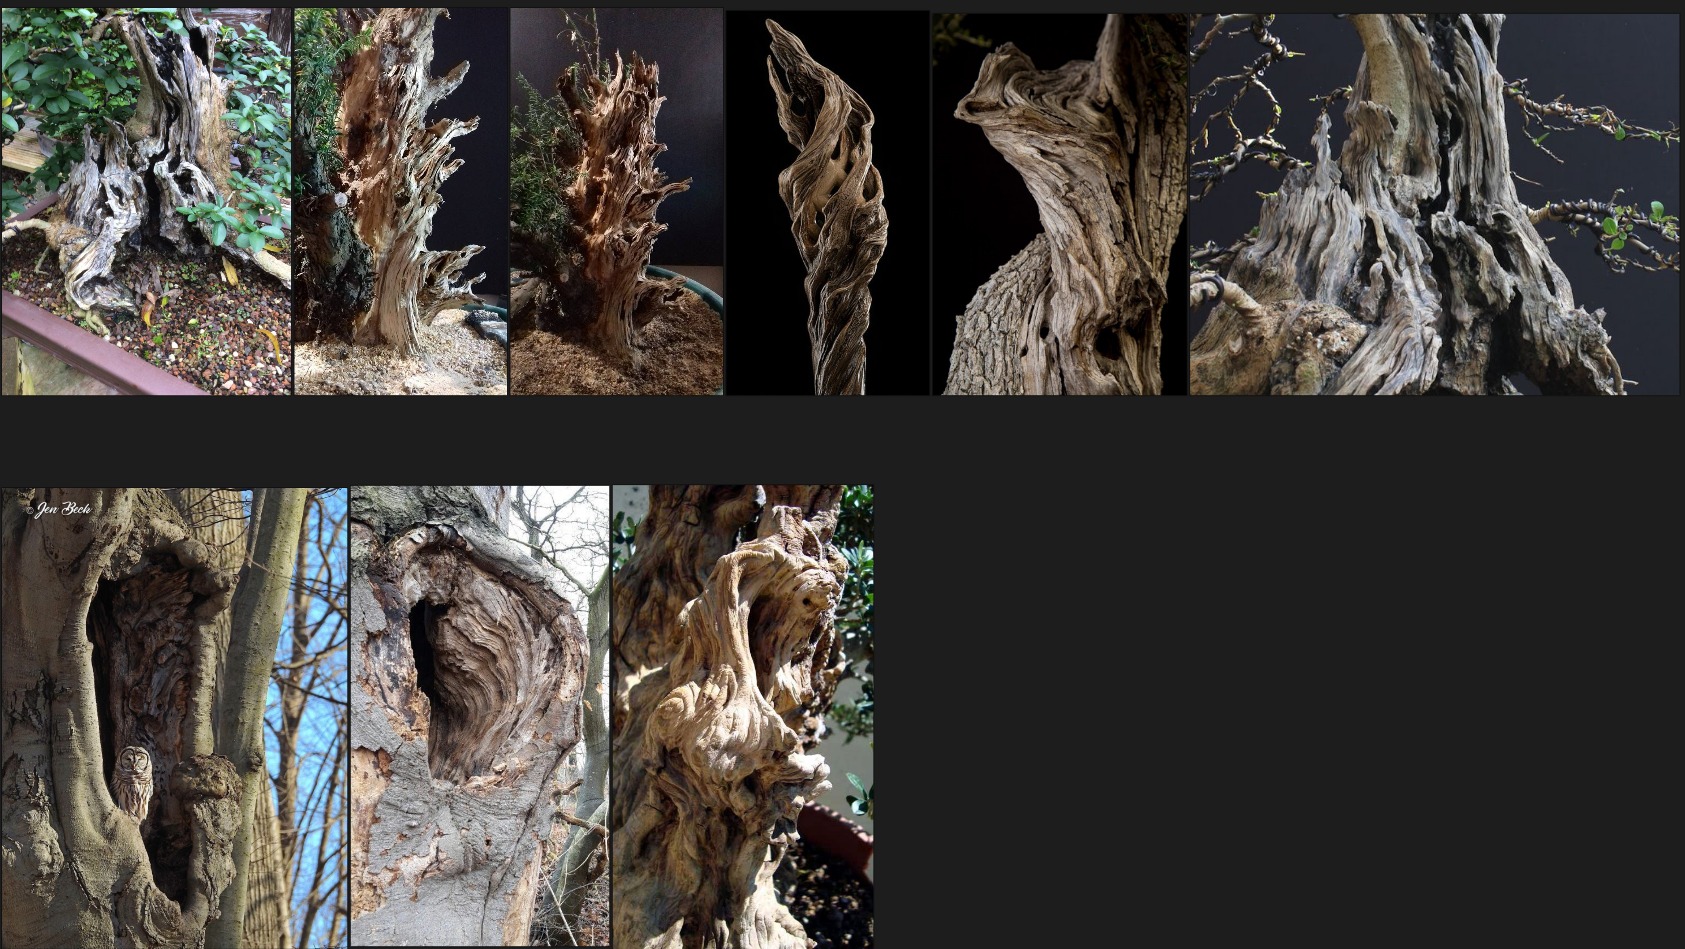
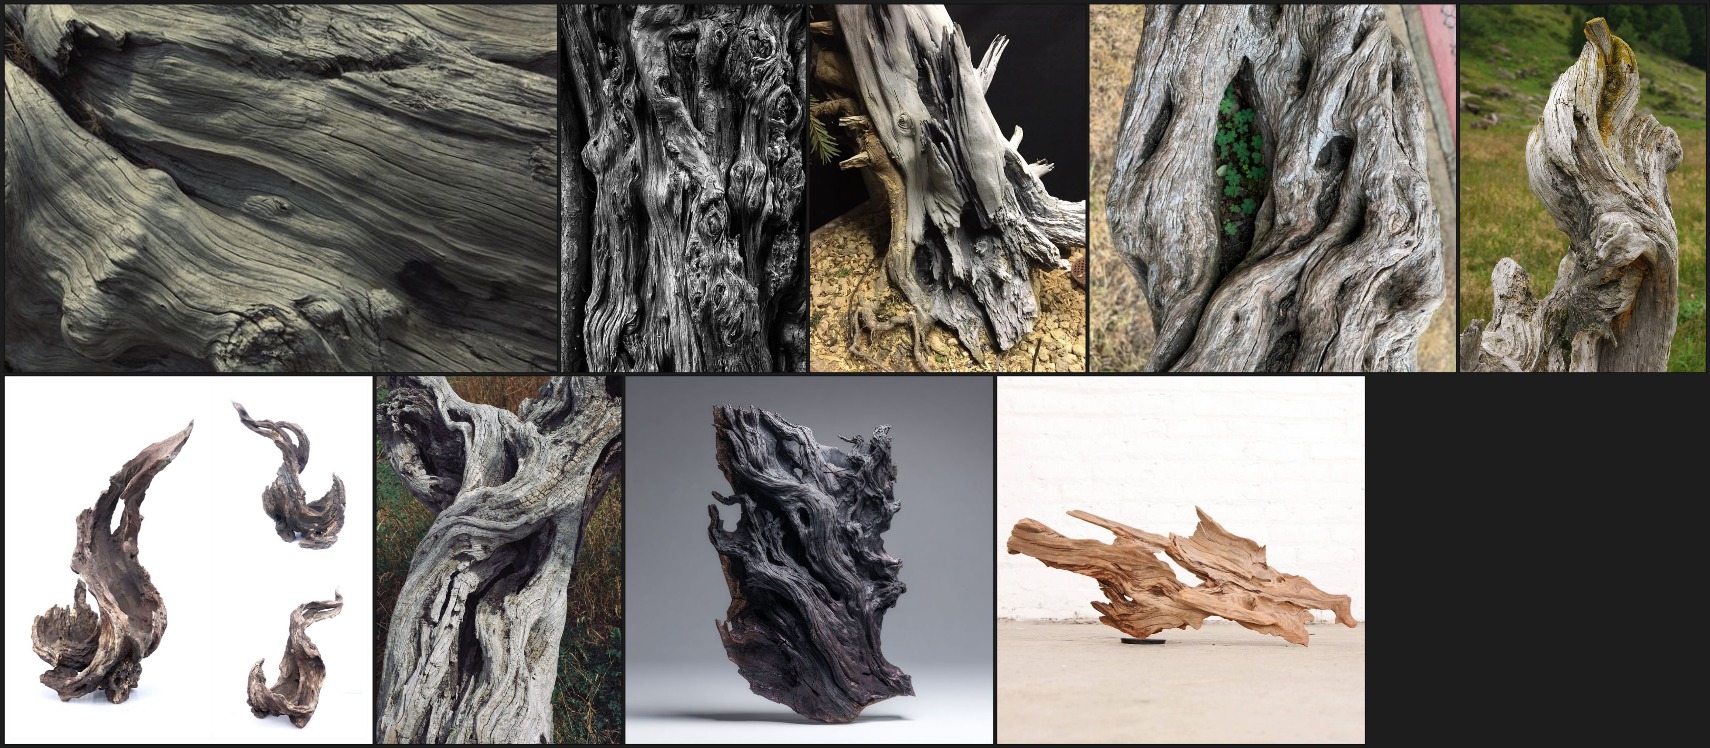
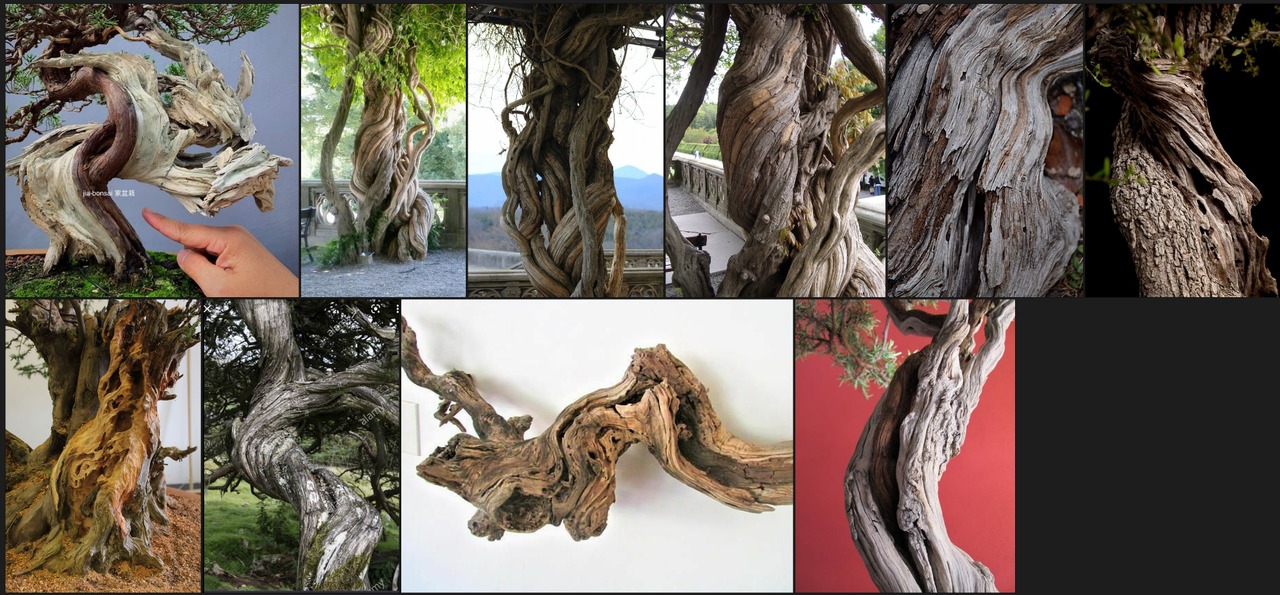
First, I look through a large amount of relevant references without necessarily saving them. This step simply gives me a general idea of what the tree vine might look like and what kind of features and structures it might have.
I then go back with a more focused purpose to search for areas I’m still unclear about.
References for the main body direction and wrapping style of the vine:
Close-up detail references:
And some 3D model references:
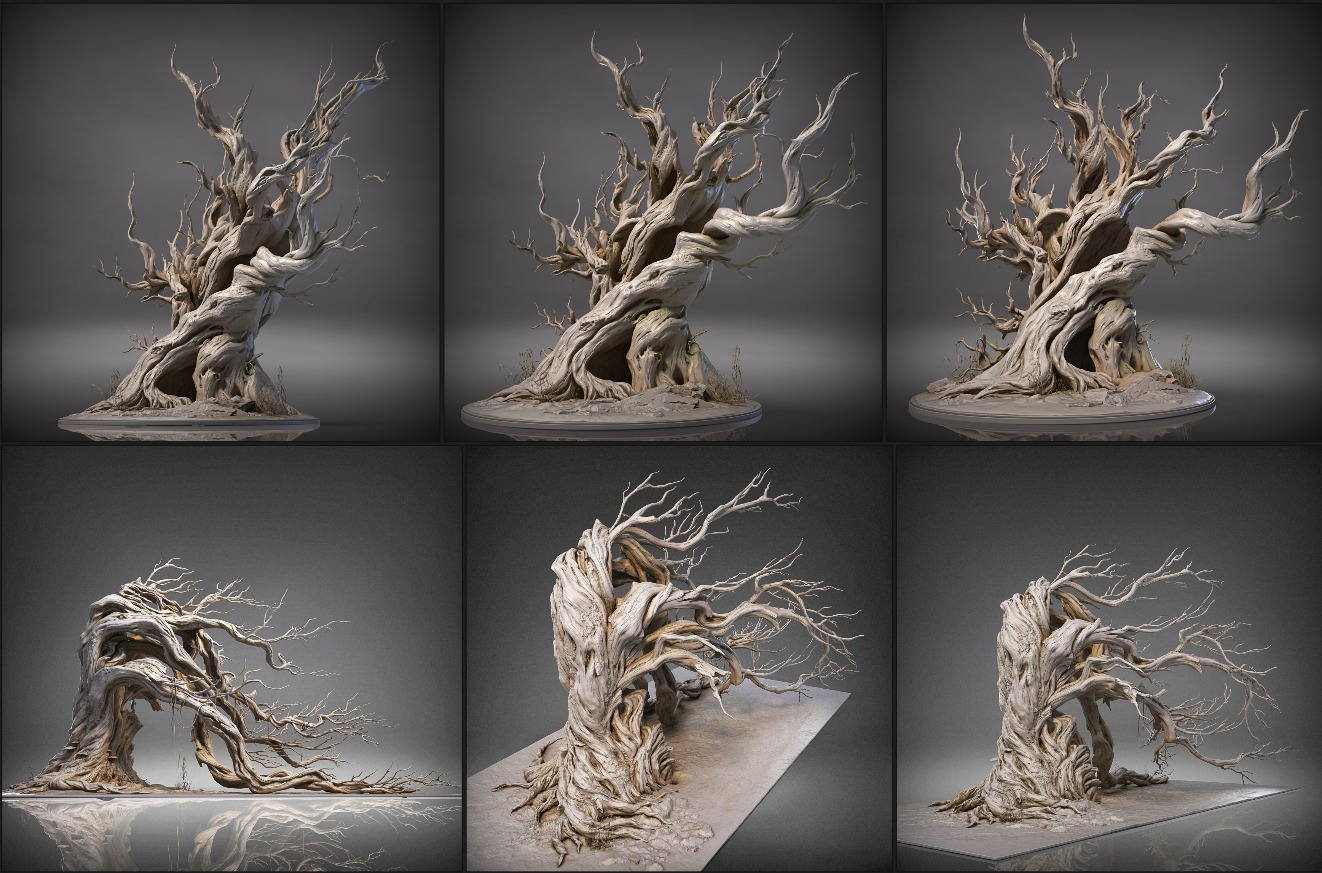
After gathering enough references, I have a clear idea of what each stage needs to look like, and we can get started on the actual production.
Modelling
Since the concept art was clear and well-structured, I chose to start directly in ZBrush using ZSpheres to block out the form.
In the early stages of sculpting, I keep the polygon count relatively low to make sure I don’t get pulled into details too early.
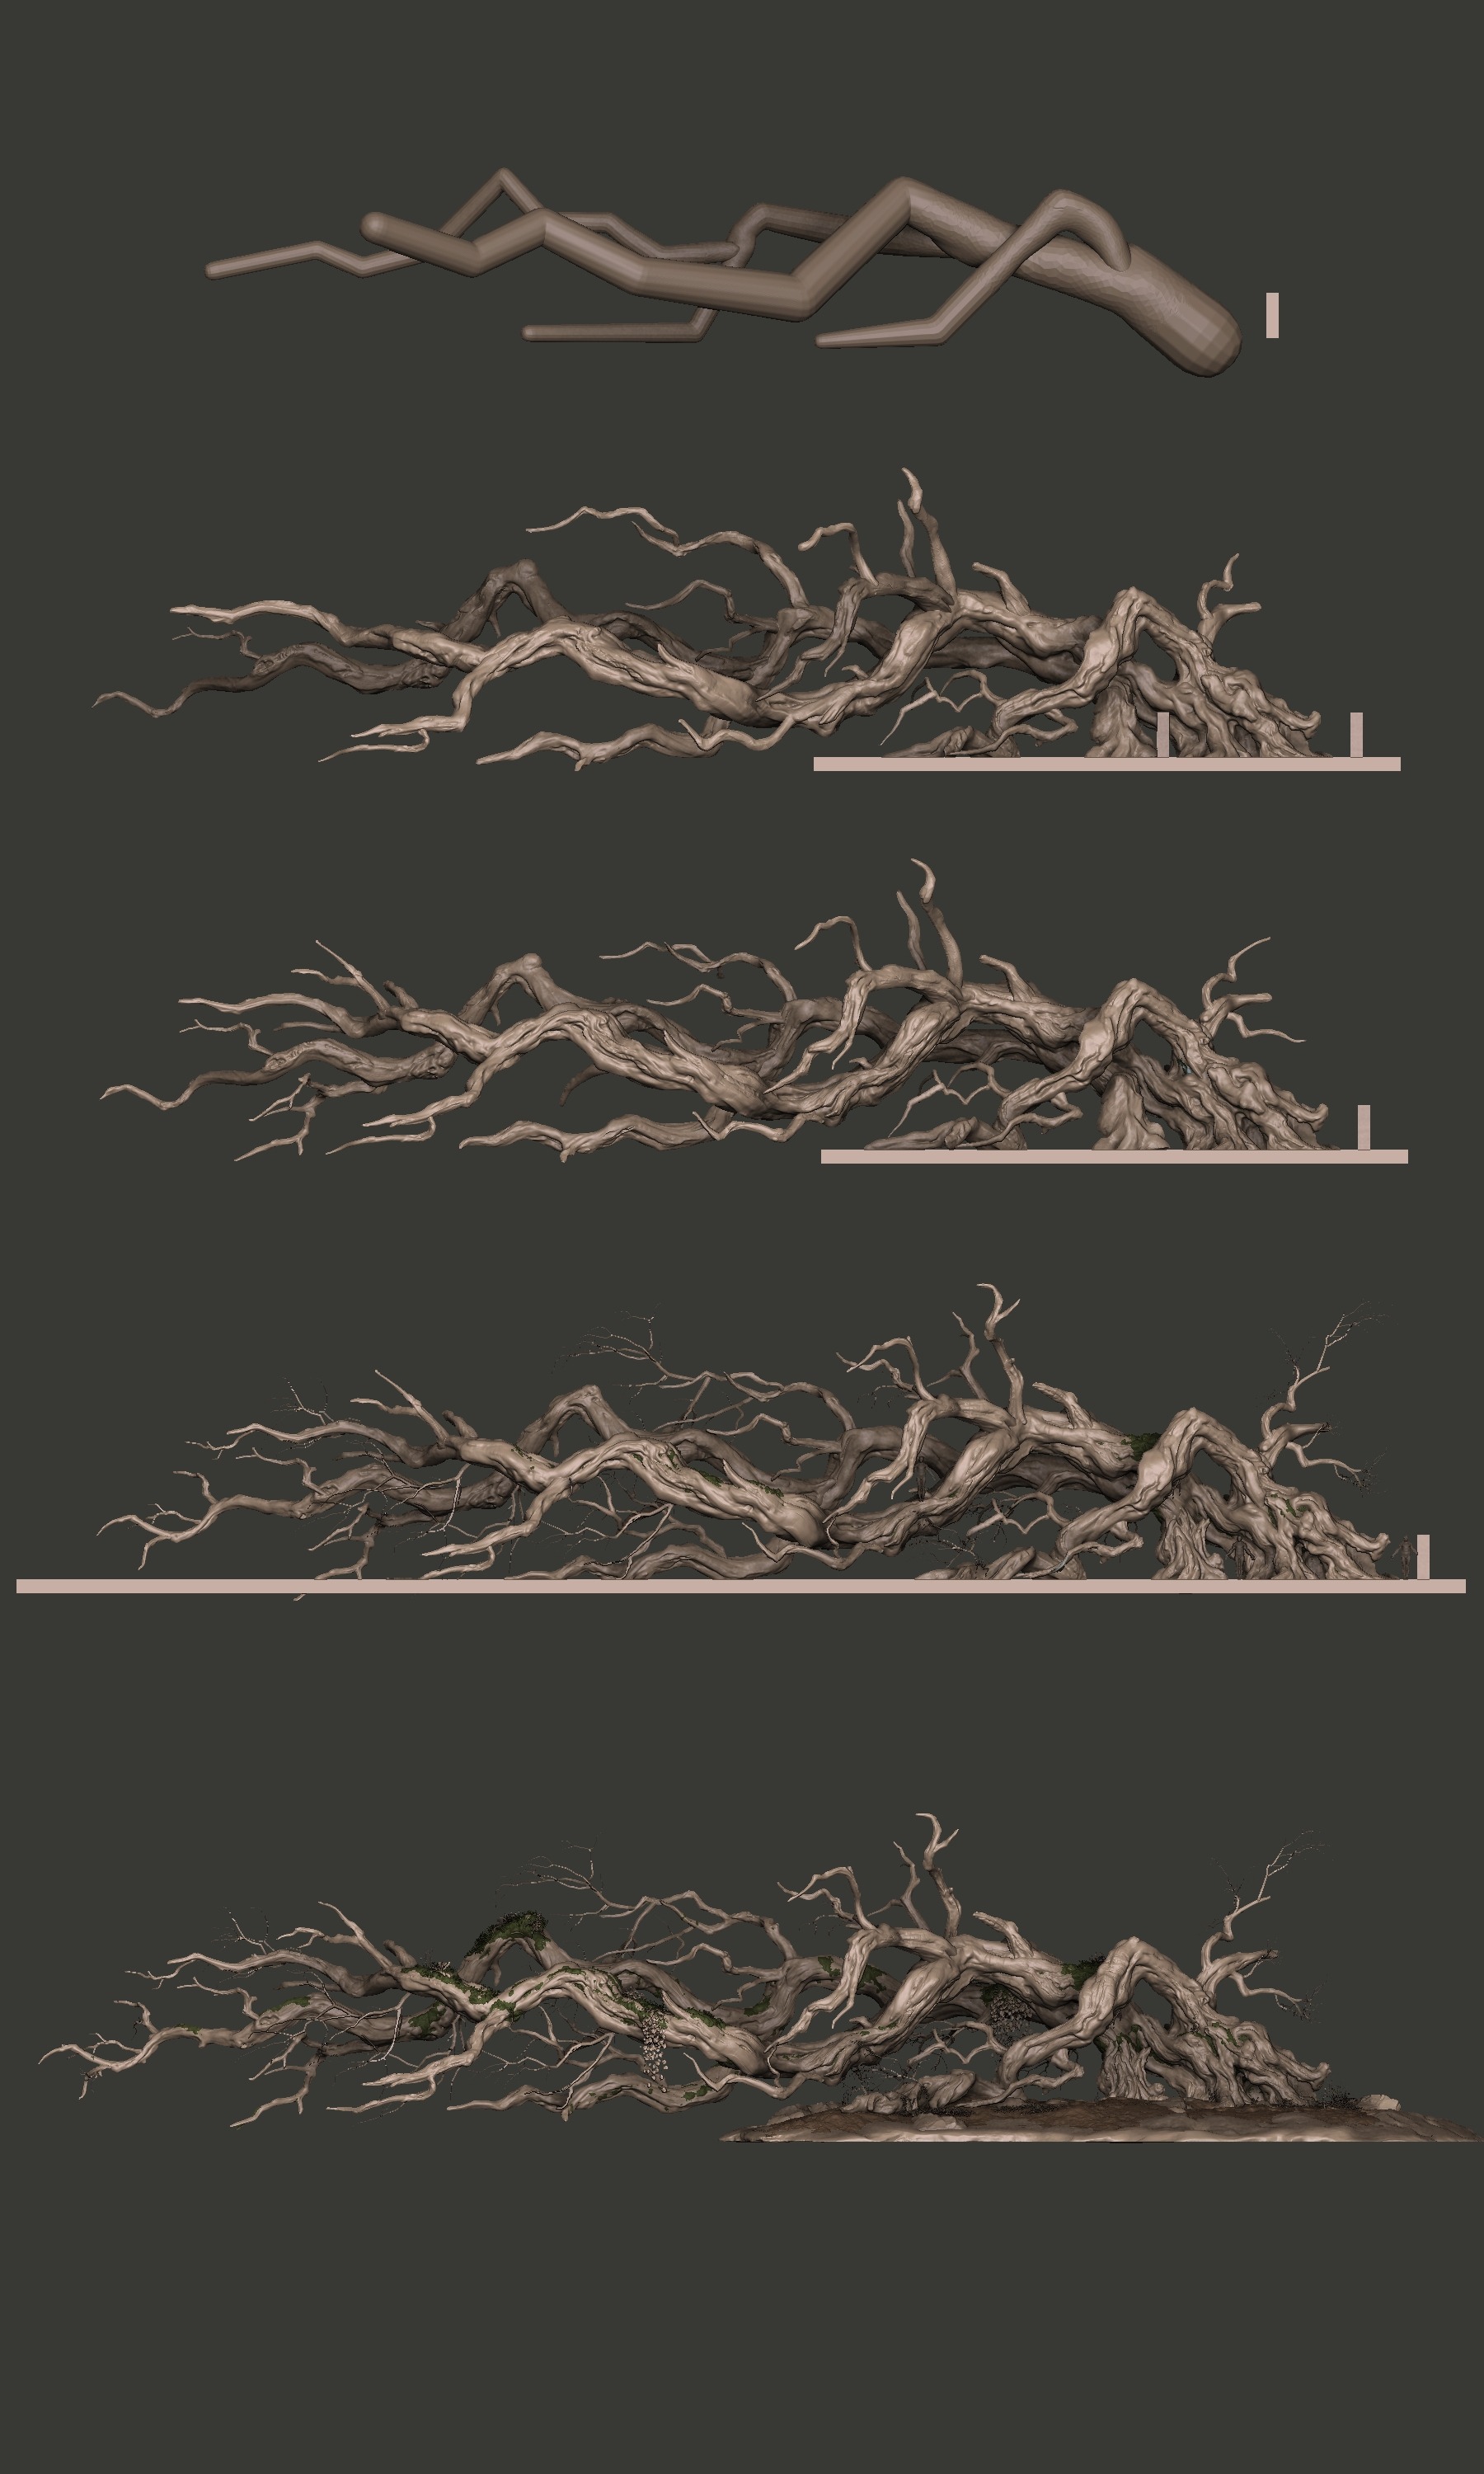
At this stage I prefer to use large brush strokes and turn off the pen tablet pressure sensitivity.
This way, each stroke produces clear structure. Using Sculptris Pro together with the Smooth brush helps me control the polygon count effectively. Below are the brushes and settings I used at this stage.
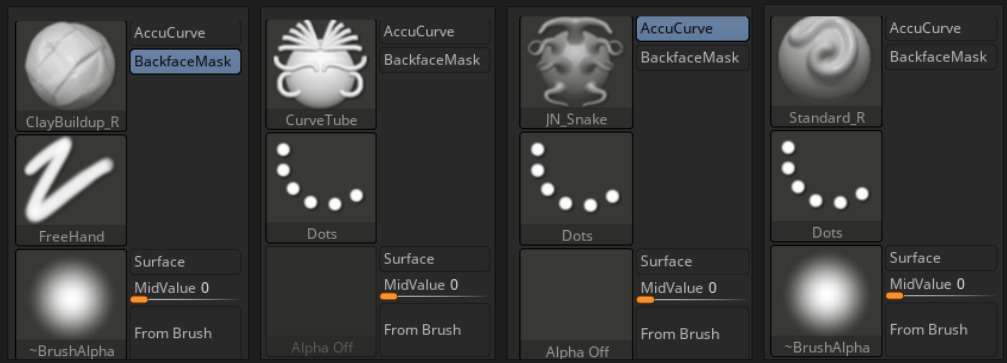
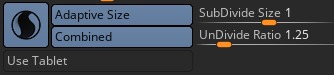
This is the stage where I spent the most time. During this phase, I only focused on the silhouette, flow, and structural layering of the model.
Similar to the example below, the main trunk has three layers – front, middle, and back – and the secondary and tertiary branches need to weave between these three layers, creating a sense of overlap and depth.
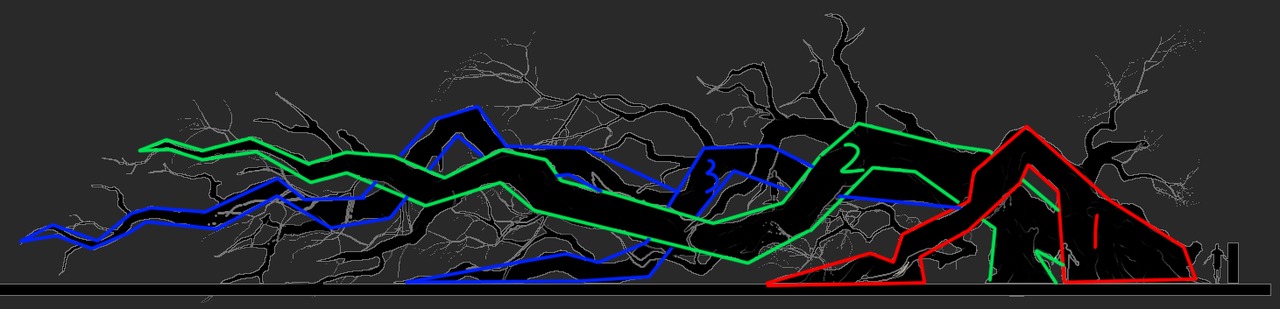
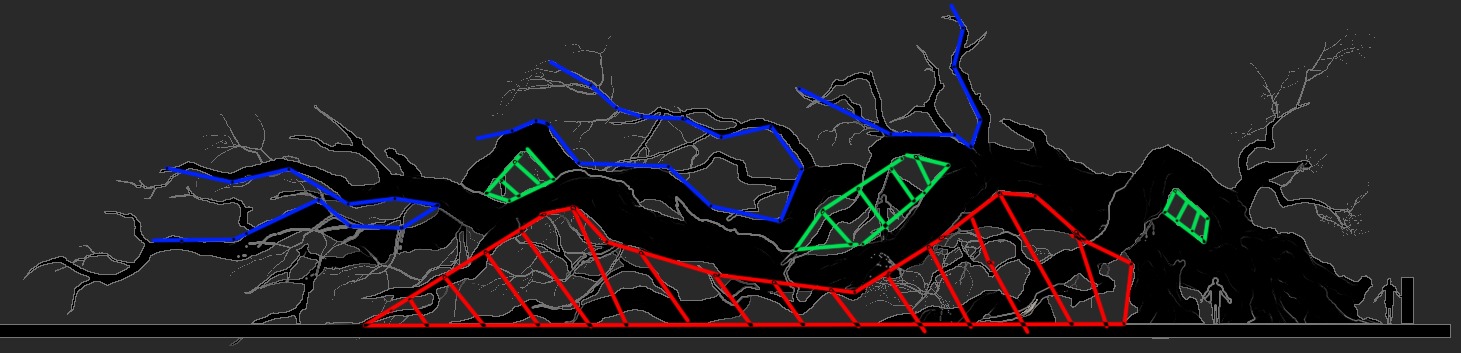
I also carefully shaped the negative spaces, paying attention to positive and negative forms, and managing the variety of sizes and shapes. In this case, the concept artist had already handled this for us. I only needed to maintain the original design while adding a small amount of my own ideas.
While working on the silhouette, I also refined the internal structure of the model at the same time.
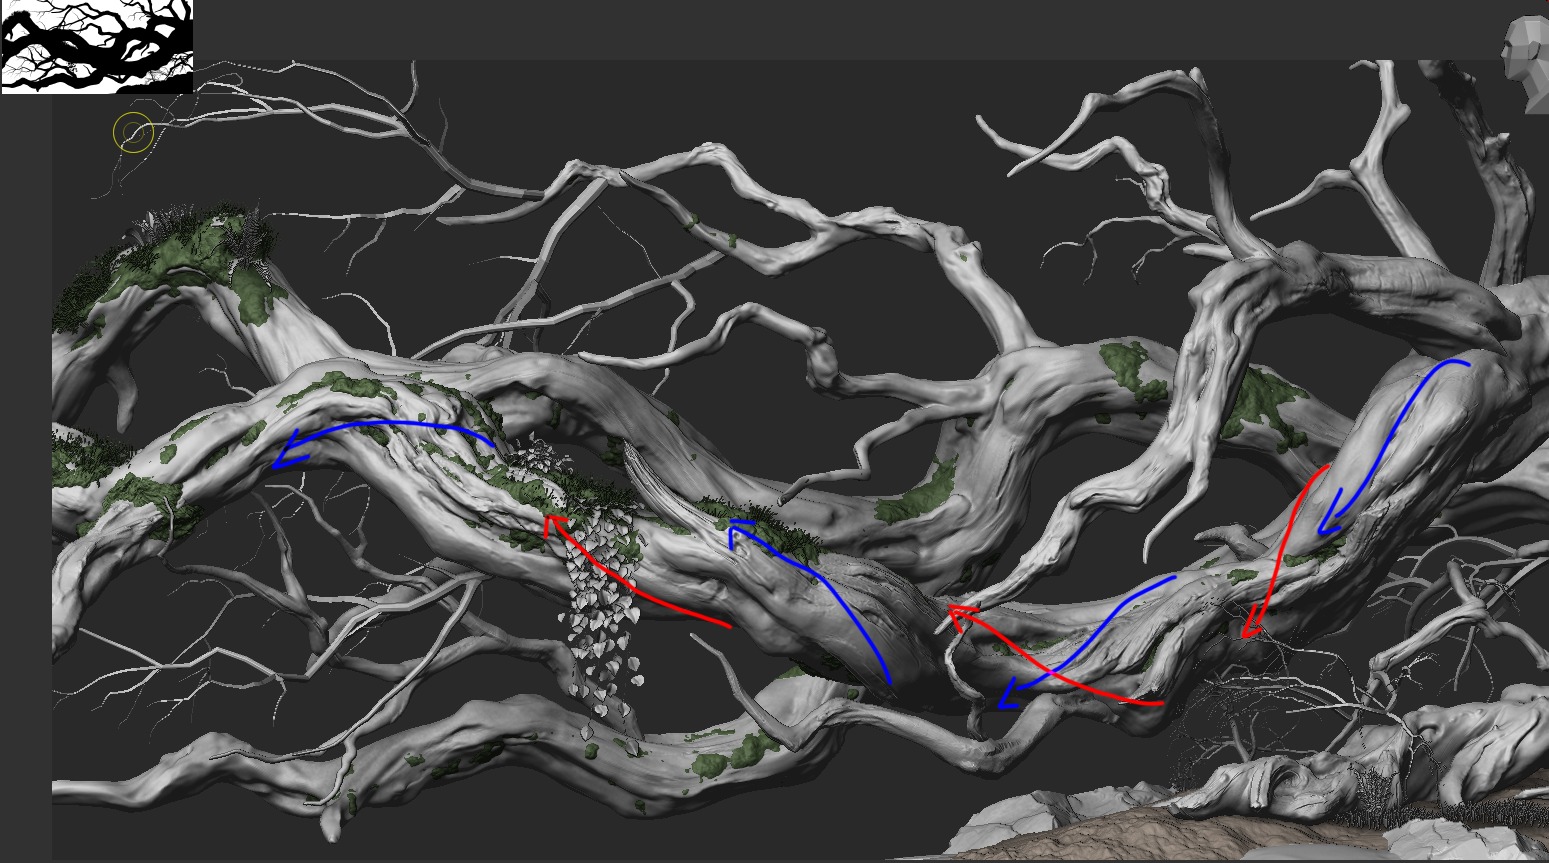
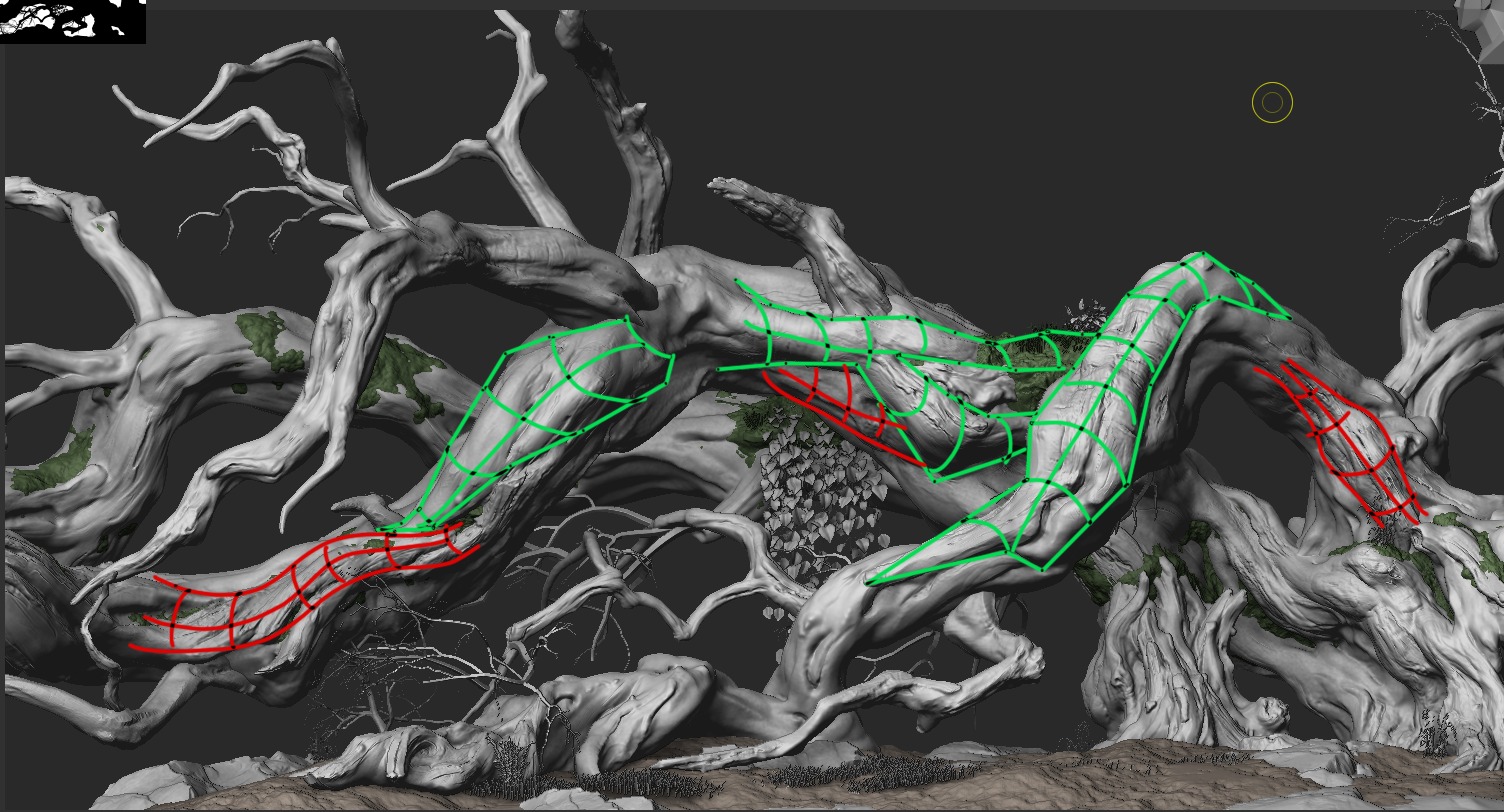
This is where there is more room for creative input. Referencing the material gathered earlier, I worked on creating interweaving effects between the areas shown in green and red below – this strengthens the twisted, flowing feel of the vine and ultimately makes the model feel more three-dimensional.
An important thing to keep in mind is the sense of scale – without a human figure for comparison, can you still tell how large the model is?
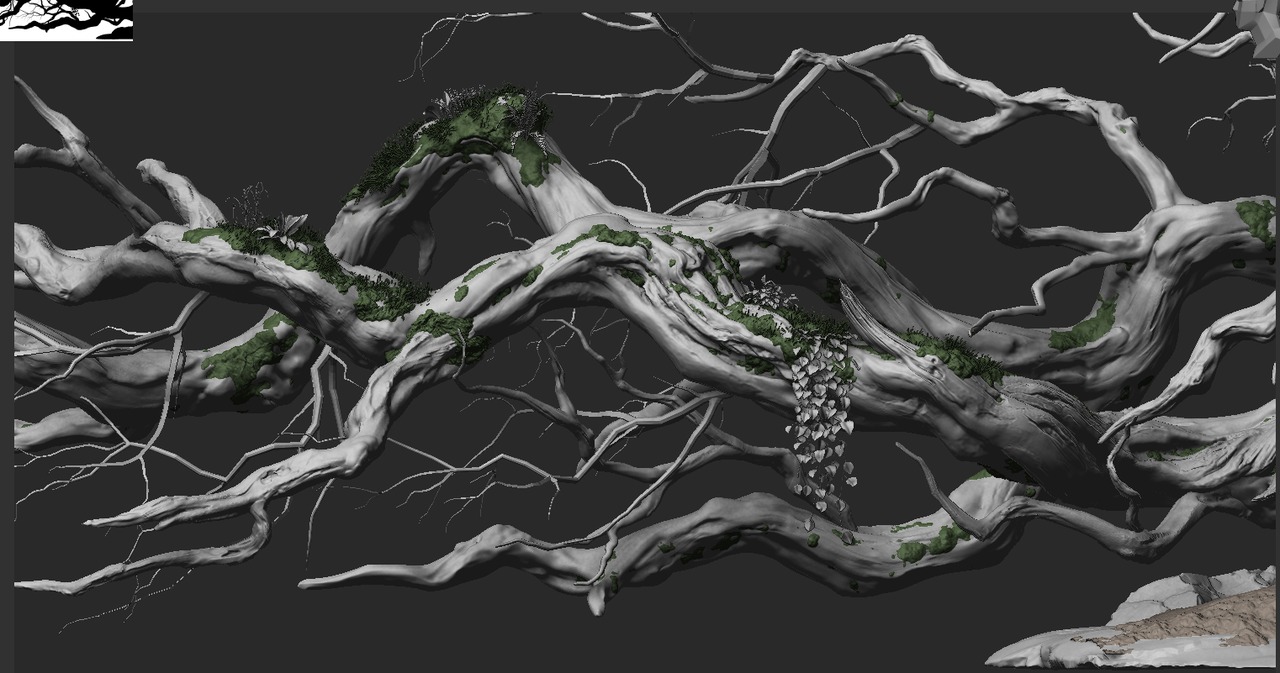
Once the silhouette and structure were complete, I began adding details. This is also how you increase the overall finish of the model.
AT this stage, I paid close attention to the logic and distribution of details – I tend to concentrate detail around structural transitions and areas where I want the viewer’s eye to linger. It’s important not to fill the entire surface with detail.
Low-Poly & Baking
Since this is a personal project, I used ZBrush’s automatic decimation feature, which saves a significant amount of time.
For baking, I used Marmoset Toolbag, as it handles AO and other base texture maps very well.
Texturing
I chose real scanned materials as my base textures to ensure the desired material effects could be achieved in Substance 3D Painter.
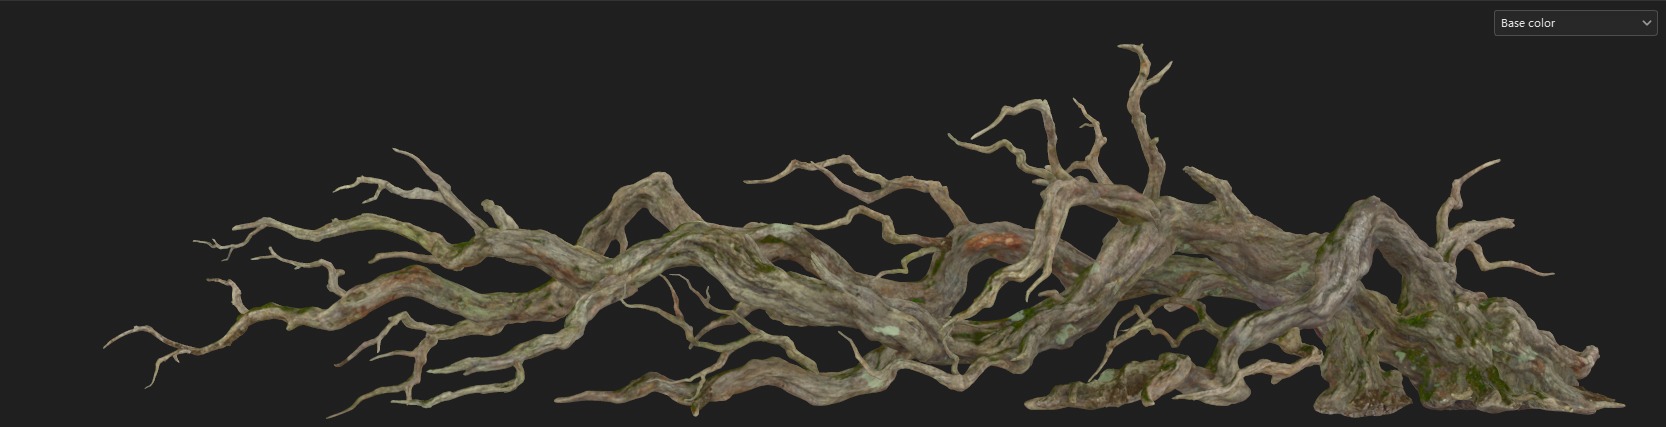
At this stage, I combined multiple types of bark, not only to break up the repetition of tiling textures but also to ensure the transitions between bark sections felt natural.
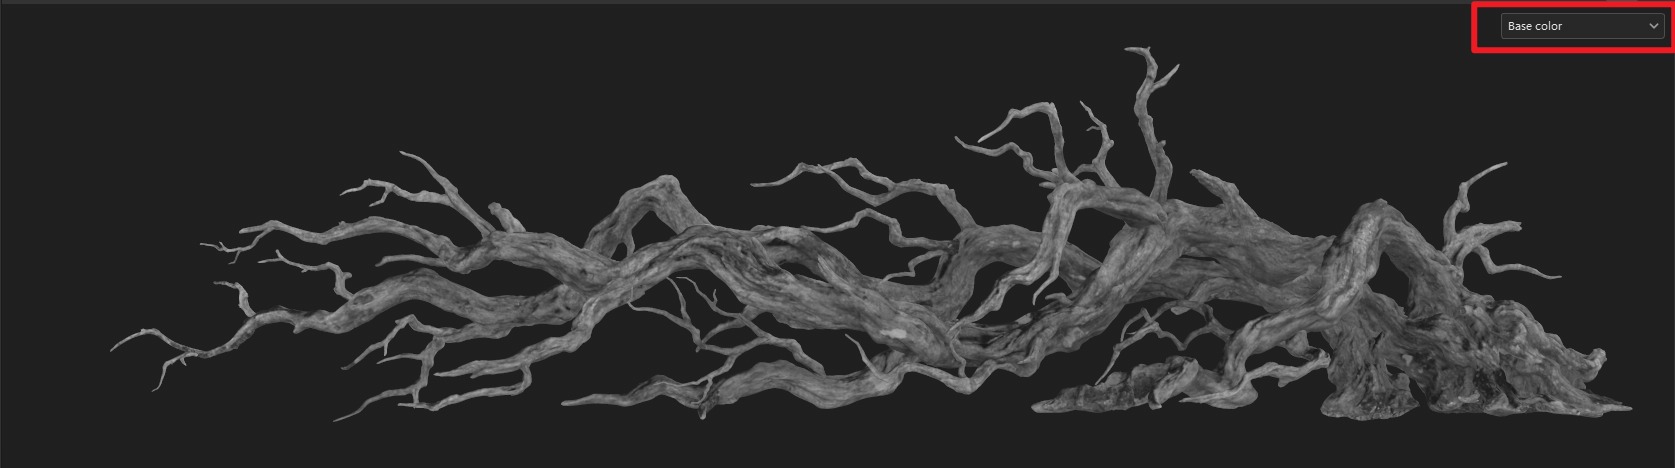
When creating the textures for the vine, the colour map is crucial. This stage is quite similar to traditional painting – while keeping the overall tone and value consistent, subtle colour variations are hidden within.
My preferred approach is to first check that the greyscale version of the texture has no jarring tonal jumps, and once that reads well, introduce a variety of hue shifts. The moss and other additional layers are added on top once the bark texture is finalised.
SpeedTree – Small Branches
Here I made heavy use of the Mesh Helper feature, placing virtual bones wherever I needed to add branches.

The number of branches needed in SpeedTree for this project was relatively small.
The main goal was simply to ensure the newly added small branches didn’t disrupt the overall composition that had already been established.

I also created some grass and small shrubs in SpeedTree.
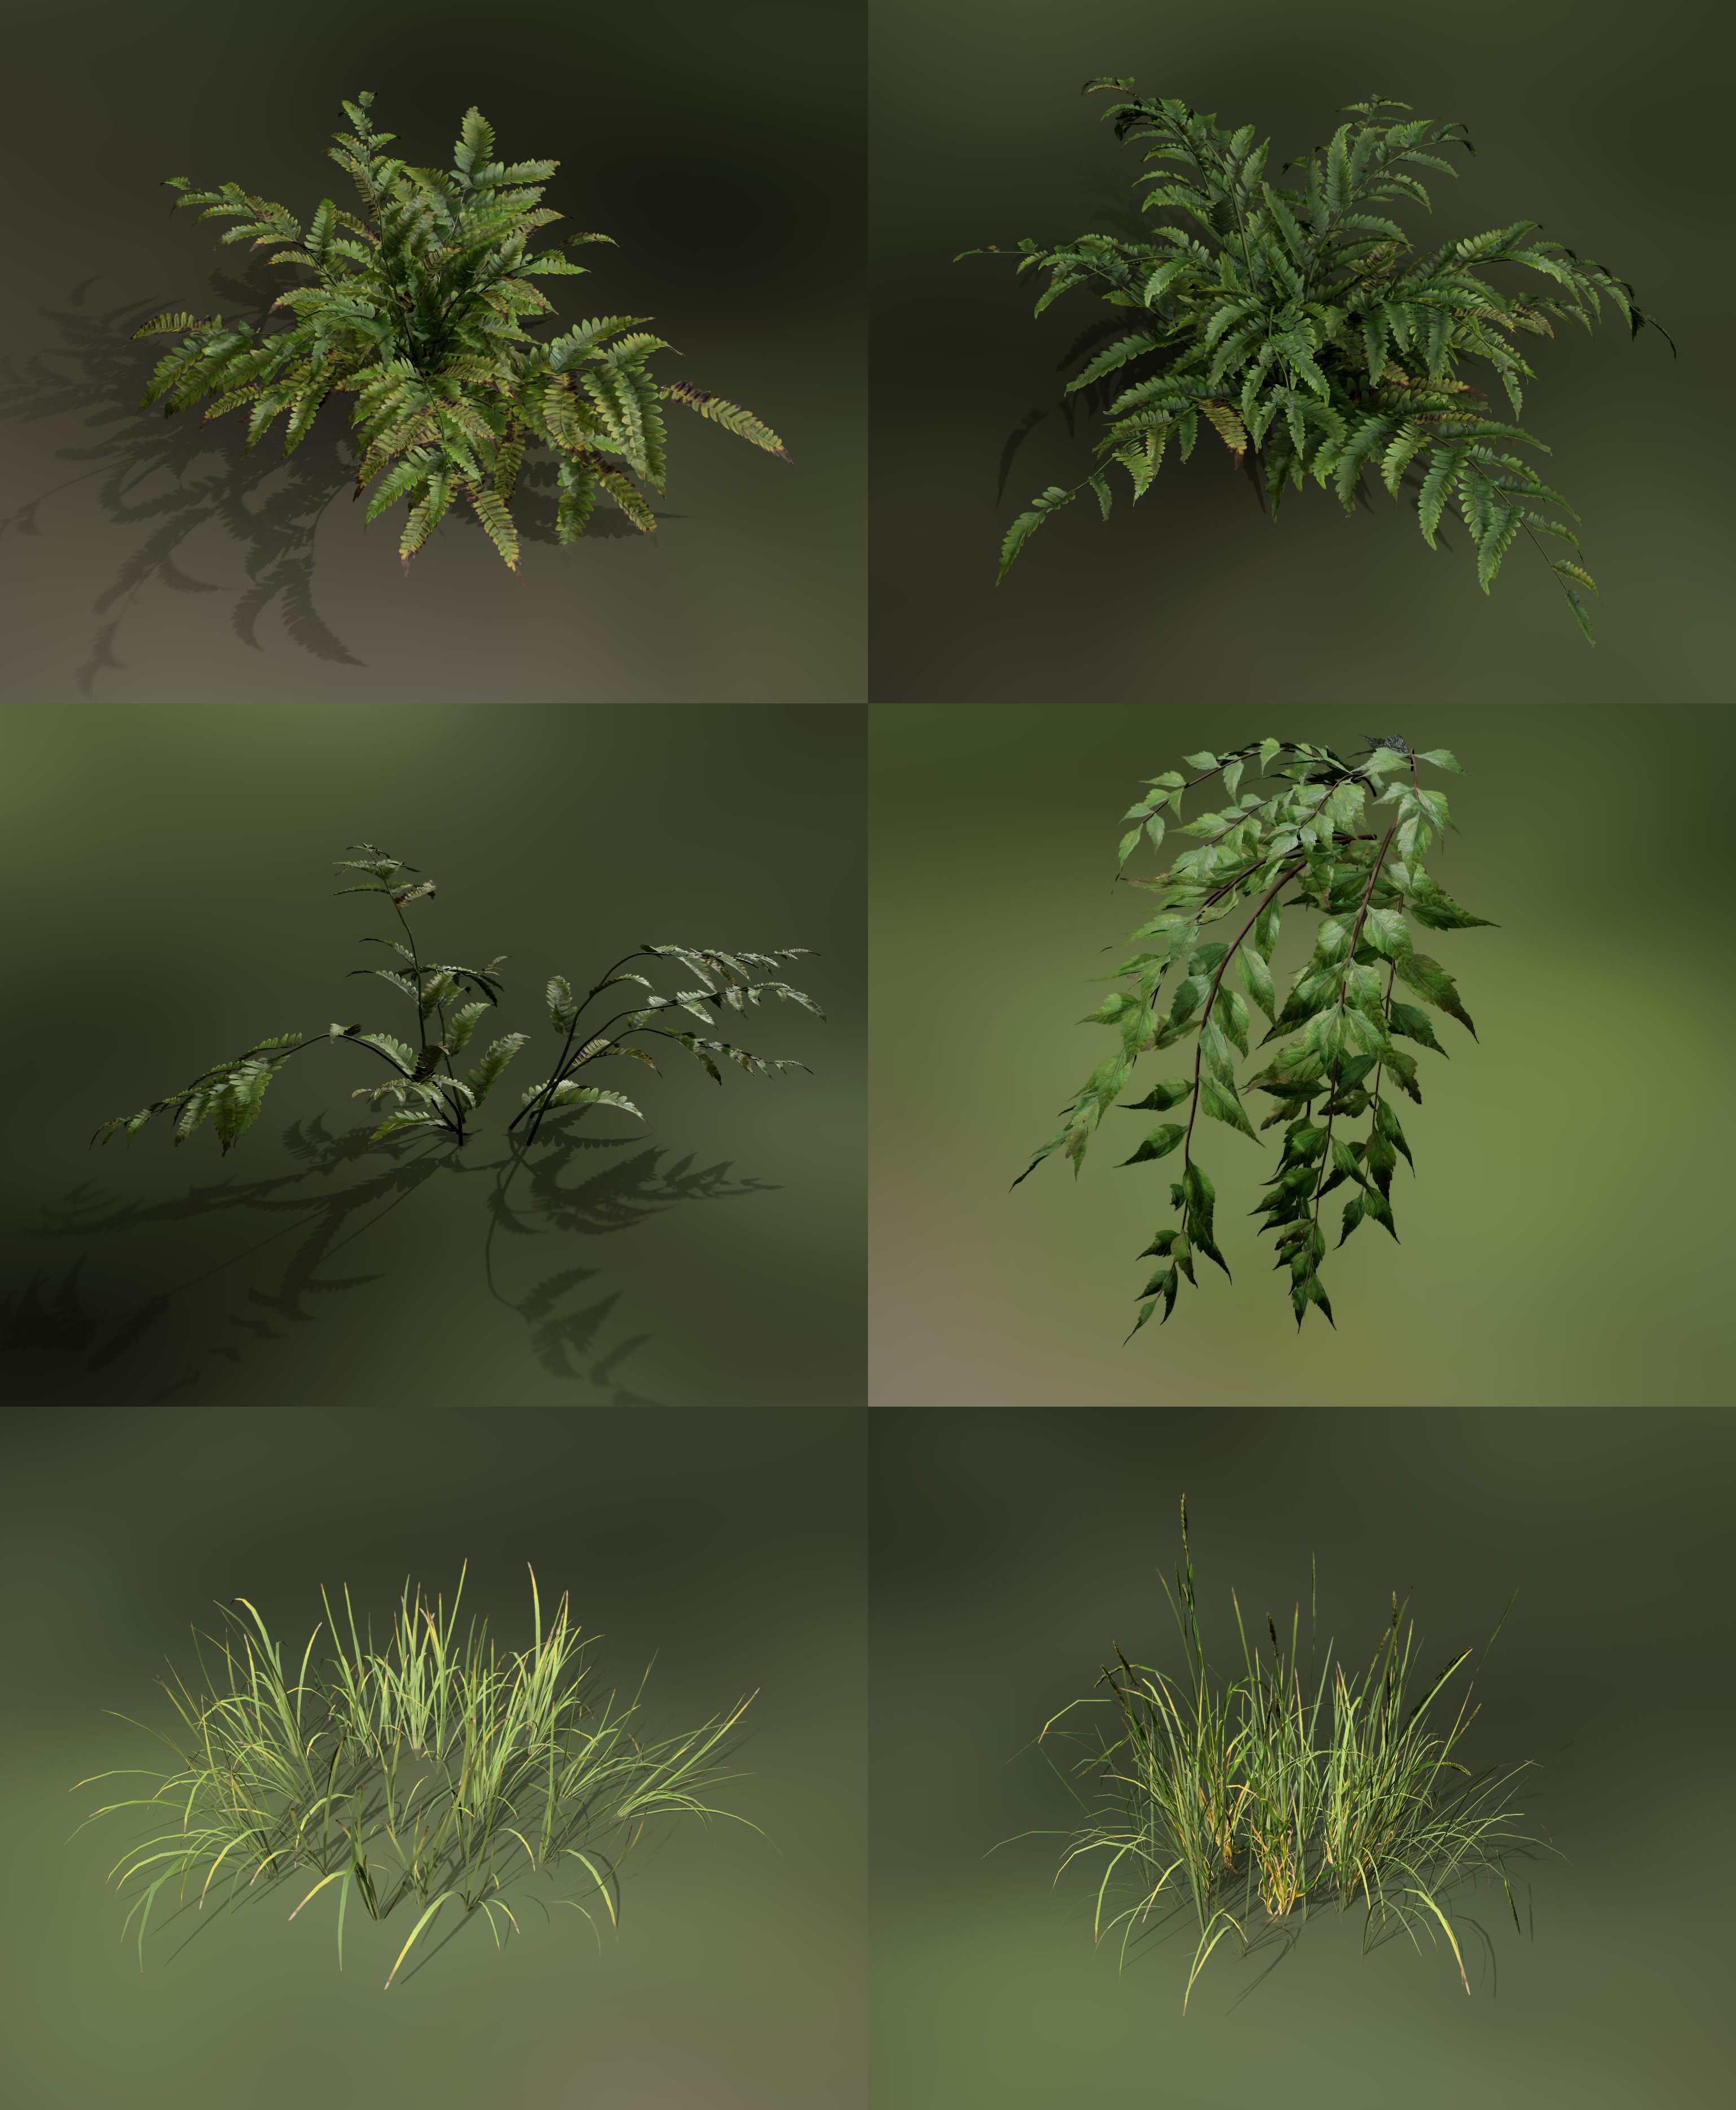
At this point, the modelling work was complete and all the necessary assets had been created. The final step was to bring everything together in UE5.
Unreal Engine Rendering
As this is an asset showcase, there is still a lot for me to learn on the rendering side – I’d love to exchange ideas with others on this.
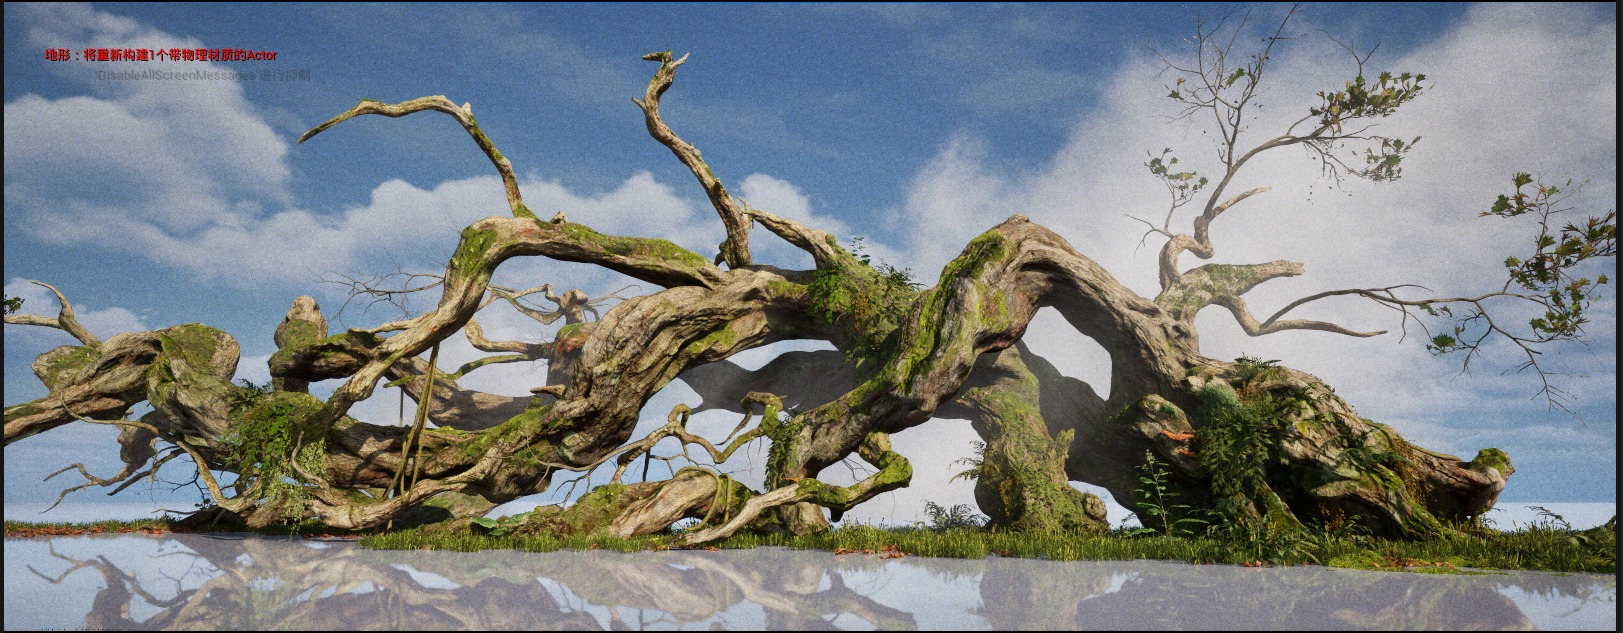
At this stage I needed to bring to life the vibrant vegetation seen in the original concept art, so I added moss, foliage, and other elements. These also helped to cover areas of the model that were difficult to resolve during the modelling stage.
For the sky, I used the UltraDynamicSky asset from the Epic Marketplace to make sure the background didn’t look too plain.
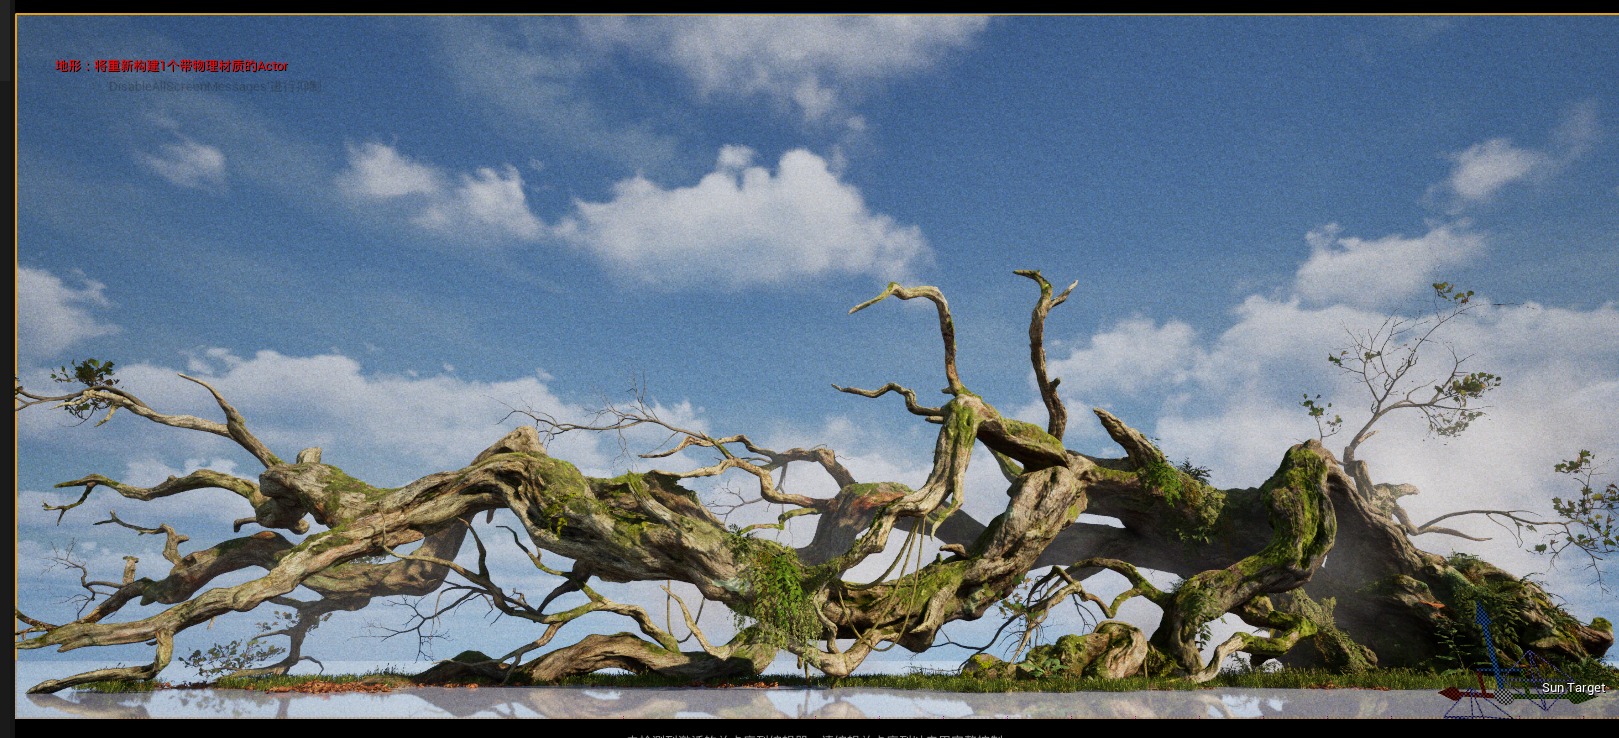
Volumetric moss is very difficult to convey through texture alone, so I used a combination of meshes and cards to simulate the fluffy appearance of moss.
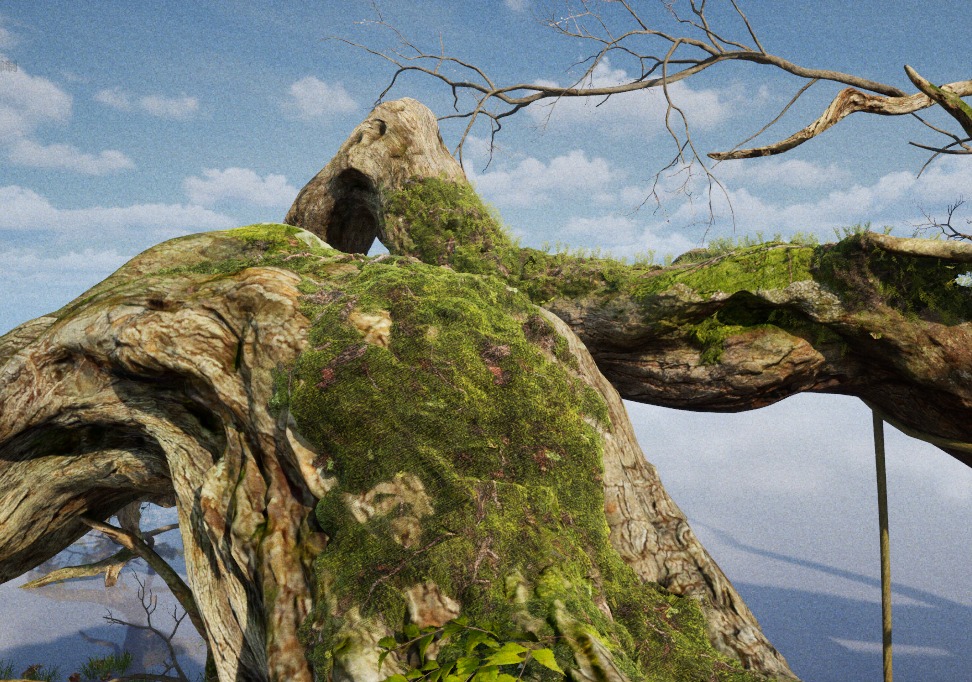
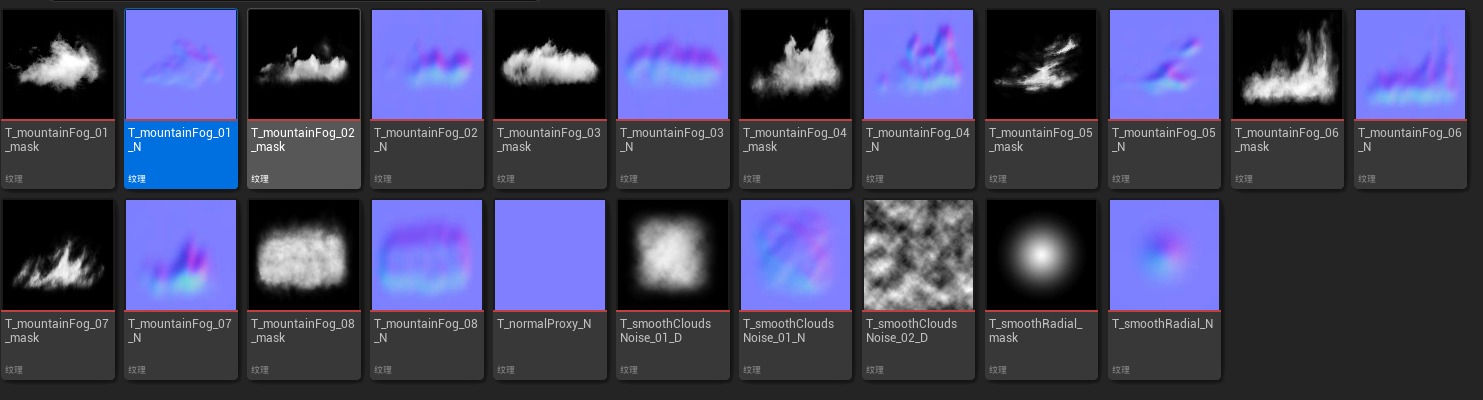
For the fog effect I used the EasyFog asset from the Epic Marketplace.
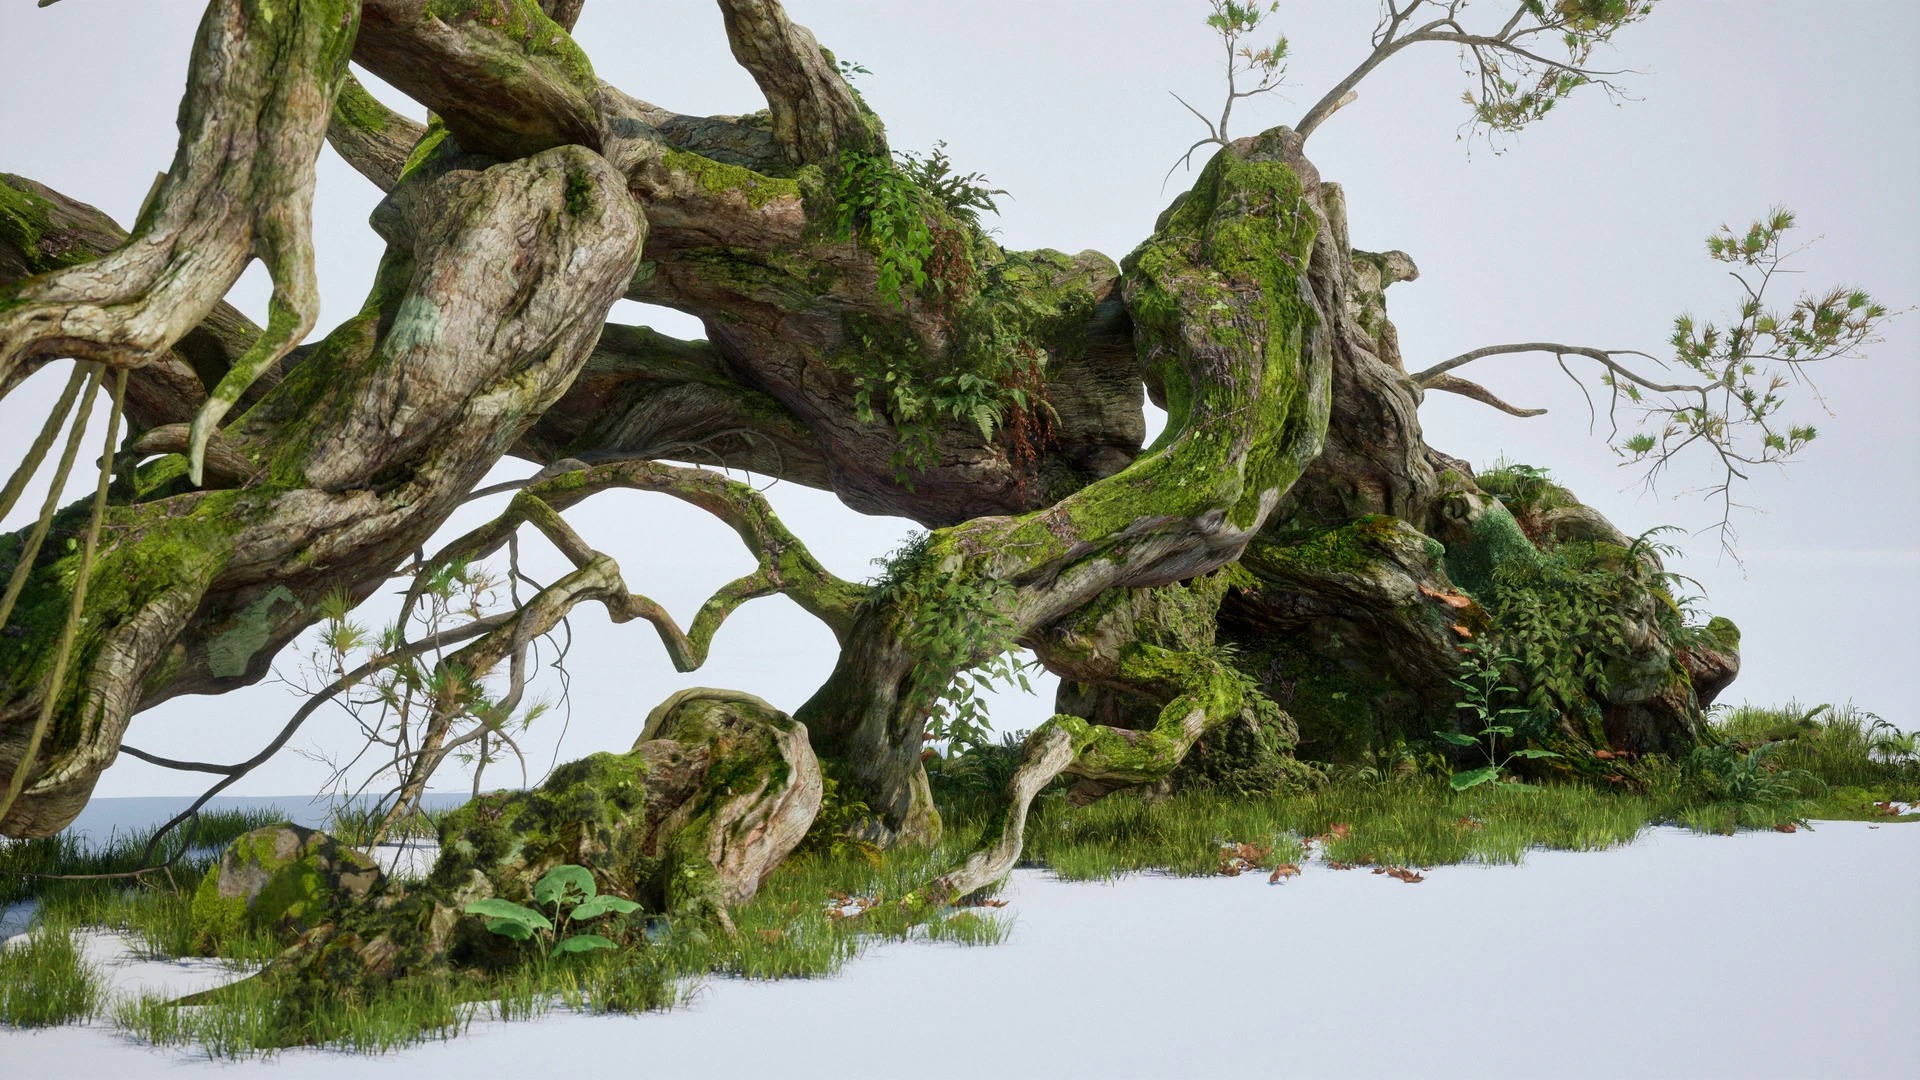
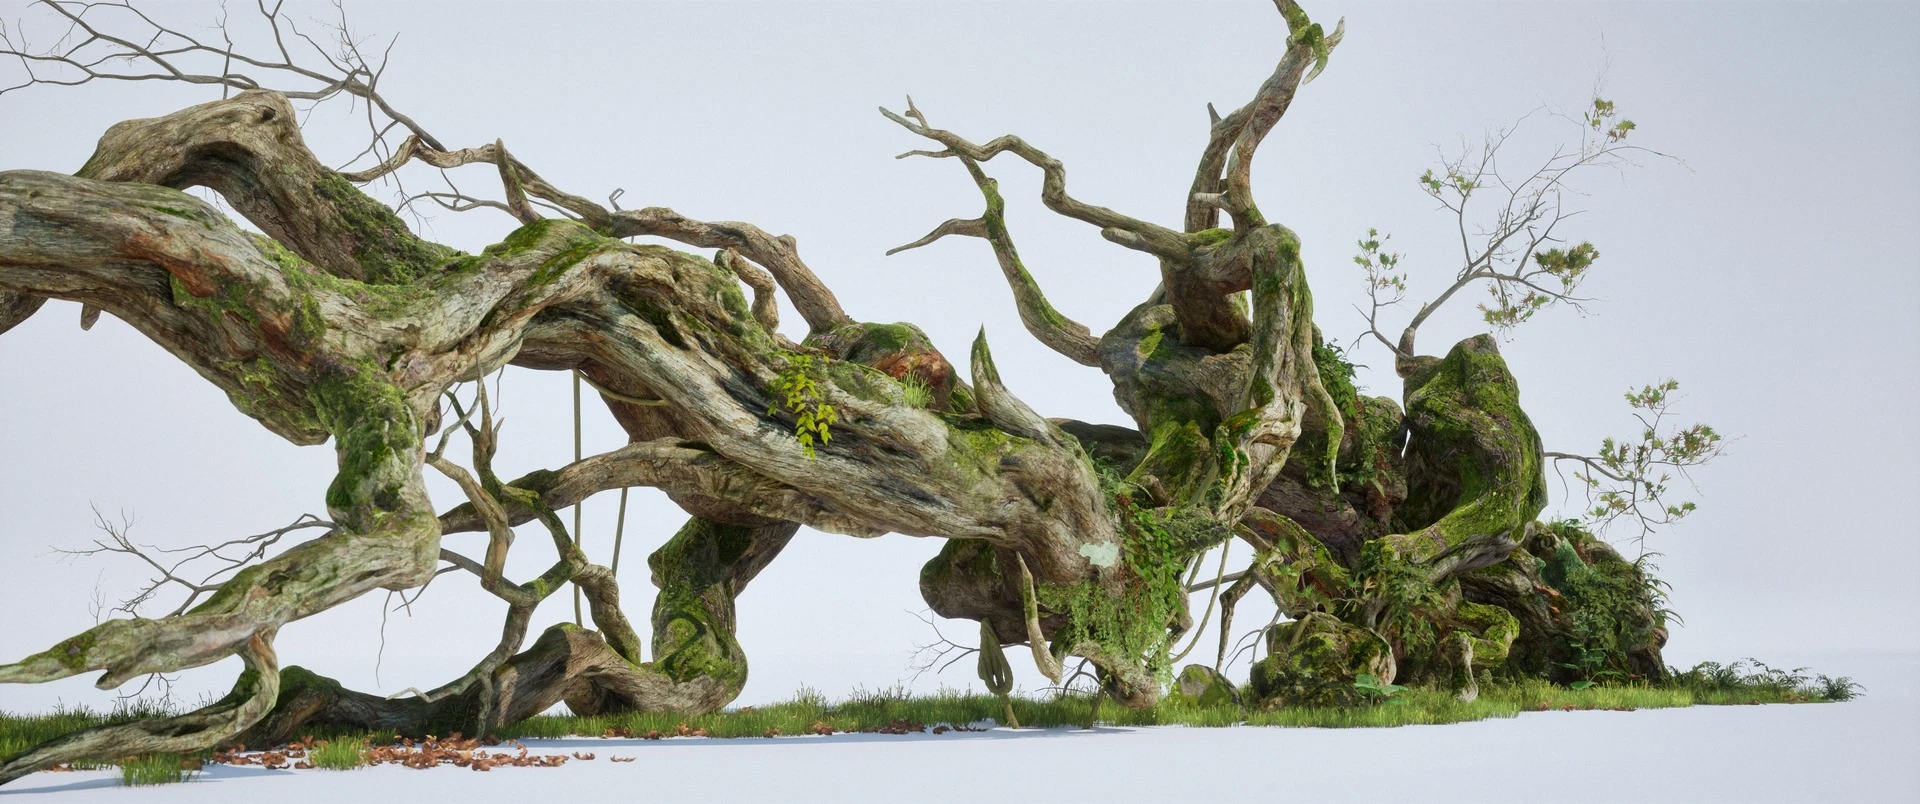
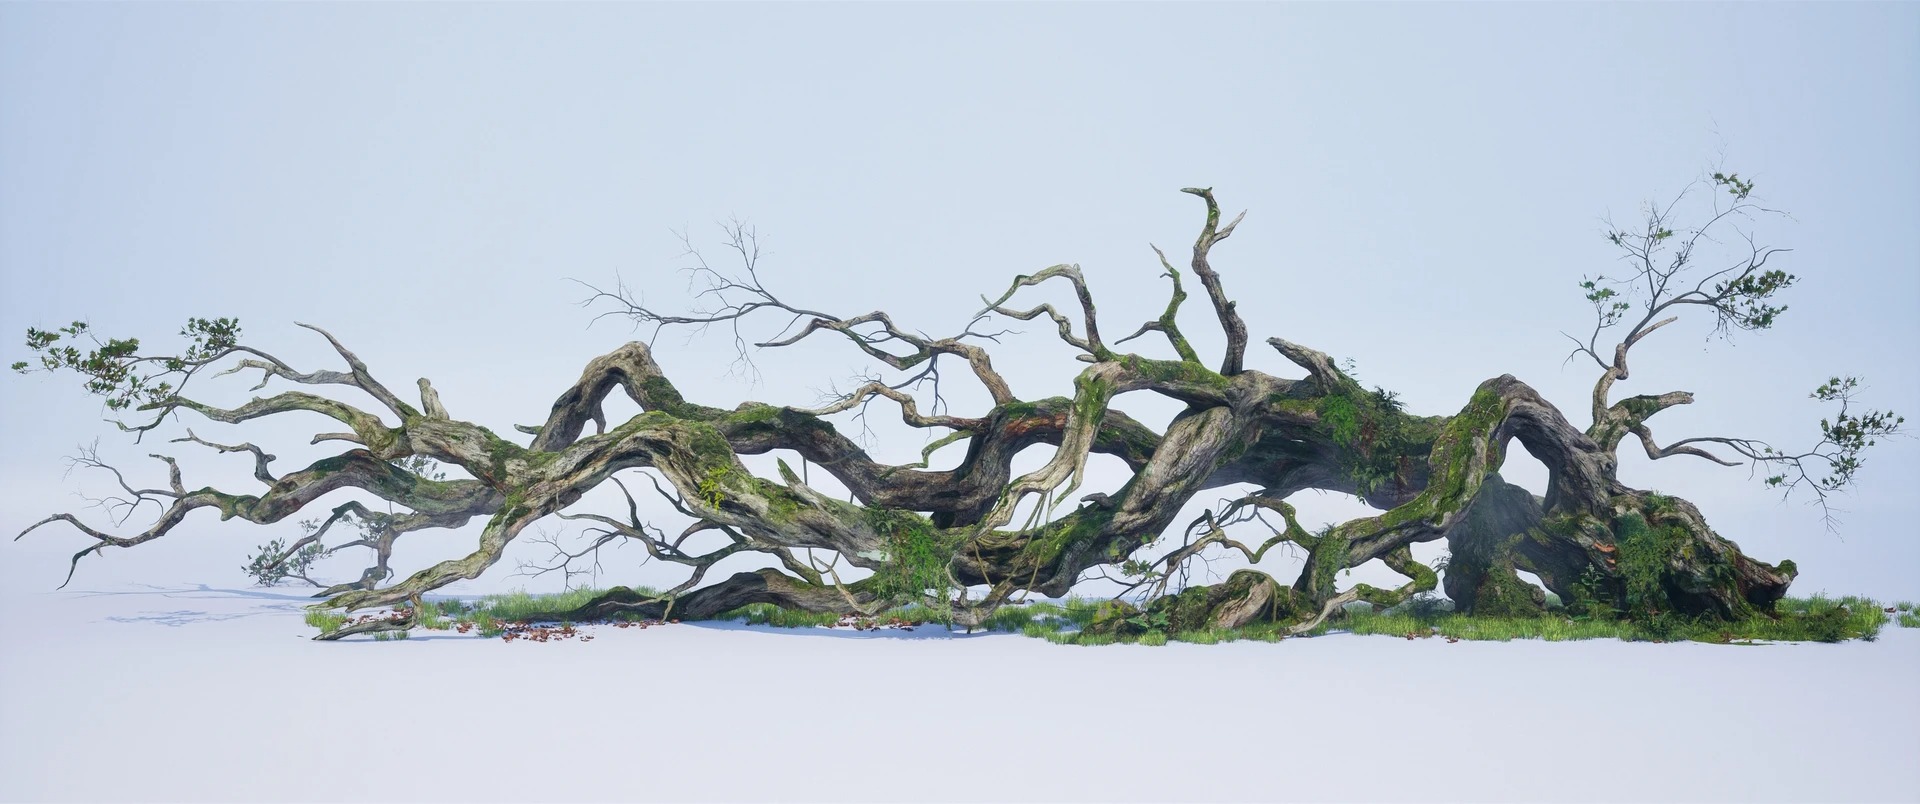
From there it was simply a matter of placing the smaller vegetation elements, choosing a favourite angle, and rendering the final screenshots.
Conclusion
The focus of this practice piece was high-poly sculpting, as well as getting an initial understanding of how to present a model in Unreal Engine.
There is still a lot for me to learn and I hope to keep improving and sharing more helpful content in the future. I hope this article has been useful to you, and thank you for reading.
Read more articles
You might also like these articles.