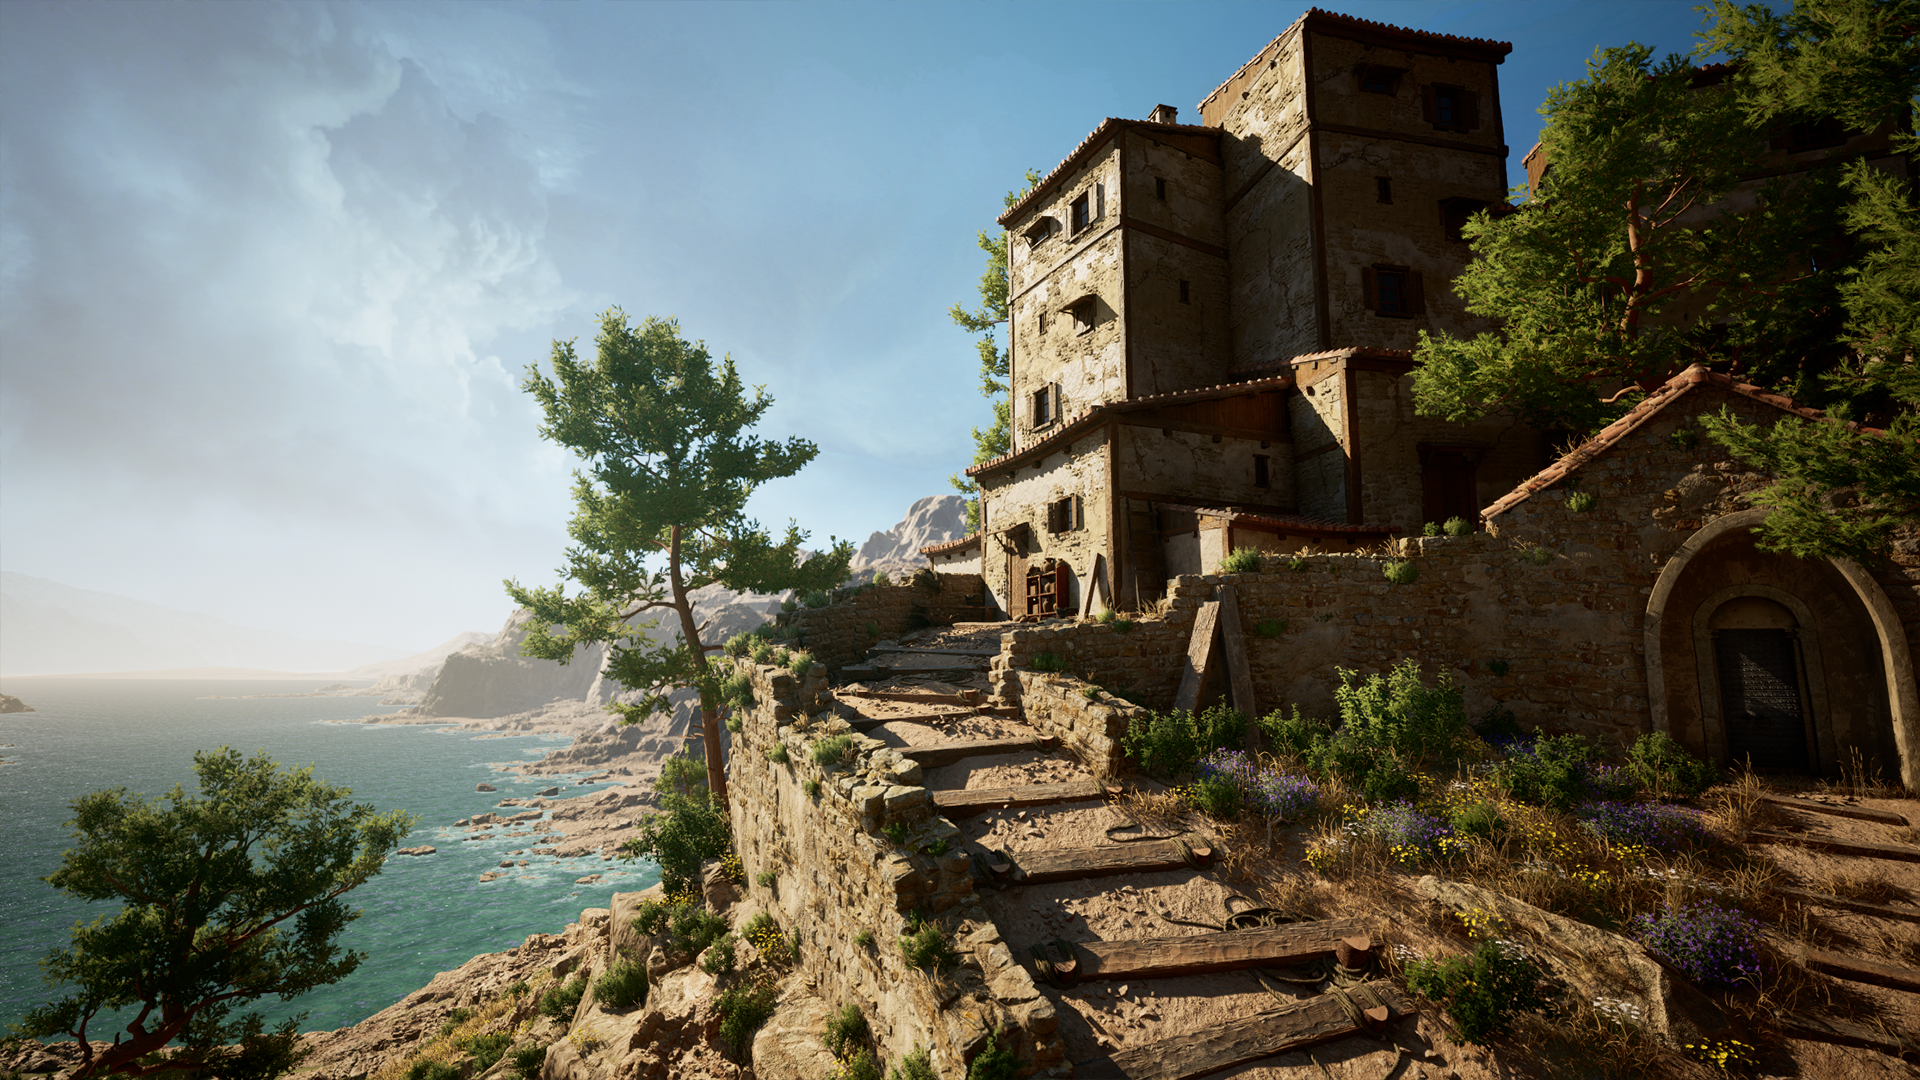
Vintage Telephone


Introduction
Hello everyone, my name is Slava Izvekov.
I’m a self-taught 3D Artist from Russia with over 5 years of experience in creating game assets.
My main specialization is hard-surface modelling and creating realistic props.
Project
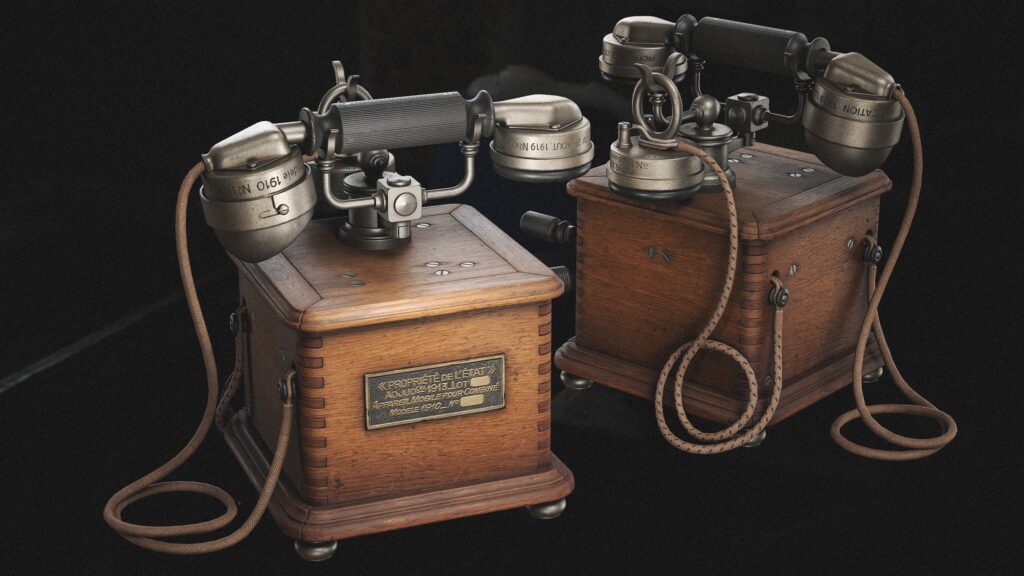
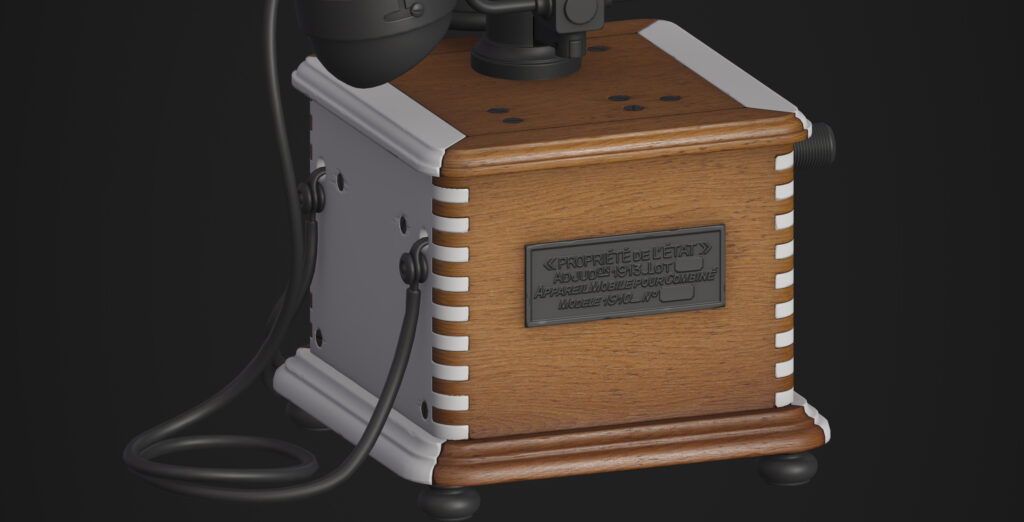
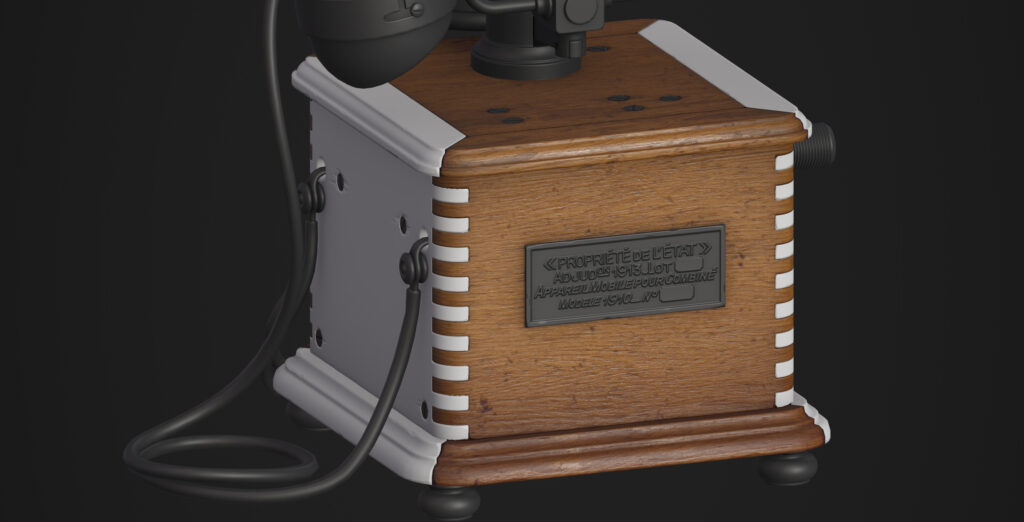
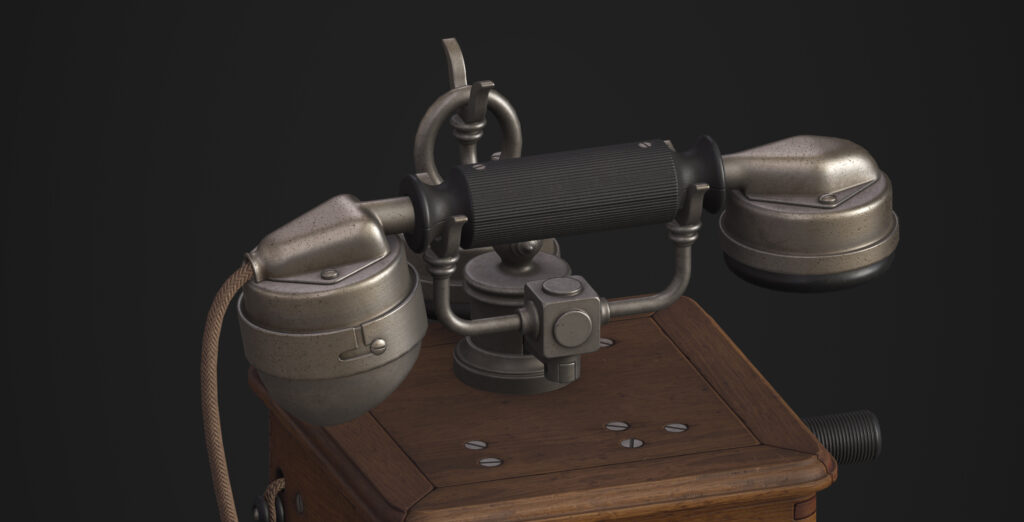
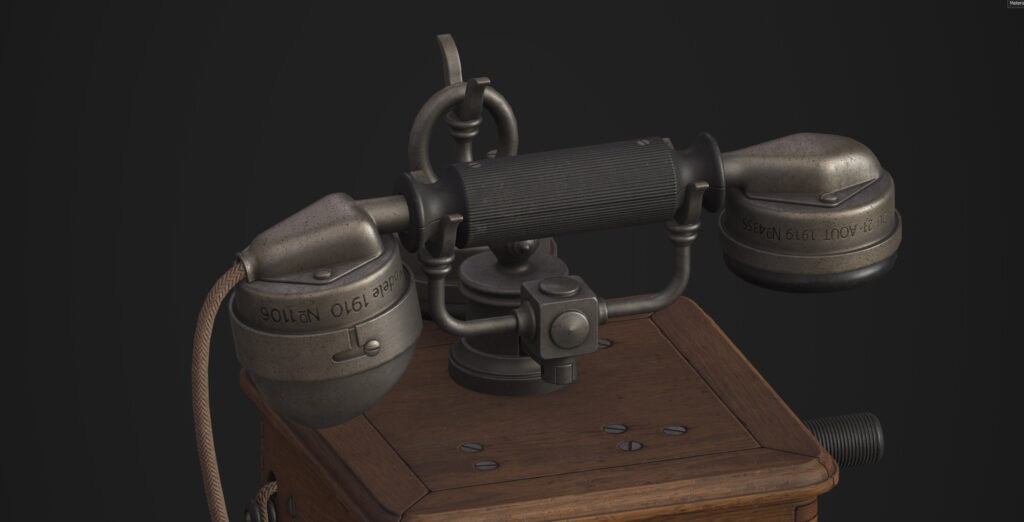
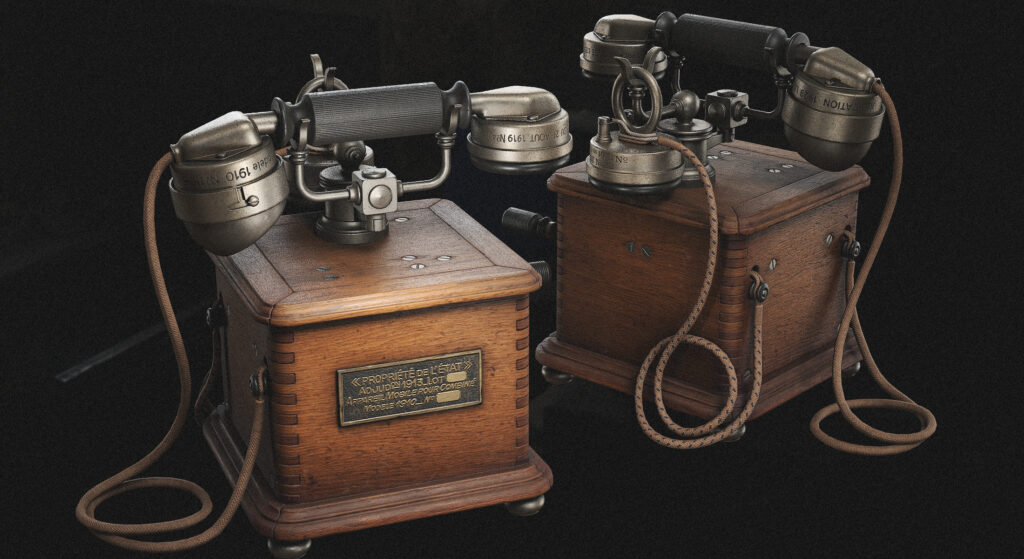
I often enjoy recreating objects that catch my eye, and one of them was this antique telephone.
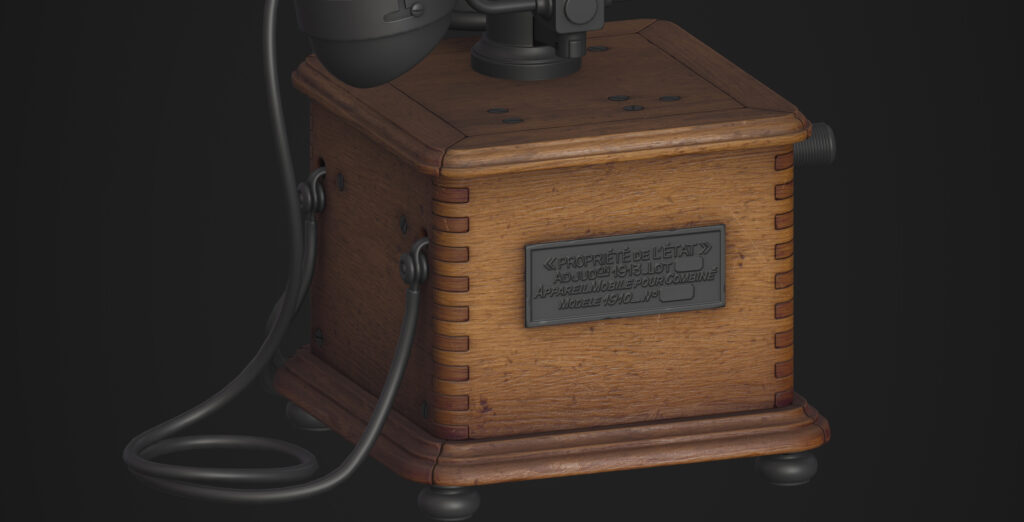
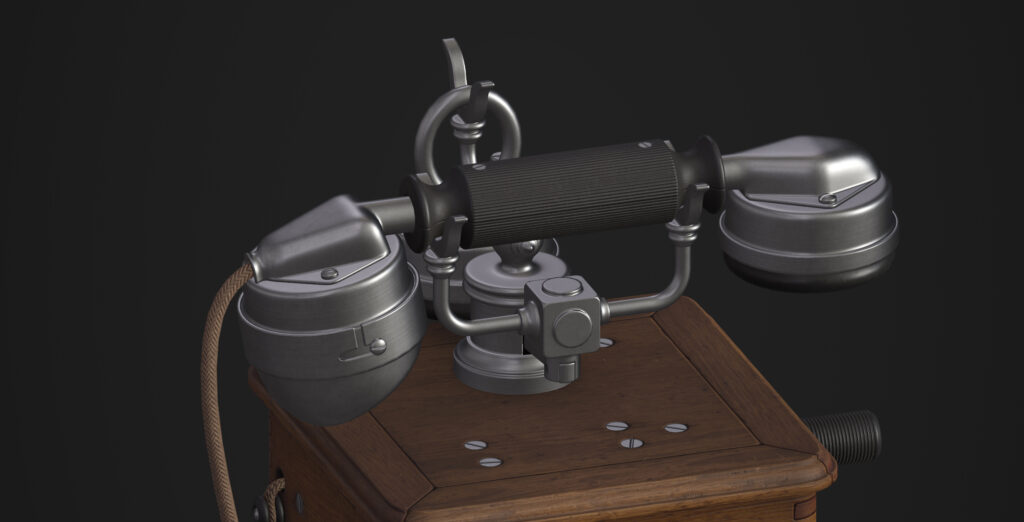
Its elegant design and combination of materials like wood and metal instantly drew me in, both visually appealing and a real pleasure to work with from a texturing and modeling perspective.
Main tools
- PureRef – Reference images.
- 3Ds Max – LP & HP Modelling.
- ZBrush – HP & Sculpting.
- RizomUV – UVs.
- Substance Painter – Texturing.
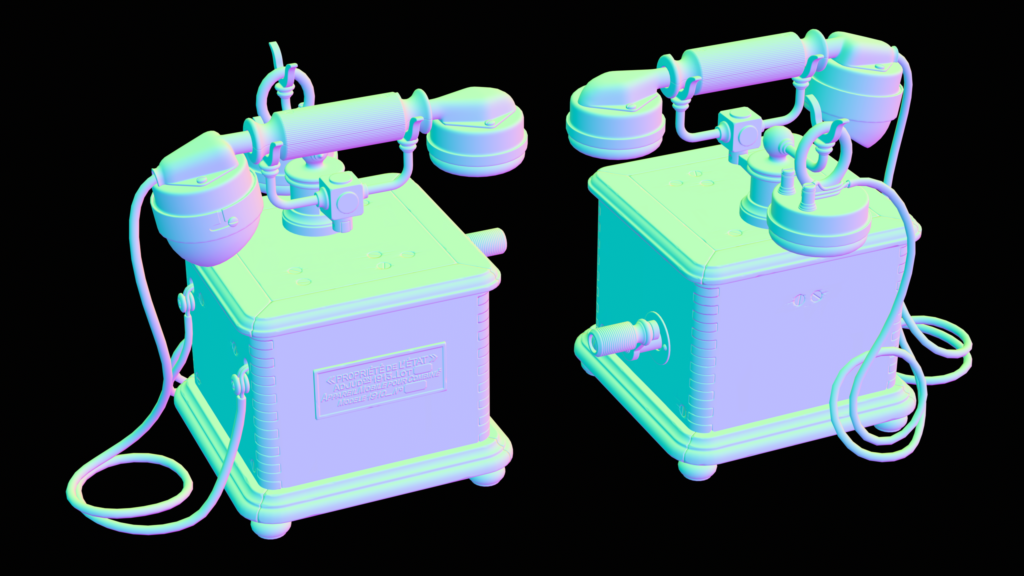
- Marmoset Toolbag – Baking textures & final rendering.
References
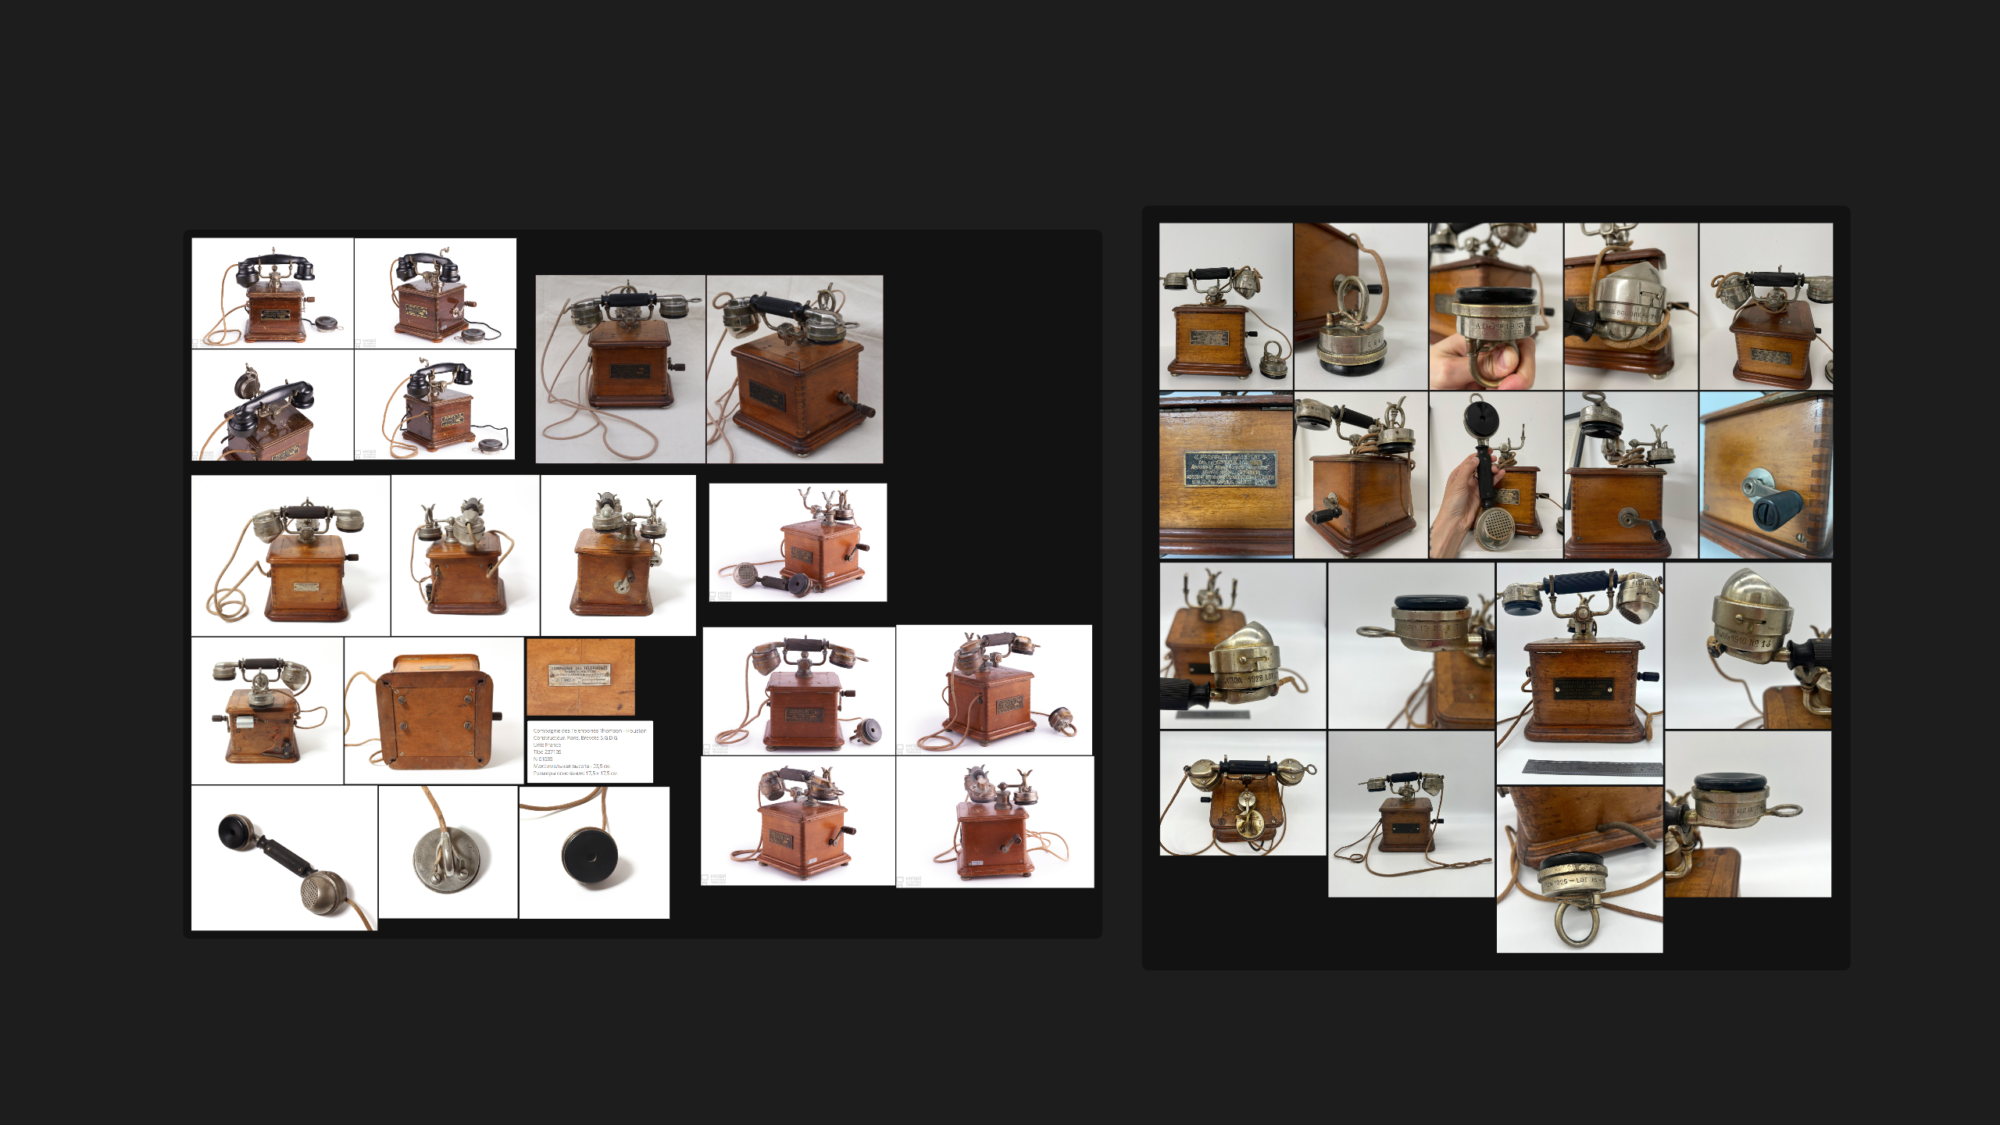
To gather references, I turned to various online flea markets and platforms that sell antique items.
I was able to find a lot of valuable images and details there, which greatly helped during the modeling process.
Modelling
It’s generally recommended to start by creating a blockout of the model to confidently set proportions and shape.
However, I prefer to dive straight into mid-poly modeling since I already have enough references and am familiar with the item’s dimensions. If any proportion issues arise, I usually address them as I go along.
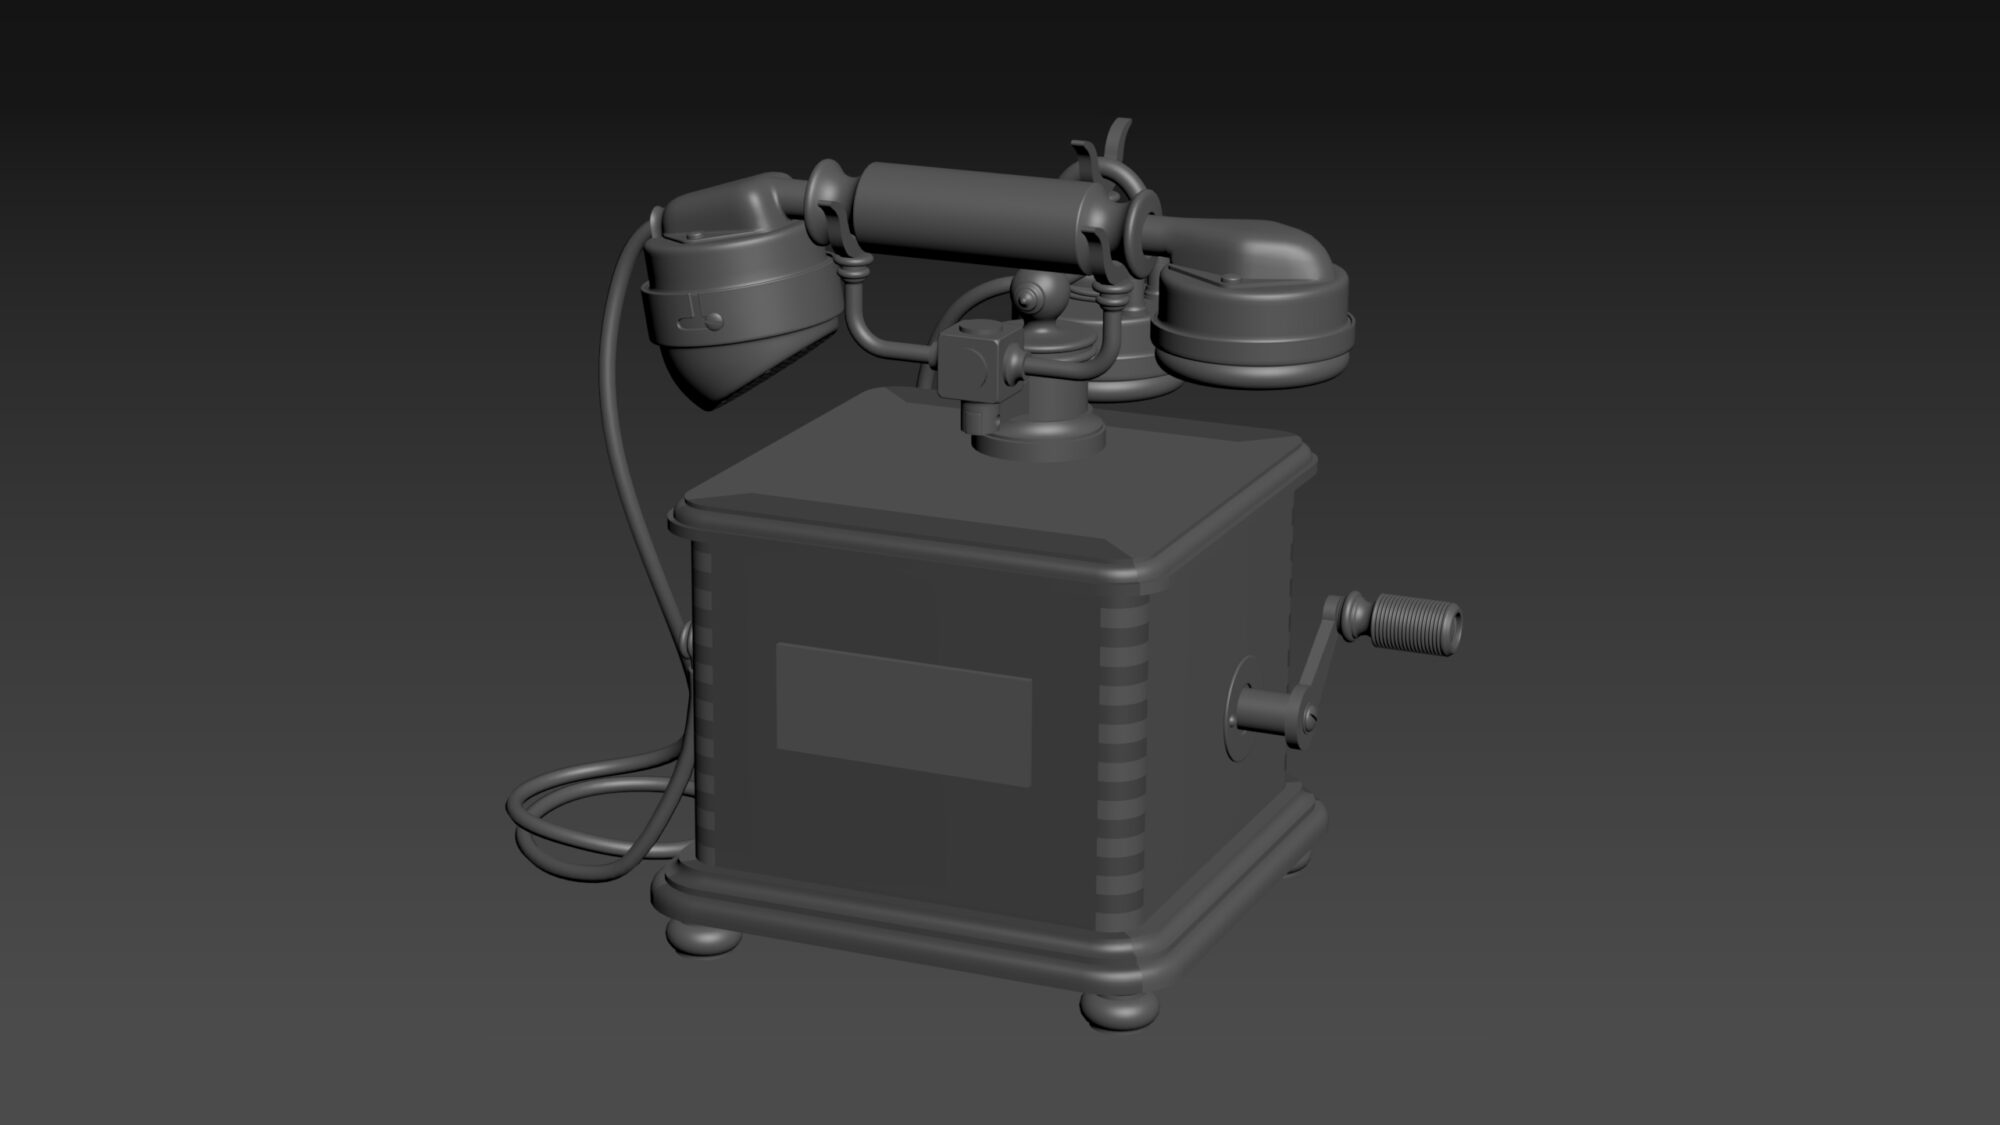
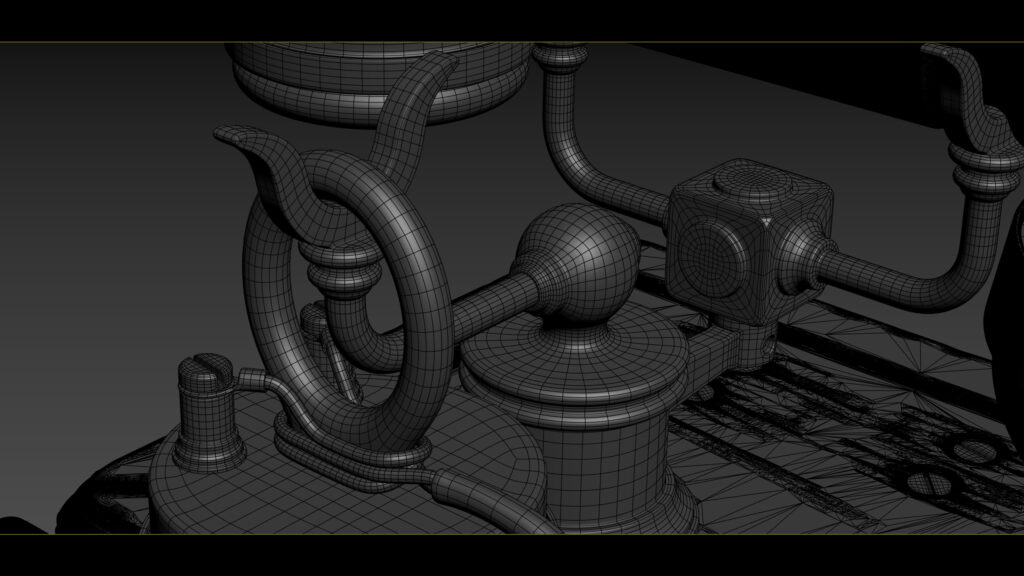
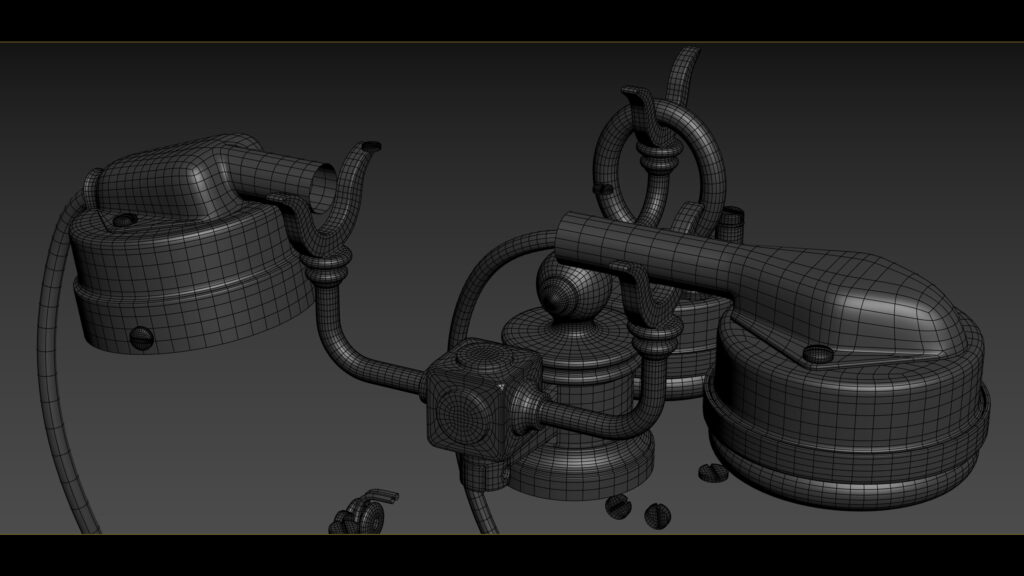
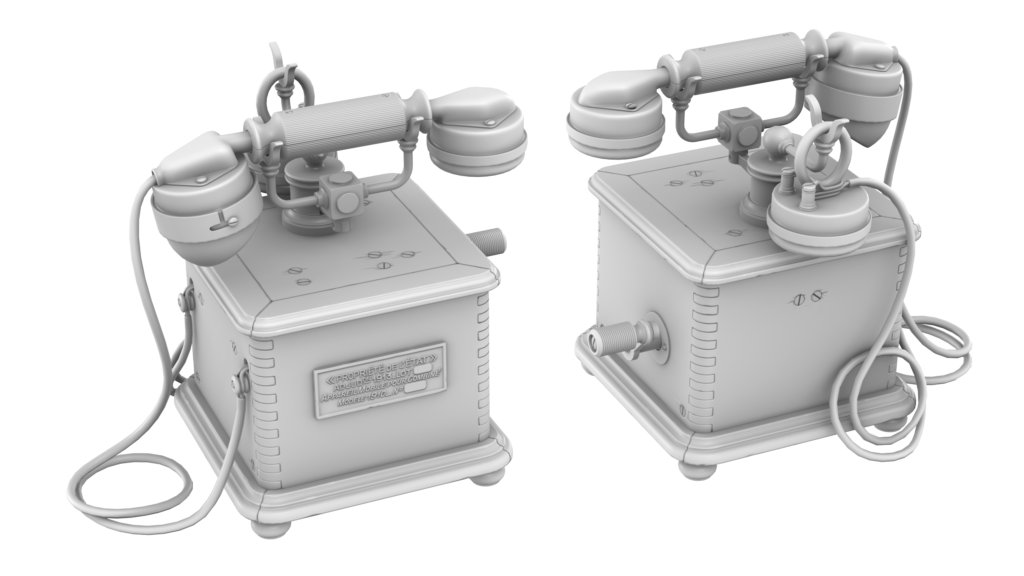
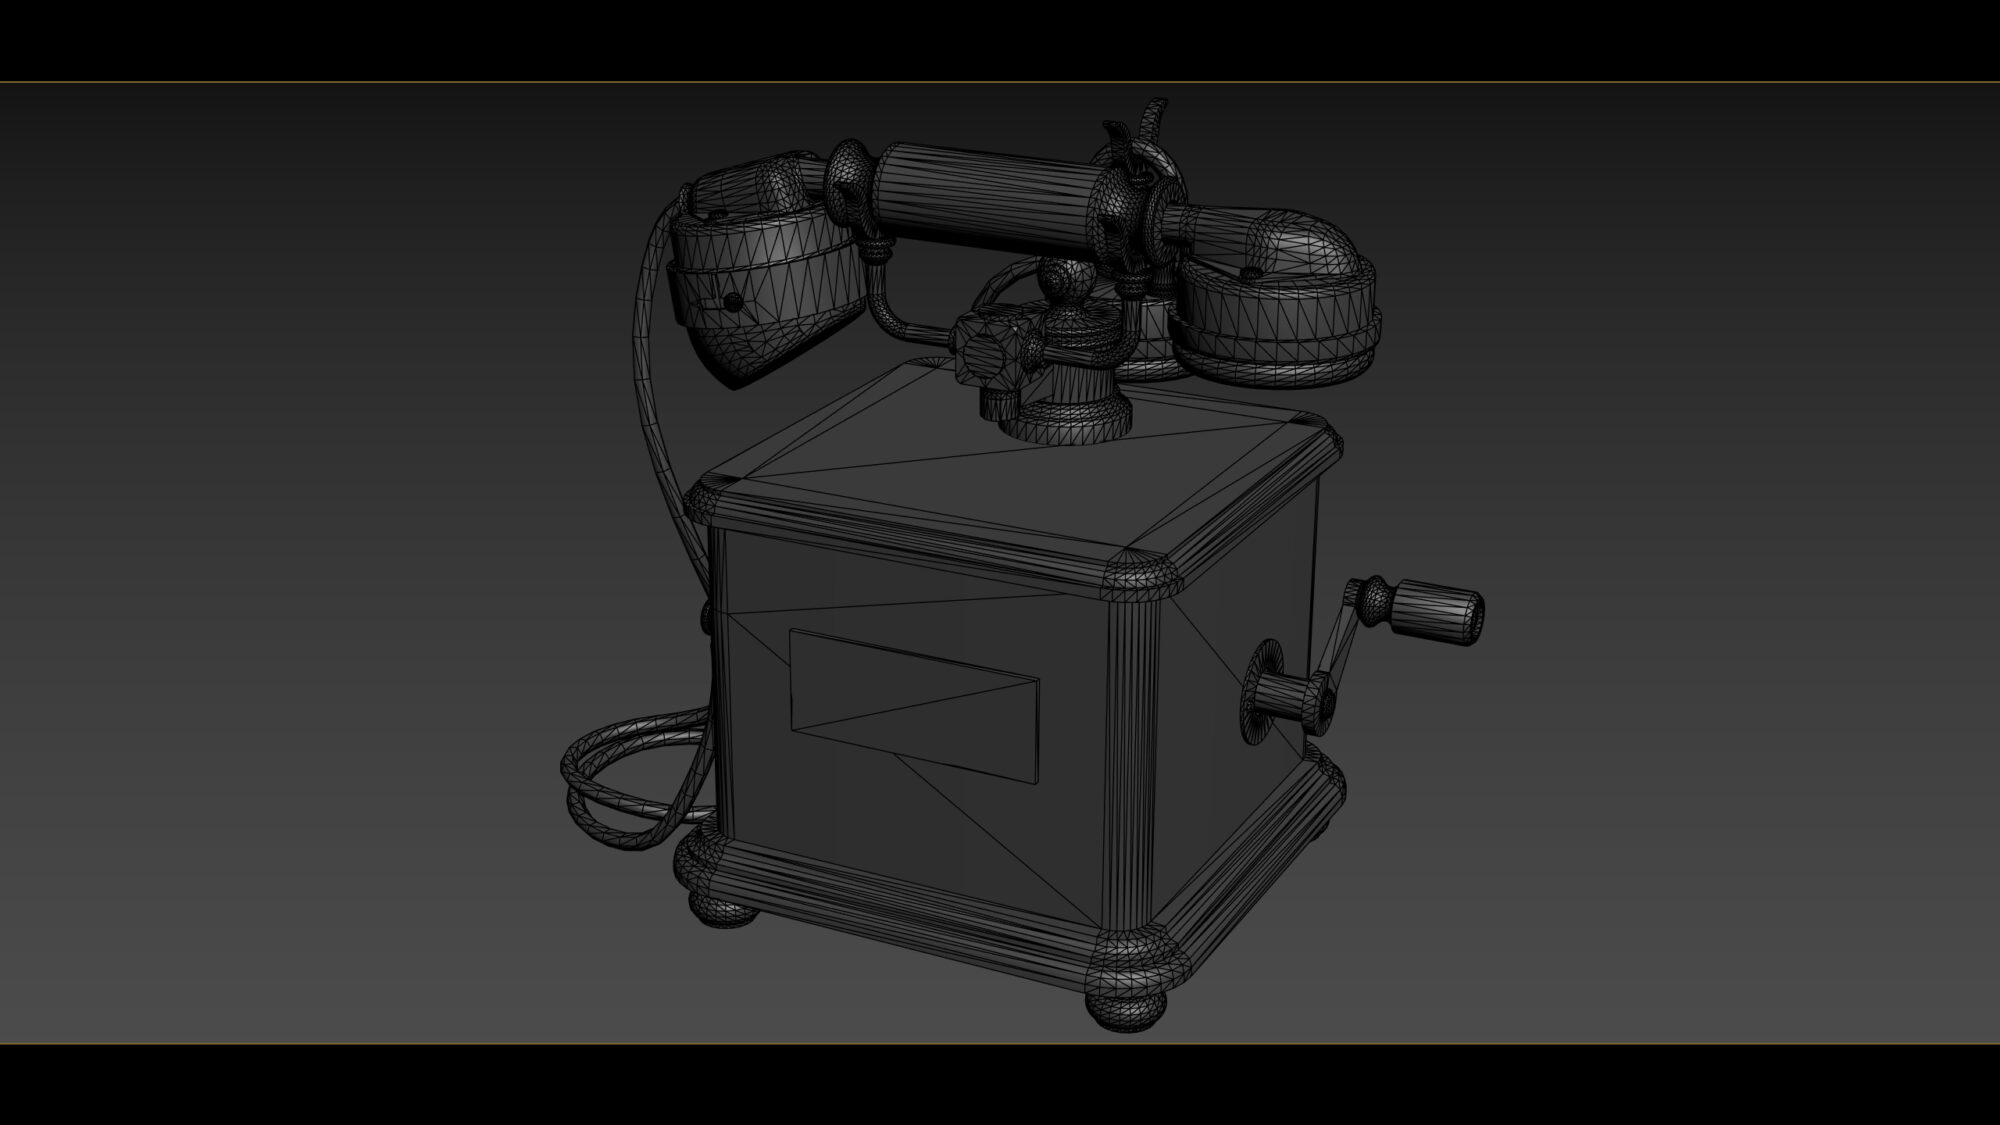
After completing the mid-poly model, I moved on to the high-poly version, adding supporting edges to ensure proper smoothing of the shape.
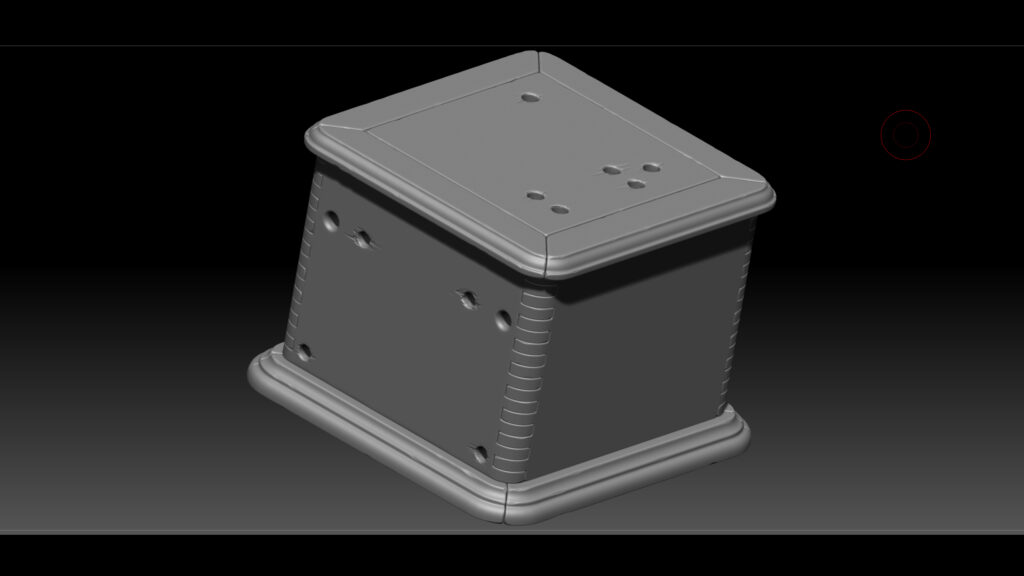
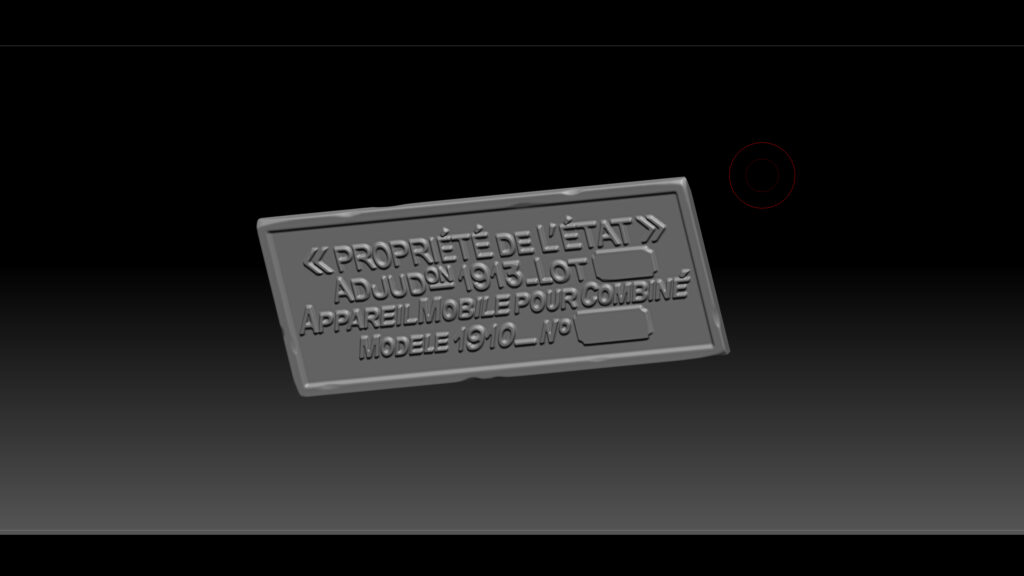
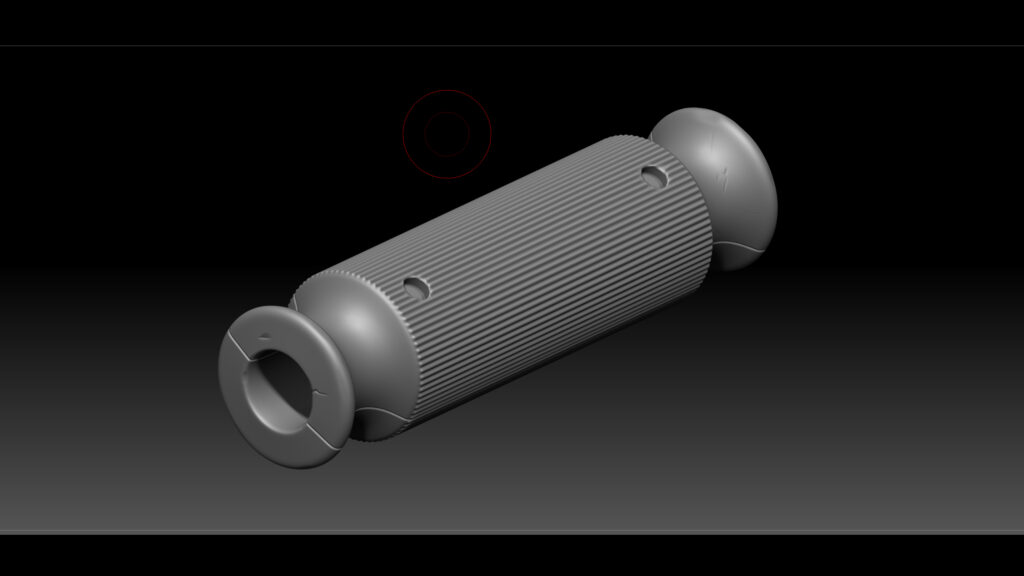
Some details, such as the wooden box and a few other elements, I exported to ZBrush to create the high-poly version. In ZBrush, I used booleans to create holes, then applied DynaMesh and Polish to smooth the model.
After that, I added characteristic damage to the wood to make it look more realistic.
After creating the high-poly model, I used Decimation Master to reduce the geometry, otherwise, the models would become too heavy.
For the low-poly model, I used the mid-poly version, which I cleaned up and optimized the topology.
Baking
I usually perform test bakes to identify potential issues early and fix them in time.
After that, I proceed with the final bake, carefully monitoring the process to achieve a clean result.
Texturing
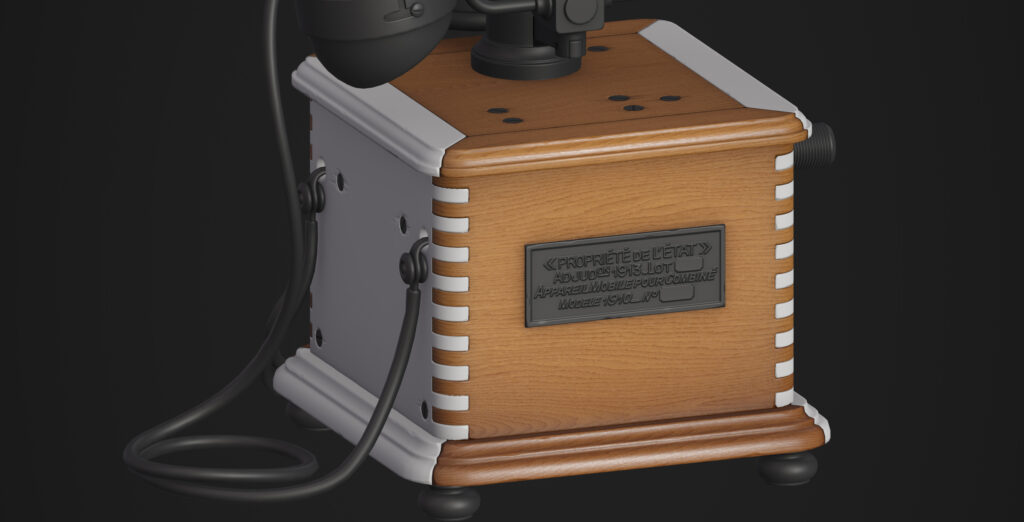
This phone is made of key materials such as wood and metal. In my opinion, these are some of the most challenging materials, and they required special attention during the creation process.
For creating these materials, I mostly used the standard tools in Substance Painter. I combined various textures and masks, layering them to build up complexity.
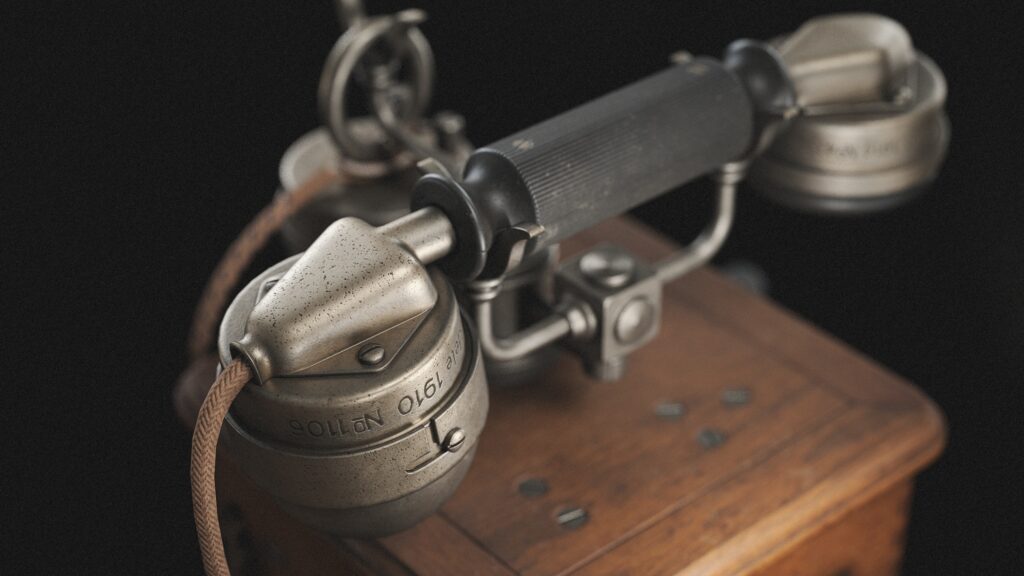
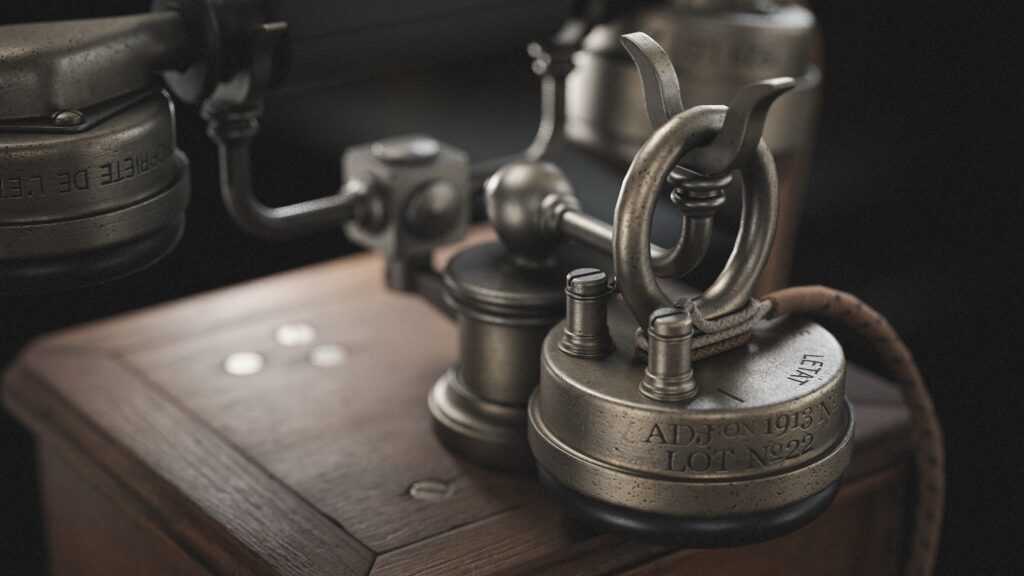
In the end, I added subtle scratches and dirt that are not immediately noticeable but add extra detail to the model.
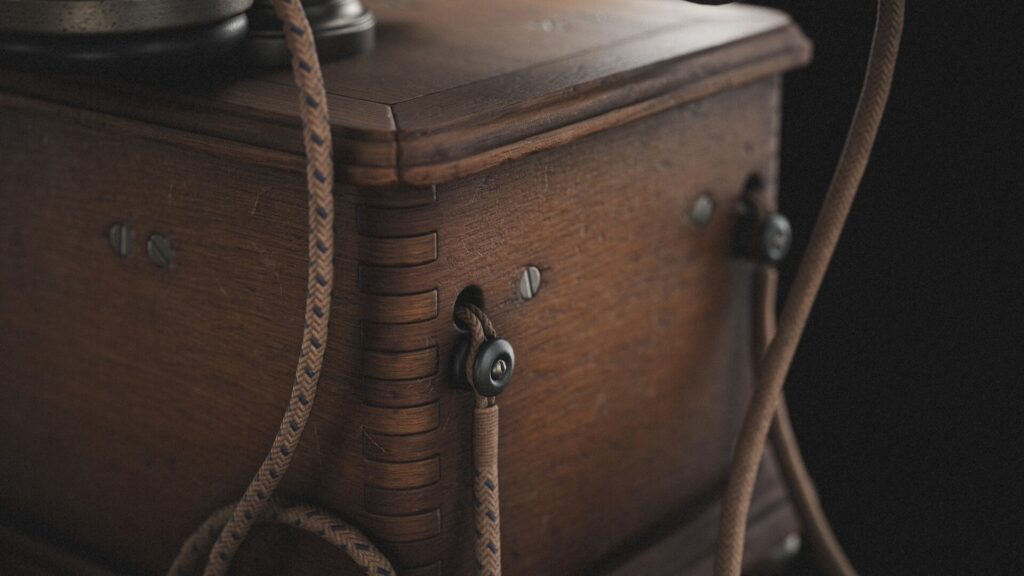
I also slightly varied the color tones of the wooden panels to emphasize the joints and connection points.
Rendering
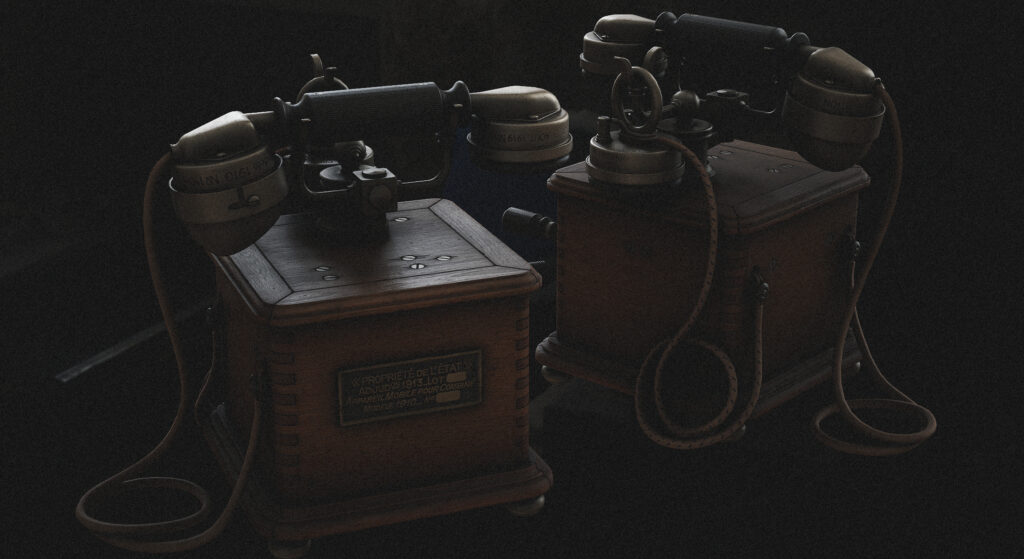
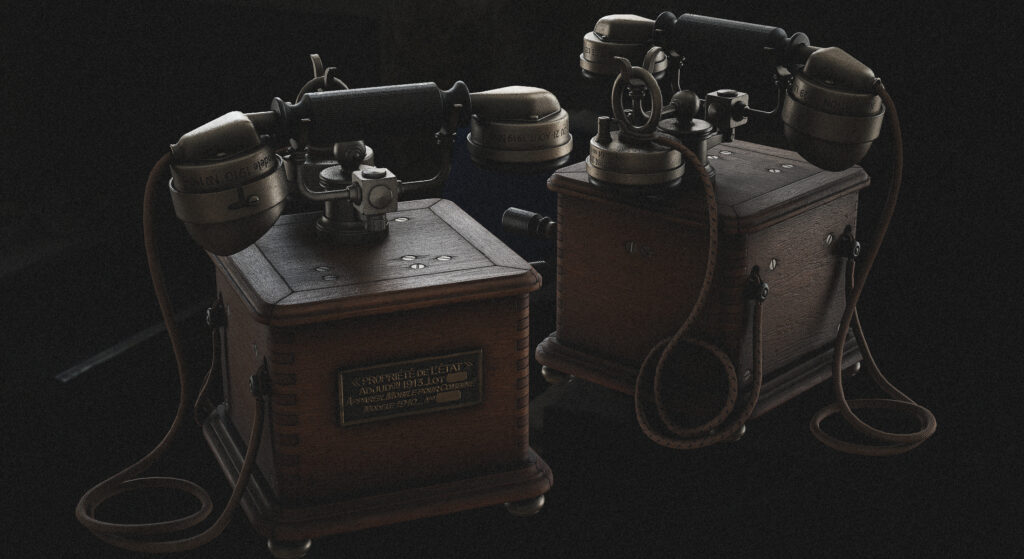
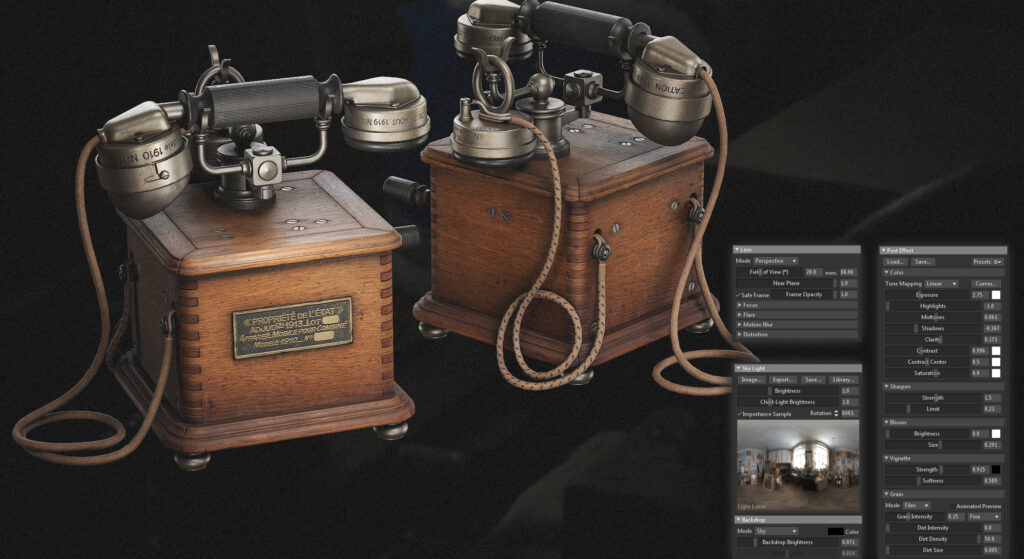
When creating the renders, I didn’t follow any strict rules, I simply relied on intuition 🙂 I really like the default HDR environment map in Substance Painter called “Studio Tomoco”.
I often use it for rendering my works.
However, in this project, I decided to go with the “Artist Workshop” map, which served not only as a lighting source but also as the background for the scene.
I dimmed it slightly so it would provide soft overall lighting, while the main highlights were created using additional light sources.
I like to render my models with a slightly reduced field of view.
I also add a subtle film grain and use depth of field, especially in close-up shots, to create atmosphere and draw attention to the details.
Conclusion
I’d like to thank the “Games Artist” team for the opportunity to share the process behind this asset.
Thank you for taking the time to read this article.
You can find this and more of my work on my ArtStation profile.

