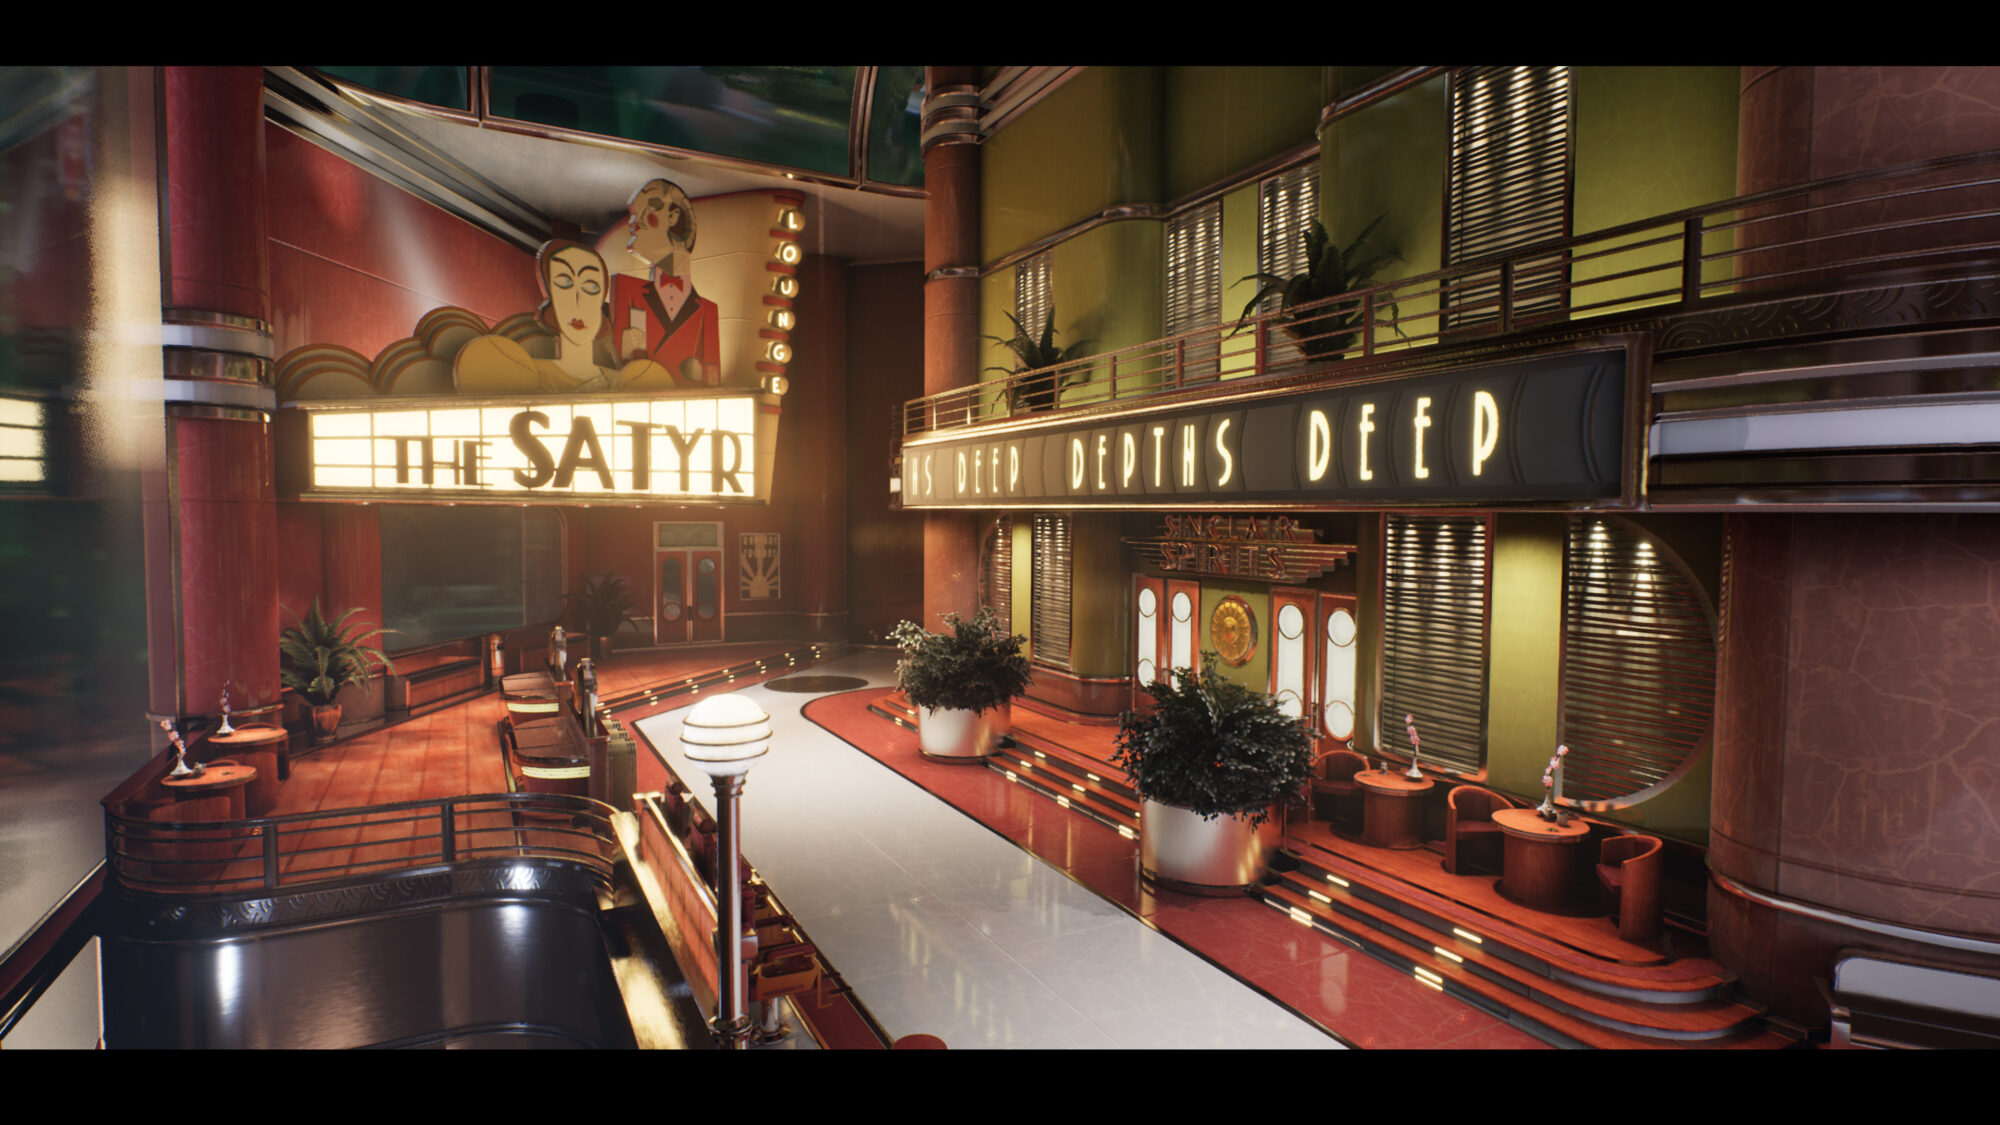
The Silent Corridor


Introduction
Hello everyone, I'm Rahul Sonawane, an Environment/Prop Artist from India. Currently, I am working as a freelancer, and I'm actively seeking opportunities to work in a studio environment.
I am a self-taught artist, and everything I know about environment art comes from watching online tutorials. I love those photographs of abandoned houses and the views of the outside world through their windows. I enjoy transforming them into 3D environments and adding a personal touch. In short, I love creating those scenes.
Inspiration & References
This was a personal project. In the past, I had attempted larger scenes but failed and eventually abandoned them. Then, one day, I was discussing my struggles with a friend, and they advised me to work on something smaller, dedicating time to adding intricate details.
I was instantly inspired by their suggestion.
So, I delved into my personal collection of movie screenshots and stumbled upon one that I truly loved, mainly because of its simplicity.

I have a habit of taking screenshots whenever I come across beautifully composed scenes. I save them in my library with the intention of eventually transforming them into 3D environments and adding my personal touch.
Afterward, I decided to gather more references for all the objects in the scenes. I searched Pinterest and Google to find additional inspiration and collected references for lighting the scene.
Tip
Before you begin modeling, it’s crucial to find references. I highly recommend using software like PUREREF and creating a mood board; it’s an essential step.
Look for references on how your object reacts to light from different angles, as this will greatly assist you during the texturing phase and save you time.
Pay close attention to roughness to achieve realism. I also found inspiration in my own room, as the door was right next to my computer.
Observing the roughness of the door and noticing the tiny cracks on the wall behind my computer served as inspiration for adding intricate details.

Software
- 3DS Max
- RizomUV
- Substance Painter
- V-Ray
- SpeedTree
- PUREREF
- MegaScans
Blockout & Modeling
I was particularly drawn to the scene’s simplicity, which made the blocking part a breeze. I used basic meshes to create the initial structure of the scene.
To better visualize it, I even added a simple light source mimicking the window’s illumination. Additionally, I included a mannequin for height reference.

Blockout
As you can see, I began with simple blocks to establish my camera angle and basic lighting setup. Once this foundation was in place, I proceeded to model my props one by one.
Fortunately, having gathered references beforehand, I didn’t need to spend extra time searching the internet for them.

All the meshes I used were kept simple, avoiding complexity. For the paper simulation, I opted for Marvelous Designer, which involved a straightforward setup—just adding a plane and simulating it to achieve the desired effect.

To create wall damages, I used ZBrush. I sculpted simple edge wear on the corners of the walls using a standard brush and trim smooth border.
I deliberately left some damages for Substance Painter, as I wanted to test how much detail I could achieve in Painter without relying on sculpting.
As you can see, I did straightforward sculpting on the edges to enhance realism. Prop modeling was relatively simple since there were no organic shapes, only hard surfaces.
For the paper ball simulation, I followed a fantastic tutorial on YouTube titled 3ds Max Tutorial: Crumpled Paper by Antonin Moucha. It offered a clever trick that I found quite effective.
Creating a basic tree in SpeedTree and importing it into 3ds Max was a breeze. I added a few branches to the trunk and used magnetic force to draw them to one corner, achieving the desired tree sway effect in the wind.
As for cobwebs, I utilized a plugin called ‘Cobwebs’ by JokerMartini, which is known for creating realistic cobwebs that you can bake on a simple plane mesh. The majority of the finer details were achieved in Substance Painter.

I relied on RizomUV, which excels in fast and efficient unwrapping.
Since these were basic models, the unwrapping was swift, and RizomUV expertly organized the UV islands.
Texturing
I hated texturing in the past, but since the launch of Substance Painter, I am loving it. At first, it was hard because I was new to it, but then I started spending more time texturing, and I got the hang of it.
I followed a typical game development process for the texturing workflow, which involved baking high-poly details onto low-poly meshes. I used the default settings for all the maps without making any adjustments.
I decided to start texturing with the doors. Initially, I experimented with random layers, hoping to achieve the desired result, but I encountered some difficulties.
That’s when I realized that a step-by-step approach would be more effective—breaking down the texturing process into specific elements, such as height, roughness, color, and minute details, making it more manageable. I found that tackling one aspect at a time was easier than trying to do everything at once.
PureRef played a significant role throughout the process. I frequently referred to my references to replicate similar textures. Once I perfected a material, I converted it into a smart material and applied it to other doors, saving valuable time.

Door
Moving on to the walls, I worked with a 4K texture resolution, providing ample space to distribute details across the surfaces. The walls consisted of three layers: the innermost layer, which was very rough concrete, followed by a layer of cement, and the outermost layer of plaster.
The rough concrete texture was strategically applied to the most damaged areas, while the cement and plaster textures were positioned to show through where the paint had peeled away.
Cracks
To create subtle cracks on the wall, I added a paint layer with only the height map enabled. I used a charcoal fine brush to paint the cracks, then I added a blur slope filter to break the crack and make it uneven.
Then, I copy-pasted the same layer above it, but on this layer, I removed the blur slope and added a blur filter. I was using my own room walls as a reference to get a realistic result because I was looking at it in real-time, making it easier to achieve the wall material.

Dust
To create dust, you need to bake world space normals, add a Fill layer, pick the dust color and then add a black mask.
First, add a generator under the mask, then choose the light generator, and adjust the light as if it’s falling from above. The light generator uses world space normals to calculate that.
Then add a dirt generator and change its blend mode to multiply, add another dirt generator, and change the blend mode to overlay.


Floor
I used MegaScan floor texture as a base and then built upon it. Using the same workflow as for the cracks to create damages and a weathered effect on the floor, placing footprints and door tracks.
It doesn’t show up in the render due to lighting positions, but it’s good to have them there.

Window
Window Dust was the easiest one. I changed the material to PBR-ALPHA-ROUGH BLENDING, then added an opacity map in channels. Now I had an opacity map to play with.
My base fill layer had opacity set to 0.1, and the layer above it was corner dirt. I used the edge generator to achieve corner dirt. Also, try to hand-paint certain parts of the models so that they look real.
After that, I kept adding dirt layers to get the final look of a dirty window. The texturing section was slightly larger than others because I spent most of my time in Substance Painter, as I wanted to learn texturing.
Lighting
Once I completed the texturing phase, I turned my attention to lighting, a critical element in setting the overall mood of the scene. My lighting setup consisted of four lights: one HDRI for the outside environment, two lights in the corridor, and one in the right-side room.
The light near the door served as the primary working light, providing ample brightness. In contrast, the second light in the corridor had a more subdued quality, adding a sense of age and dimness to shift the focus toward the door, which was closer to the main entrance.
Later in the process, I fine-tuned the lighting using LightMix in the V-Ray frame buffer to achieve the exact lighting balance I had in mind.
Rendering
My main software for rendering are 3Ds Max and V-Ray. The render setup was all default, and I switched to GPU rendering because the render was in 4k.
Then I added a beauty pass, denoiser, and light mix in V-Ray render elements to help me later in post-processing.
Then I hit render, and it turned out to be terrible, not because of the lights or the render setting but because of the colors and lack of props. See below.

First Render
My first render was really terrible. I had no idea how to fix it, so I went on Discord for help. I posted my work on Discord servers like The DiNusty Empire, CG Lounge, Autodesk 3ds max, and some friends at CGHero.
They all guided me on my next steps, and they were really helpful. They gave me ideas on color theory, lighting, and how to add more props to make it look good.
I am glad I found these servers because they helped me achieve the final result. Without them, this work would have been average. Thank you all.
After several iterations and the addition of more props, I hit render again, and the result was nothing short of amazing. This marked a significant milestone in my career, as it was the first time I had fully textured and rendered an entire scene.
Previously, in my freelance work, my responsibilities were limited to modeling. This achievement meant a lot to me.

Post-Processing
The V-Ray Frame Buffer is really good for post-processing now. I used LightMix to achieve the final lighting. I only added a few things in the post process, which I did in Photoshop.
A small amount of chromatic aberration, a little bit of contrast, vignette, noise, and finally very little tilt-shift blur. That’s it. That’s all I did in post-processing.
Conclusion
This being my first environment project with texturing, it was a journey filled with valuable lessons from past mistakes. I’m immensely grateful to the Discord communities that provided me with assistance and guidance throughout.
I delved into the texturing aspect extensively because it was the ultimate goal of this project. I hope you found this article enjoyable to read, just as I found writing it to be a rewarding experience.
If you’ve spotted any mistakes, please accept my apologies, as this is my first time writing an article. Lastly, I’d like to extend my gratitude to Game Artist UK for granting me the opportunity to share my journey. I look forward to the possibility of meeting again in the future!


Read more articles
You might also like these articles.