Temple


Introduction
Hello, I'm YellowDog, a 3D Environment Artist from the Republic of Korea.
Projects & Goals
The goal of this project was to challenge the creation of tools and the medieval environment.
And I wanted to show my proficiency in creating a game-ready environment.
I also wanted to work while expressing my artistic sensibility.
Tools
- Blender
- ZBrush
- Unreal
- Substance Designer
- Substance Painter
- Marmoset Toolbag 4
- Marvelous Designer
Blockout & Planning
Step 1
I did simple 3D modelling of the architecture and set the camera angle.
Step 2
I level-designed props through simple modeling. I found out what props I needed and how many variations I needed.
I make two to three variations of the same props for visual diversity.
Step 3
I set the texel density for architecture for uniformity of texture. I’ve set up tile seamless maps and trim sheet textures.
Step 4
I used Vertex painting and proceeded with quality up through decals.
Step 5
I made a prop and did the detailed level design for the camera angle.
Step 6
I used sensational elements like snow mountains, fog, sky clouds, birds, and petals.
Trim sheets
I planned the mesh and UV of the architecture to match the density of the texel. I used the curve in Blender to create ornate that is fast and simple to modify.
I was able to create ornate by using the profile of the curve or by modifying the scale value of the curve vertex. It has the advantage of being easy to modify at any time.
Materials
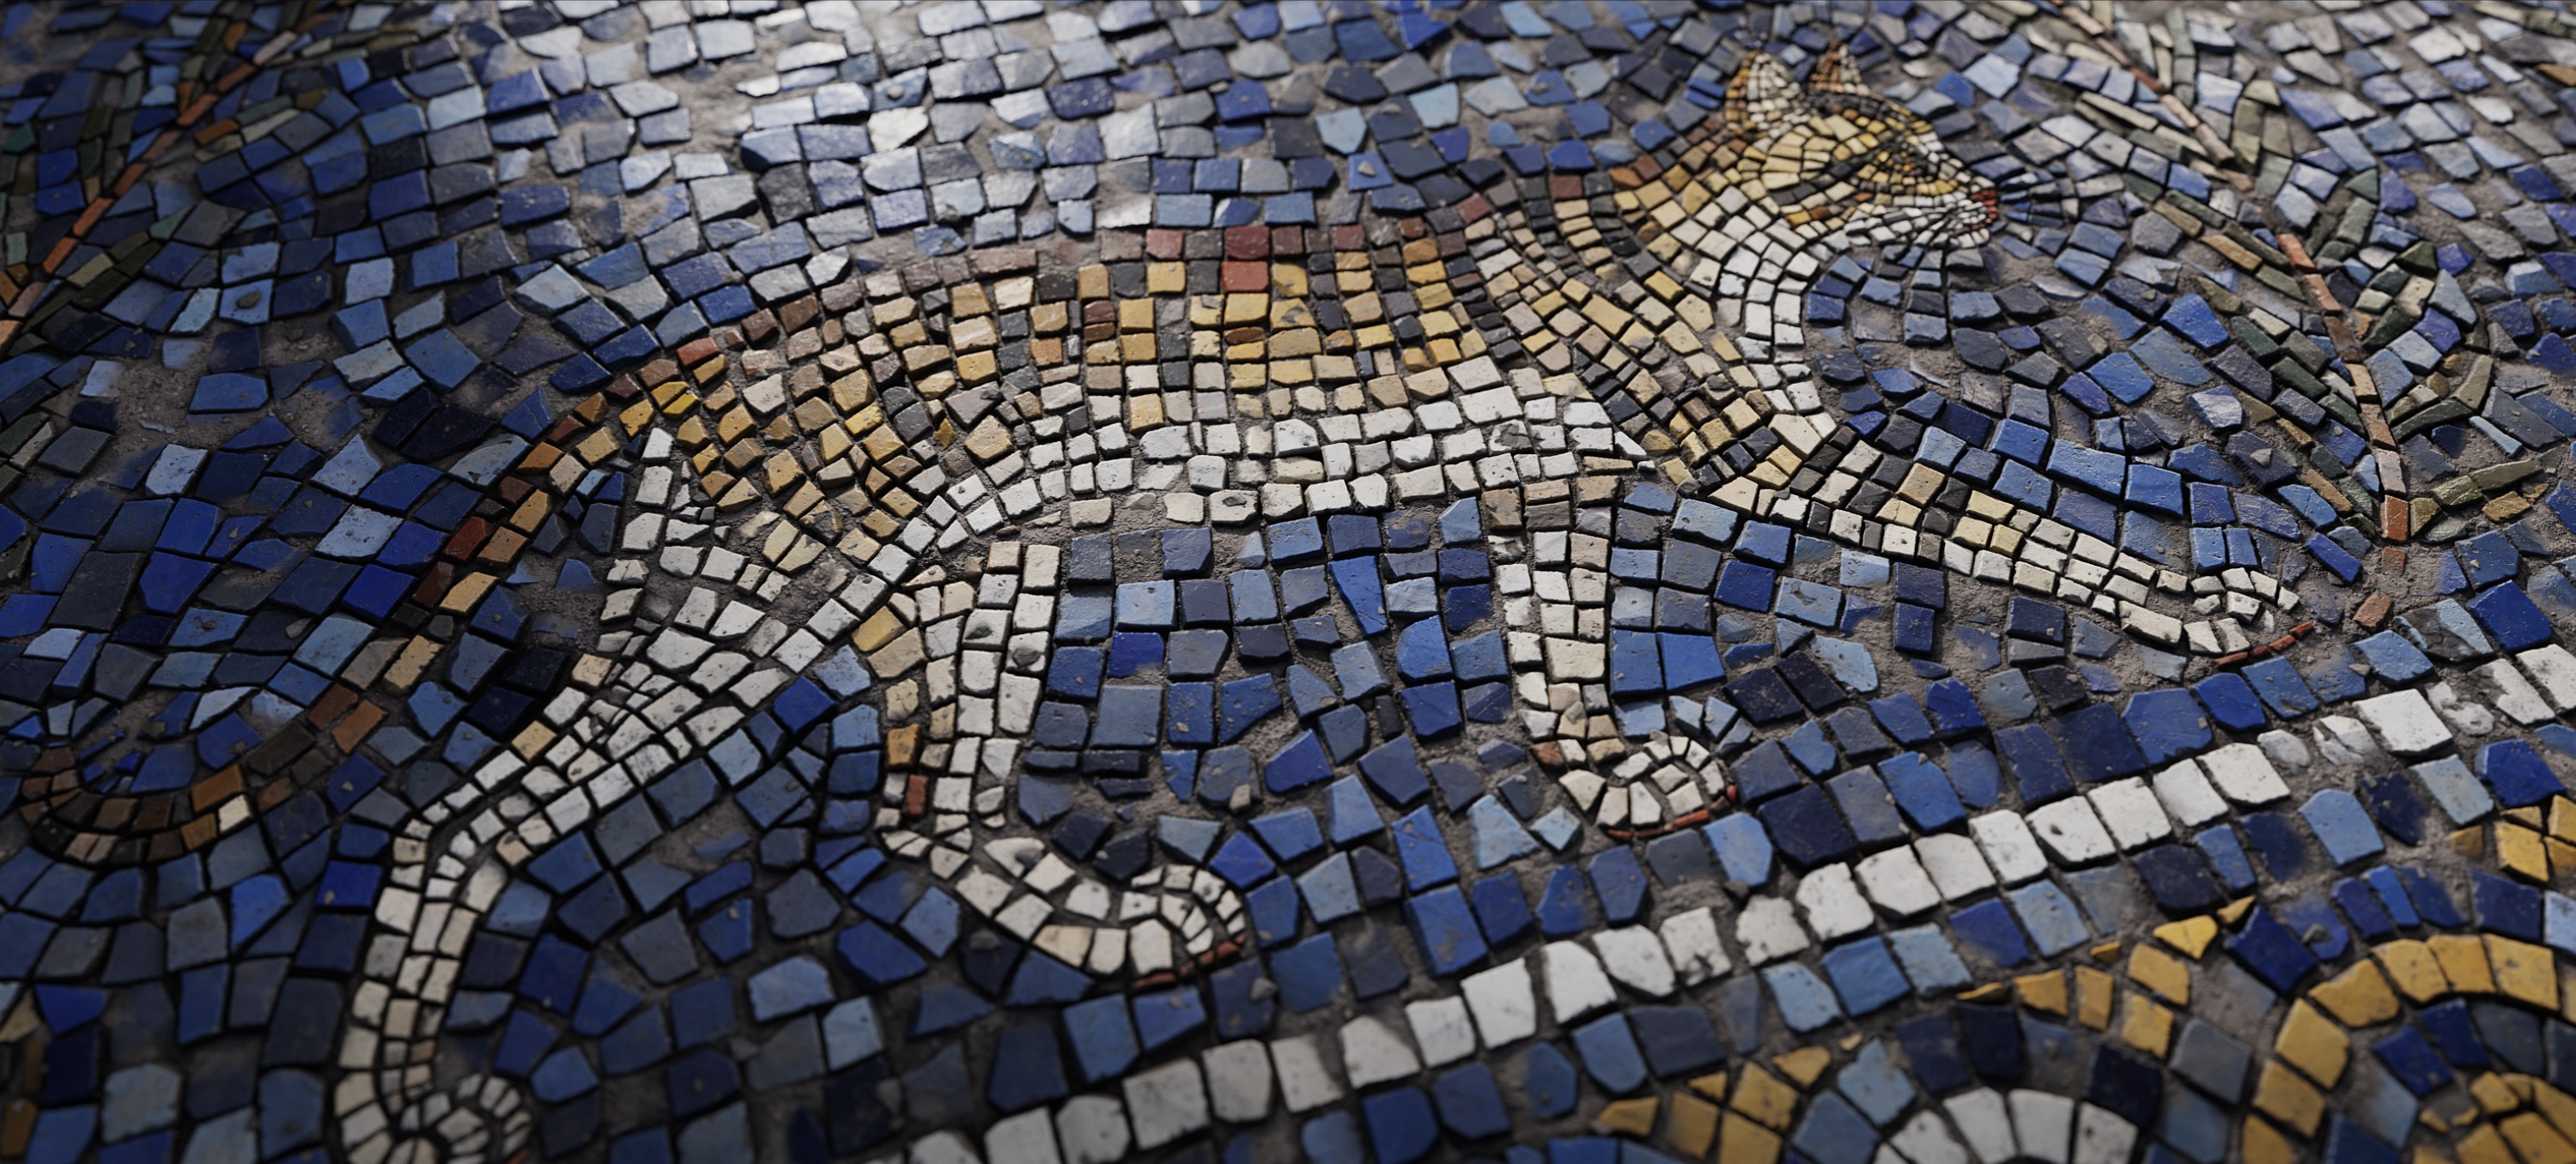
The tilemaps were sculpted in Substance Designer and then brought to Painter for texturing.
The reason was that the Substance Painter was familiar to me and brought photo resources, making layering convenient.
For me, this method saved me a lot of time. The image below shows one of the maps.
Props
Statue rigging I’ve been thinking about a simple way to rig. I’ve used Blender’s Auto-Rig Pro Addon.
It’s very convenient and quick to rig.
Cloth Props
Cushions, curtains and carpets were created by Marvelous Designer.
Marvelous Designer is a powerful tool that can produce good results quickly. One day is enough to model cushions, curtains, and carpets.
I didn’t want to spend too much time on carpet patterns.
So I used stable diffusion. I used patterns that came out of searching with a few keywords like Roma, Spartan and border pattern.
Tips
When I model, I stack a history. If I stack a history, I can make modeling modifications simple. Video is my basic modeling method. Skew is good to modify round vertex number.
Curve modeling is good to modify thickness conveniently. If you stack Bevel’s history, you can easily give details.
Polish & Final Pass
I make detailed arrangements of props that make my eyes comfortable on the Polish stage. I made improvements by placing ivy in a place where it feels flat and hard.
I marked it in red in the screenshot.
I value the bottom part. My concept wasn’t an aging scene, so I thought of compelling elements that don’t look old.
So I filled the space with puddles, petals, little stones, and decals.
I marked it in blue in the screenshot.
I used Normal Decal to give details because there were a lot of places where I spread UV on the tile map.
I marked it in yellow in the screenshot.
In the last step, snow acid was given to the batch, and the distance between snow acid and snow acid was expressed using a fog card.
I also used fog cards for other scenes.
I think fog cards give the depth of the scene and increase the immersion of the scene.
To improve the scene, I used the sky, the expression of flying petals, and birds.
All of these elements used the marketplace and megascan.
Lighting
I chose one of the times when the sunset was coming. I made the scene rich by using the long shadows to create dark areas.
I thought of the angle of light and the space where the shadows were drawn.
And I used chromatic and Vignette. I wanted to create a dramatic feeling.
Conclusion
When I work as a team at a company, I’m in charge of a part of it, so I don’t have many opportunities to improve the quality from start to finish.
This project made me think about the scene on my own and made me grow. I did this project by investing my time steadily little by little. Whenever
I worked on it, took screenshots and thought about what I needed to improve. I felt a sense of accomplishment as I watched the improvement process, and I was able to finish the project.
The finishing point of a project is always difficult.
If you invest more time, you will get better quality, but I was wondering how efficient it was. So I found it important to set my criteria.
Don’t spend a long time investing in one small thing and if you think you’ve met your criteria.
I made something else. I think it’s important to balance everything and then invest in the final stage.


